Project details
Skill
Cost
Estimated Time
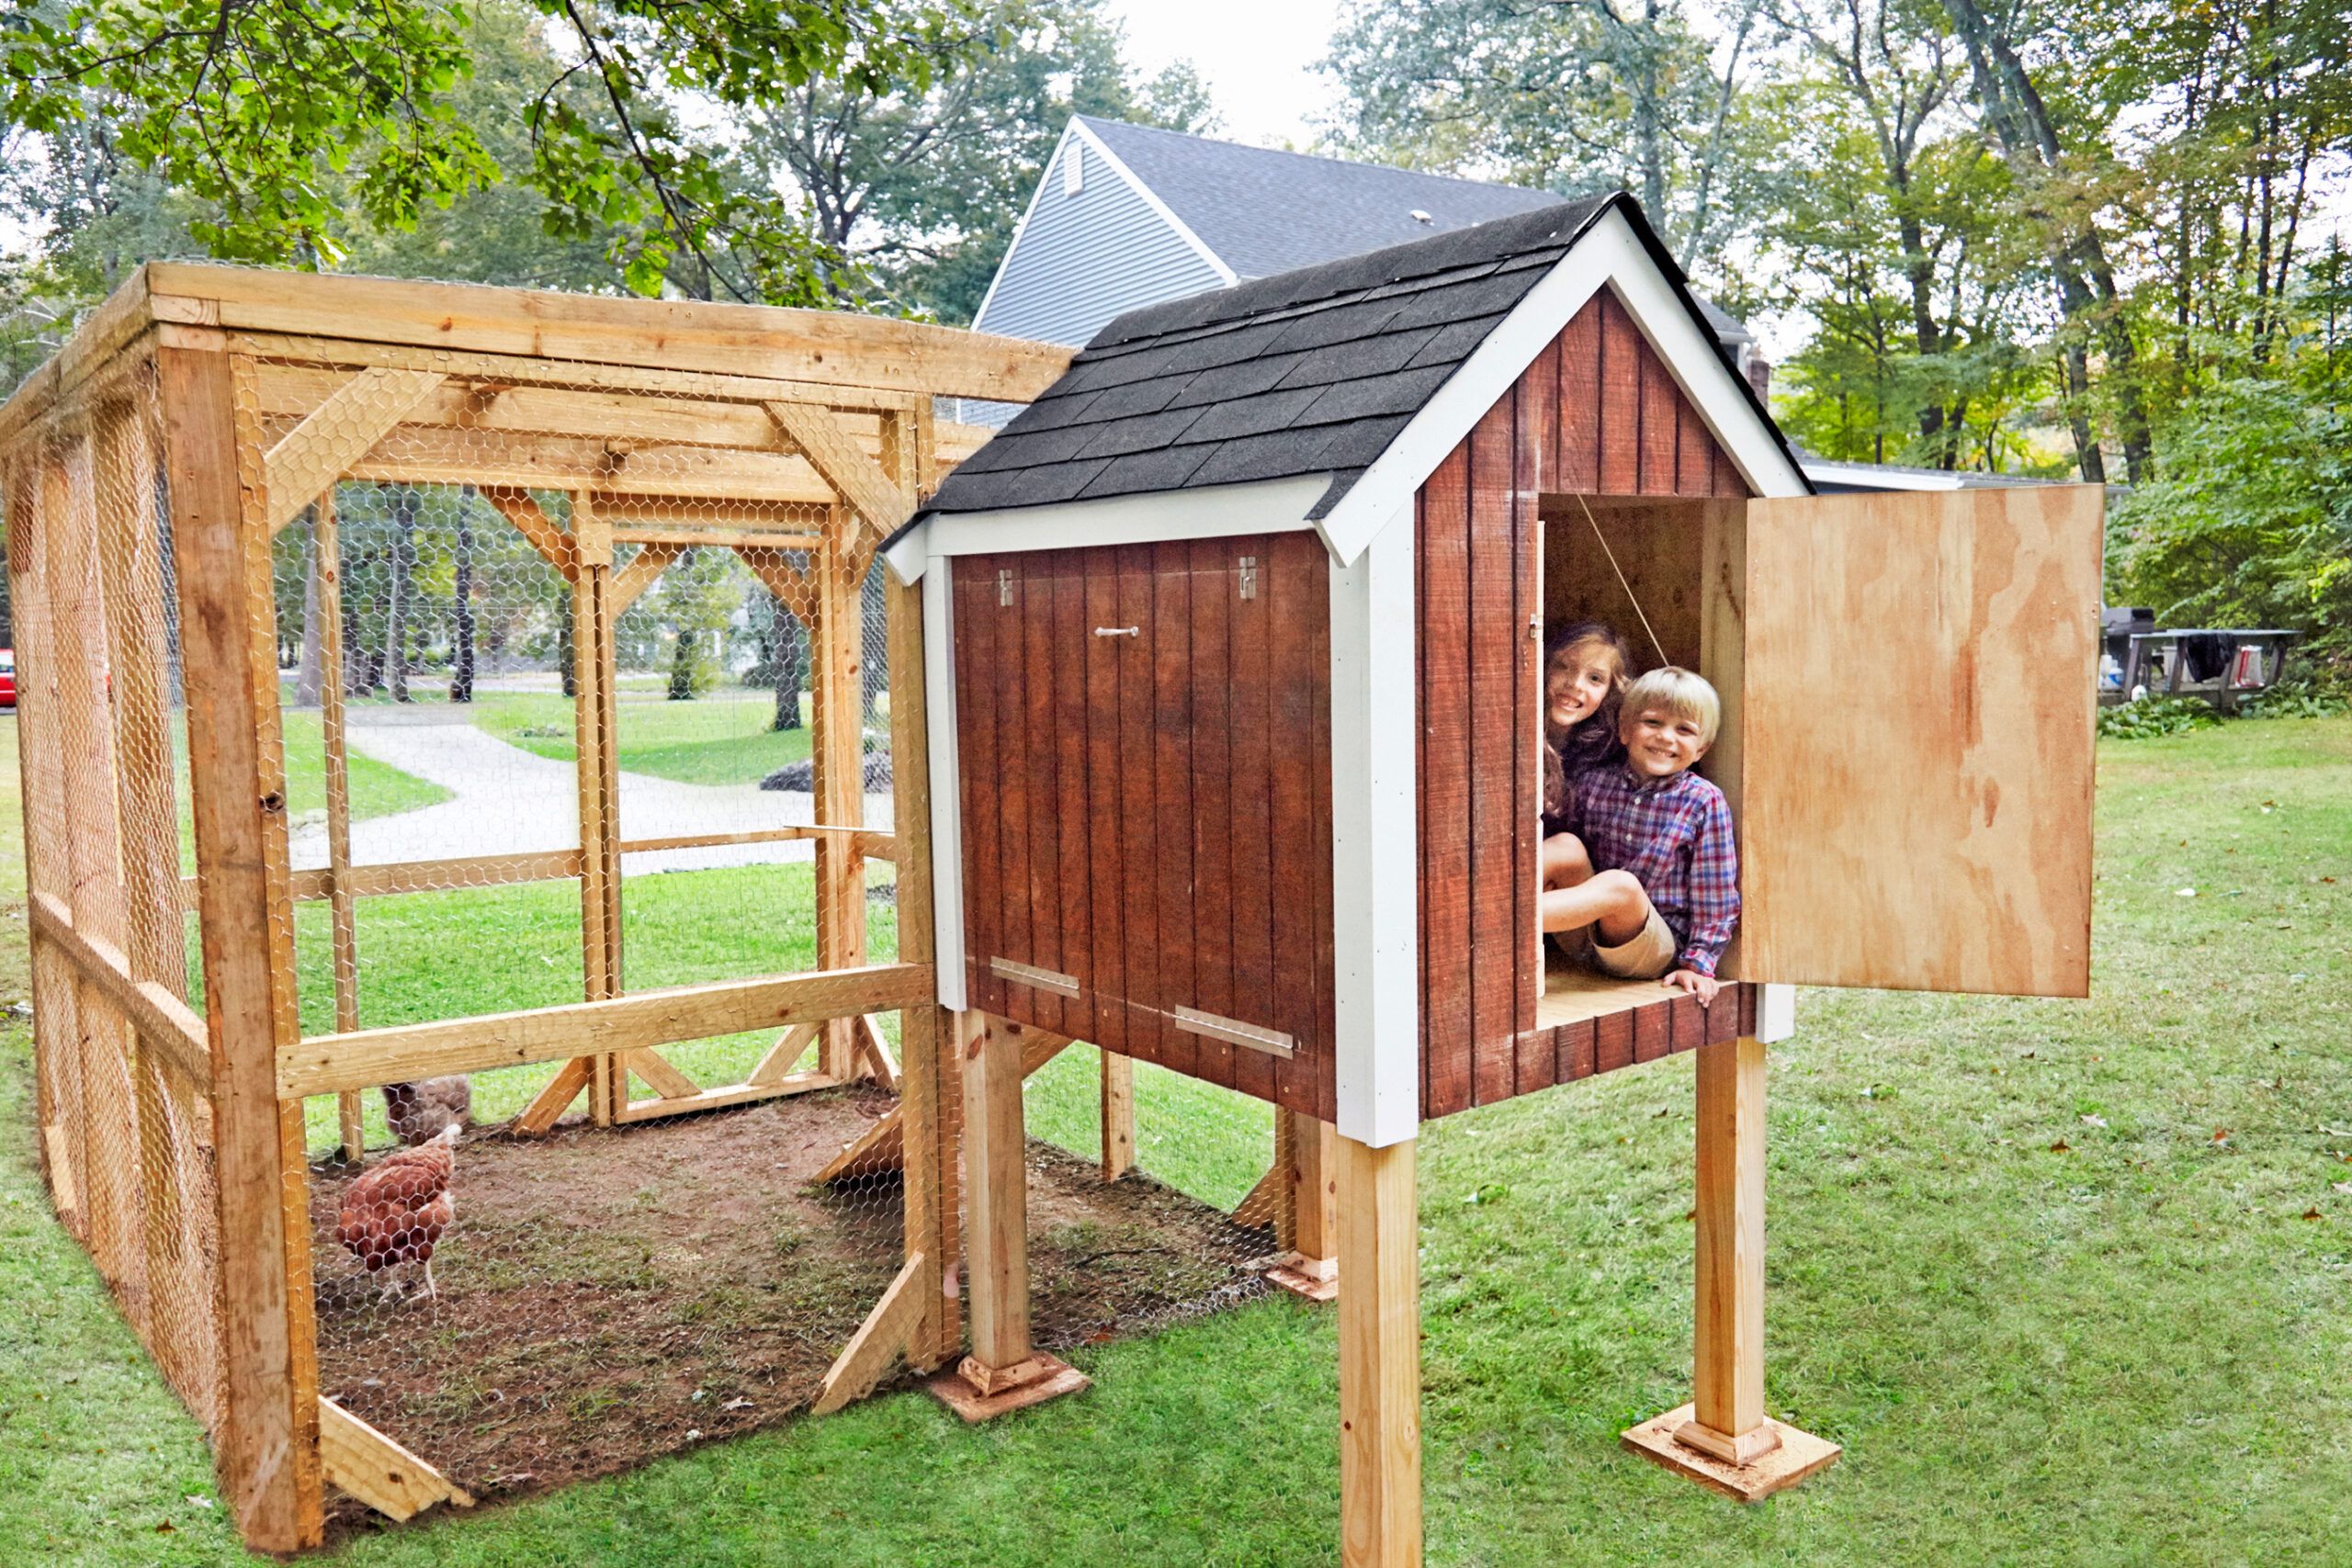
Building a chicken coop is an ambitious but rewarding project for homeowners looking to house their chickens and collect their eggs. If you have some carpentry skills—and power tools—you can complete this project over a weekend. In the video above, This Old House general contractor Tom Silva walks through the steps.
Planning Your Chicken Coop
Before you start building, plan your chicken coop carefully. Consider the following factors to create a safe and comfortable environment for your chickens:
- Location: Choose a spot that’s easily accessible, protected from predators, and offers some shade.
- Nesting boxes: Plan for one box per four to six hens.
- Roosting bars: Allow 8–10 inches of space per chicken.
- Size: Make sure the coop is large enough for your flock. A general rule is to provide 4 square feet per chicken inside the coop and 8–10 square feet per chicken in an outside run.
- Ventilation: Proper airflow is vital for chicken health.
Additional Preparations:
- Accessibility: Build it so you can easily access all parts of the coop for maintenance, egg collection, and cleaning.
- Lighting: Adding a light source, especially during shorter winter days, will keep your chickens laying eggs regularly.
- Predator protection: Be sure the coop’s doors and windows are secure to keep predators out.
- Waste management: Design the coop so you can easily clean and remove waste.
Chicken Coop Materials and Tools Needed
To build a chicken coop like the one in the video, get the following material and tools:
- 2x4s
- 4×4 posts (pressure treated)
- Asphalt shingles with a 5-inch reveal
- Cellular PVC trim
- Exterior-grade plywood
- Felt paper
- Hardware (hinges, latches, ceramic screws)
- Paint or stain
- Pressure-treated
- T1-11 sheathing
Tools:
- Circular saw
- Drill/driver
- Hammer
- Jigsaw
- Level
- Miter saw
- Staple gun
- Tape measure
Additional Tips:
- Safety gear: Always use safety glasses and gloves when cutting or assembling materials.
- Budget: Be mindful of your budget, but opt for long-lasting materials since the coop will be outdoors.
- Plan for extras: It’s always a good idea to purchase a bit more material than you think you’ll need to account for any mistakes or adjustments during construction.
Steps for Building a Backyard Chicken Coop
With your materials ready, you’re ready to start building the coop. Follow the steps below.
Step 1: Measure the Parts
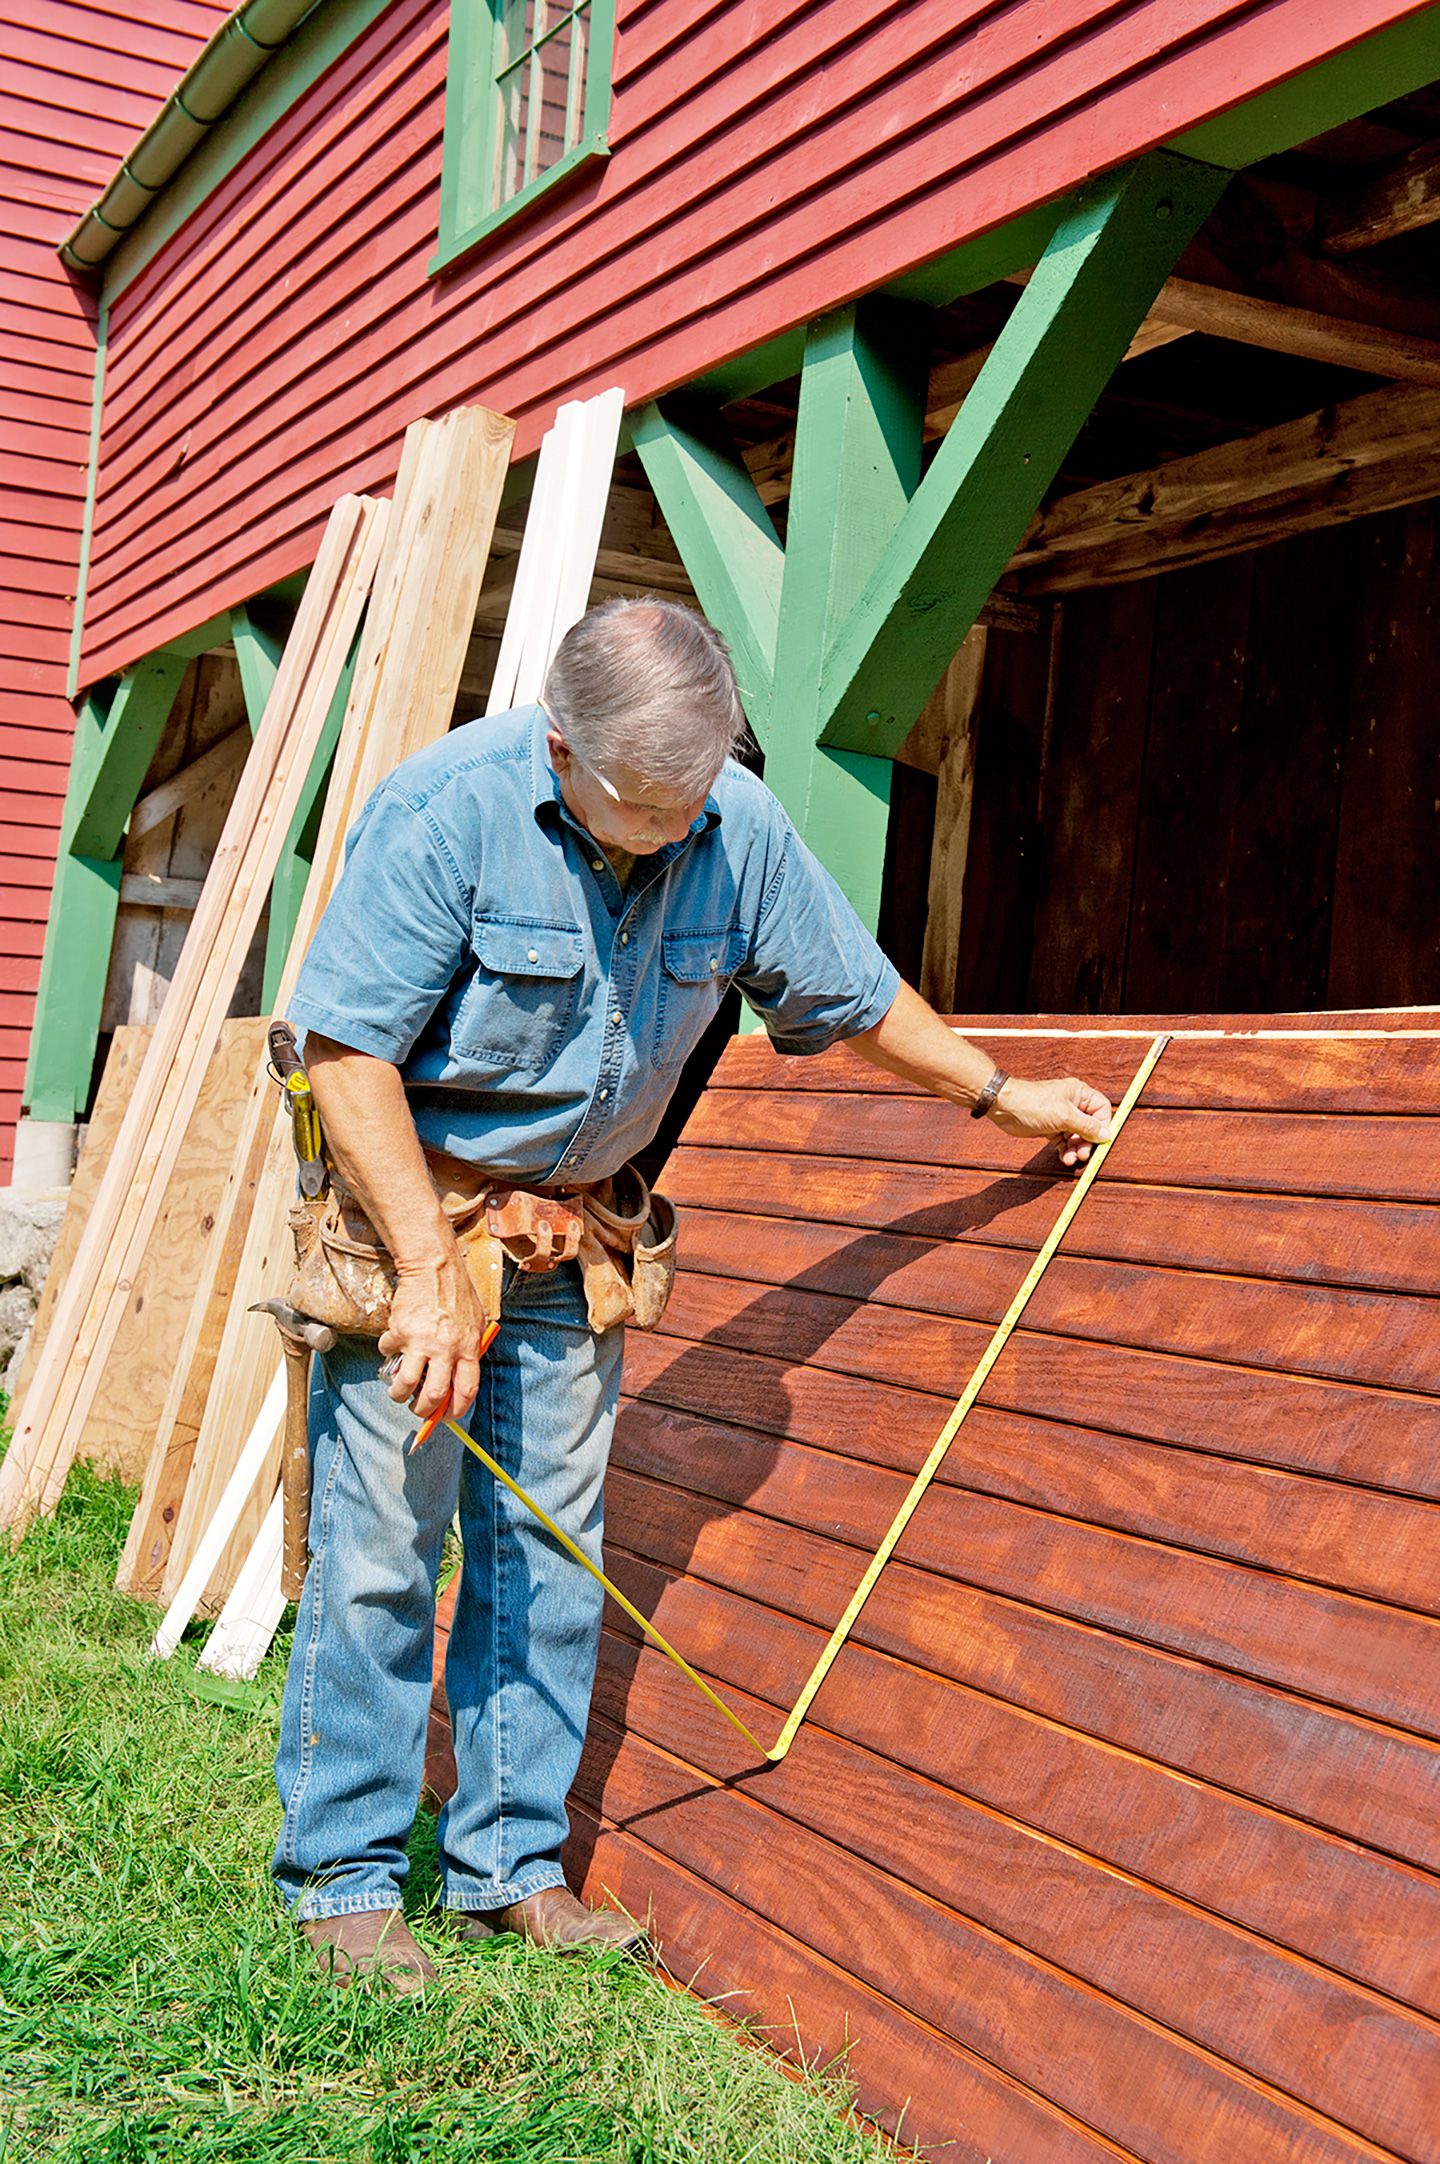
- Stain the front of the T1-11 panels and let them dry.
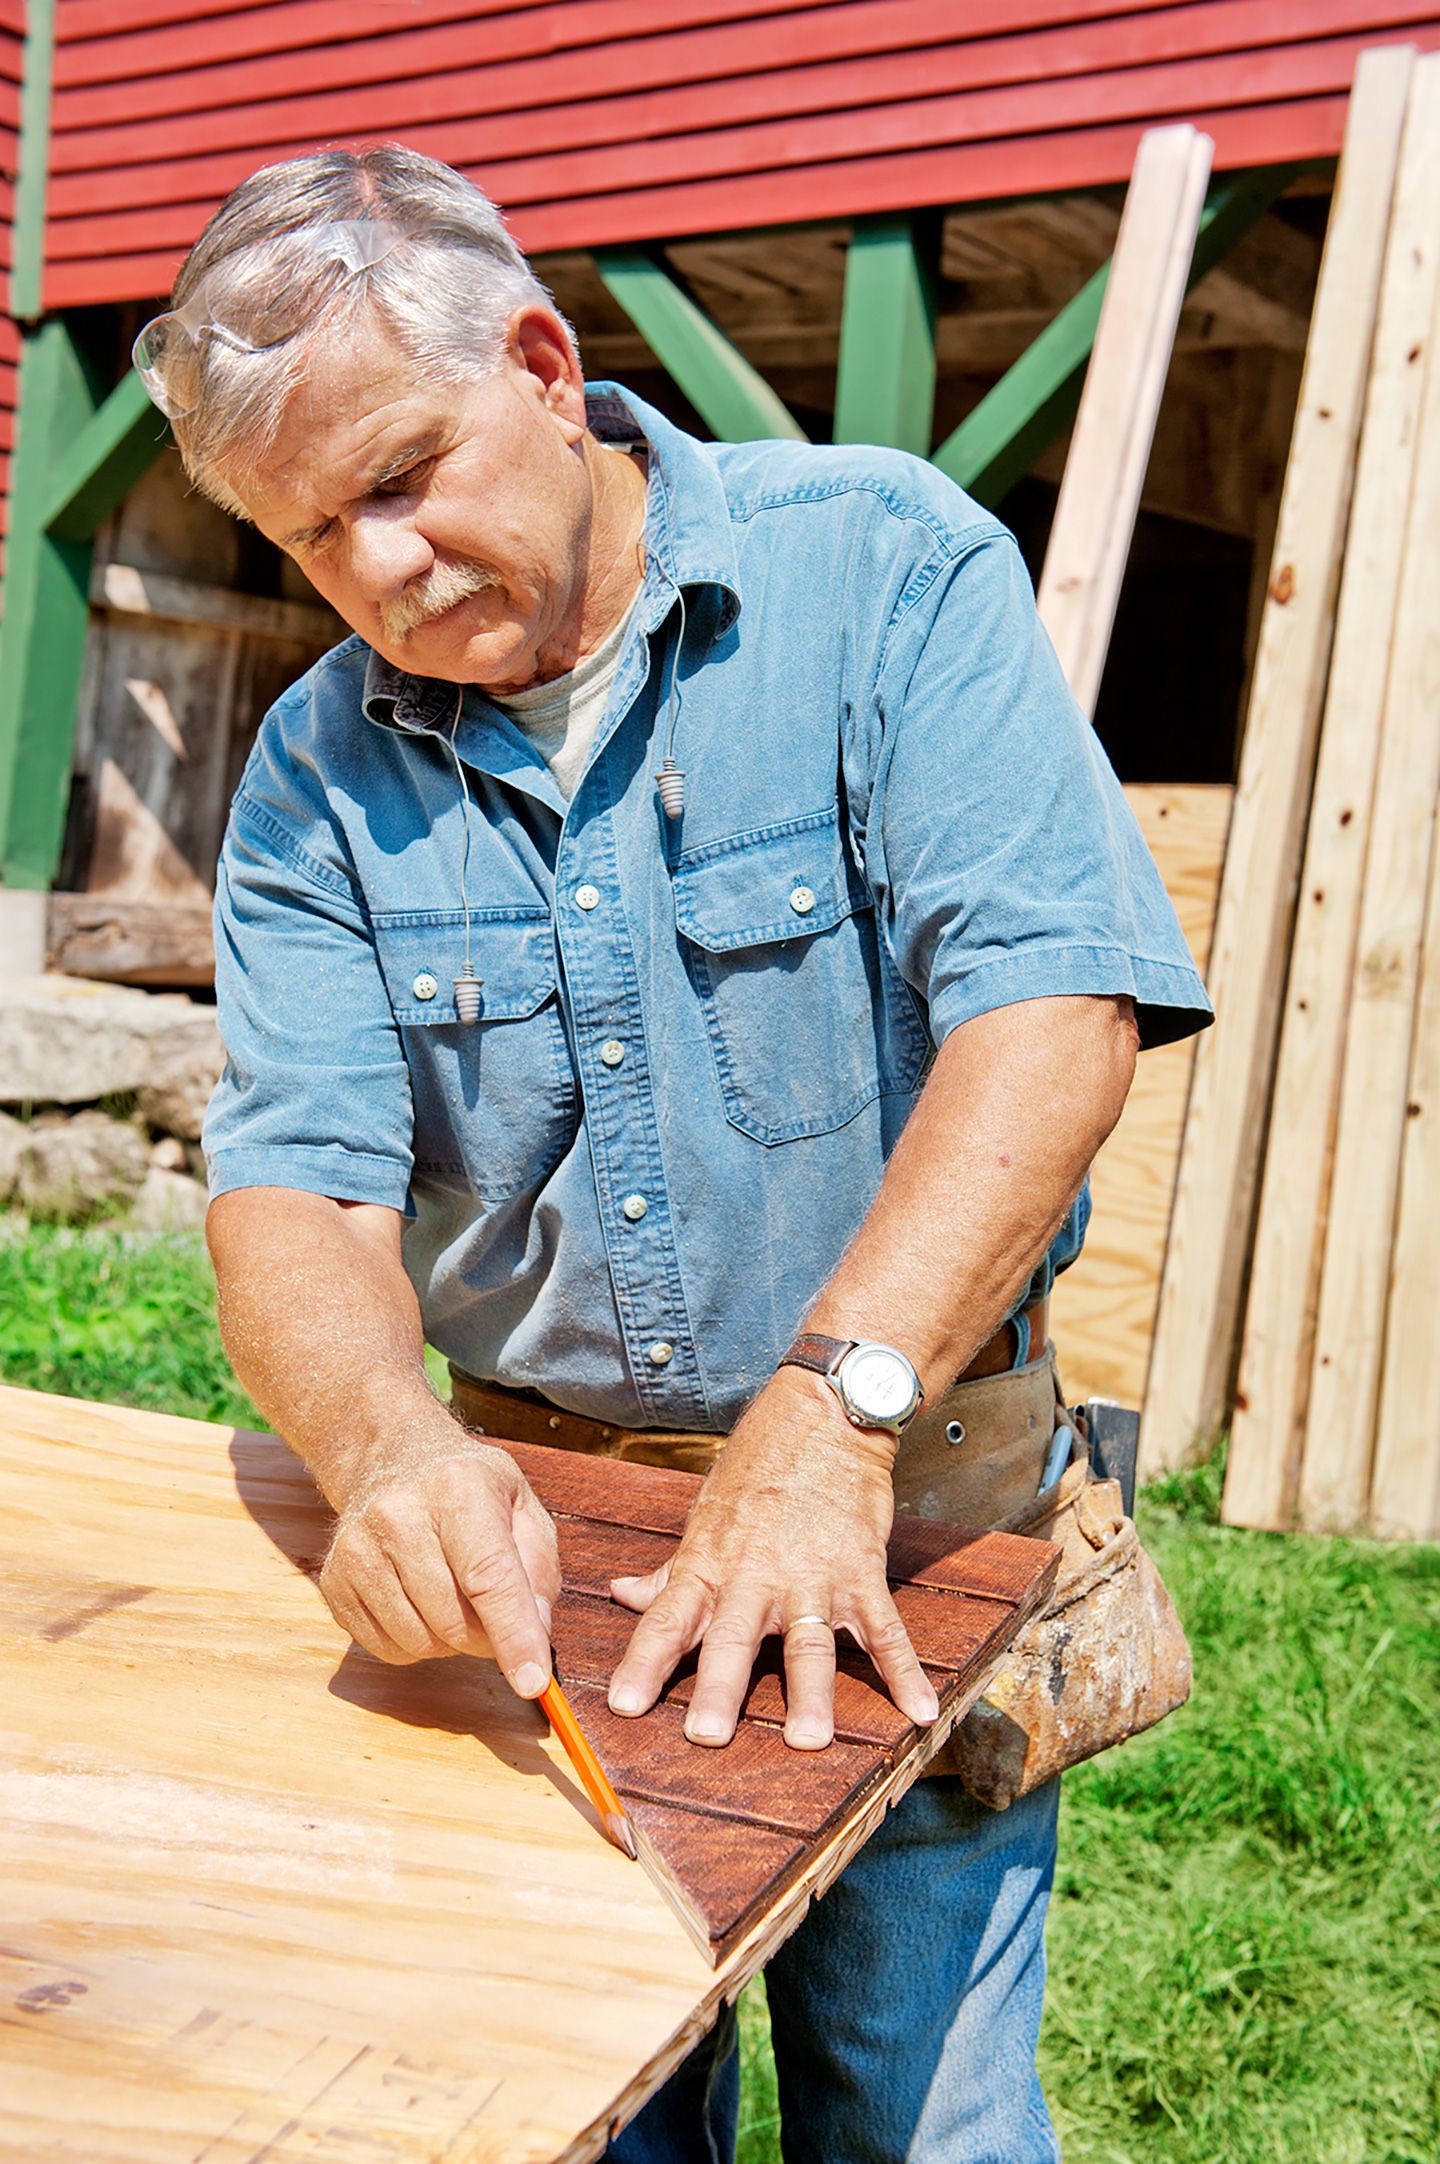
- Measure and mark a gable end and a sidewall on each panel.
Step 2: Cut the Walls
- Use a circular saw to cut a sidewall from the first panel, then trim the leftover to the gable end’s width and height.
- Mark the gable’s centerline to find the peak. Place the sidewall on top of the gable, lining up the bottom edges, then use a straightedge to draw a diagonal line connecting the sidewall’s top corner to the top of the centerline.
- Cut the angle with the circular saw, then use the cutoff as a template to mark the other angles, as shown.
- Finally, cut out the doors. The sliding entry door in one gable end, the clean-out door in the other, and an egg-retrieval door in one sidewall.
Step 3: Adjust the Saw
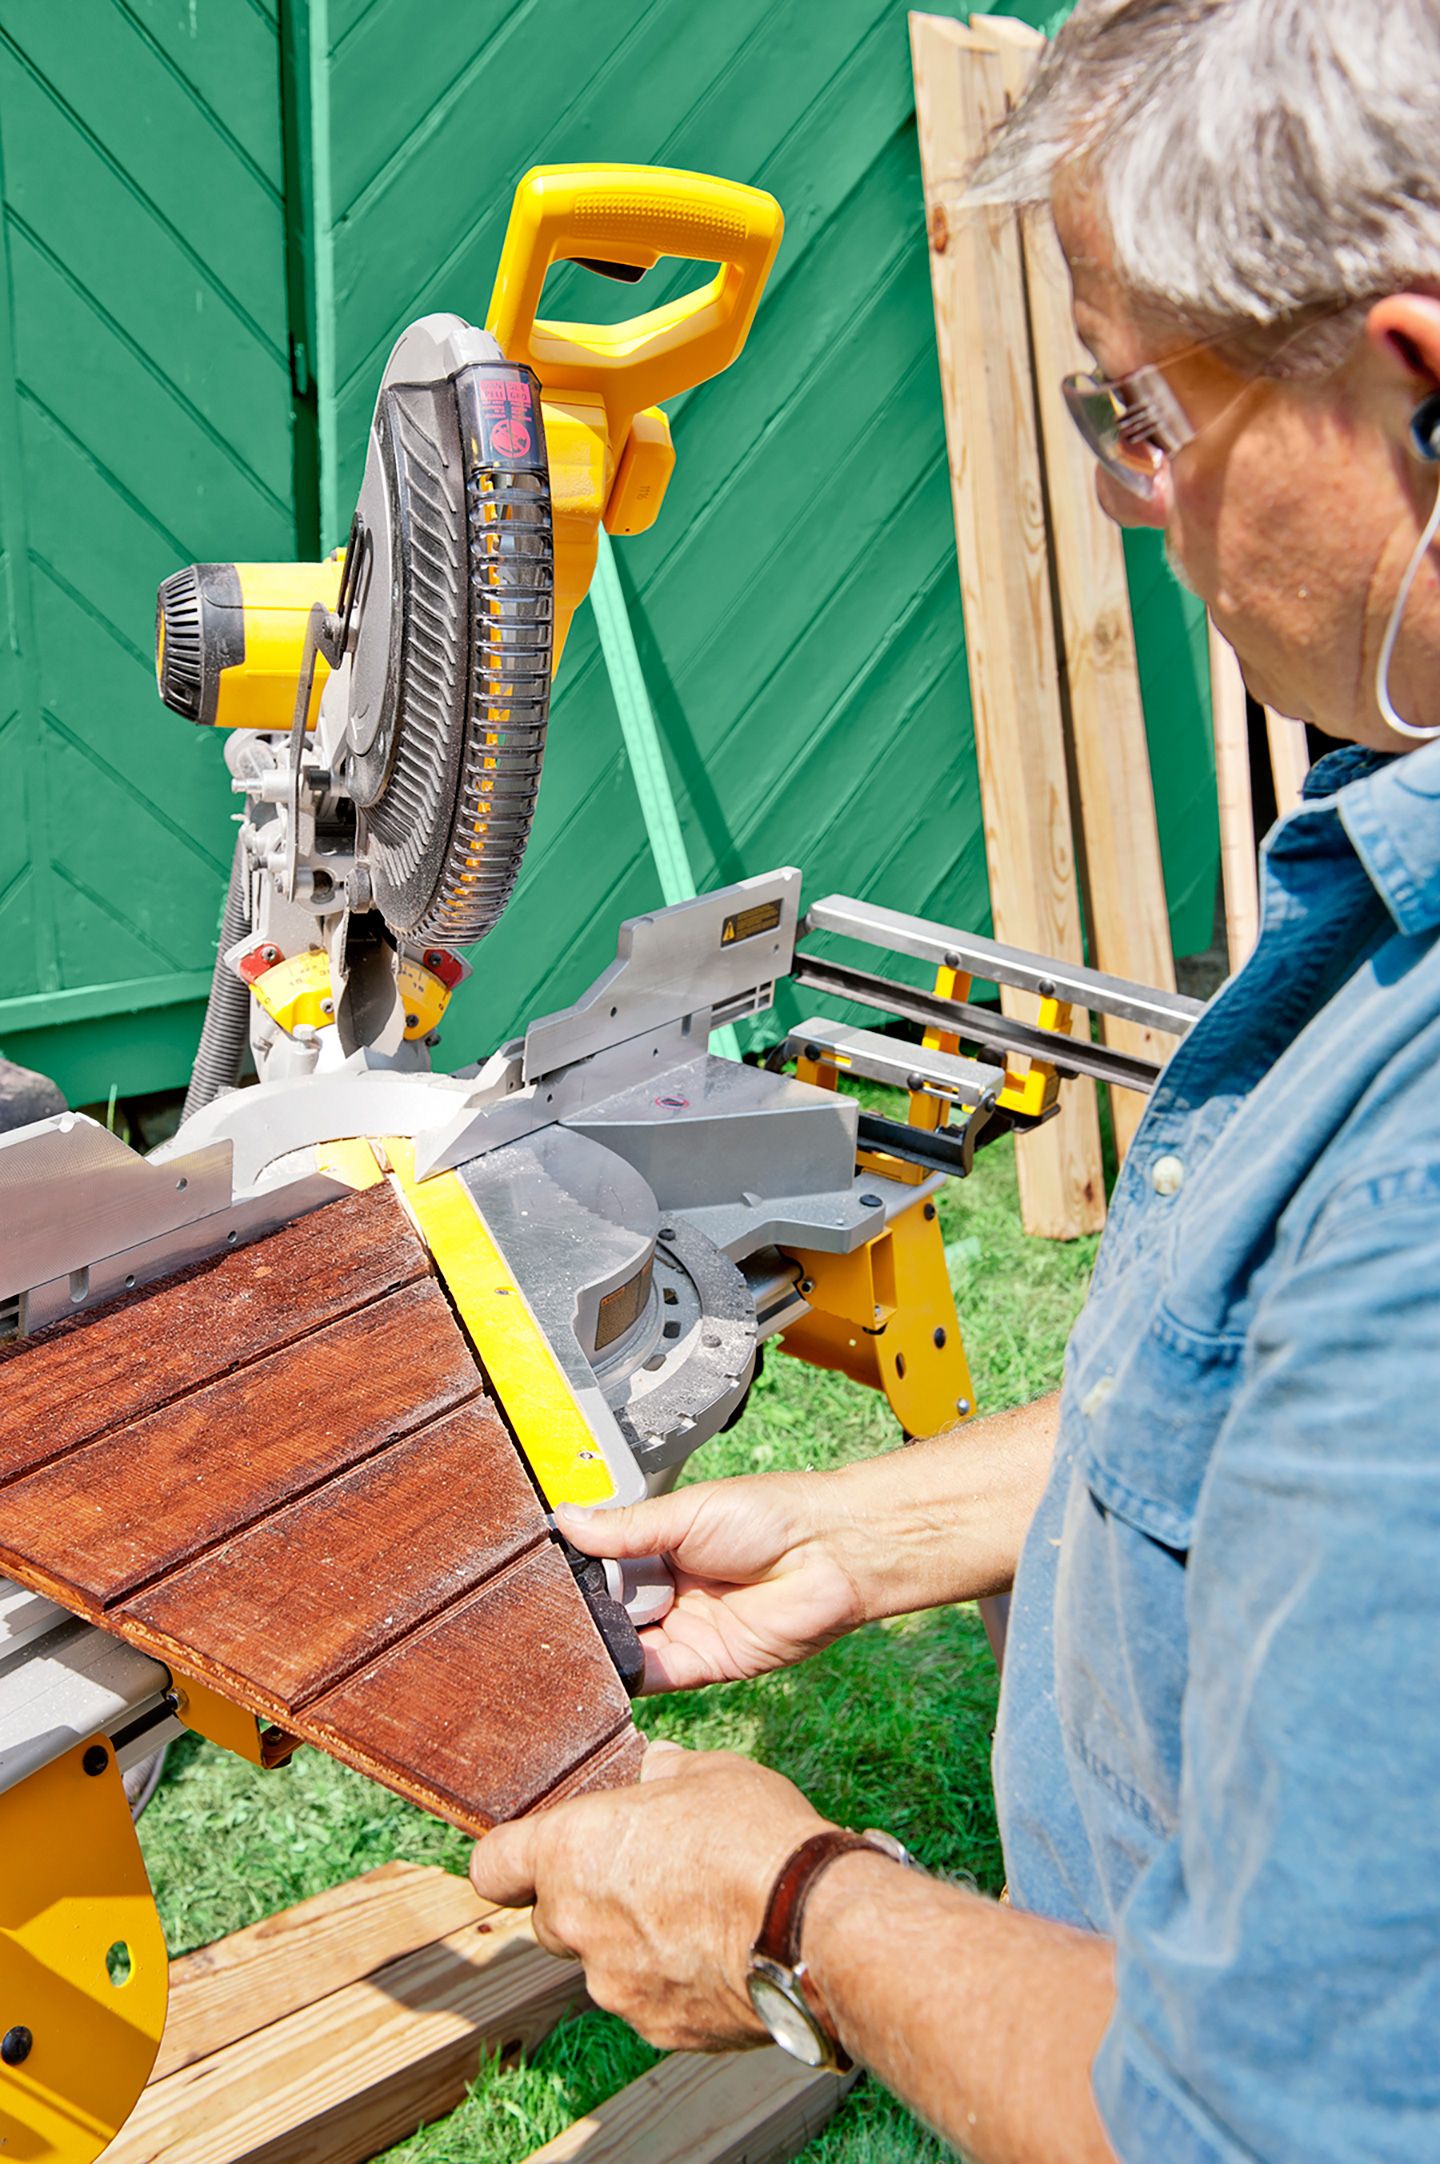
- The 4×4 corner posts raise the coop off the ground and away from predators while supporting the walls.
- Use the gable-end offcut to calibrate the saw’s angle, so you can cut the tops of the posts to match the roof’s pitch. Place the scrap against the saw, as shown, then swivel the blade until the kerf in the saw bed matches the angle of the scrap.
Step 4: Miter the Posts
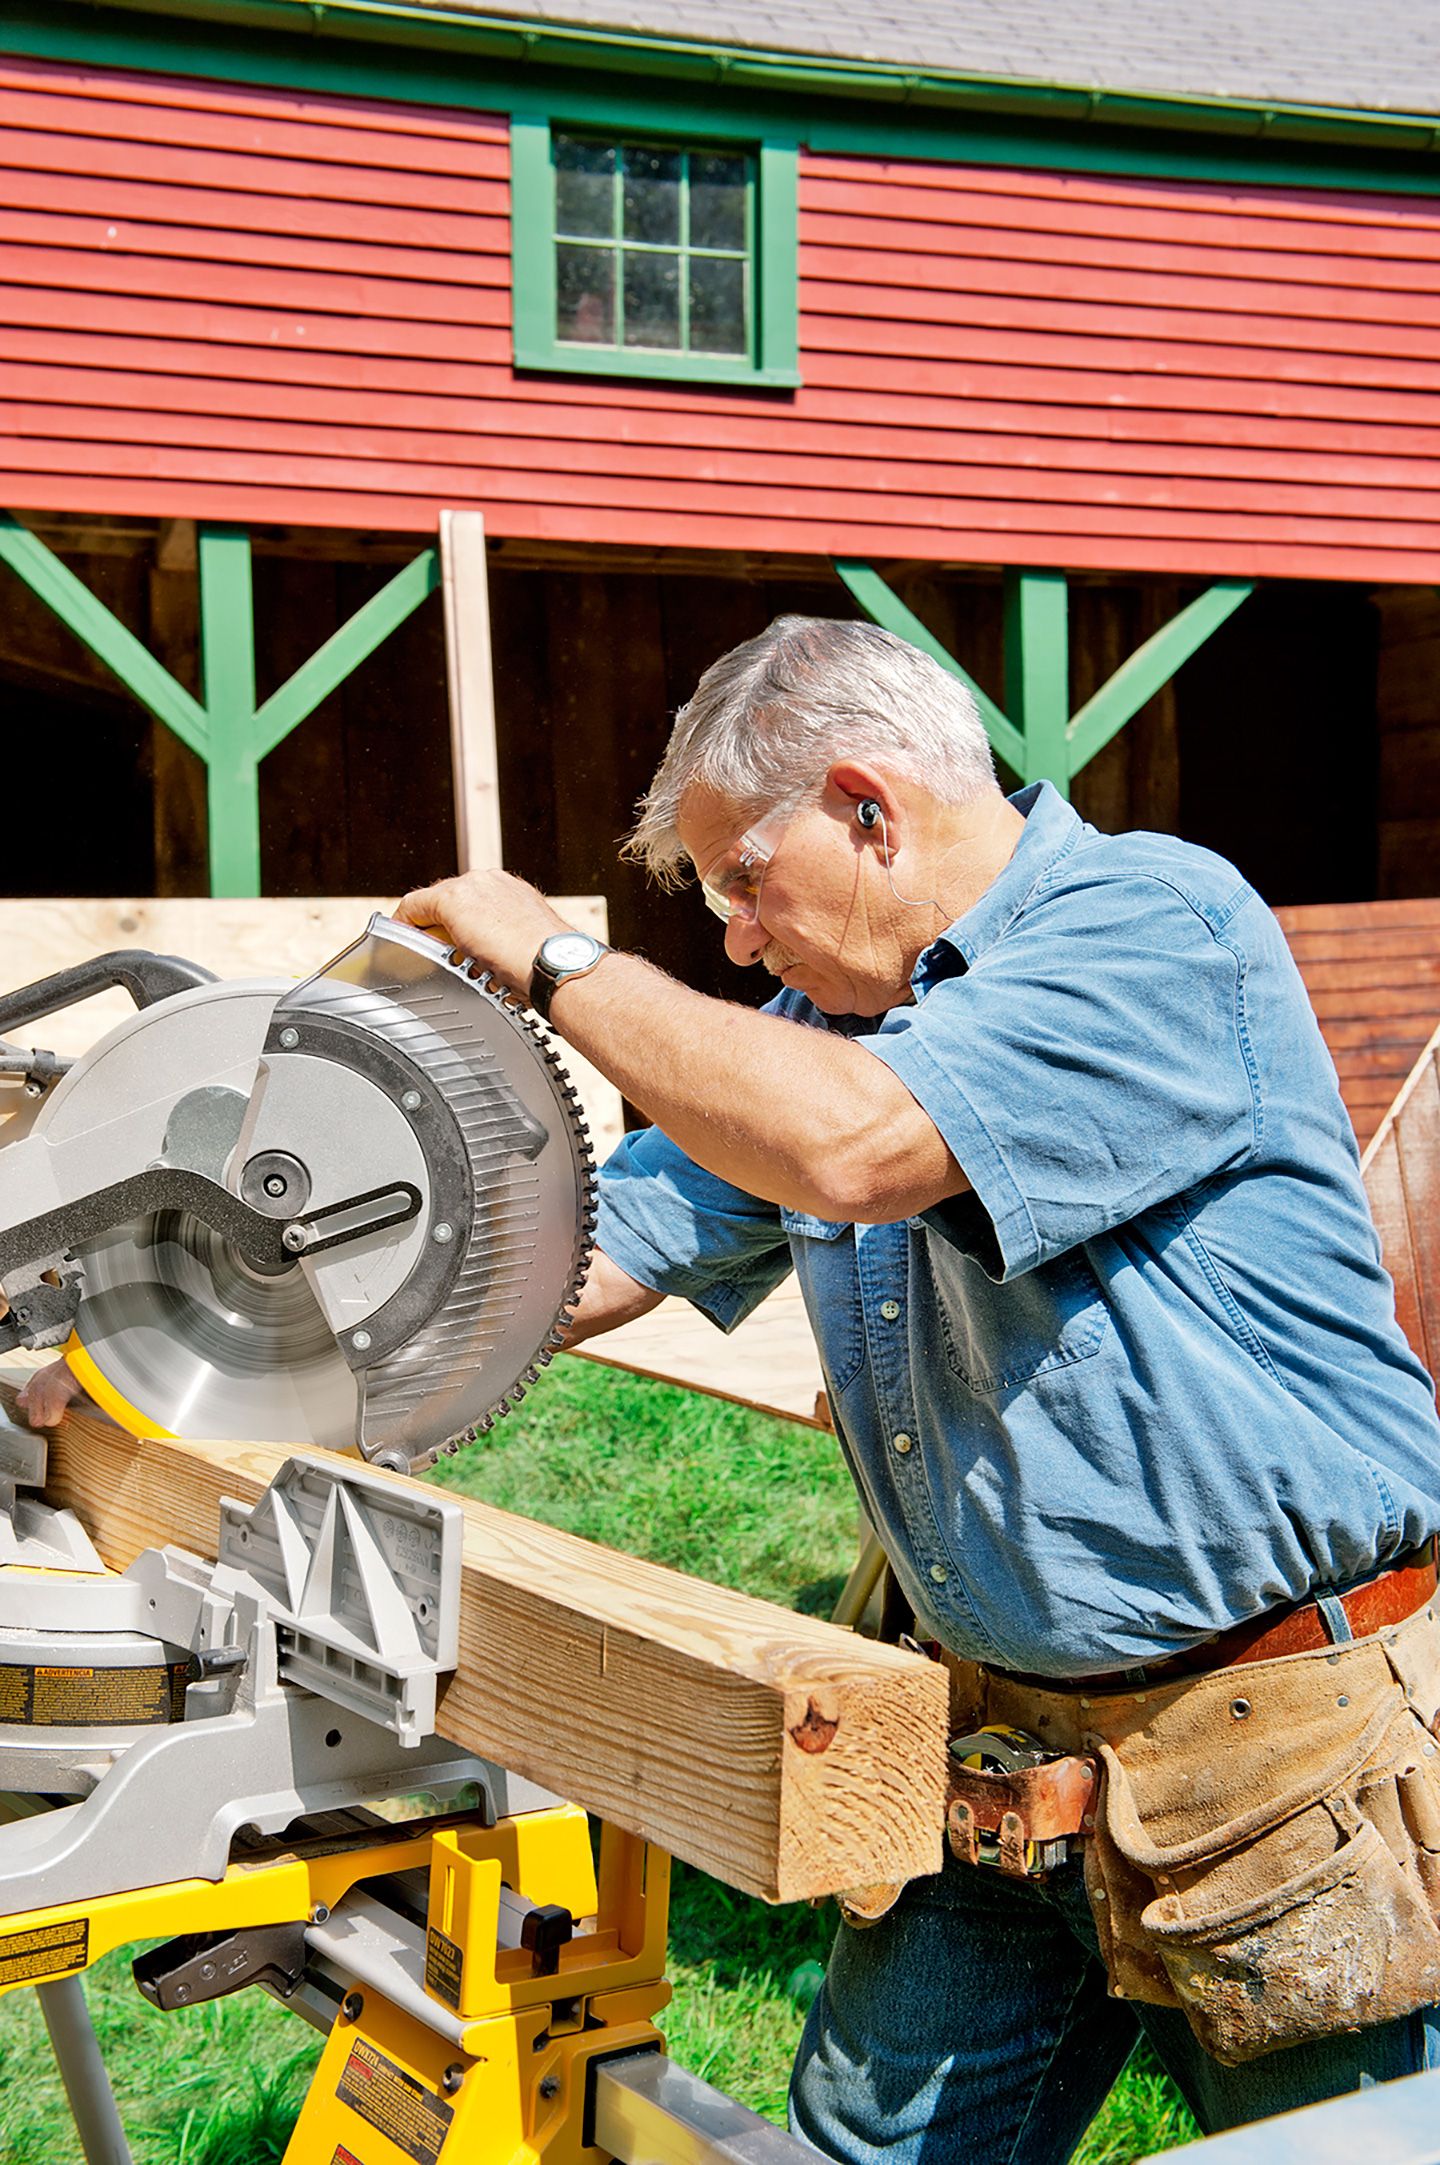
- Measure and mark the height of a post, then miter it so the cut angles down and away from that mark.
- Repeat for the remaining posts.
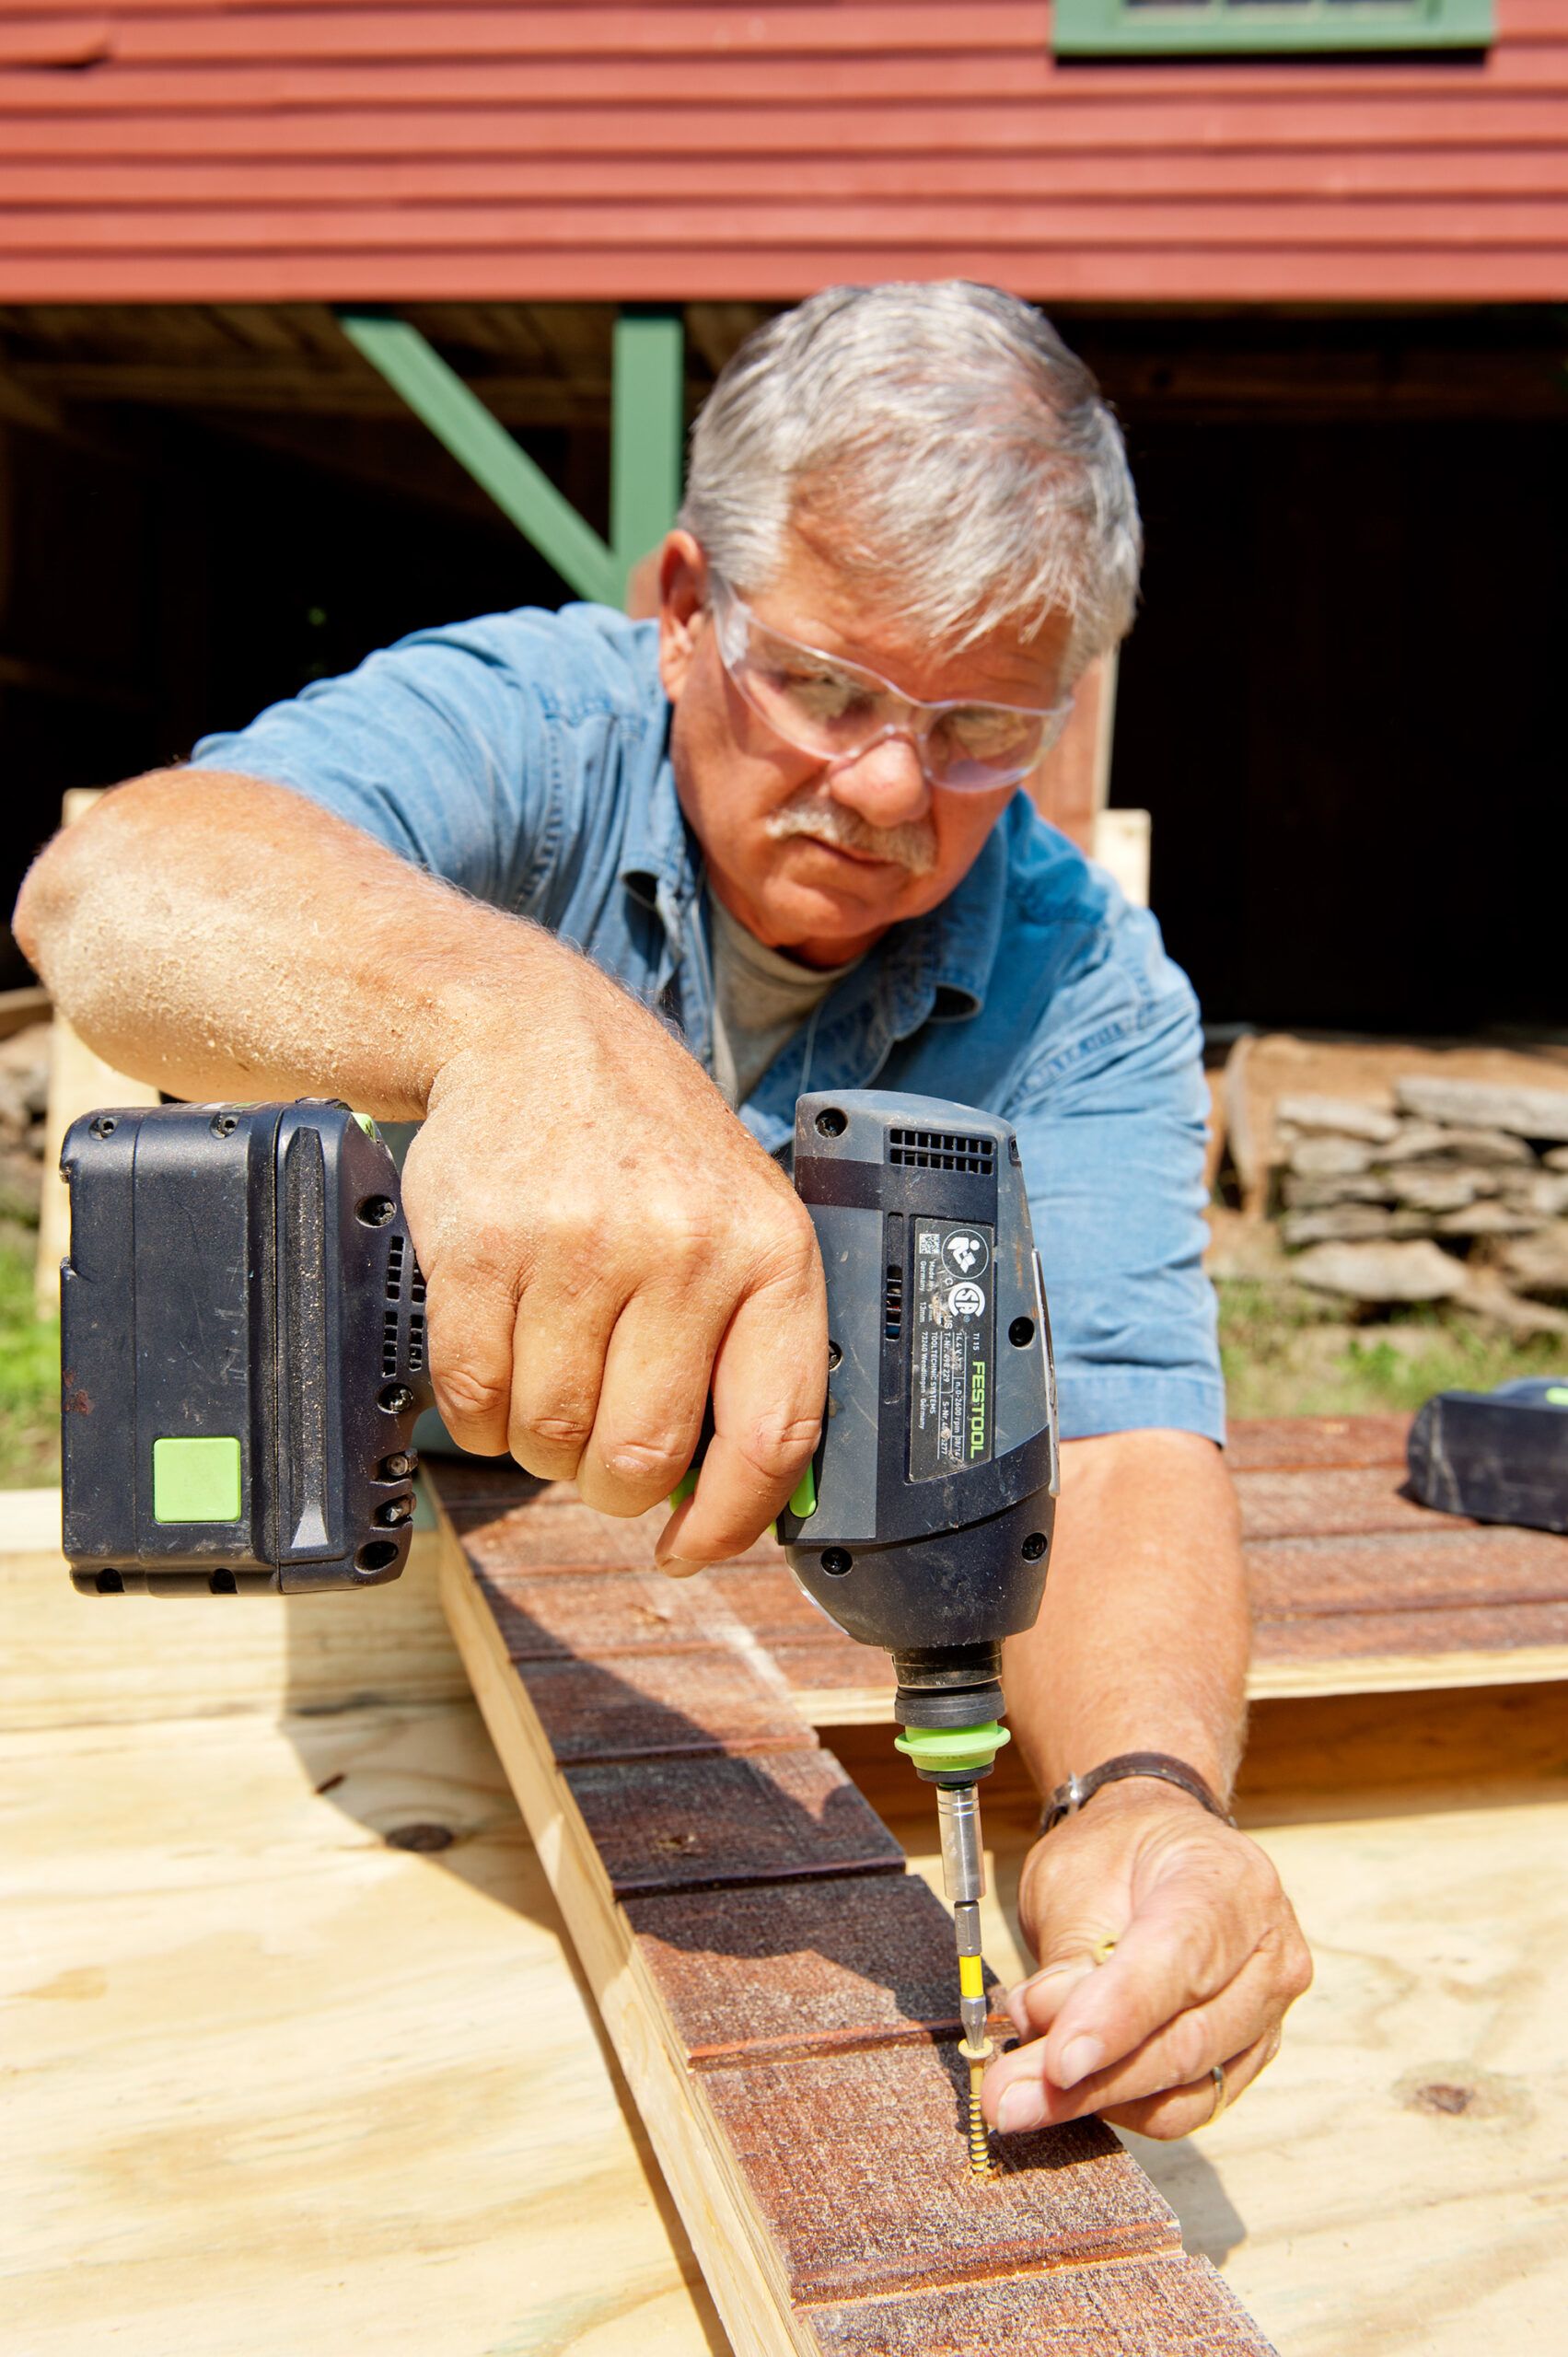
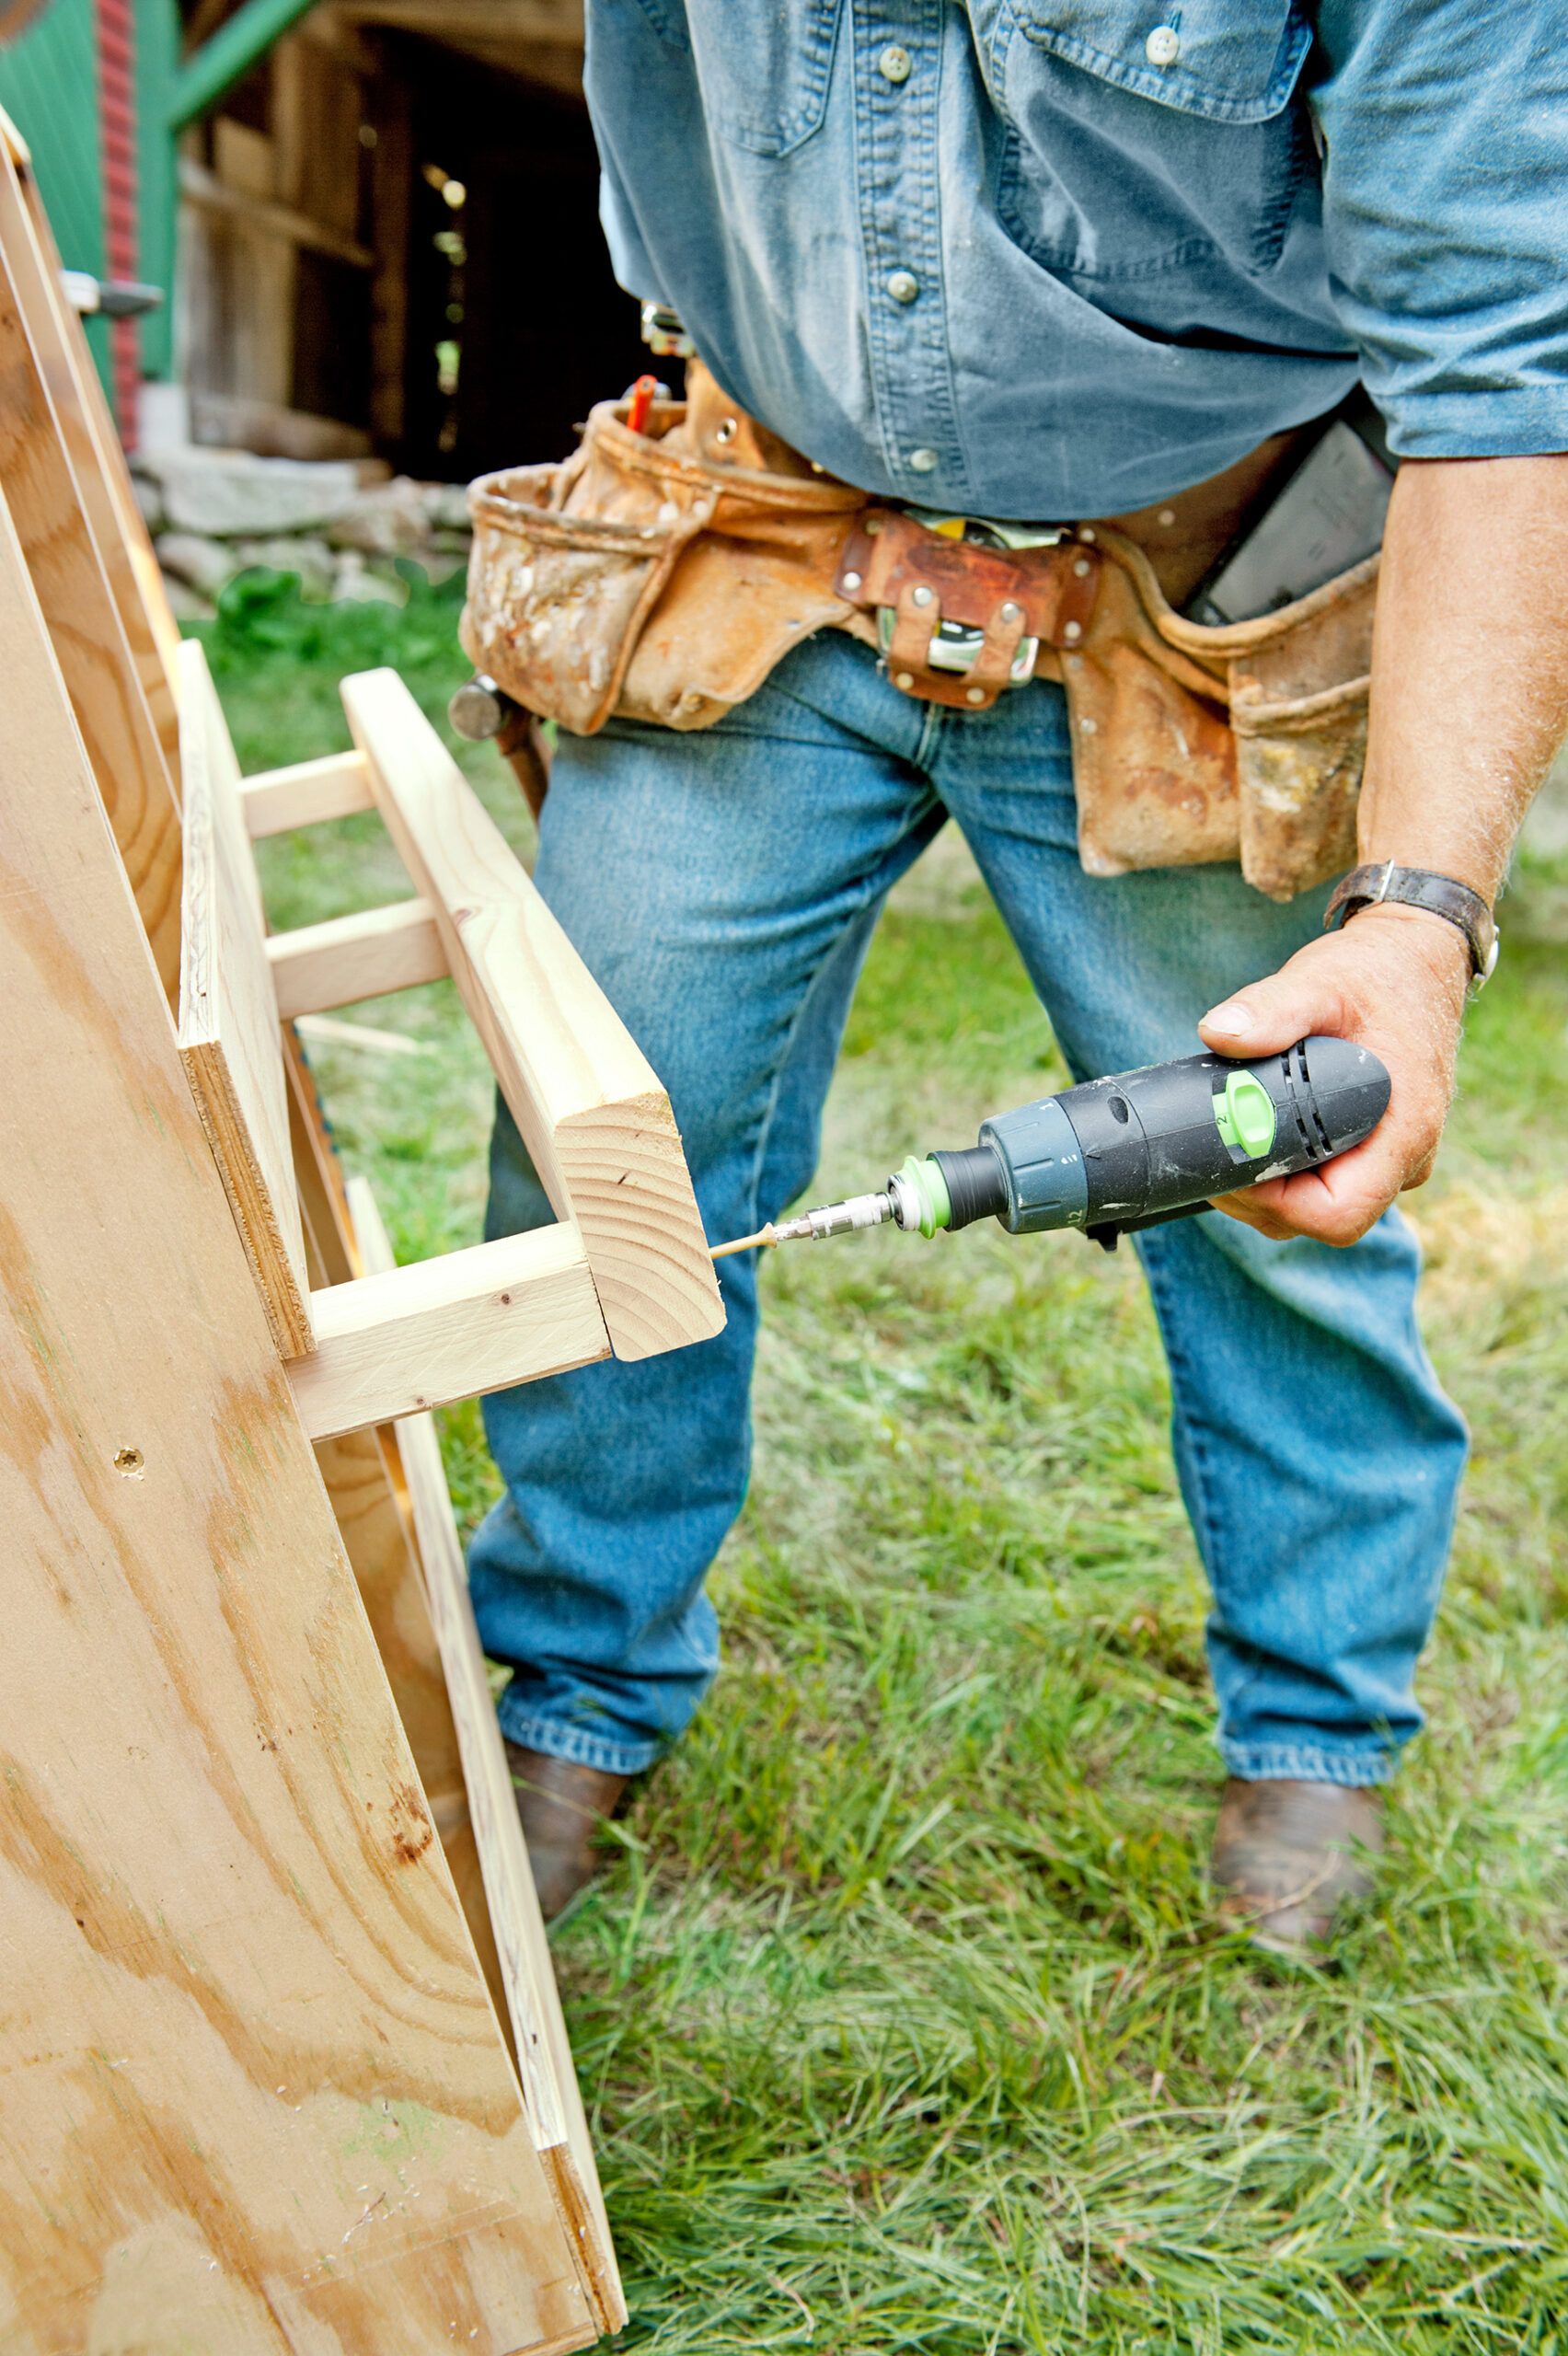
Step 5: Join Posts and Sheathing
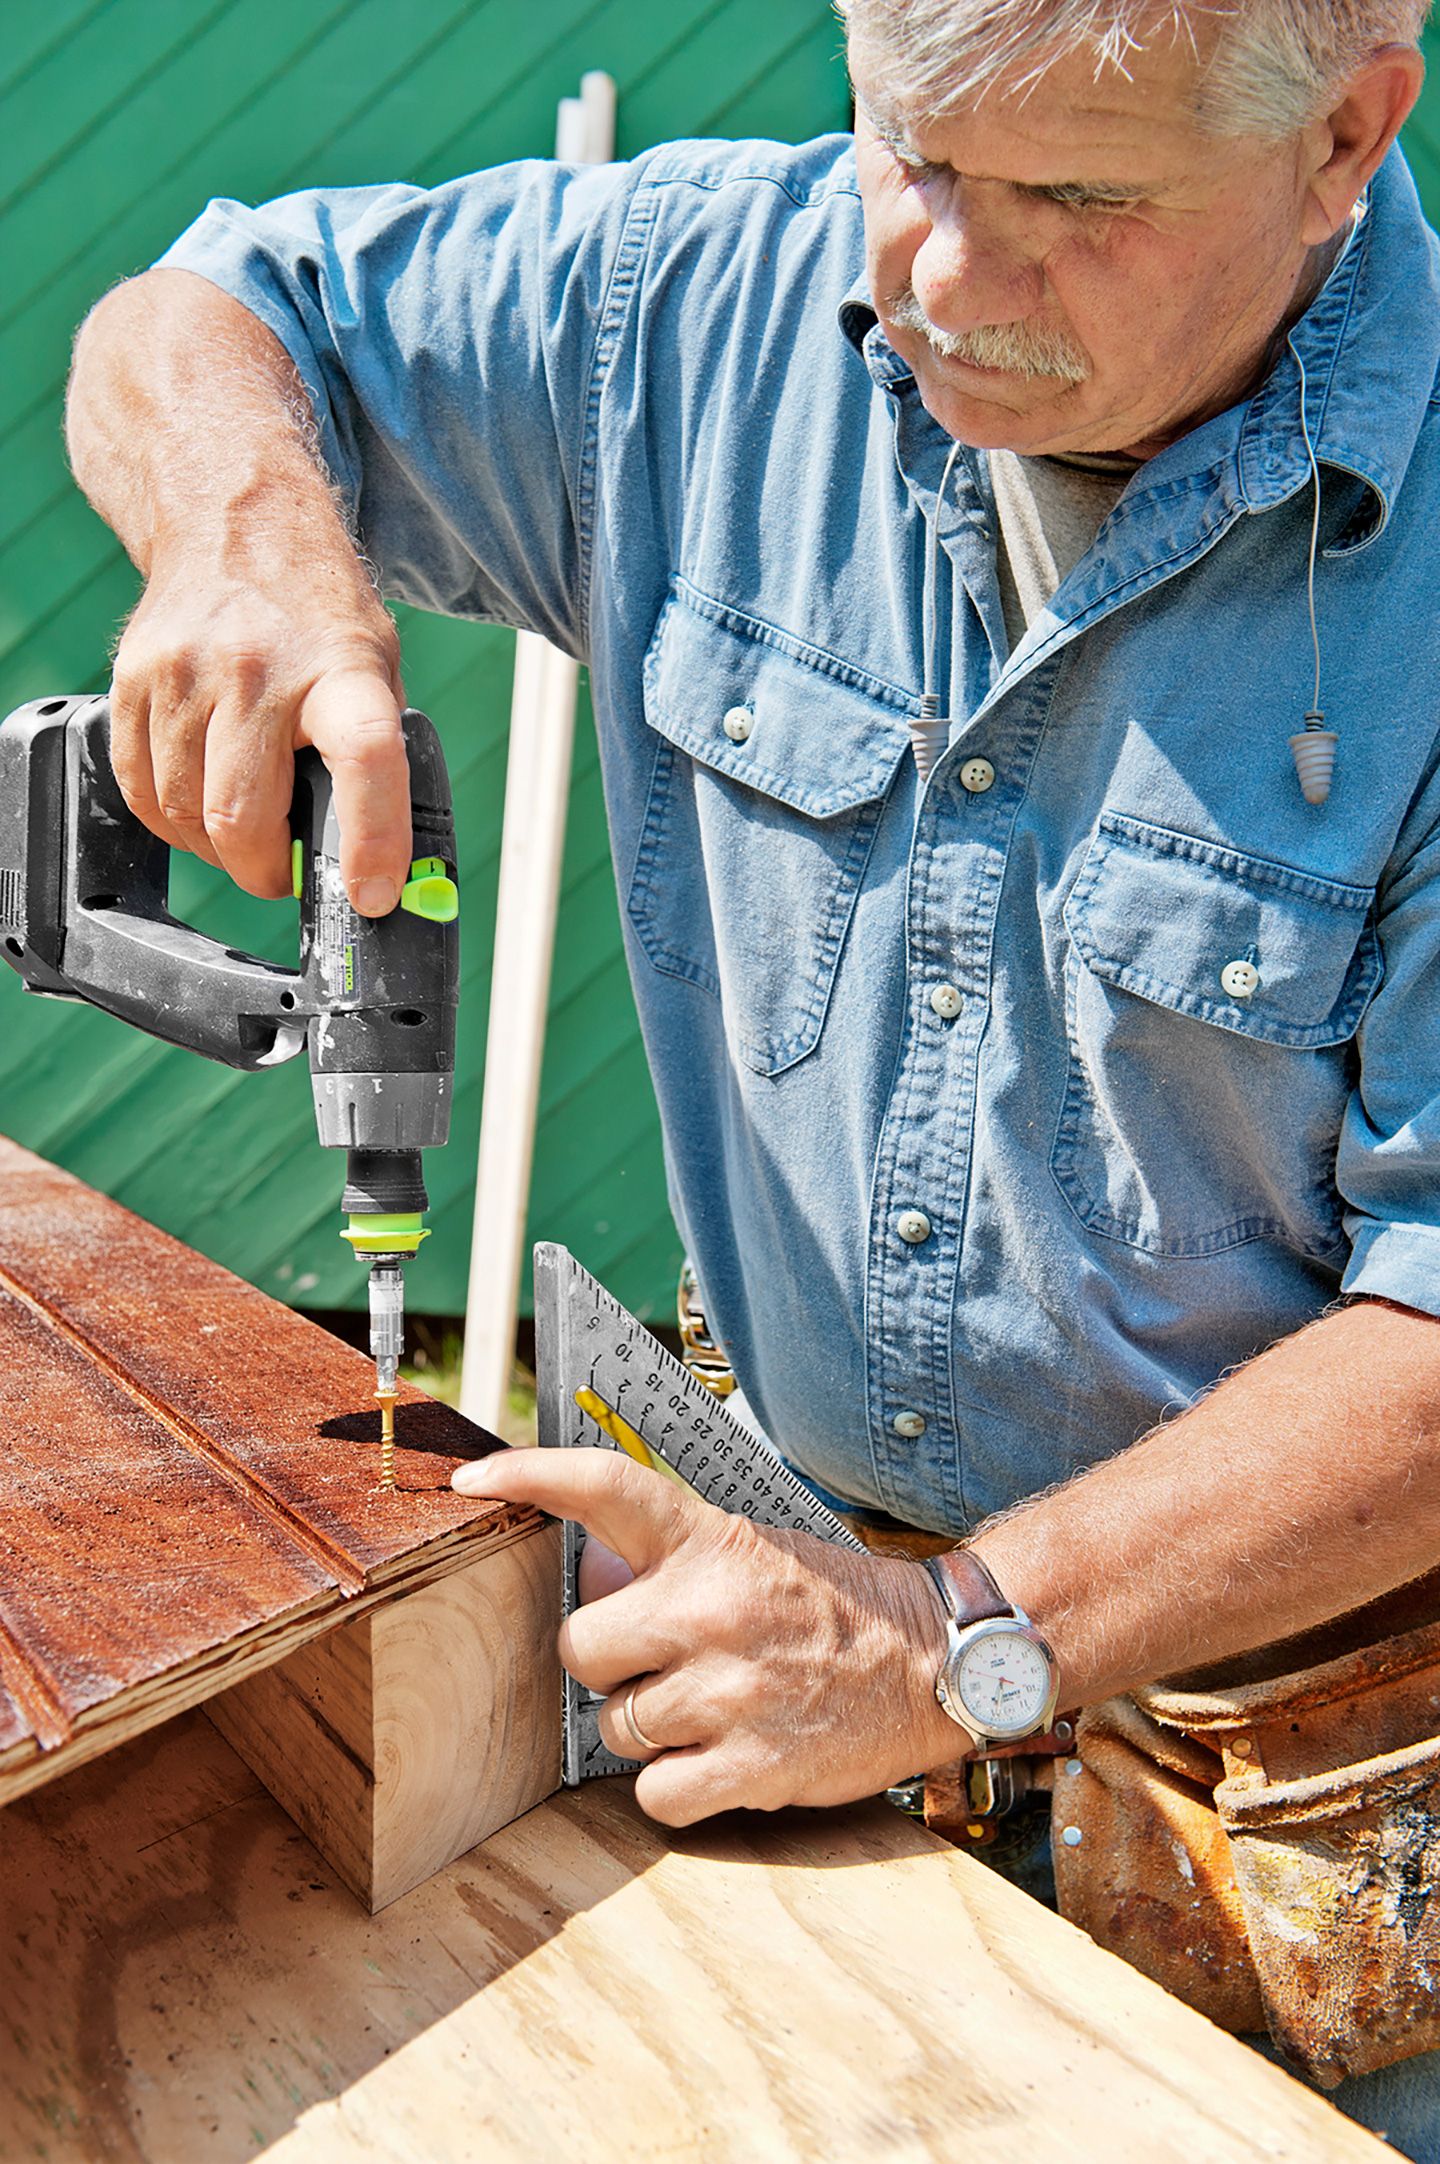
- Align a gable end on top of two posts on the work surface.
- Use a rafter square to keep each post’s tops and sides even with the gable edges, then drive 1 5/8-inch deck screws through the sheathing and into the posts, as shown, evenly spaced along the post length.
- Repeat with the other gable end and posts.
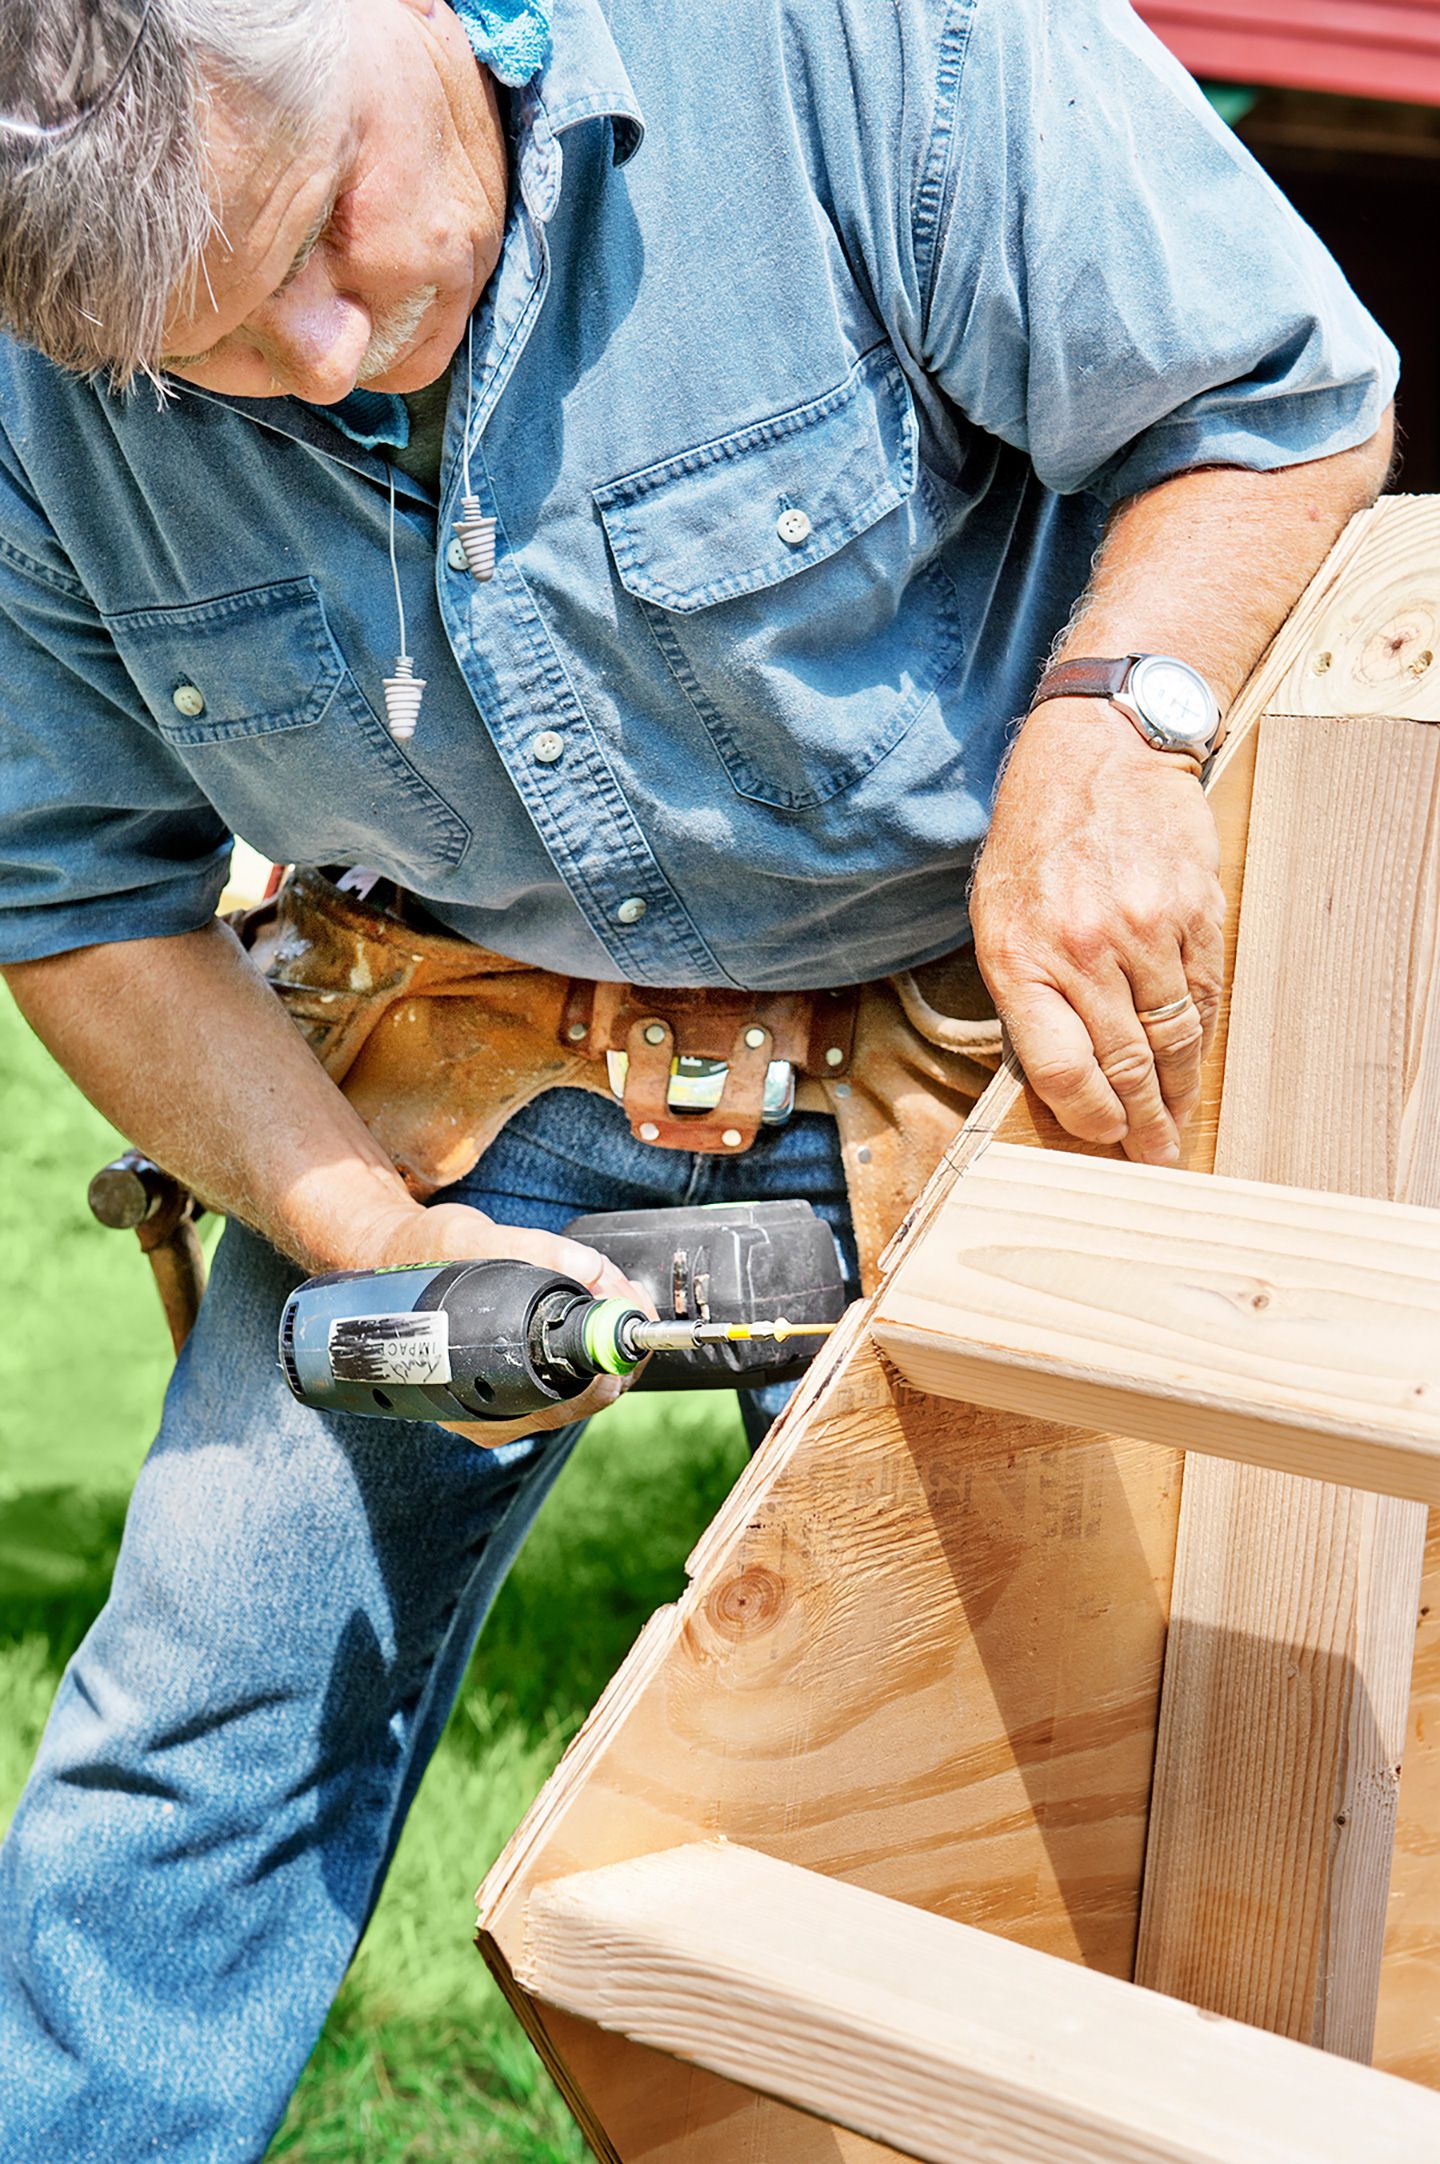
Step 6: Add Supports
- Cut four 2×4 supports to fit between the posts.
- Add a floor support flush with the bottom edge of the gable wall and fasten it with deck screws, as shown.
- Screw the wall supports flat against the gable end and flush with the tips of the mitered posts.
- Drive a pair of 3 1/2-inch deck screws through the face of each mitered post and into the wall-support end grain for additional strength.
- Repeat on the second gable end.
Step 7: Attach Sidewall and Roof Structure
- Working on the ground, use 1 5/8-inch screws to join a gable end to the sidewall without a door, making the bottom edges flush.
- Attach the other gable, forming a three-sided structure. Cut and attach a floor support between the sidewall posts.
- Add a wall support between the post tops, pivoted so it follows the angle of the miters, by screwing through the sidewall.
- Cut two 2x4s for purlins, to fit between the gable ends. Fasten one with 1 5/8-inch screws halfway between the gable’s peak and an eave in line with the roof’s angle.
- Repeat on the other side of the peak, then cut and screw in a 2×4 ridge beam just below the gable peaks.
- Stand the coop upright and add the fourth side’s floor and wall supports, but don’t add the sheathing.
Step 8: Notch the Plywood
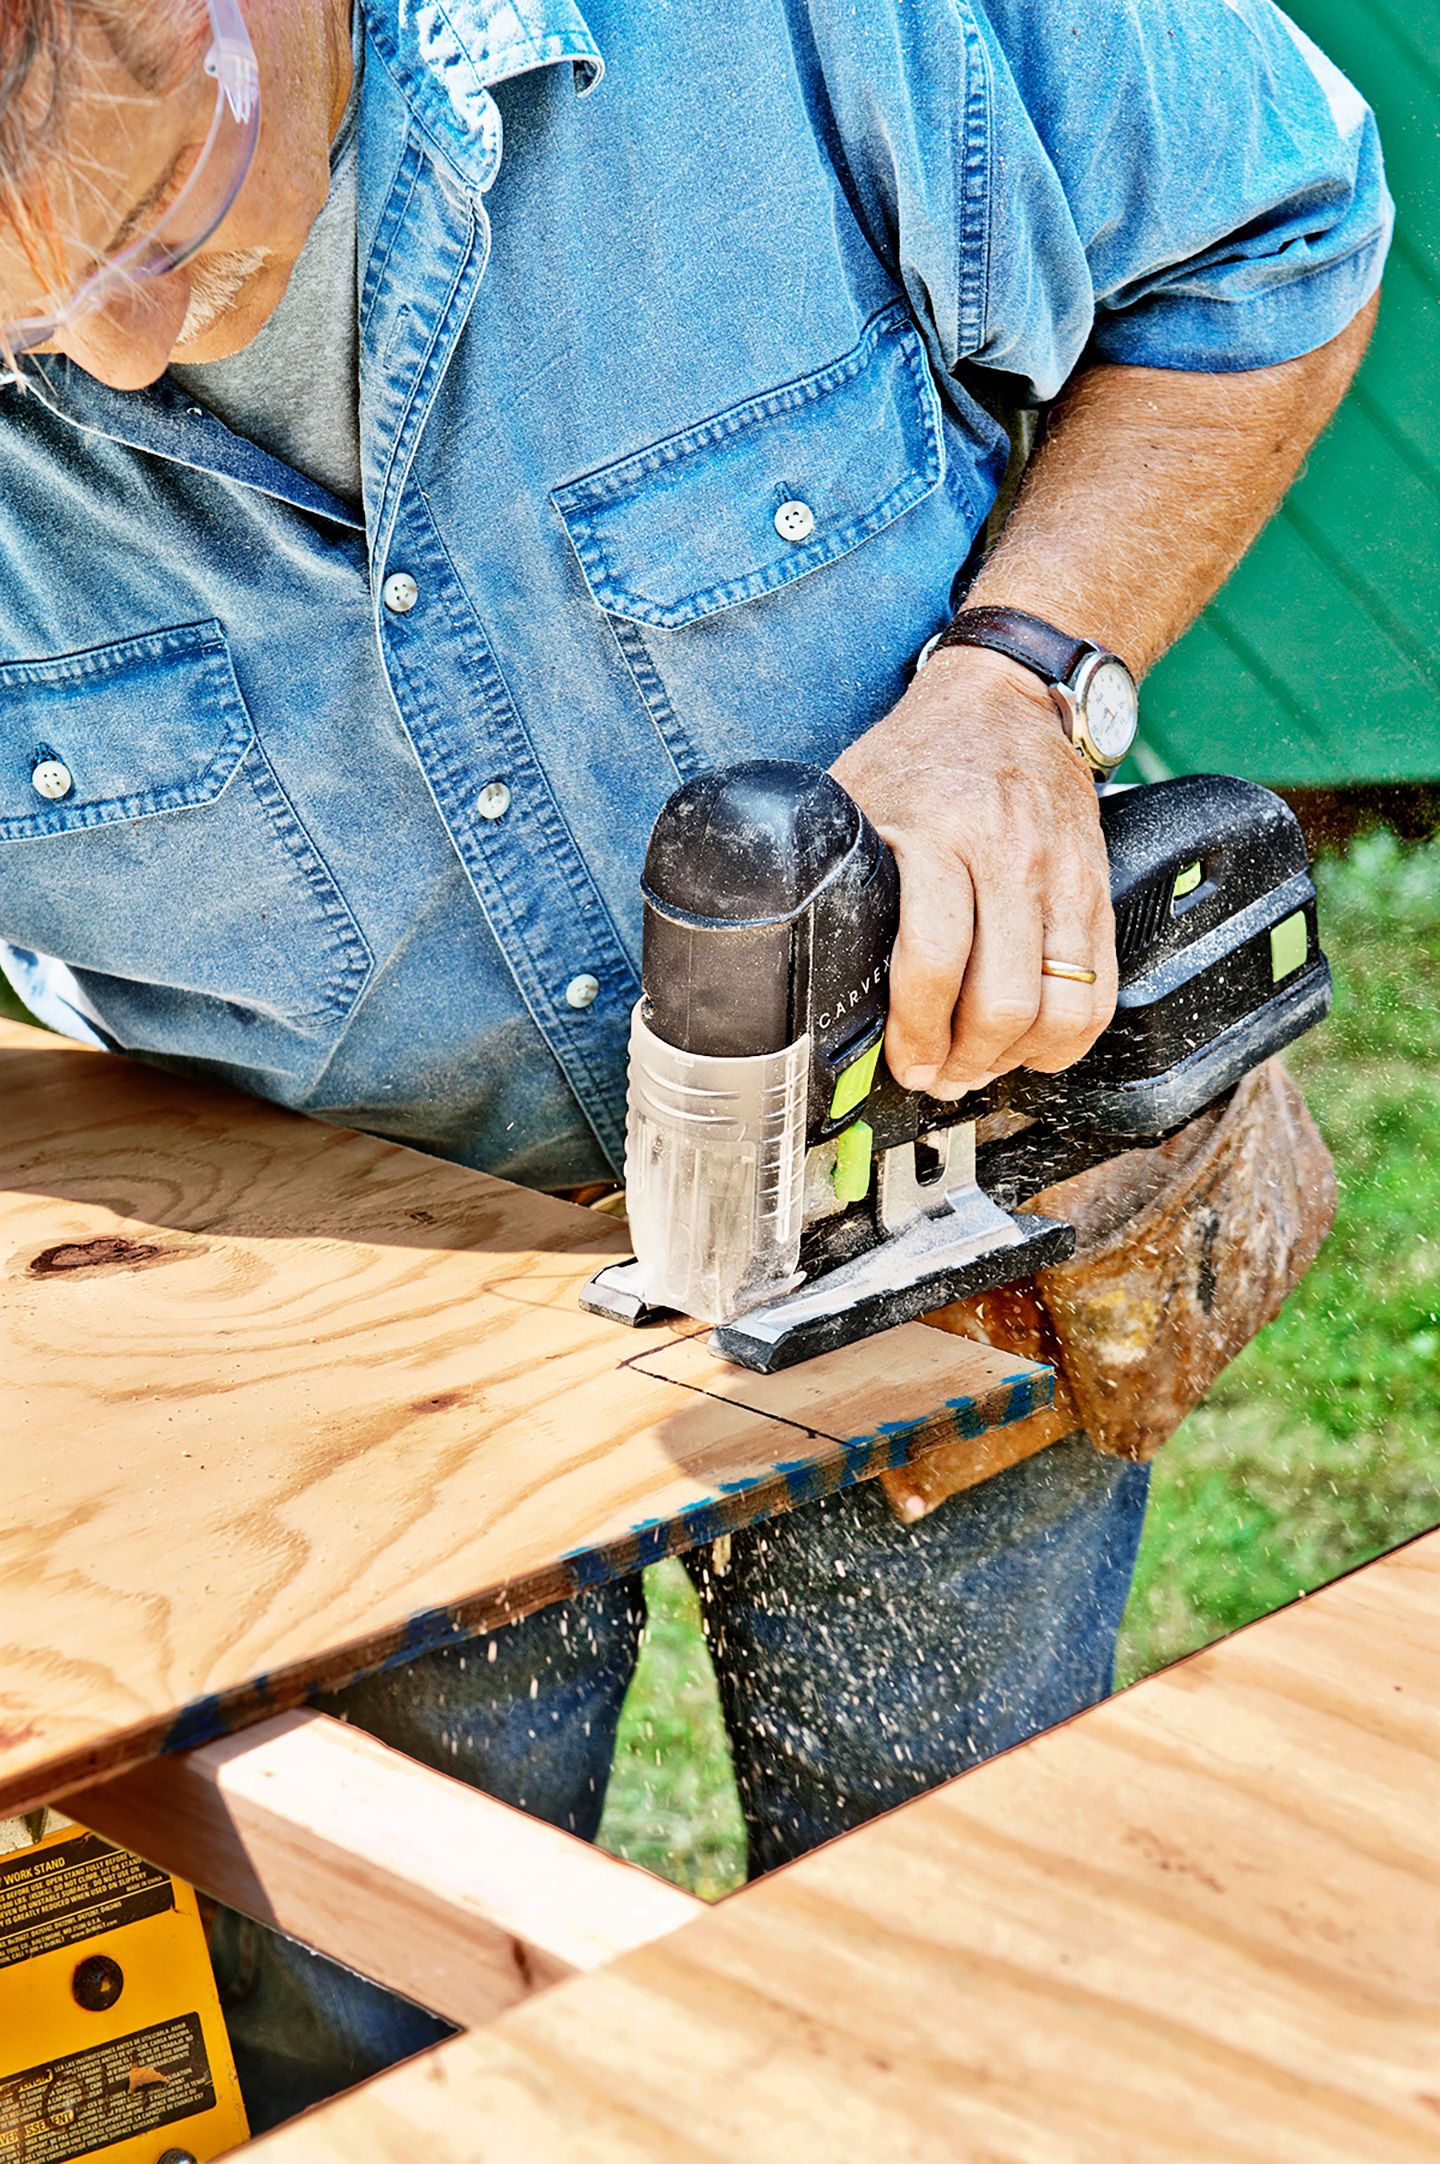
- Cut and attach a pair of 2×4 floor joists parallel to the gable ends by driving 3 1/2-inch screws through the sheathing and into the end grain.
- Measure the floor area and cut a piece of plywood to size.
- Then use 4×4 scrap to mark notches to fit around the posts and cut them with a jigsaw, as shown.
Step 9: Attach the Floor
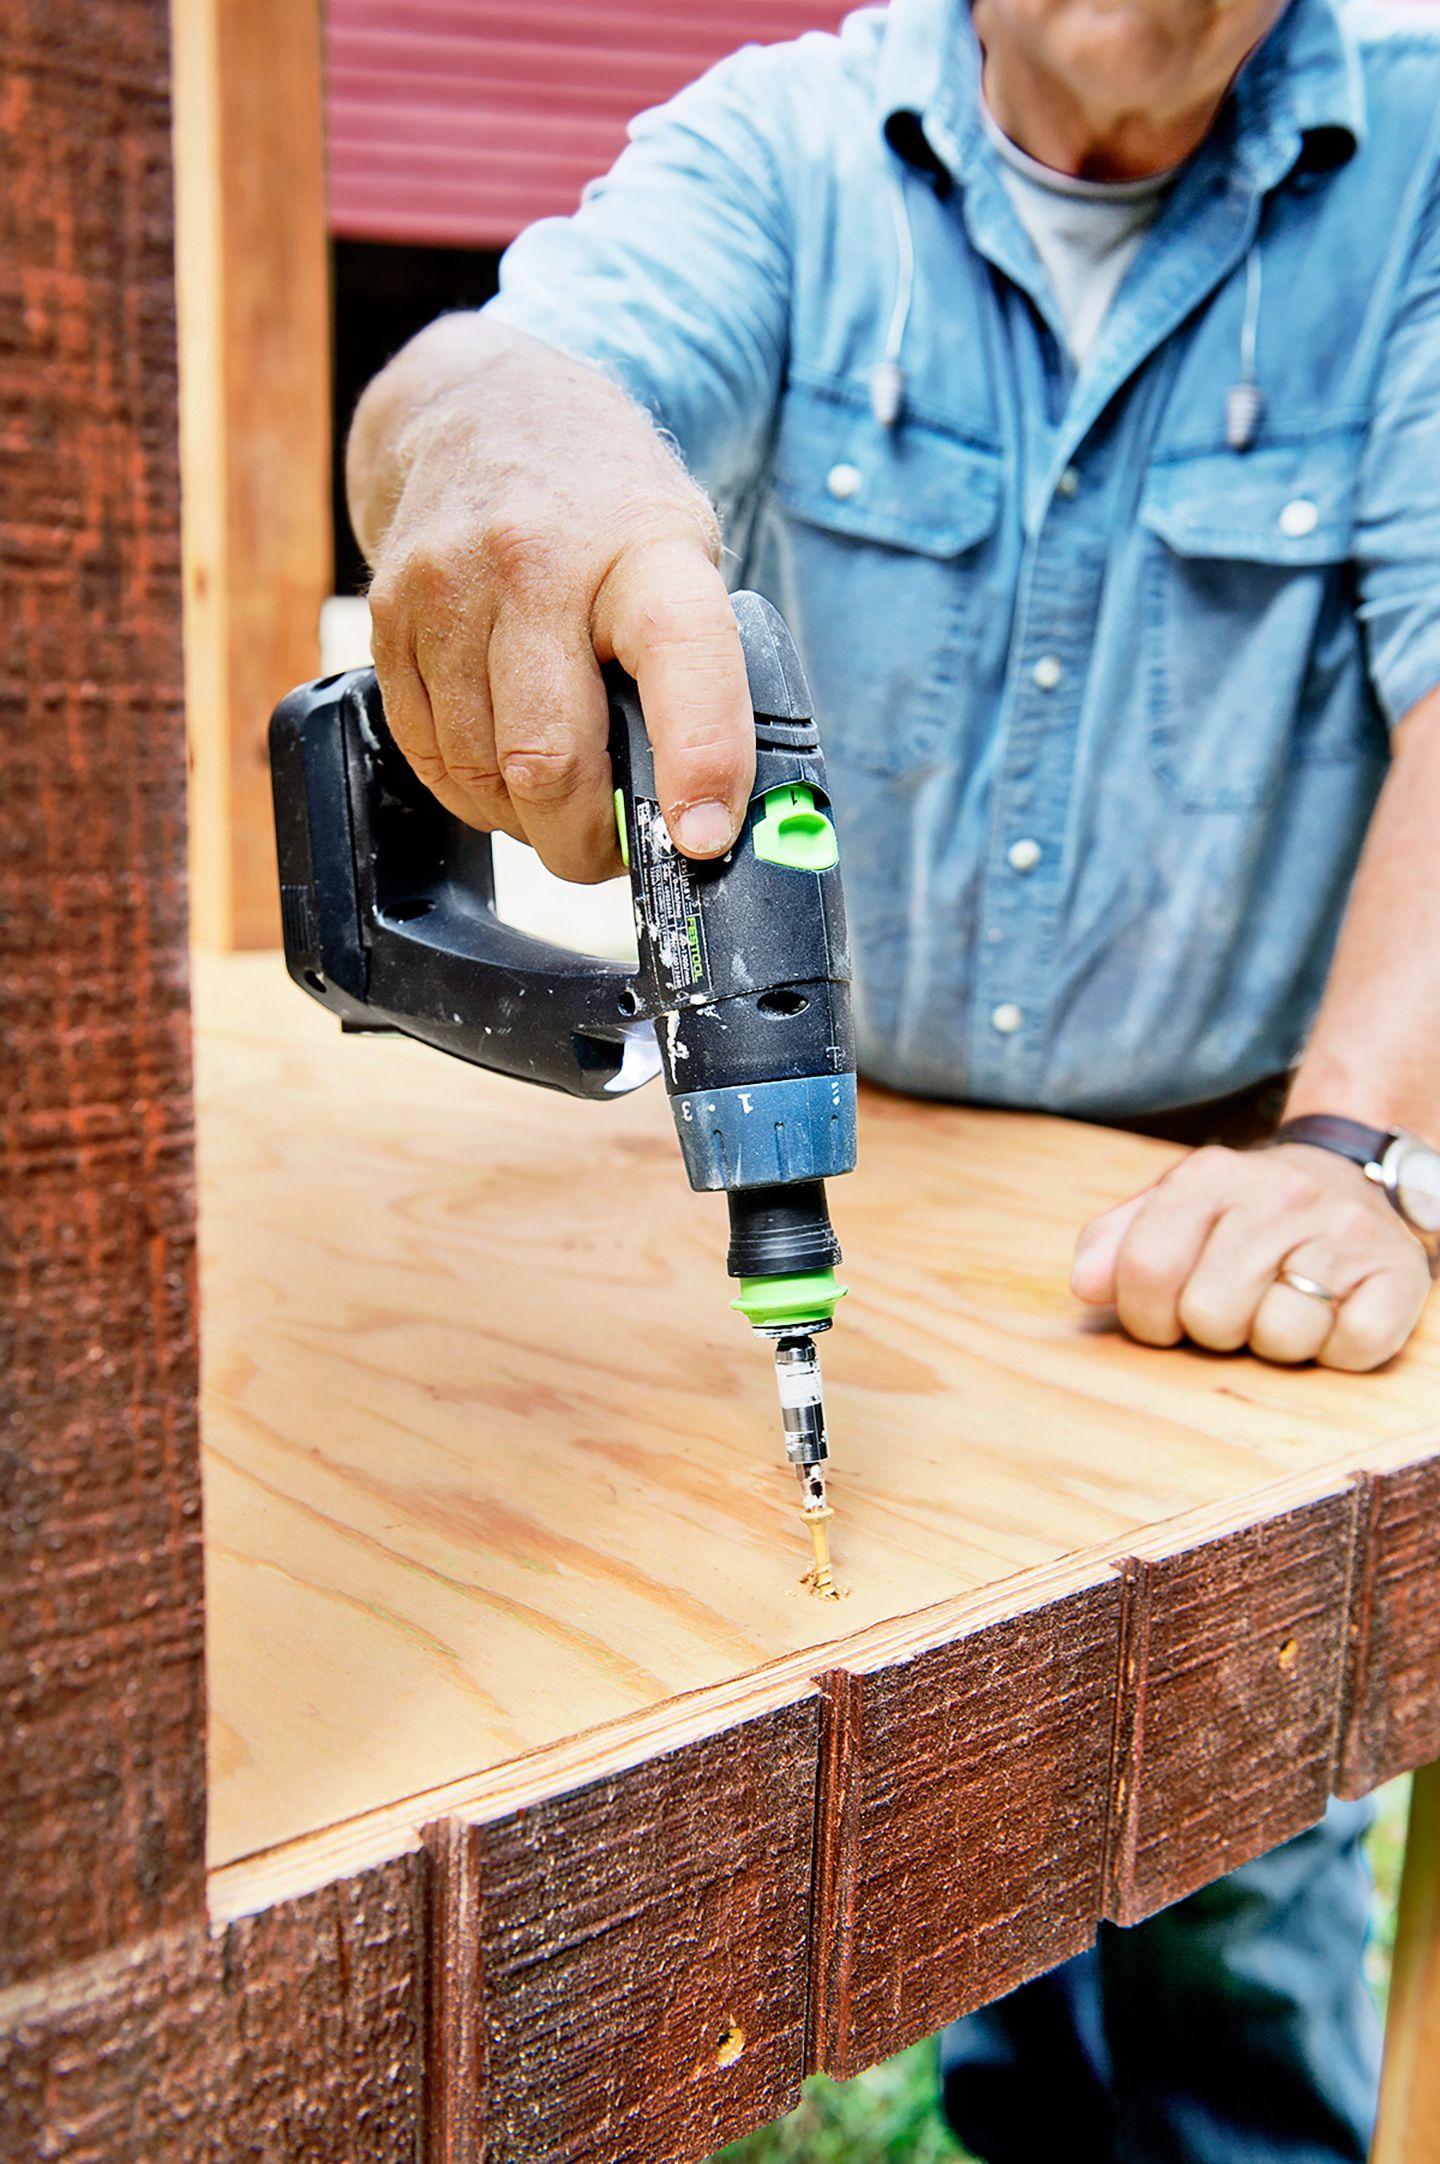
- Drive 1 5/8-inch screws through the floor and into the supports, as shown.
- Add more screws through the floor and into the joists.
Step 10: Build the Door
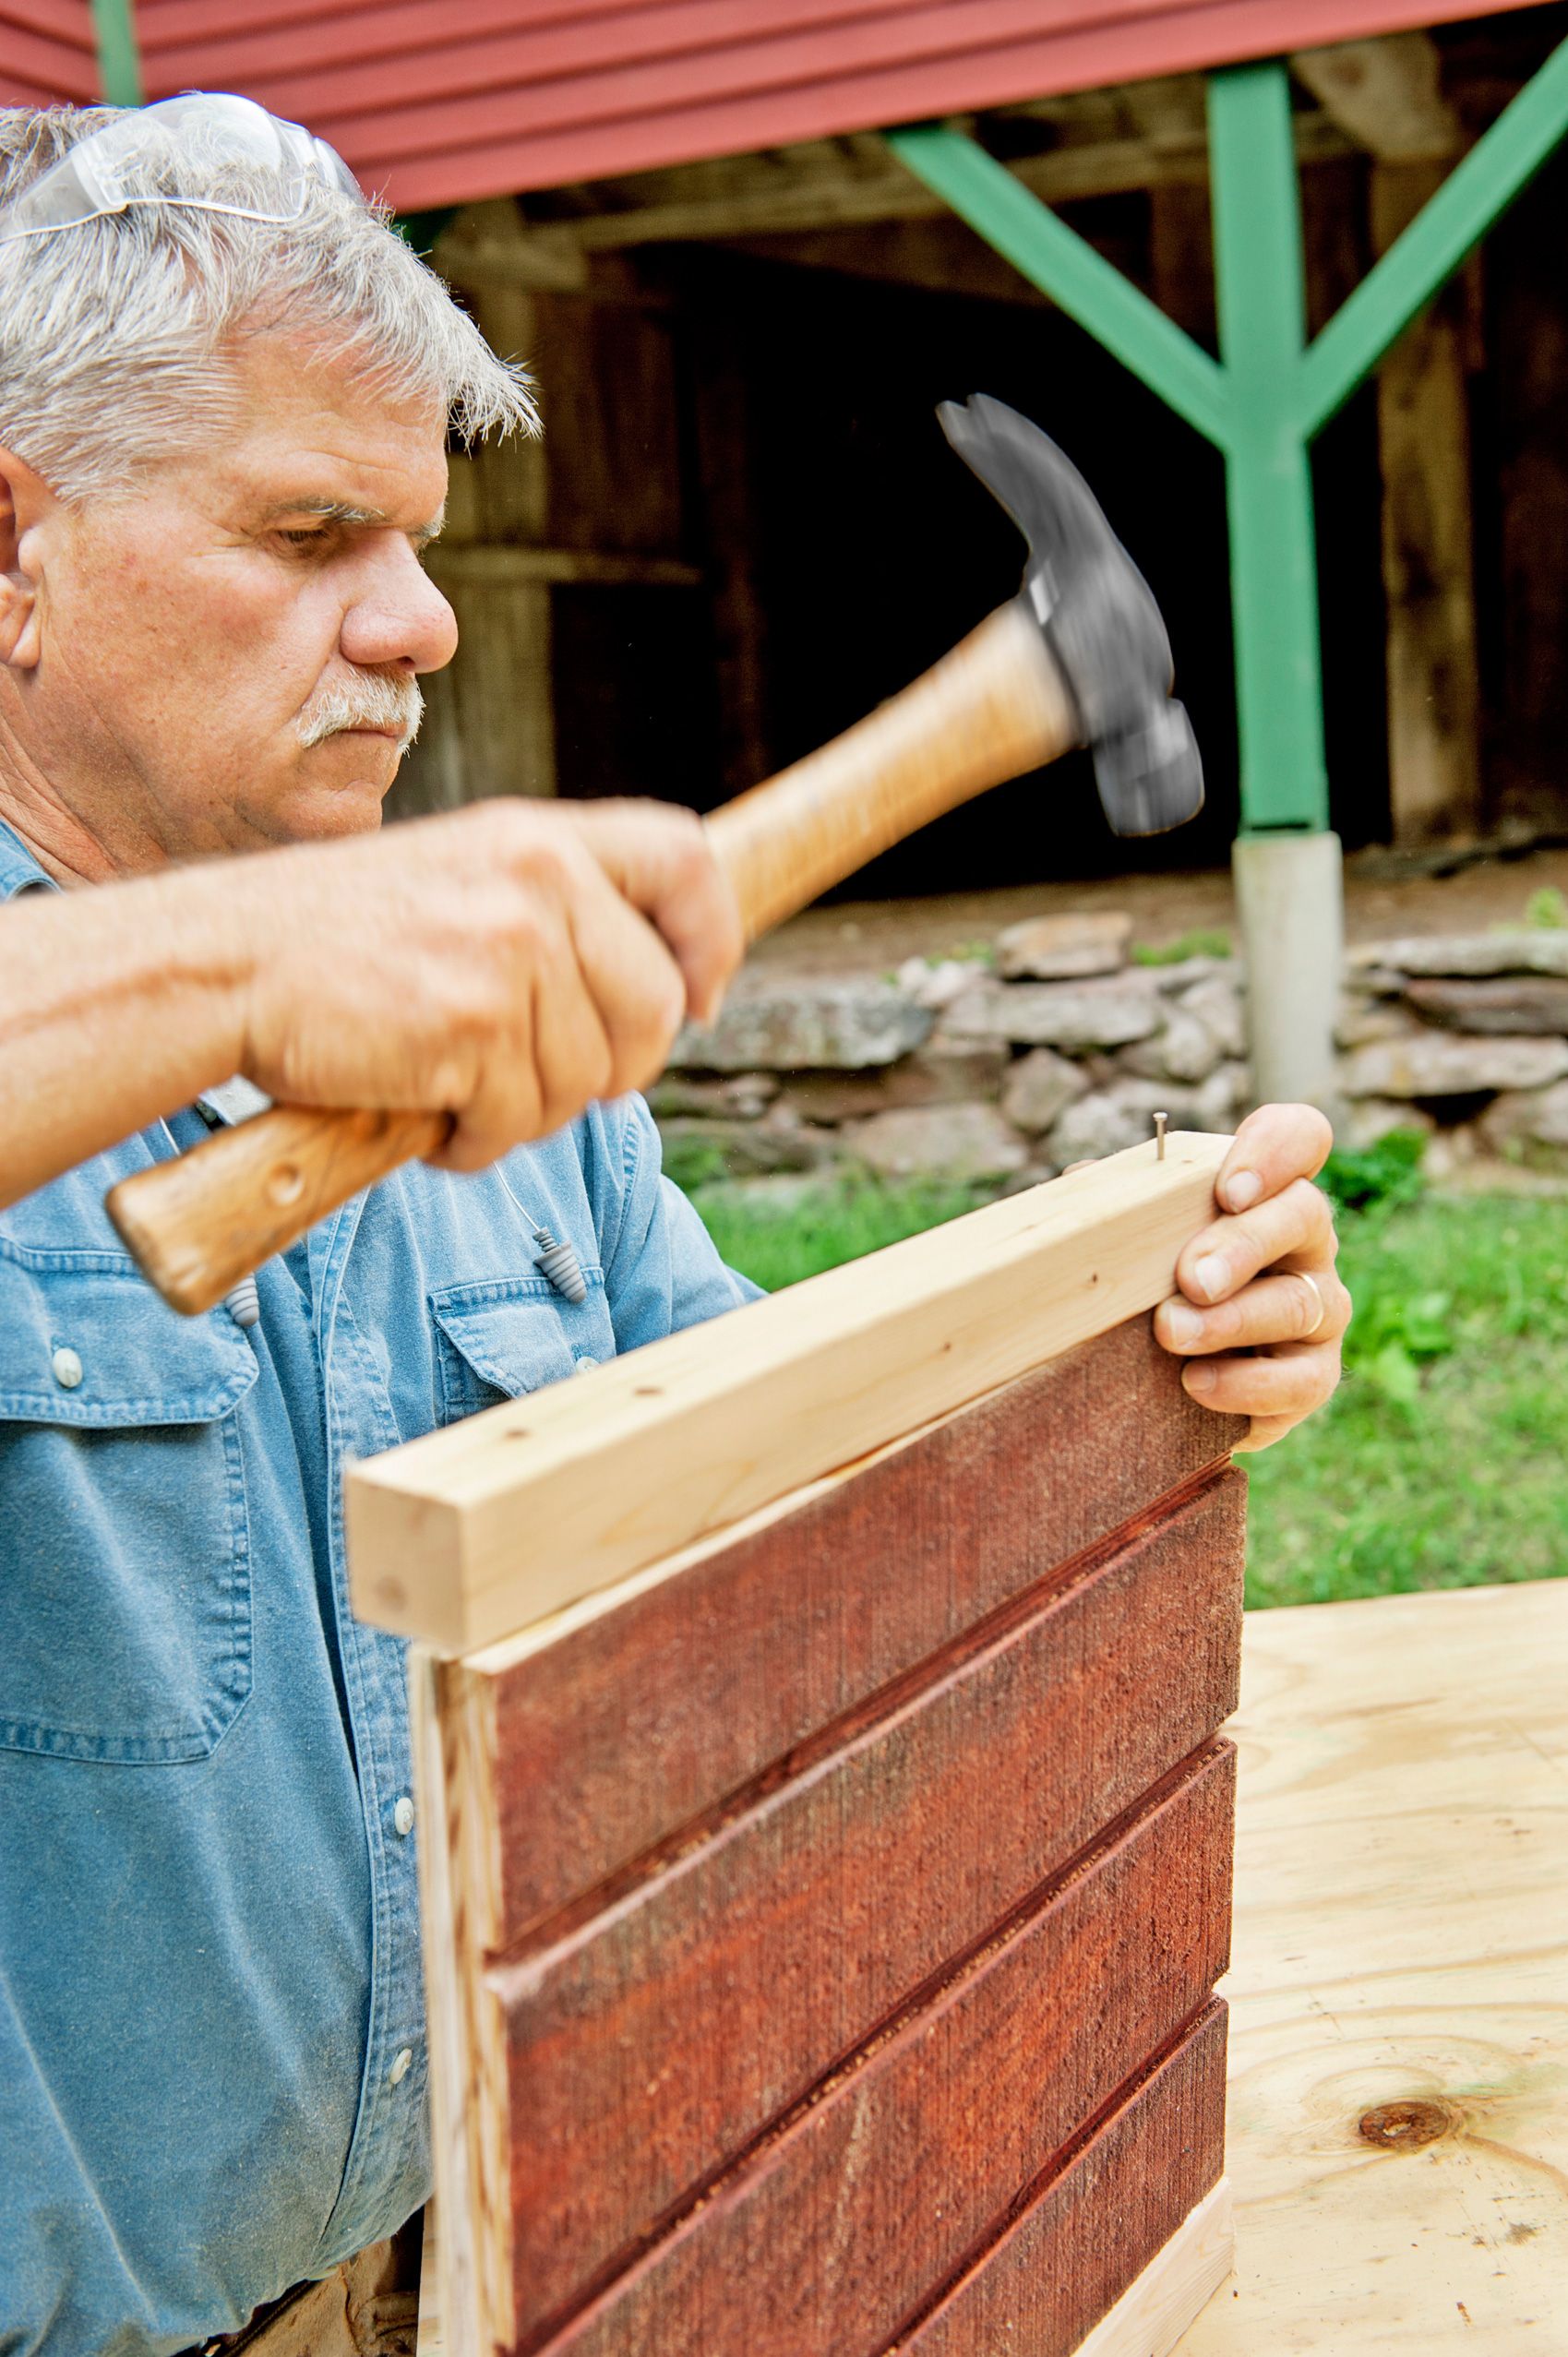
- Glue a piece of plywood of the same size to the back of the sliding door.
- Glue 2×2 rails to the sides of the assembly, flush with the door, and attach them with 2-inch stainless-steel nails, as shown.
- Twist an eye hook into the center of the plywood’s top edge.
Step 11: Add the Pulley System
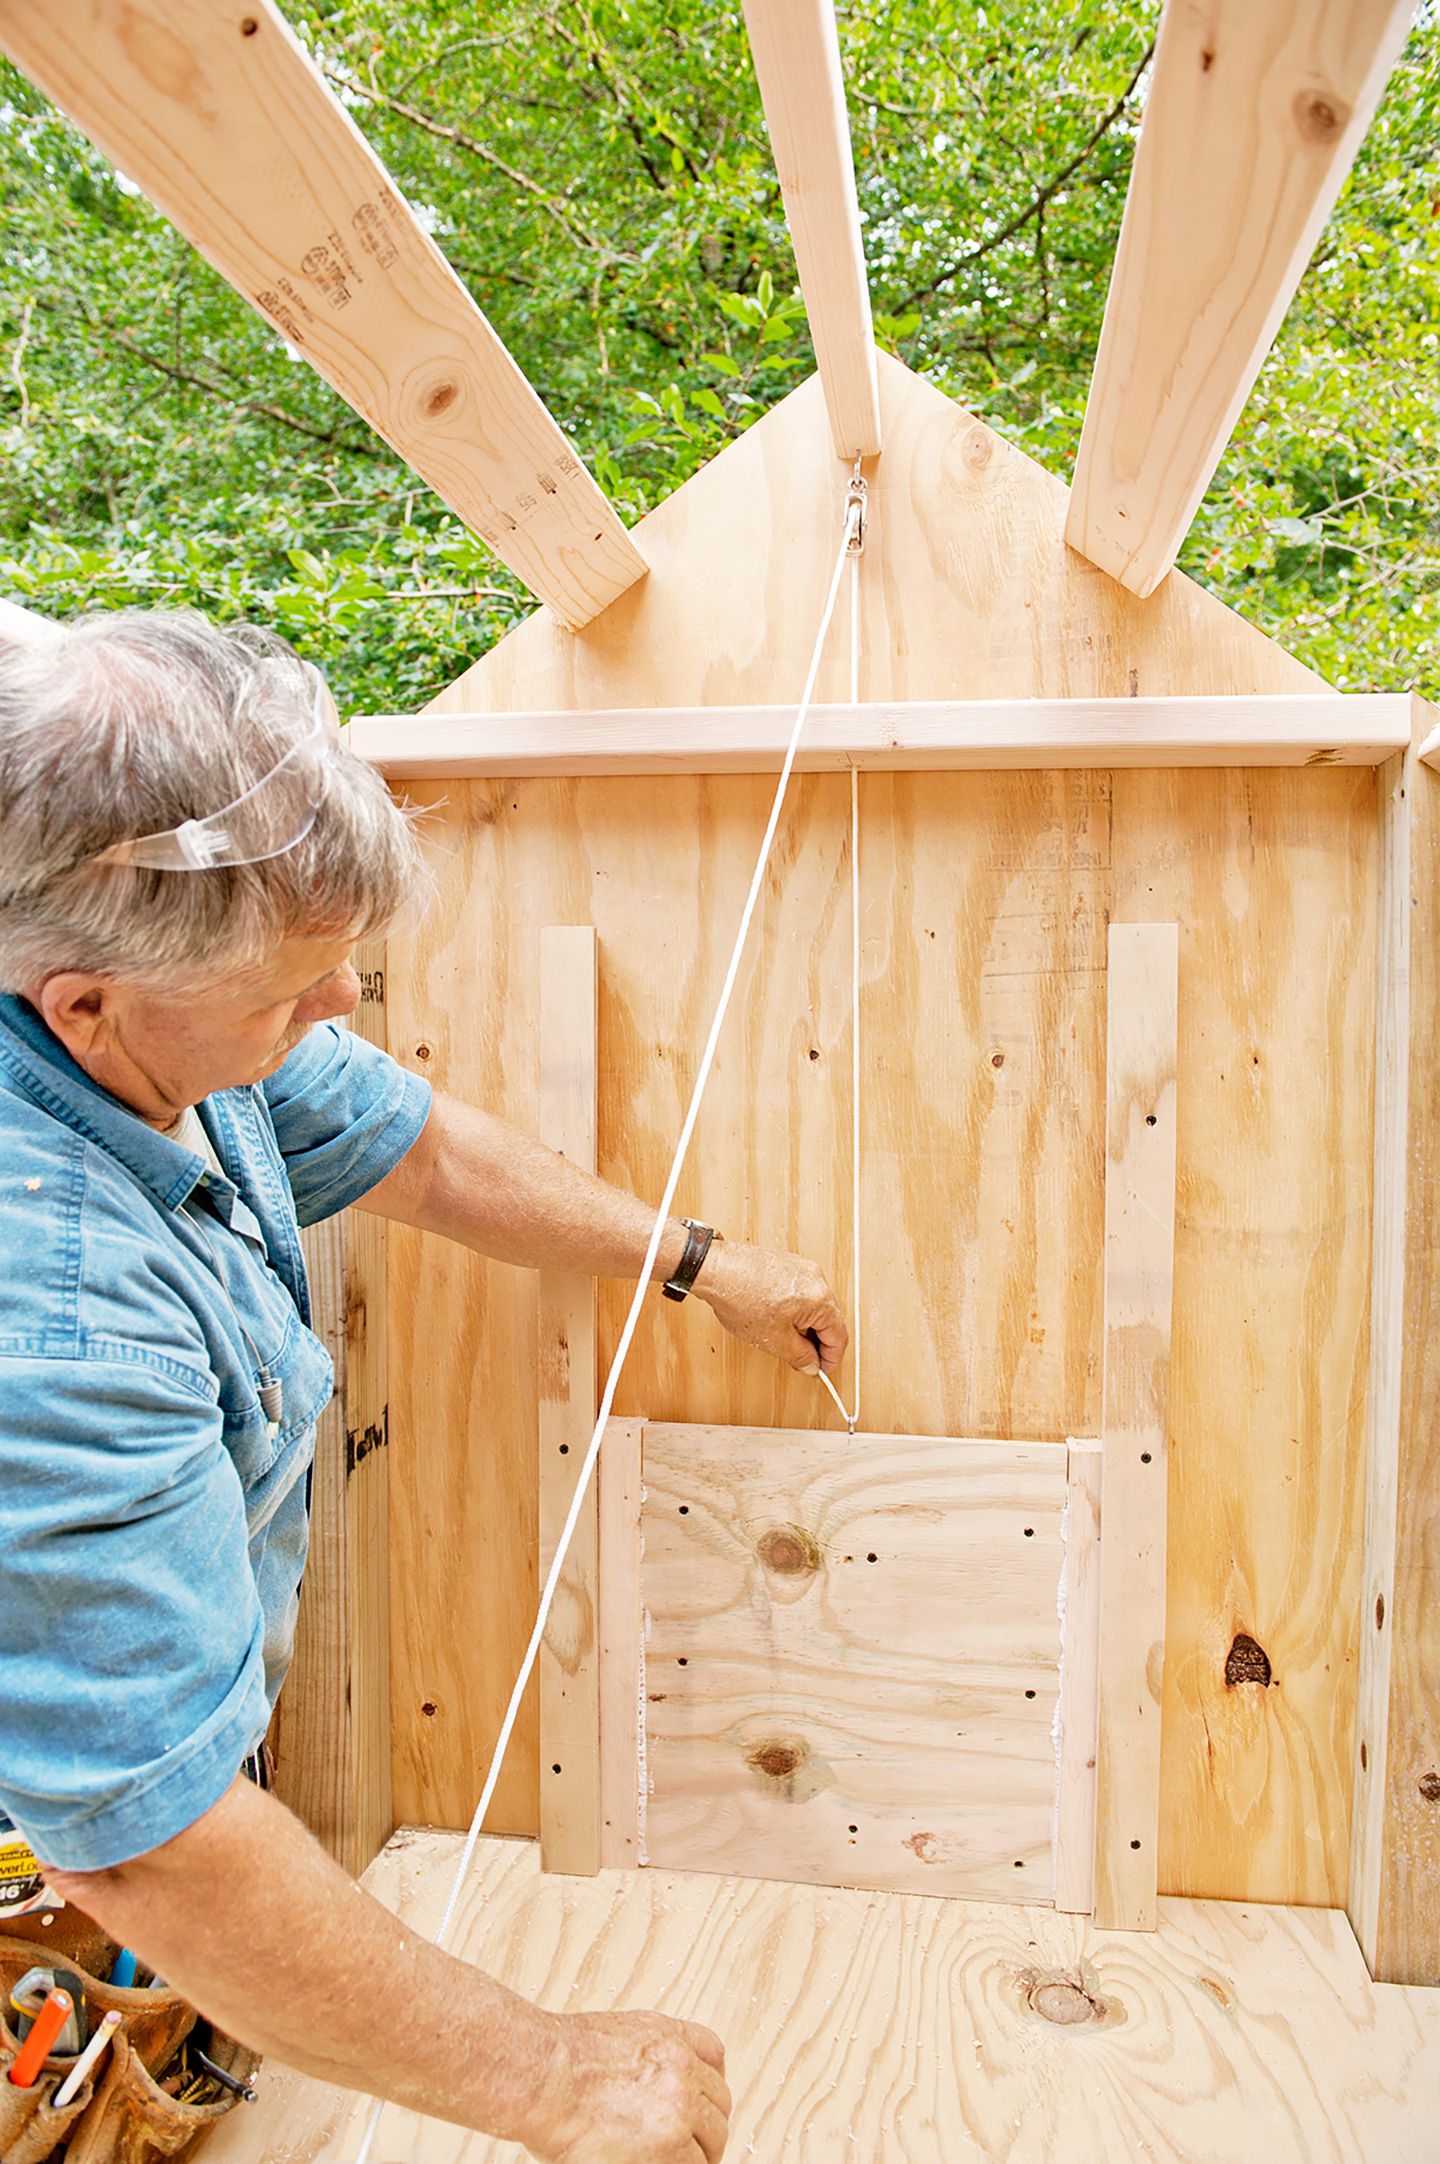
- Make a track for the door with 2x2s twice its height. Attach them to both sides of the opening with 1 5/8-inch screws fastened through the outside of the gable wall.
- Center the door in the opening and add 3-inch-wide plywood strips to the tracks with 1 5/8-inch screws to contain the door.
- Drill a 1/2-inch-diameter hole through the wall support above the eye hook, then hang a pulley on a hook from the beam above.
- Fish clothesline around the pulley, feed it through the hole, and tie it around the eye hook, as shown.
Step 12: Tie the rope off
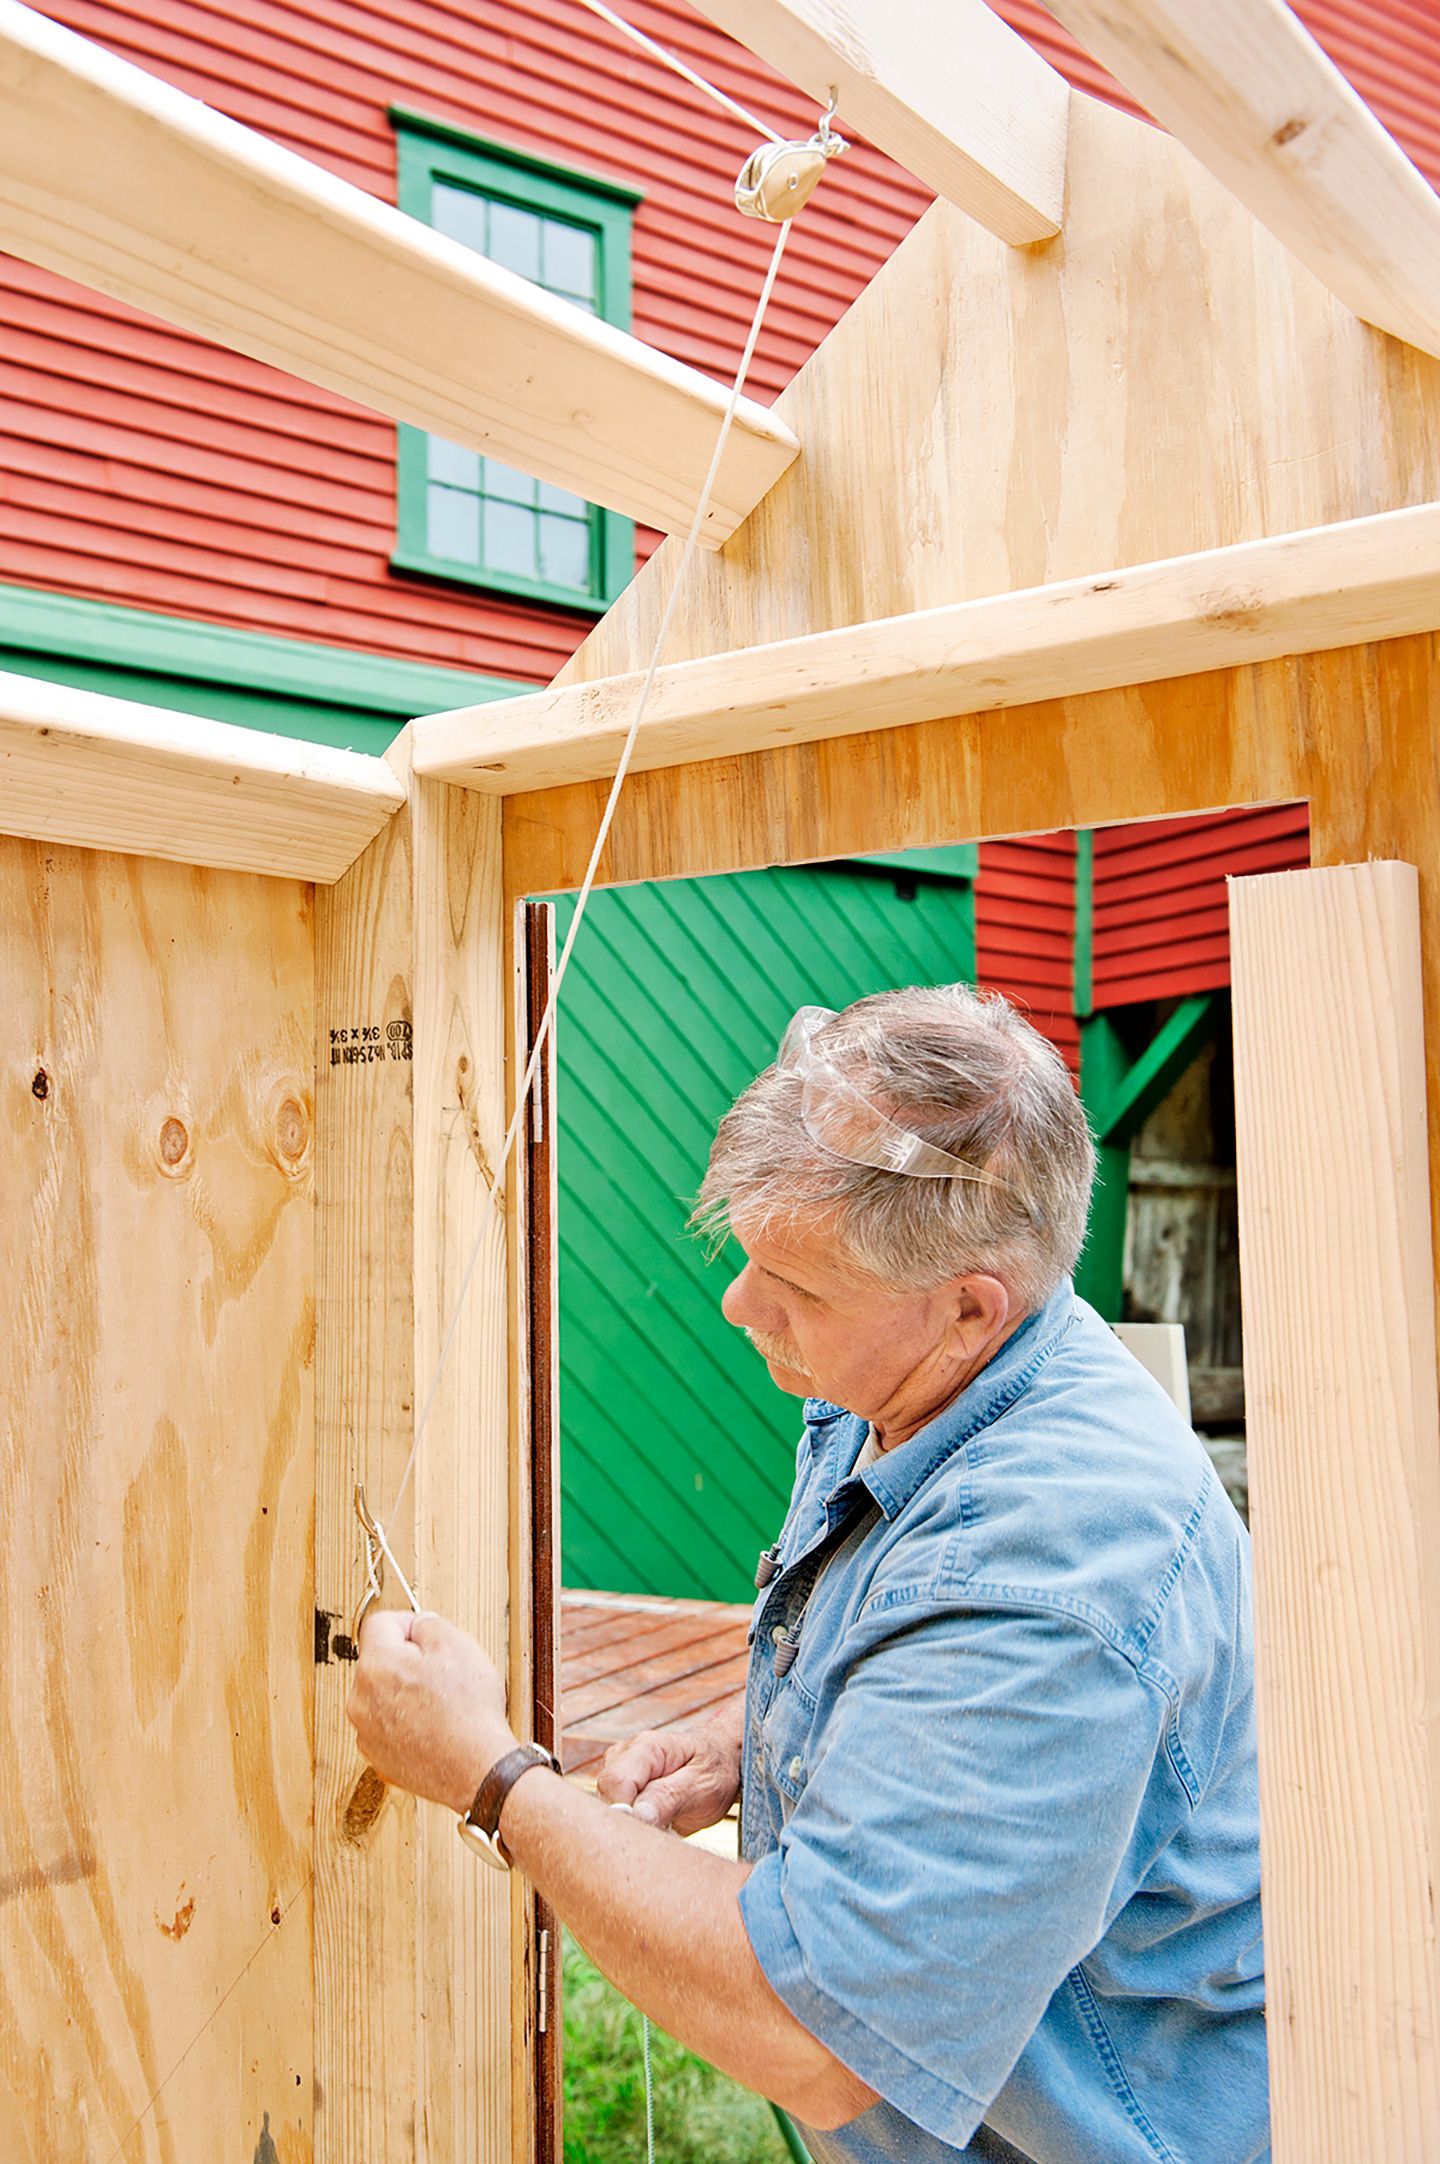
- Add another pulley to the other end of the beam and thread the clothesline around it. Attach a marine cleat to the post inside the clean-out door.
- Pull the rope down until the door opens, and tie a loop in the rope will keep the door open when tethered to a cleat.
- Attach hinges and hardware to the clean-out door and screw it in place.
- Screw a 2×4 to the inside wall of the coop on the latch side to act as a doorstop.
Step 13: Make the Frame
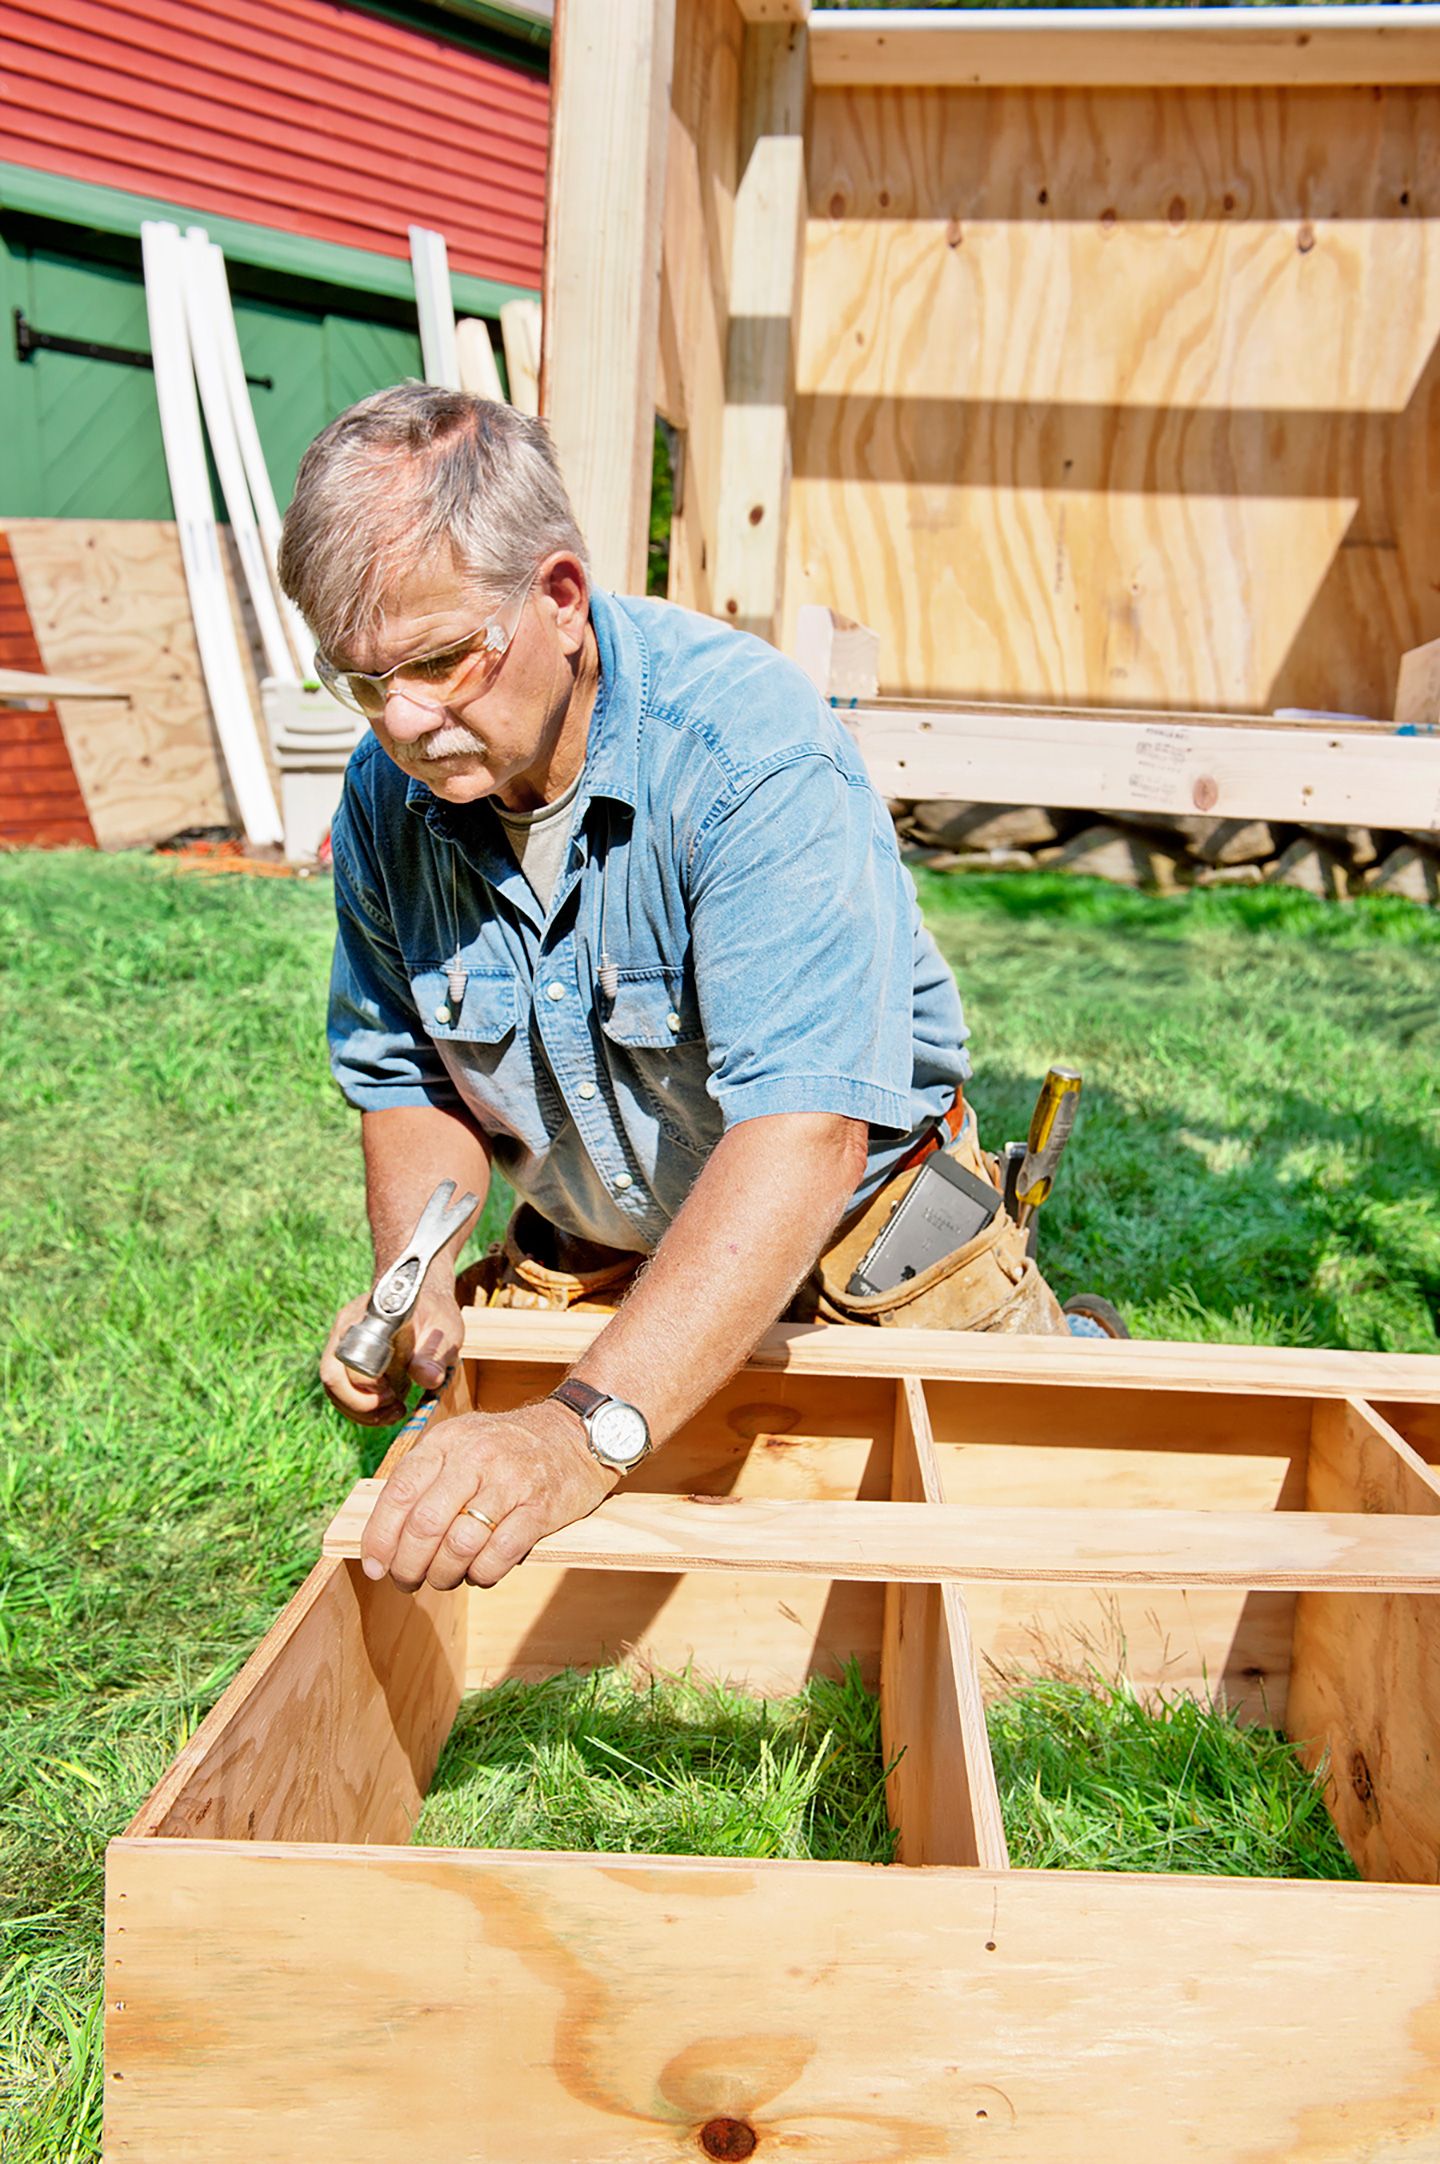
- Build a case with a plywood top, bottom, and vertical walls, cut to fit under the angled roof.
- Nail on plywood strips across the bottom and halfway up the front of the frame, as shown, creating an upper and a lower row of nesting boxes.
Step 14: Add the Nesting Boxes to the Frame
- Cut floors for the three upper nesting boxes out of plywood, then nail them in place through the sides and the plywood strip.
- Cut three 2x2s 4 inches longer than the frame’s depth to support the perch.
- Add one under the floor of each upper box and attach them with 1 5/8-inch screws.
- Cut a 2×4 perch the width of the frame, then drive 3 1/2-inch screws through it and into the 2x2s, as shown.
- For added support, glue plywood blocking under the upper nesting box floors.
Step 15: Install the Nesting Boxes

- Cut two 2x4s to support the bottom perch, screwing them to the coop floor with 3 1/2-inch screws.
- Attach the 2×4 perch to the ends of the supports with more screws.
- Place the nesting boxes on top of the perch supports.
- Screw through the box sides and into the posts, as shown. Install the egg-retrieval door, with its hardware, on the sidewall, then fasten the sidewall to the coop with 1 5/8-inch screws.
Step 16: Add the Trim
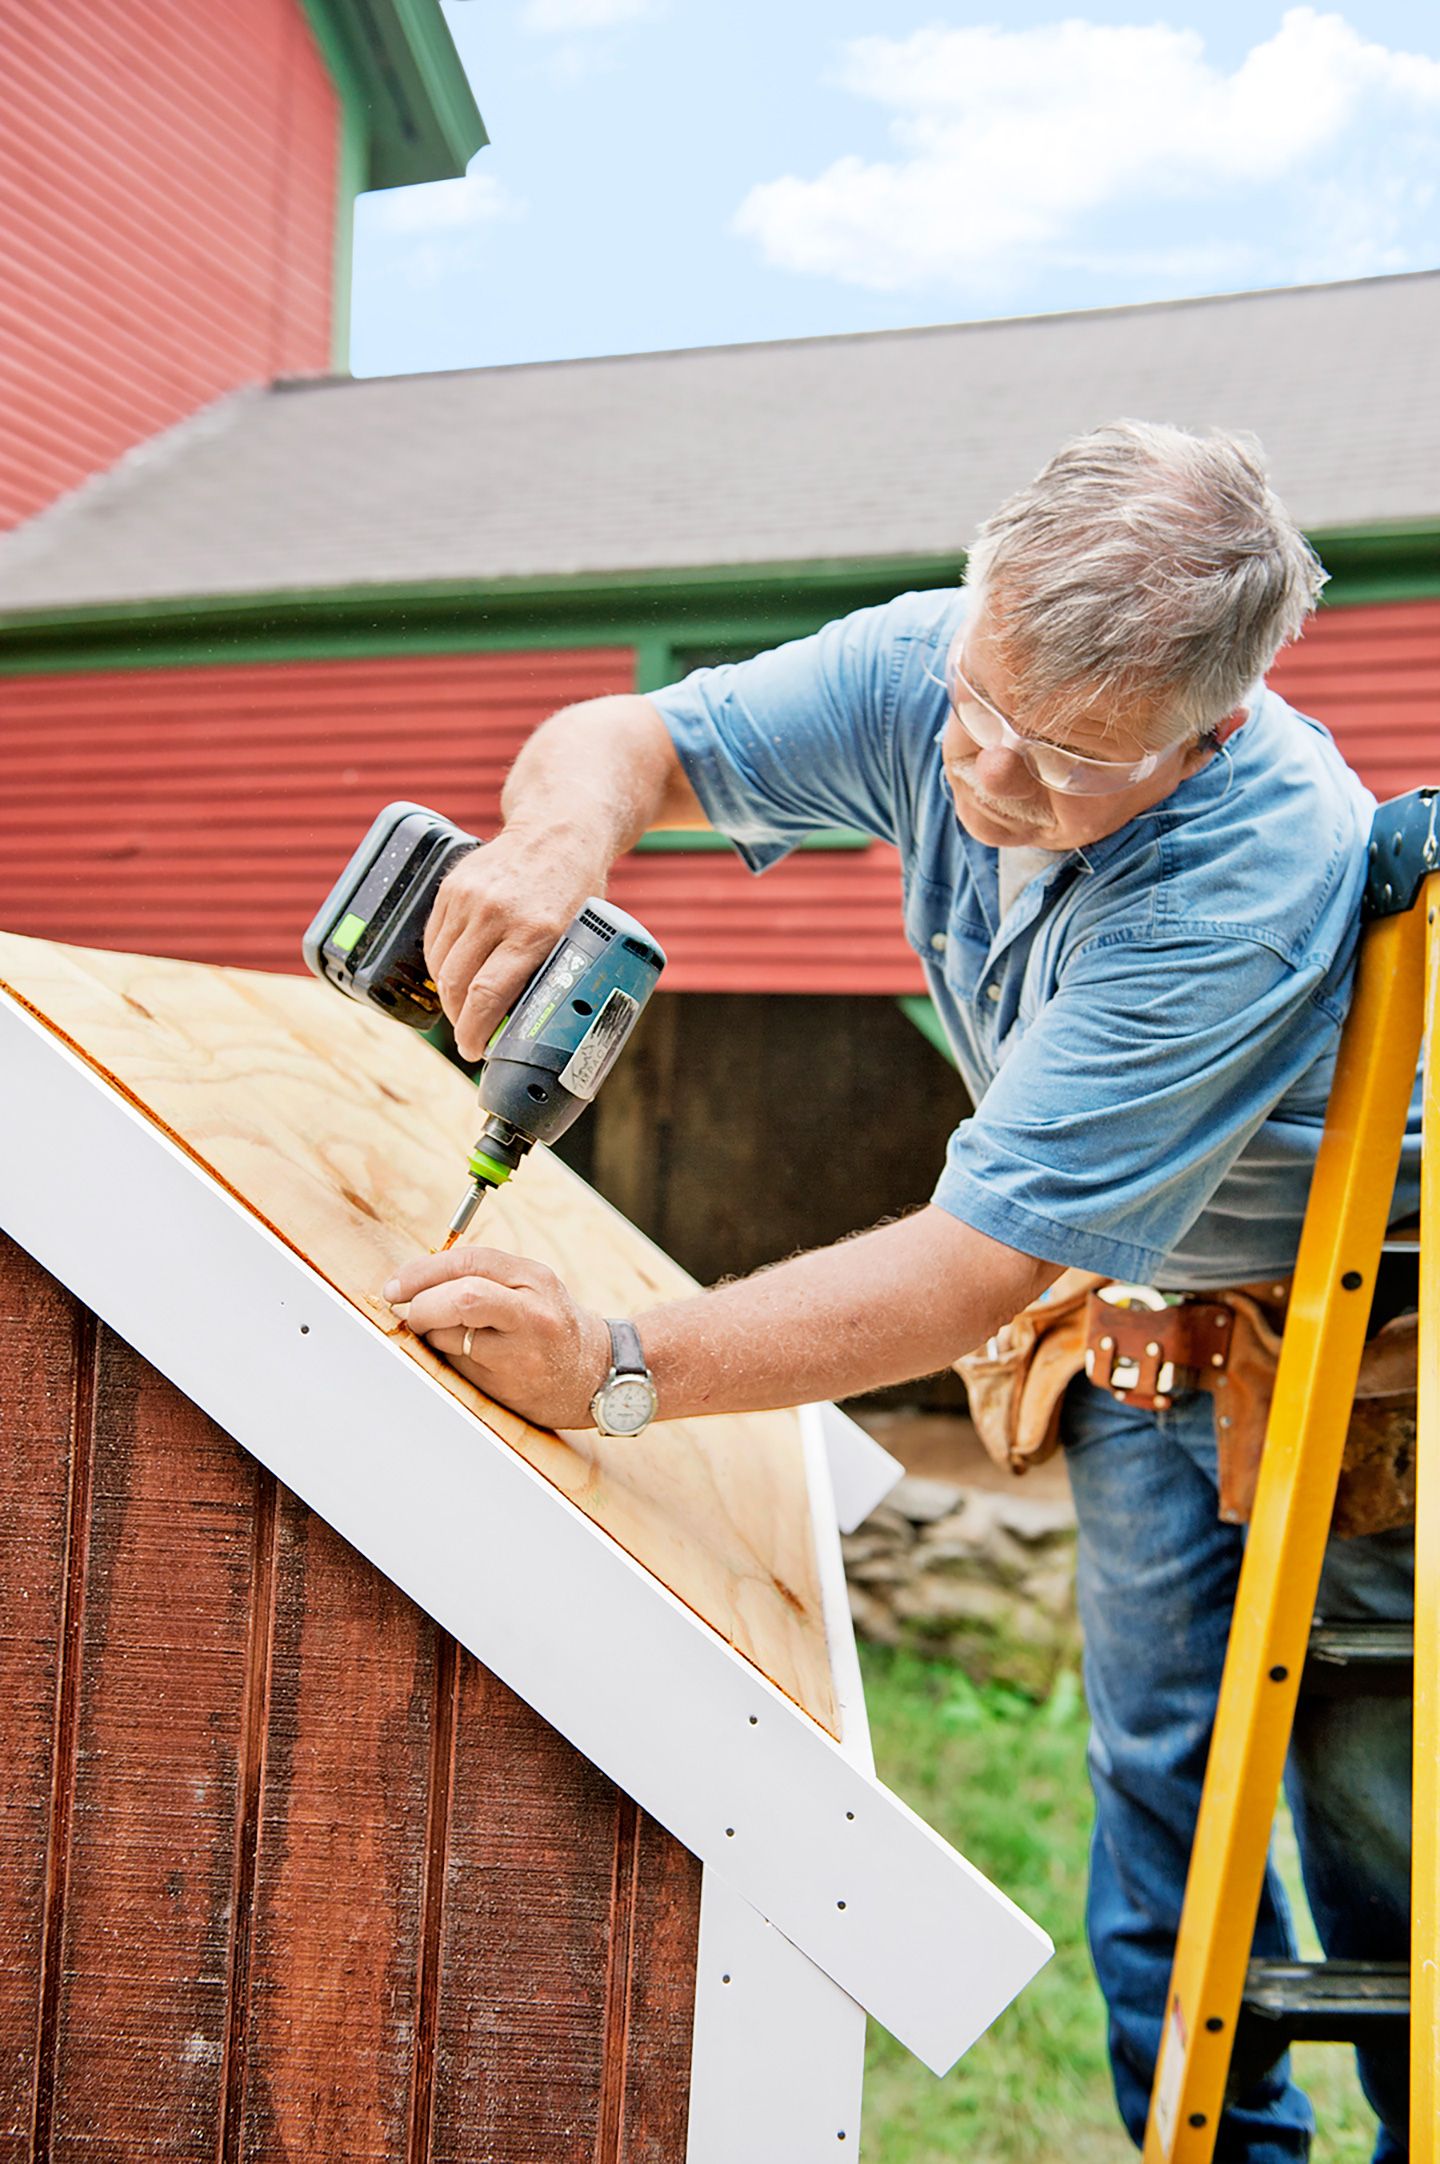
- Nail the cellular PVC rake boards to, and 1/2-inch higher than, the sheathing.
- Top each sidewall with PVC trim between the rake boards and nail it in place.
- Then measure, cut, and install corner boards the same way.
- Cut two plywood rectangles for the roof. Drive 1 5/8-inch screws through them and into the purlins, as shown.
Step 17: Nail on the Shingles
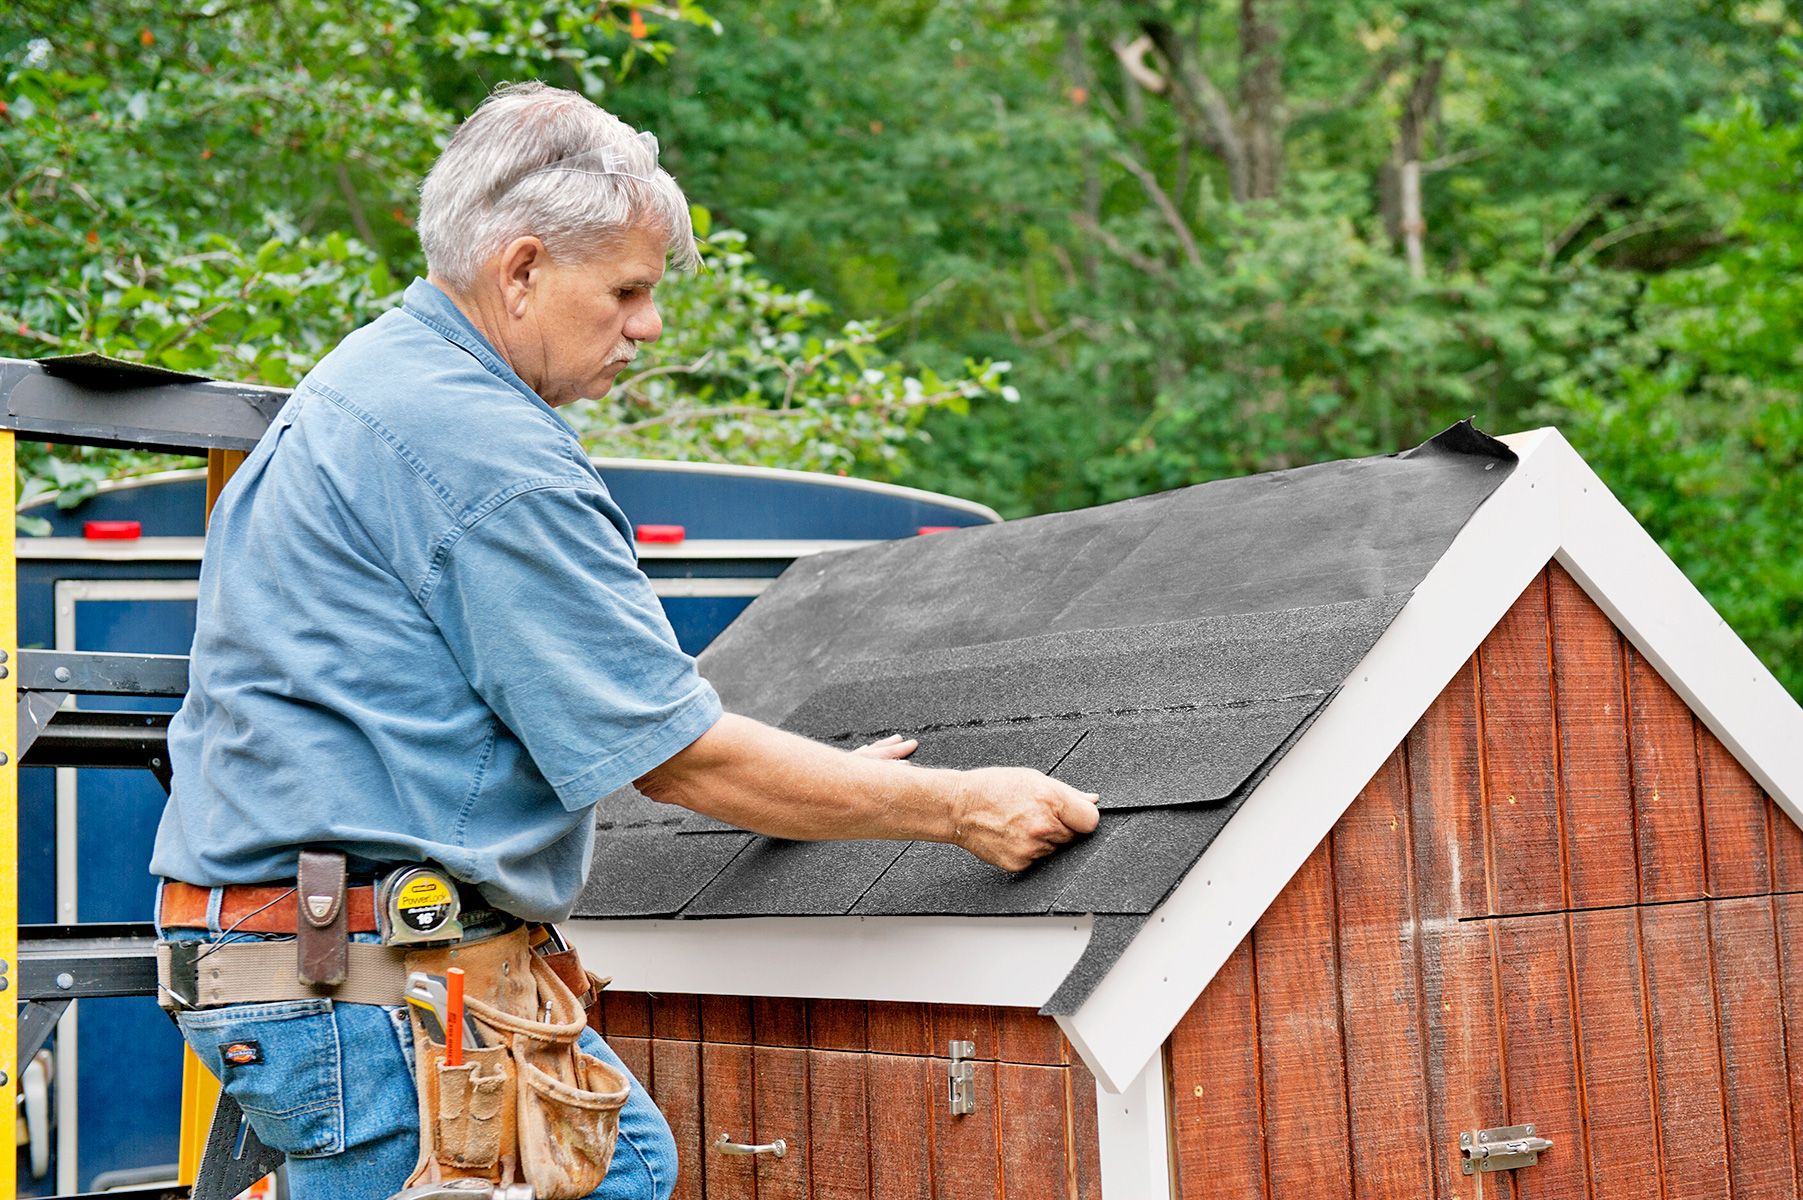
- Staple on a layer of roofing paper. Starting at the bottom, attach the asphalt shingles with roofing nails.
- From 2×12 stock, cut four 6-inch square blocks, beveling them to shed water, and four 14-inch lengths to use as pads.
- Nail the blocks to the ends of the posts, then slide a pad under each block to prevent the coop from sinking. Use the remaining 2×12 to build a ramp to the sliding door.
Creating a Run for Your Chickens
A run provides a safe outdoor space for your chickens to roam. Here’s how to build one:
- Determine the size based on your flock and available space.
- Use pressure-treated lumber for the frame.
- Enclose the run with hardware cloth, burying it several inches into the ground to deter predators.
- Add a roof or cover to protect chickens from predators above and provide shade.
- Incorporate a door to the run for easy access for feeding and cleaning.
Consider installing the additional features to make the run more safe and enjoyable for your chickens.
- Accessories: Add logs, perches, and dust baths to keep your chickens entertained.
- Shade: Make sure part of the run provides shade to protect chickens from excessive heat.
- Water stations: Check that fresh water is available within the run at all times.
Tips for Keeping Your Chicken Coop In Good Shape
Here are some best practices to keep your coop in top condition:
- Check for signs of wear or damage, especially around doors and windows.
- Clean it regularly, removing droppings and old bedding.
- Inspect the roof periodically for leaks or loose shingles.
- Keep ventilation unobstructed.
- Refresh bedding in nesting boxes as needed.
Adapting the Coop for Different Seasons
Depending on your climate, you’ll have to make different coop modifications for different seasons.
Summer Adjustments
- Increase ventilation by opening windows and vents.
- Provide additional shade in the run to prevent heat stress.
- Use light-colored roofing materials to reflect sunlight.
Winter Adjustments
- Add more bedding to keep the coop warm and dry.
- Insulate the coop walls with materials safe for chickens.
- Use a heated waterer for a consistent water supply.
Year-Round Considerations
- Adjust the coop setup based on seasonal changes and flock size.
- Be proactive about checking for issues like lice or other infestations.
- Continually monitor your chickens’ health and behavior.
- Make note of any signs of discomfort or illness.