Project details
Skill
Cost
Estimated Time
Building a bird feeder is a great way to attract feathered friends to your yard and enjoy hours of quiet entertainment. This simple but rewarding DIY family project combines creativity, practicality, and both the appreciation and conservation of nature right in your backyard. With just a few materials and basic tools, you can create an inexpensive outdoor feeder that can provide a steady food source for local birds throughout the year—and a steady stream of birds for the animal lovers in your home to watch and learn about. This Old House landscaping expert Roger Cook demonstrates how to construct a bird feeder with Keiko and her family, using everyday household items and materials from a home center.
Materials Needed for a DIY Bird Feeder
Before starting your bird feeder project, you’ll need the following materials:
- 2-foot-long 1×6 cedar board
- 1/4-inch dowel
- Copper post cap
- 1-liter plastic soda bottle
- Vinyl-covered wire
- Wood glue
- 4d nails
- Epoxy
- Bird seed
Cedar is the best choice for outdoor projects like bird feeders due to its natural resistance to rot and insects. The plastic soda bottle will serve as the clear body of the feeder, while the copper post cap will add a stylish but strong finishing touch to the top.

Tools Required to Build a Bird Feeder
Here are the tools you’ll need to build your bird feeder. Be sure to always prioritize safety by wearing the right equipment and working carefully:
- Tape measure
- Combination square
- Compass
- Safety glasses
- Thick gloves
- Jigsaw
- Random orbit sander or sanding block
- Hammer
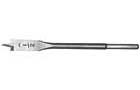
- Drill/driver with 1/4-inch and 1/2-inch bits
- Scissors
- Wire cutters
- Screwdriver
Step-by-Step Guide to Building a Bird Feeder
Step 1: Prep the Wooden Parts
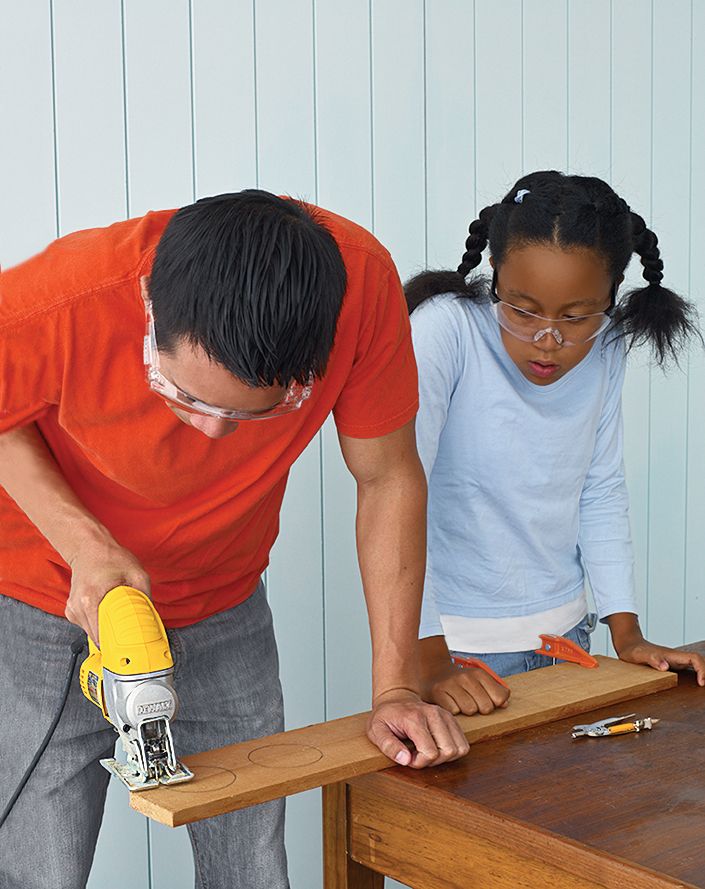
Using a combination square and compass, lay out six individual pieces on the cedar board: three 3½-inch squares, one 4½-inch square, and two 3¼-inch-diameter circles.
- Clamp the cedar board to a worktable and cut out the circles and squares using a jigsaw.
- Cut four 4-inch-long perches from the ¼-inch dowel.
- Using a random-orbit sander or sanding block with 120-grit paper, sand the pieces so that they are smooth and free of splinters. (Make sure the dust bag is on the back of the sander.)
Step 2: Assemble the Top of the Feeder
- Glue two 3½-inch blocks together and secure them with 4d nails.
- Glue and nail one of the circles on top of the blocks.
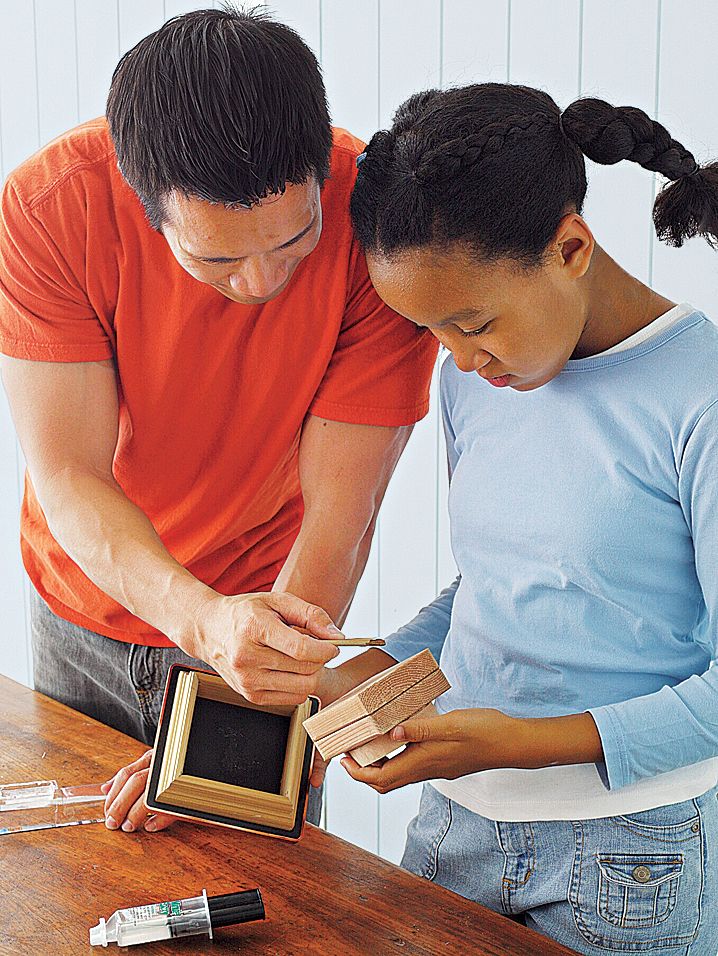
- Mix epoxy and spread it on one side of the square, then set it into the copper post cap.
- Allow the epoxy to set for 20 minutes.
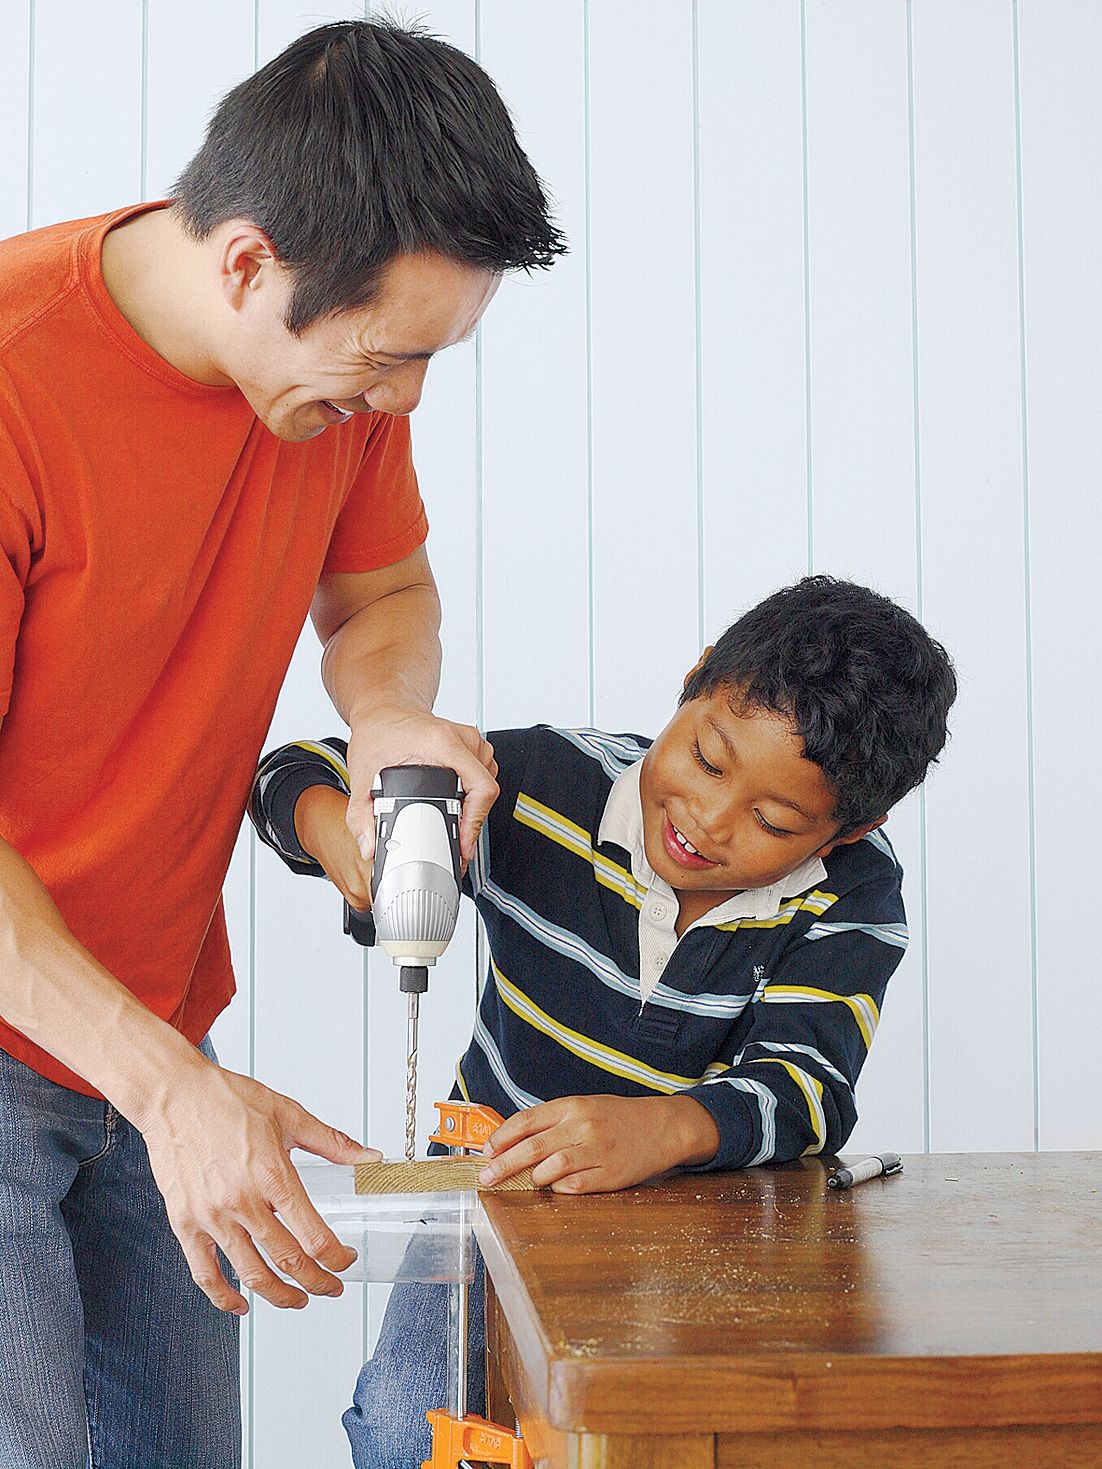
Step 3: Create the Base
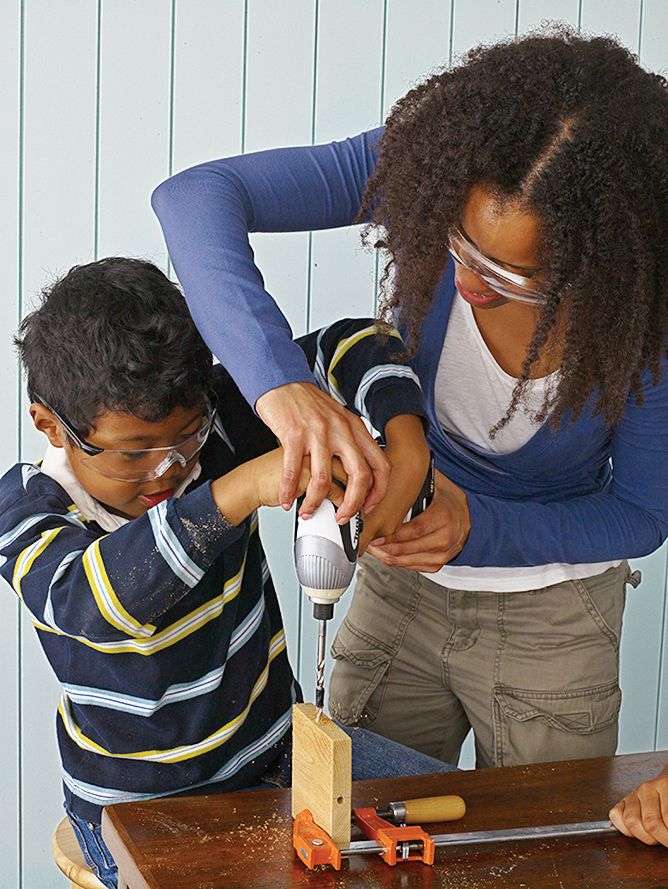
Turn the 4½-inch square on edge, and hold it steady with a bar clamp. Drill a ¼-inch hole about ½ inch deep into the center of the square’s edge. Repeat until you have a hole on each edge.
- Glue the 4-inch-long perches into these holes.
- Glue and nail the remaining circle onto the square with the perches.
- On the square side of the circle/square pair, drill a ¾-inch-deep hole into the center using a ½-inch spade bit.
- Switch to a ¼-inch bit and drill all the way through the pair.
Step 4: Wire the Base
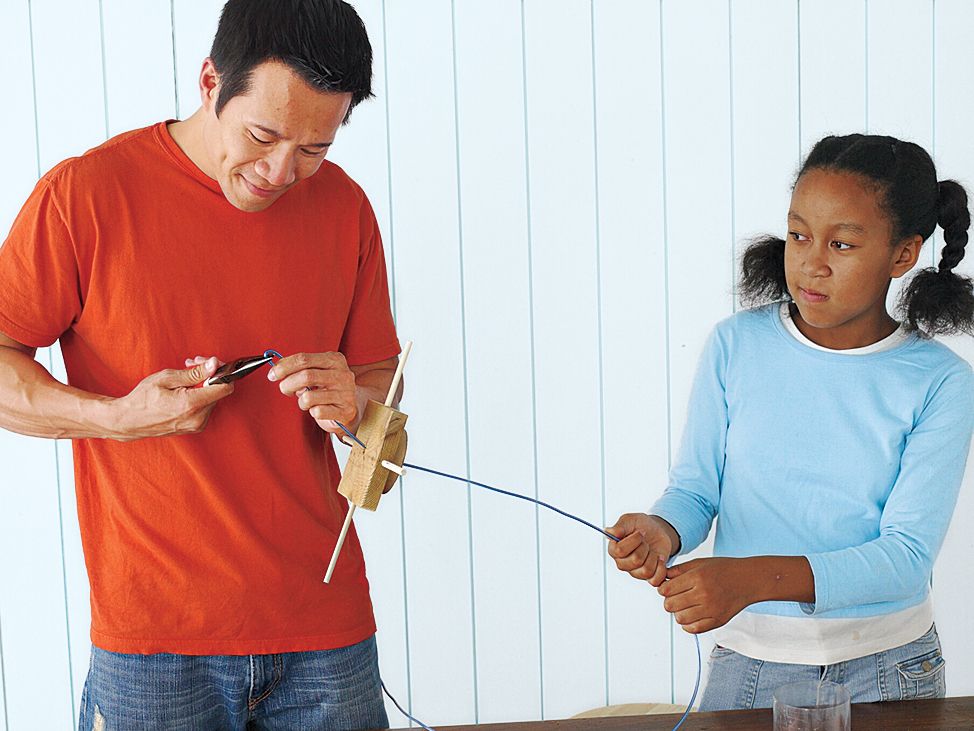
- Cut a 3-foot length of vinyl-covered wire and feed it through the hole in the base.
- Use pliers to fold over the wire’s tip on the square side, creating a small knot.
- Pull the knotted end back into the larger hole until it stops at the circle. Make sure it’s all the way in the hole and doesn’t stick out of the square.
- Glue and nail the last 3½-inch square over the hole to cover it.
Step 5: Prepare the Top for Wiring
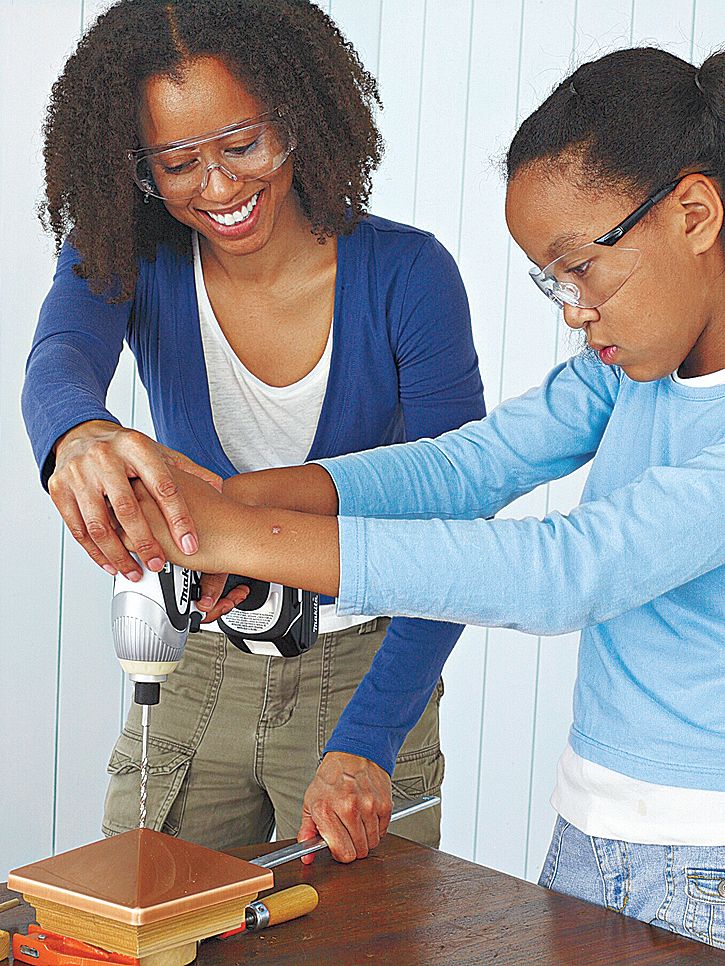
- Clamp the post cap securely and make a small dent in the point of the copper peak with a finish nail.
- Carefully drill a ¼-inch hole through the peak and out of the center of the attached circle.
Step 6: Make the Seed Holder
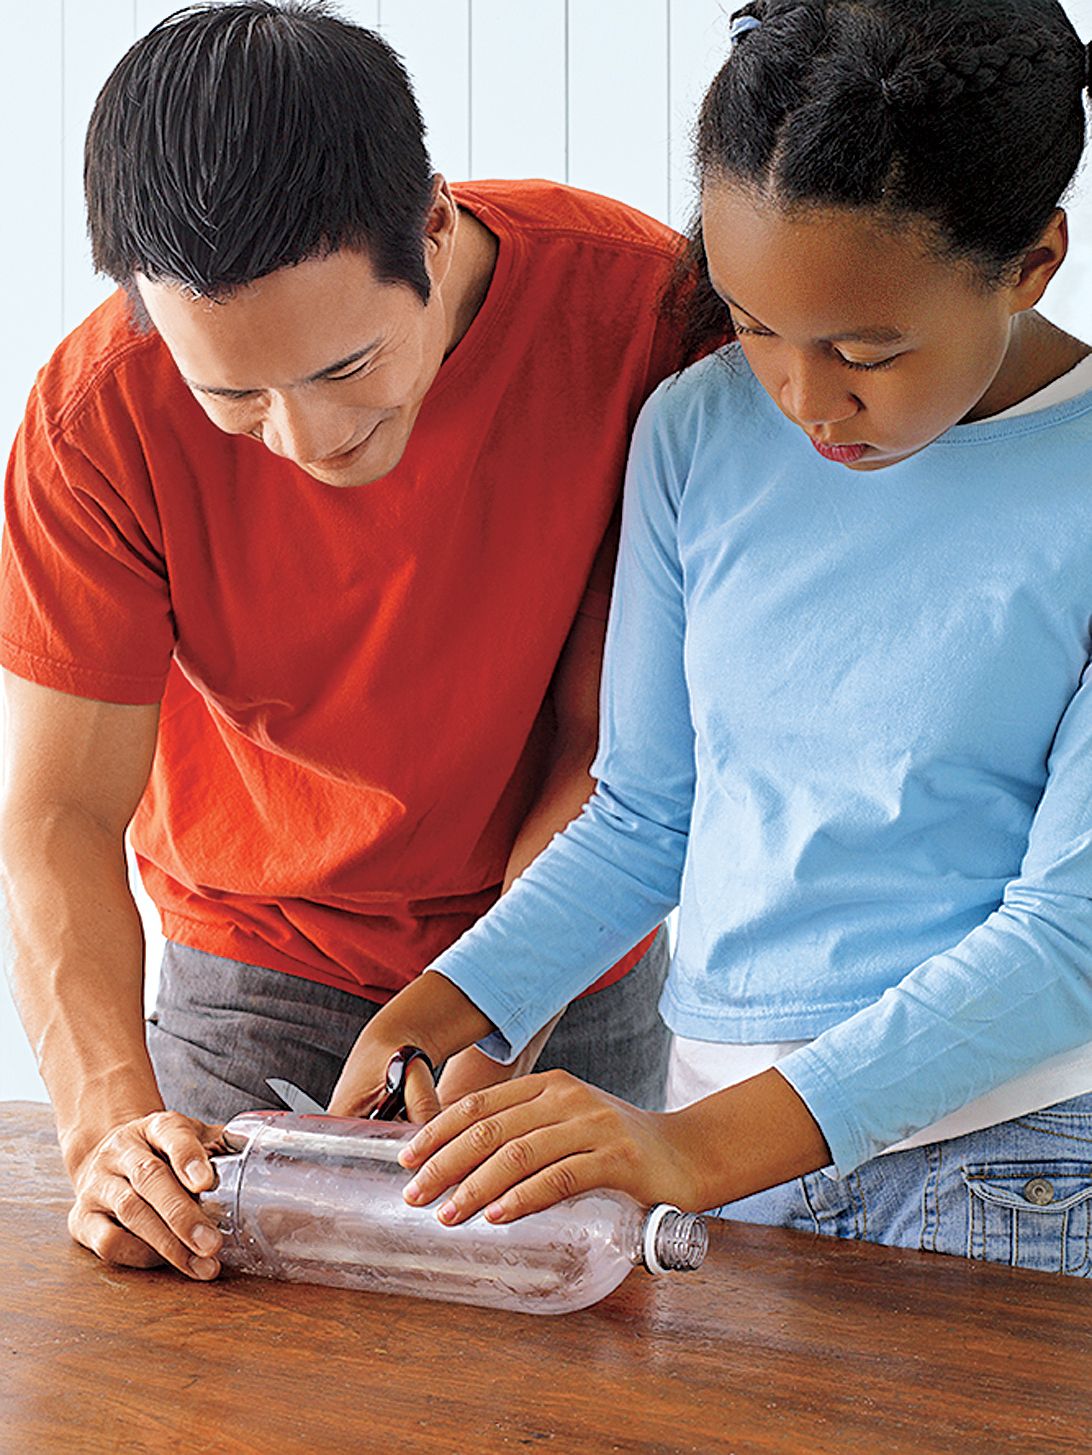
- Cut the ends off a 1-liter soda bottle to create a cylinder.
- Brace the cylinder on a scrap of wood clamped to a worktable.
- Drill four evenly spaced ¼-inch holes 1½ inches from the cylinder’s edge.
Step 7: Assemble The Bird Feeder
- Feed the wire attached to the base through the cylinder.
- Fit the cylinder over the circle on the base, positioning the feeding holes above the perches.
- Secure the cylinder to the base with blued tacks.
- Thread the wire through the top, going through the circle first, then out through the copper peak.
- Fit the top into the cylinder.
- Slide a rubber grommet onto the top of the wire and push it tight against the copper peak to hold the top in place.
Step 8: Fill the Feeder with Seed
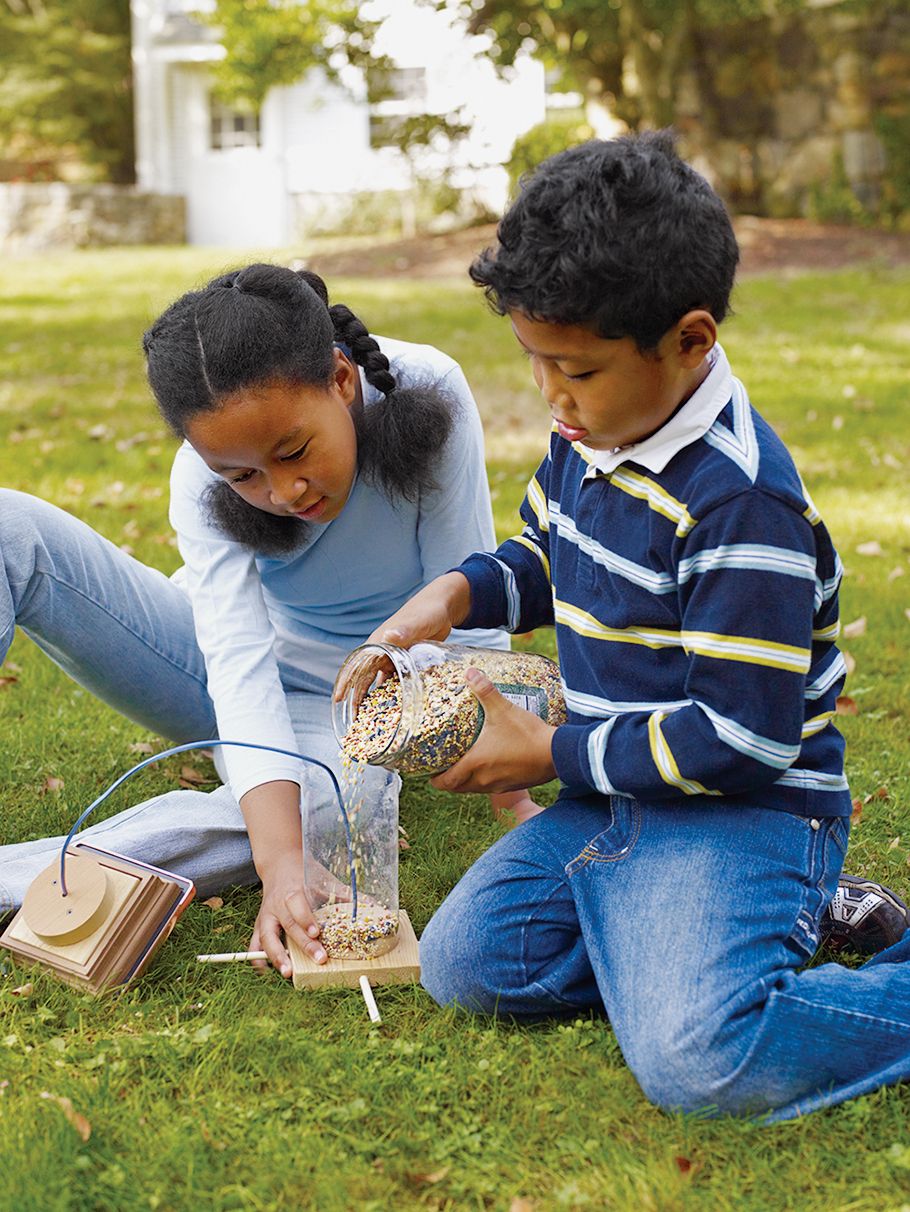
Once your bird feeder is assembled, it’s time to fill it with seed.
- Loosen the grommet and remove the top.
- Pour birdseed into the cylinder.
- Replace the top and tighten the grommet to secure it.
Step 9: Make a Hook for the Feeder

- Choose a thick, sturdy tree branch that can support the weight of both the feeder and a few birds.
- You should also make sure that the tree can be safely reached so everyone in the family can fill and take care of the feeder.
- Twist an eye screw into the branch using a screwdriver. Make sure the eye screw is fully secure in the tree.
Step 10: Hang the Feeder
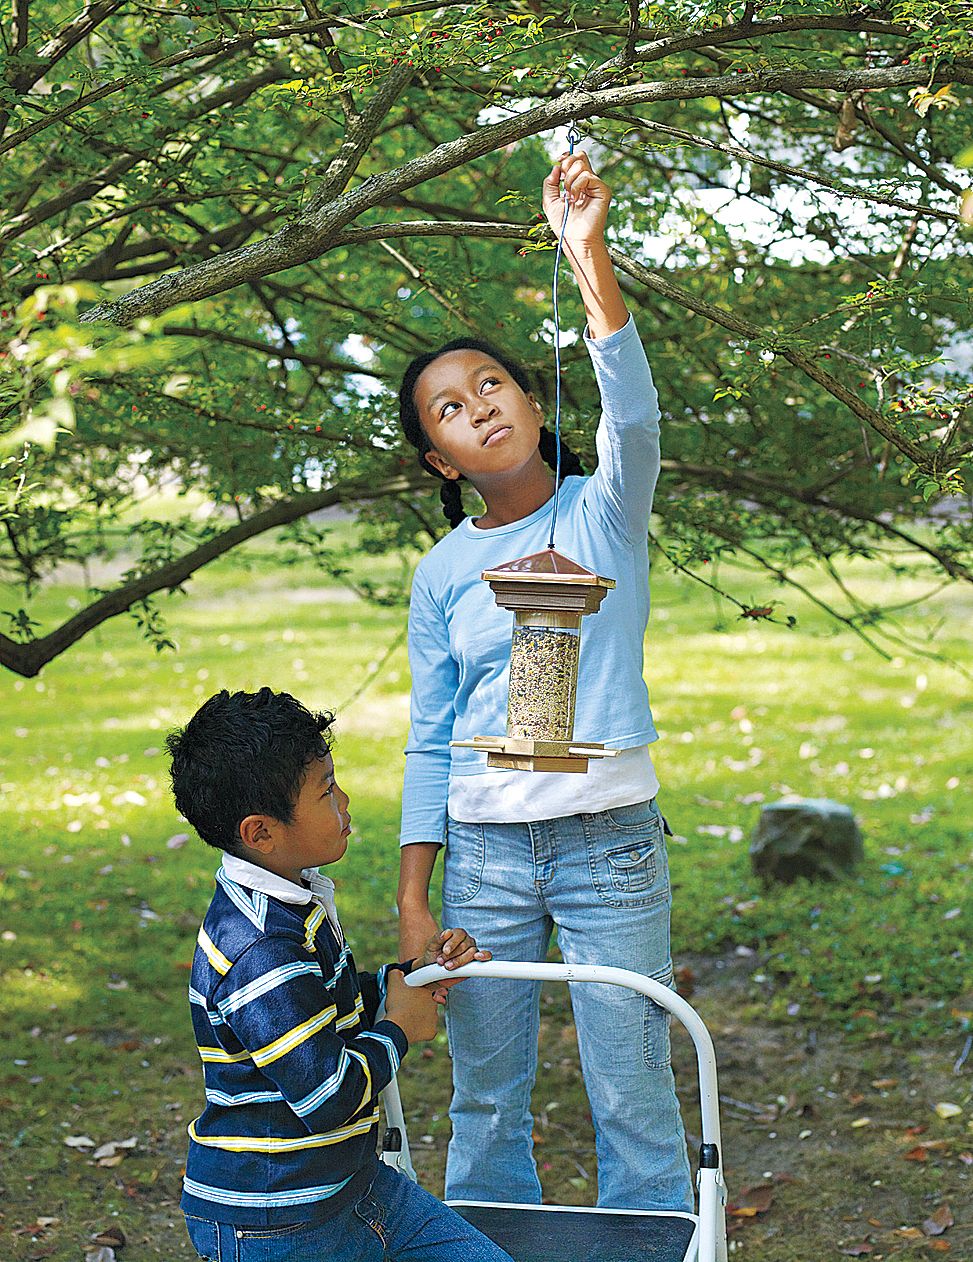
Hang the feeder by threading the wire through the eye screw. Twist and tie the wire around itself to keep it from slipping out. Then sit back and wait for your visitors to drop in for lunch!
Attracting Birds to Your Feeder
Getting birds to flock to your feeder may take some trial and error. Here are some tips to attract more birds to your yard:
- Use high-quality seed: Opt for birdseed mixes that contain black oil sunflower seeds, millet, and peanuts to attract many different types of birds.
- Think about placement: Place your feeder within sight of a patio or window but near shrubs or trees that provide cover and a quick escape route for the birds.
- Keep your feeder full: Refill the feeder often with fresh seeds to encourage birds to visit. They’ll come to think of your home as a consistent food source and will stop by regularly.
- Quench the thirst: Keeping water nearby in a birdbath can make your home more attractive and welcoming to birds as well.
- Clean it up: Regular maintenance of your bird feeder is important but sometimes forgotten. Clean your feeder to prevent the spread of diseases among birds, and change out any old or stale food as necessary.
Customize Your Feeder
There are many fun ways to add your own creative touch to your bird feeder:
- Prime and paint the wood pieces of your bird feeder with weather-resistant and non-toxic paint.
- Etch or stencil designs into the wood.
- Use a different type of metal for the top, or experiment with different wire colors for a unique look.