Project details
Skill
Cost
Estimated Time
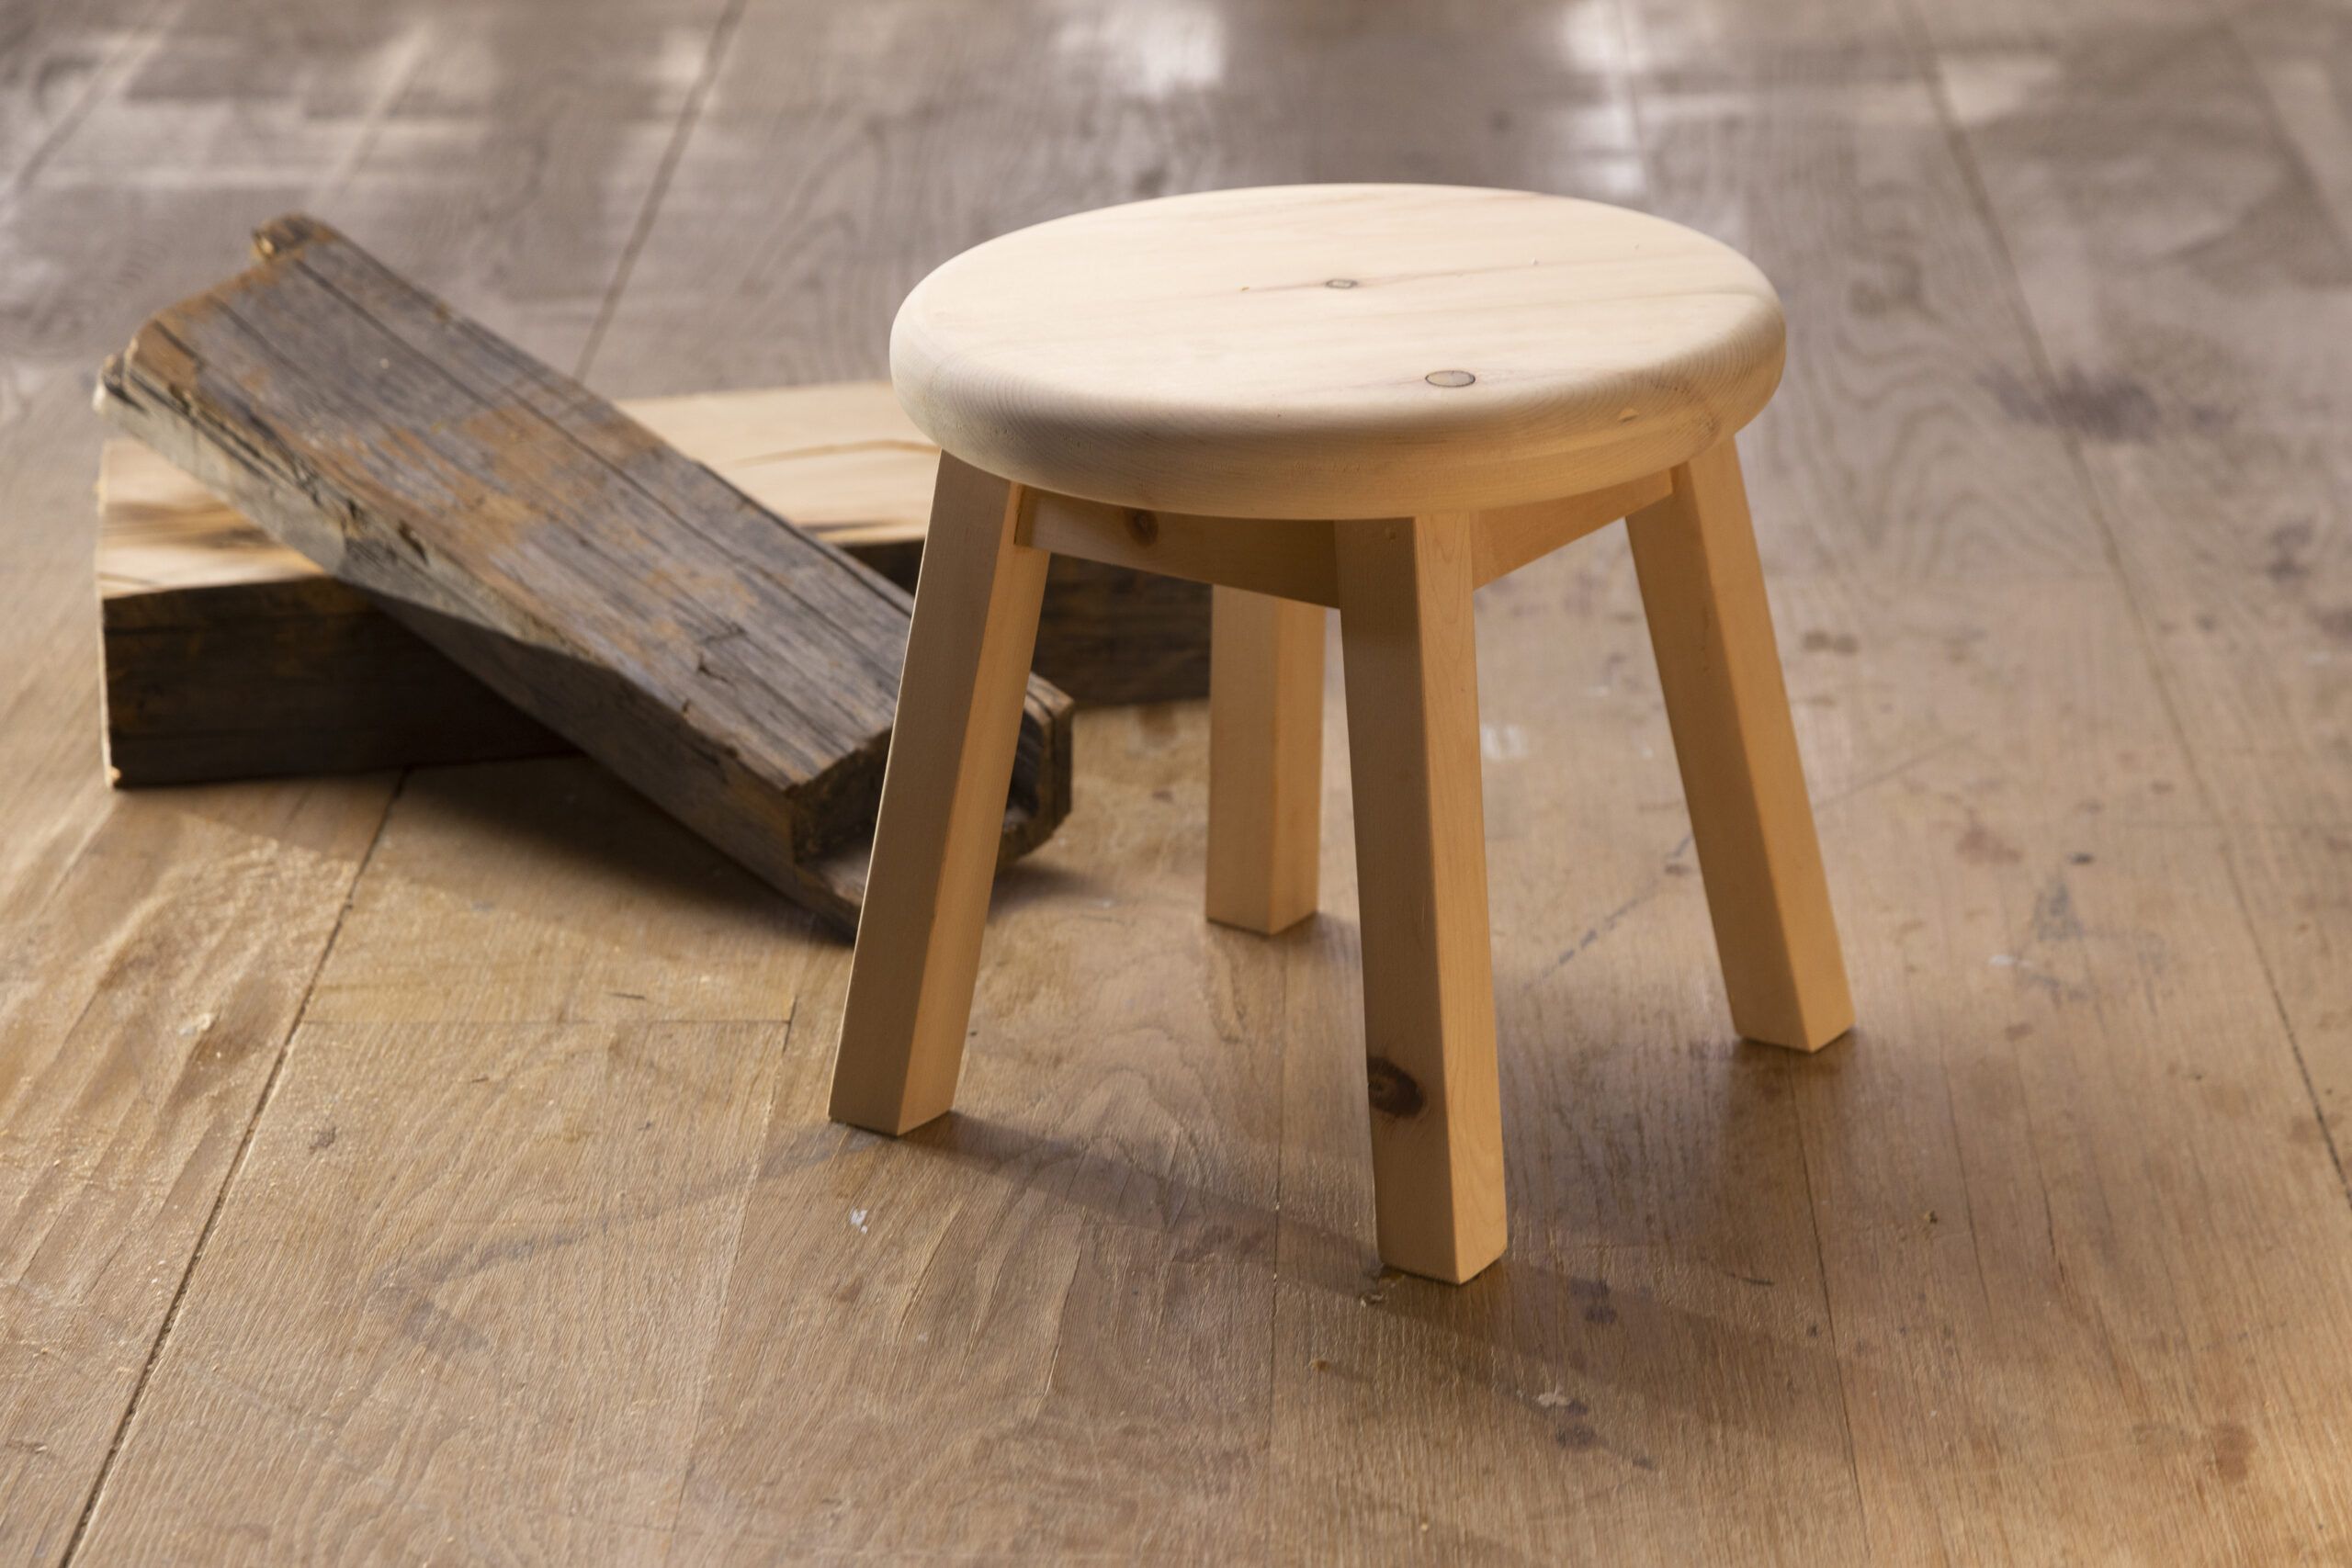
A milk stool is a versatile piece of furniture that can serve multiple purposes in your home. It can help small kids reach sinks or high surfaces, or you can use it as a plant stand or charming accent table for your favorite lamp. Building a milk stool is relatively simple for homeowners with DIY experience. In this guide, we’ll walk you through building a milk stool using reclaimed lumber, as demonstrated by This Old House expert Tom Silva and host Kevin O’Connor.
Tools and Materials Needed to Build a Milk Stool

This project requires a combination of wood, hardware, and specialized woodworking equipment, so gather the necessary tools and determine how much material you’ll need before you begin.
Wood Selection
The wood you choose for your milk stool impacts its appearance and longevity. Consider the following options based on your desired results:
- Construction lumber: Pine or hemlock are affordable options available at most lumberyards.
- Hardwoods: For a more classic and refined look, consider using oak, maple, or cherry.
- Reclaimed lumber: Using an old beam can add character and history to your project. When working with used or reclaimed wood, remove any existing nails to avoid injury or damage to your equipment. You may need to use a metal detector to find hidden metal in the wood.
Try to find pieces that are approximately 20 by 24 inches and 3 inches thick. You may need to glue multiple boards together to make your base the right size. Follow the wood grain when you glue boards together for a more consistent and professional-looking finish.
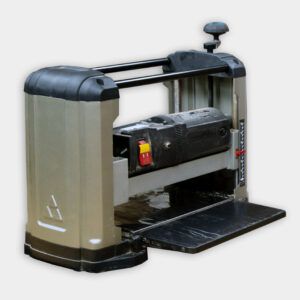
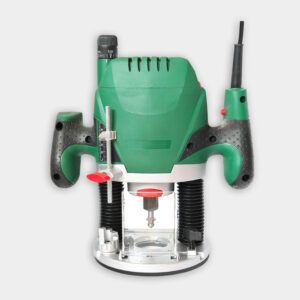
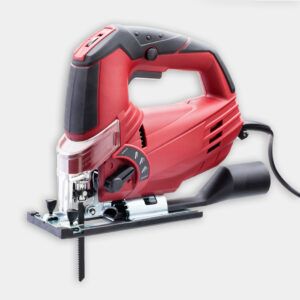
Required Tools
You’ll need the following tools to complete this project:
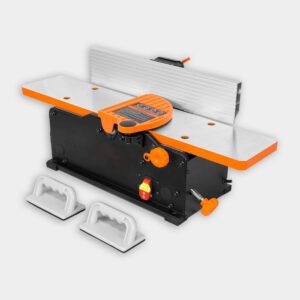
- Benchtop jointer
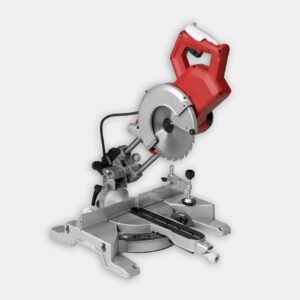
- Compound miter saw
- Jigsaw
- Power drill
- Router with template collar and router bits
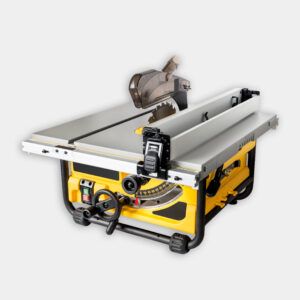
- Table saw
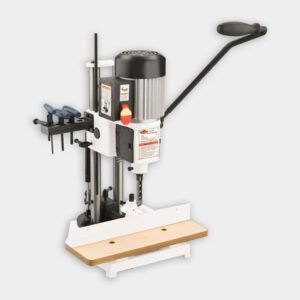
- Tenon mortiser
- Thickness planer
Additional Materials
In addition to wood, you’ll need these materials to complete your milk stool:
- 2 1/2-inch screws
- Finish of your choice (paint, stain, or oil)
- Sandpaper (various grits)
- Wood glue
Steps for Building a Milk Stool
You’ll be building the pieces of your wood stool separately before assembling them, so pay close attention to your work to ensure correct measurements and fittings.
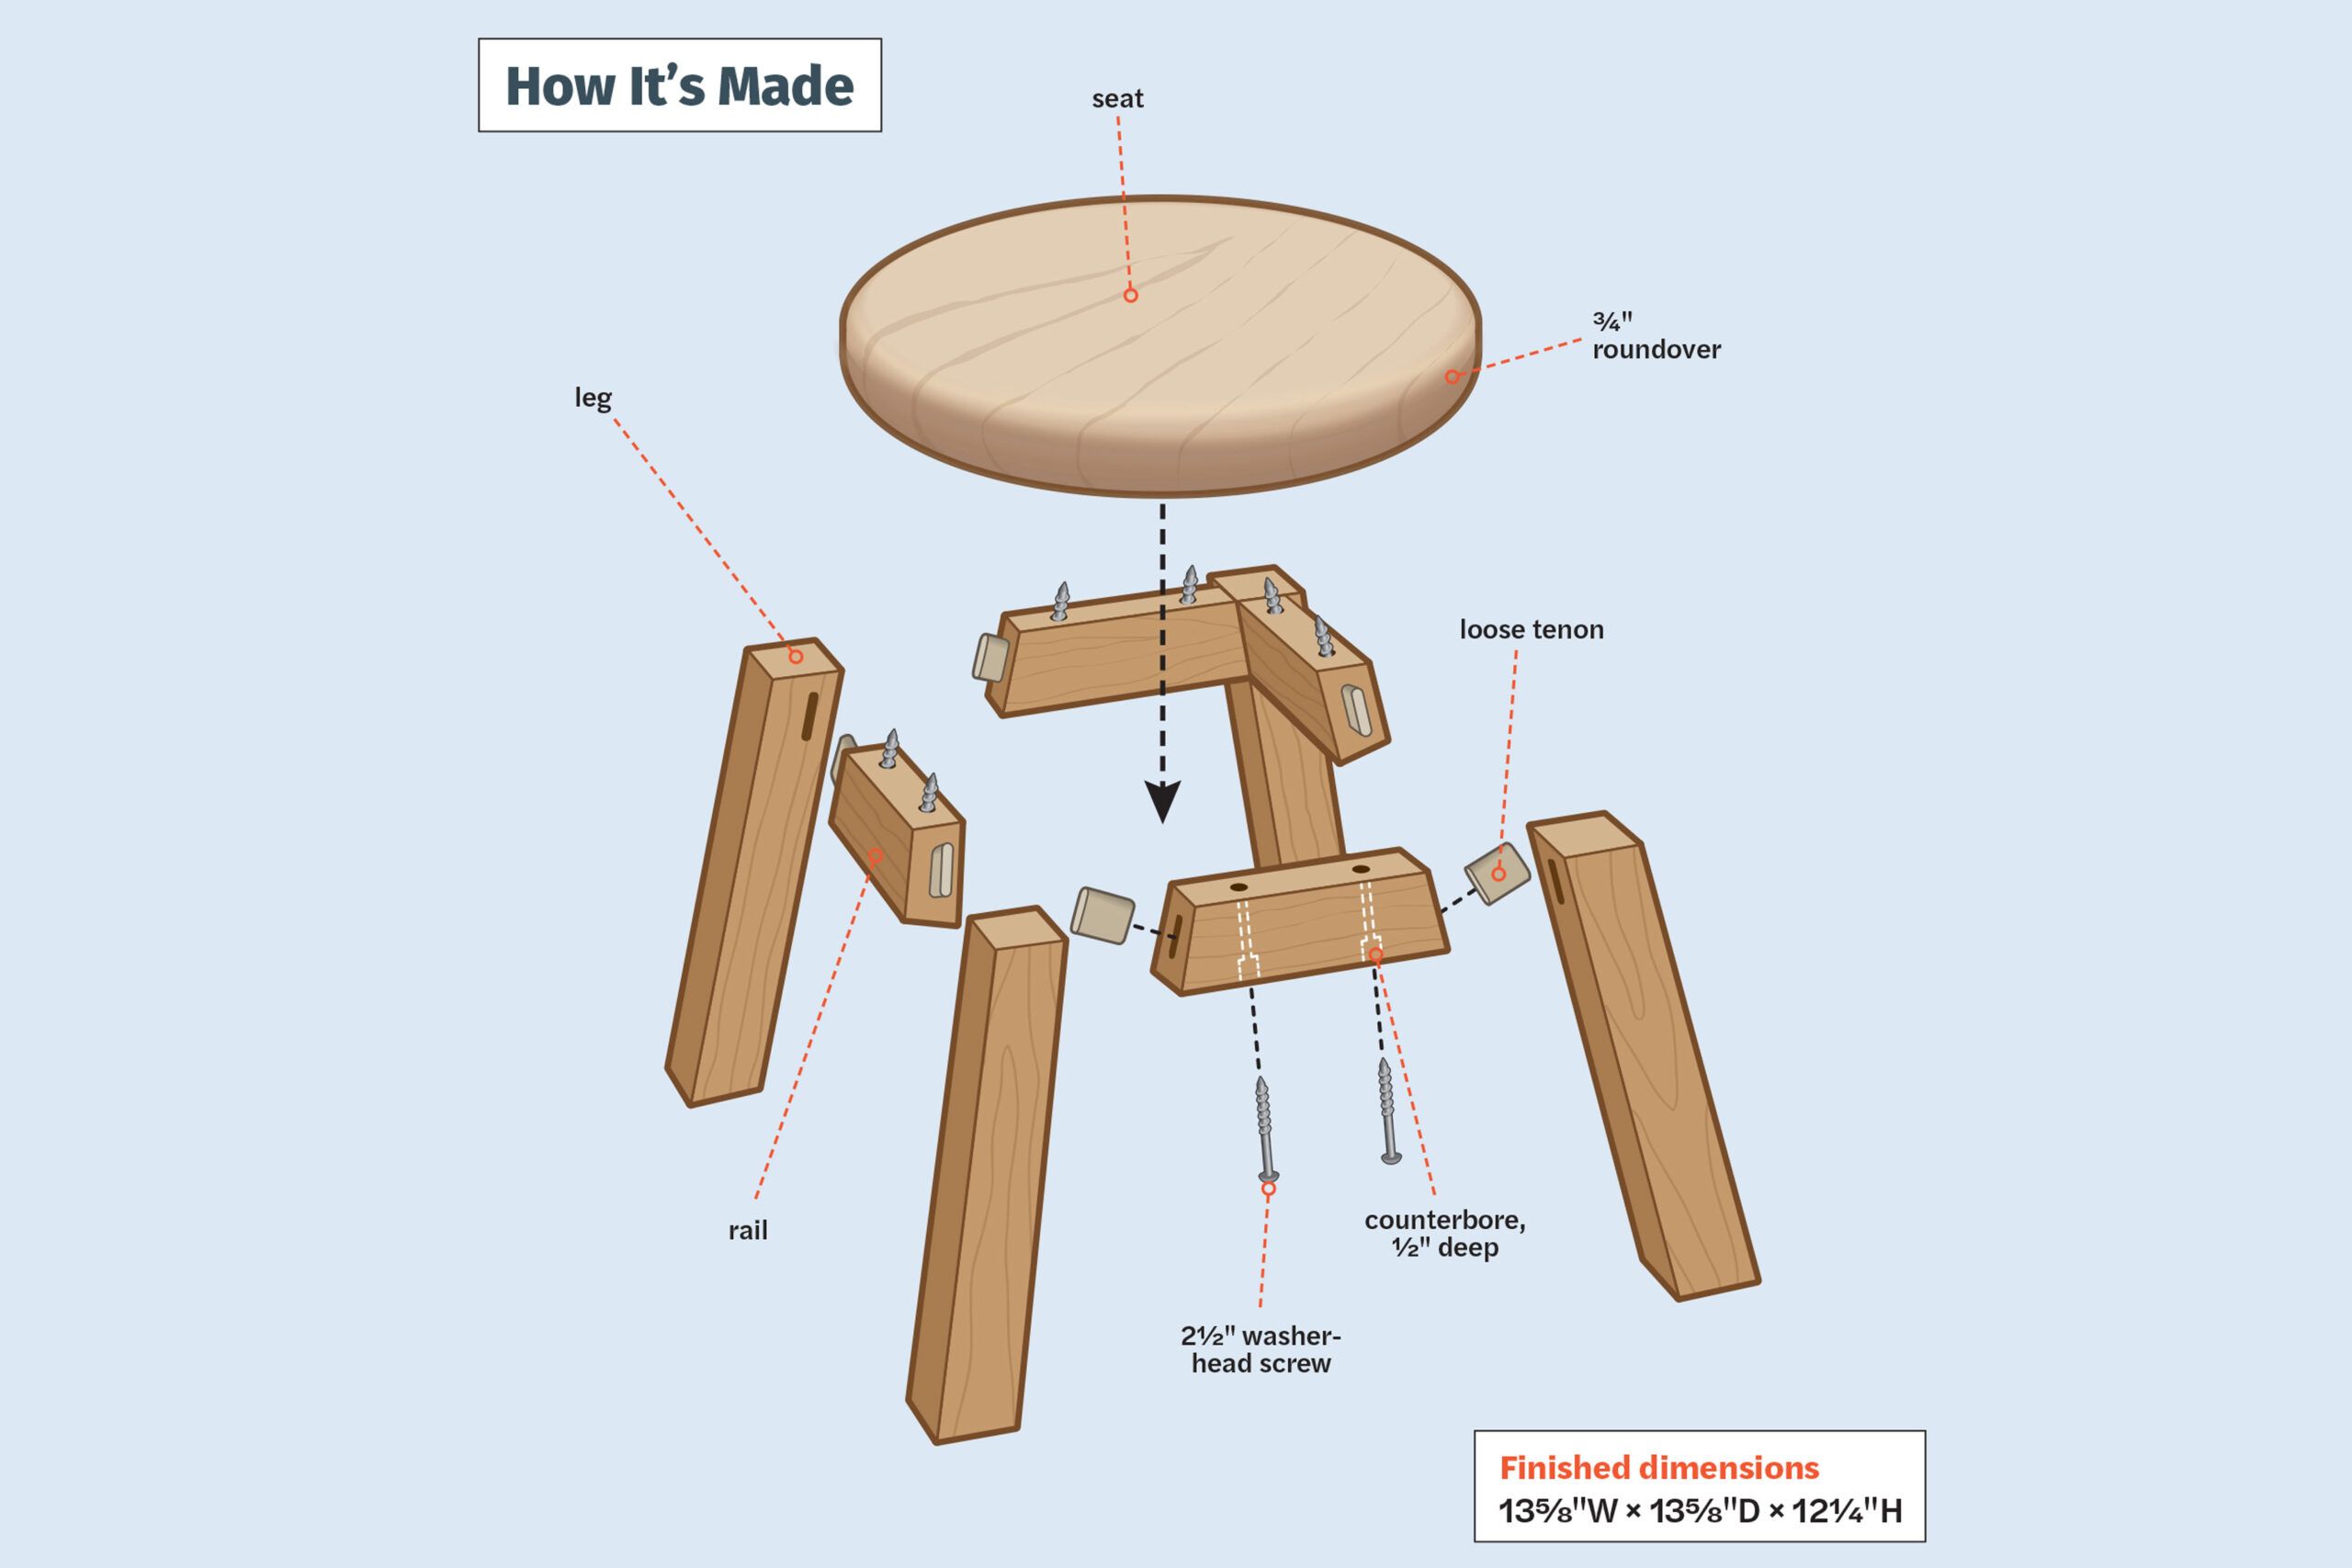
Step 1: Create the Seat Blank
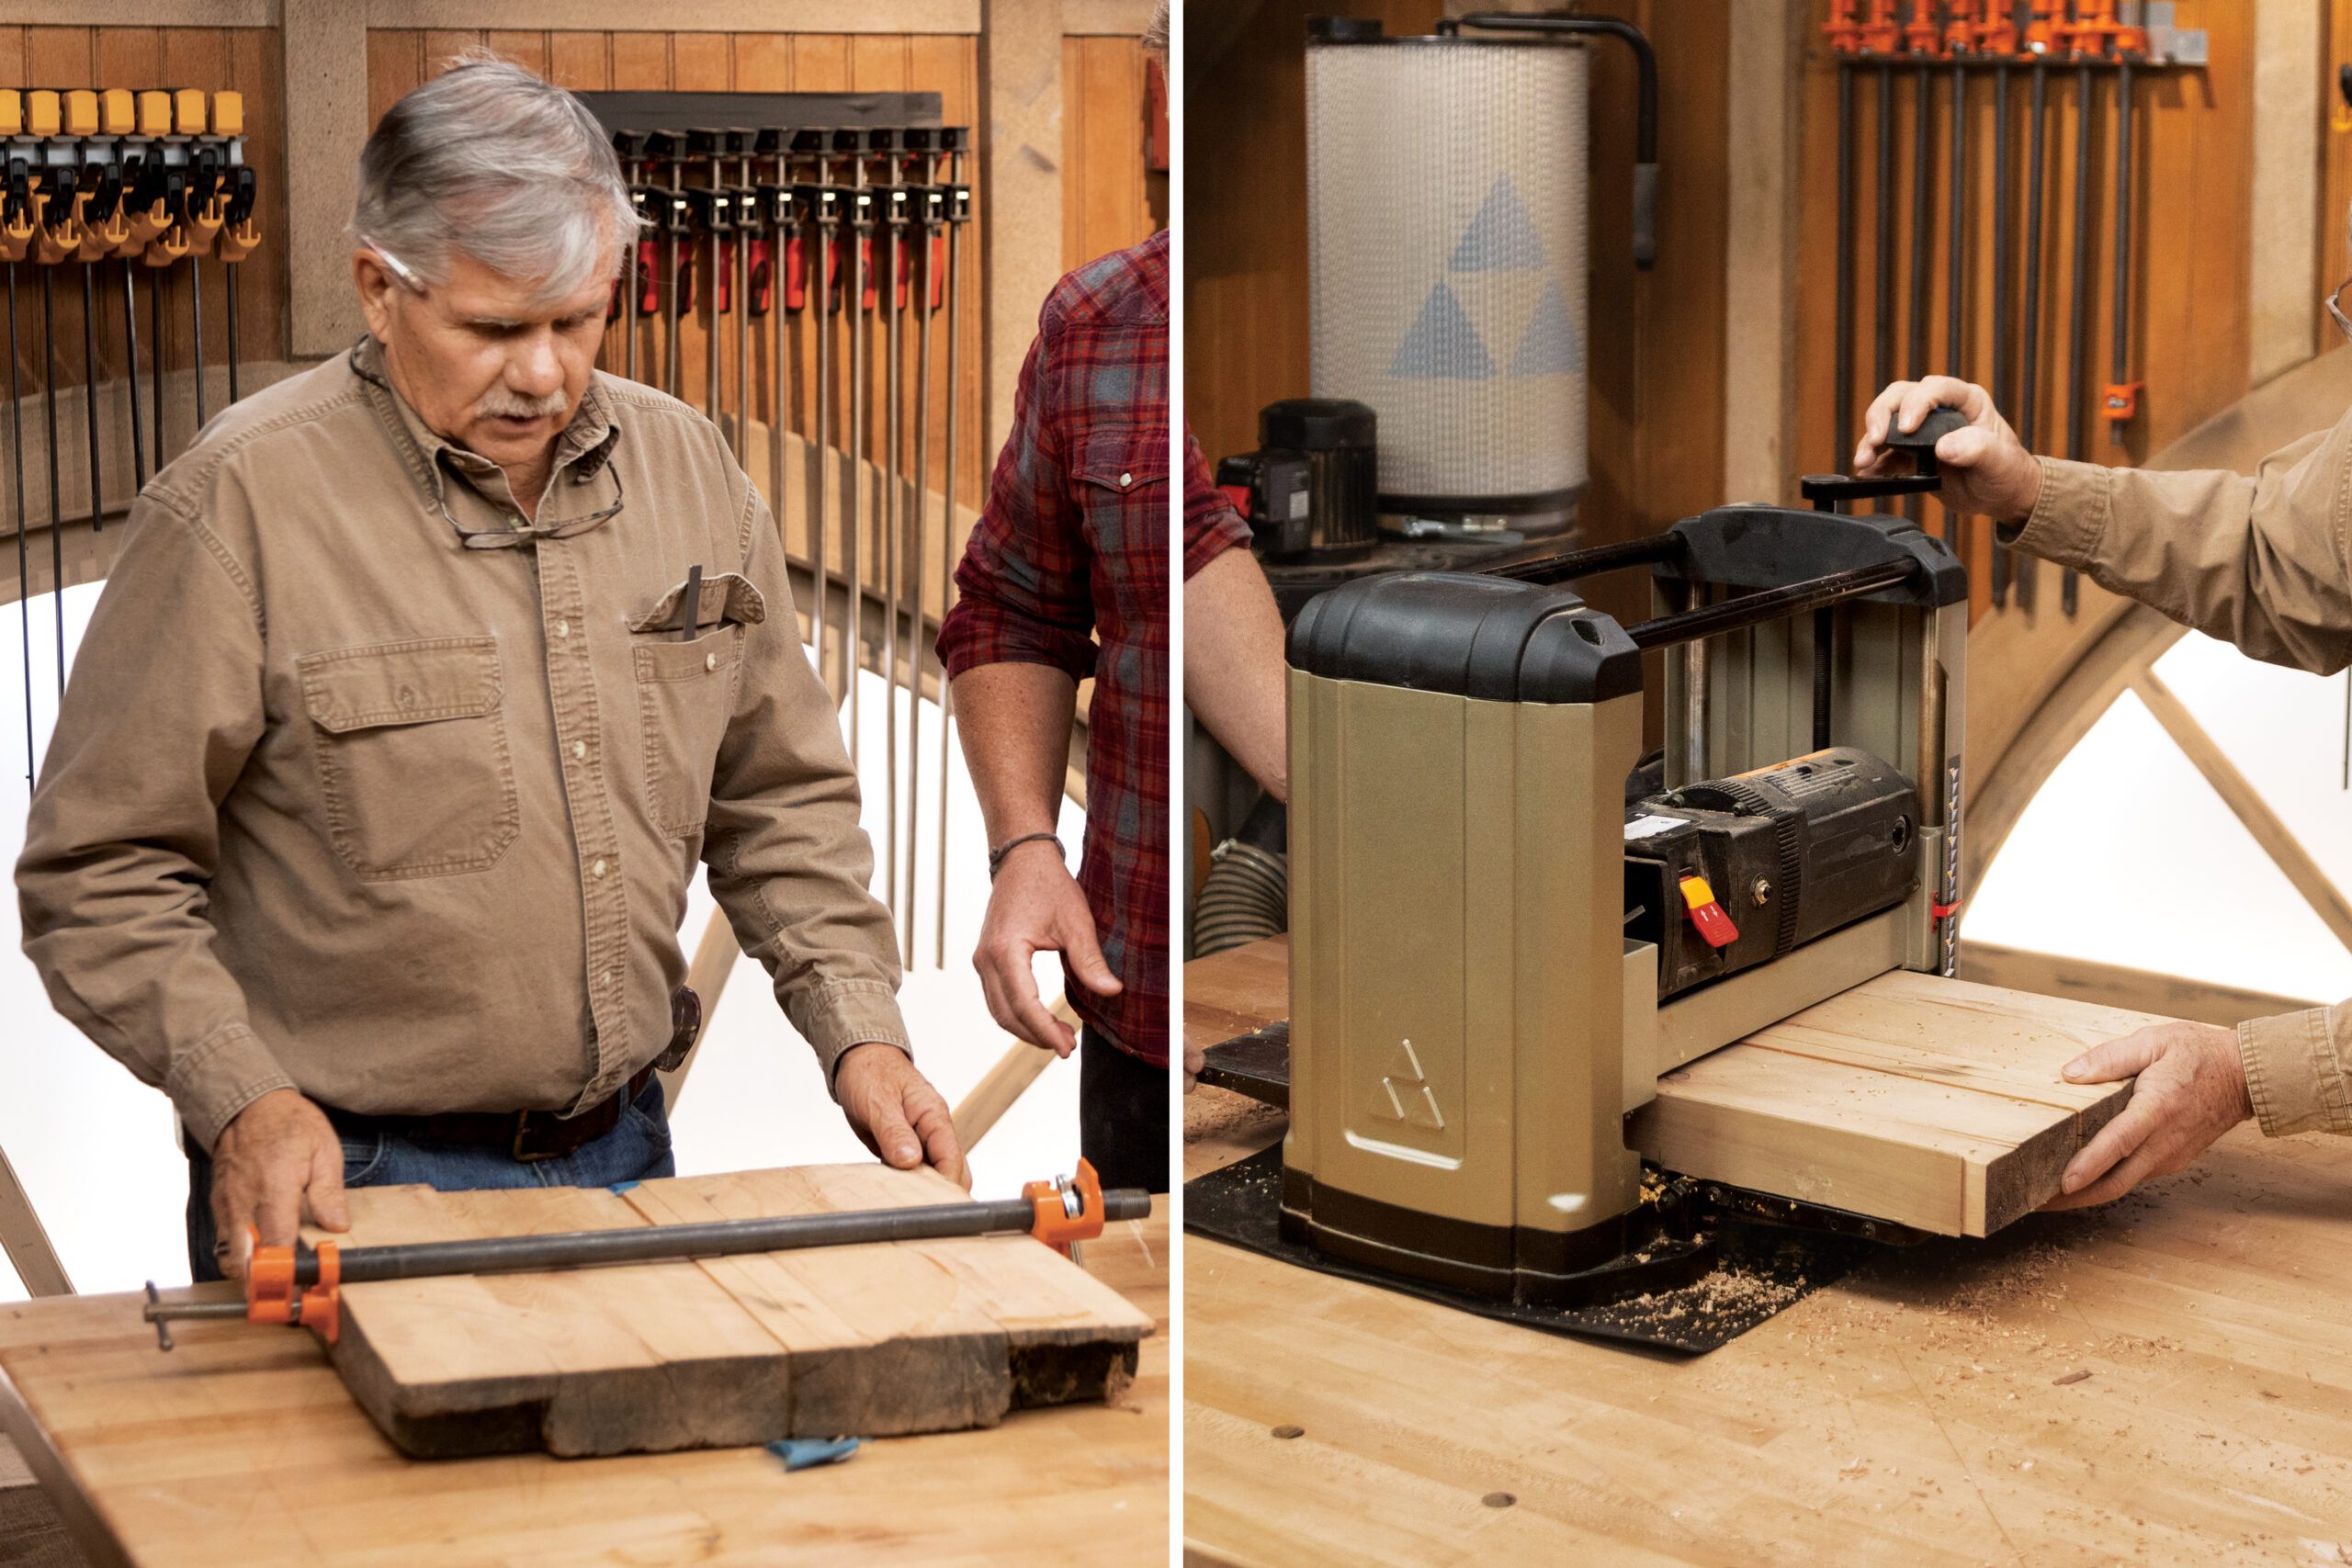
- Rip enough pieces of wood to create a slab at least 12 1/2 inches square and about 2 inches thick.
- Use a jointer to straighten and square the edges of the boards.
- Glue the pieces together using pipe or bar clamps to form the seat blank.
Step 2: Plane the Seat
Use a table saw to rip the seat blank to fit your planer. Plane the blank to a thickness of about 1 3/4 inches, removing equal amounts from both faces.
Step 3: Rout the Circle
- Mark the center of the seat blank and set up a circle-cutting router jig to cut a 12-inch circle.
- Rout out the circle in 1/4-inch-deep increments until the bit is fully extended or about 1/2 inch from completing the cut.
Take your time with this step and only remove small bits at a time to avoid damaging your stool.
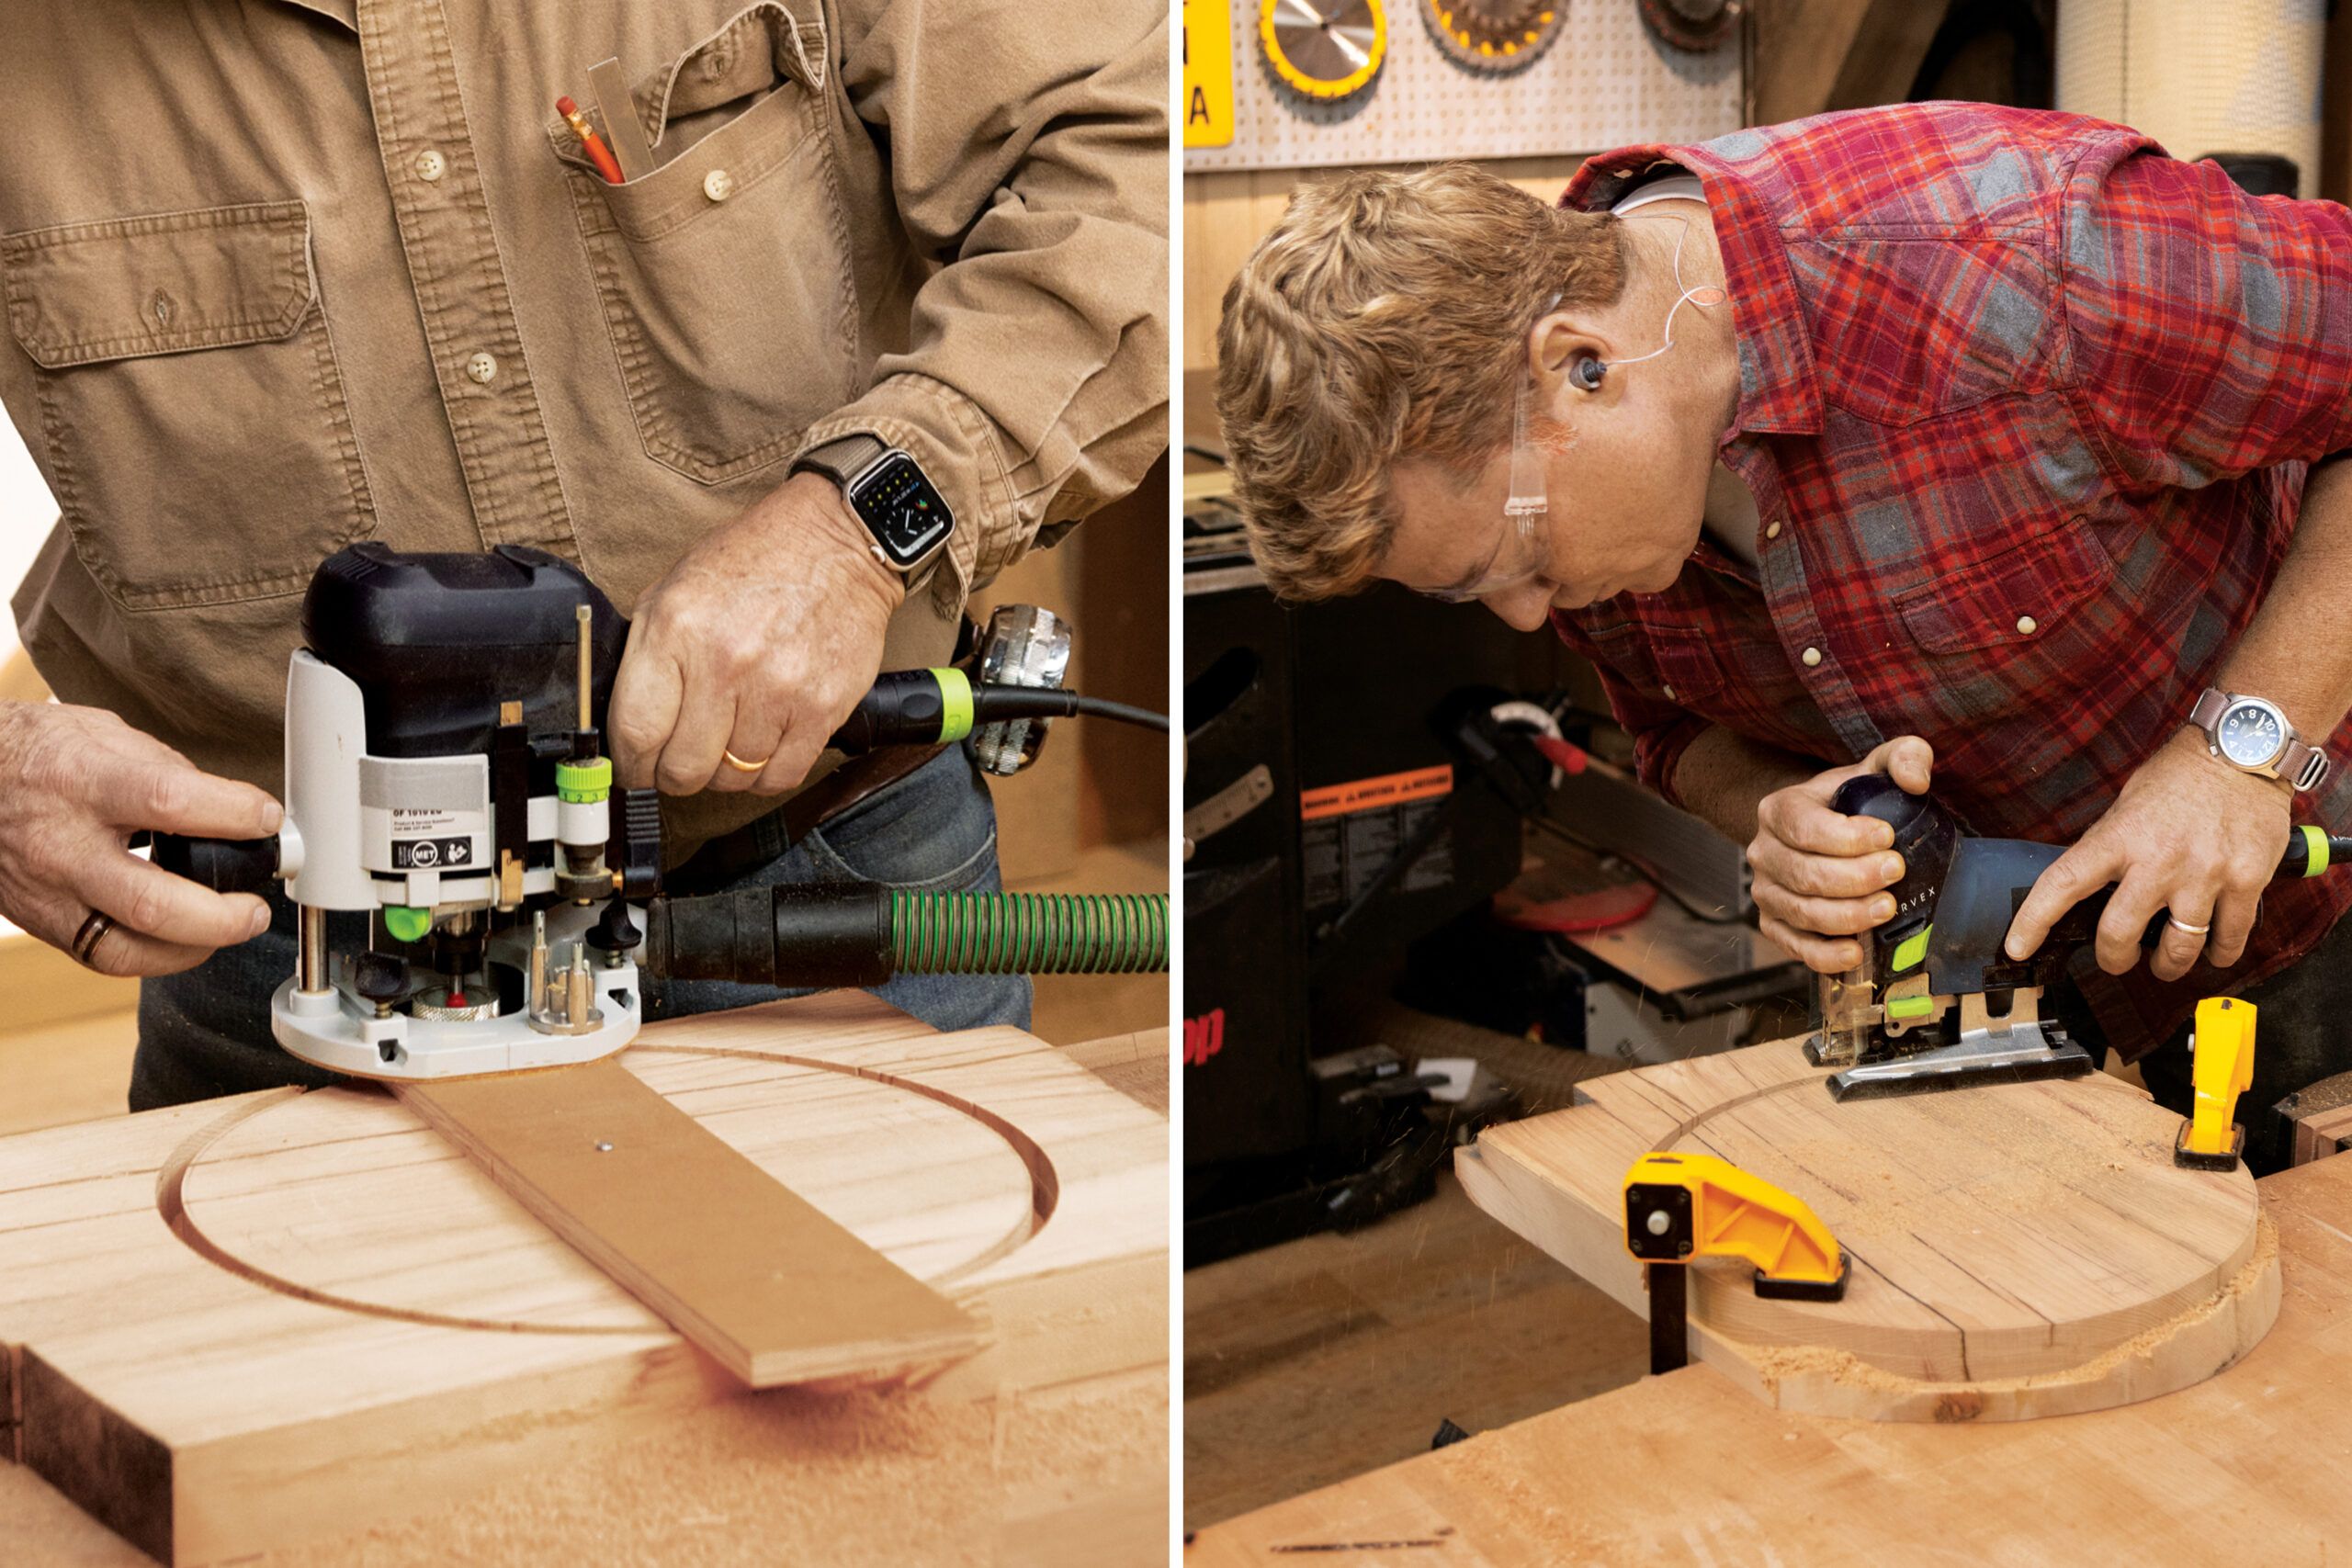
Step 4: Cut Off the Waste
Remove the router jig and use a jigsaw to remove the excess material, staying clear of the finished edge.
Step 5: Complete the Circle
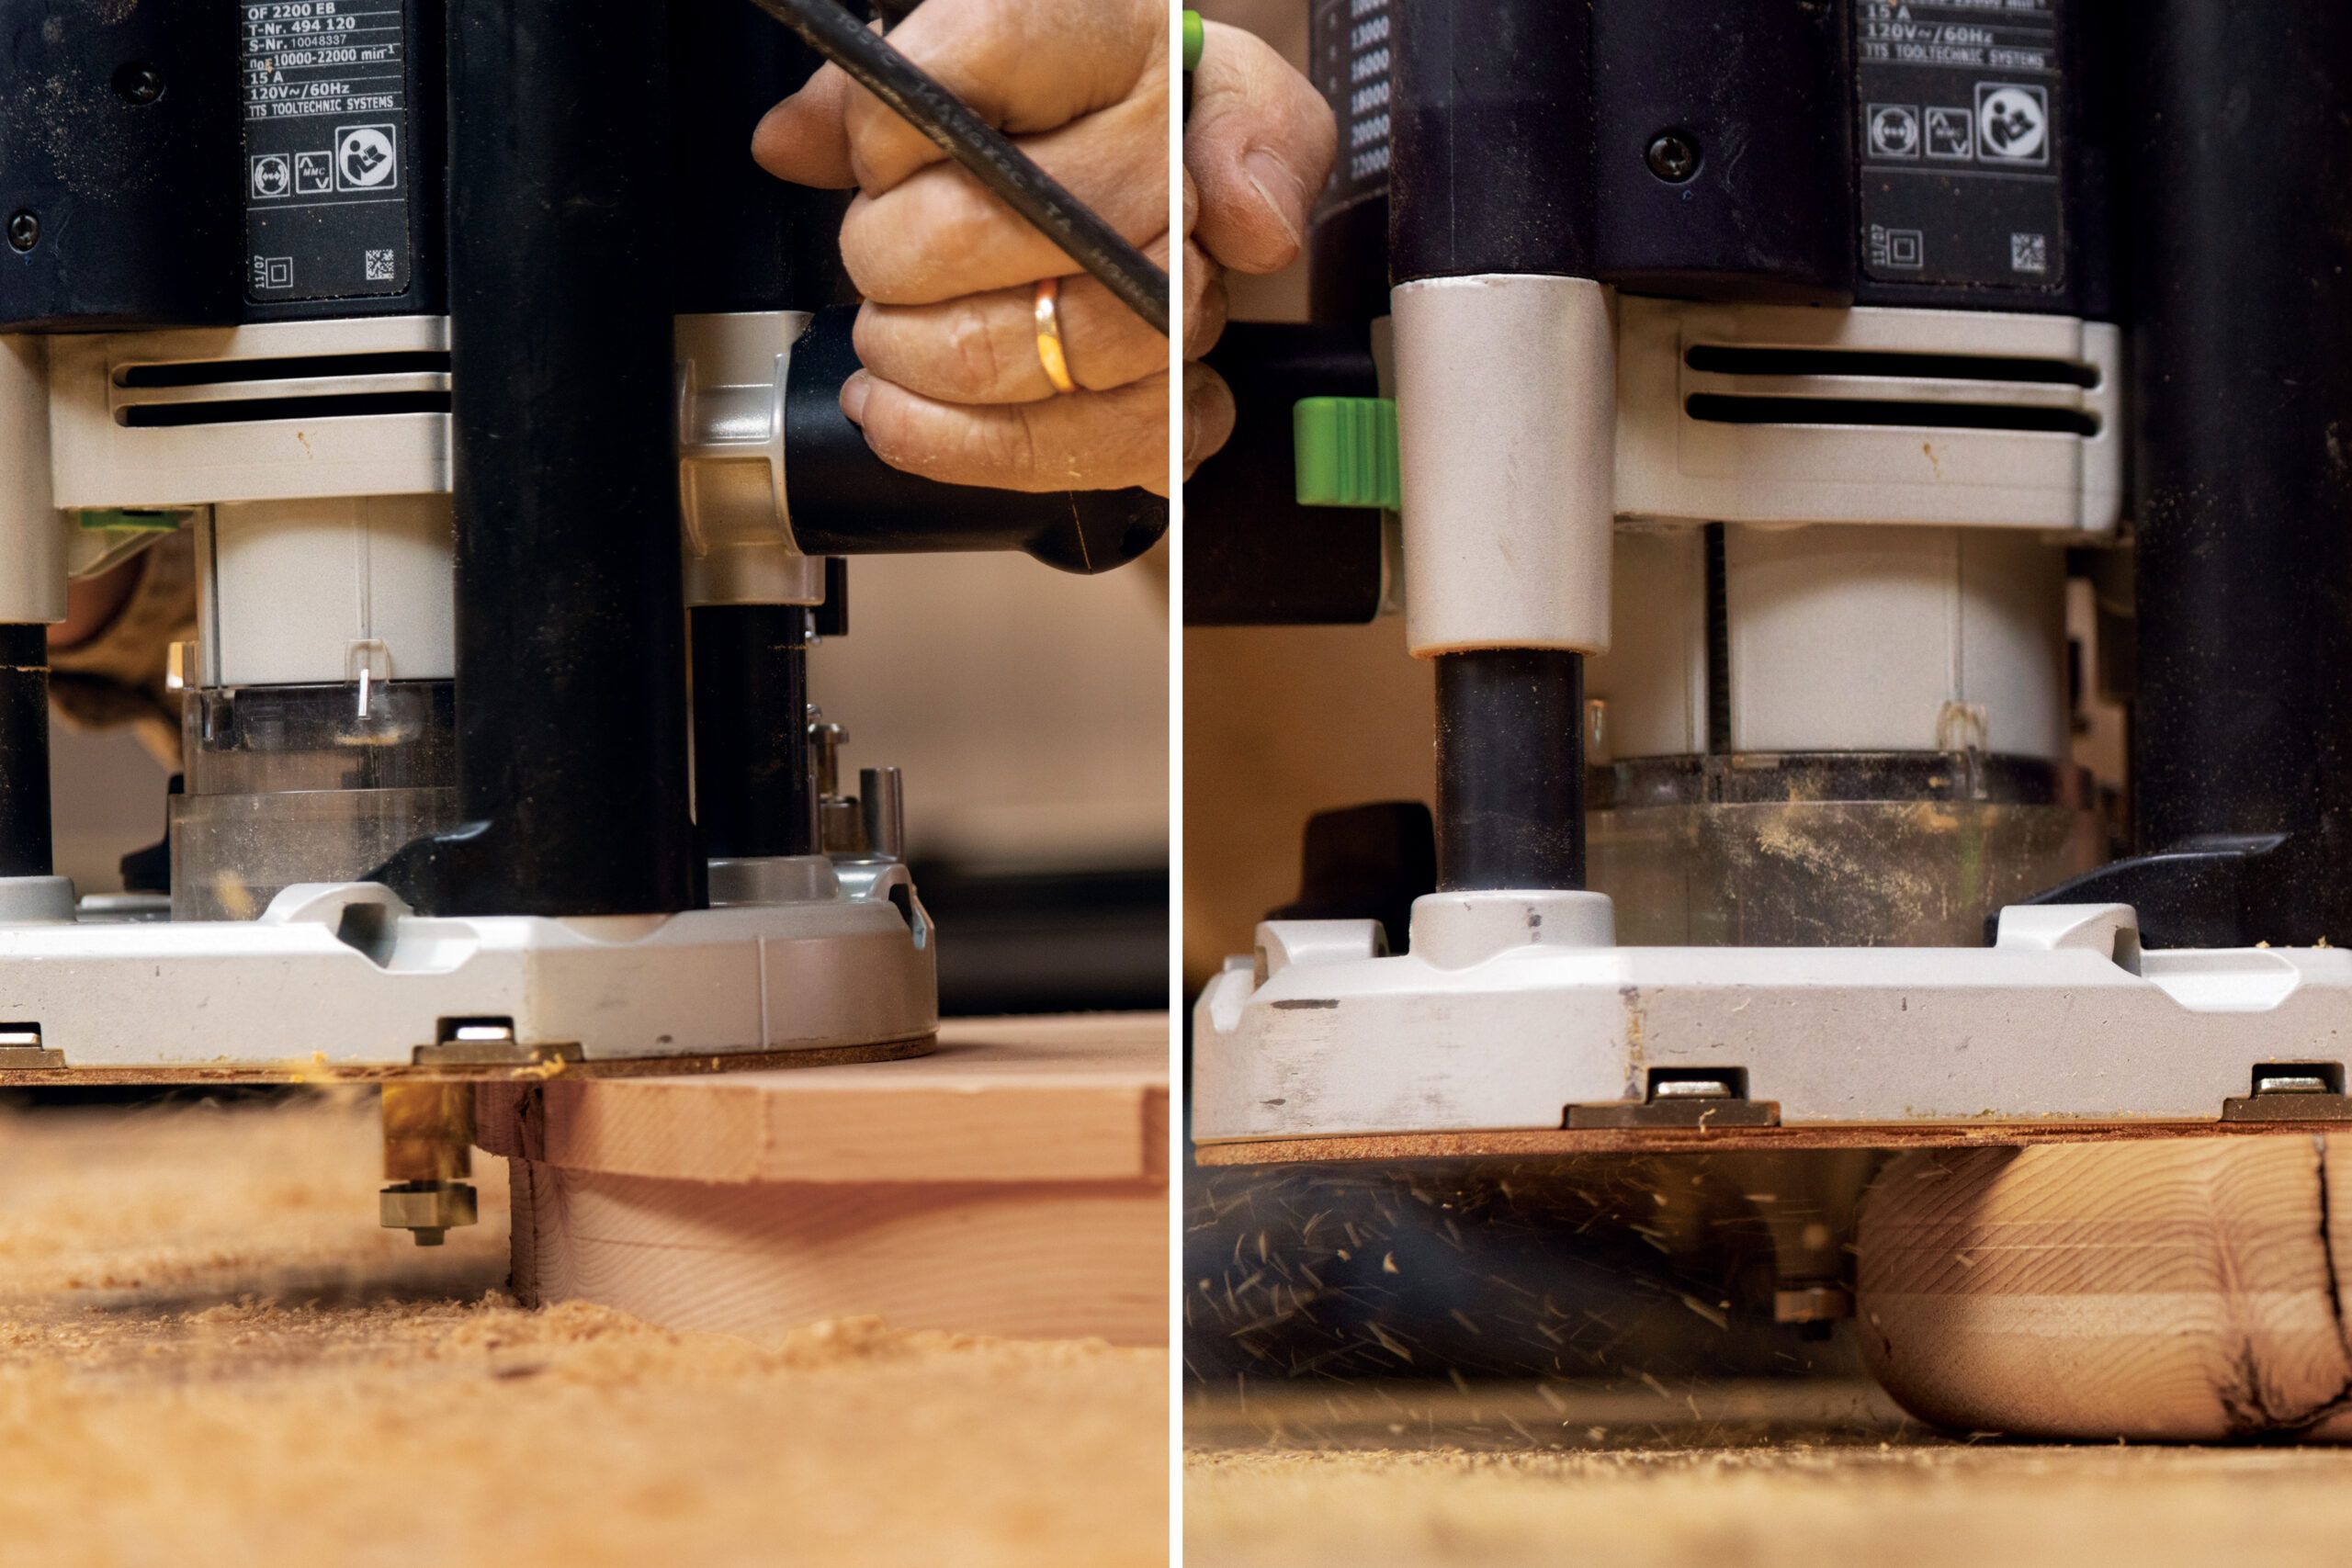
Flip the seat over and use a bottom-bearing template bit to complete the circular cut. Make sure to rout in a counterclockwise direction.
Step 6: Make a Soft Edge on the Seat
To make sure the seat is safe and comfortable, add a soft edge as follows:
- Use a 3/4-inch roundover bit to establish a soft radius on the top and bottom edges.
- Rout the edge in incrementally deeper cuts to avoid tearing out the wood.
- Sand the entire seat surface, progressing through grits up to 220.
Step 7: Rough Cut the Base Parts
- Cut one 1 3/4-by-1 1/4-by-30-inch-long piece for the rails.
- Cut four 1 1/2-by-1 1/2-by-14-inch-long pieces for the legs.
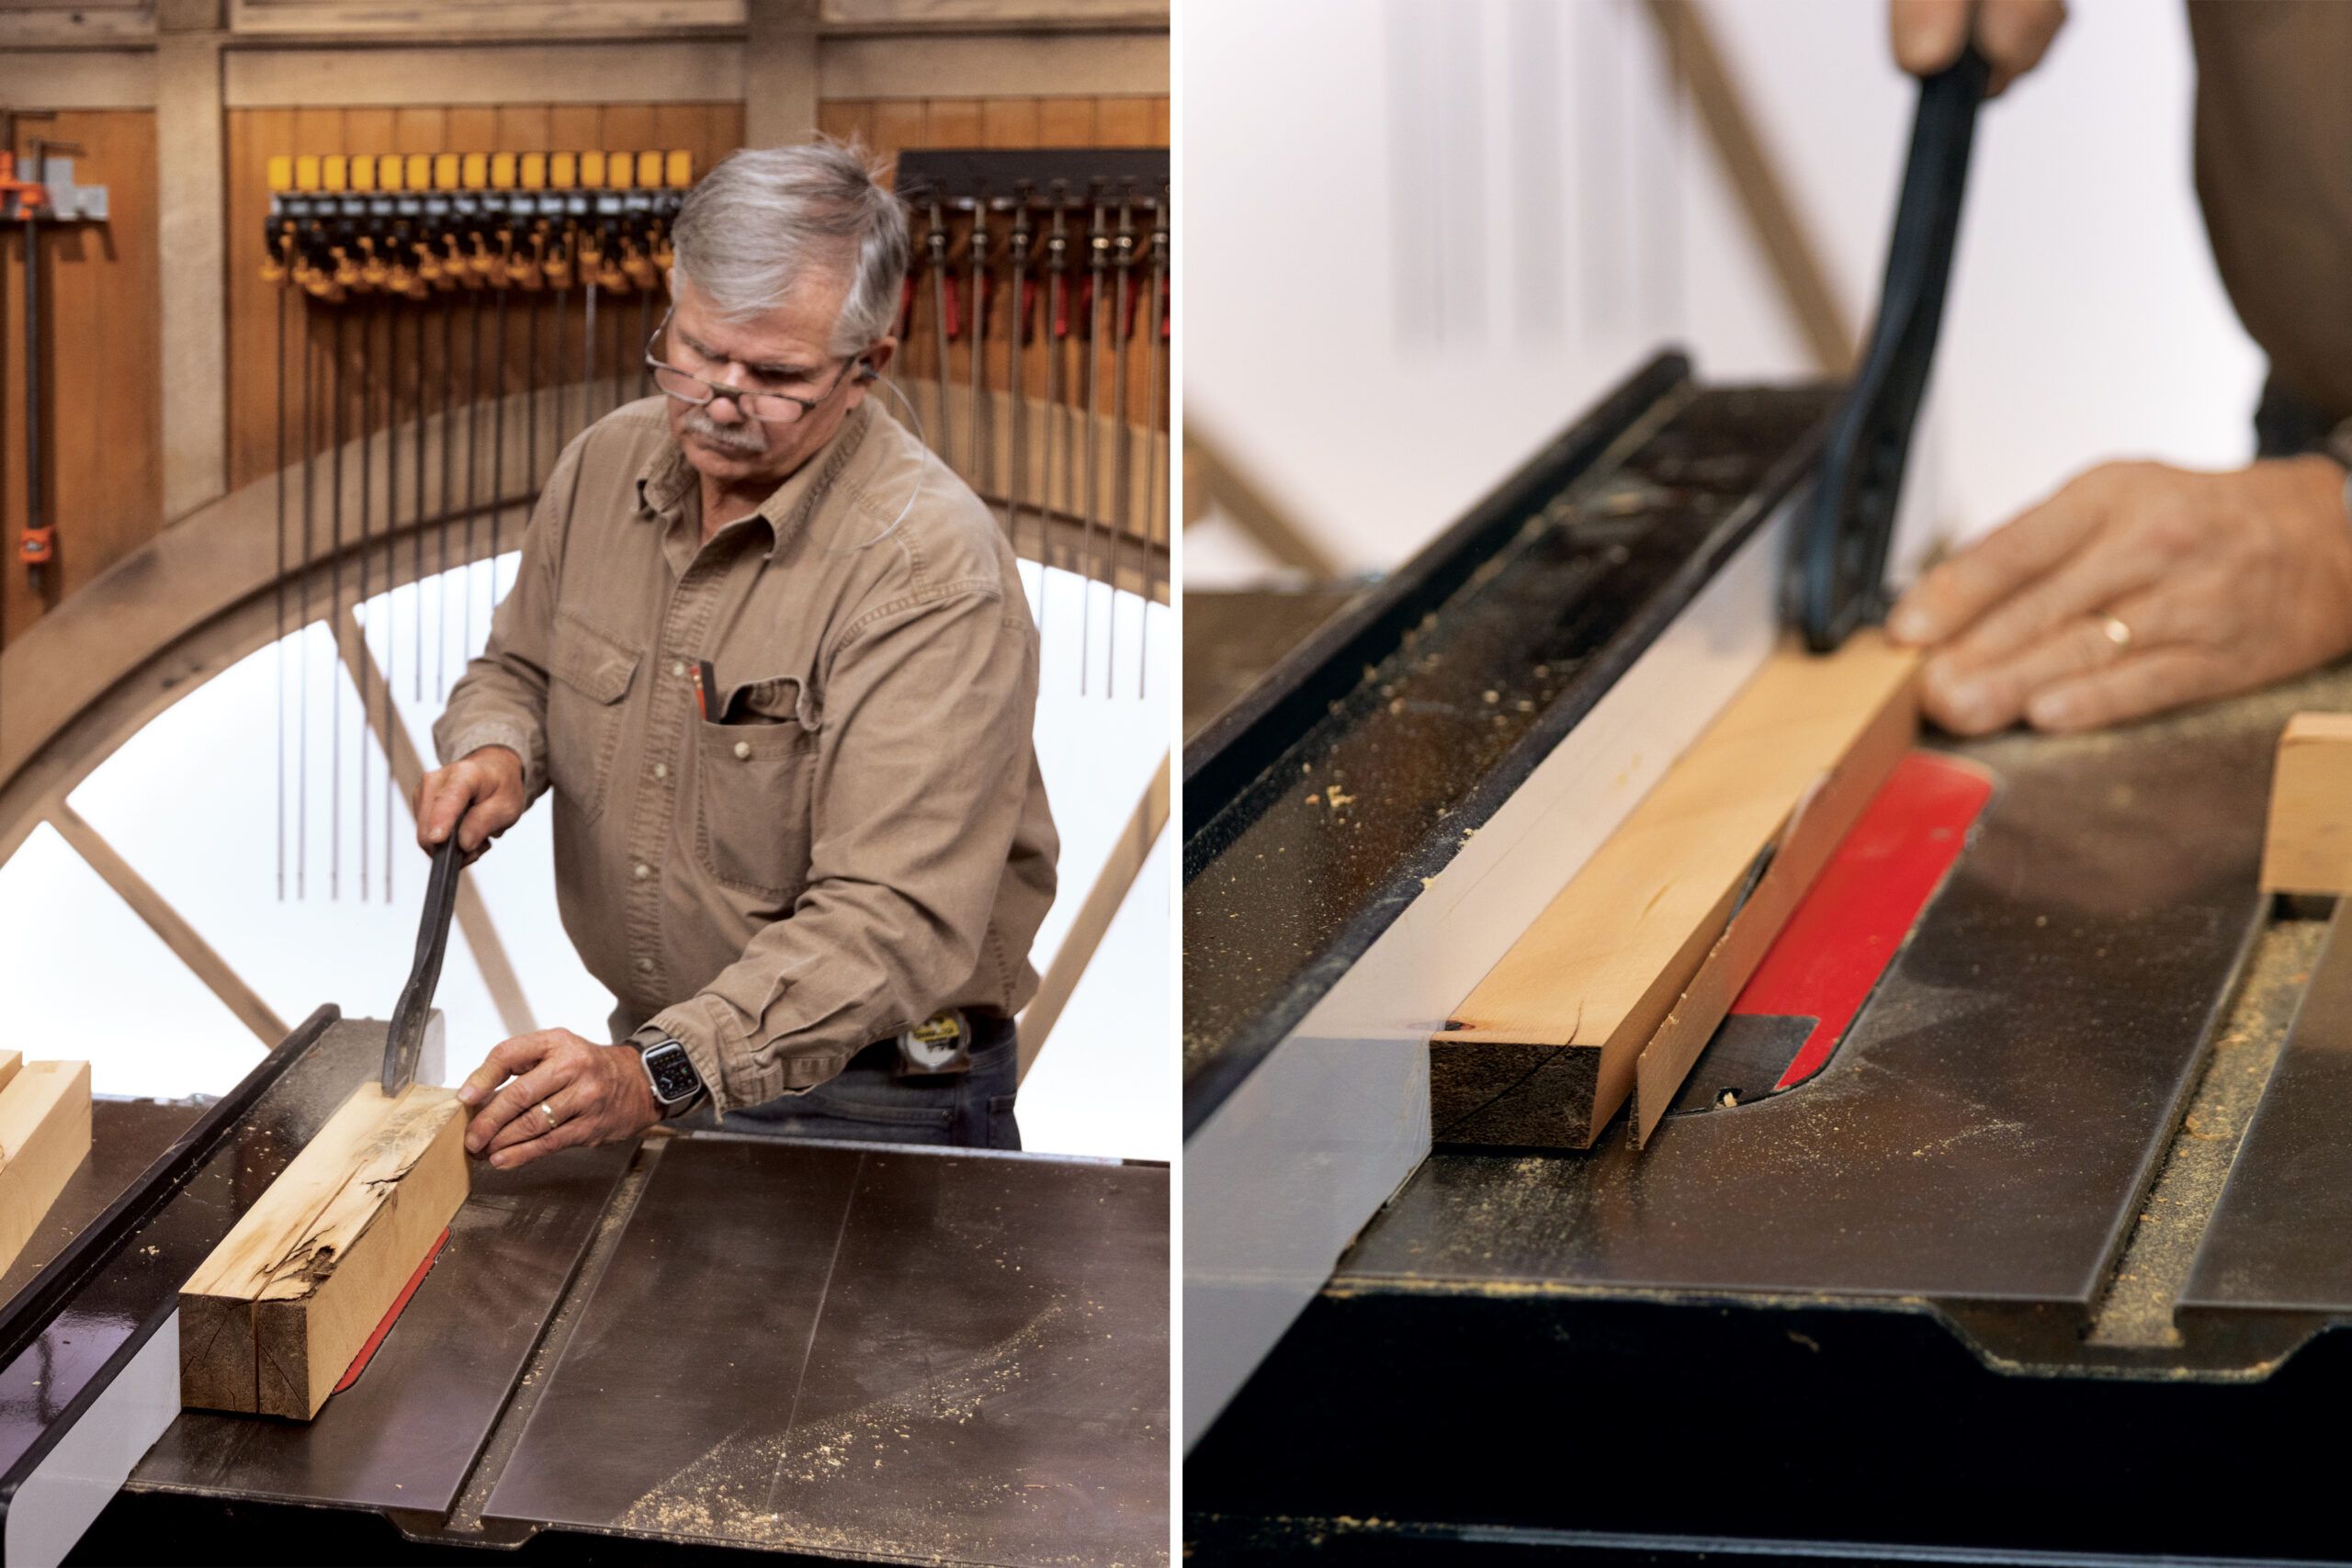
Step 8: Bevel the Rails
- Adjust your table saw blade to 8 degrees and bevel the top edge of the rail stock.
- Sand all leg and rail parts up to 220-grit.
Step 9: Cut the Angles for Assembly
To create your milk stool’s splayed leg design, do the following:
- Set your miter saw to an 8-degree miter angle and cut the ends of the rails.
- Adjust the bevel angle to 8 degrees so the blade tips in the same direction as the miter.
- Cut each leg to 10 inches long with compound miters on both ends.
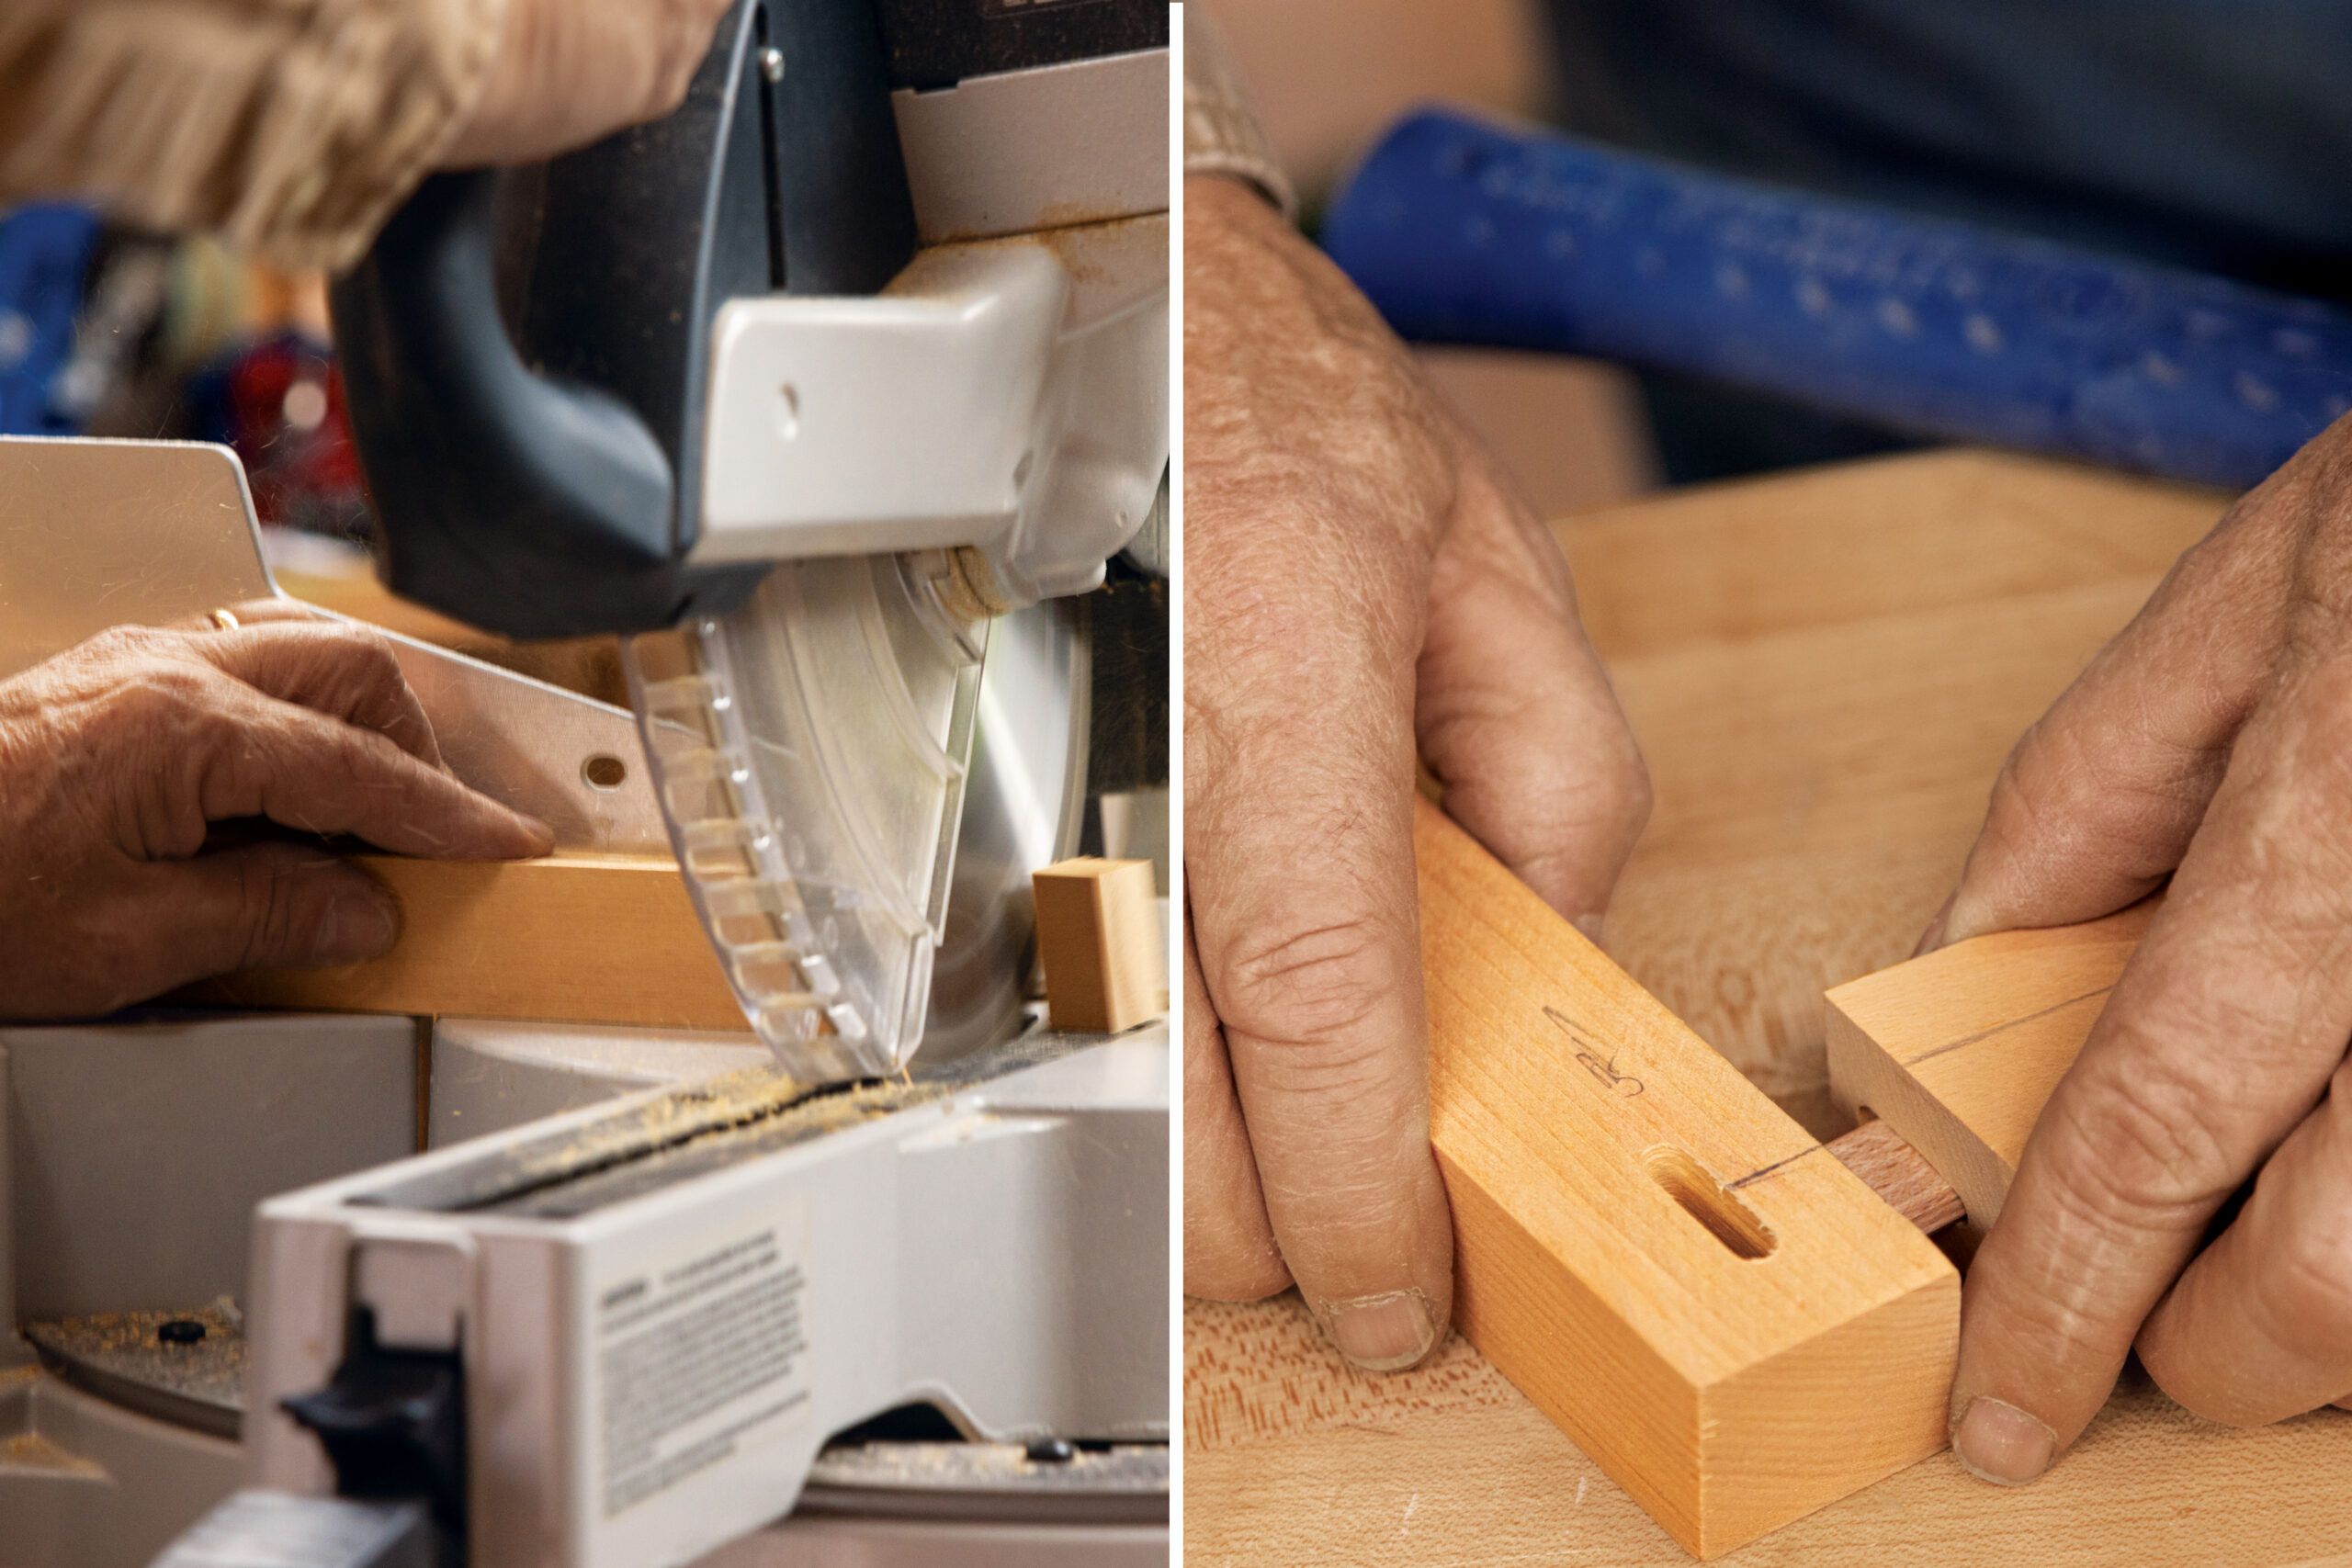
Step 10: Make the Mortises
- Mark the top inside faces of each leg, 1 inch from the top.
- Use a loose-tenon joiner to create matching mortises at both ends of each rail and on the inside faces of each leg.
Step 11: Assemble the Base
- Apply glue to the mortises and mating surfaces of the legs and rails.
- Slide a loose tenon into both ends of each rail and assemble the base using gentle taps with a hammer and wood block for a snug fit.

Step 12: Attach the Base to the Seat
- Draw two perpendicular lines crossing at the center point on the seat’s bottom face.
- Use these lines to center the base assembly on the seat.
- Drill pilot and countersink holes into the rails.
- Fasten the base to the seat using 2 1/2-inch screws.
Step 13: Final Sanding and Finishing
- Give the entire stool a final sanding, paying particular attention to rough spots and transitions between parts.
- Apply your chosen paint, finish, or stain on the seat and legs.
- Allow this coating to dry completely before using your new milk stool.
More Crafting Techniques for Your Milk Stool
Here are some tips for personalizing your milk stool to fit your unique style or home decor:
- Alternate finishes: While traditional finishes like paints and stains are common choices, consider using modern effects like epoxy resin coatings for a more contemporary twist on this classic creation.
- Custom leg designs: Experiment with different leg designs by turning the legs on a lathe or adding carved details. These custom touches can transform your stool into a bespoke piece of furniture without the need for specialized woodworking knowledge.
- Decorative inlays: You can add decorative inlays to the stool’s seat using contrasting wood types for an artistic flair.
Maintenance Tips for Your Milk Stool
Here are some maintenance tips to ensure you get the most out of your milk stool for years to come:
- Cleaning: Clean the stool with a damp cloth and mild detergent. Avoid harsh chemicals that can degrade the wood or finish.
- Protective coatings: Apply a clear protective coating over your finish to shield the wood from moisture and wear. Products like polyurethane or beeswax can improve your stool’s durability.
- Regular inspections: Regularly inspect your stool to check for any loose joints or hardware. Tightening screws and reapplying wood glue can prevent any damage from getting worse.