We may be compensated if you purchase through links on our website. Our team is committed to delivering honest, objective, and independent reviews on home products and services.
Project details
Skill
Cost
Estimated Time
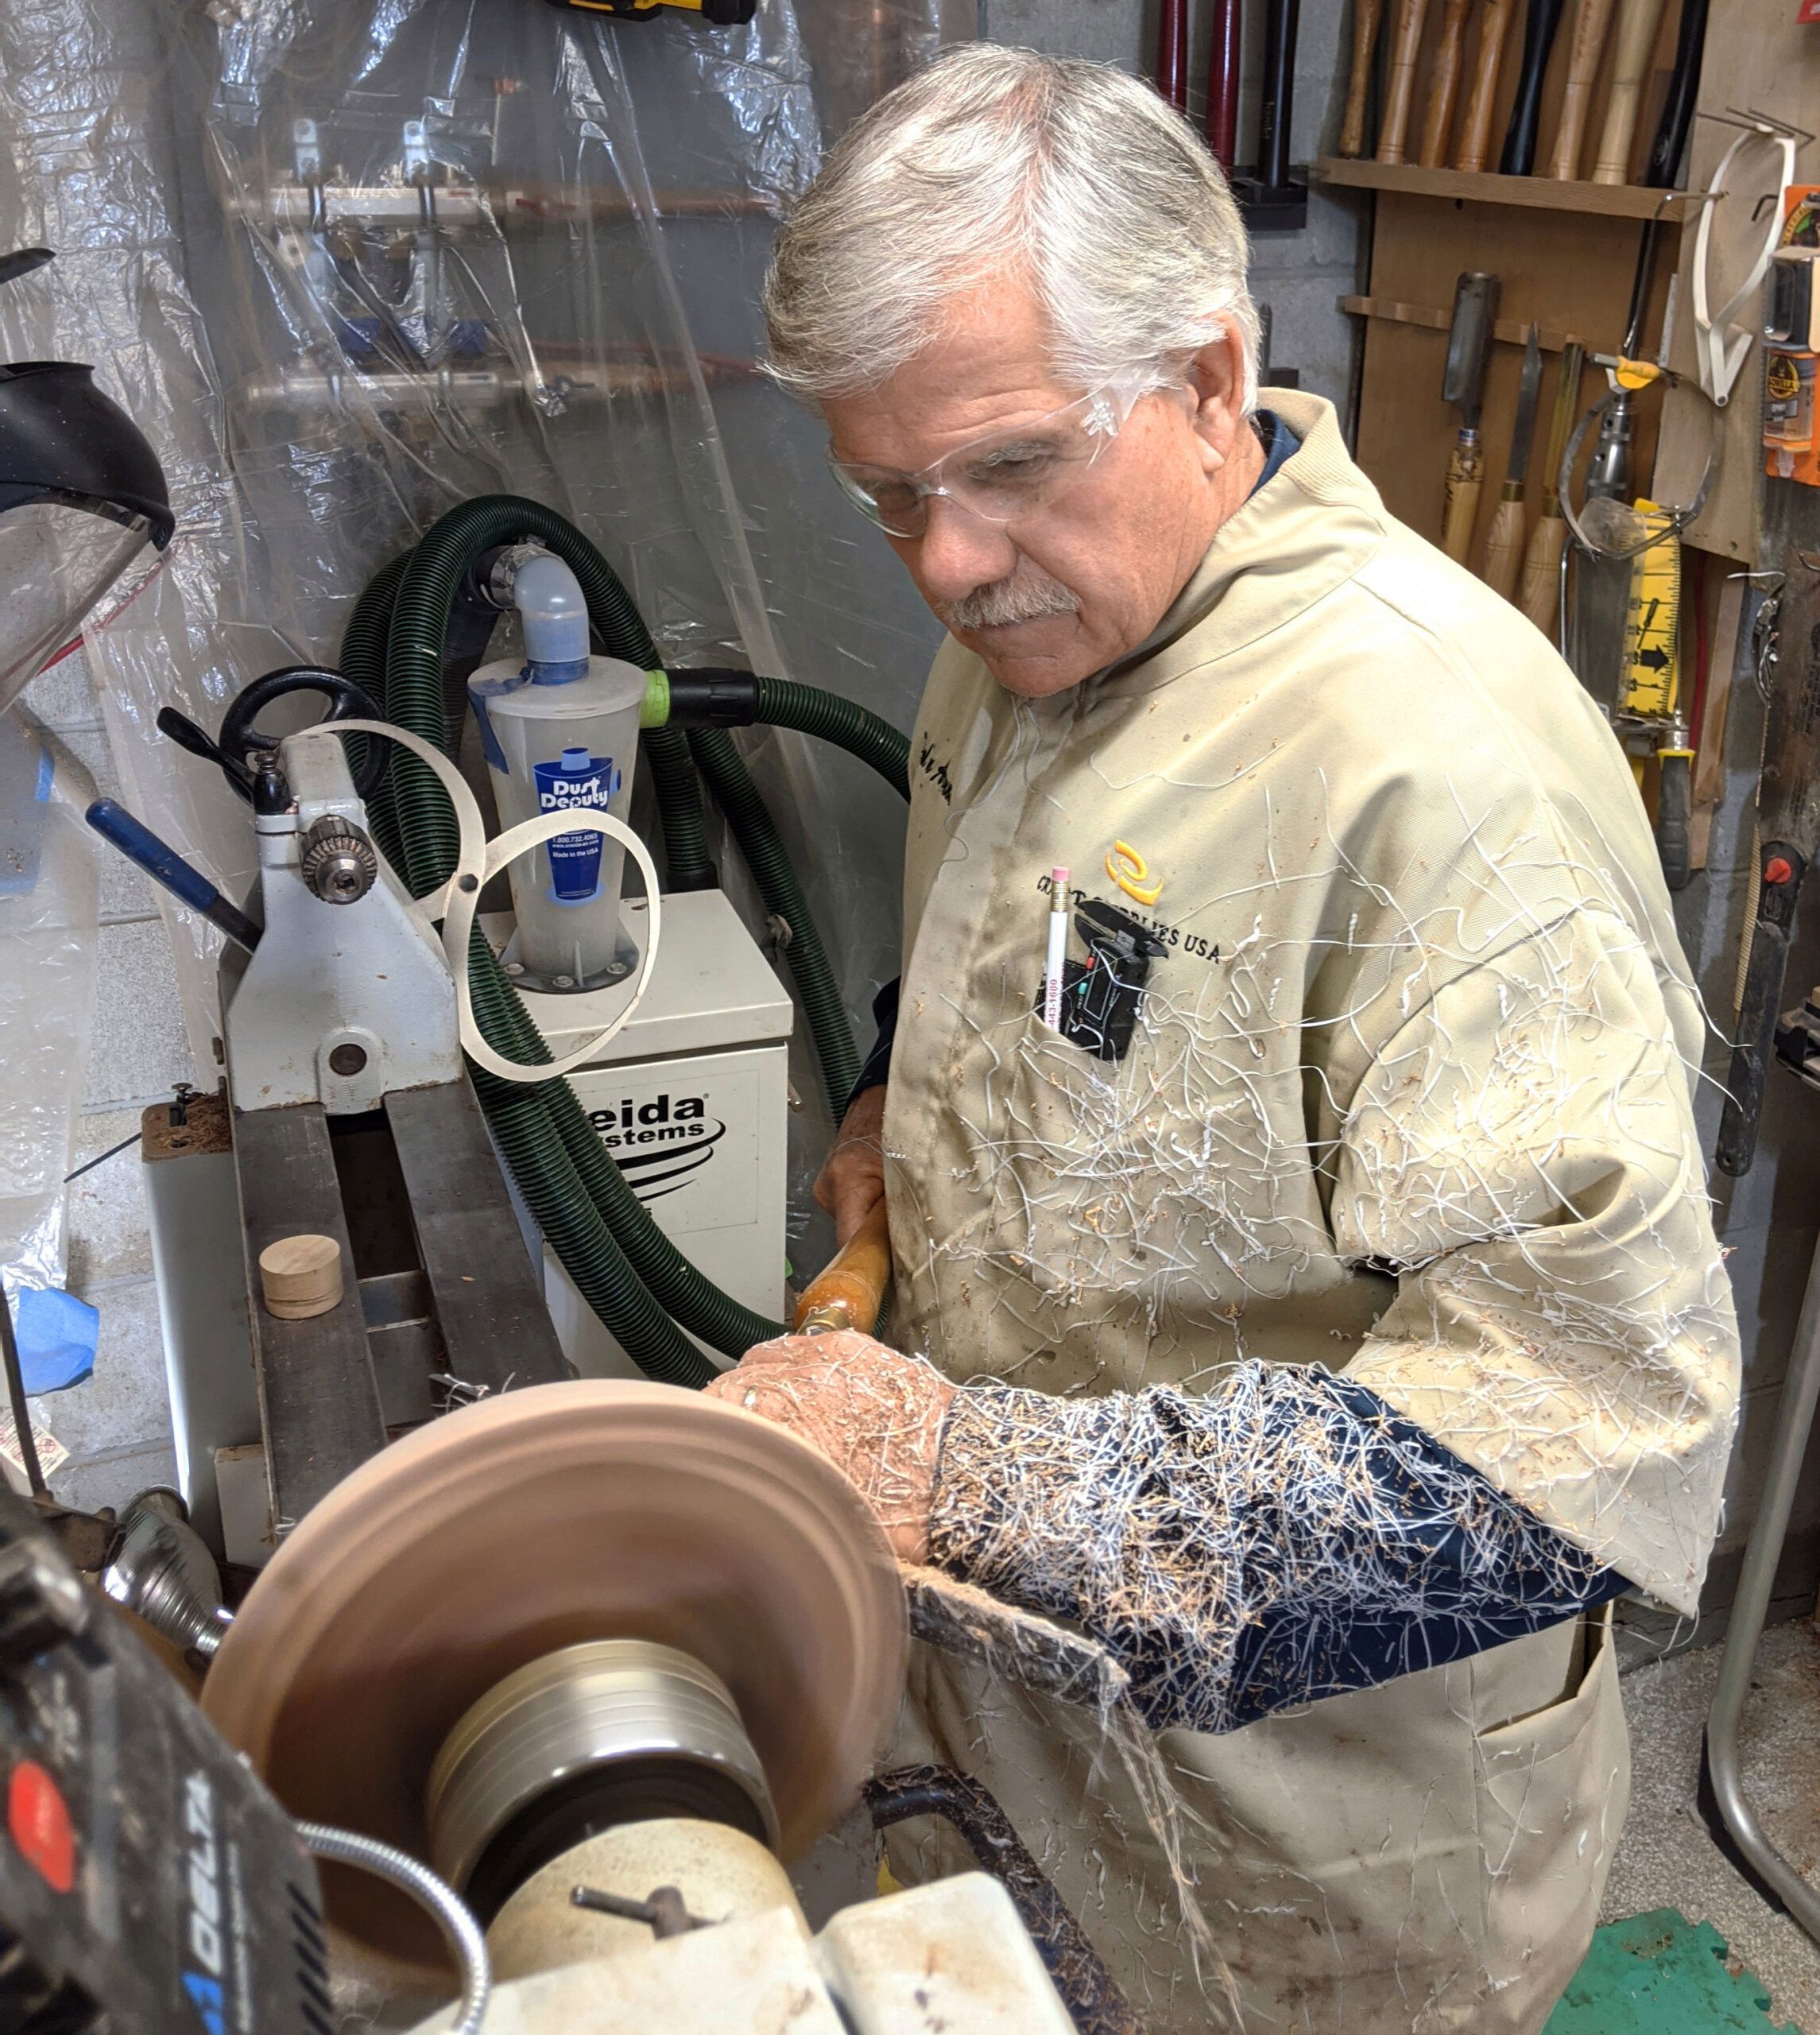
Wood lathing combines technical skill with imaginative thinking, and results in original, handcrafted pieces. In the video above, This Old House general contractor Tom Silva shows us how to turn a wooden bowl on a lathe, highlighting essential techniques and tips.
*Cost information in this article represents pricing averages from Home Depot and Lowe’s.
Tools and Materials Needed for Wood Lathing
First, gather the following necessary tools, materials, and safety gear.
Tools
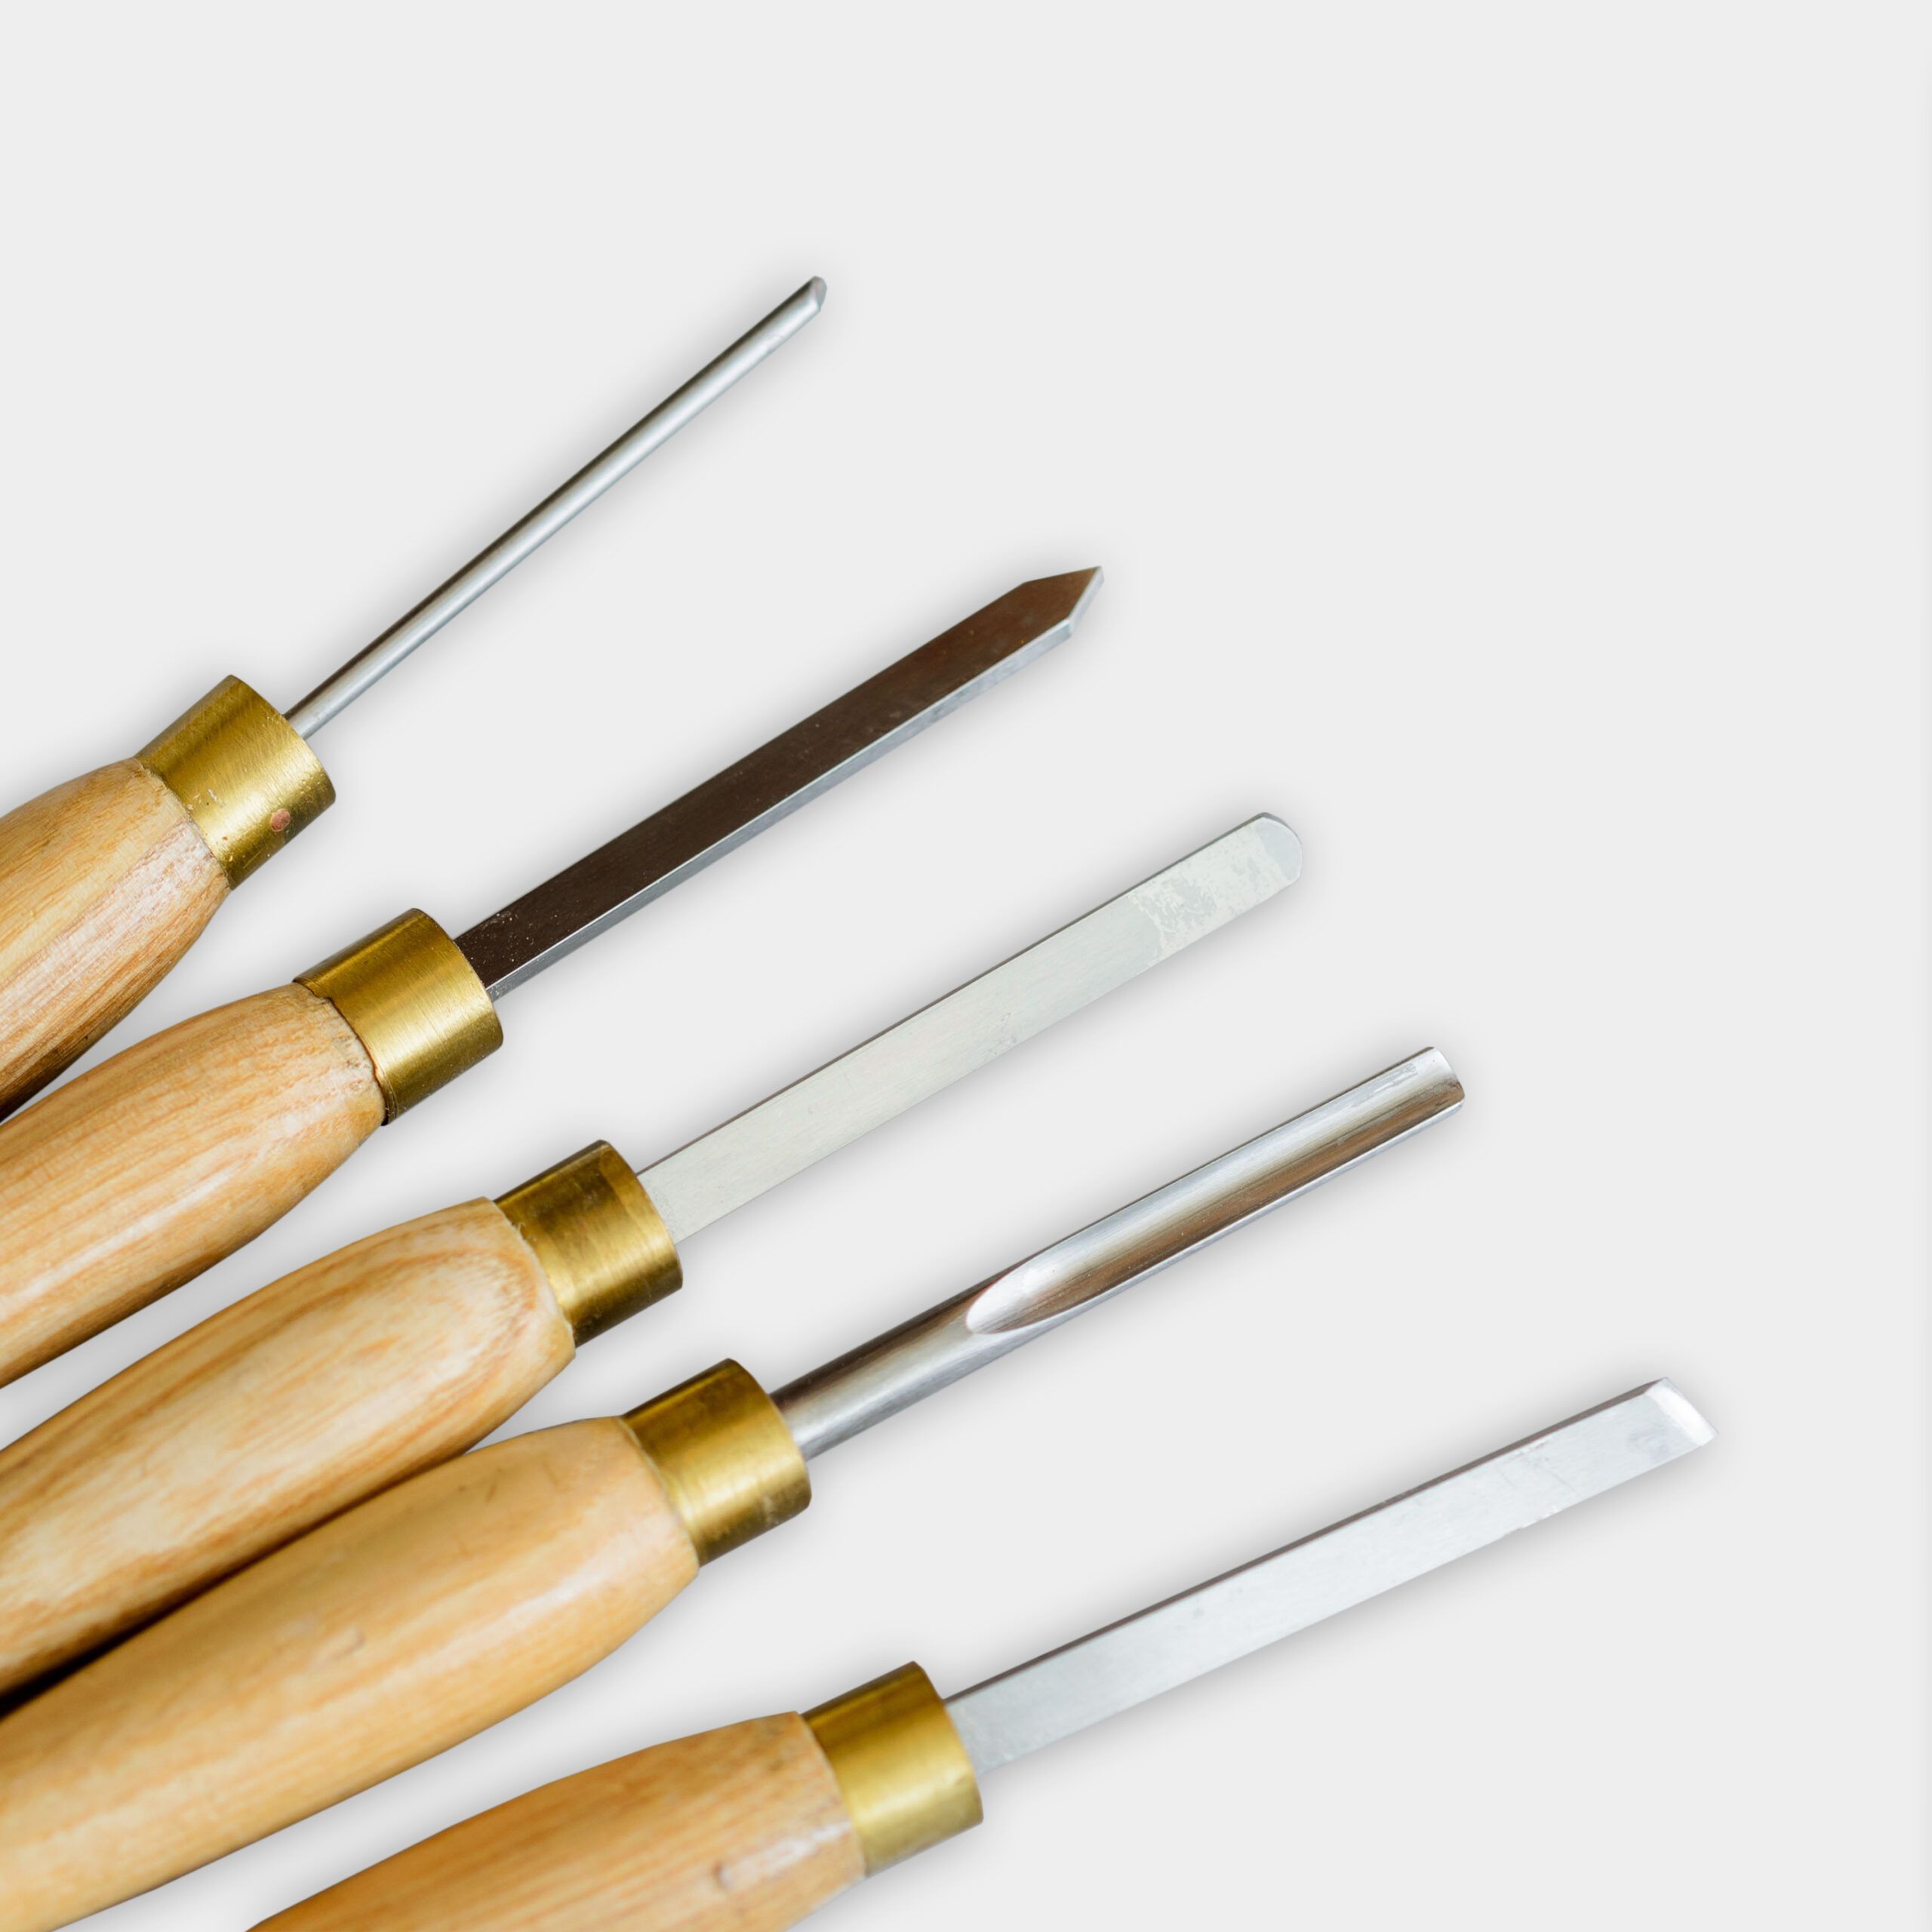
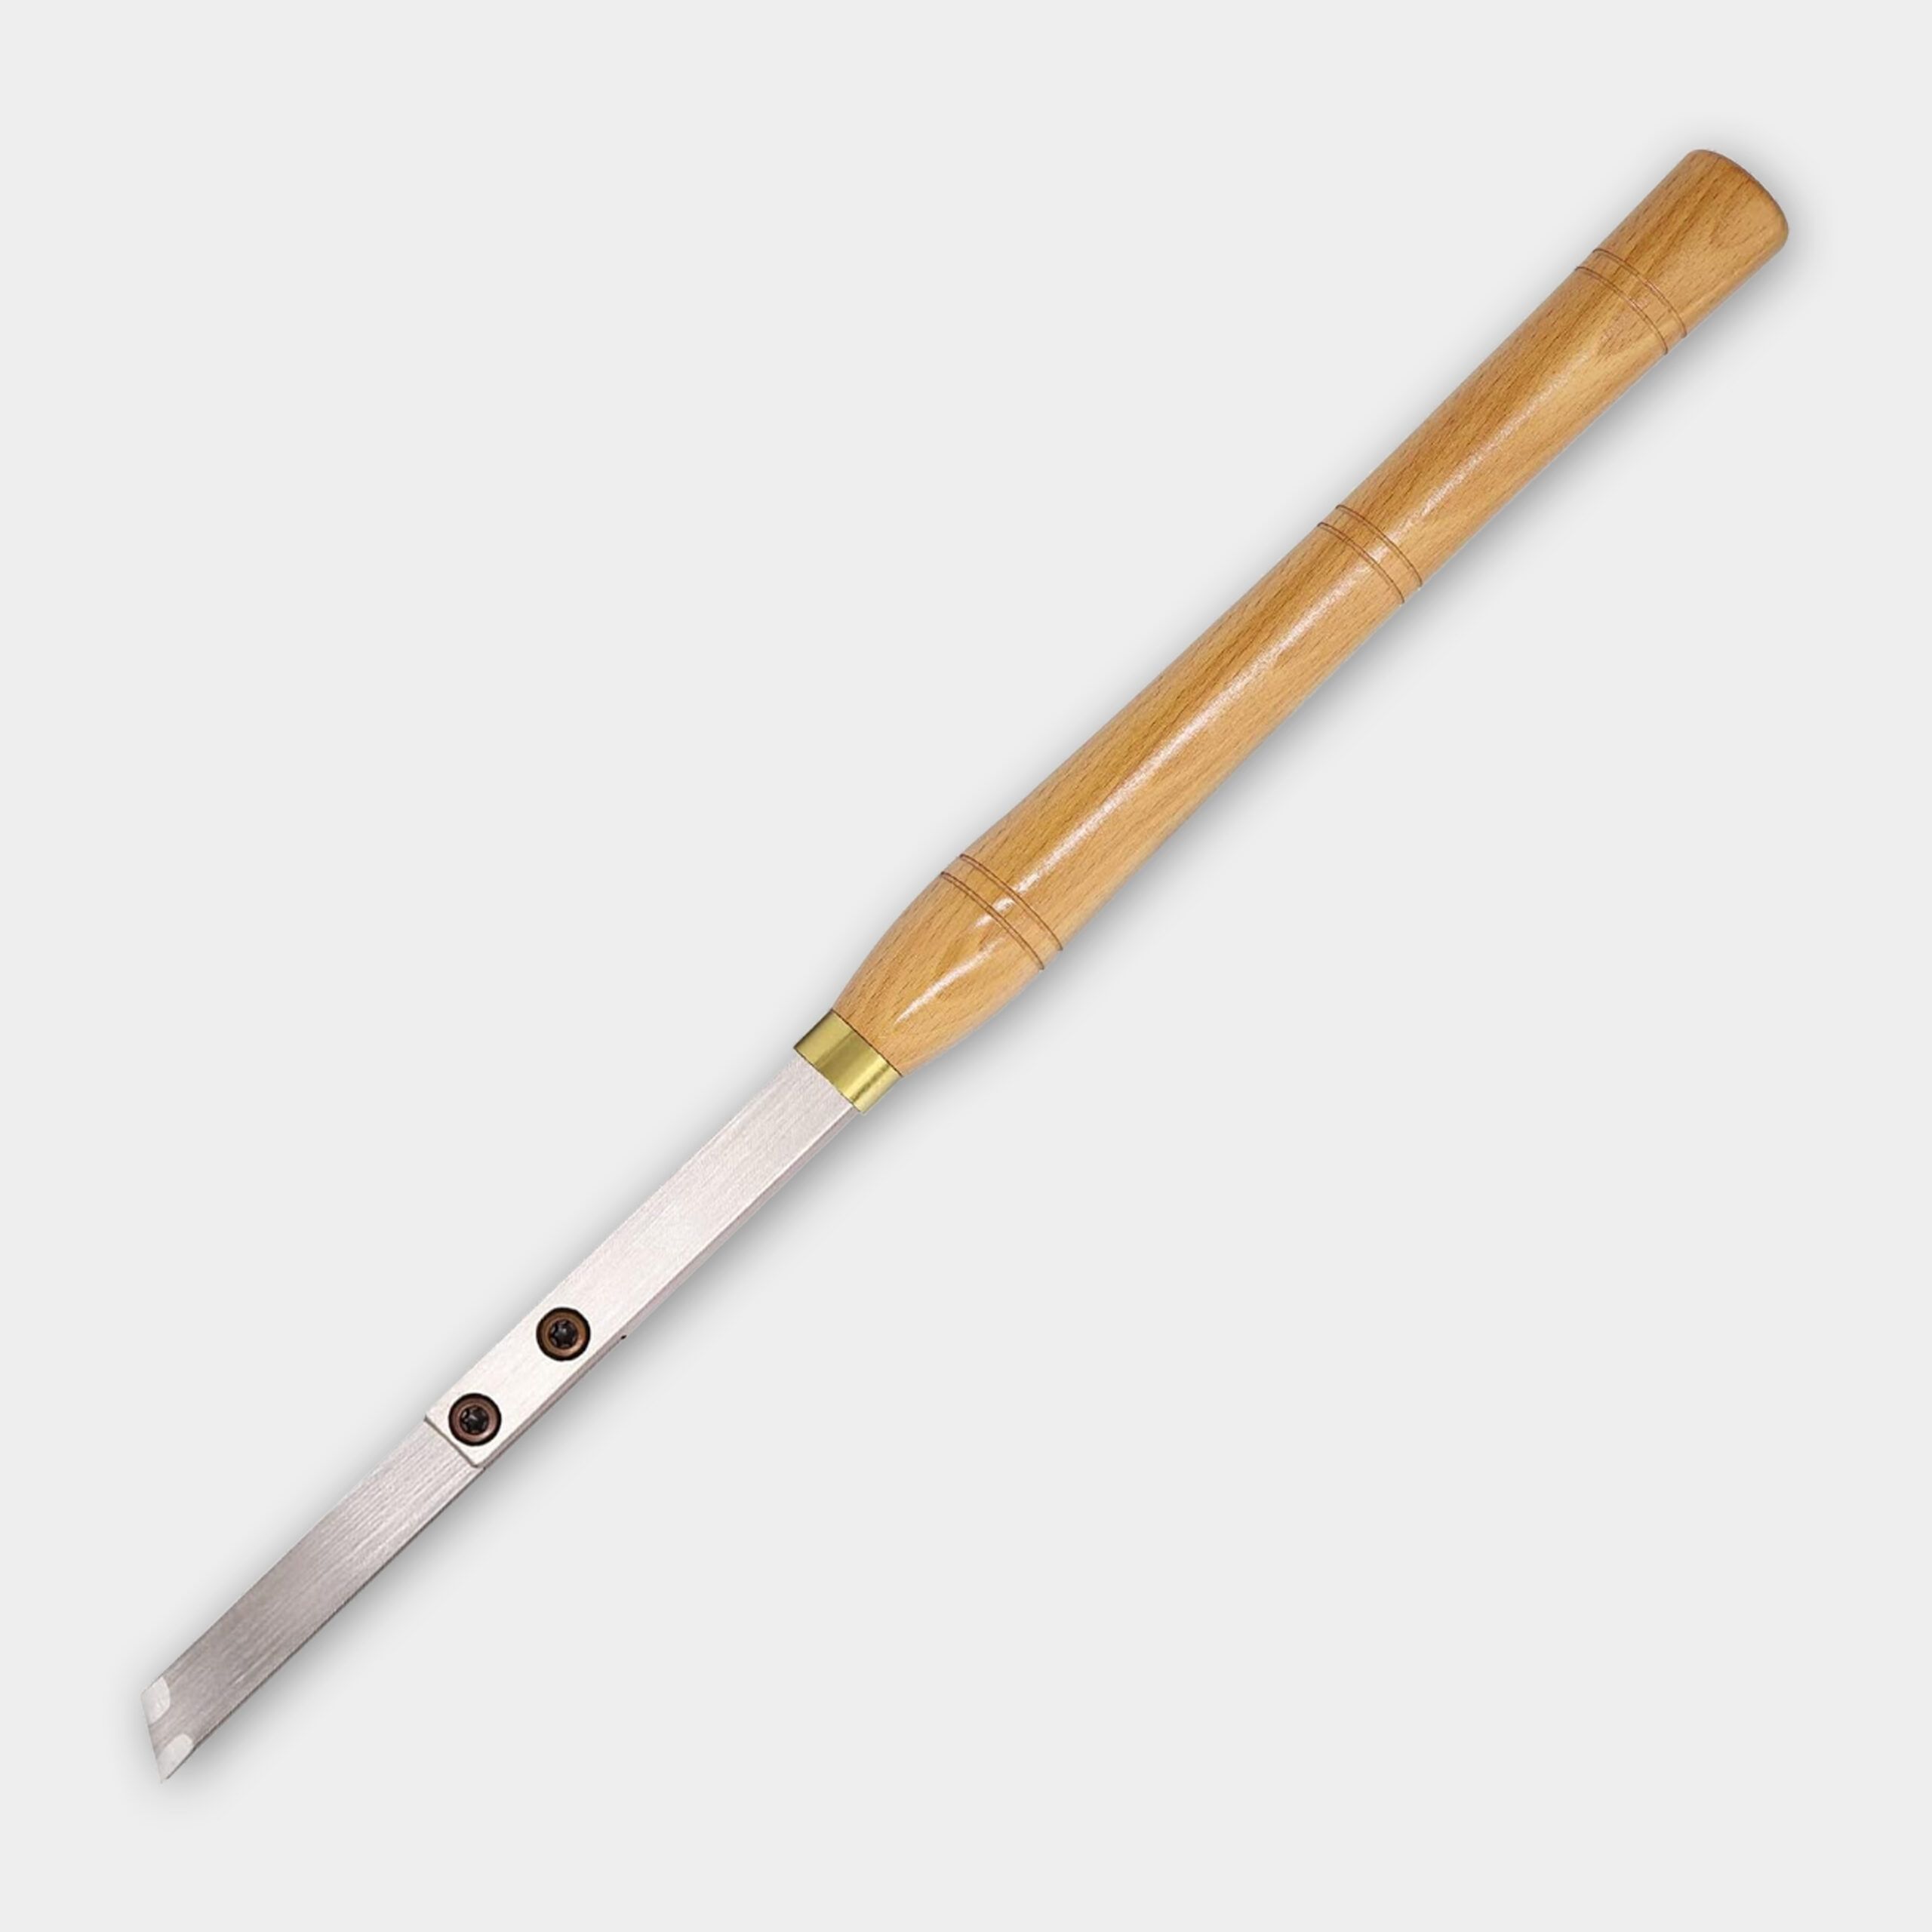
- Bowl gauge
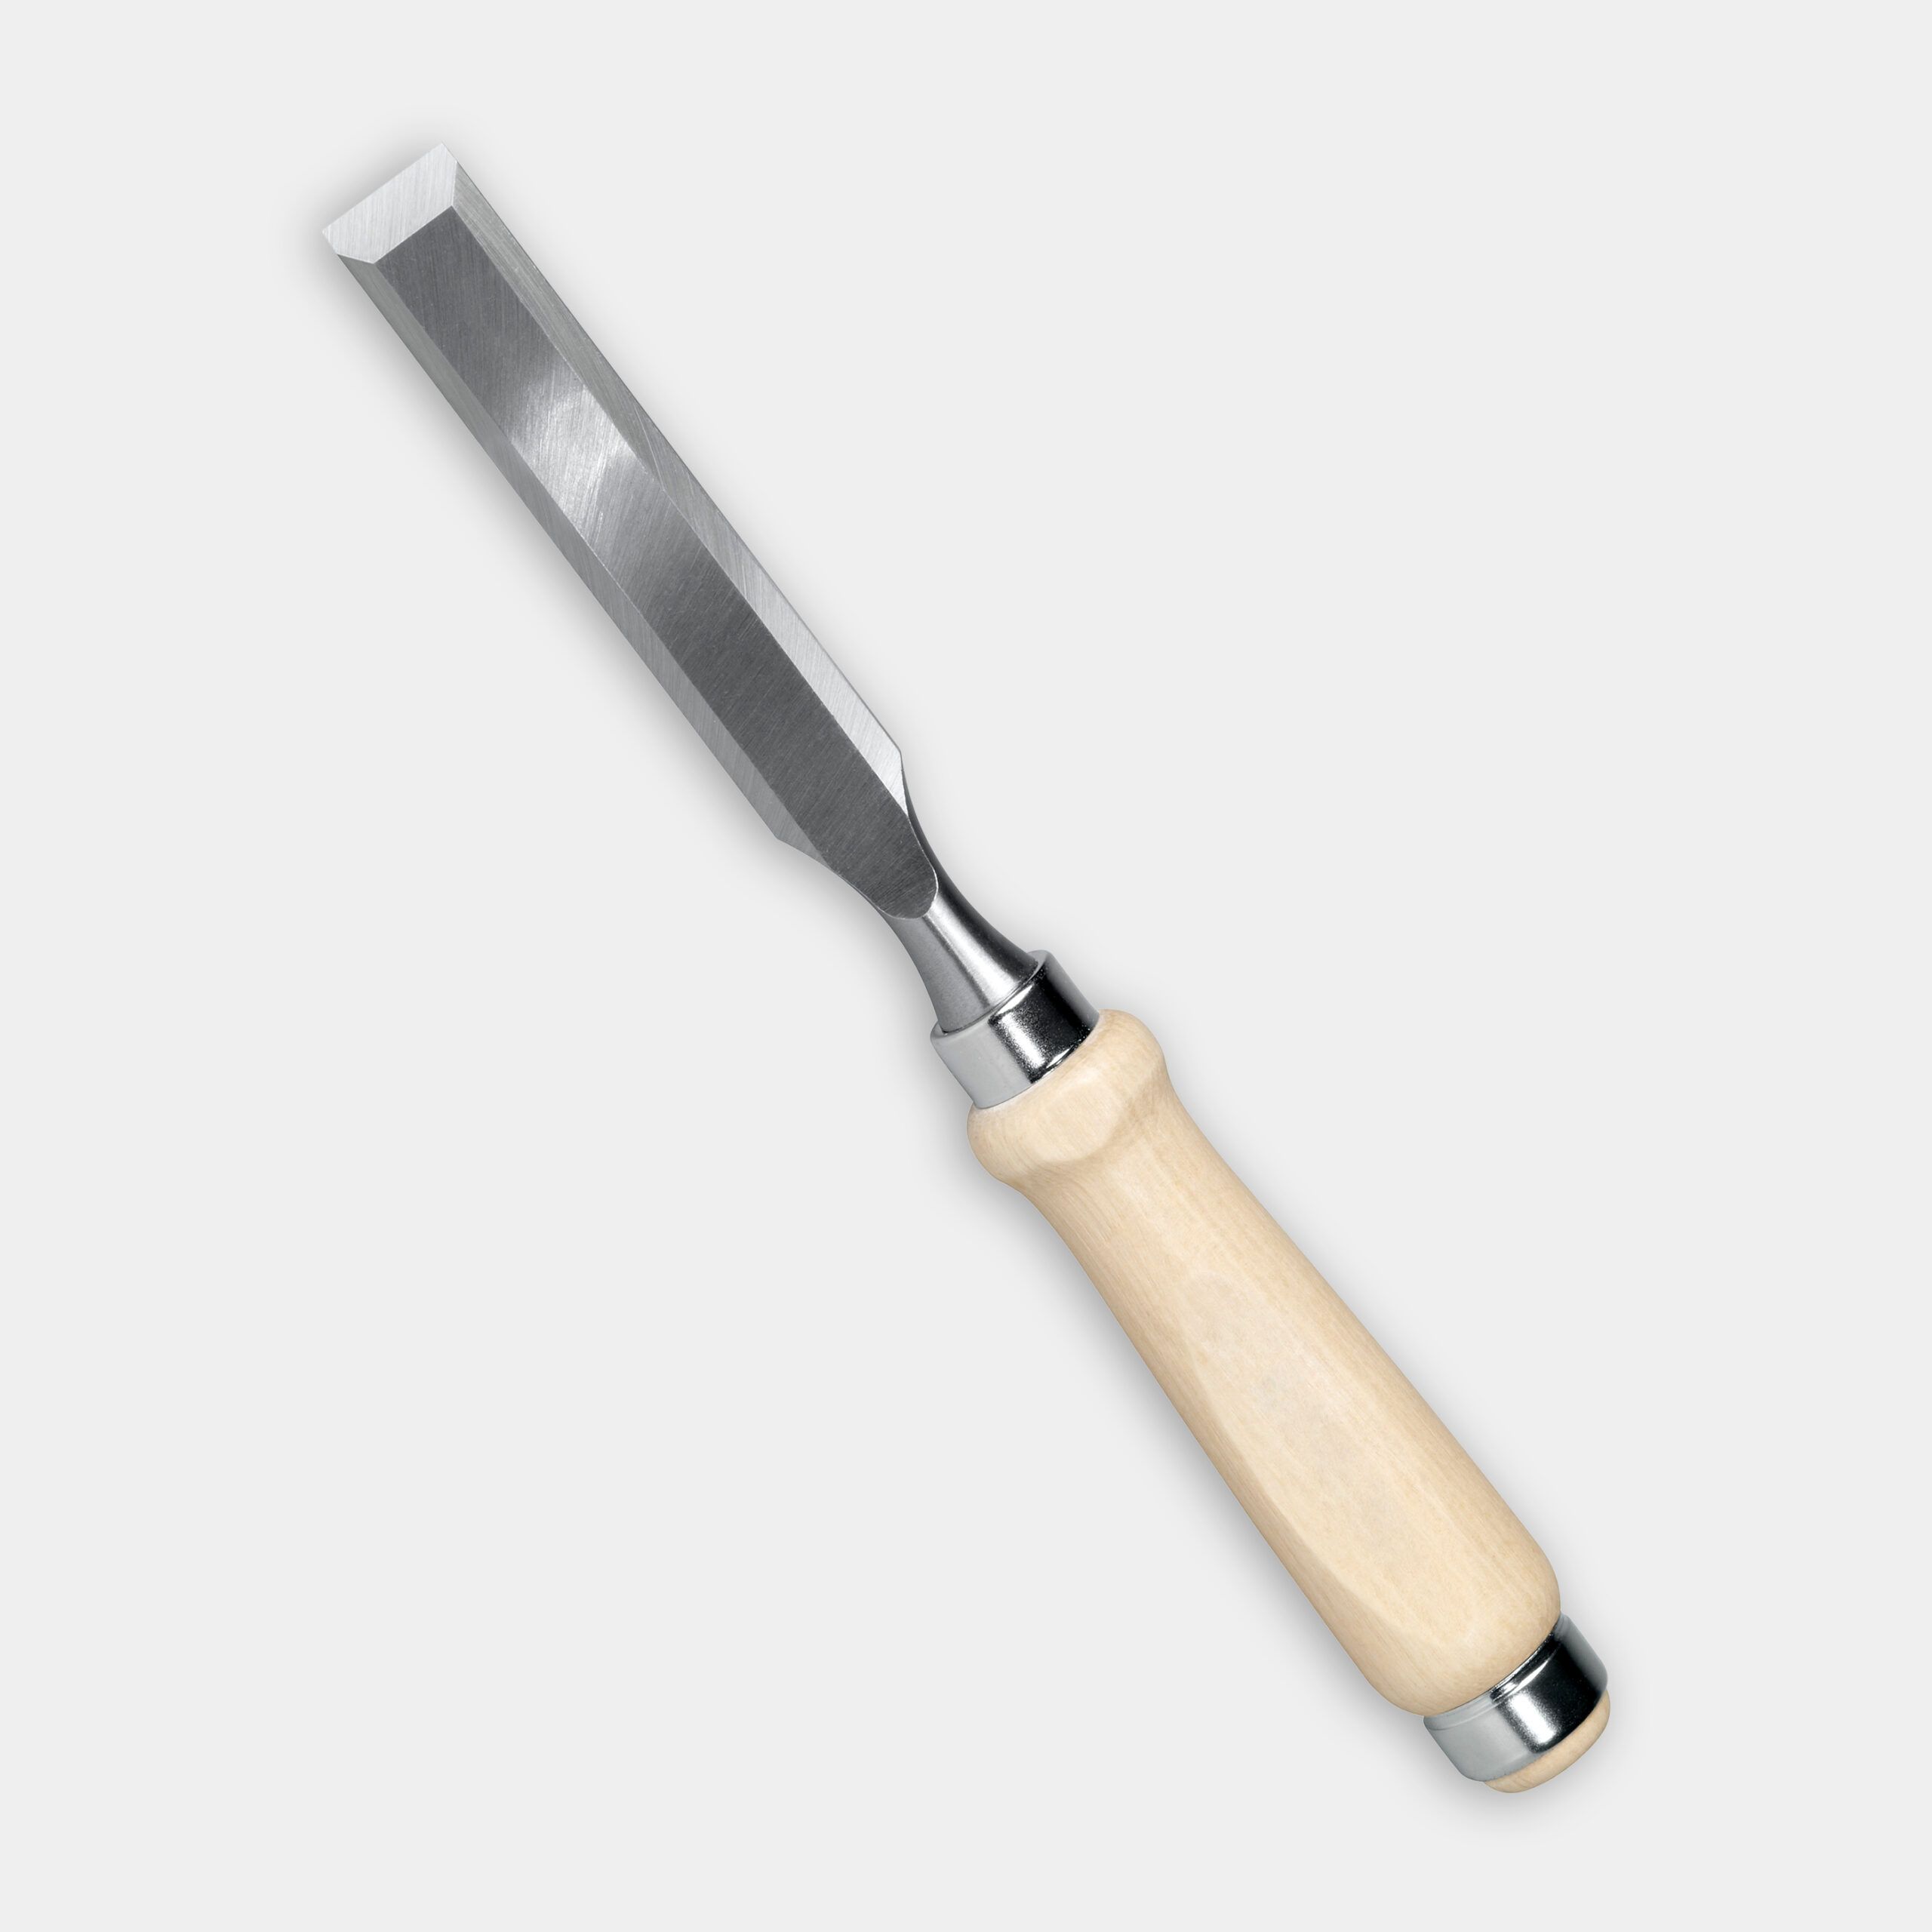
- Chisel
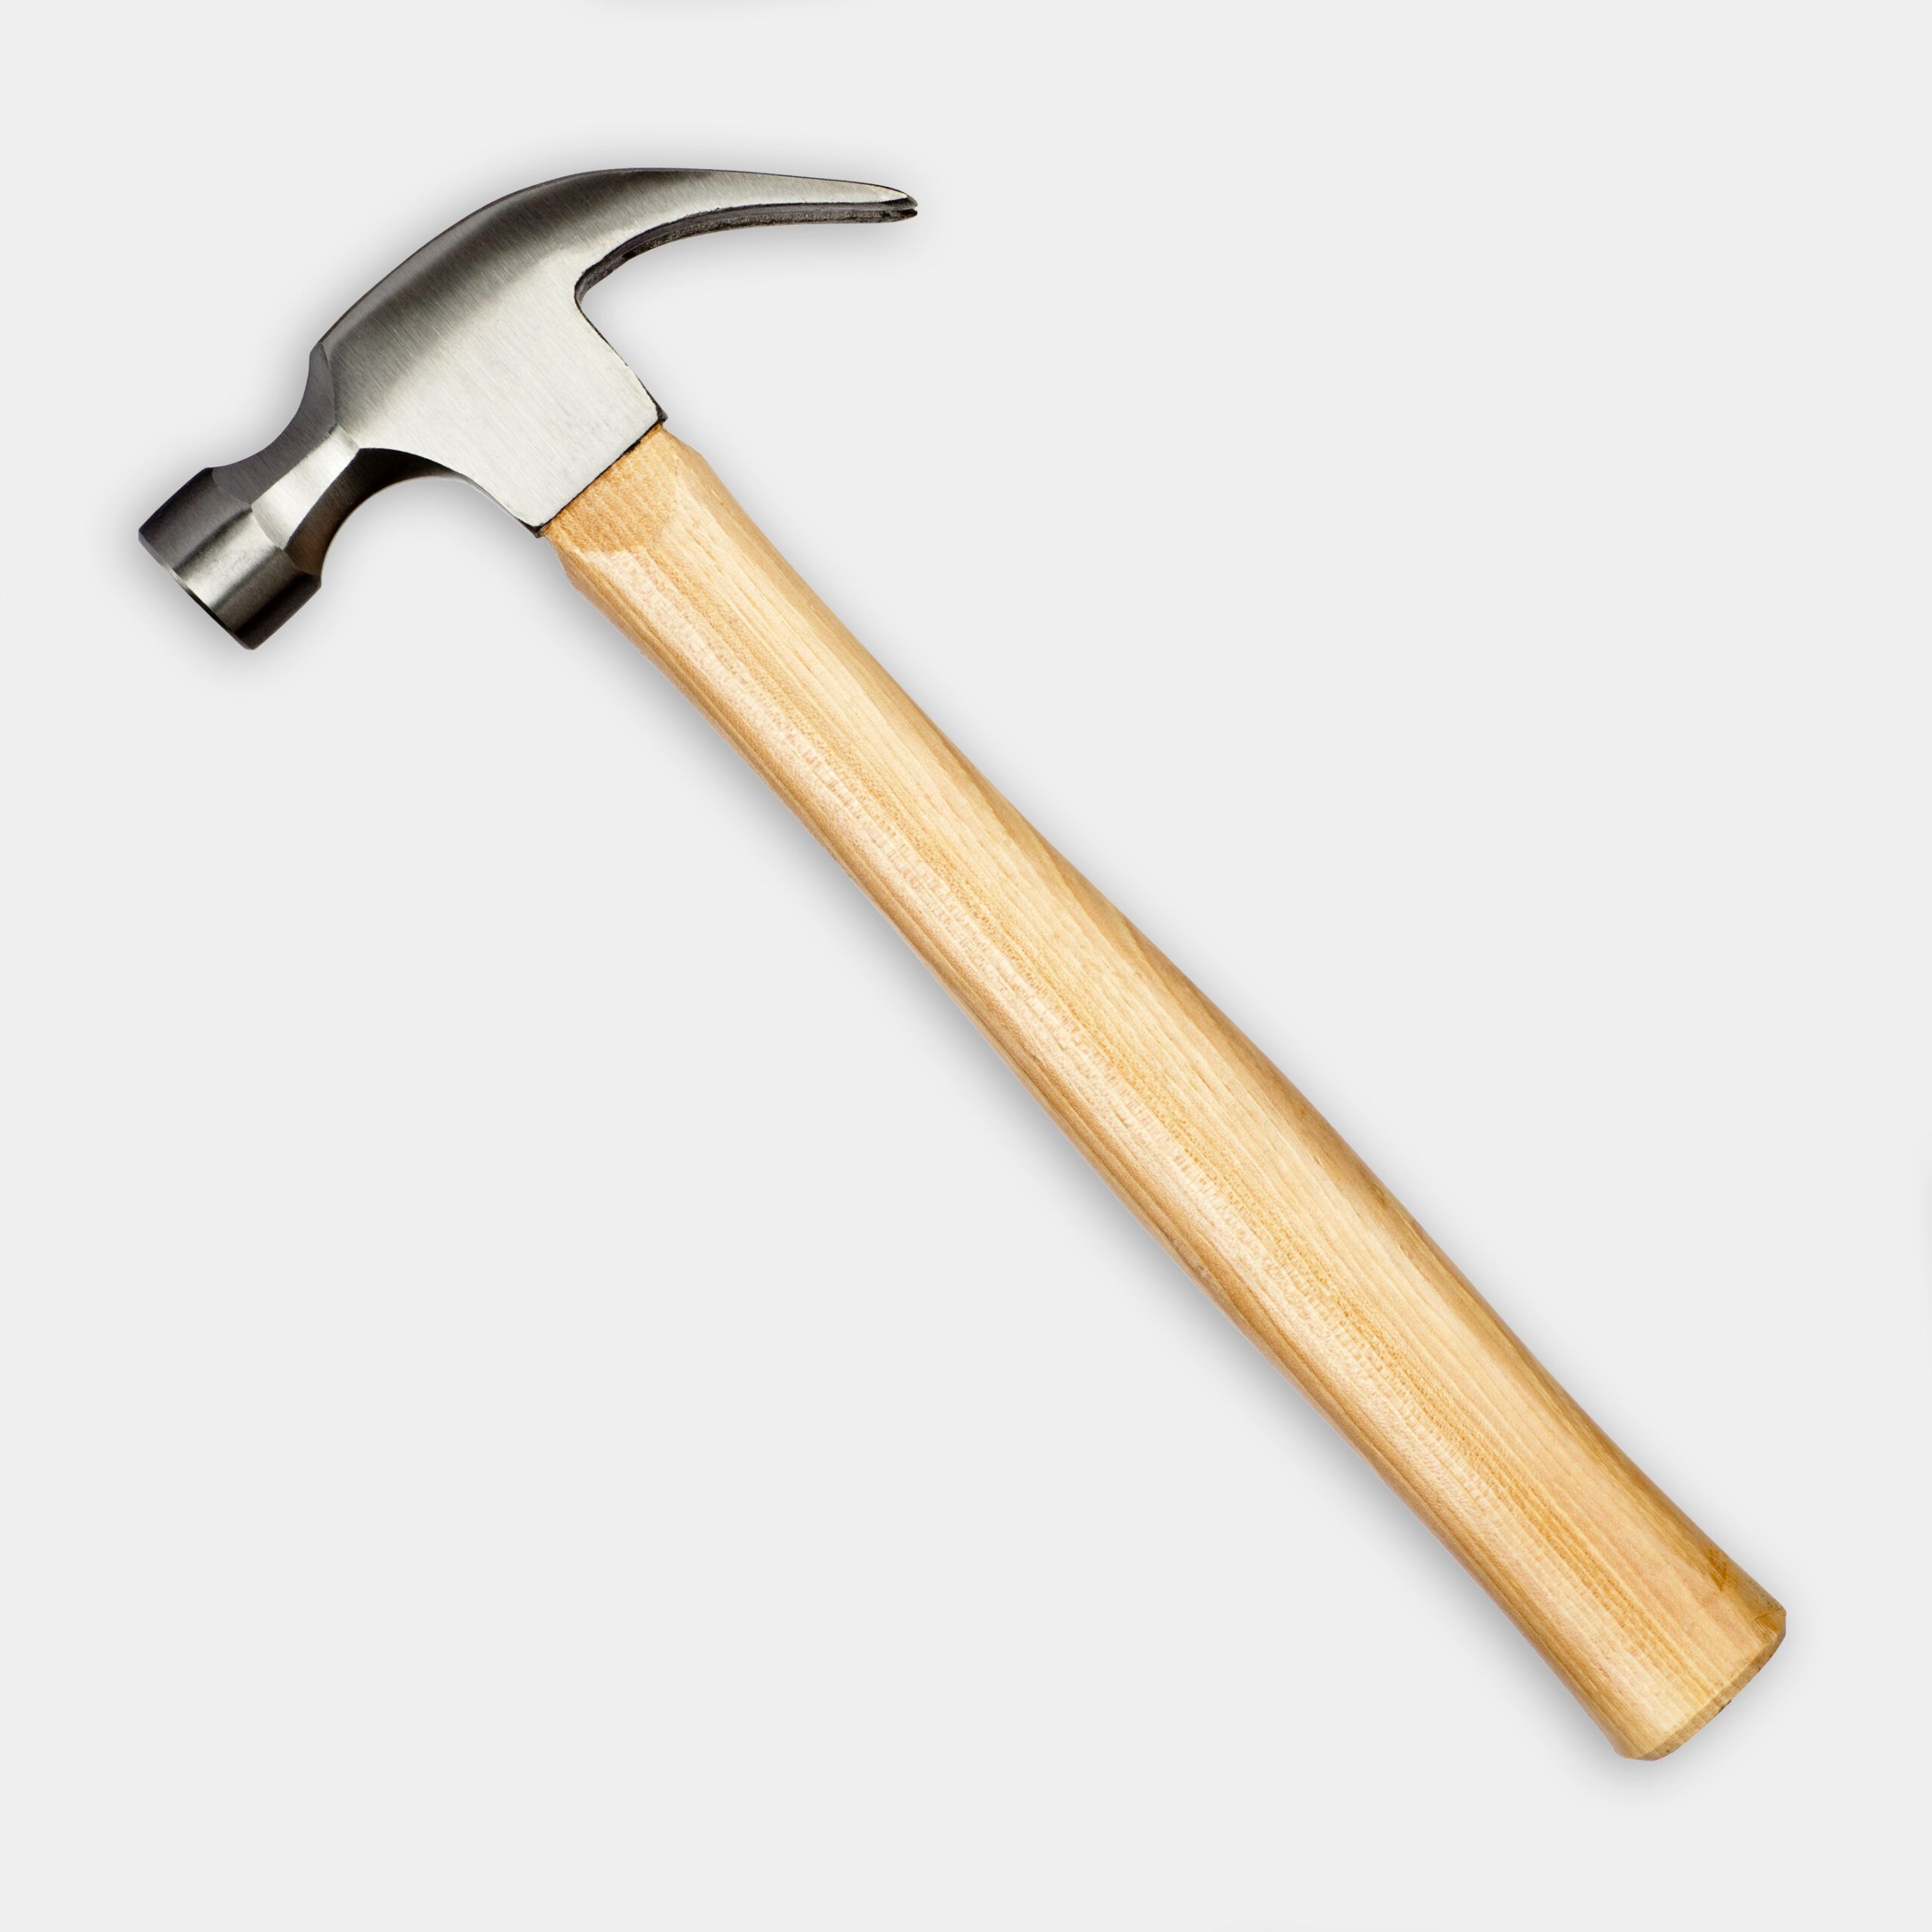
- Hammer
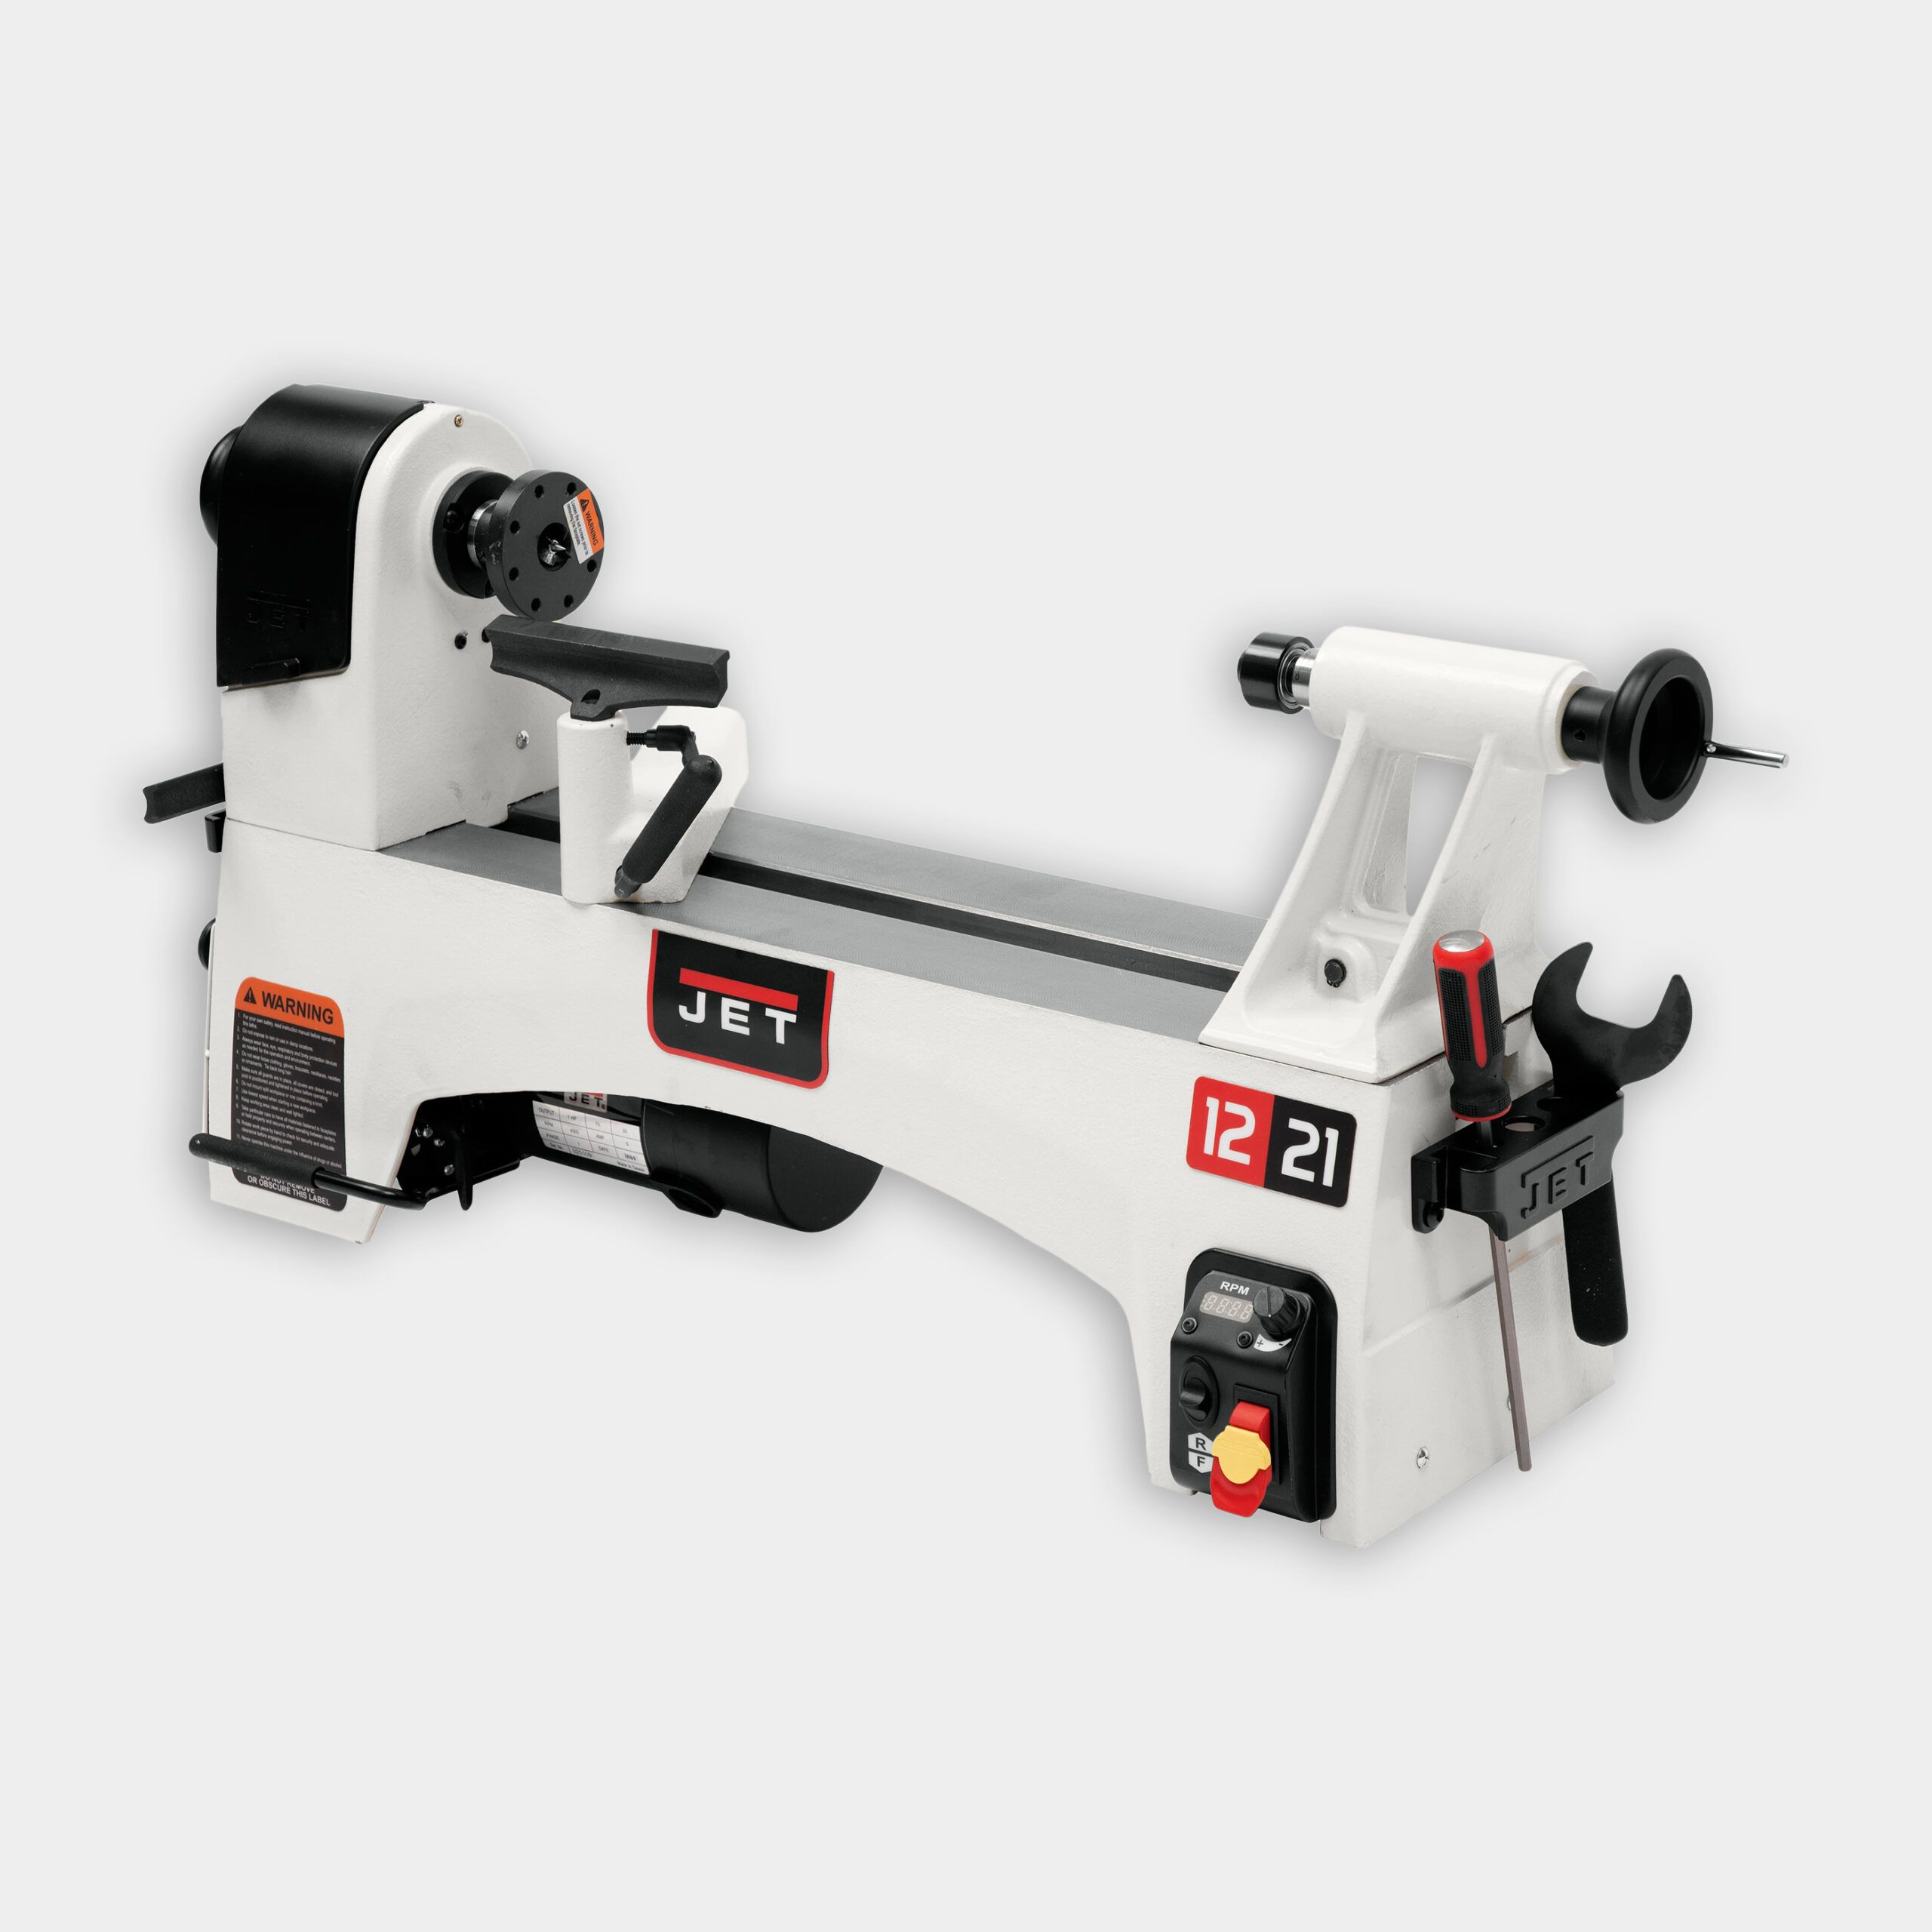
- Lathe
- Parting tool
Materials
- 100-150-240 grit sandpaper
- Beeswax coating
- Danish oil
- Wipe-on poly
- Wood
Safety Equipment
- Apron
- Face shield
- Vest
Selecting the Right Wood for Your Bowl
Choose a wood species that suits your desired aesthetic and turning properties. Here are some popular options:
- Cherry: Offers a beautiful reddish-brown color and smooth texture.
- Maple: Known for its light color and tight grain pattern.
- Oak: Popular for its durability and prominent grain.
Woodworking Terminology
If you’re new to working with a lathe, you may need to brush up on some woodworking terms. Use the definitions below to follow the rest of the steps for making a wooden bowl on a lathe.
- Banjo: The banjo is an adjustable fixture that holds the tool rest and is attached to the lathe’s bed.
- Bowl gauge: A bowl gauge is a chisel-like hand tool used for cutting and shaping wood bowls on a lathe.
- Faceplate: A lathe faceplate is a metal piece that attaches to the end of a lathe’s spindle and holds wood for turning.
- Jaws: Jaws, or chucks, are clamp attachments that hold a rotating wood piece on a lathe.
- Tail Stop: The tail stop is on the opposite side of the faceplate, and it secures the free end of your wood while you’re turning it.
- Tenon: A bowl tenon is a wood section on the bottom of the bowl that secures to the jaws when turning inside the bowl.
- Tool rest: The tool rest attaches to the banjo and helps keep your tool steady when turning your wood piece.
Safety Precautions When Making a Bowl on a Lathe
Woodworking is a fun and productive hobby, but it comes with some health risks. According to the Occupational Safety and Health Administration (OSHA), some common woodworking injuries are lacerations, amputation, severed fingers, and blindness.
Wear personal protective equipment to prevent wood chips from entering your eyes or clothes. Silva uses a face shield and a fully zipped vest in the video above, but you could also wear protective glasses and an apron if you don’t own the same gear.
Steps for Making a Lathe-Turned Bowl
Now that you have your materials gathered and your wood picked out, it’s time to start on your bowl. Take the following steps.
Step 1: Lathe Preparation Steps
- Determine the rough center on both ends of the turned material and mark it with a pencil.
- Remove the spur from the lathe and replace it with a face plate.
- Screw the face plate to the material roughly in the center.
- Place the face plate back into the lathe and adjust the tail stop to hold the other end of the material. Be absolutely sure that you lock the tail stop in place once it’s properly adjusted.
- Adjust the banjo so that the tool rest falls just slightly past the material being turned. This will ensure that the tool doesn’t slip off the rest during turning.
Step 2: Turning the Bowl’s Exterior
- Power on the lathe and slowly increase the speed. Monitor the material to ensure it stays centered on the face plate and the tail stop and will safely spin at a higher speed.
- Bring the lathe up to a higher speed to begin turning. The faster it spins, the easier turning will be.
- Place the bowl gauge against the tool, rest on the banjo, and gently ease it into the material. Slide the gauge along the tool rest until it reaches the edge of the material.
- Repeat this process until the bowl takes its shape. As you remove more material, you’ll need to adjust the banjo. Always turn off the lathe before adjusting the banjo.
- At the bottom of the bowl closest to the tail stop, switch to a parting tool and form a tenon.
Step 3: Sanding and Finishing the Exterior
- While the lathe is still spinning, sand the bowl using 100, 150, and 240-grit sandpaper. Hold the sandpaper against the bowl and let the lathe do the work.
- Clean off any sawdust on the bowl. Then, apply Danish oil to the exterior using the lathe and a rag.
- Remove the tail stop from the bowl.
Step 4: Turning the Bowl’s Interior
- Secure the jaws that come with the lathe over the tenon. It comes with a screw and a special wrench to tightly secure it.
- Remove the bowl from the face plate, flip the bowl around, and secure the jaws into the lathe instead.
- Power the lathe back on and carve out the inside of the bowl with the bowl gauge, using the same techniques on the tool rest.
Step 5: Final Sanding and Finishing
- Once you’ve turned the bowl’s interior, sand the inside using 100, 150, and 240 grit sandpaper.
- Clean off any sawdust in the bowl. Then, use a rag to apply a coat of wipe-on polyurethane. Let the polyurethane dry completely.
- To remove the tenon at the bottom, protect the bowl by placing a roll of duct tape and a rag inside of it. Push the bowl from the opposite side back onto the jaws.
- Adjust the tail stop to press against the tenon of the bowl.
- Turn the lathe back on. Use the bowl gauge to cut the tenon down as much as possible without loosening it from the lathe.
- Once the tenon is manageable, remove the bowl from the lathe and use a hammer and chisel to remove the rest.
- Finish the bottom of the bowl with a little bit of sanding and Danish oil.
- Apply a beeswax coating to the entire bowl with a rag.
Adding a Personal Touch To Your Bowl
Once you’ve mastered the basic techniques, adding a personal touch to your lathe-turned bowls can be rewarding. Experiment with different wood species, finishes, and embellishments.
Here are a few ideas to inspire you:
- Color staining: Apply color stains before finishing to achieve vibrant hues.
- Inlay: Incorporate inlays of contrasting woods or materials like turquoise for added character.
- Wood-burning: Use a wood-burning tool to etch intricate designs on the bowl’s surface.
Tom Silva’s Woodshop Wares
“Woodworking is mesmerizing,” says Silva, who got his wood-turning start in high-school shop class and now hones his craft off-hours working his 1995 Delta long-bed lathe.
He says that turning wood is less about heavy lifting and more about “body motion and how you hold the tool—and having the time, patience, and a real sharp tool.”
He may think of this precision craft as “play,” but the outcome is pure art. The result is always a surprise in some ways, he says, adding, “I’m just having fun.”
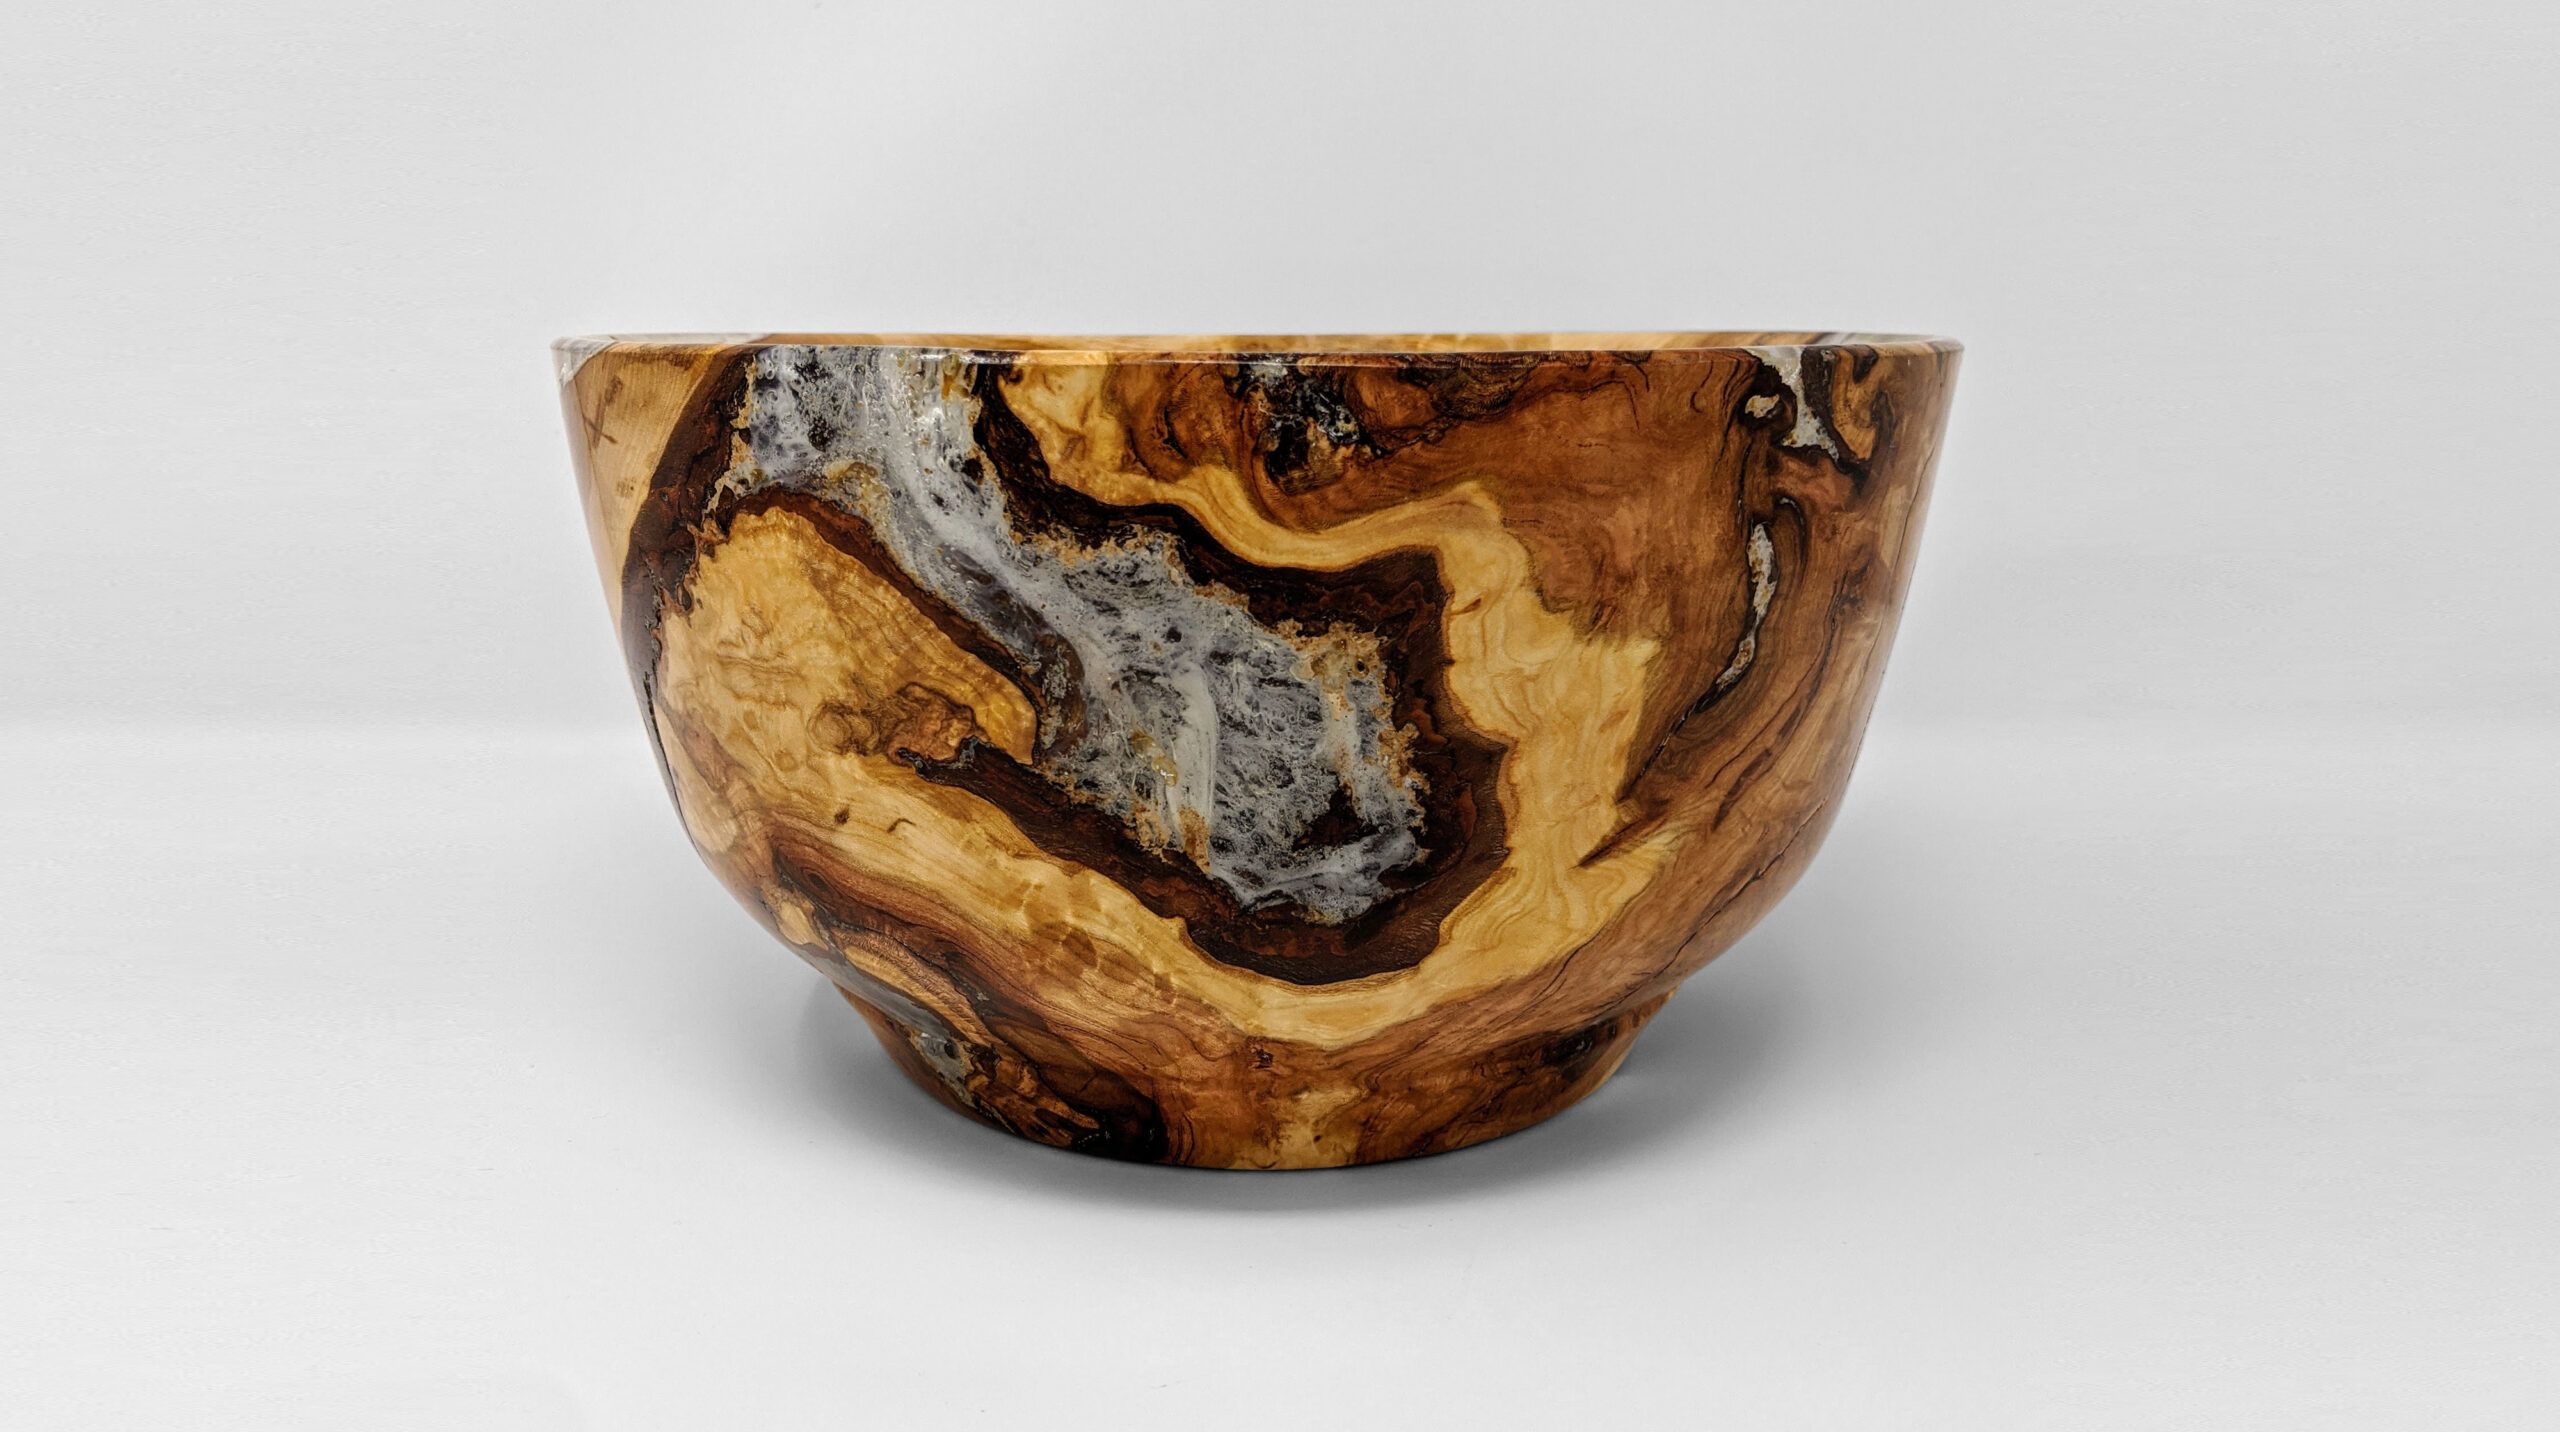
Shown left: A cherry burl bowl Silva made as a gift for Kevin O’Connor.
Resources
Silva used a REVO 12|16 110V lathe by Laguna Tools
Tools
Tools & Materials
 Lathe
Lathe- Bowl gauge
- Parting tool
- Chisel
- Hammer