Building a DIY garden bench is a simple project that can be completed in a day. It provides comfortable seating for two while enhancing the appeal of your garden or patio. With just a few basic tools and materials, you can create a beautiful, custom bench.
This Old House DIY expert and Editor of House One, Jen Largesse, demonstrates the step-by-step process of constructing a sturdy garden bench to complement any home.
Materials and Tools for Garden Benches
Before you begin building your DIY garden bench, gather all the necessary materials and tools.
Materials
- 1×3 board (6 feet in length)
- 2×12 board (10 feet in length)
- 2-inch exterior deck screws
- 3-inch exterior deck screws
- Exterior wood filler
- Exterior wood glue
- Exterior wood stain
- Sandpaper
Tools
- Circular saw
- Drill
- Jigsaw
- Measuring tape
- Miter saw
- Pencil
- Safety glasses
- Work gloves
Preparing the Wood for Your Garden Bench
The first step in building your garden bench is to prepare the wood by cutting it to the appropriate sizes. This process ensures that all your pieces fit together correctly during assembly.
Cutting the Boards to Length
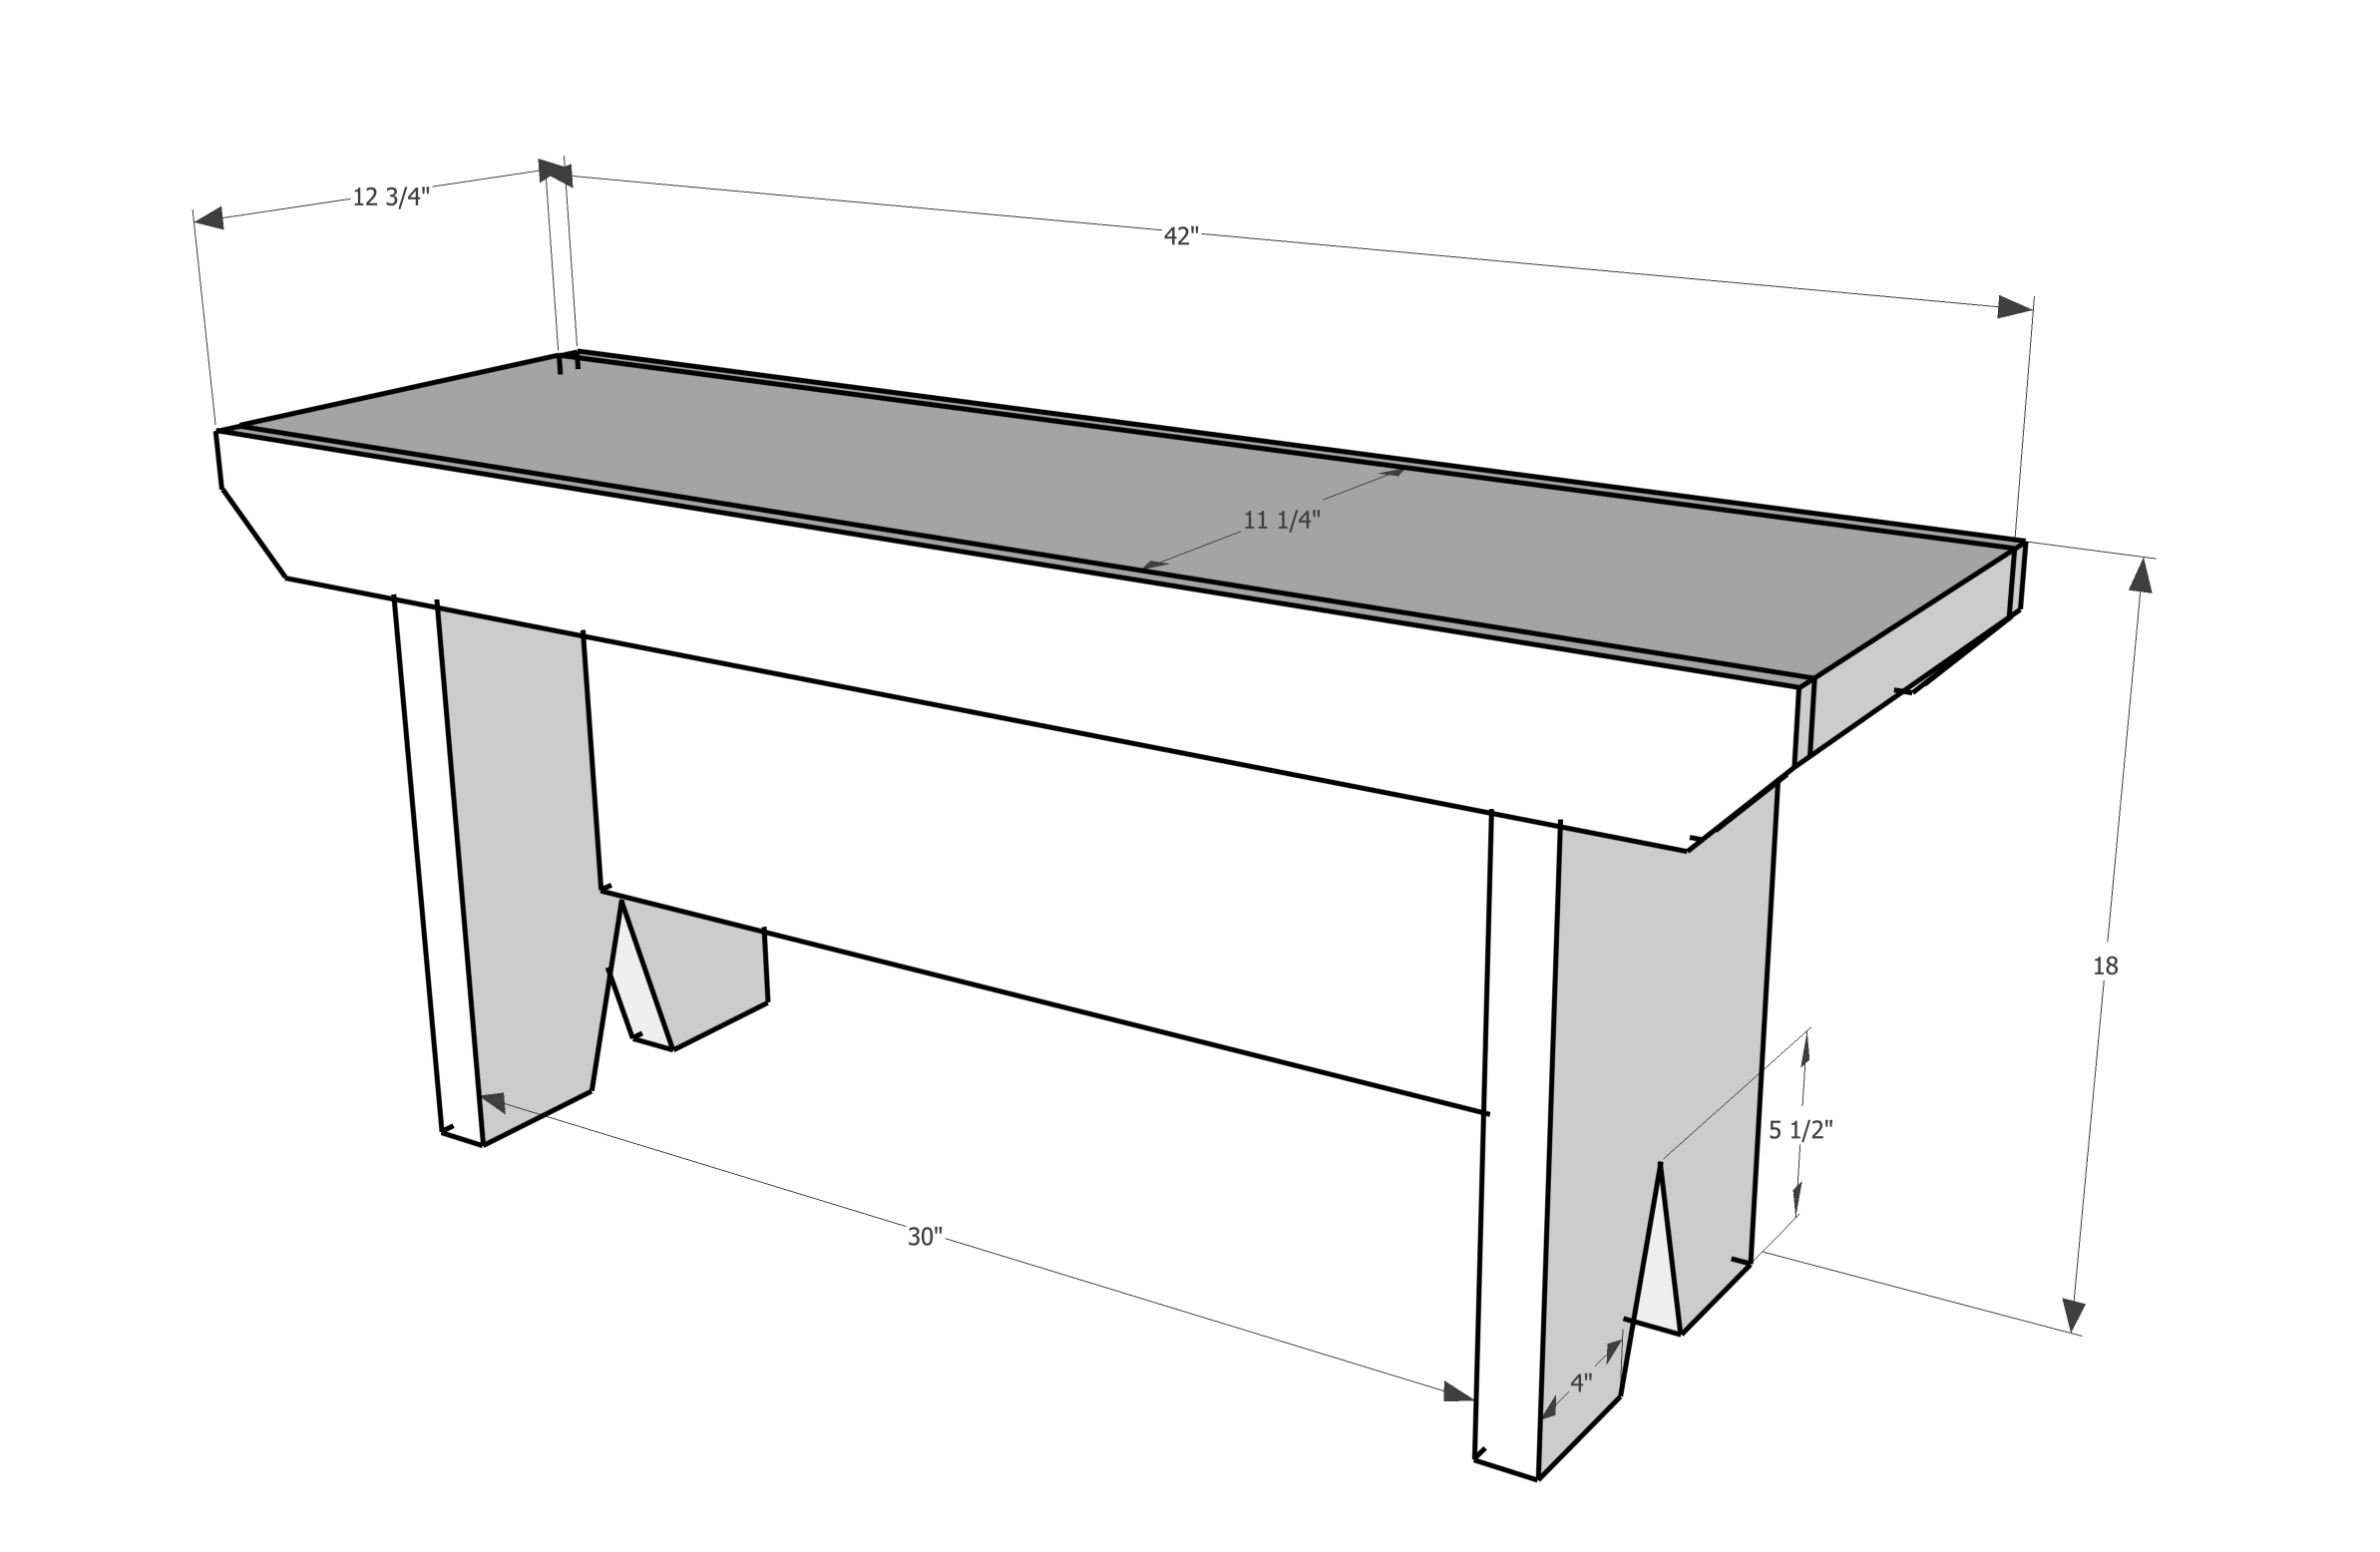
Using a miter saw, cut the 2×12 board according to the following measurements:
- Seat: 1 piece at 42 inches
- Stringer: 1 piece at 30 inches
- Legs: 2 pieces at 16½ inches each
For the trim, cut the 1×3 board into two pieces, each 42 inches long.
Steps for Building a Garden Bench
Follow these directions for building your DIY garden bench.
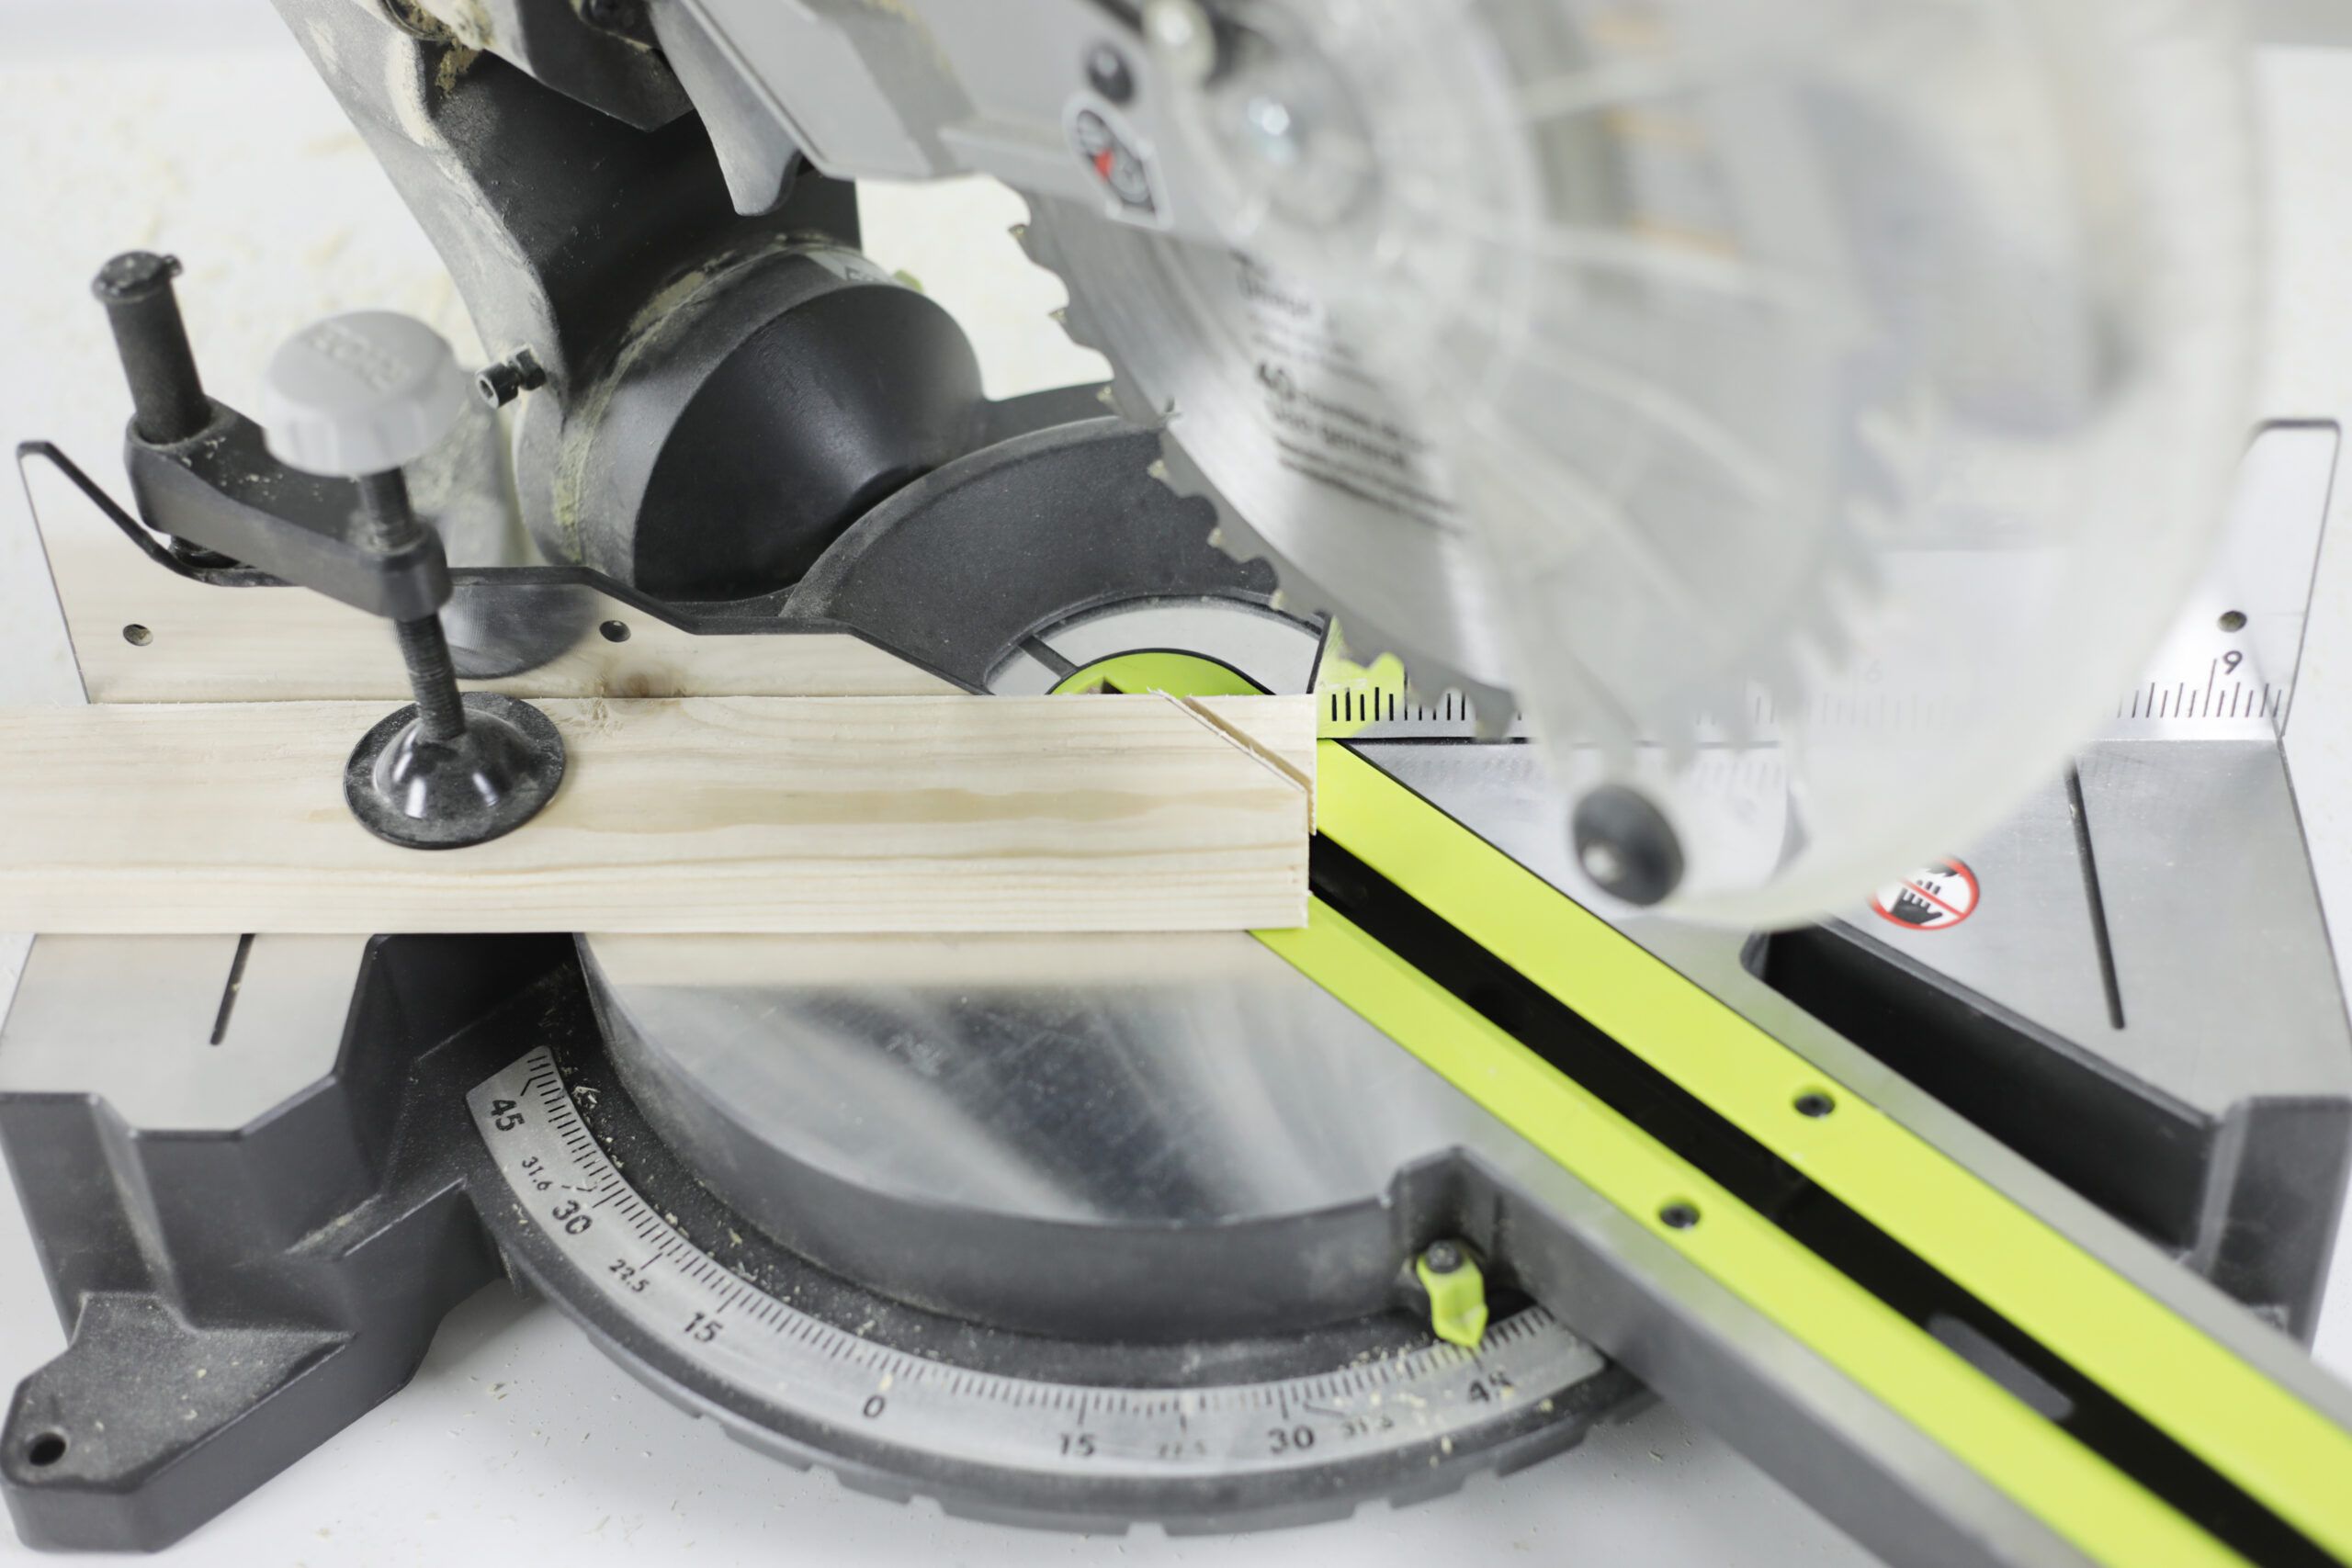
Step 1: Cut the Boards to Length
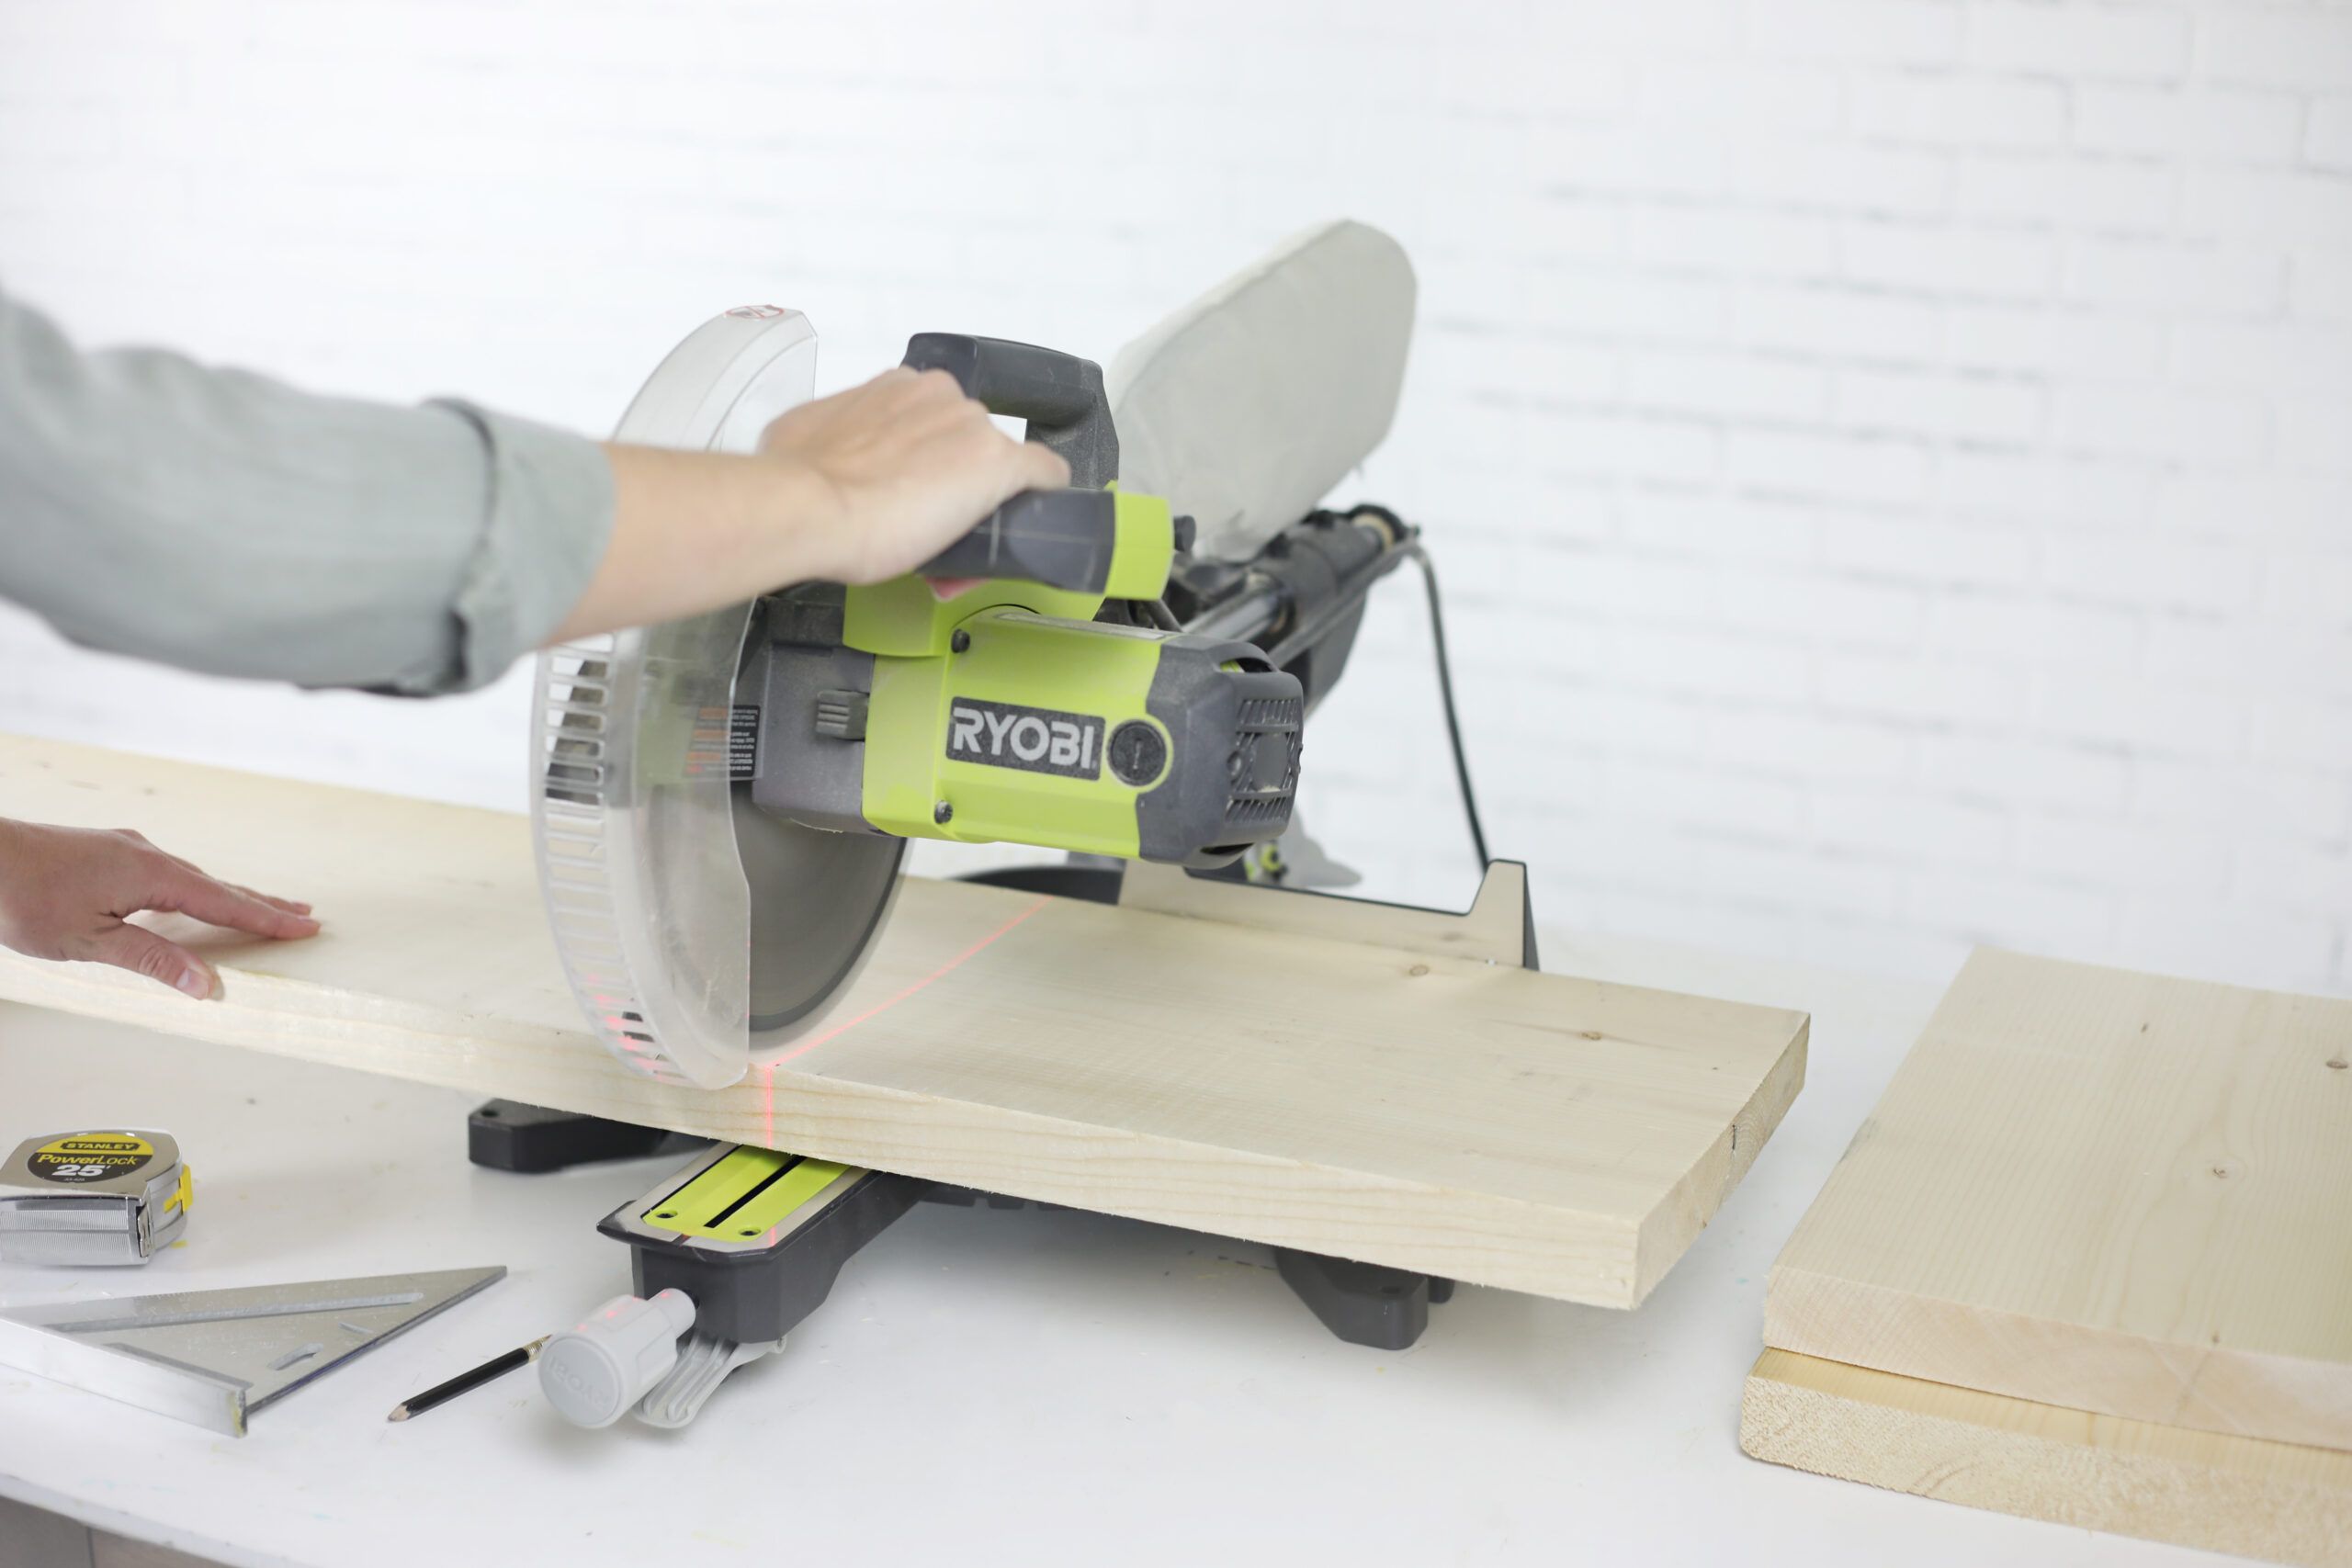
Using a miter saw and the cut list above, cut the 2×12 board to size to create the seat, stringer, and leg pieces. Cut the 1×3 board to length to create the trim pieces.
Step 2: Mark the Detail on the Legs

On the leg pieces, measure and make a mark along the bottom edge 4 inches from each side. Make an additional mark 5½ inches from the base of each leg, centered on the width of each board. Draw lines between the marks to create outlines for the triangular cutouts.
Step 3: Cut the Detail on the Legs
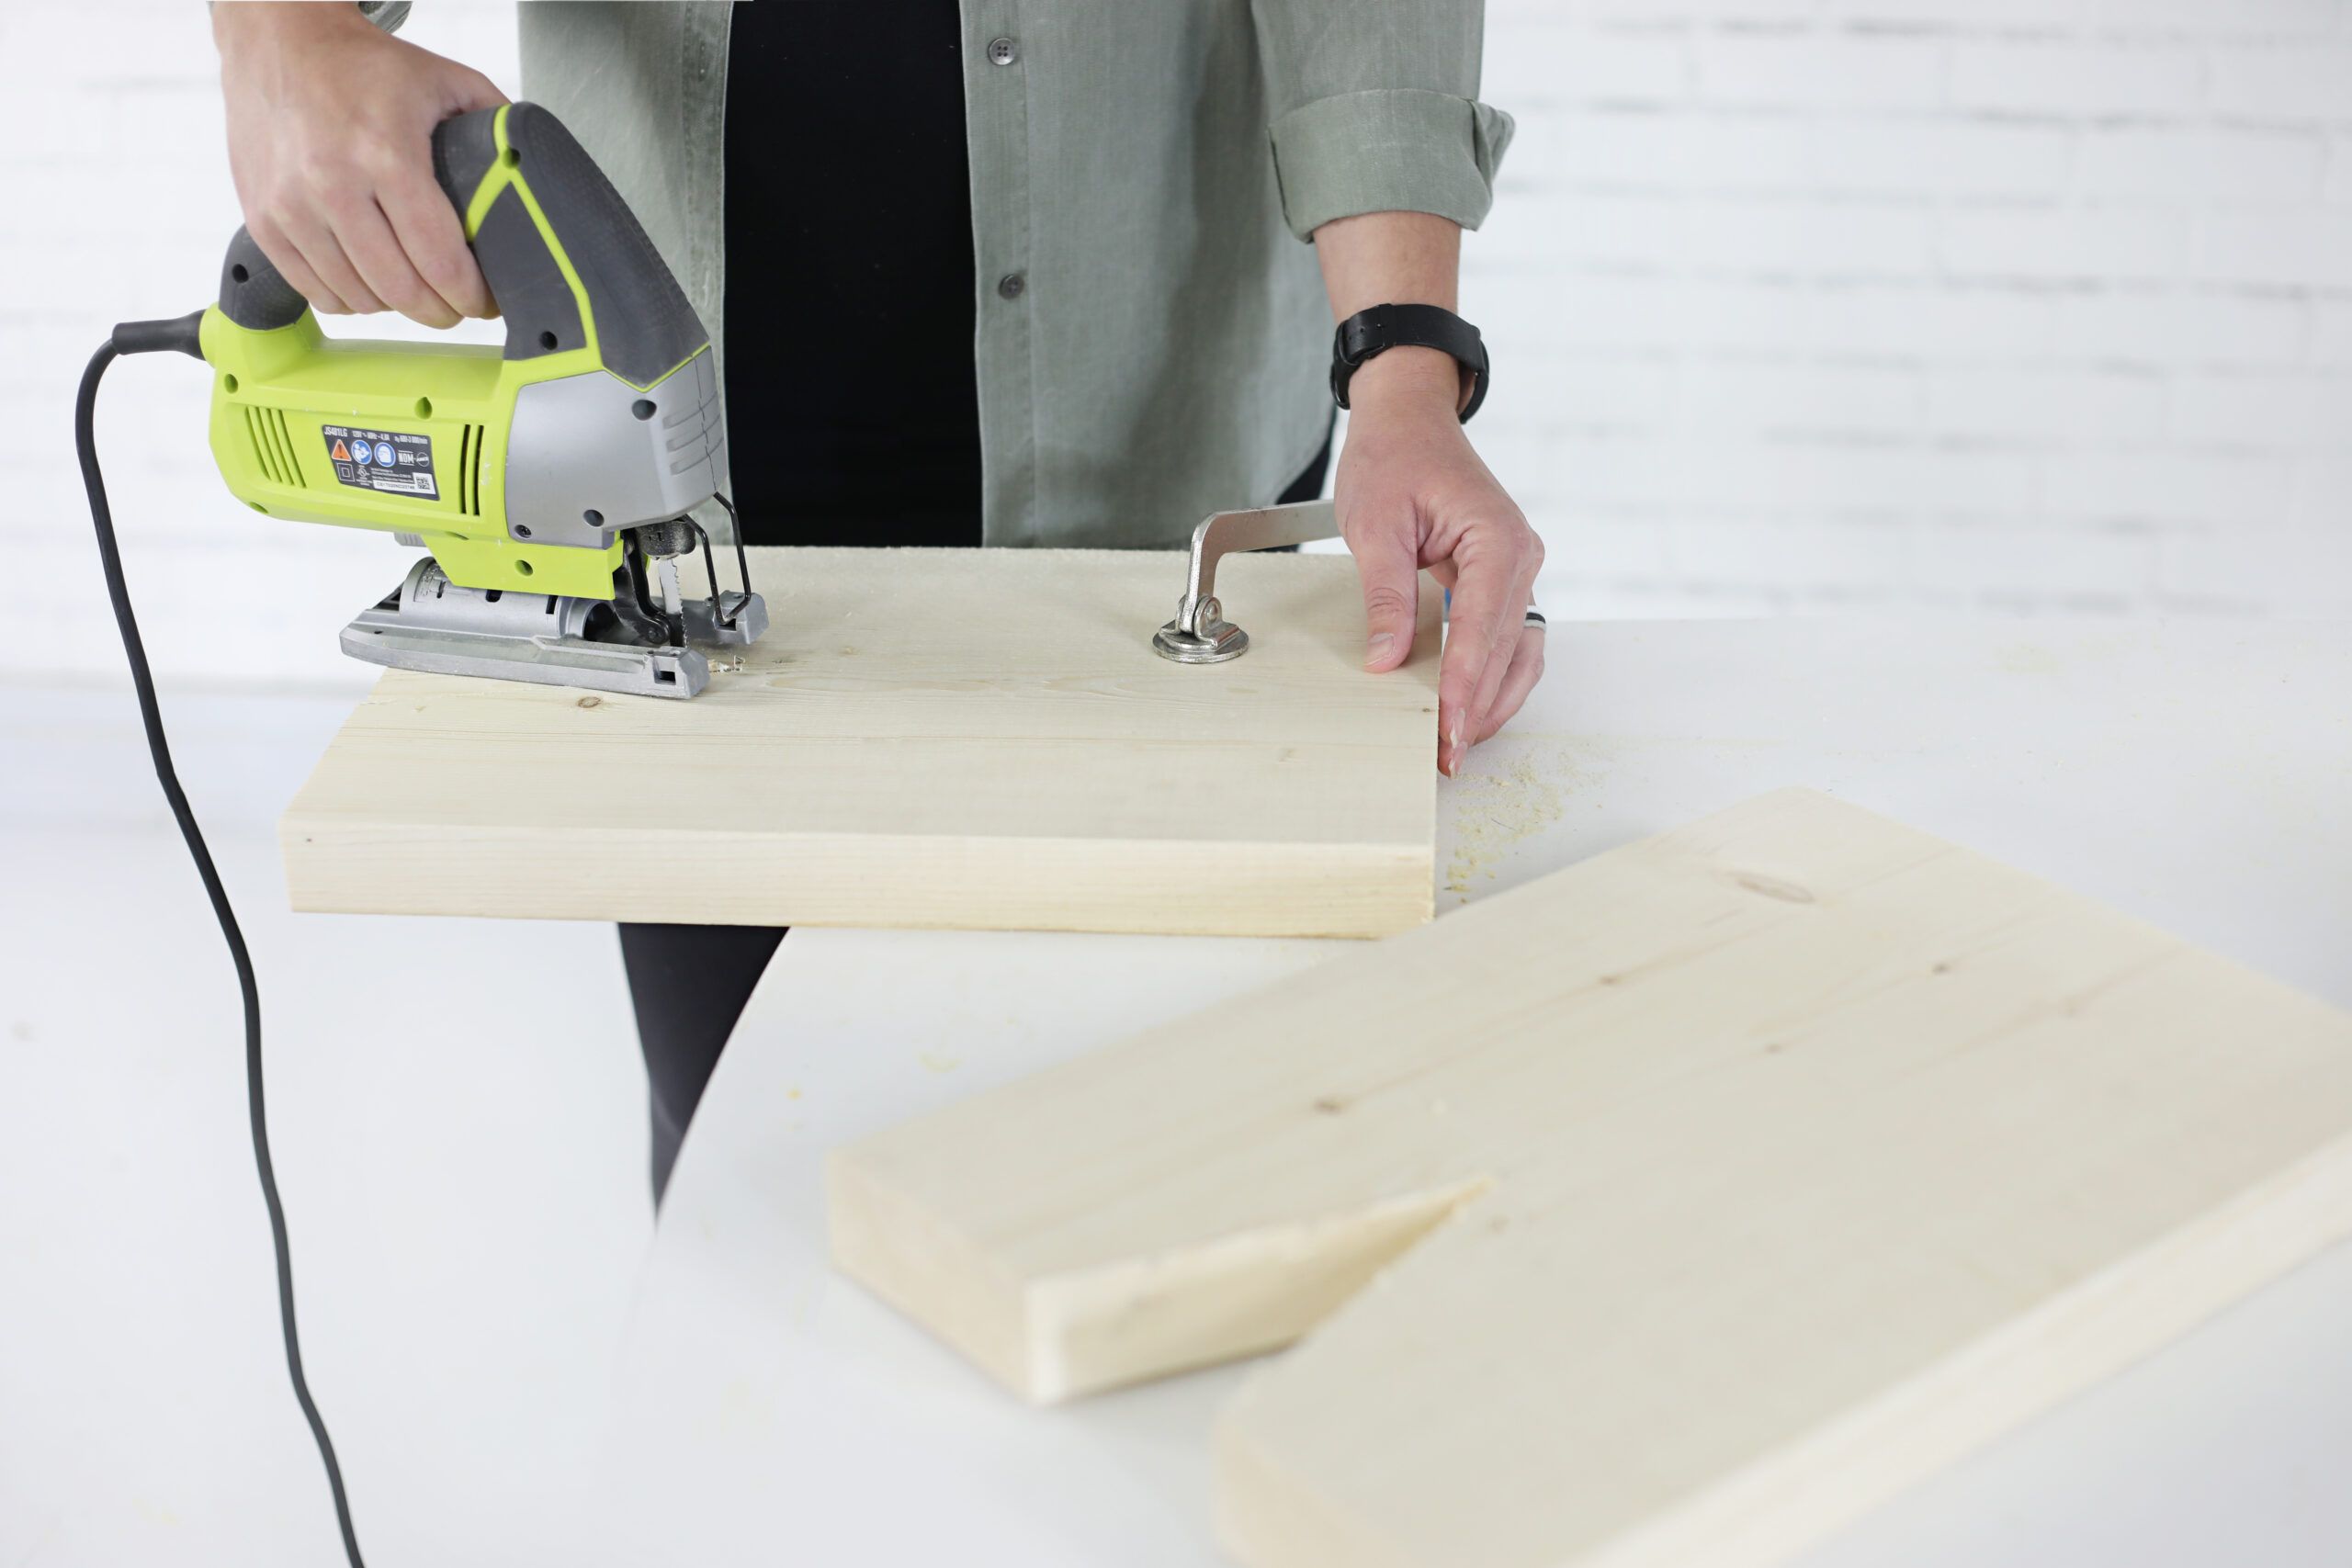
Using a jigsaw, cut the outline marked in Step Two.
Tip: For a straighter cut, cut the lines with a circular saw first, and then use a jigsaw to finish cutting the tip of each notch.
Step 4: Size the Stringer
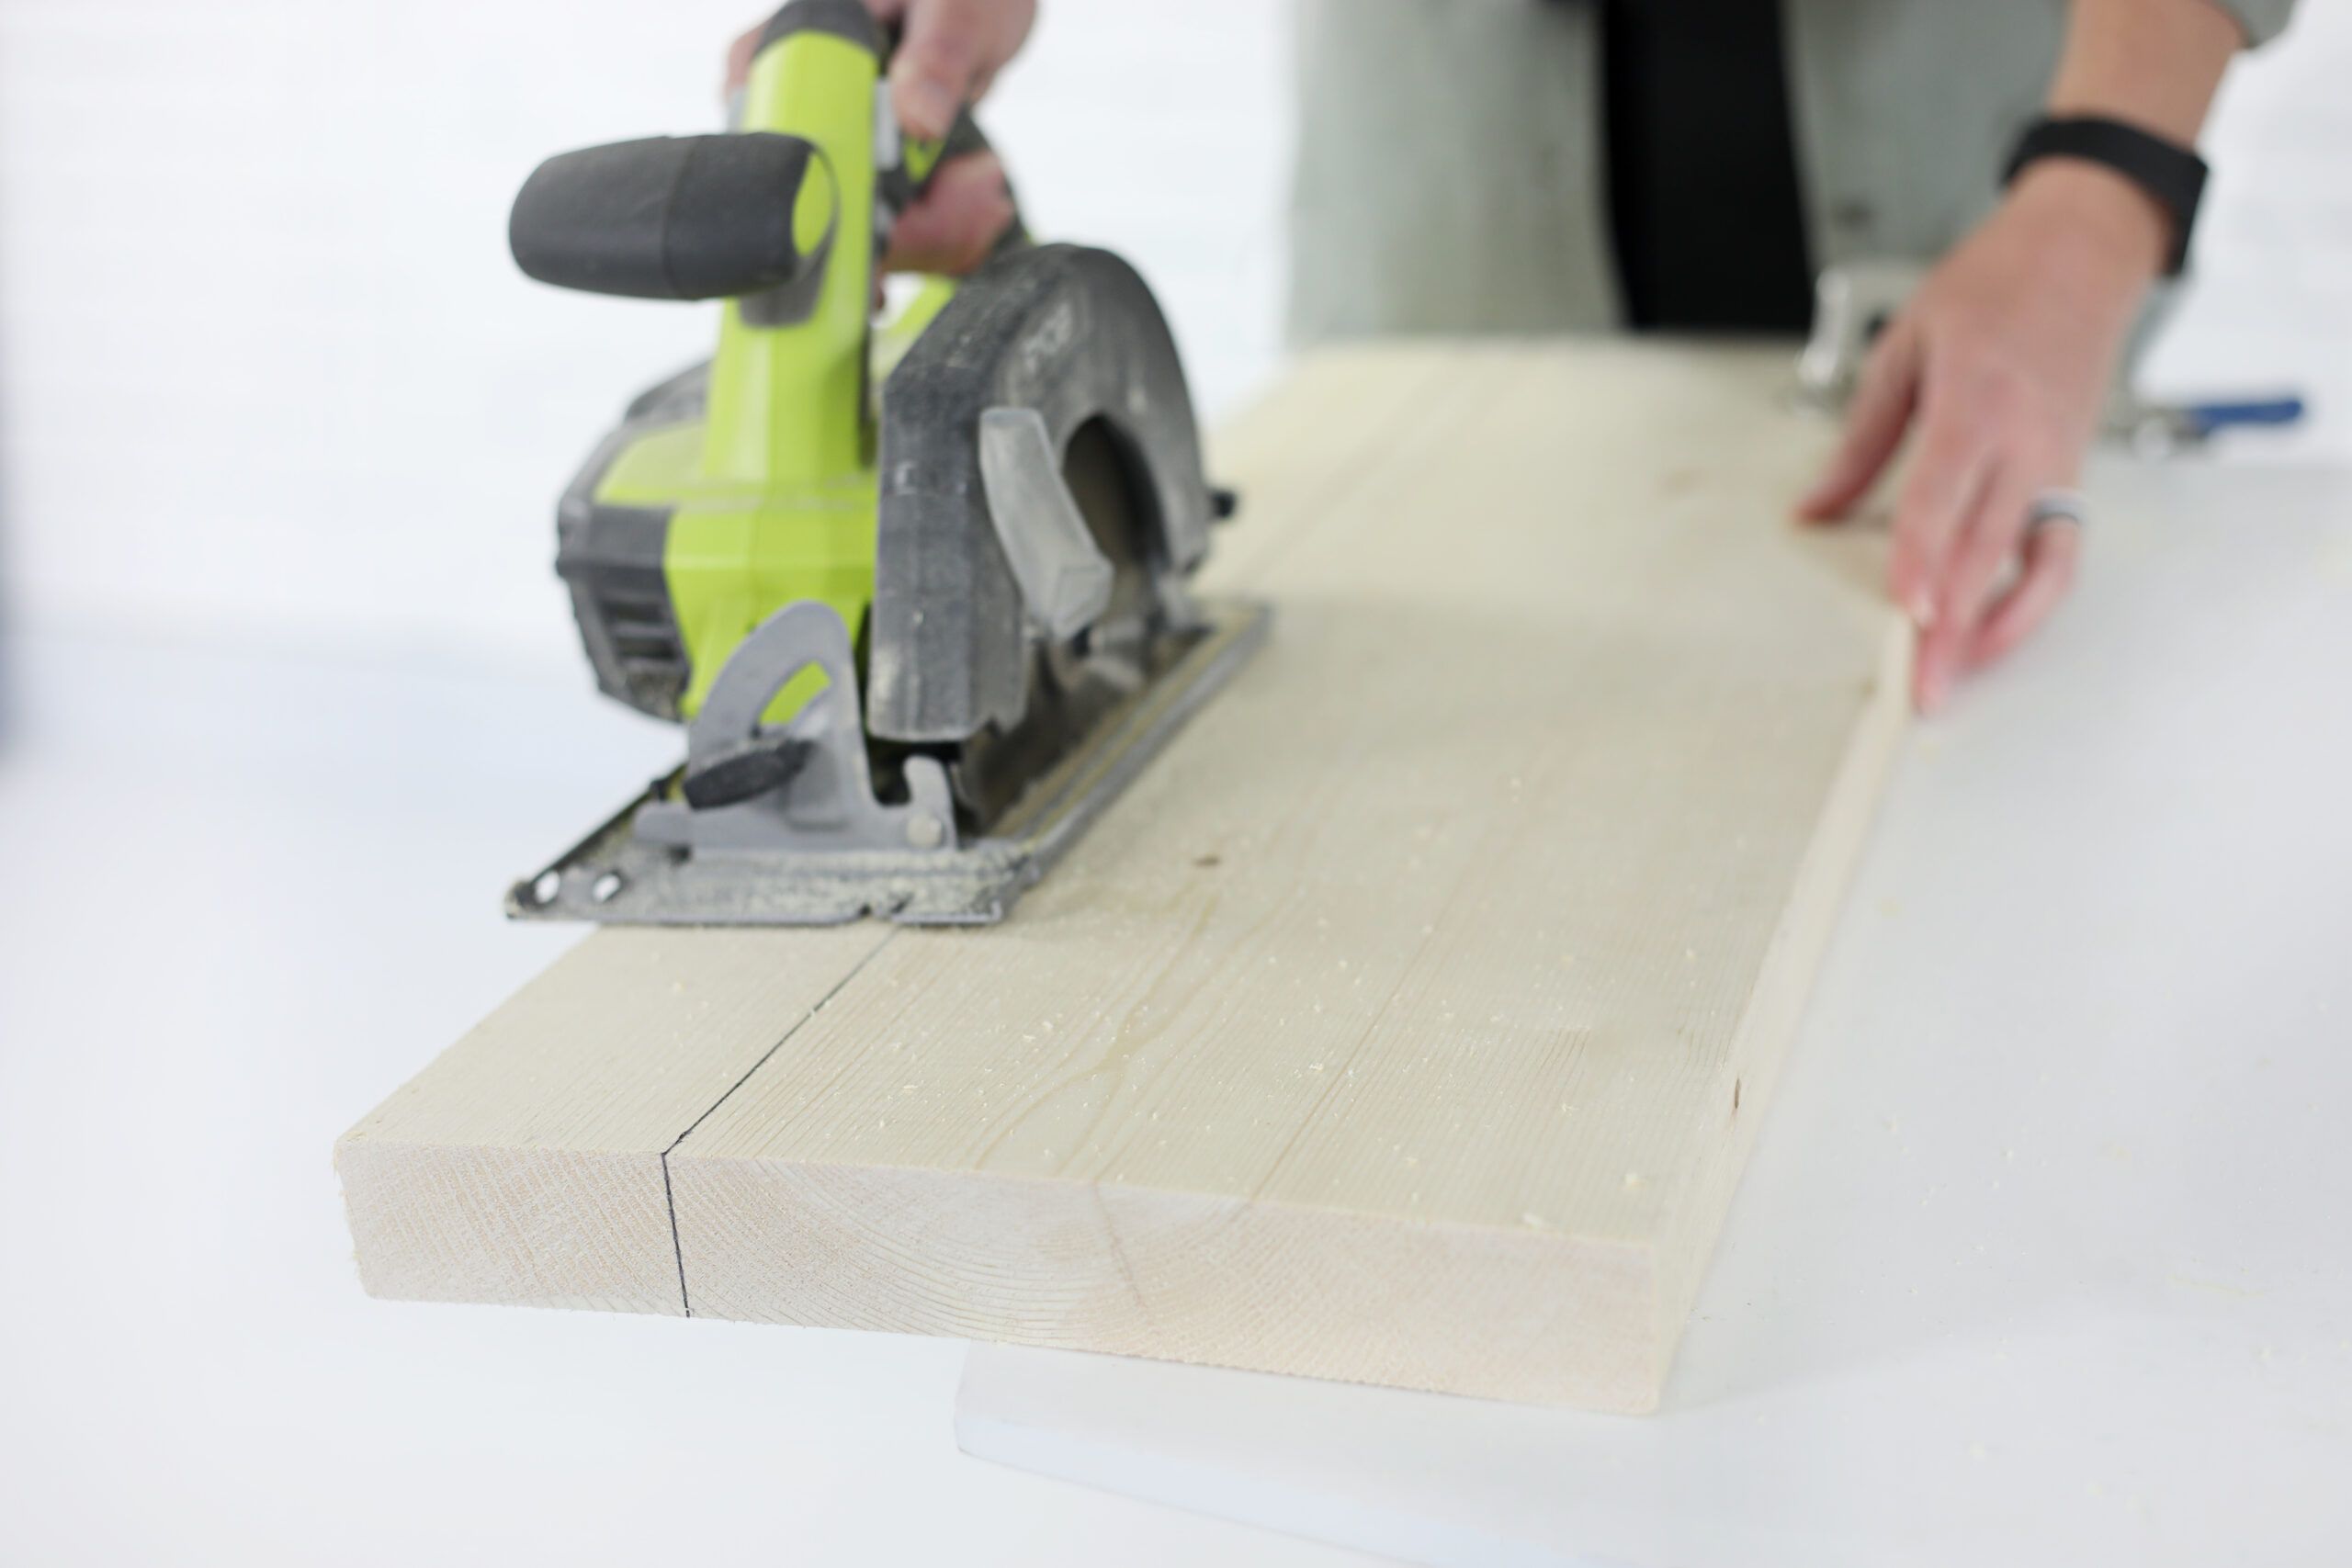
Using a circular saw, rip 3¼ inches from the width of the stringer.
Note: For a heftier-looking bench, you can keep the full width of the board, which will cause the stringer to hang lower to the ground.
Step 5: Add the Stringer Between the Legs
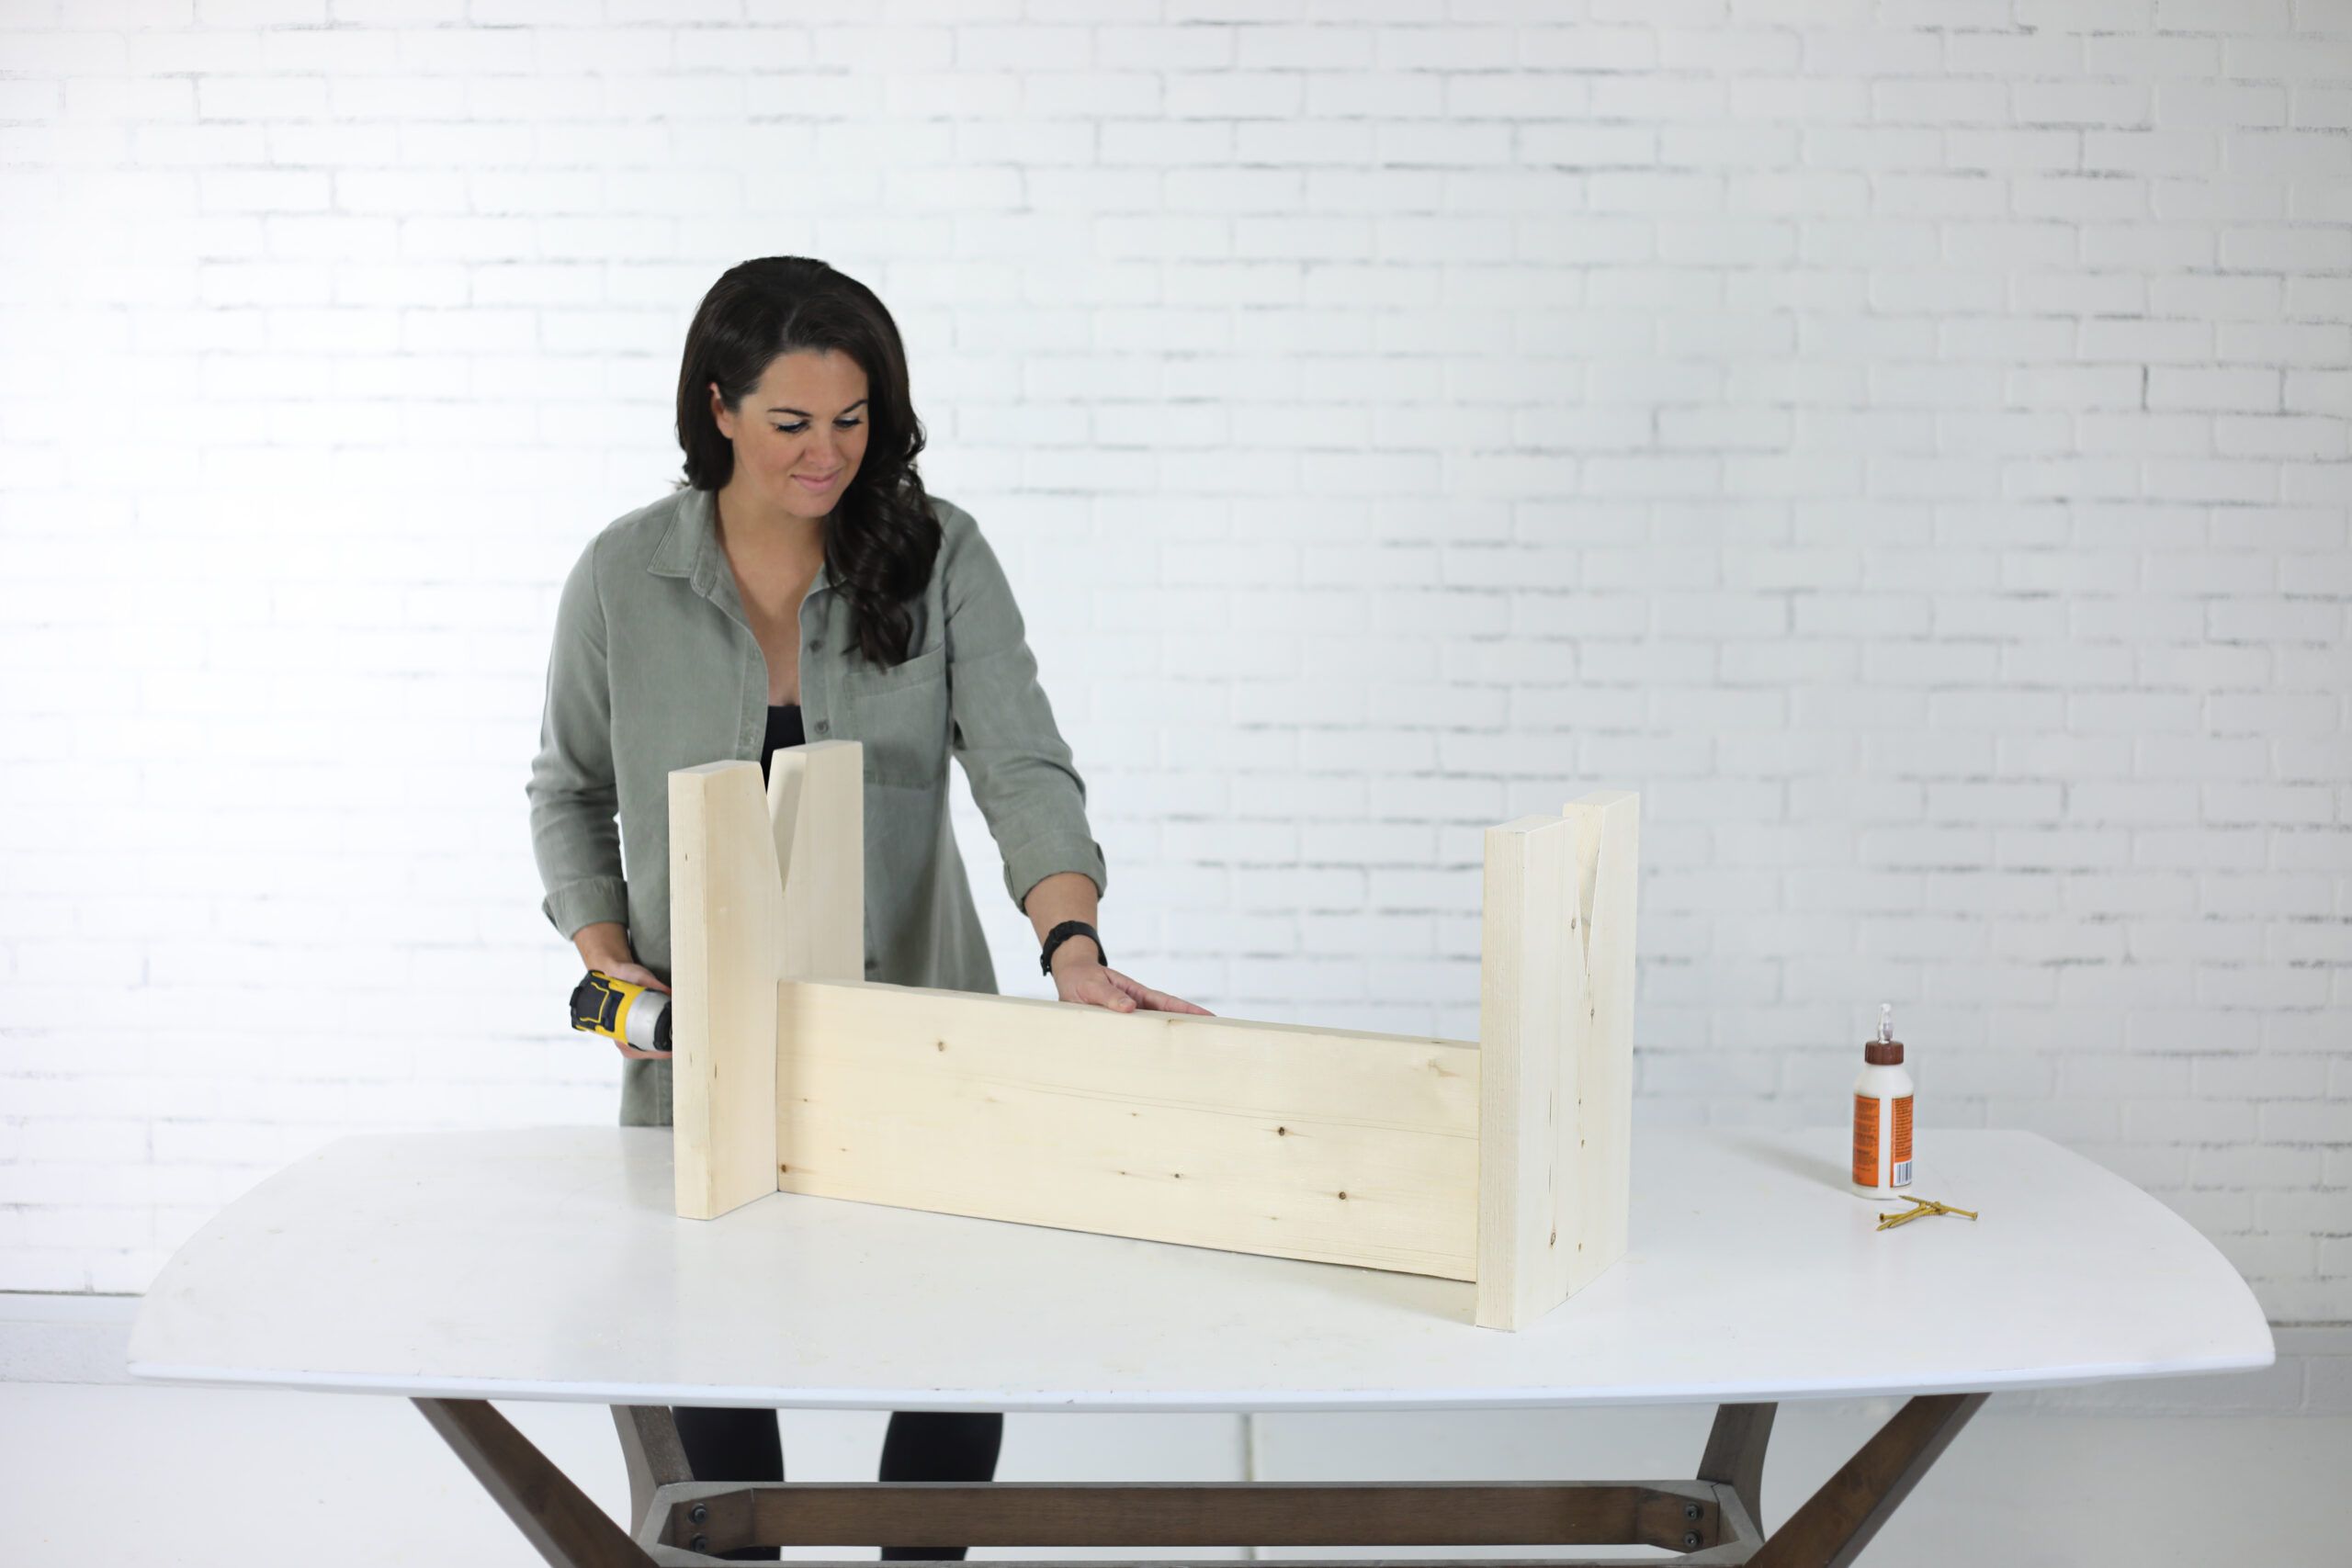
Apply wood glue to the ends of the 2×12 stringer. Place the stringer board on its edge and position it between the legs so that the trimmed edge is flush with the top edge of each leg. Drill two pilot holes through each leg and into the ends of the stringer. Drive 3-inch wood screws through the pilot holes and into the stringer to secure the pieces.
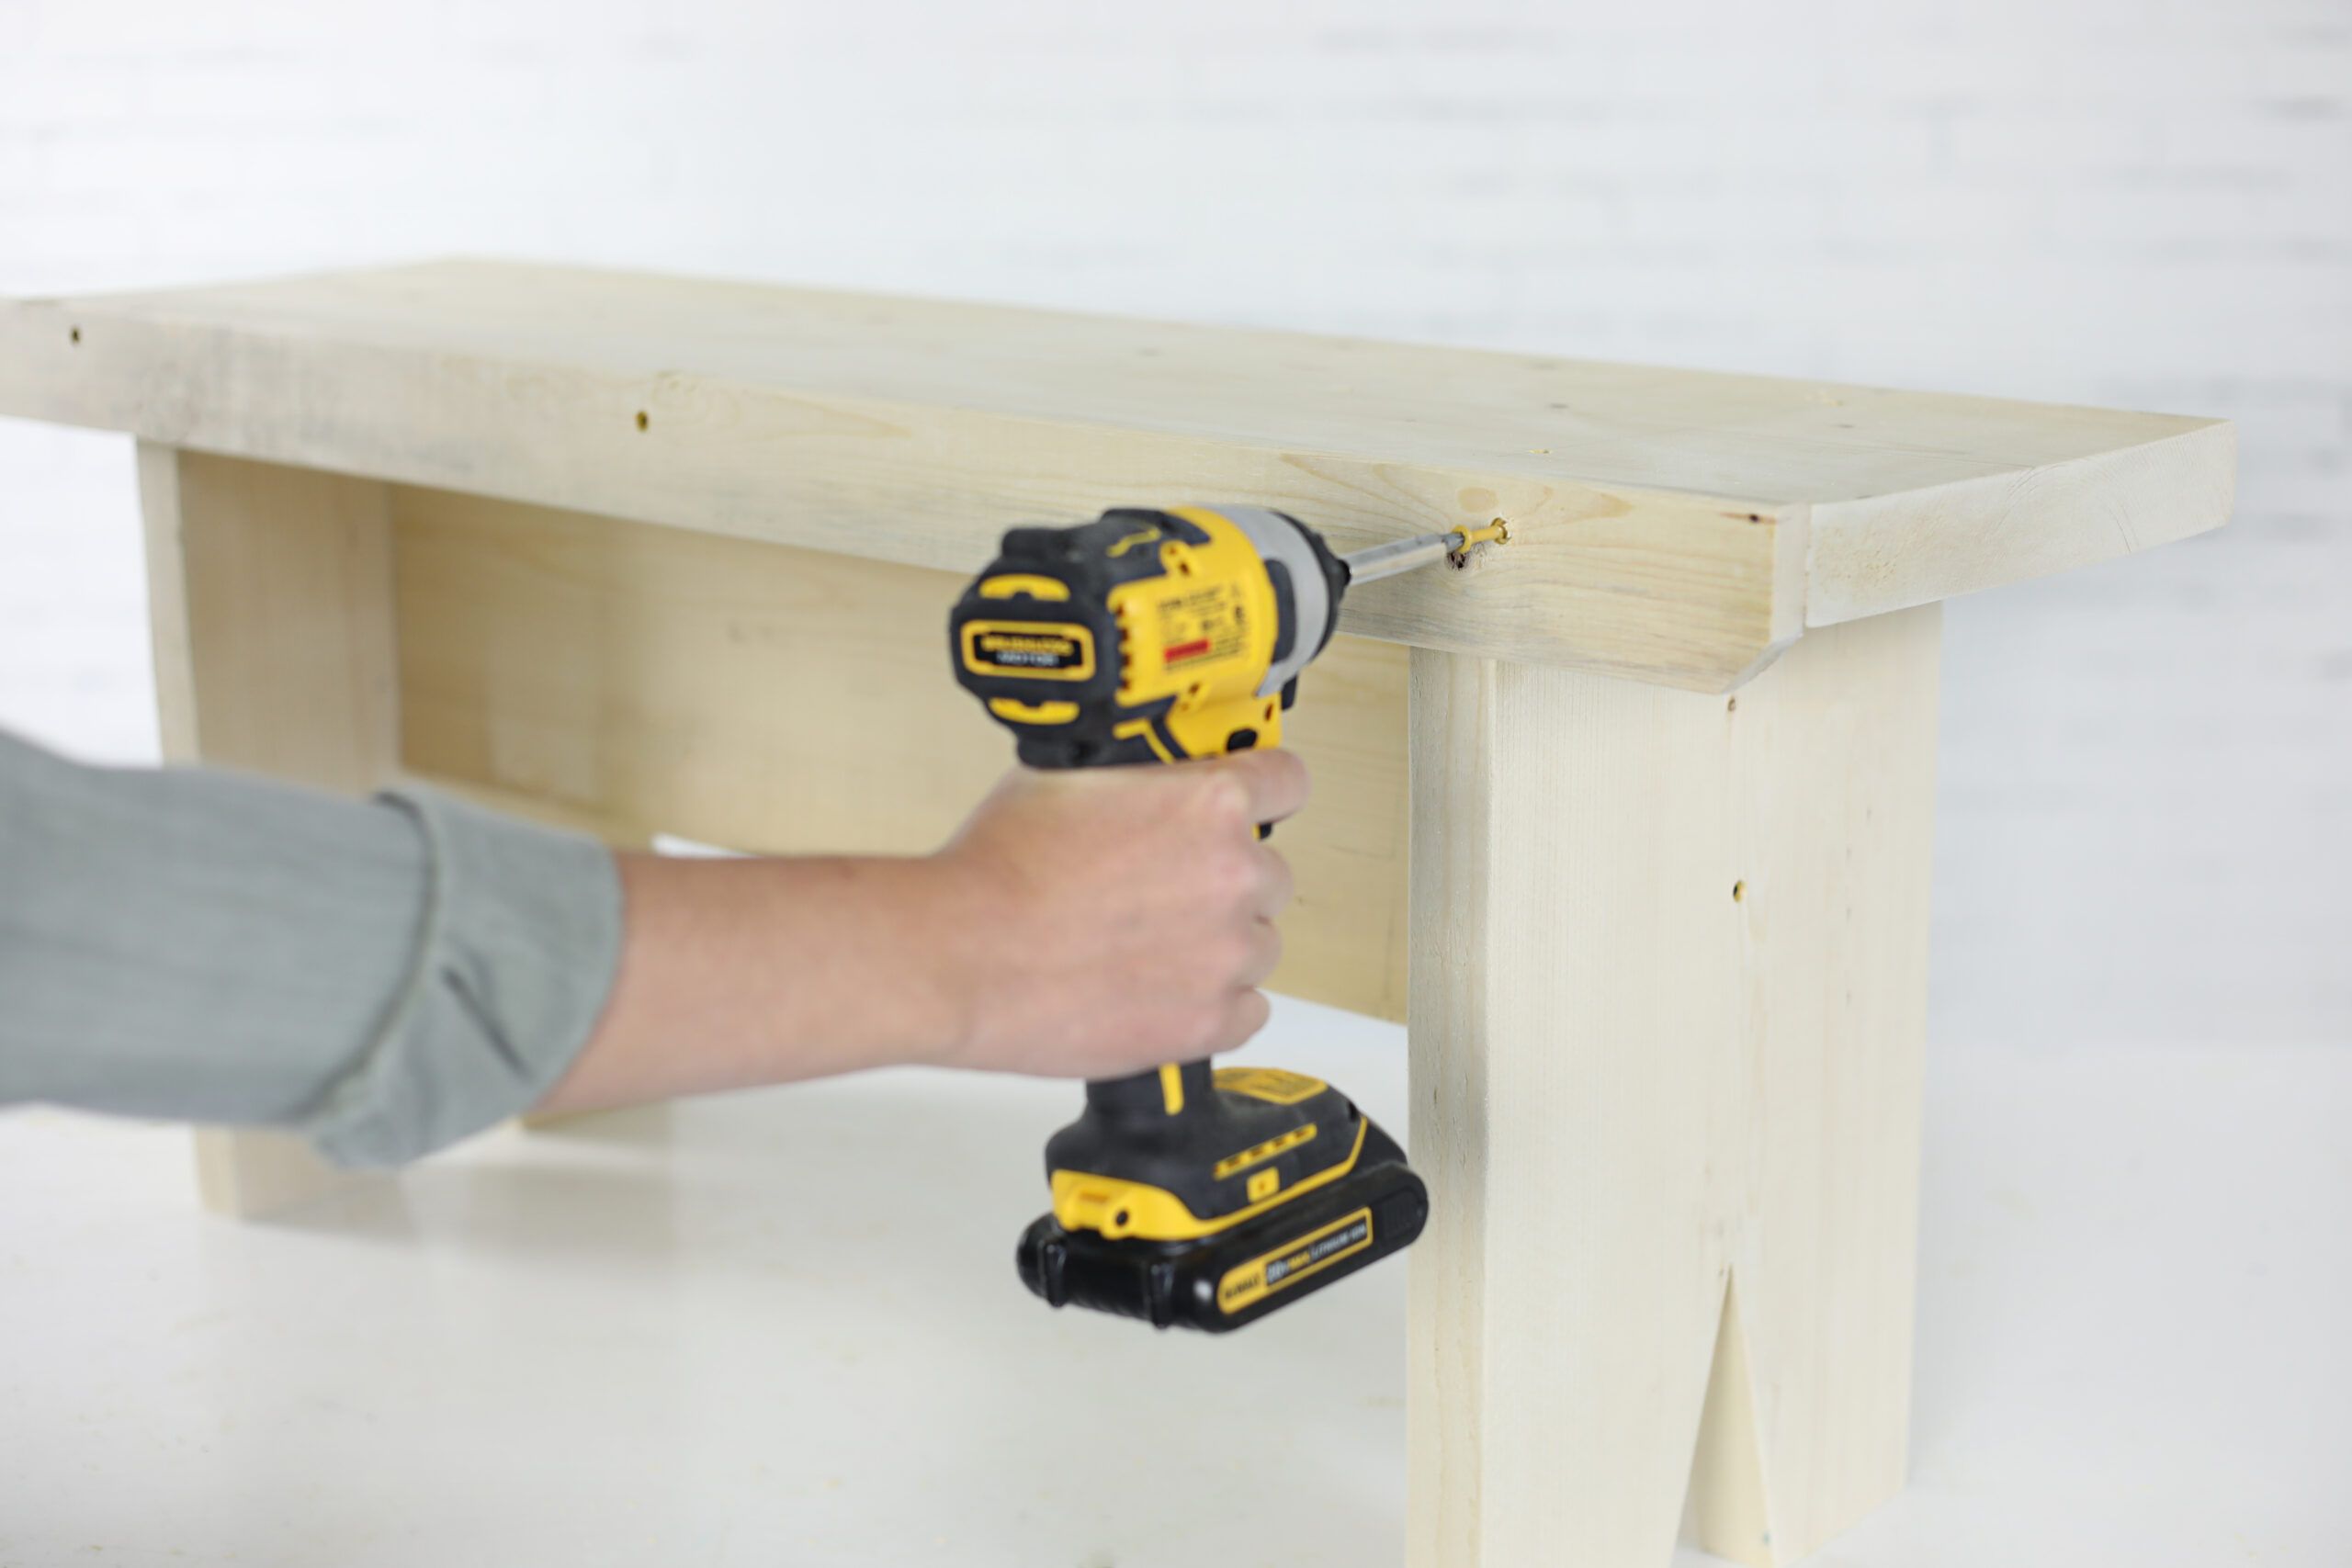
Step 6: Attach the Seat to the Base
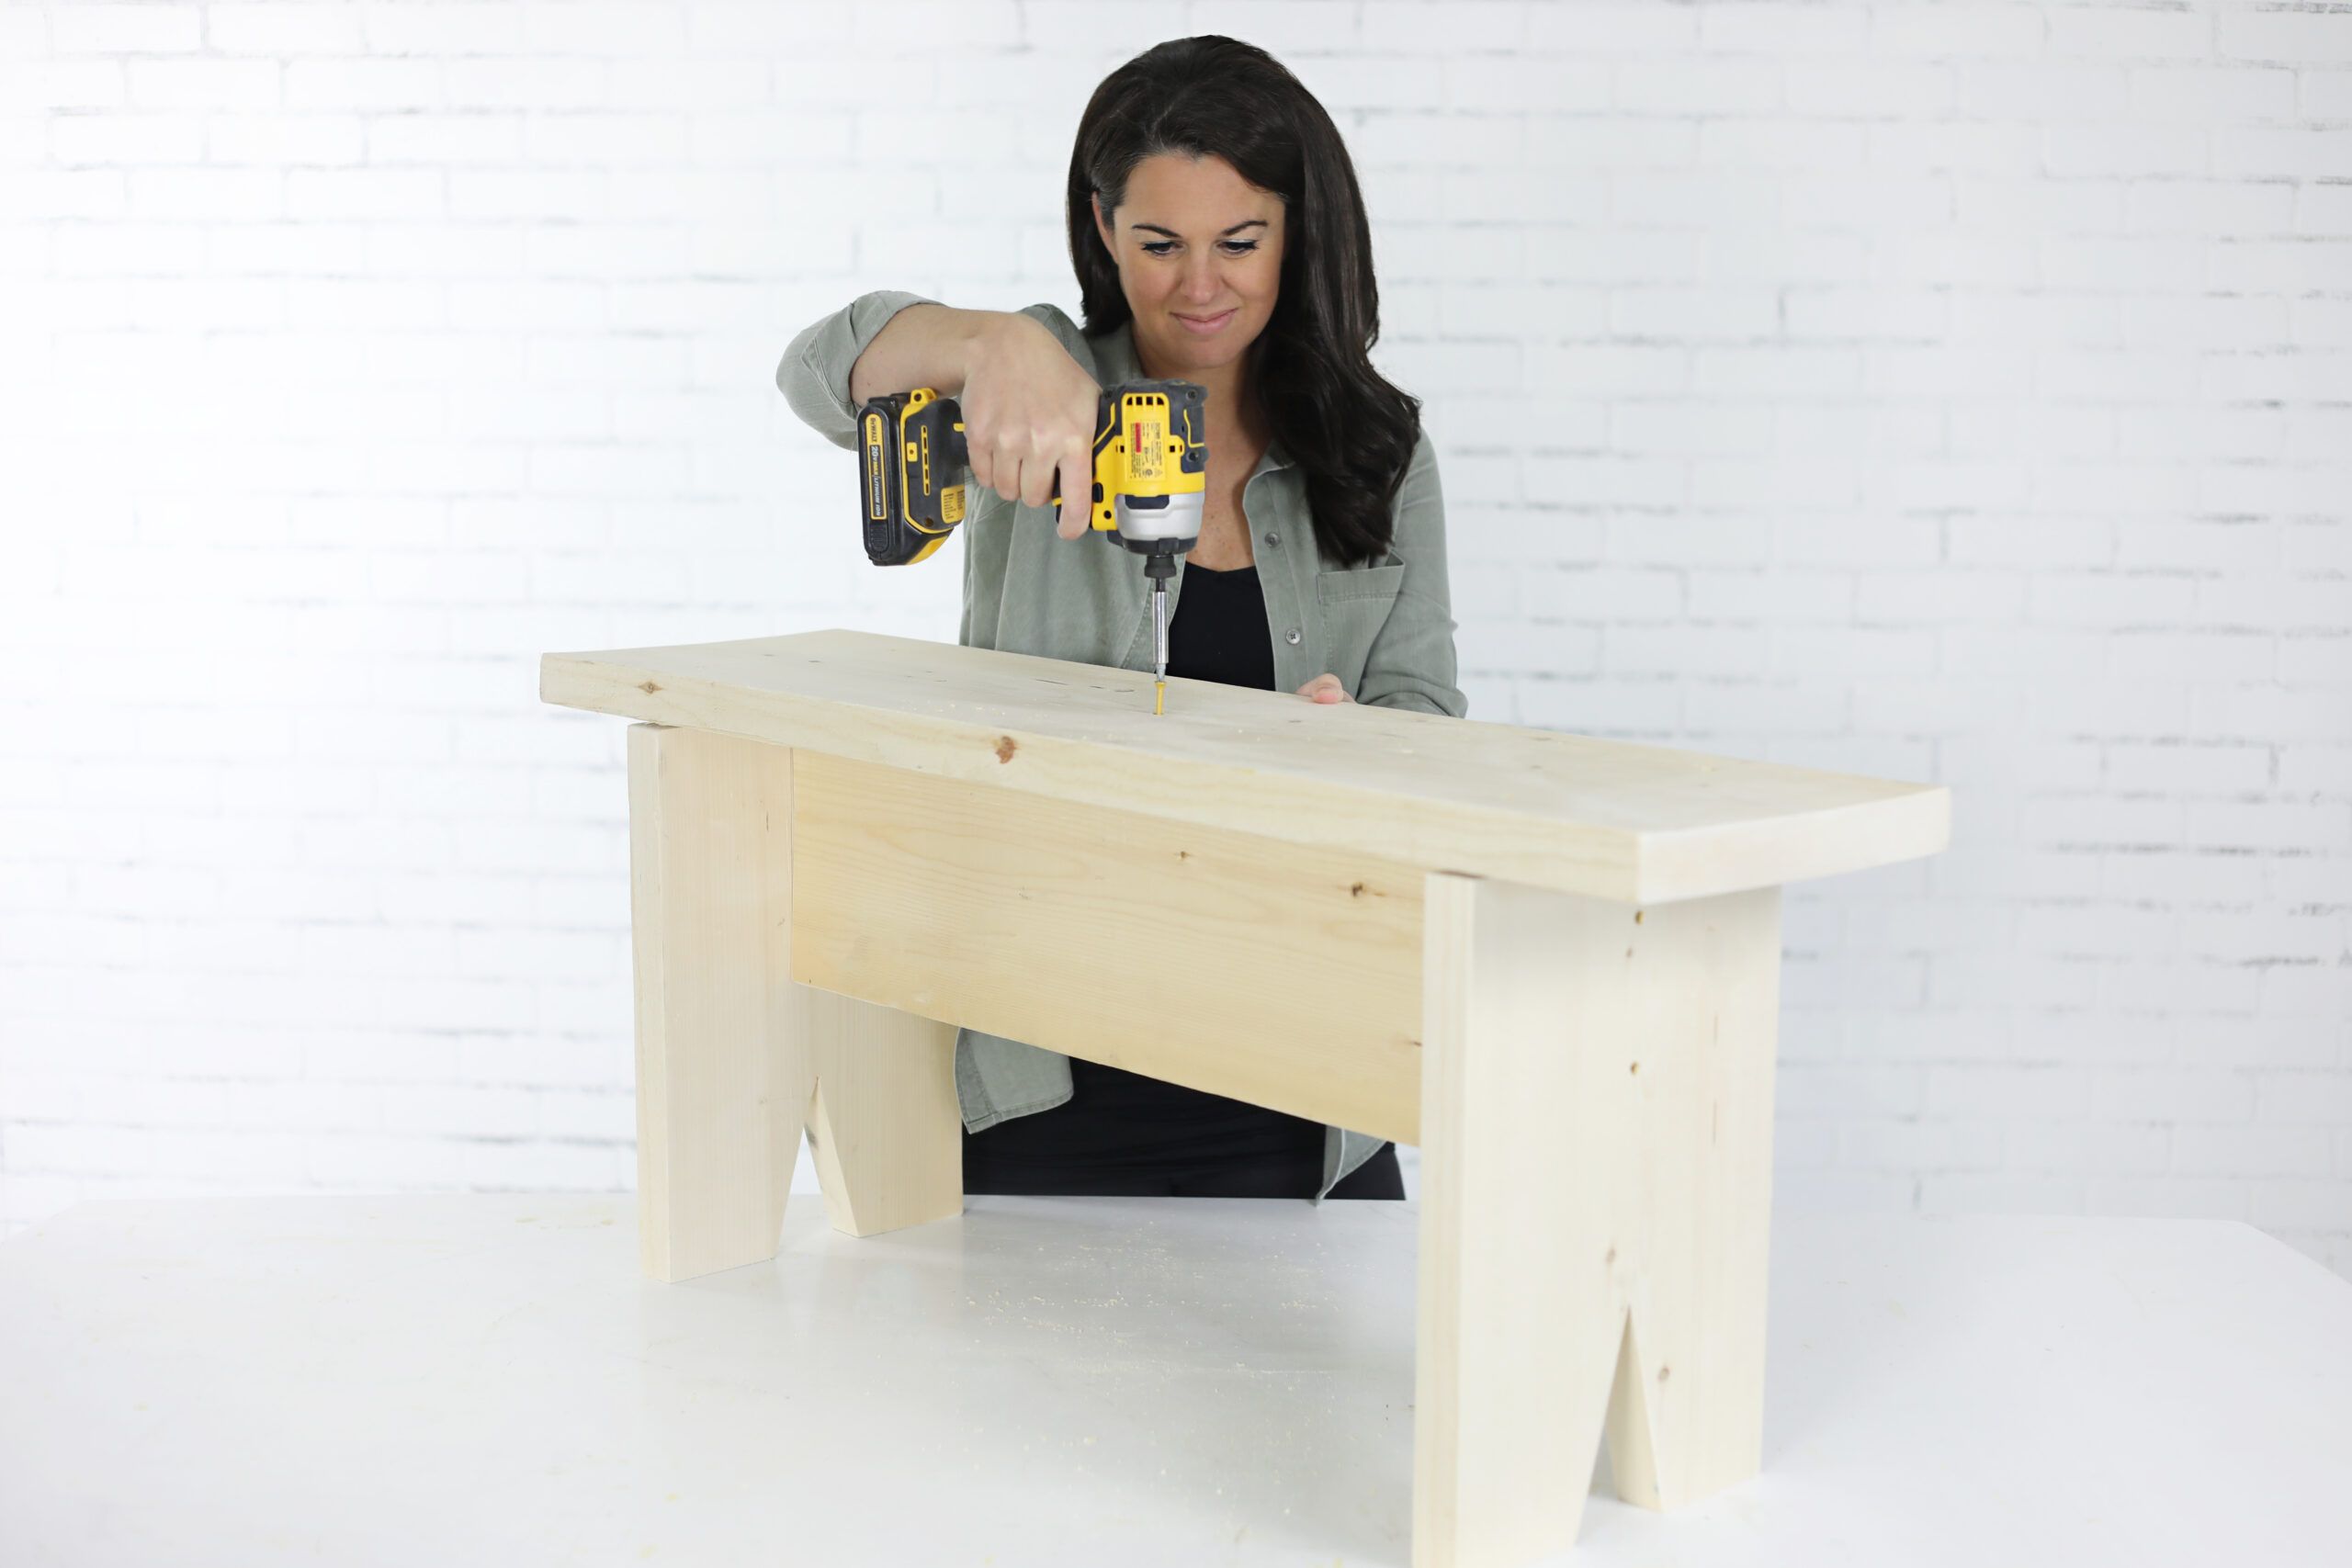
Apply wood glue to the tops of the legs and stringer. Position the seat board flat on the base and flush with the sides of the base. Make sure that the position of the seat creates a 4½-inch overhang on each end of the bench. Drill two pilot holes through the seat and into each leg and three pilot holes through the seat and into the stringer. Drive 3-inch deck screws through the seat and into the legs and stringer.
Step 7: Prep the Seat Trim
On each end of the 1×3 trim pieces, make a mark that’s 1½ inches from the top edge. Using the mark as a guide, use your miter saw to clip the rest of the bottom corner at a 45-degree angle.
Step 8: Attach the Seat Trim
Apply wood glue to the sides of the 2×12 seat. Position the trim flush with the top edge of the seat and with the clipped corners facing downward. Drill three pilot holes through each trim piece, and then connect the trim to the seat using 2-inch screws.
Step 9: Apply the Finish
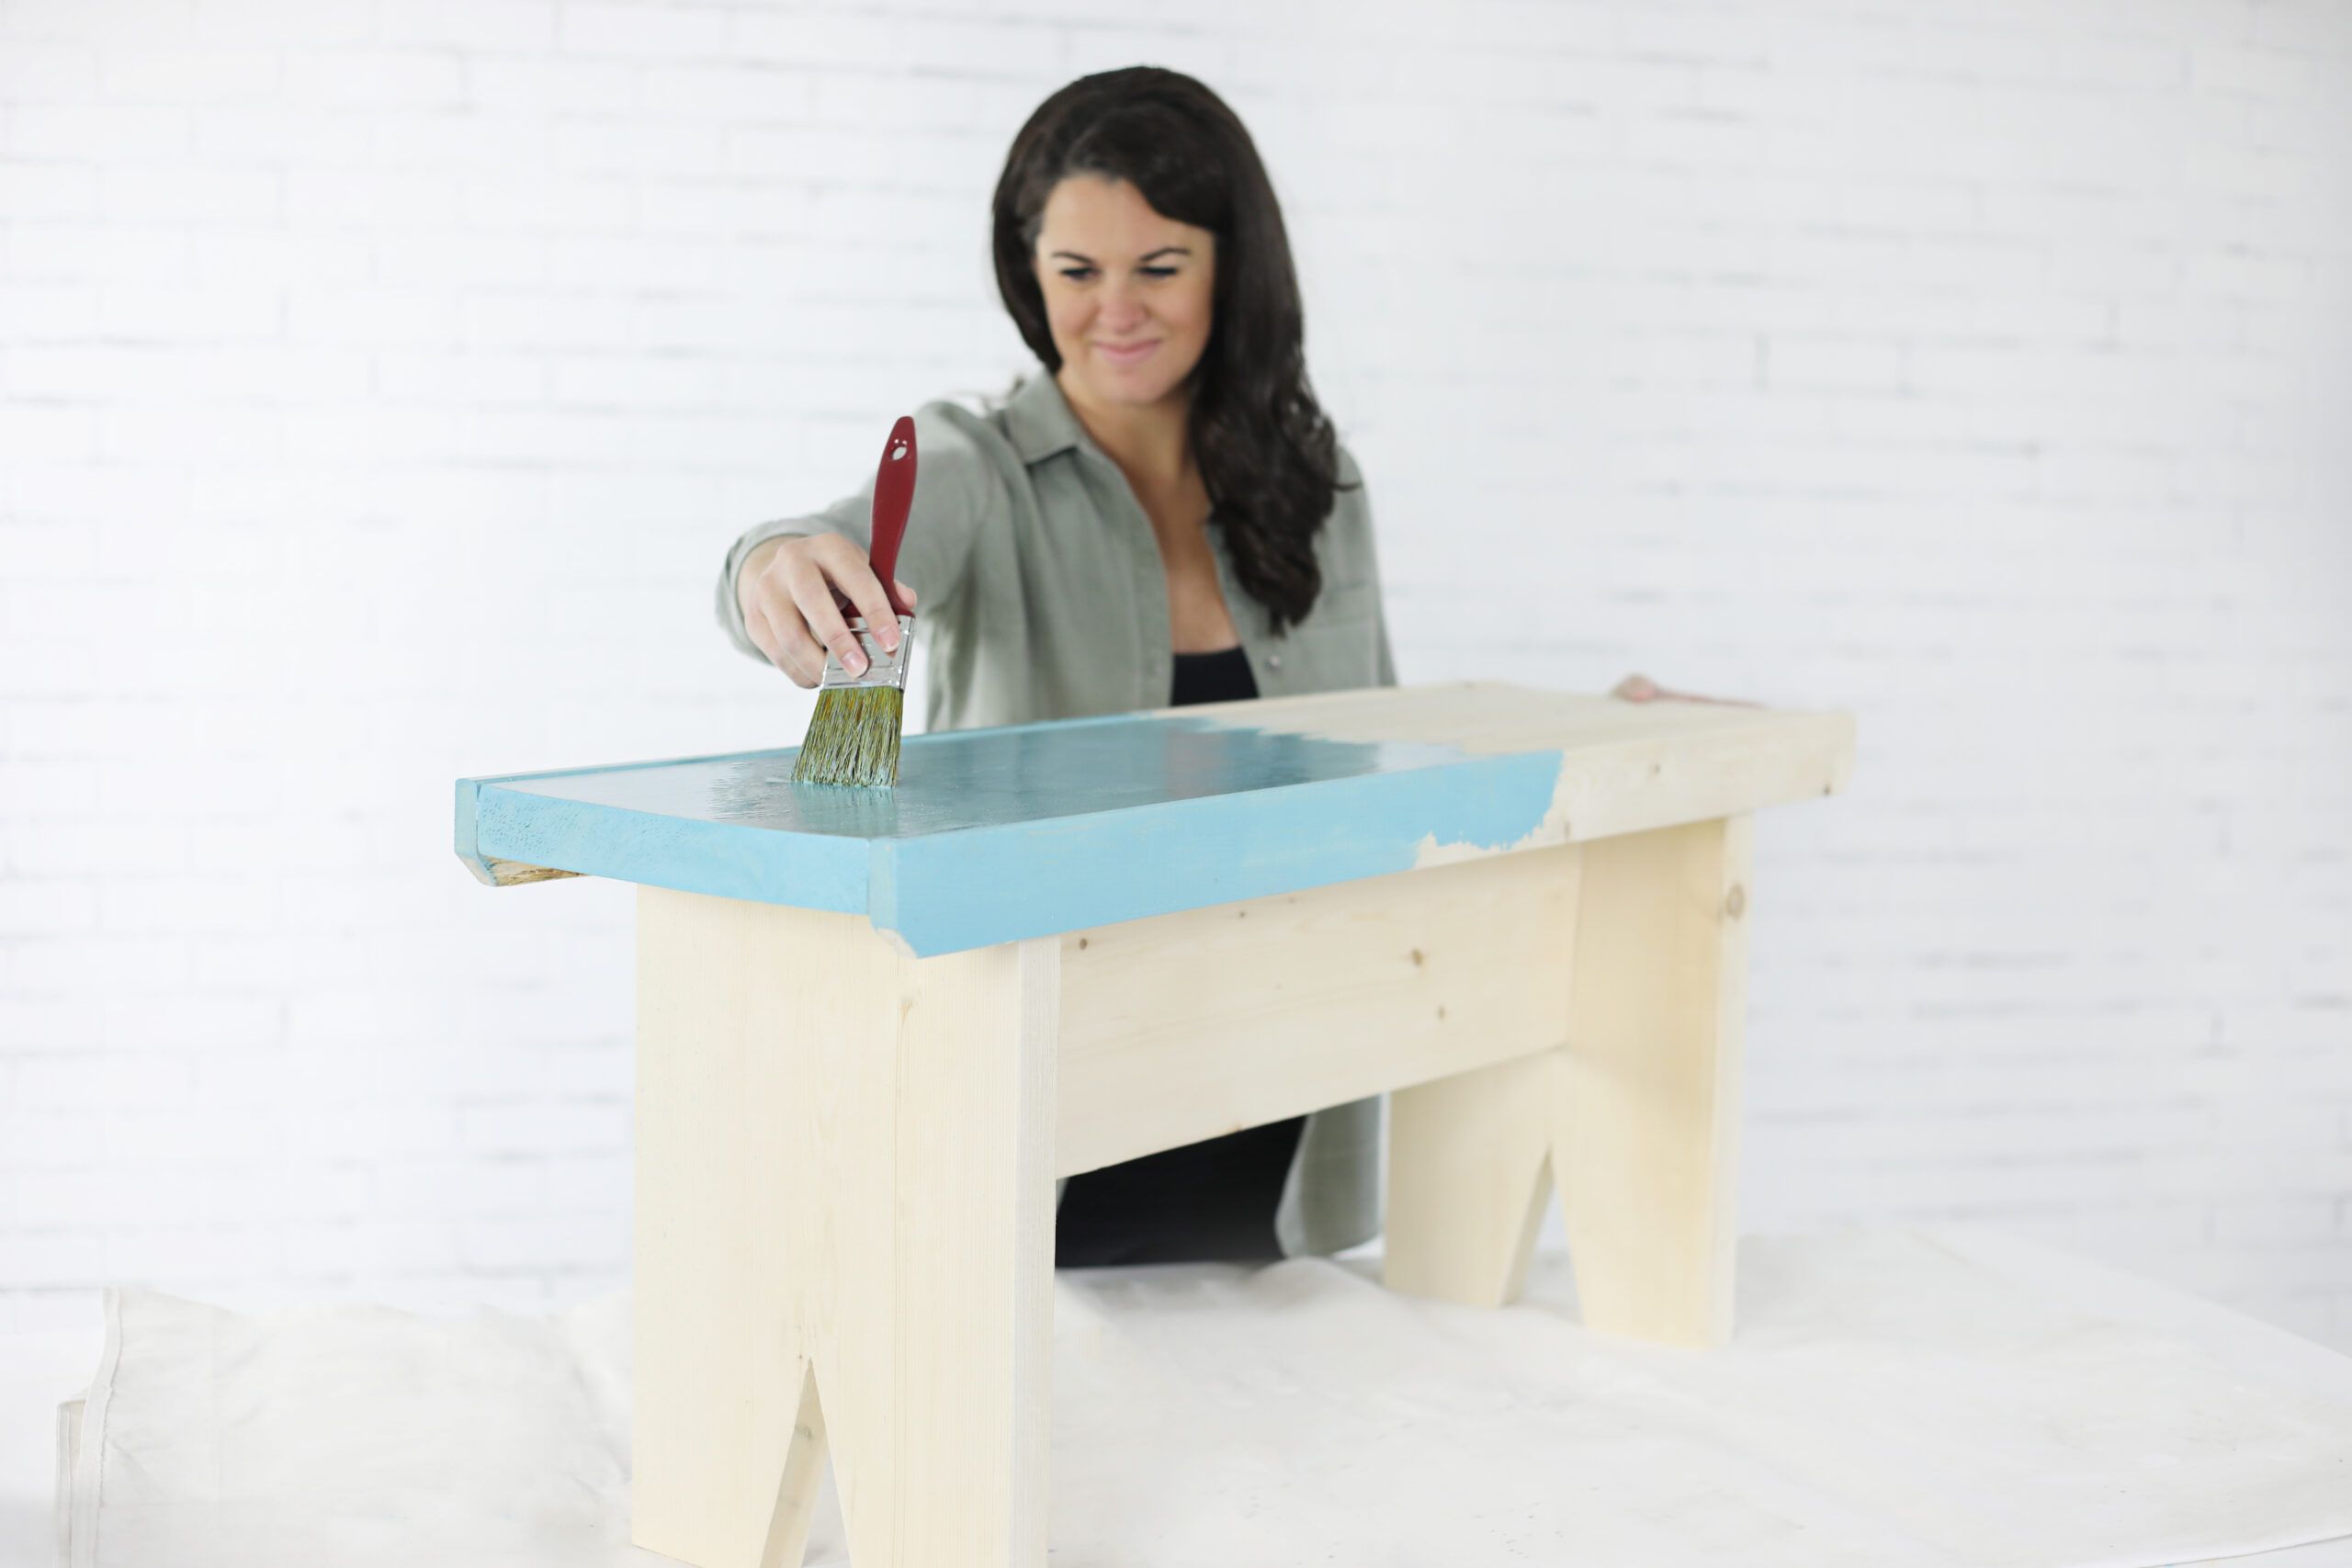
Fill all the screw holes with exterior-grade wood filler and allow it to cure completely. Then, sand the surfaces down until they are uniformly smooth. Finally, apply two coats of exterior wood stain and let dry before use.
Creating Sturdy Joints With Extra Support
While the basic construction of the garden bench offers reliable sturdiness, you can add extra support to increase its durability. Here’s how:
- Reinforce the stringer by adding diagonal braces at both ends.
- Cut two additional pieces from the 1×3 board, each 12 inches long.
- Position one end of each piece at the midpoint of the bench’s length, extending the other end to the midsection of each leg for a triangular support structure.
- Apply wood glue along the edges of both support pieces before attaching them.
- Drill pilot holes into both ends of each piece and secure them using 2-inch deck screws.
This additional step not only strengthens the joints but also offers extra stability, which can be particularly beneficial if the bench will see regular use or heavy loads.
Garden Bench Customization Options
While the basic design of this garden bench is beautiful in its simplicity, there are several ways you can customize it to suit your personal style and needs:
- Add cushions for extra comfort
- Adjust the dimensions to fit a specific space in your garden
- Incorporate decorative elements like carved designs or metal accents
- Paint instead of stain for a more vibrant look
- Use reclaimed wood for an eco-friendly touch
Garden Bench Maintenance Tips
To keep your DIY garden bench in good condition, we recommend using these maintenance tips:
- Clean the bench regularly with mild soap and water
- Reapply stain or paint annually to protect the wood from moisture and UV damage
- Store the bench indoors during harsh winter months if possible
- Tighten any loose screws as needed
Our Conclusion
With basic woodworking skills and a few hours of work, you can create a sturdy, attractive bench that provides comfortable seating for two. Whether you choose to keep it simple or add unique features, your new bench is sure to become a favorite spot for relaxation and enjoyment in your garden.
Tools
 Miter saw
- Jig saw
- Circular saw
- Drill