We may be compensated if you purchase through links on our website. Our team is committed to delivering honest, objective, and independent reviews on home products and services.
Project details
Skill
Cost
Estimated Time
We were challenged to turn a pile of scrap aluminum tubes and fittings into something useful around the home. With a little creativity and hard work, we constructed a durable butcher-block workbench that pulls double-duty, indoors and out.
Could you do better? It’s your turn to make use of any scraps you’ve got lying around to build a project of your own. We’re calling it the #DIYDARE. Check out our examples to get inspired, then snap a photo of your project and tag it #DIYdare when you post it to Facebook, Twitter, or Instagram.
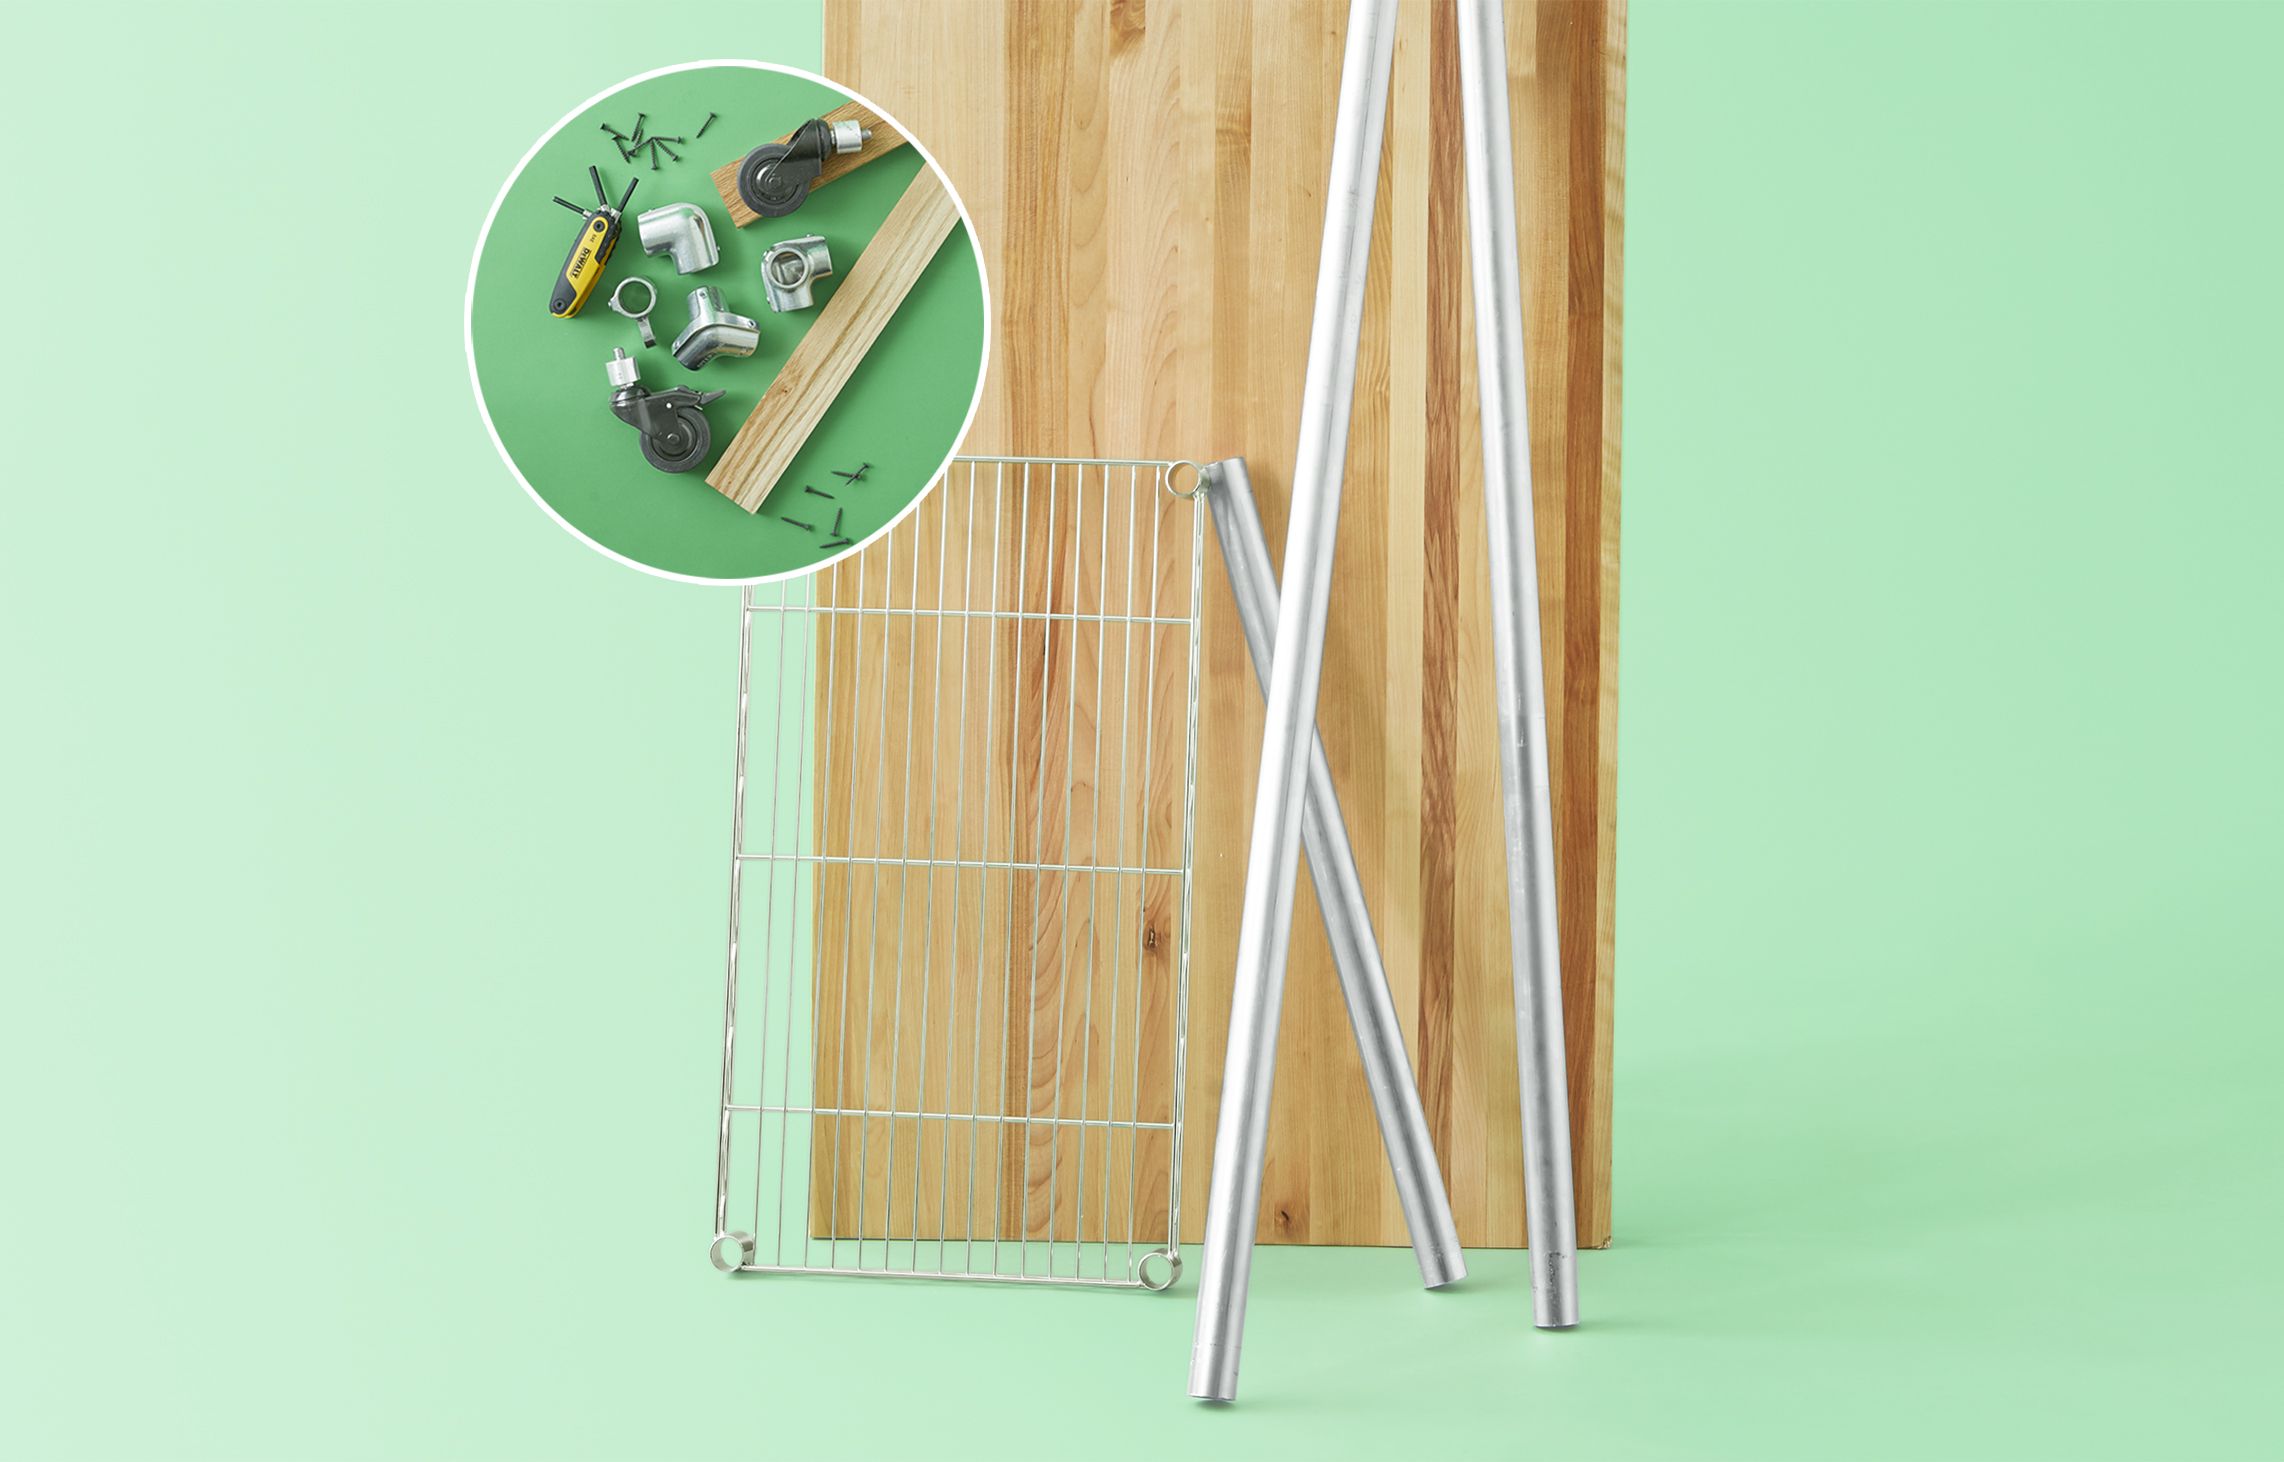
Step 1: Cut the Kitchen Cart Parts
Before you begin assembly, determine the dimensions of your cart. Consider the available space in your kitchen and how you plan to use the cart. For this project, we designed the cart around a 2-by-4-foot workbench top, but you can adjust the measurements to suit your needs.
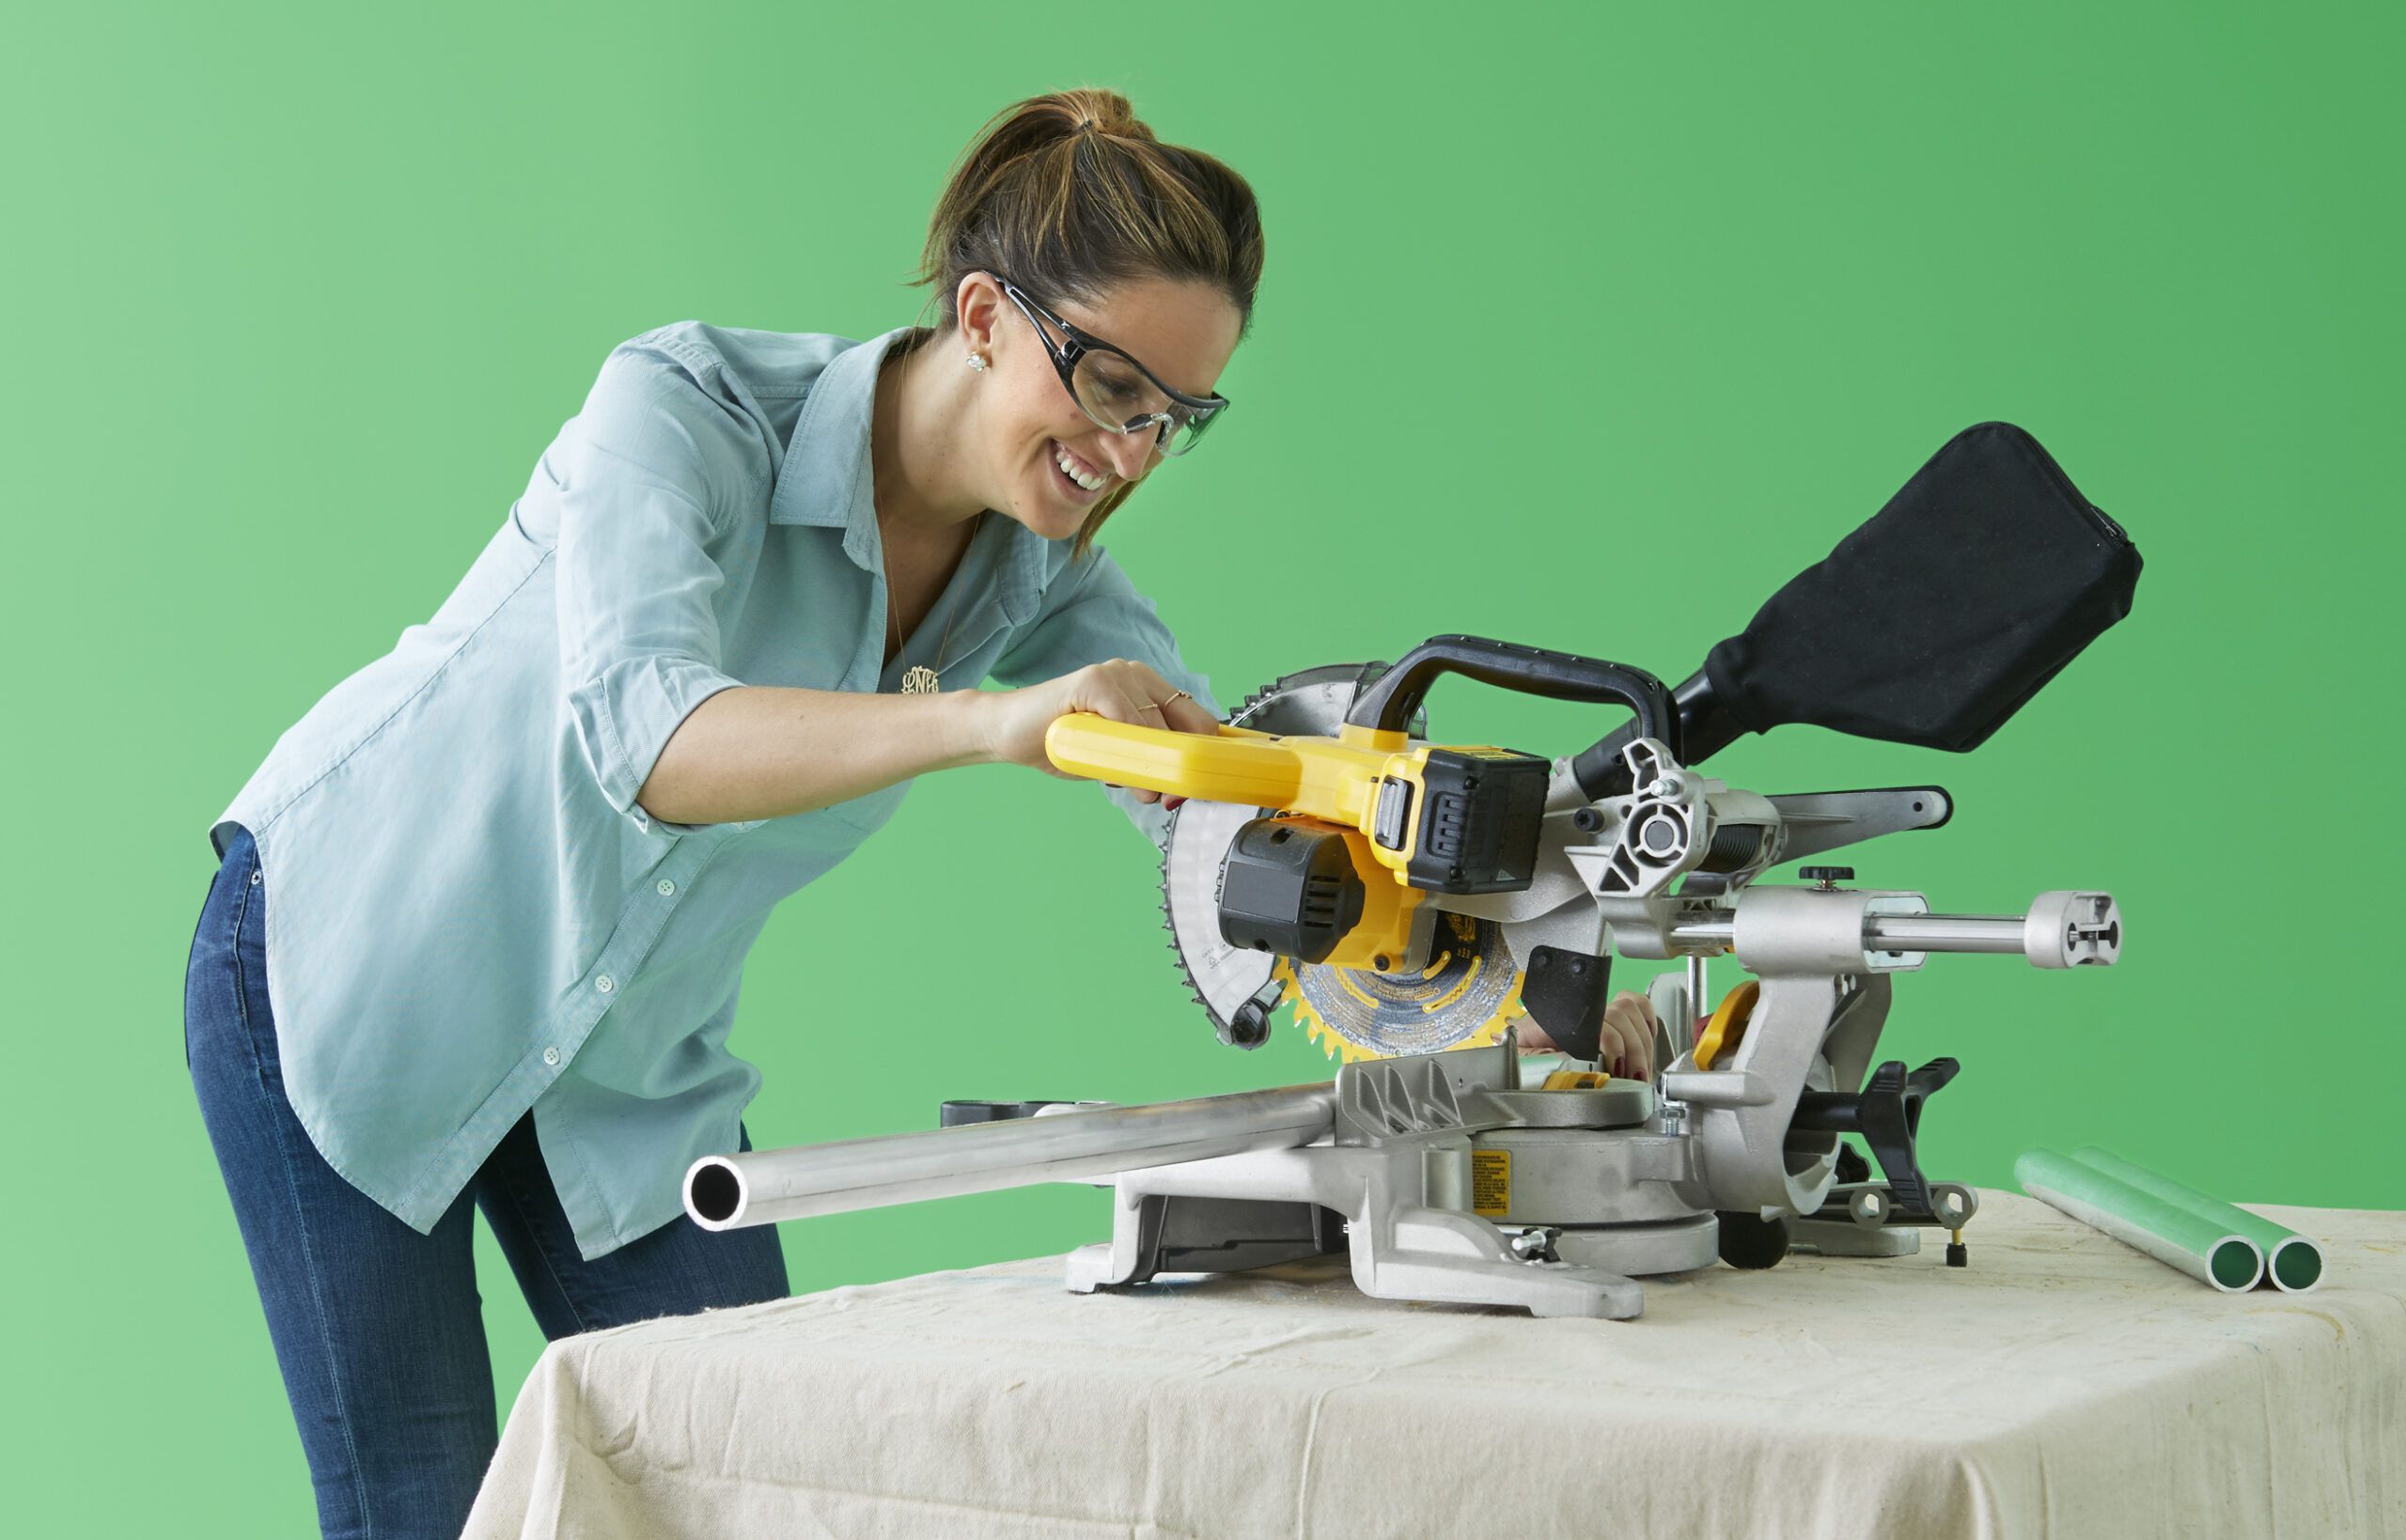
To cut the aluminum tubes:
- Measure and mark the tubes according to your desired dimensions.
- Use a miter saw fitted with a non-ferrous metal cutting blade for clean, precise cuts.
- If you don’t have access to a miter saw, a hacksaw can be used as an alternative, though it may require more effort.
- Sand any rough edges to prevent injuries during assembly and use.
- Double-check your measurements to ensure all pieces are accurate.
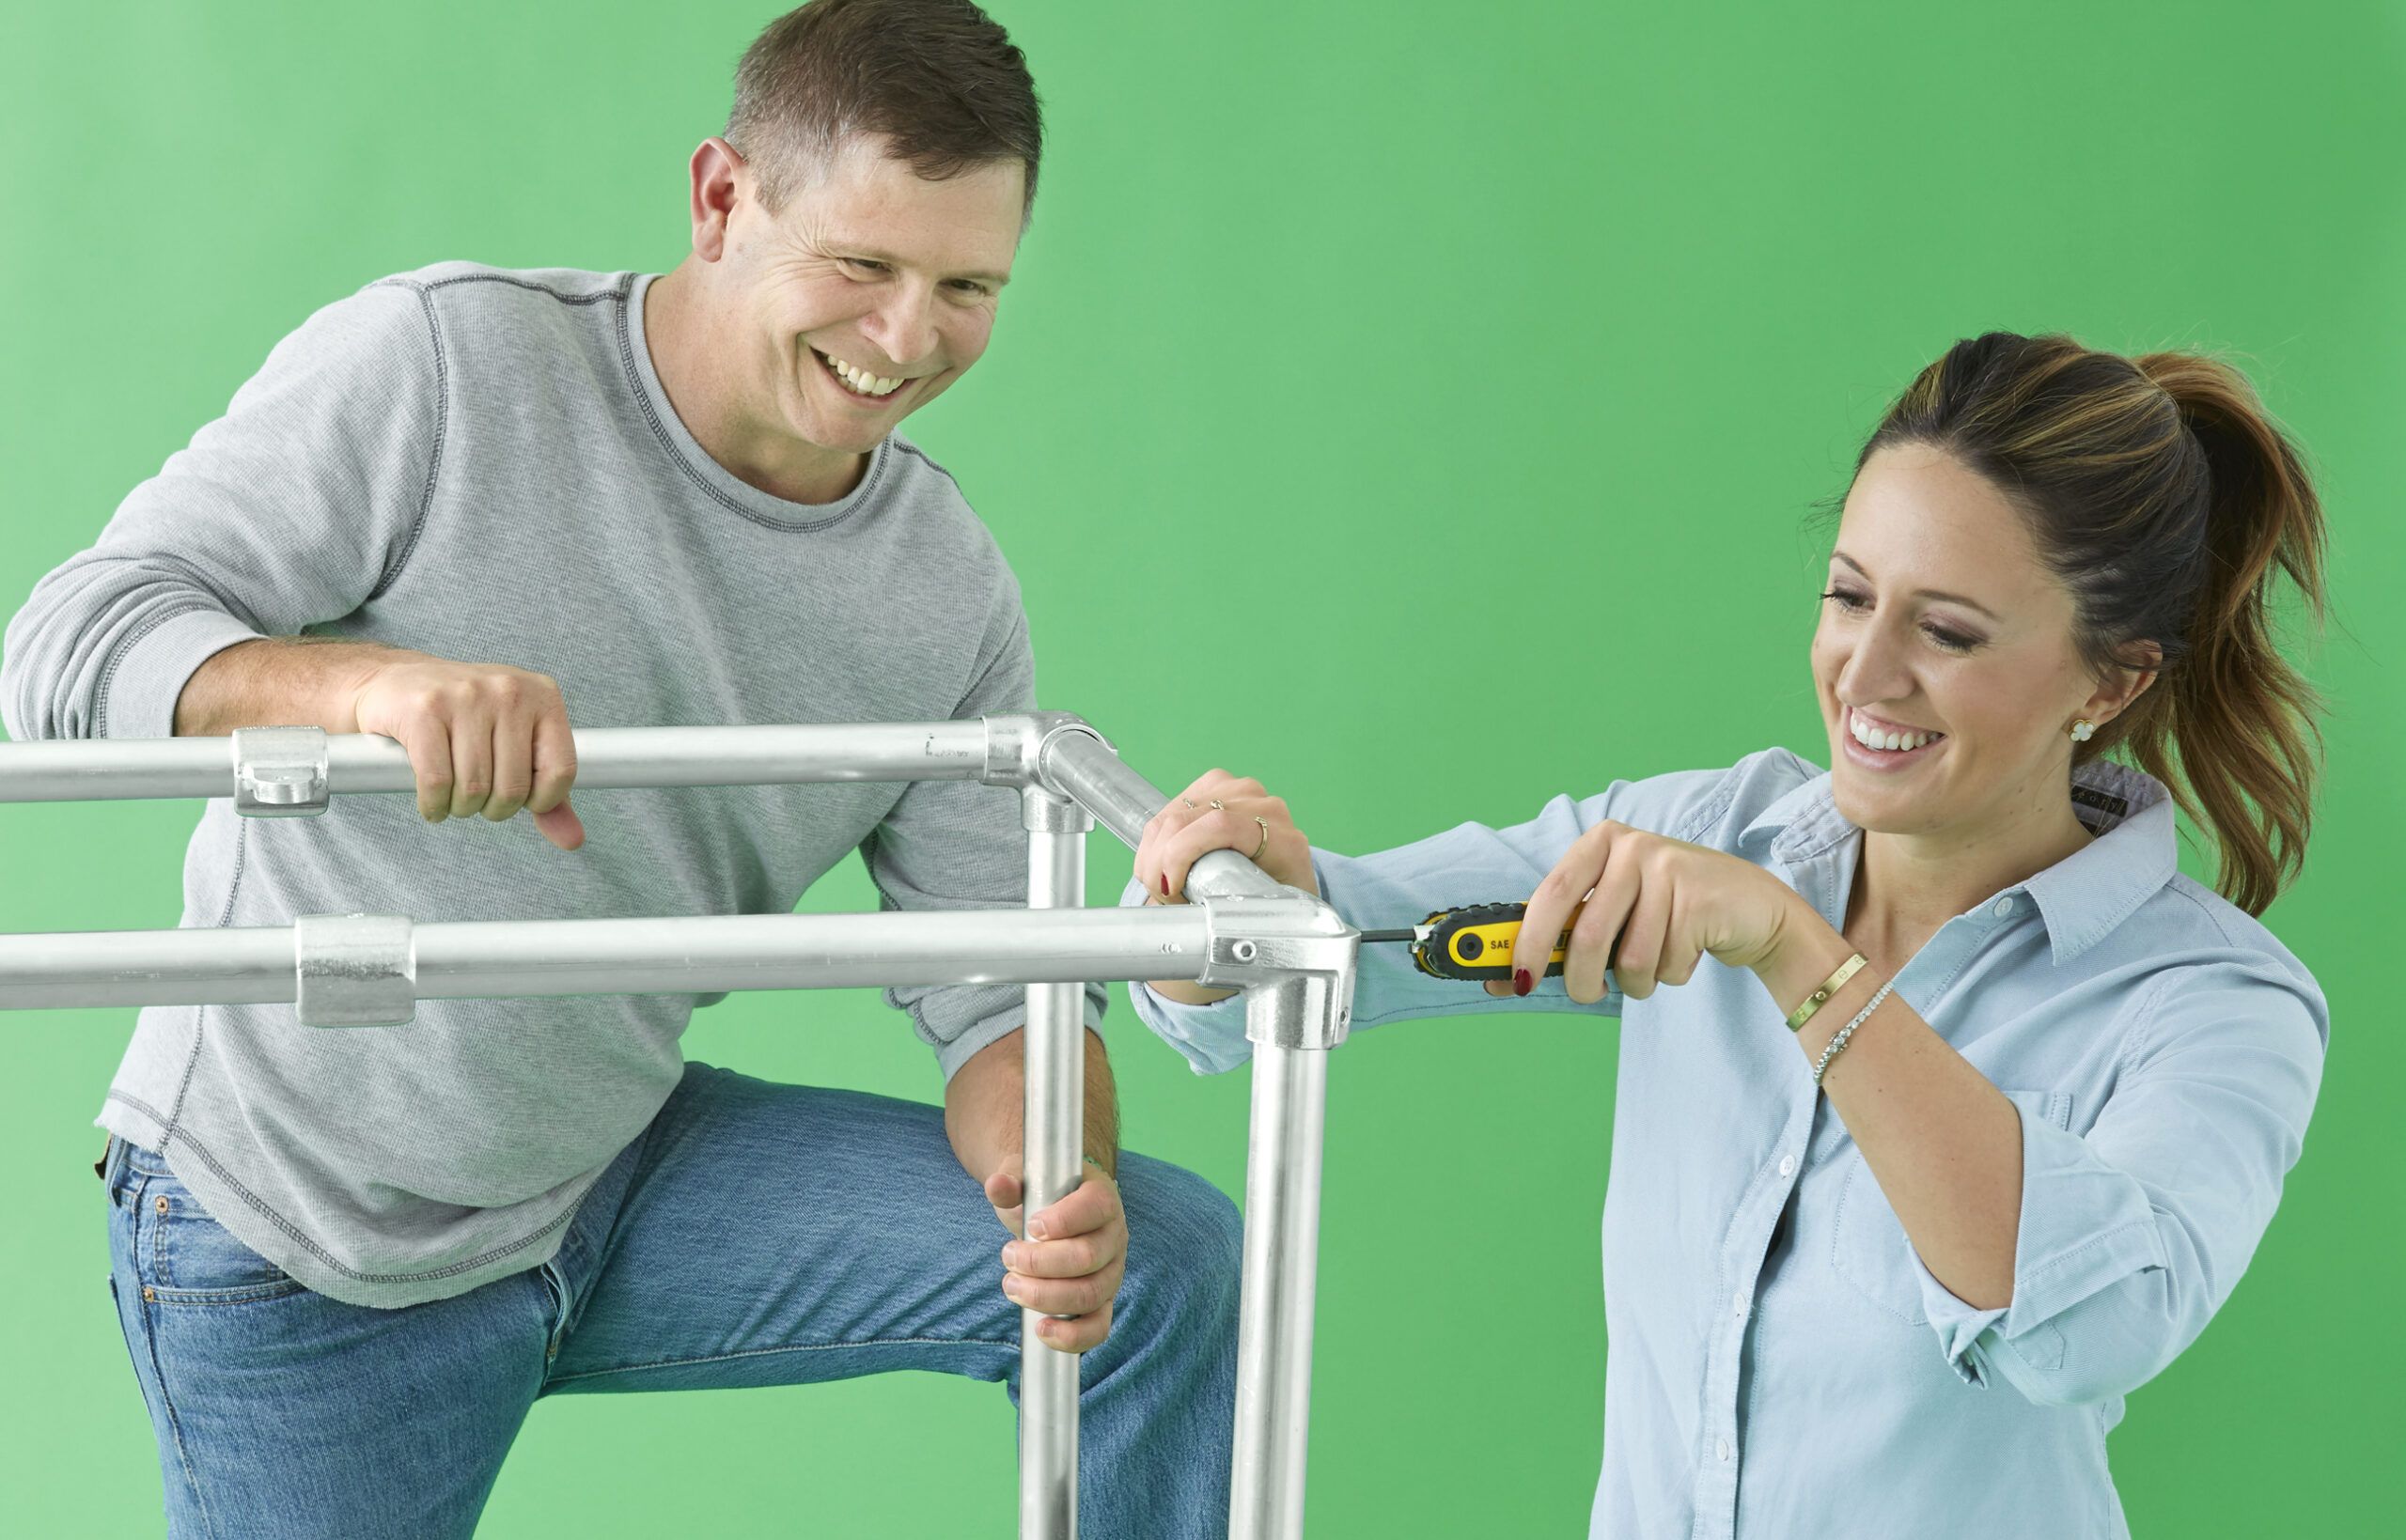
Step 2: Assemble the Cart Frame
With your parts cut to size, it’s time to assemble the frame of your kitchen cart. This step is crucial for ensuring the stability and durability of your finished product.
To assemble the frame:
- Begin by laying out all your cut tubes and fittings on a flat surface.
- Use the fittings to join the tubes together, forming a three-dimensional rectangle.
- Before tightening any connections, slip the tabs onto the horizontal tubes. These tabs will later secure the top and shelf to the cart.
- Once all pieces are in place, use a hex key to tighten the set screws at each fitting.
- Double-check that all connections are secure and the frame is square.
- Adjust any fittings if necessary to make sure the frame is perfectly aligned.
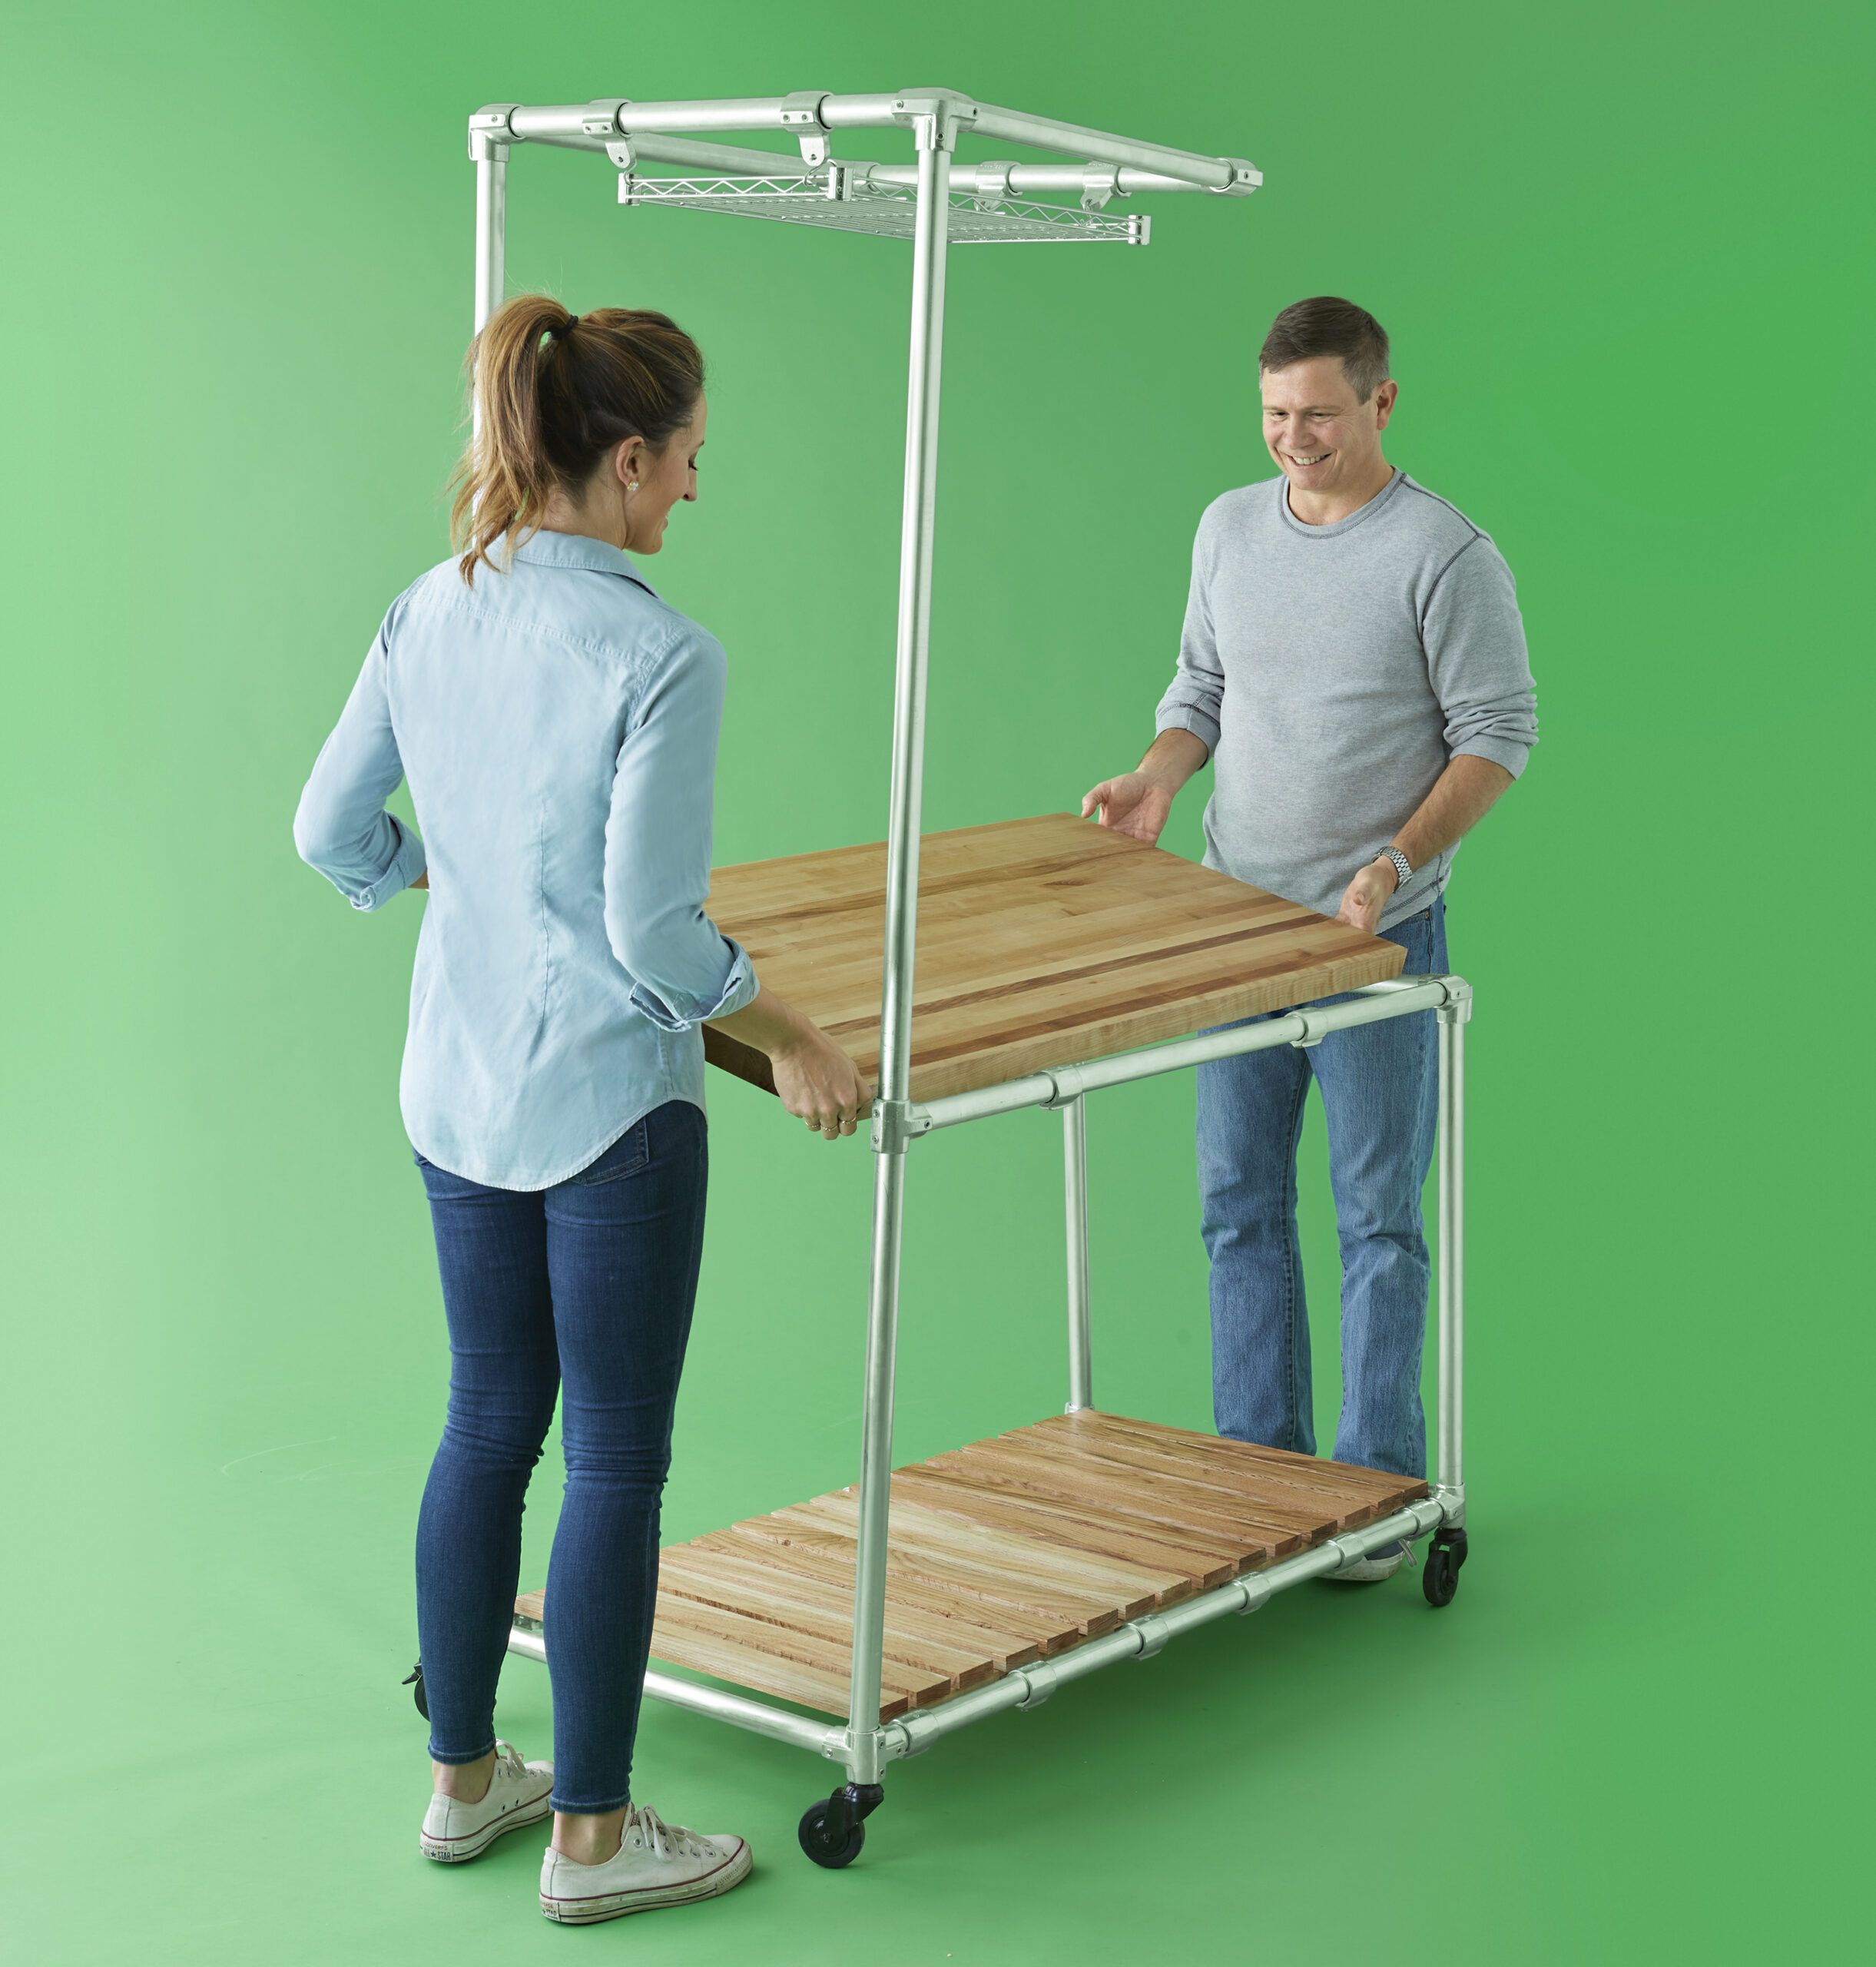
Step 3: Add the Top To the Kitchen Cart
Adding the top to your kitchen cart transforms it from a simple frame to a functional workspace. This step also includes adding support for the overhead rack and the lower shelf.
To add the top and additional features:
- Using tee fittings, attach the pair of aluminum tubes that will support the overhead rack above one end of the cart.
- Evenly space the tabs along the frame to support both the top and the lower shelf.
- Secure all tabs using the hex key.
- Attach runners to the bottom tabs using screws.
- Add strips of oak to the runners to create a slatted lower shelf. Pre-drill holes and use wood screws to join the pieces.
- Place the butcher block top onto the frame and secure it using the same method as the lower shelf.
- Finally, attach the casters to the bottom of the frame and tighten all set screws.
- Ensure that the top is level and the casters provide smooth movement.
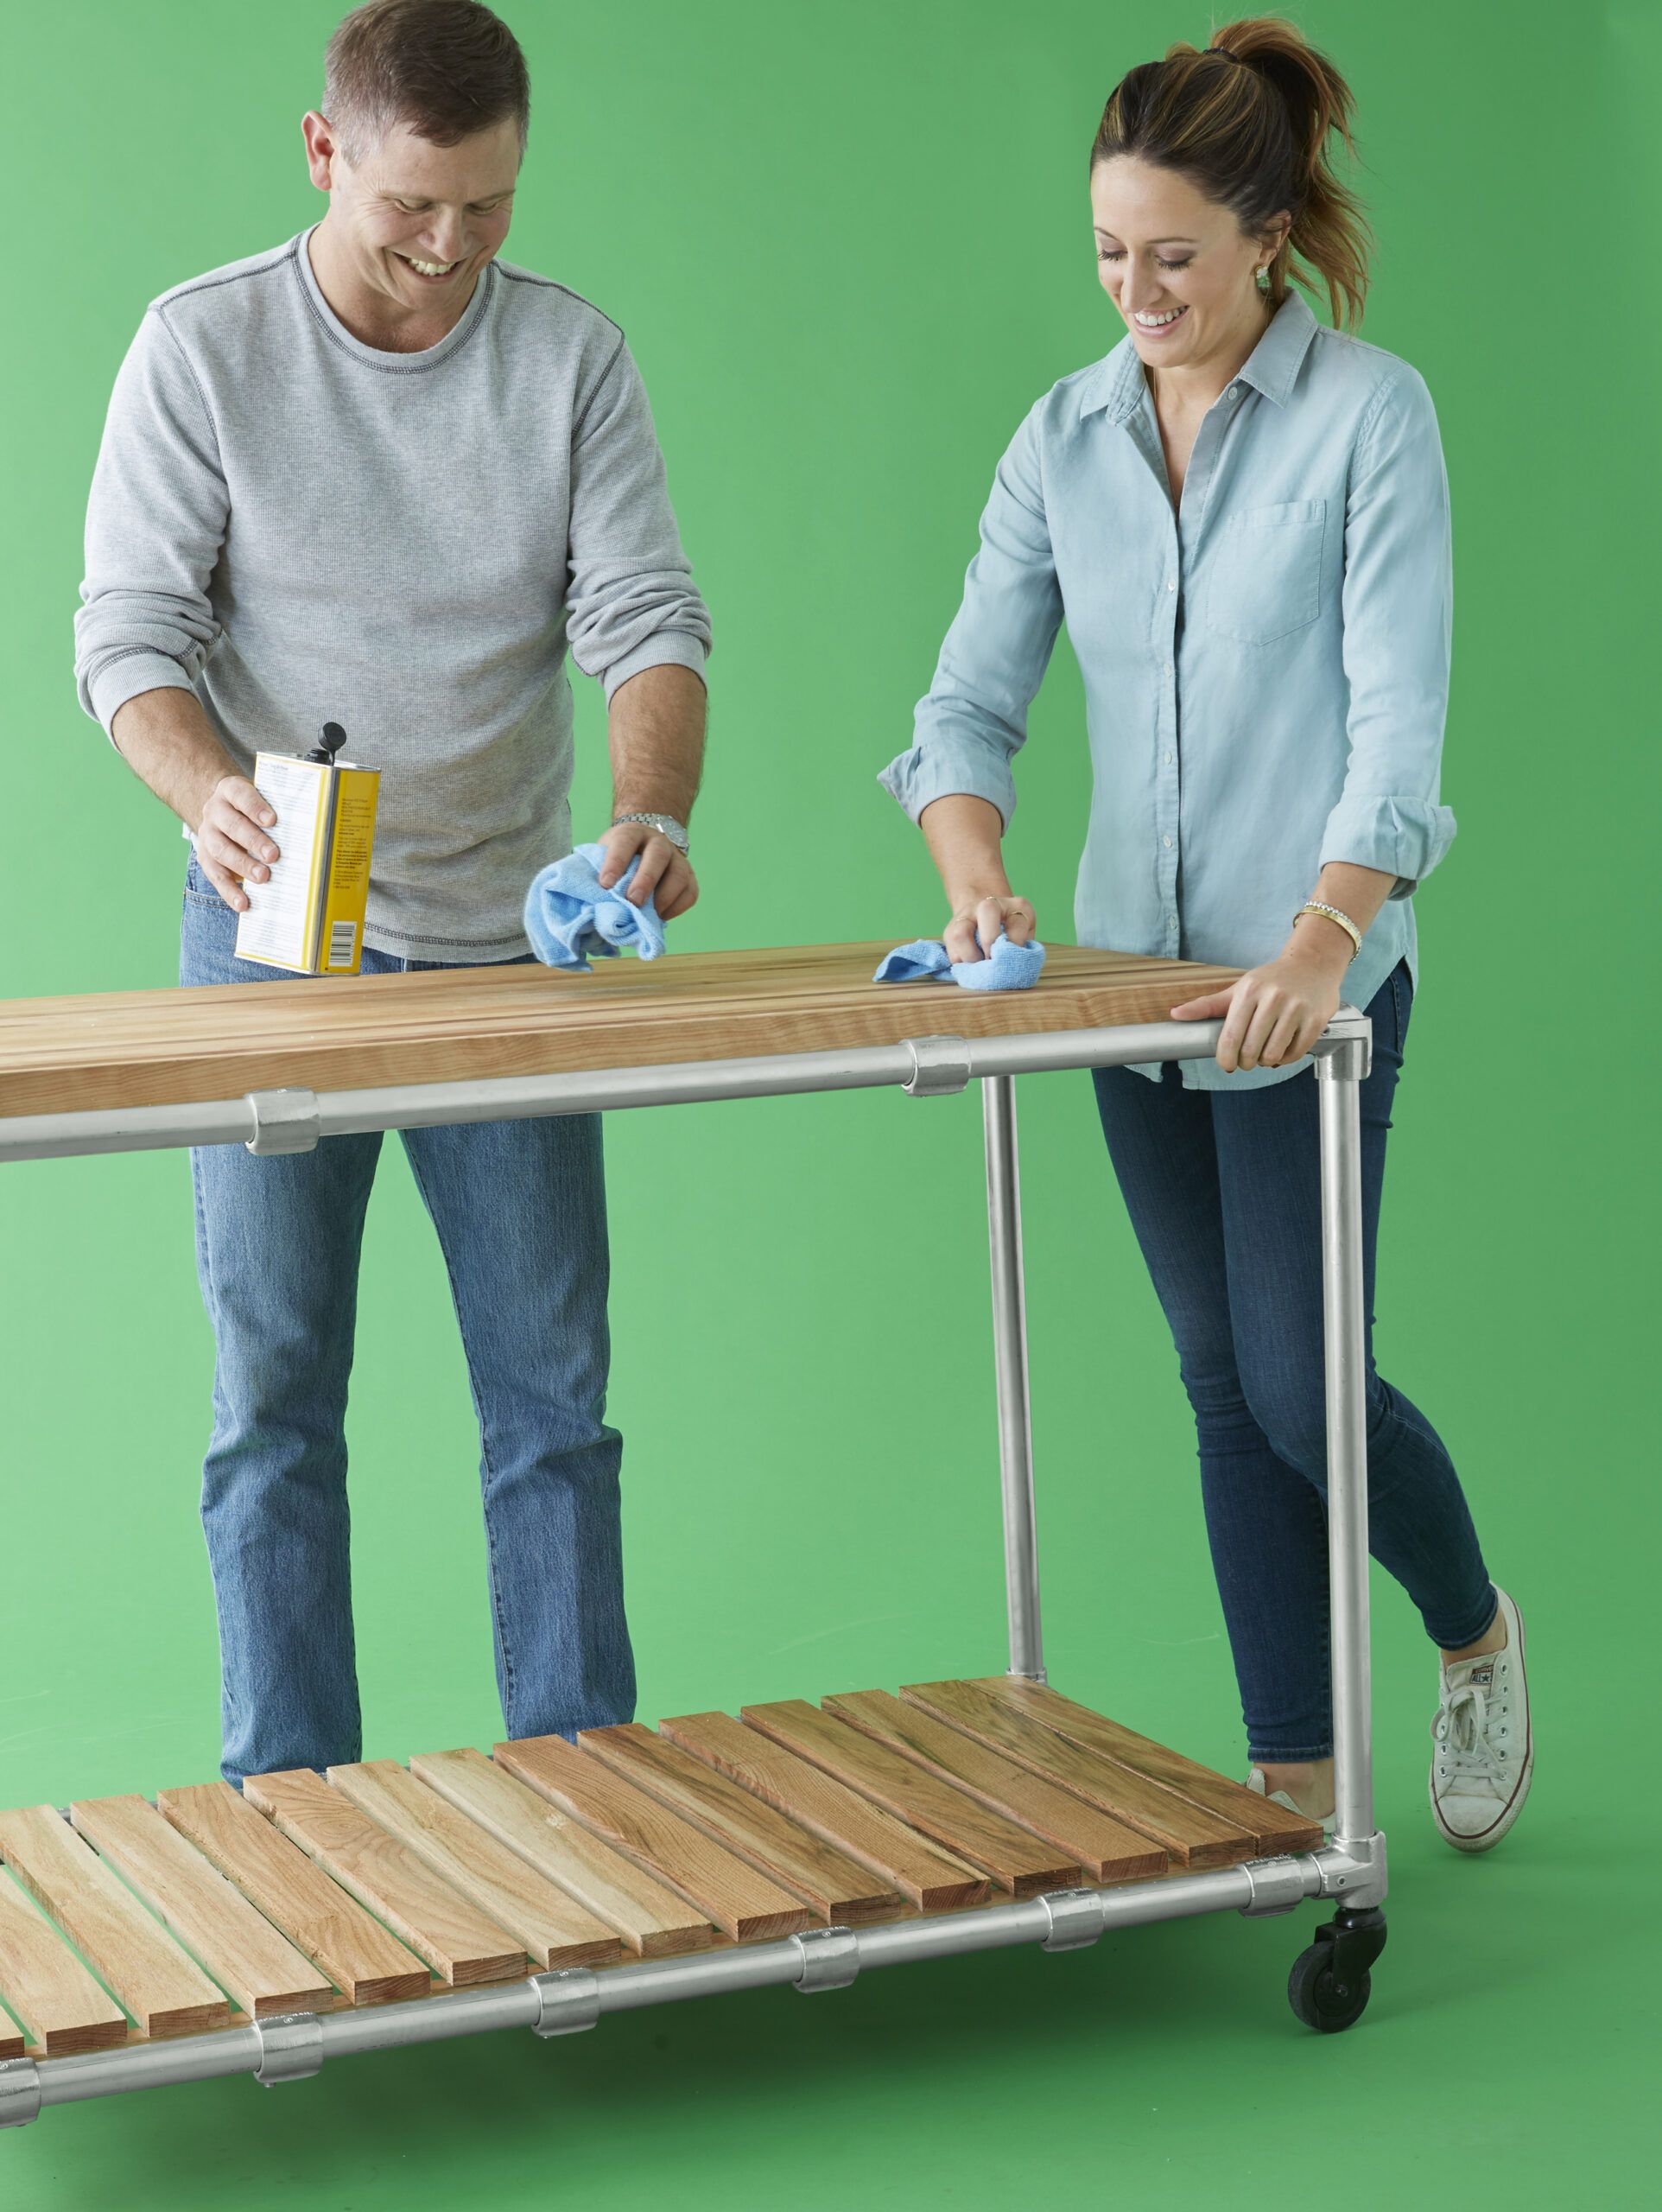
Step 4: Build the Overhead Rack of Your Kitchen Cart
The overhead rack adds both functionality and visual interest to your kitchen cart. It provides a convenient place to hang frequently used utensils or pots and pans, keeping them within easy reach.
To complete your kitchen cart:
- Apply two coats of food-grade mineral oil to the butcher block top and the lower shelf. This will protect the wood from stains and moisture.
- Allow the oil to fully absorb into the wood before use.
- Add hooks to the overhead rack for hanging utensils, pots, or other kitchen tools.
- Consider adding a towel bar or additional hooks to the sides of the cart for even more storage options.
- Organize your kitchen tools on the cart, ensuring everything is easily accessible.
- Conduct a final inspection to confirm all parts are securely fastened and the cart is stable.
Our Conclusion
Building a hardworking kitchen cart is a rewarding DIY project that combines functionality with style. It can serve multiple purposes in your home, from extra kitchen storage to a mobile entertaining station. Whether you use it indoors or outdoors (or both), this kitchen cart will enhance your culinary areas, making meal preparation more efficient and enjoyable.
Tools We Used
 Tape measure
- Pencil
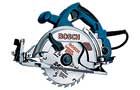
- Miter saw
- Hex keys
- Drill/driver
- Circular saw