
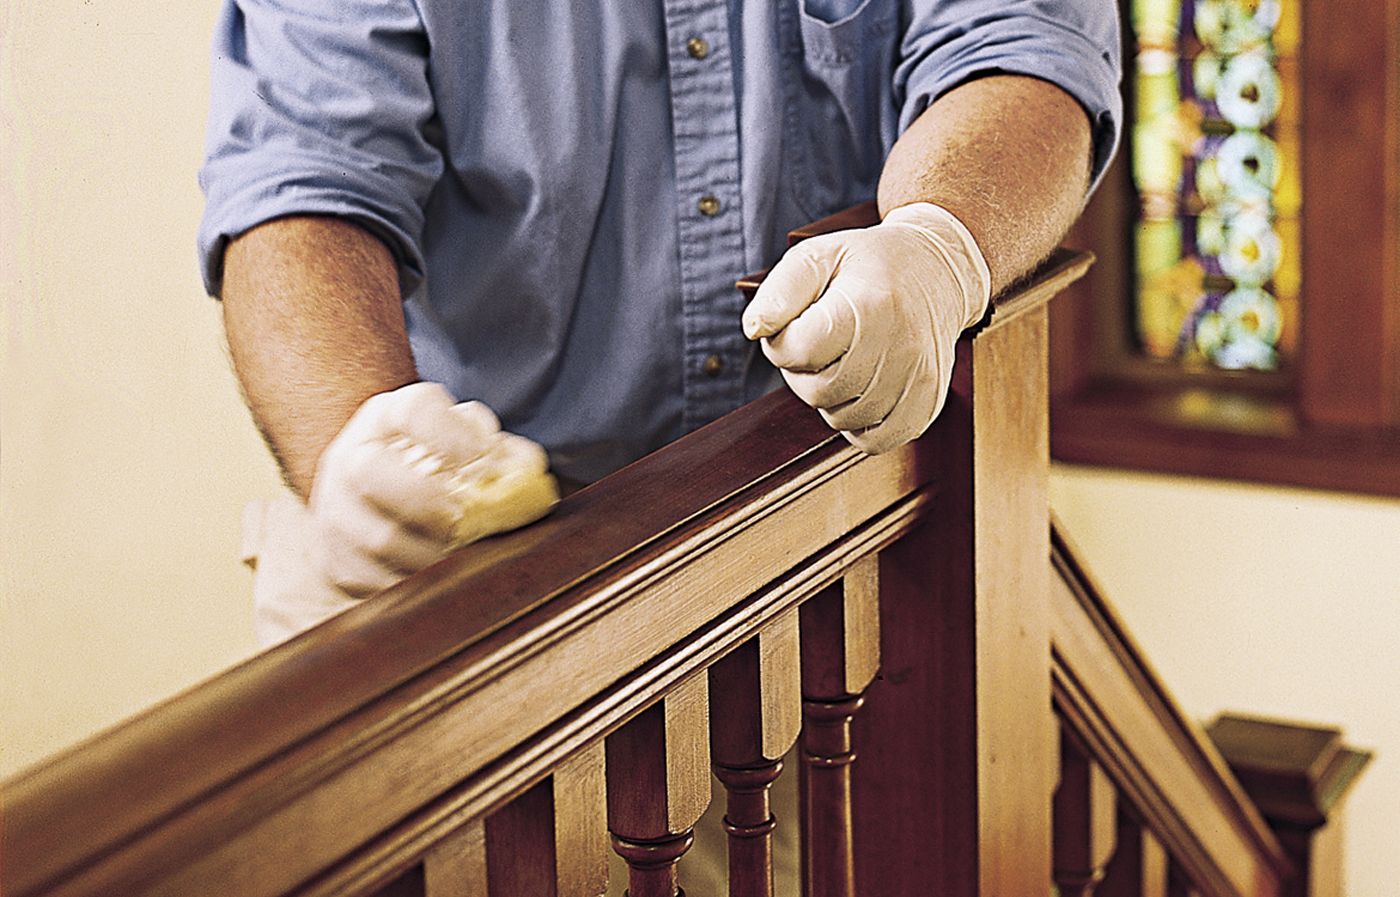
Shellac has been a go-to finish for wood surfaces in homes for decades. It’s prized for its natural, non-toxic properties and easy maintenance. These unique properties make shellac an excellent choice for handrails and other high-touch areas like banisters. In this guide, we’ll explore how to repair and refinish shellacked surfaces, focusing on a common problem: water damage from a leaky roof.
For this project, we enlisted expert painter and refinisher John Dee, a contractor who has worked on several This Old House television projects.
Tools & Materials for Refinishing a Shellacked Surface
To successfully repair and refinish a shellacked surface, you’ll need the following tools and materials:
- Artist’s paintbrush
- Denatured alcohol
- Naphtha
- Cotton swabs
- Clean cotton cloths
- 400-grit stearated silicon carbide sandpaper
- Liquid shellac
- Plastic container
- Latex gloves
- Scotch-Brite ultra fine hand pad
- High-quality tinted furniture wax (we used Briwax)
Step 1: Test the Existing Finish
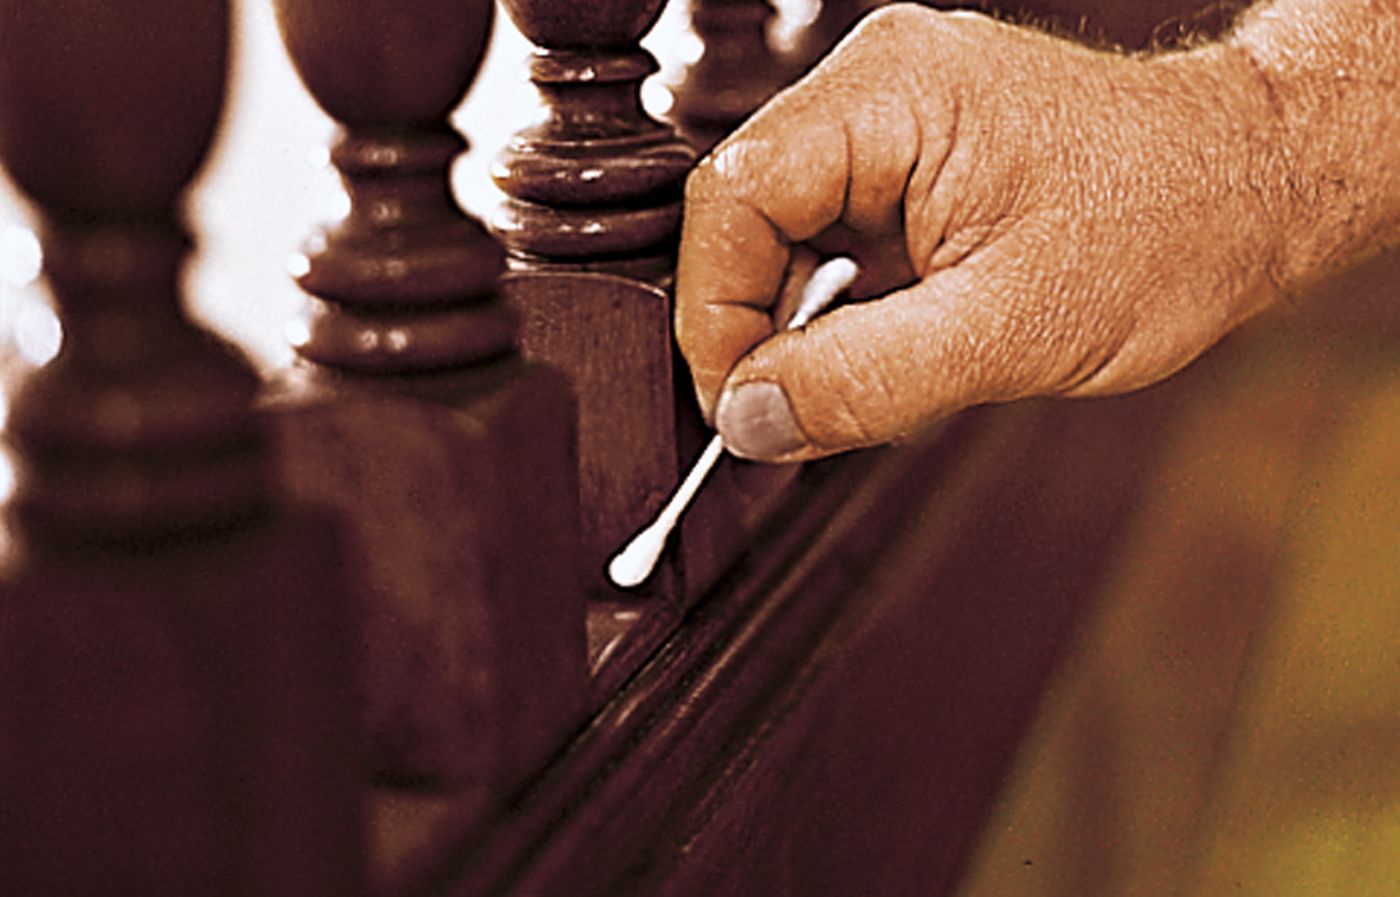
Before starting any repair work, it’s important to confirm that the existing finish is shellac. Dee uses a simple test:
- Dab an inconspicuous spot with denatured alcohol using a cotton swab.
- Wait approximately 30 seconds.
- If the finish becomes tacky, it’s shellac.
- If the finish doesn’t dissolve, it’s likely varnish or polyurethane, which requires a different approach.
This step is key because shellac has unique properties that make it easier to repair than other finishes. Knowing you’re working with shellac will save time and effort.
Step 2: Clean and Soften the Area’s Surface
Once you’ve confirmed the finish is shellac, the next step is to prepare the damaged area:
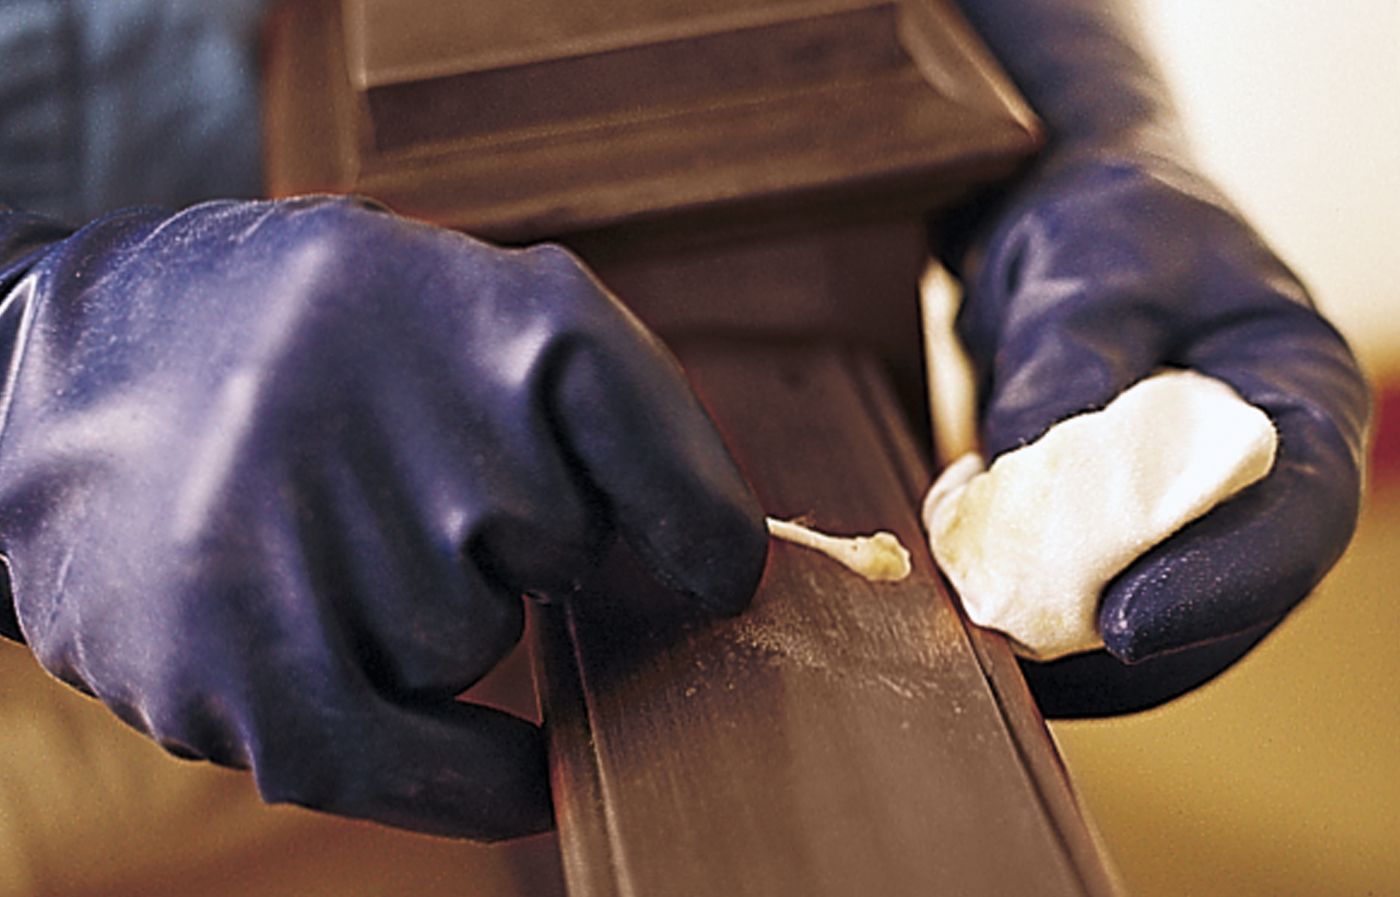
- Wipe the damaged section and surrounding area with naphtha to remove any dirt, oil, or polish that might interfere with adhesion. Wear chemical-resistant gloves and work in a well-ventilated area.
- Soften the damaged finish by rubbing it with a cotton swab dipped in alcohol.
- Wait 30 seconds, then dab with a clean cotton cloth.
- Repeat this process until any areas of rough finish are smoothed out.
Step 3: Sand the Area
Proper sanding creates a smooth surface and helps the new shellac blend seamlessly with the existing finish:
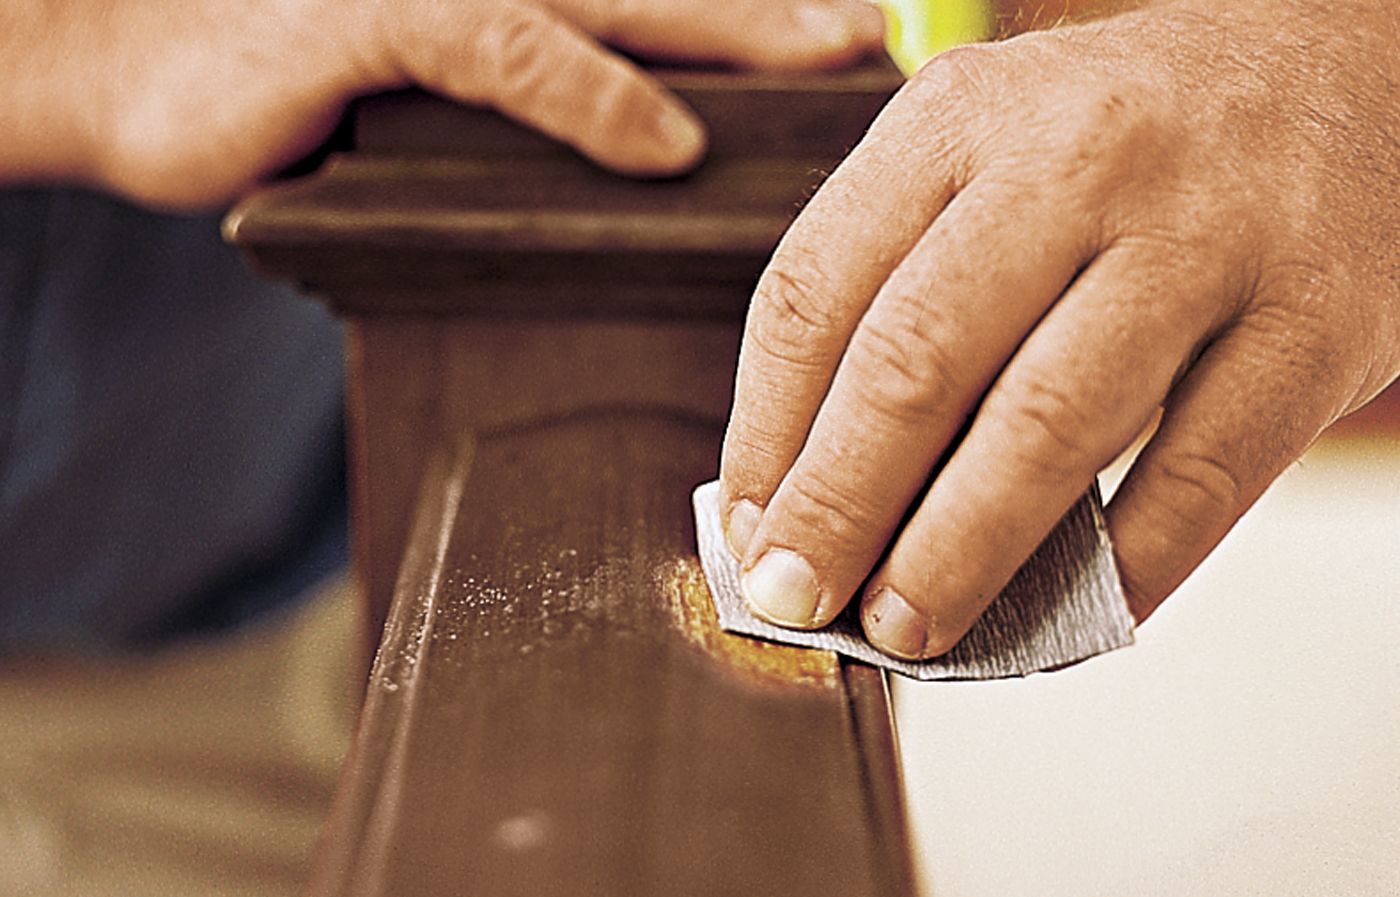
- Use 400-grit, stearated (non-loading) silicon carbide sandpaper to smooth the damaged section.
- Feather the edges of the damaged area to create a gradual transition between the old and new finish.
- Be careful not to sand too deeply. This will require more coats of shellac to build up the finish.
Taking the time to sand thoroughly will lead to a more polished final look.
Step 4: Brush on the New Shellac
Now, it’s time to build up the new finish by applying shellac with a brush. With patience, you can achieve a smooth and uniform look:
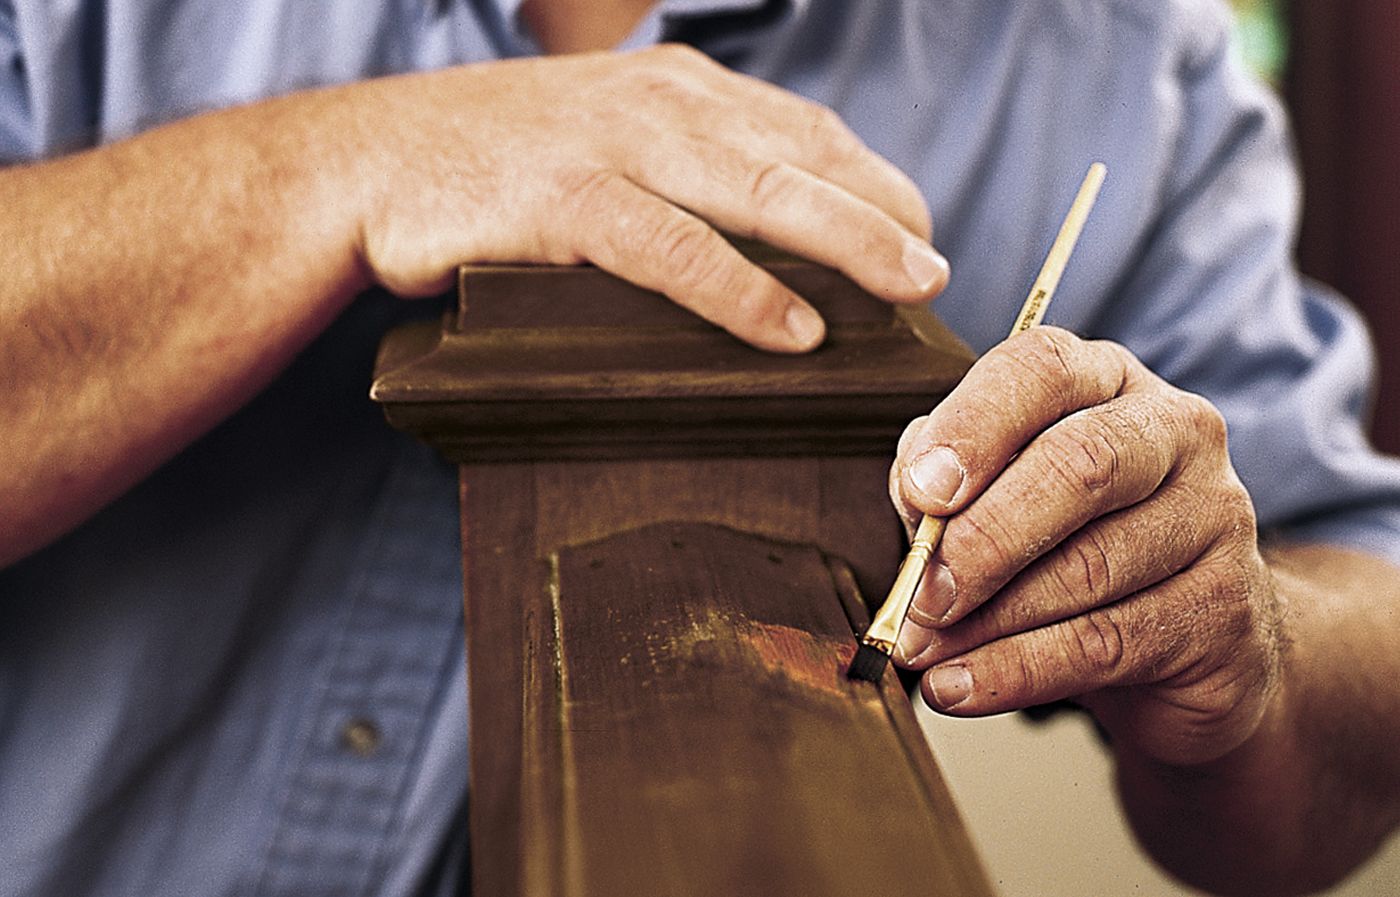
- Pour a small amount of liquid shellac into a plastic container.
- Using an artist’s paintbrush, apply the shellac evenly to the damaged spot.
- Recharge the bristles every three or four strokes to maintain consistent coverage.
- If the shellac starts to thicken, add a small amount of denatured alcohol to thin it out.
- Let the first coat harden for an hour before applying more coats.
- Repeat the process, expanding the area slightly with each coat until the new finish is level with the old.
Step 5: Dab the Shellac to Blend
The dabbing technique helps to blend the new finish seamlessly with the existing shellac:
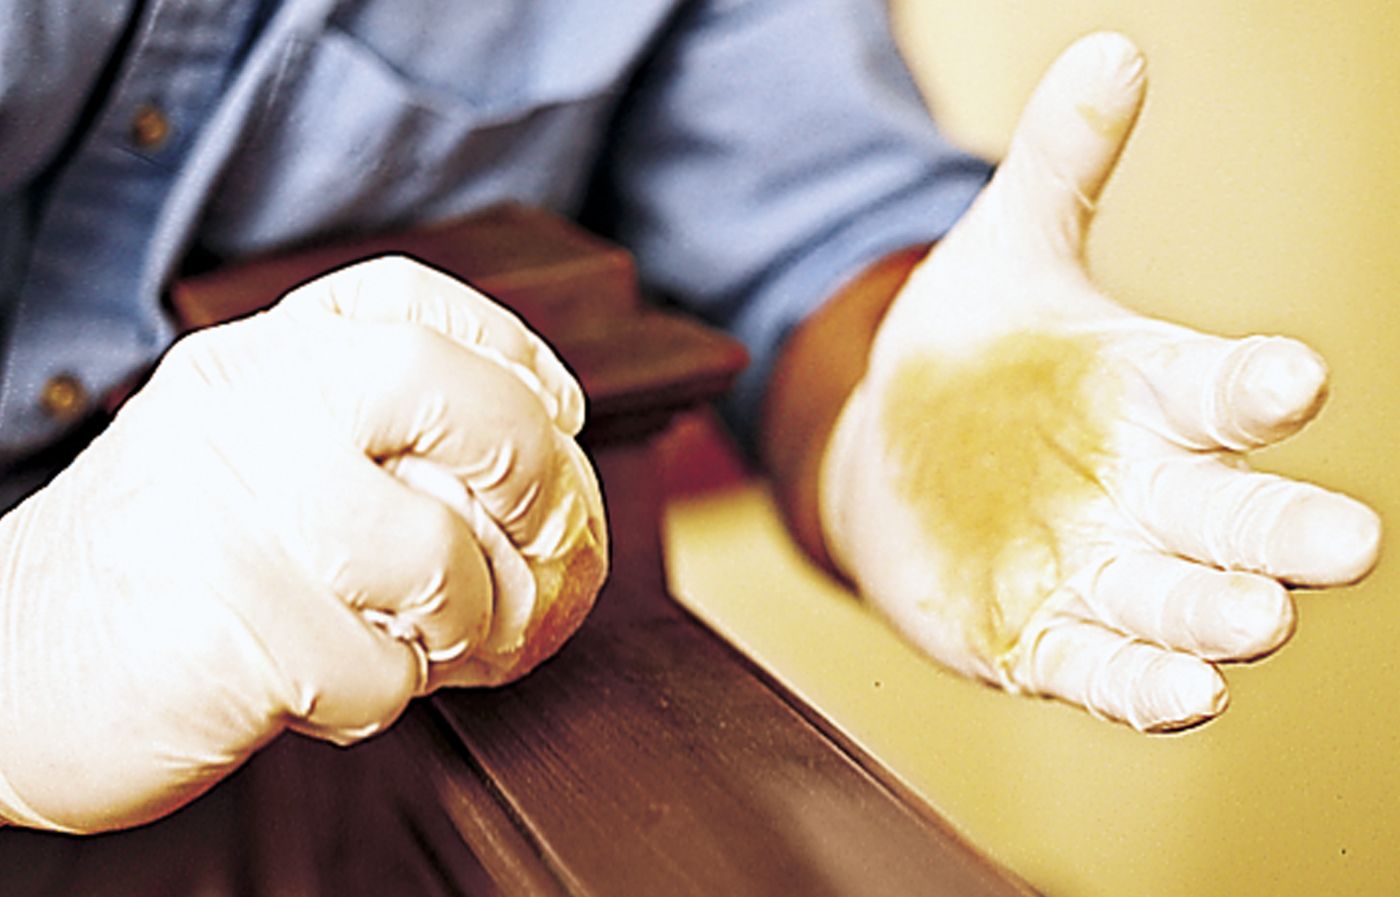
- Form a clean cloth into a smooth, fist-sized ball.
- Wearing latex gloves, dip the cloth in shellac.
- Tap the cloth against your gloved palm to remove excess shellac.
- Quickly dab on a thin layer with one or two short strokes.
- Allow 10–15 minutes for the film to dry.
- Repeat the process, gradually expanding the area with each application until the boundary between the repair and the old finish disappears.
Step 6: Add Wax for Protection
The final step in the repair process is to apply a protective wax coating:
- Allow the shellac to cure for about a week.
- Use a Scotch-Brite ultra fine hand pad to apply a coat of high-quality tinted furniture wax like Briwax over the entire rail.
- Apply the wax using a circular motion.
- Wait a few minutes for the wax to harden.
- Buff the surface with a clean cloth to get a glossy sheen.
This final touch ensures the longevity of your hard work, keeping the wood surface looking pristine. For Dee, it’s time well spent; his work could last another 90 years, barring any leaks.