General contractor Tom Silva is as good at building furniture and cabinets as he is at building homes. With the help of host Kevin O’Connor, the two build a set of mudroom cubbies with a modular design.
How to Build Mudroom Cubbies
- Ask the home improvement store to cut your plywood sheets to rough width (about 16 inches) to make handling and transportation easier.
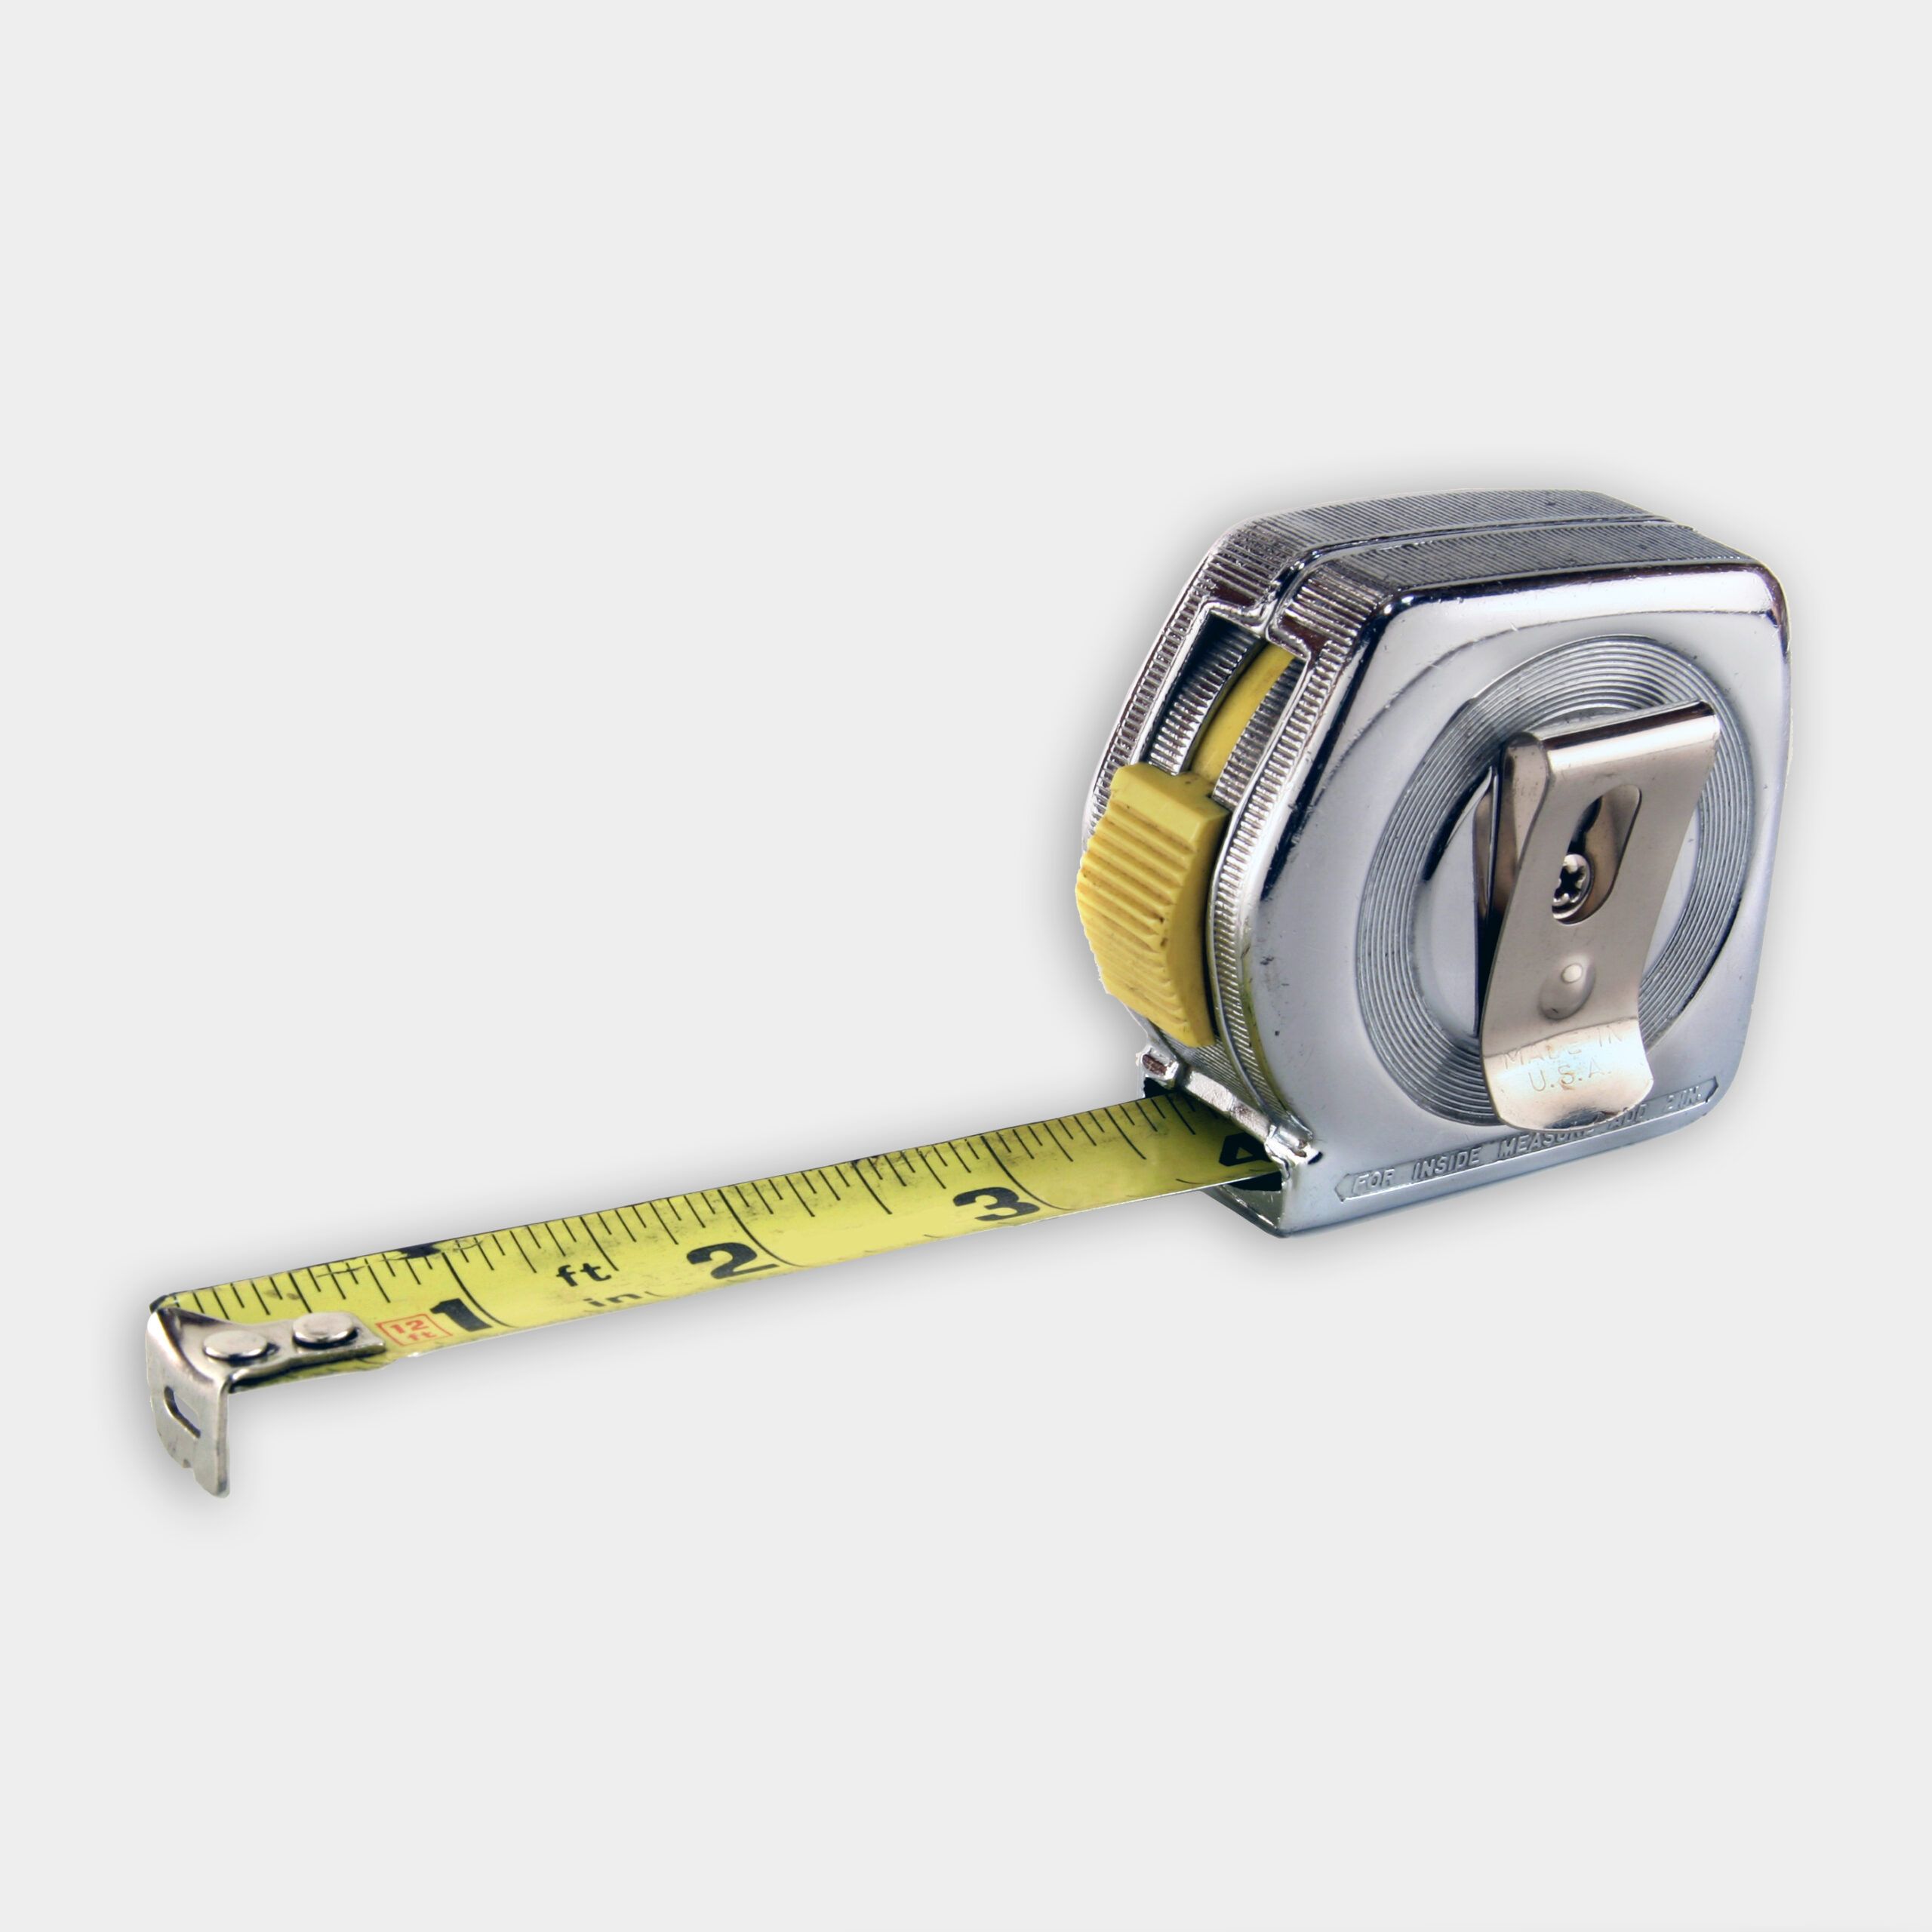
- Stack the cut pieces on top of one another, aligning one edge as perfectly as possible. Use the tape measure to mark the top piece at 80 inches.
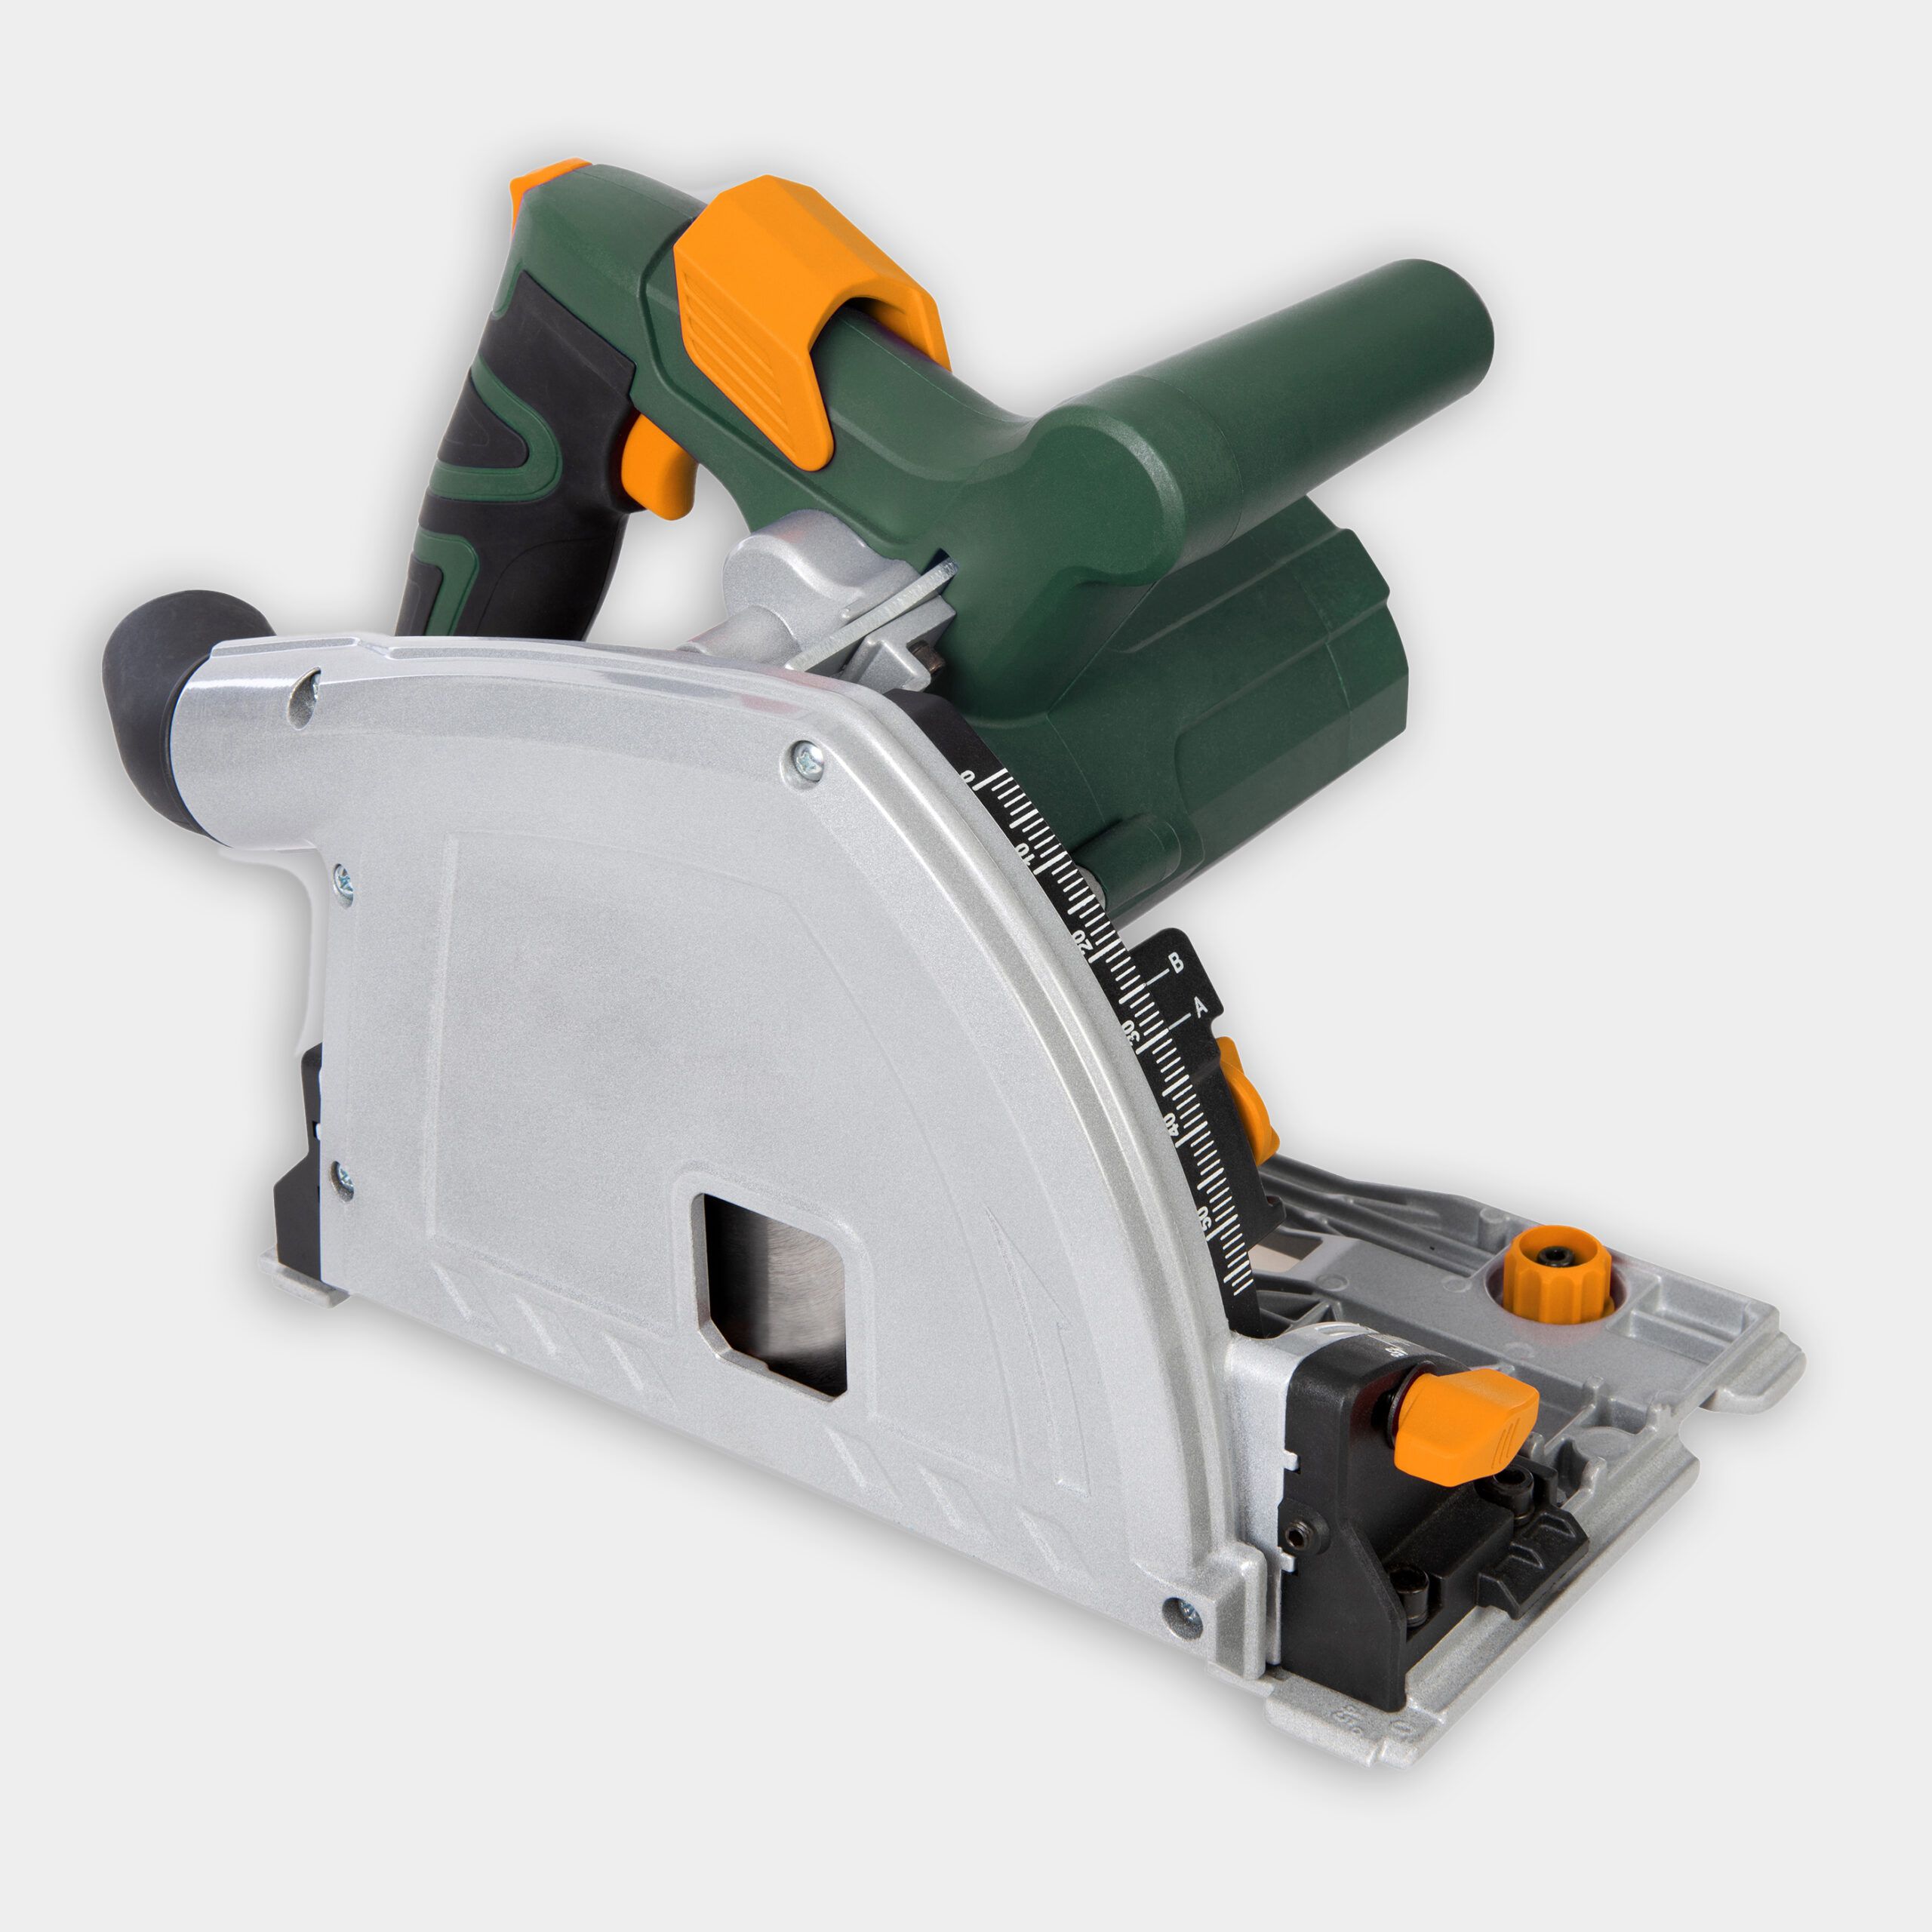
- Place the track saw on the board at the 80-inch mark and set the saw to its deepest depth. Align the track with a combination square and cut the boards to length. Remove the cut pieces and repeat the process until you have 6 sides that measure 16 by 80 inches.
- Repeat the process to cut the shelves. Stack the material, measure 23 ⅜”, and cut with the track saw. You’ll need 18 of these (6 per cubby).
- Set the table saw to 15 3/4 inches and run each piece through to ensure they’re all the exact same size. This includes the sides and shelves.
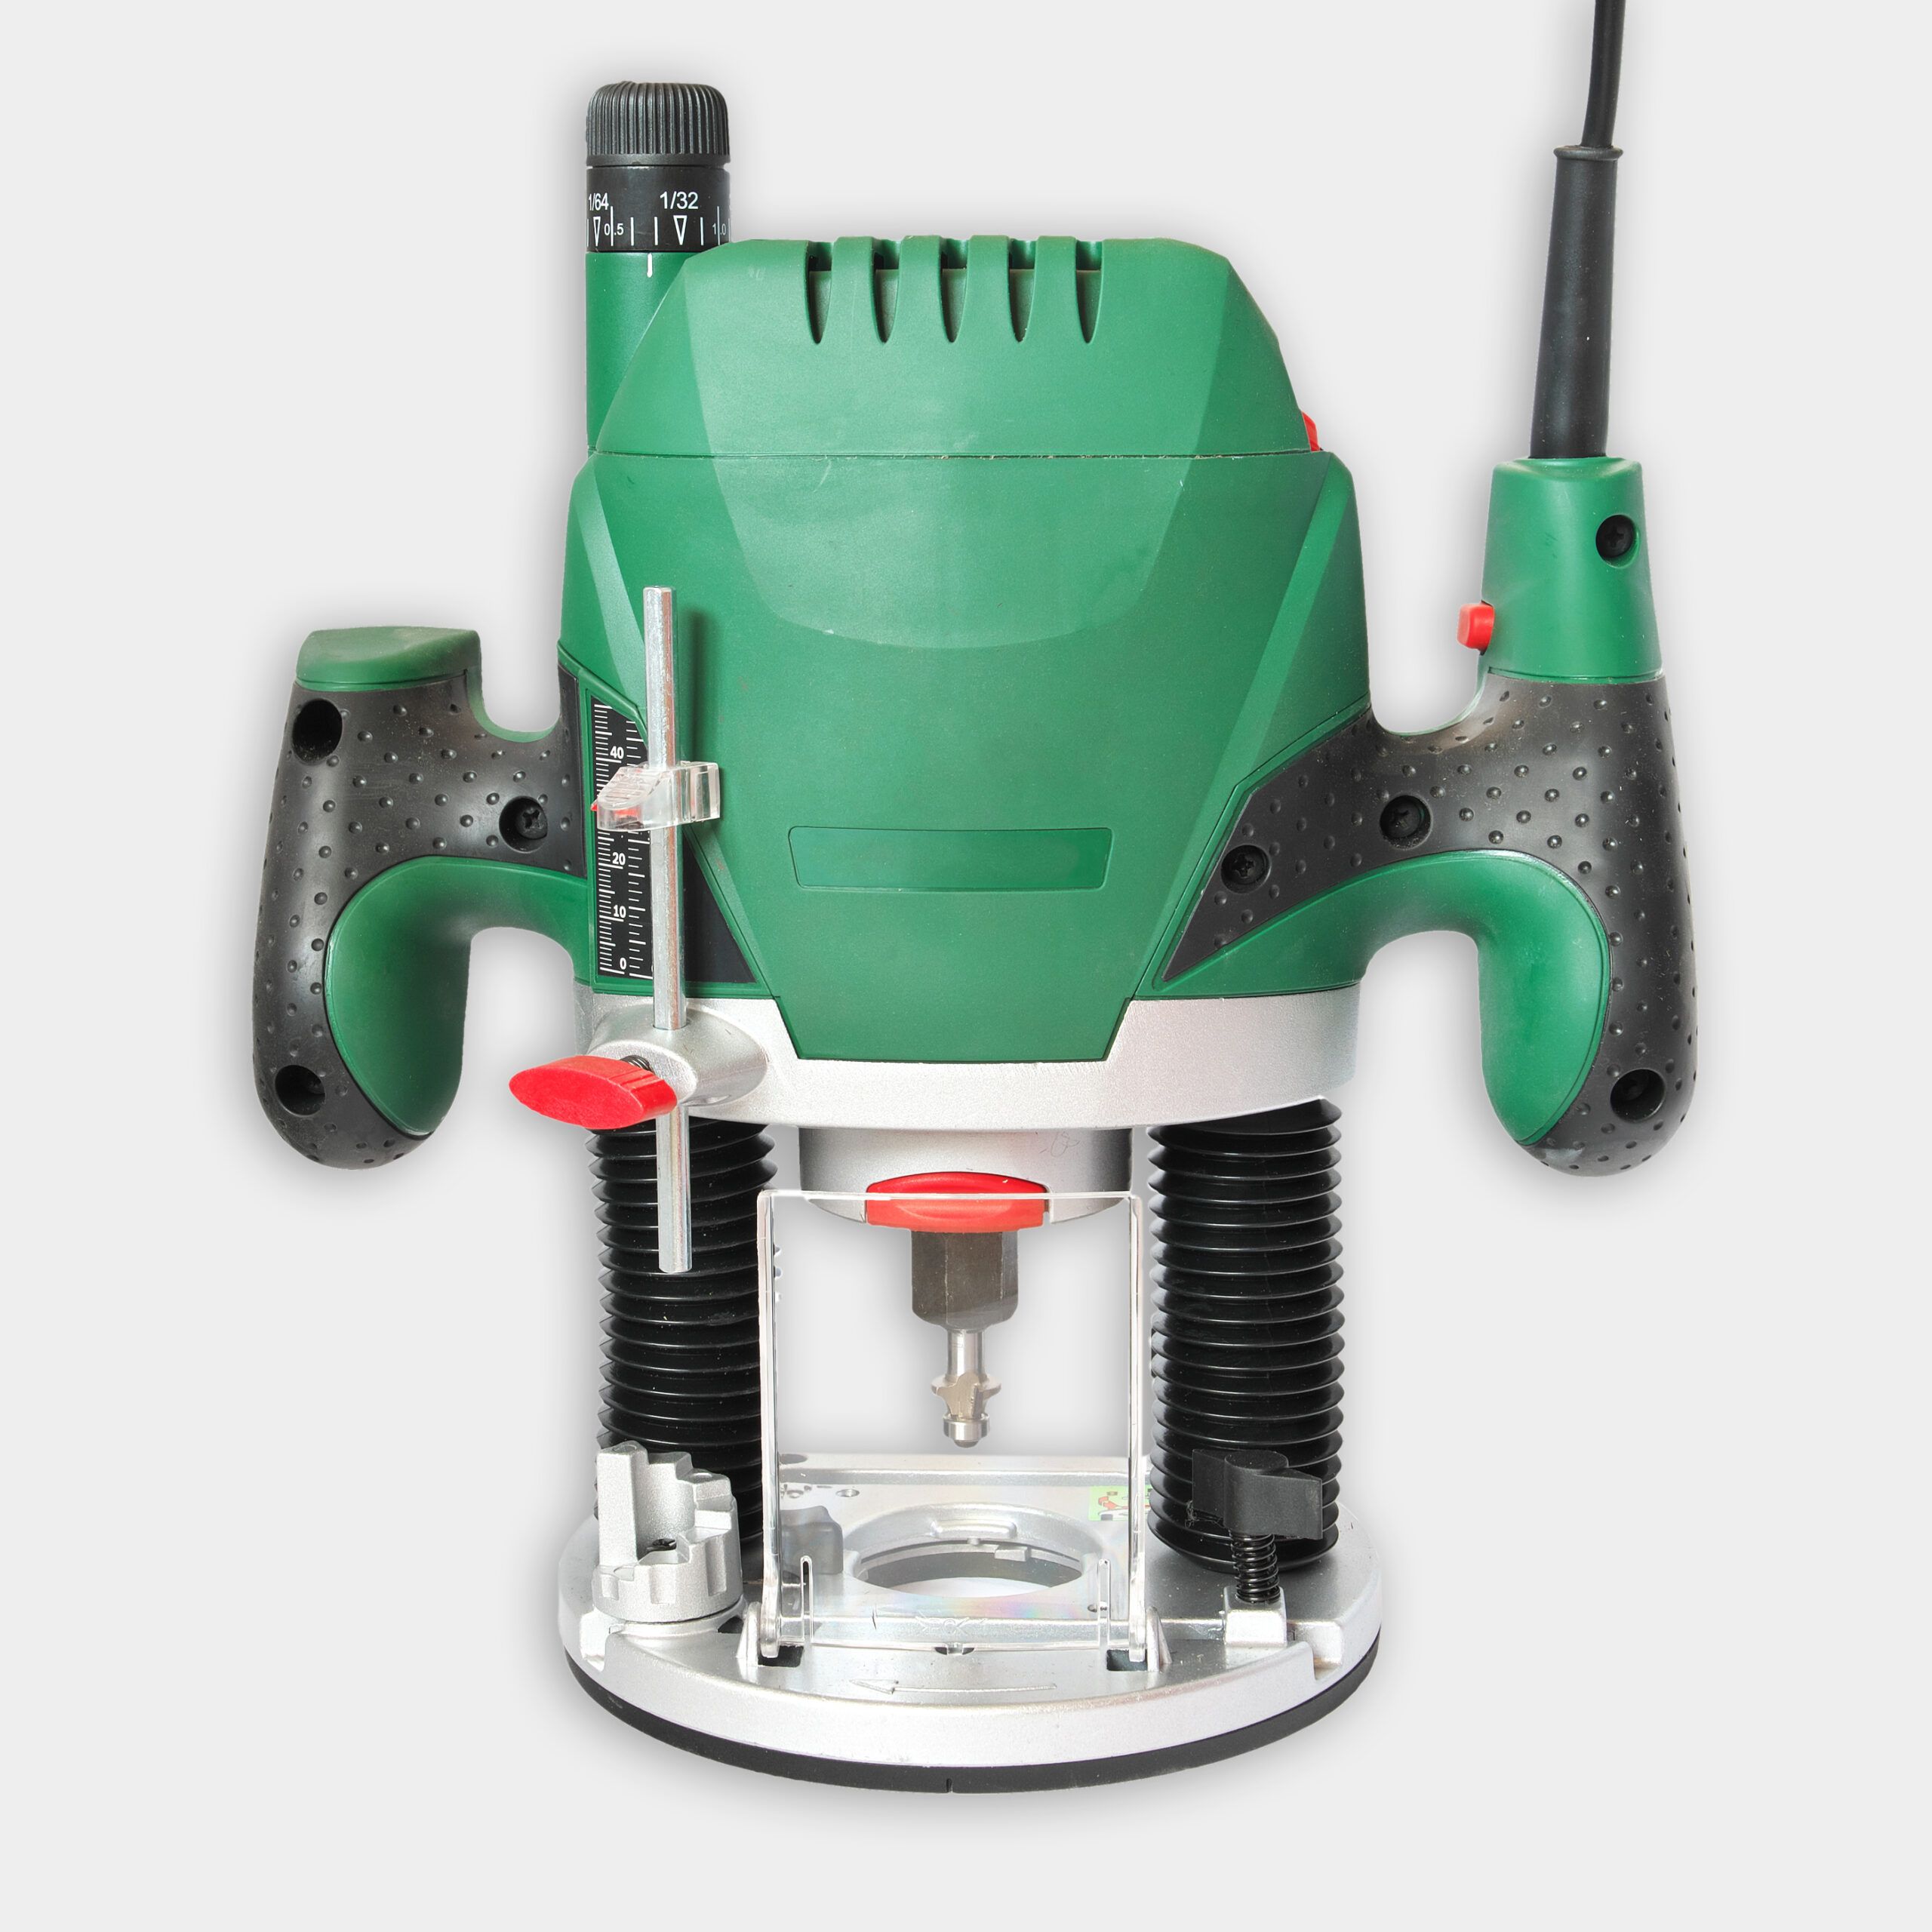
- Place one of the sides on the work table and use a dado jig (or a straight edge) and the route to cut four 3/16-inch-deep dados:
● A ¾-inch-wide dado, 2 inches from the bottom
● A 1 ½-inch-wide dado, 14 inches from the bottom
● A 1 ½-inch-wide dado, 13 inches from the top
● A ¾-inch-wide dado, 1 inch from the top
Use the piece as a guide for the other five pieces, ensuring they match exactly.
- Drill pilot holes through the dados. For the 1 ½-inch-wide dados, be sure to drill two rows of pilot holes, ⅜” from the edges, so the screws will bite directly into the middle of the individual shelf boards you’ll be installing.
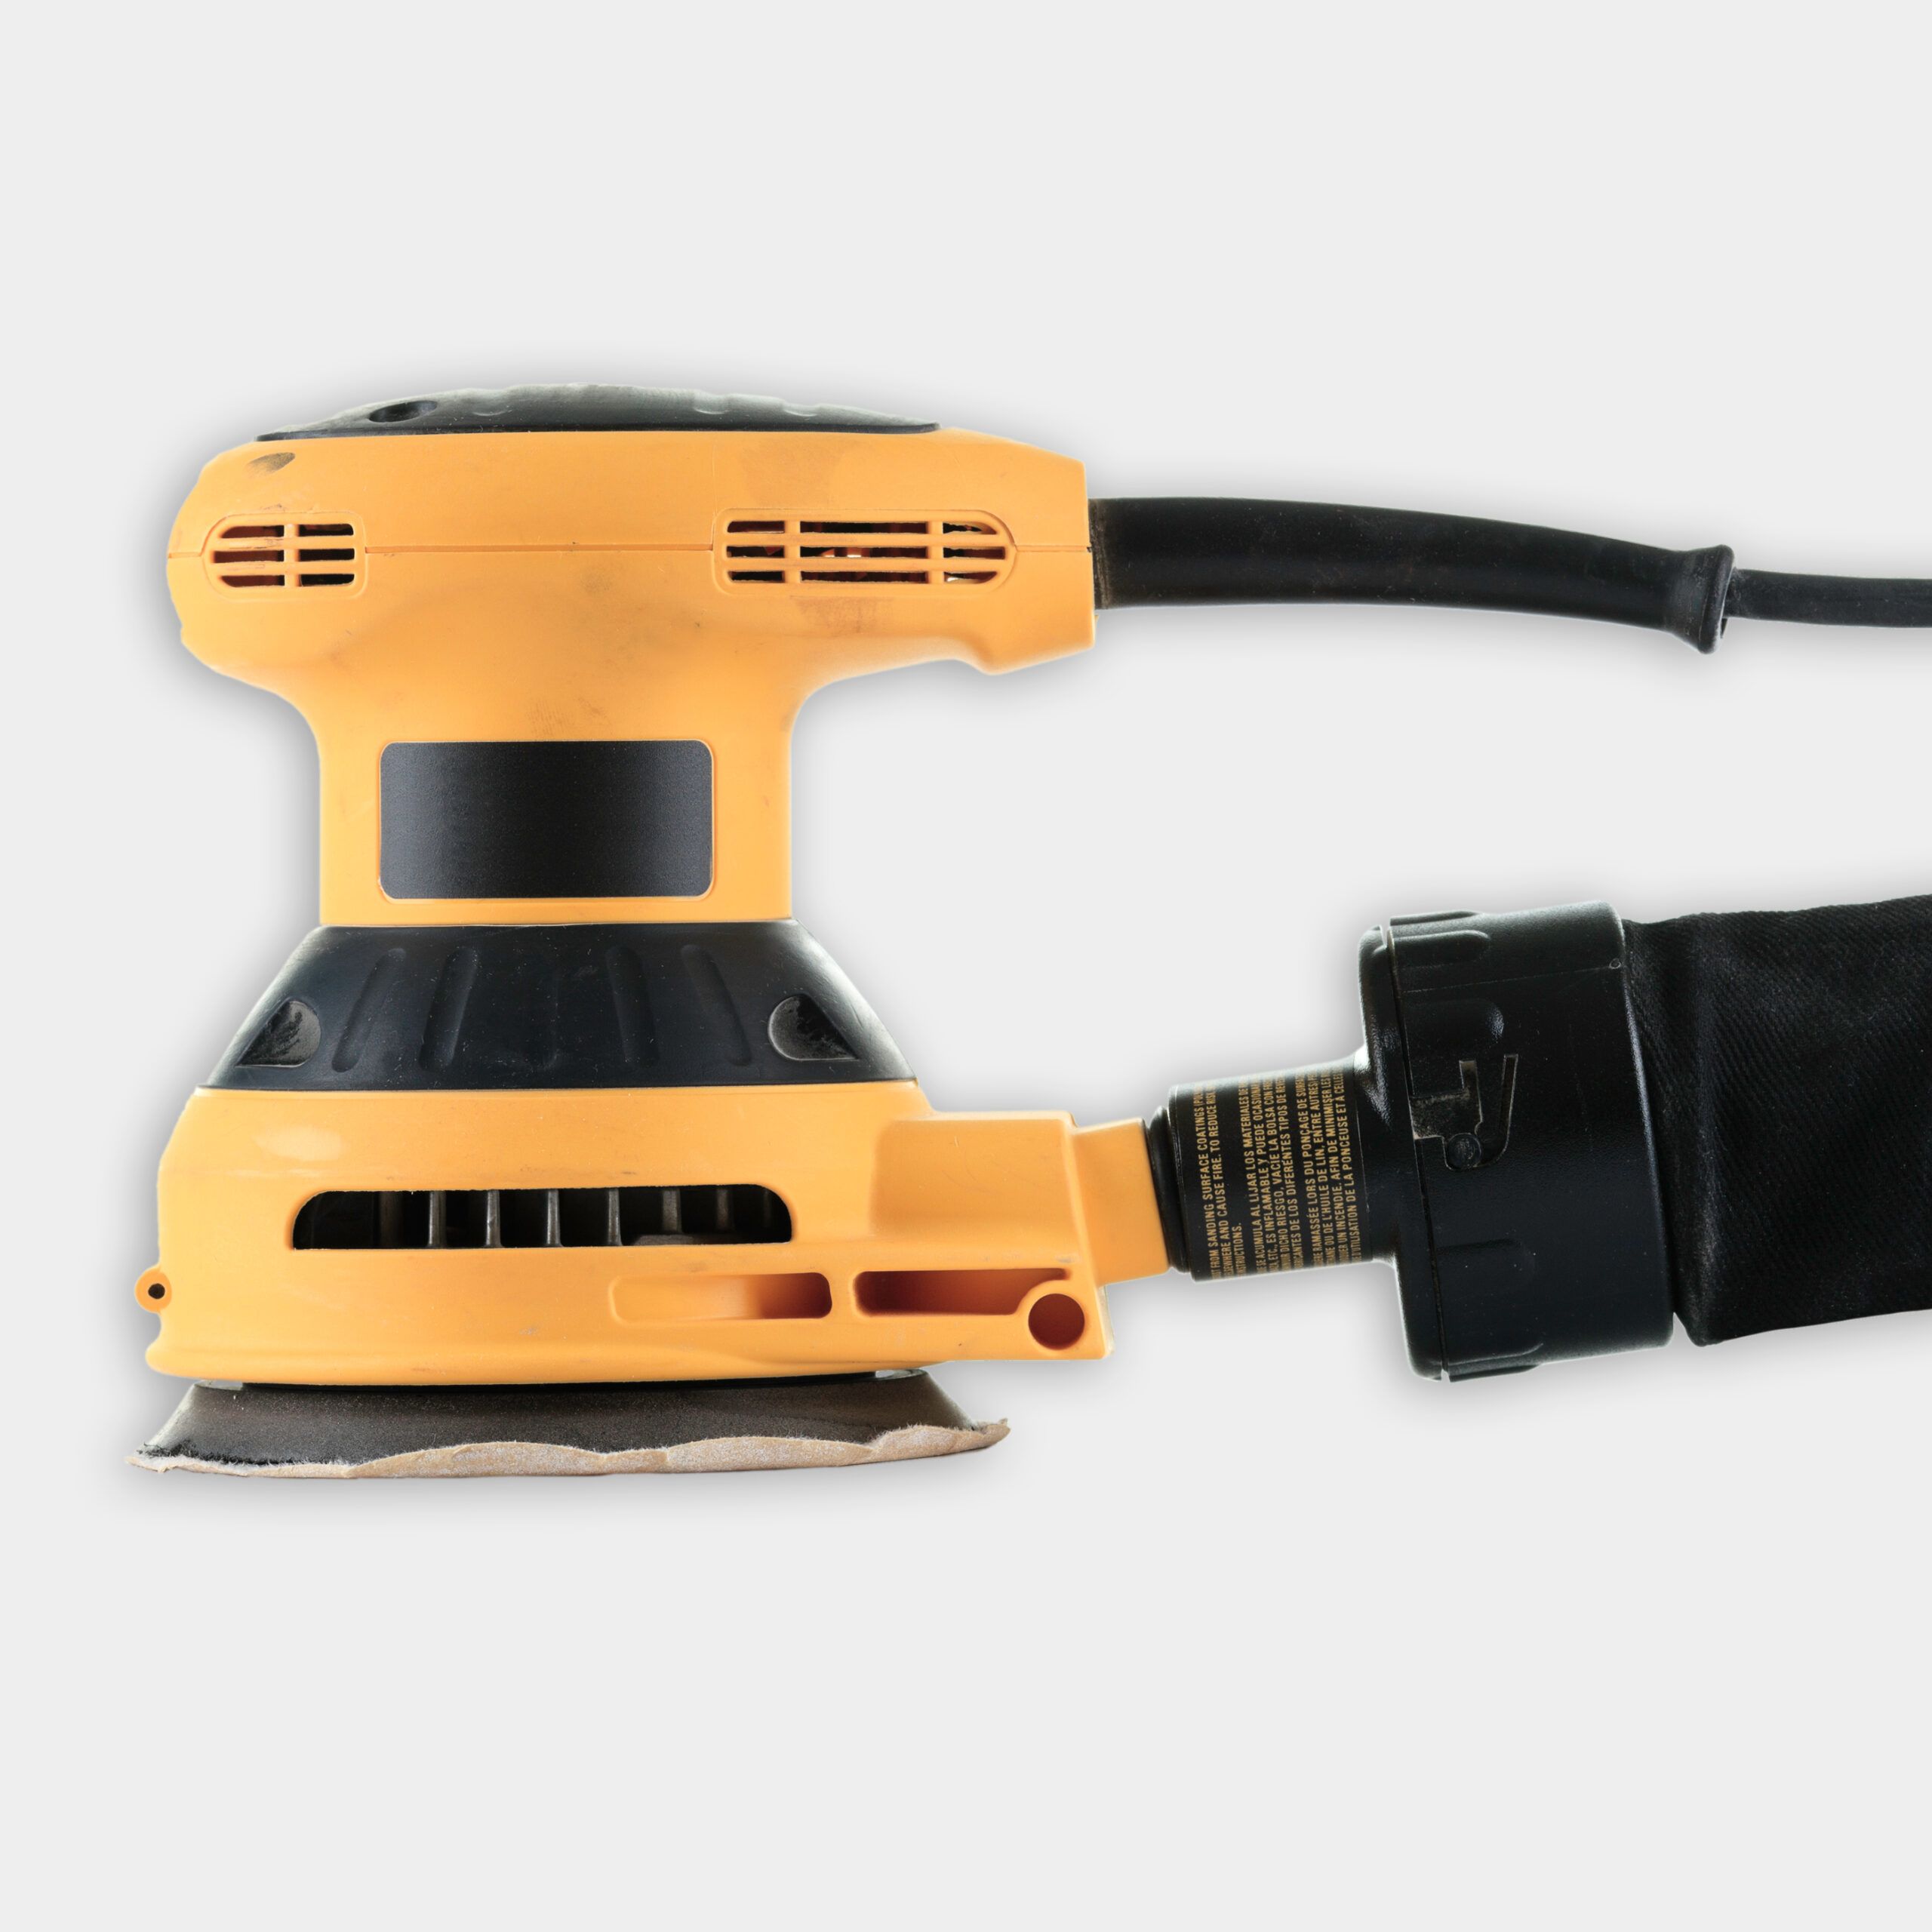
- Use a palm sander to sand along the dados before assembly.
- Install the shelves in the dados and attach them using screws.
- Attach a back piece, approximately 6 inches tall, inside the back of the cubby with its top edge directly under the top shelf.
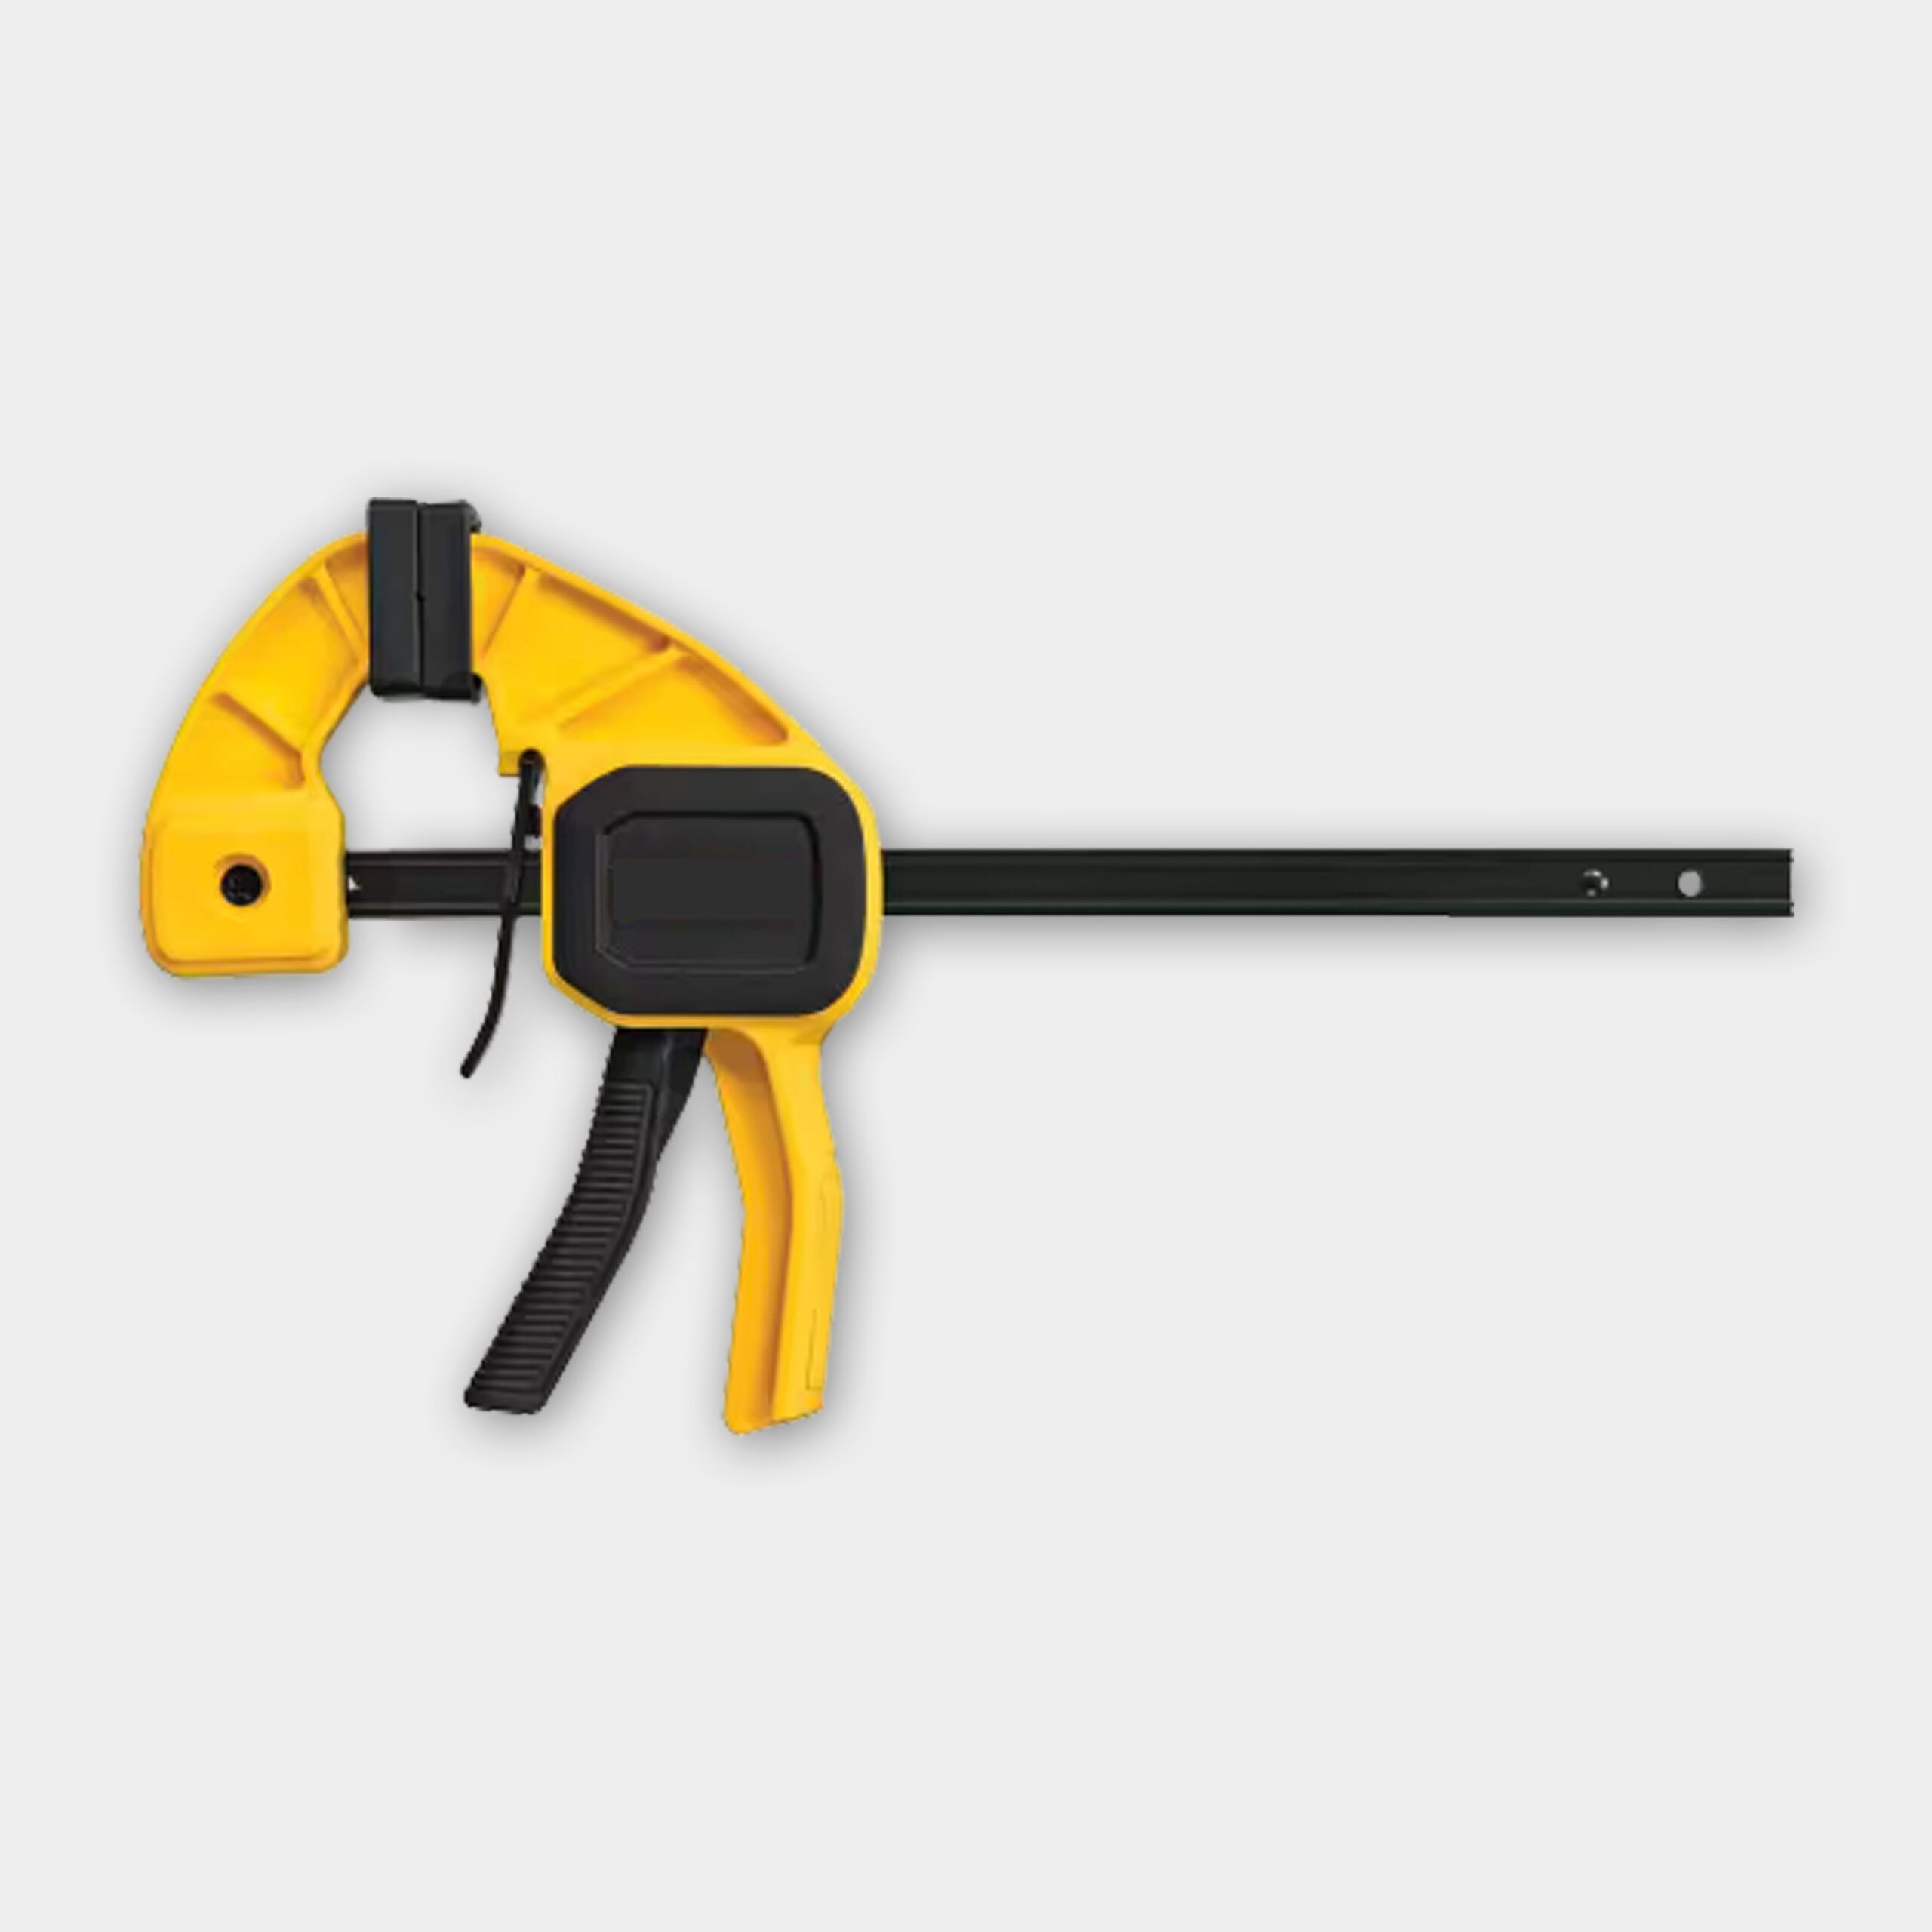
- Stand the cabinets up, align them, and clamp them together. Drill holes through the cabinets and install cap screws to attach them. Three cap screws along the front and three along the back for each pair of cabinets should be sufficient.
- Install face frames over the cabinet fronts. Make sure to attach them to only one cabinet so the units can be disassembled.
Resources
¾” plywood—plywood normally comes in 4×8’ sheets, but Tom rough cut it down to 16” wide at the store since that’s the widest width he needed.
1×2” pine—for rails and stiles
16-gauge finish nails– for the rails and stiles
Rockler connector bolts 1-1/8” #48570 with Rockler cap nuts #45467
2-1/32 in. single post wall hooks
Materials
- ¾-inch birch plywood
- 2” coarse screw
- Cap screws
- 16-gauge finish nails
- Face frame stock
- Connector bolts
- Wall hooks