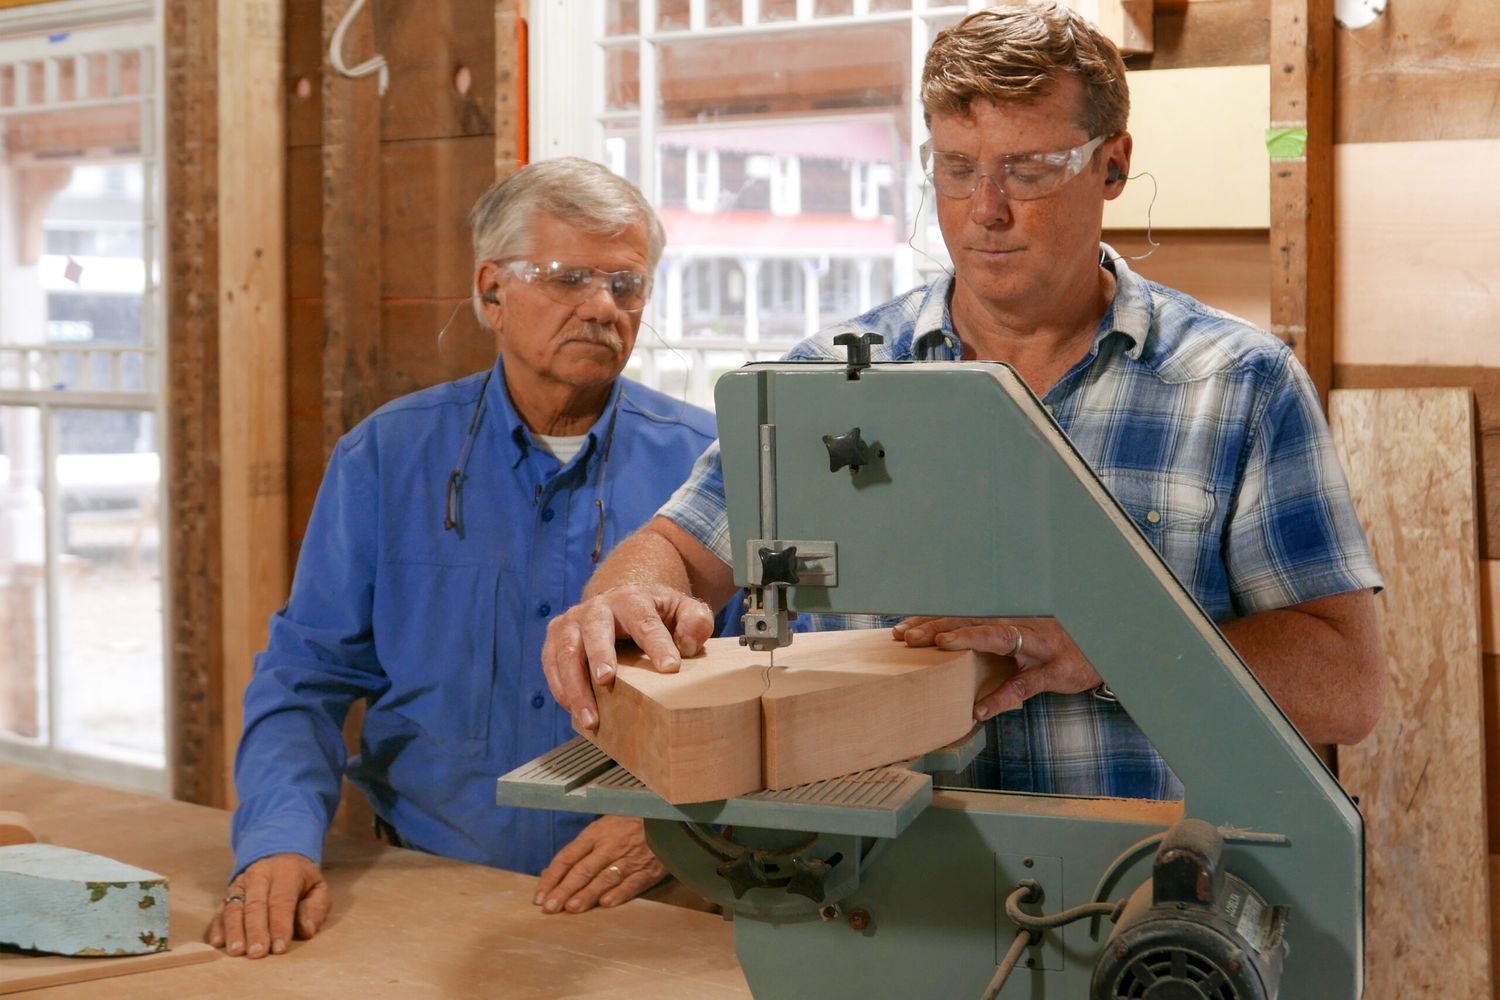
Bandsaws might not be as cool and powerful as miter saws or table saws, but they’re one of the most useful tools any workshop could feature. They might be slightly slow and not offer quite the stability as the other options, but they can make intricate cuts and slice through materials that the others can’t. In this guide, we’ll review the basics of this versatile tool, including explaining what a bandsaw is and suggesting some common band saw projects.
What is a Band Saw?

A band saw is a type of motorized saw that features a continuous, flexible, flat blade that forms a loop, or band, with teeth on one edge of the blade. The blade is installed over two wheels, one at the top and one at the bottom, and then tension is applied to hold it in place. One of the wheels is attached to an electric motor, and as it spins, it rolls the blade around the wheels.
Most of these mechanisms are hidden behind covers. However, there is an open area in the middle of the saw where the blade is exposed for cutting. There is typically a table in this location for stabilizing materials while passing them through the blade. Users can adjust the speeds for different materials, ramping them up for wood and slowing them down for metal.
There are also different band saw blade types, which are chosen based on what material you’ll be cutting. Metal requires a fine-toothed blade with hardened teeth, while wood calls for a blade with a more aggressive tooth profile. These blades are also available in different widths. Thin blades are useful for making curved, intricate cuts, while wide blades are better for stability and straight cuts.
Types of Band Saws
There are two different types of band saws: benchtop and floor-standing. They both function similarly (some are even the same size), but they differ a bit in design.
A benchtop band saw can be placed on a workbench whenever it’s needed, and then stored away after the job is done. It’s compact and lightweight, though it can be a bit unstable. Clamping it to the worksurface often helps.
A floor-standing band saw is larger and, as the name implies, stands on the ground. It’s heavier and vibrates less, making it more stable and pleasant to use. But it can take up valuable floor space in a small shop, making it a bit less convenient than benchtop models.
Band Saw Setup Guide
These step-by-step instructions will help you get started setting up a band saw. Keep in mind that each band saw is different, and depending on the material you’re cutting, you might have to make some adjustments.
Install the blade
The first step in setting up a band saw is to install the correct blade. For wood, choose a blade with fewer teeth and a larger tooth profile. For metal, choose a blade with fine, hardened teeth.
- Unplug the saw and open the saw cover.
- Release the blade tension, which is typically a handle that needs to be loosened or a lever that needs to be released.
- Ensuring that the teeth will point toward the table, loop the blade around the bottom wheel and roll it onto the top wheel.
- Re-engage the tensioner, turn one of the wheels by hand, and adjust the tracking knob at the back of the top wheel.
- Adjust the tension according to the blade’s manufacturer’s instructions.
Adjust the guides
Since band saw blades are so flexible, they require guides to keep their blades safely aligned. The first set of guides is alongside the blade above and below the table. These guides keep the blade from moving from side to side. They should be adjusted so you can barely slip a dollar bill between the blade and the bearing.
The other guide, known as the thrust bearing, keeps the blade from being pushed too far backward during use. Again, there is one above and below the table, and they should be adjusted to just slightly behind the blade’s back edge when the saw is not running.
Adjust the guard
Band saws work most effectively when the guard is placed as close to the workpiece as possible while still allowing yourself to see the workpiece. With the saw off, release the guard adjustment knob and set it accordingly. This will provide a smooth, even, controllable cut while still allowing you to see your cutline.
How to Use a Band Saw
With the saw set up, you’re ready to start cutting. Make sure to wear your safety glasses and hearing protection throughout this process.
- Mark the workpiece where you want to cut it.
- Position the saw just to the outside of the cut mark.
- Pull the workpiece back just slightly from the saw blade and turn on the saw.
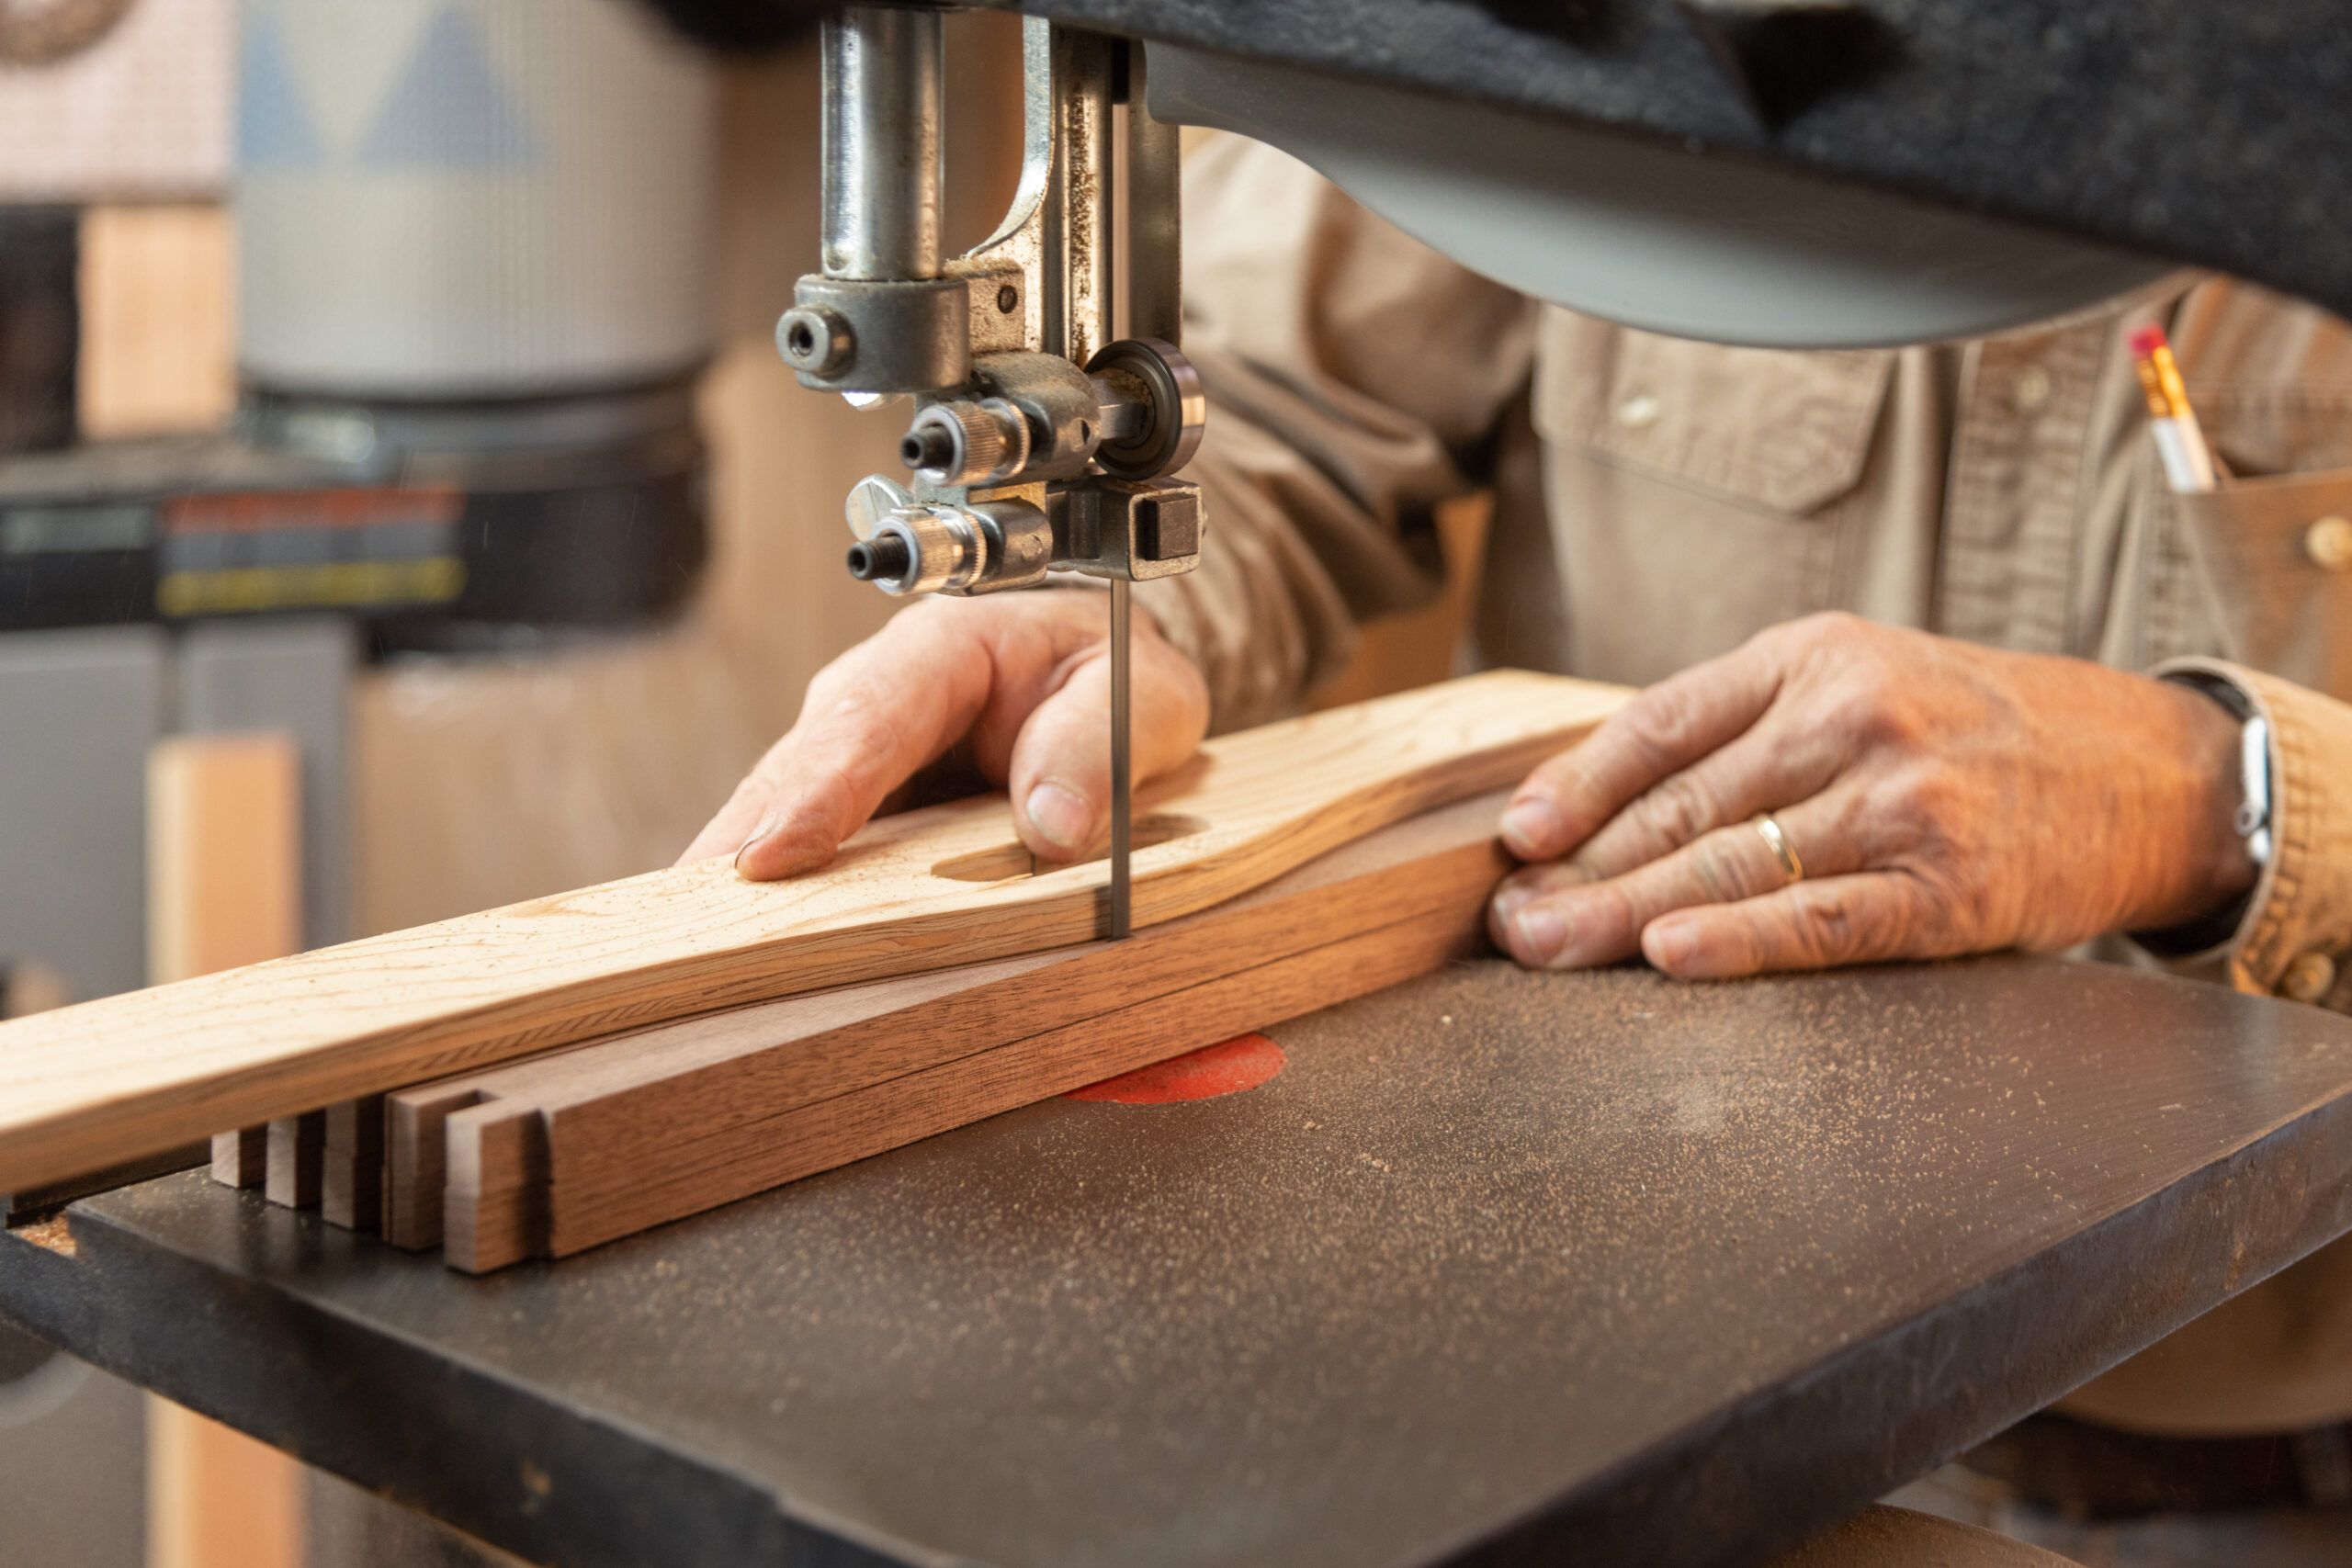
- Feed the material through the turning saw blade. Work slowly, as forcing the blade will flex it, create heat, and result in a poor-quality cut.
- Track along the outside of the cutline. Stay close to prevent extra work removing material later.
- Guide the material all the way through the saw blade until it’s cut through. For thin workpieces, use a push stick to keep your fingers away from the blade.
- With the material away from the blade, carefully remove your hands from the saw and shut it off.
If you’re making crosscuts, follow the same steps above, but be sure to use a crosscut sled or guide for safety. The crosscut sled improves accuracy, allows you to cut miters, and prevents you from clamping the board down on the blade as you push it through.
Band Saw Safety Tips

Band saws are incredibly versatile tools, but they don’t typically have many safety features to keep users from getting hurt. For that reason, we recommend the following band saw safety tips.
- Wear proper personal protective equipment (PPE) when operating a band saw. This includes safety glasses and hearing protection. Band saws are relatively quiet as they run, but they can be loud when they cut through metal or hardwood species.
- Wear tight-fitting clothes to avoid getting anything caught by the moving blade. It’s also important to tie back your hair and remove jewelry if necessary. It’s not recommended to wear gloves. If you must wear gloves, make sure they’re tight-fitting. Loose gloves can get snagged by the blade and pull the user’s hands into danger.
- Always inspect the machine and blade before use to ensure that it’s in good working order.
- Make sure the guides are set correctly. This will help ensure the blade operates properly.
- Close and latch the covers to prevent an accident while using the saw.
- Clear the floor around the band saw to provide stable and safe footing while cutting.
- Use push sticks and fences for guiding pieces through the blade whenever possible, and abide by the Four-Inch Rule: Keep your hands at least four inches away from the blade at all times, so for anything closer, use a push stick.
- Use the proper blade for the material. Attempting to cut metal with a wood blade could cause blade damage and send a tooth through the air.
Band Saw Maintenance Tips
Even though it’s a relatively simple machine, there are a few maintenance tasks that you need to stay up on. Doing the following will ensure your saw and its blades last as long as possible.
- Keep the saw and blade clean. Clear any sawdust and debris from inside the saw with a vacuum or compressed air. Also, remove any debris or pitch from the blade. A pitch-remover solution will help.
- Apply a touch of machine oil to the moving parts every few months (or more frequently if you use your saw a lot). This includes any tensioning adjustments, bearings, wheels, or other fixtures.
- Examine the bearings before each use to ensure they’re spinning freely and silently. Replace them as needed.
- Check that the cord and plug isn’t frayed or damaged before each use.
- Inspect the drive belt for wear every few months.
- Ensure the wheels are properly aligned.
- Make sure the table is secure and square to the blade.
Common Band Saw Uses

Band saws are useful for many projects including woodworking and metalworking. Here are a few specific tasks they excel at:
- Scrolling or cutting curves and intricate designs
- Resawing large chunks of wood into thinner boards for woodworking or veneers
- Crosscutting boards to length
- Ripping boards to width
- Cutting metal to length for welding or fabrication projects
- Cutting miters for frame making or other woodworking projects
- Creating dovetails to tenons for joinery
Add a Band Saw to Your Workshop
Band saws are about as versatile as tools can come. They can rip, crosscut, or scroll wood boards or even cut metal to length. They’re extremely functional, and although somewhat more complicated to set up than a miter saw or table saw, they’re just as capable. Adding one to your workshop will allow you to increase your shop’s capability tremendously with just one tool.