Project details
Skill
Cost
Estimated Time
We may be compensated if you purchase through links on our website. Our team is committed to delivering honest, objective, and independent reviews on home products and services.
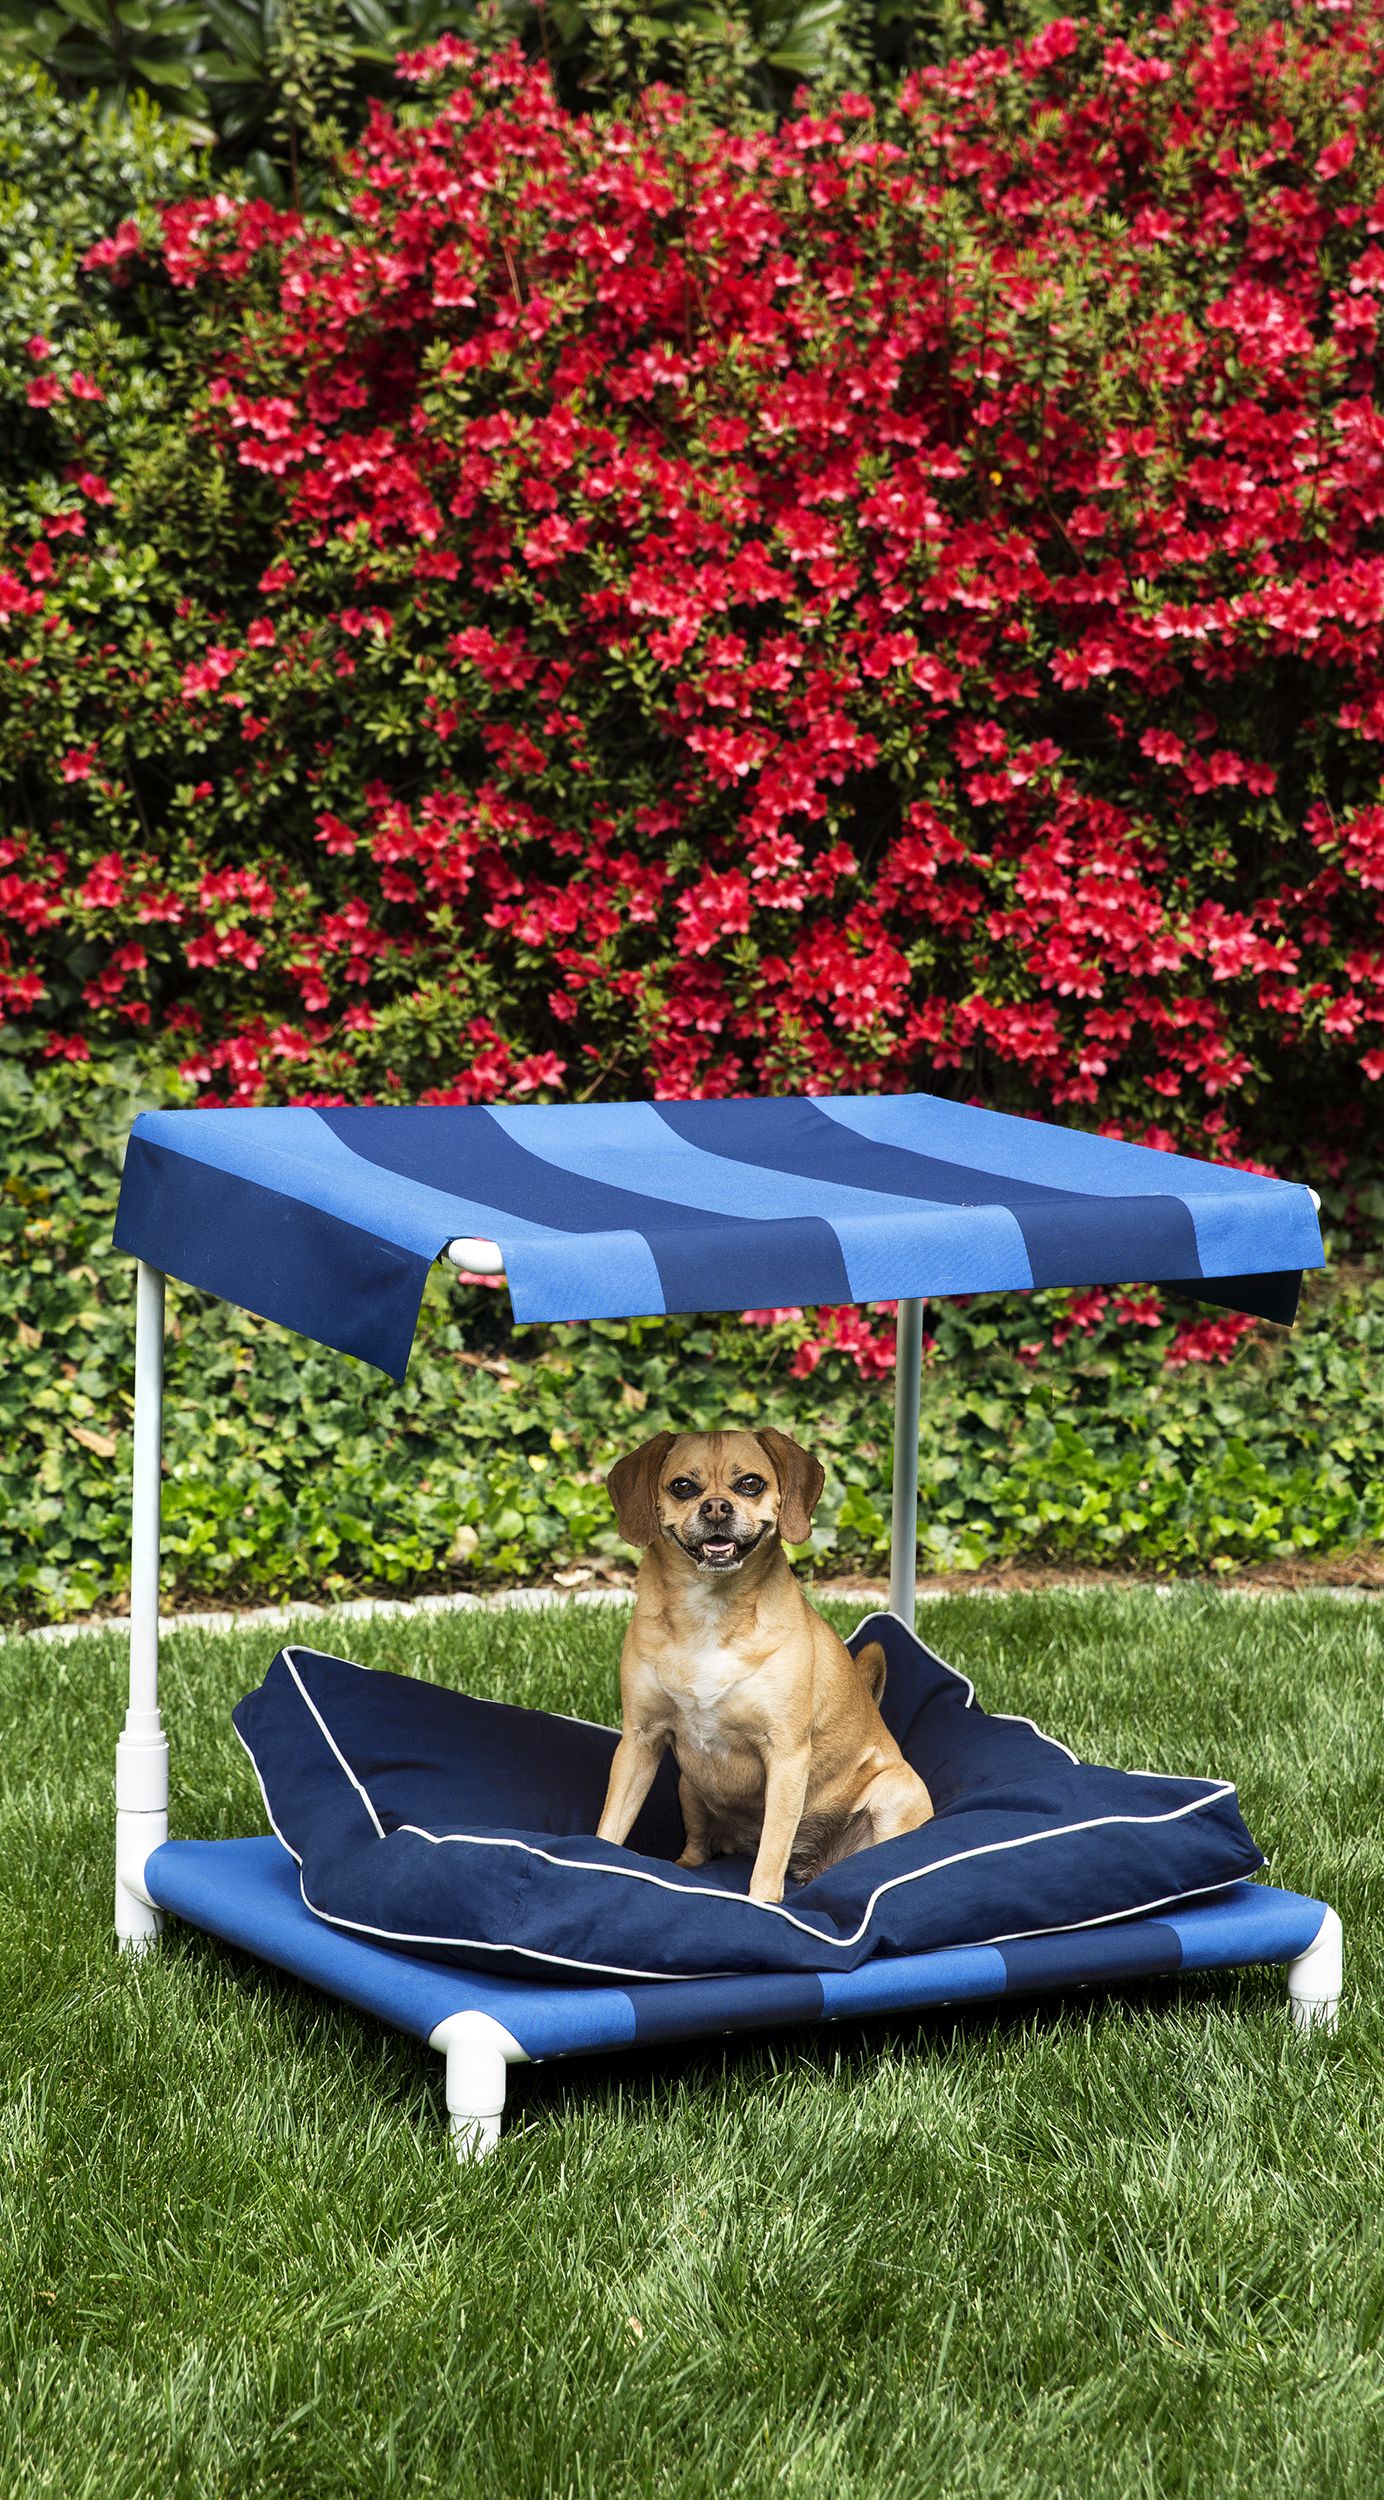
When the temperature rises, you’re not the only one who wants to recline in a shady spot. Your furry friend also deserves a relaxing spot to cool off outdoors.
Dogs regulate their temperature through panting and can only sweat through their noses and paws. That makes it a bit harder for some breeds like pugs, bulldogs, and Pekingeses. “While not every dog seeks out a cool place to relax, it’s critical for heavy-set and short-nosed breeds, which can overheat quickly,” says My Smart Puppy Guide author Sarah Wilson.
No matter your dog’s breed, an elevated bed with a canopy can be the perfect fit. It offers valuable shade and allows air to circulate underneath. You can also customize it to suit your pet’s needs and your backyard’s design. This guide will walk you through how to build one.
Download and print the cut list.
Project Overview
We built our dog bed frame with PVC pipe, joints, and couplings, then covered it with all-weather fabric. With a perch this comfy, you won’t have to entice your dog to sit and stay a while. If they like extra cushioning, you can also add a pillow.
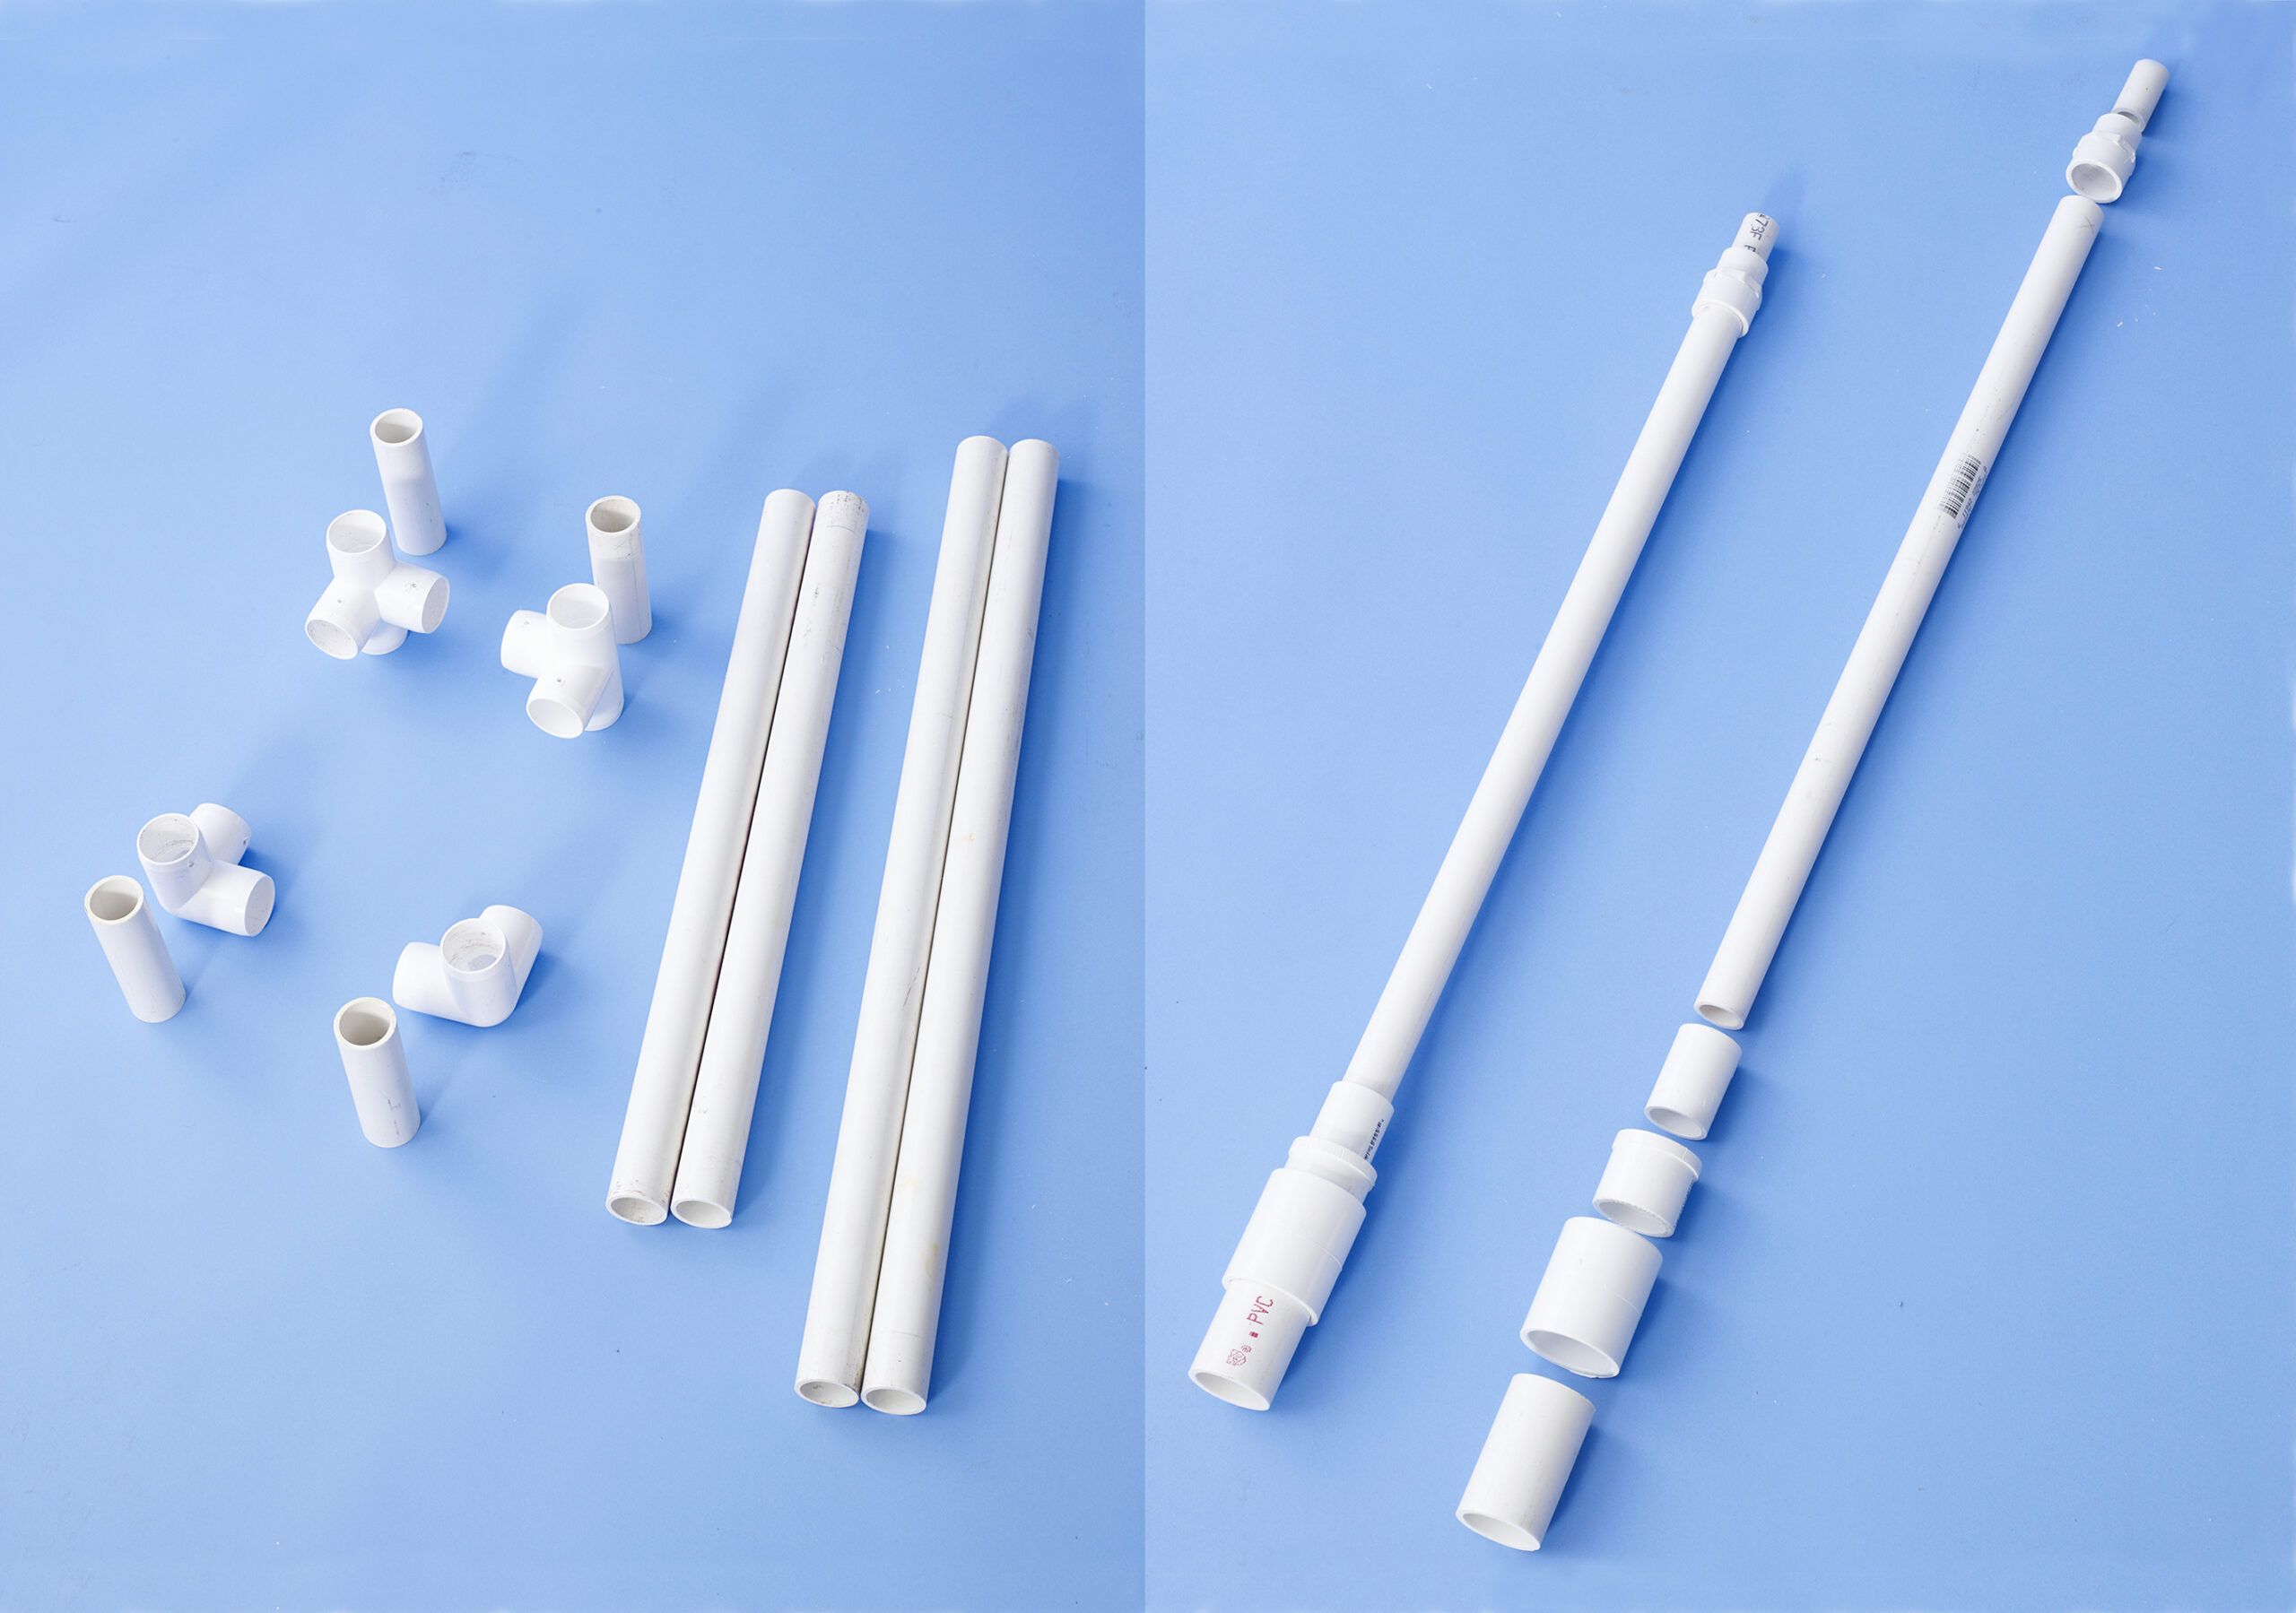
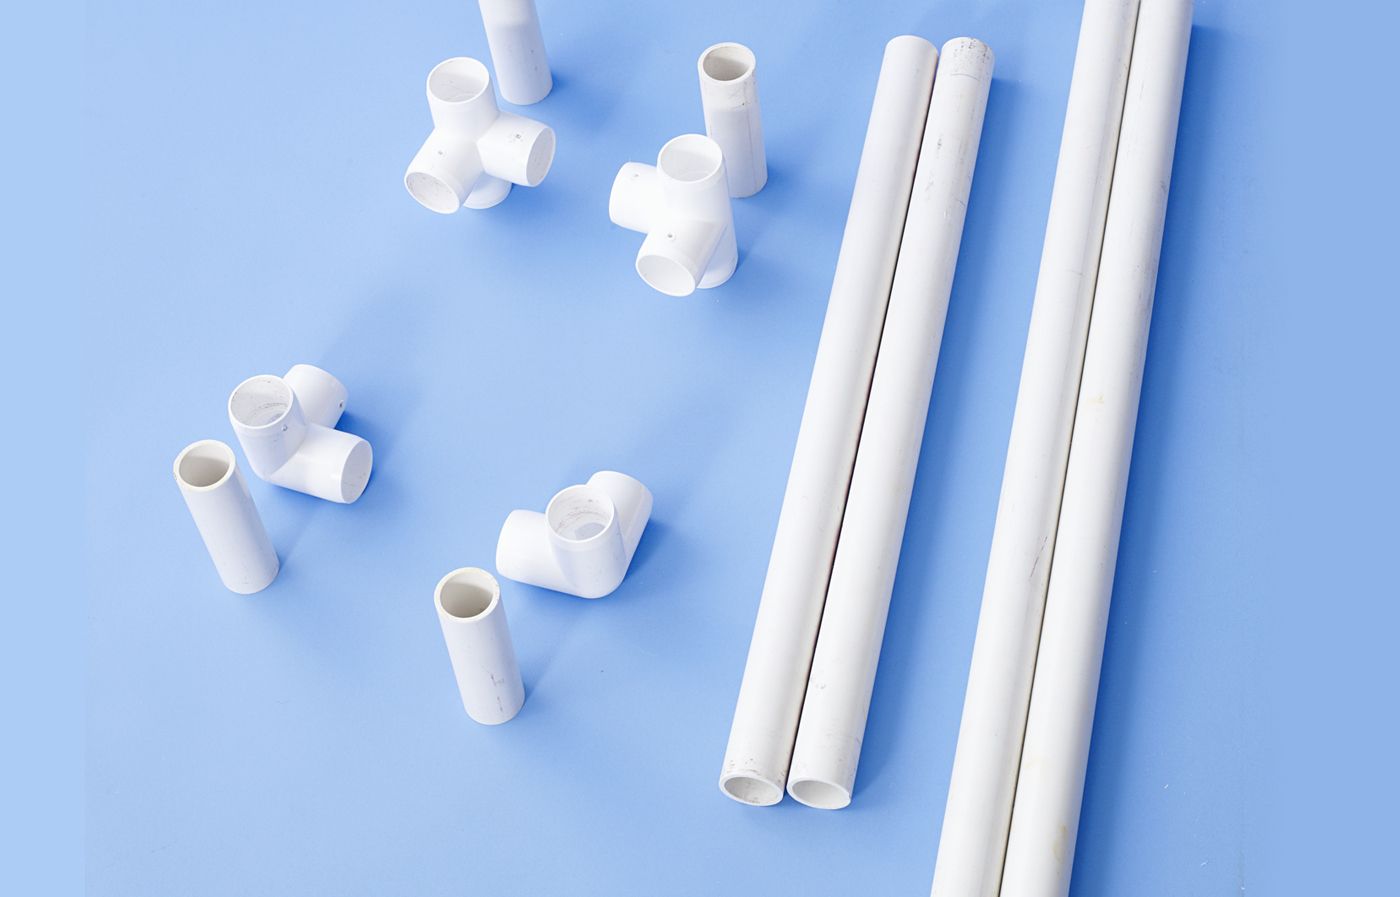
Cut List for Building an Outdoor Dog Bed
All of the piping you’ll use is Schedule 40 PVC. Buy 5 feet each of 1 1/4-inch, 1/2-inch, and 3/4-inch pipes, and don’t be afraid to get extra in case you make a mistake cutting.
Download and print the cut list.
Bed frame
- 1¼-inch pipe: two @ 32¾ inches for the frame front and back
- 1¼-inch pipe: two @ 25½ inches for the frame sides
- 1¼-inch pipe: four @ 5 inches for the feet
Canopy
- ½-inch pipe: two @ 33¾ inches for the frame front and back
- ½-inch pipe: two @ 24 inches for the frame sides
- ¾-inch pipe: two @ 21 inches for the canopy posts
- 1¼-inch pipe: two @ 2¾ inches for the coupling fittings
- ½-inch pipe: two @ 1½ inches for the coupling fittings
Shopping List
Besides the piping, you’ll also need these materials:
Bed-frame fittings
- 1 1/4-inch three-way side elbow (two)
- 1 1/4-inch four-way side-outlet tee (two)
Canopy frame fittings
- 1/2-inch side-outlet elbows (two)
- 1/2-inch 90-degree elbows (two)
Canopy posts
- 1 1/4-inch coupling (two)
- 1 1/4-by-1-inch reducer bushing (two)
- 3/4-inch coupling (two)
- 3/4 by 1/2-inch reducing coupling (two)
Additional materials
- Awning fabric (2 yards from a 46-inch bolt)
- Washer-head screws
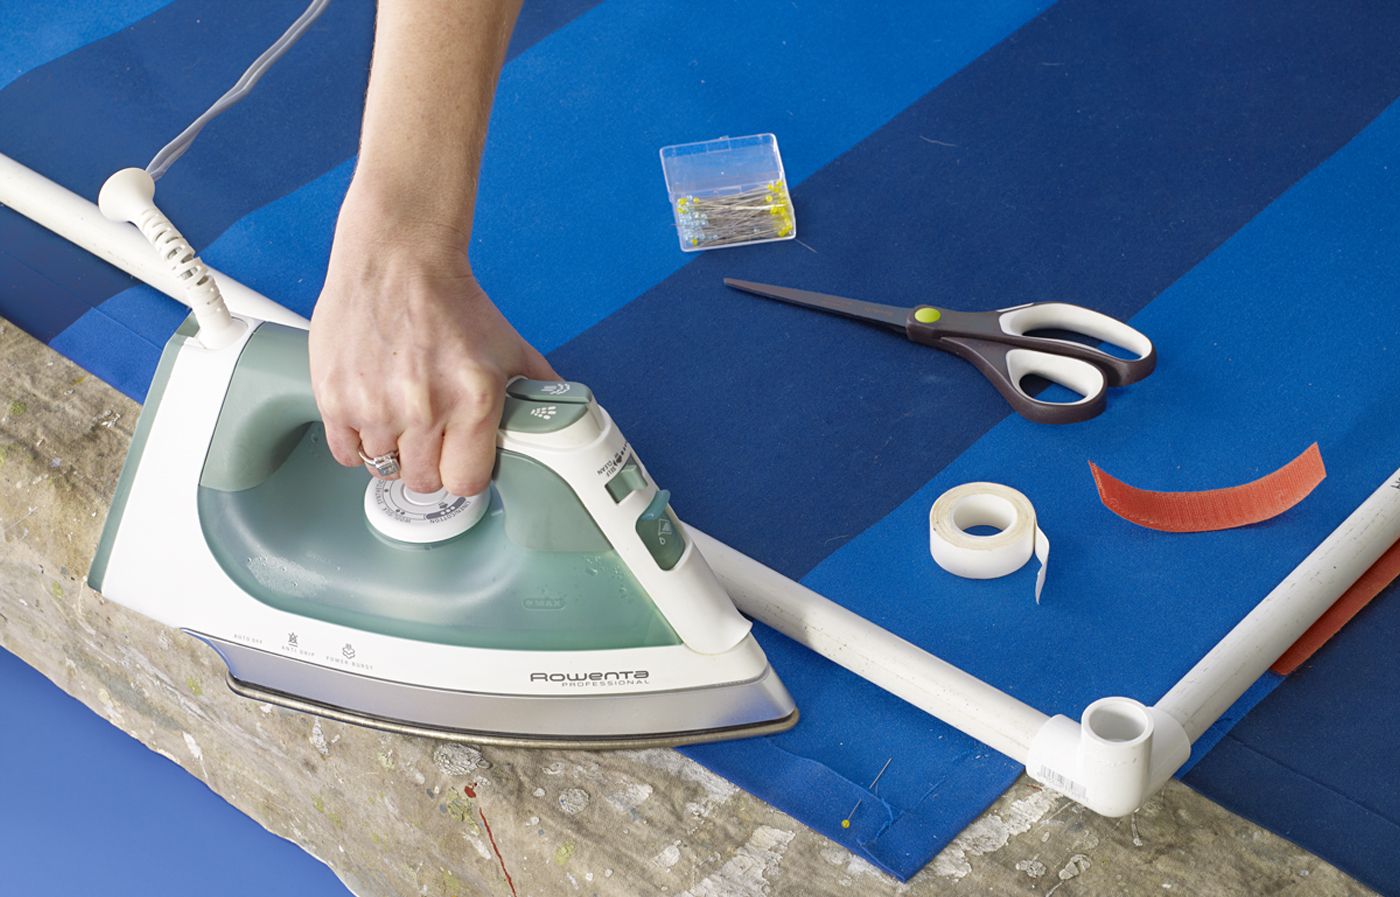
- Heat-fused hem tape
- Adhesive-backed Velcro
Tools
- Miter saw or handsaw
- Drill/driver
- Drop cloths
- Scissors
- Steam iron
- Tongue and groove pliers
Step 1: Assemble the Parts
Start by cutting all the PVC pipe parts to size according to the cut list. You can use a miter saw for precise cuts, but a handsaw will also work if you’re careful. Lay out all your cut pieces and fittings to have everything ready for assembly. Accurate cutting and pre-assembly checks will save you time in later steps.
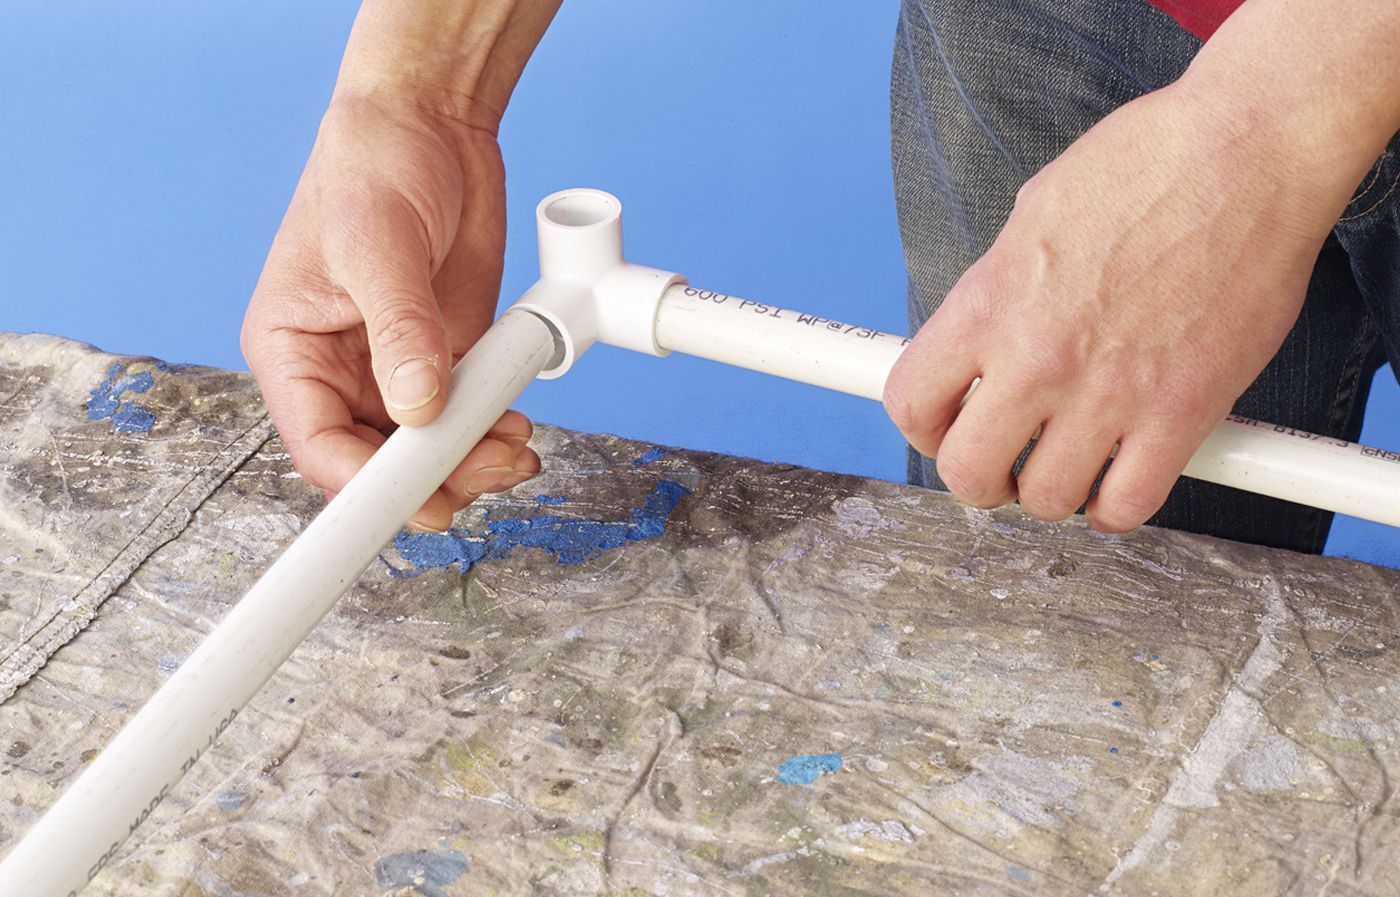
Step 2: Make the Bed Frame
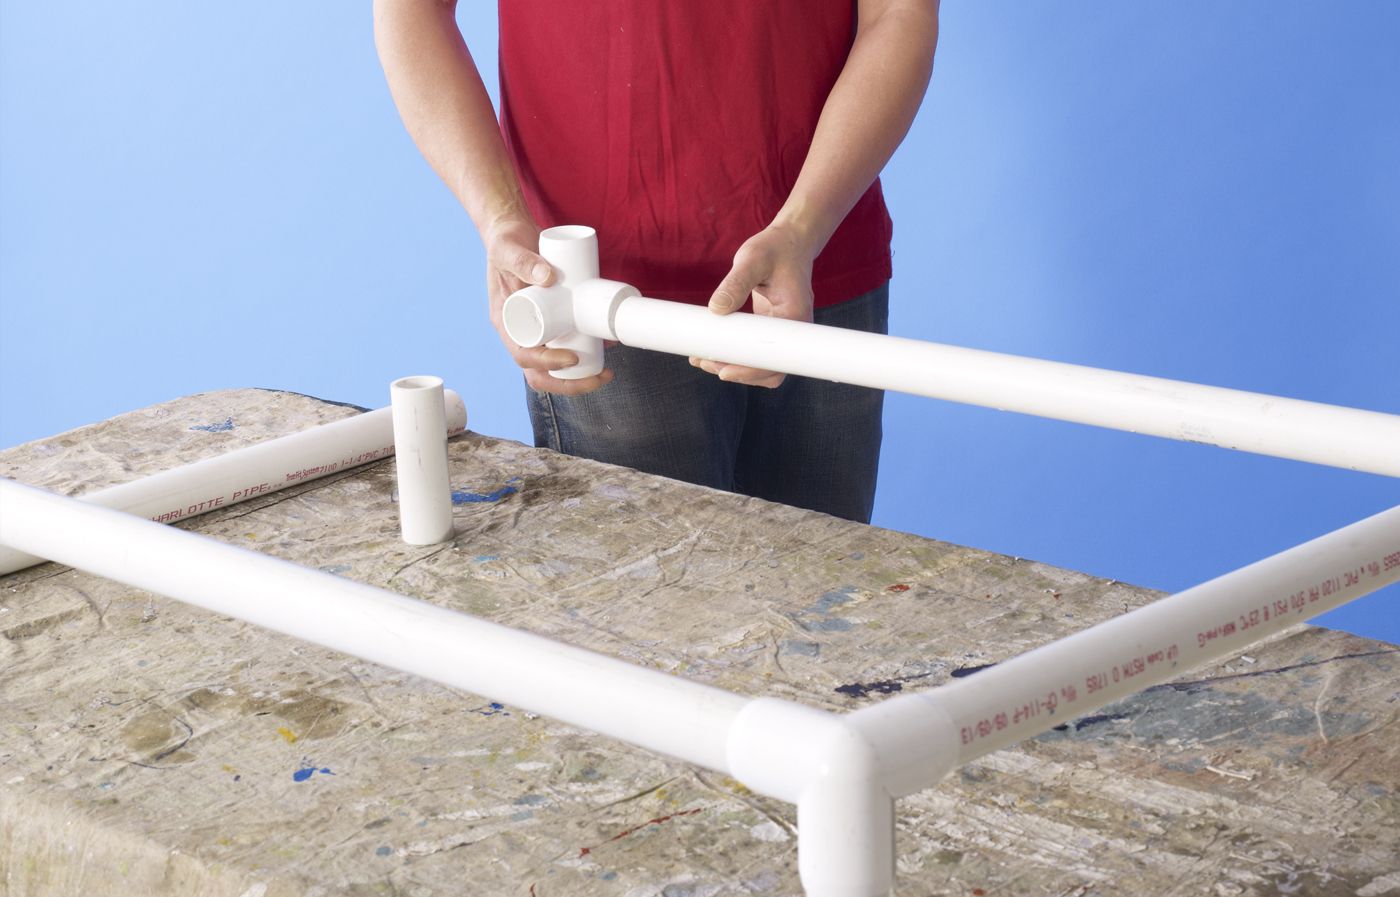
Now it’s time to build the dog bed’s base and frame. Connect the front pipe using two three-way side elbows, with one outlet facing down for the feet. For the back pipe, use two four-way side outlet tees. Join the front and back with the side pipes to form a large rectangle.
Make sure all connections are snug but not over-tightened. You may need to make minor adjustments later, and it’s easier to do the next steps without that excessive tightness.
Step 3: Attach the Legs
With the main frame assembled, you can now put the legs on. Insert all four foot pieces into the downward-facing outlets of the elbows and tees. Place the bed on a flat surface to make sure it’s level, then adjust the feet if necessary.
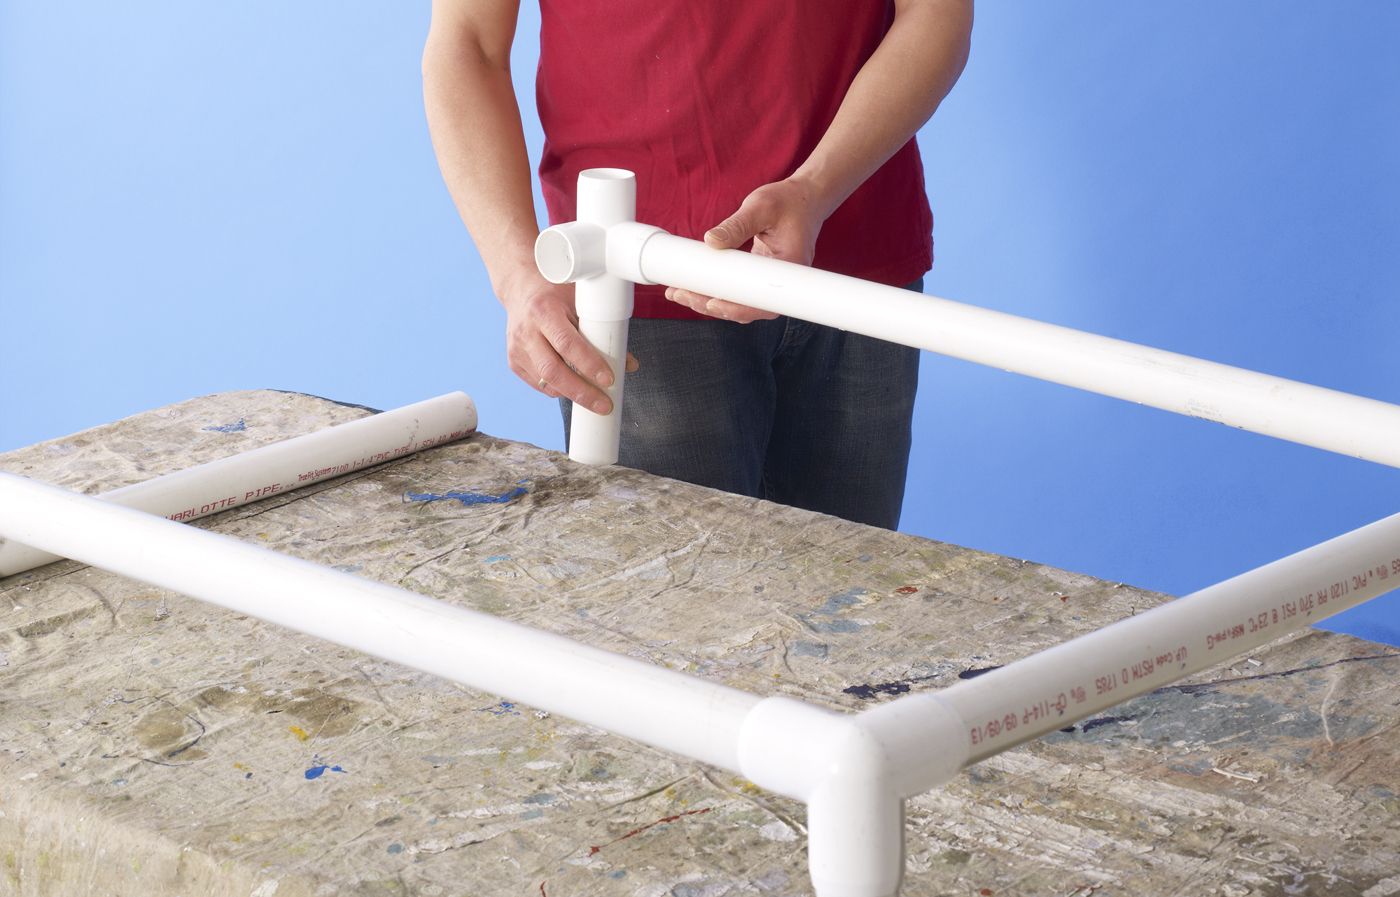
Step 4: Assemble the Canopy Posts
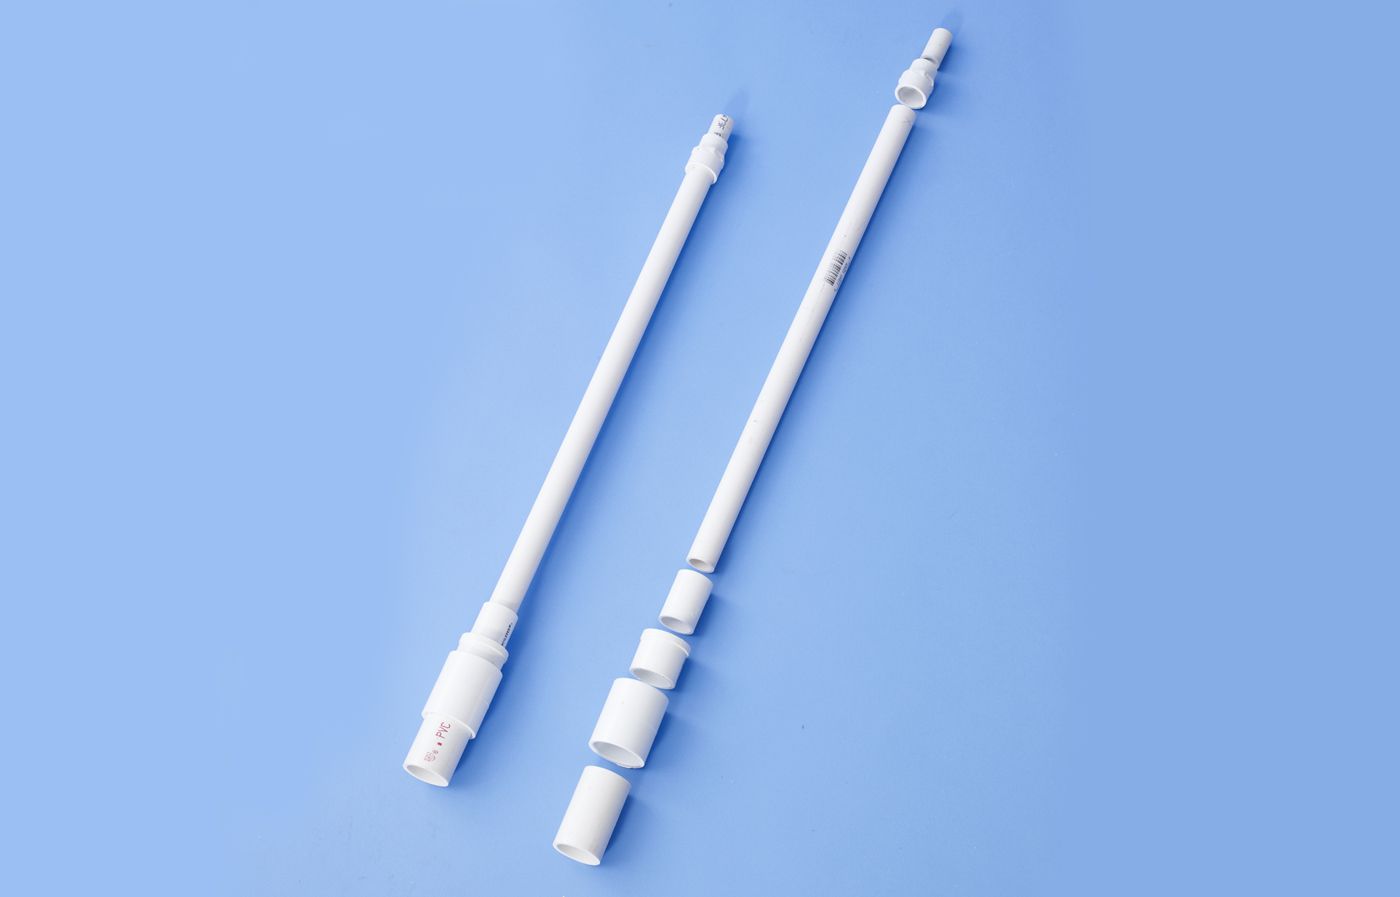
The canopy posts need a bit more assembly than the other parts you’ve made so far.
Start by connecting the short 1 1/4-inch pipe to one end of the 1 1/4-inch coupling. Insert the 1 1/4-inch reducer bushing into the other end of the coupling. Add a 3/4-inch coupling followed by the 21-inch post pipes. Cap the top with a 3/4-inch reducing coupling and insert a short length of 1/2-inch pipe.
Repeat this process for the second post.
Step 5: Attach the Posts to the Frame
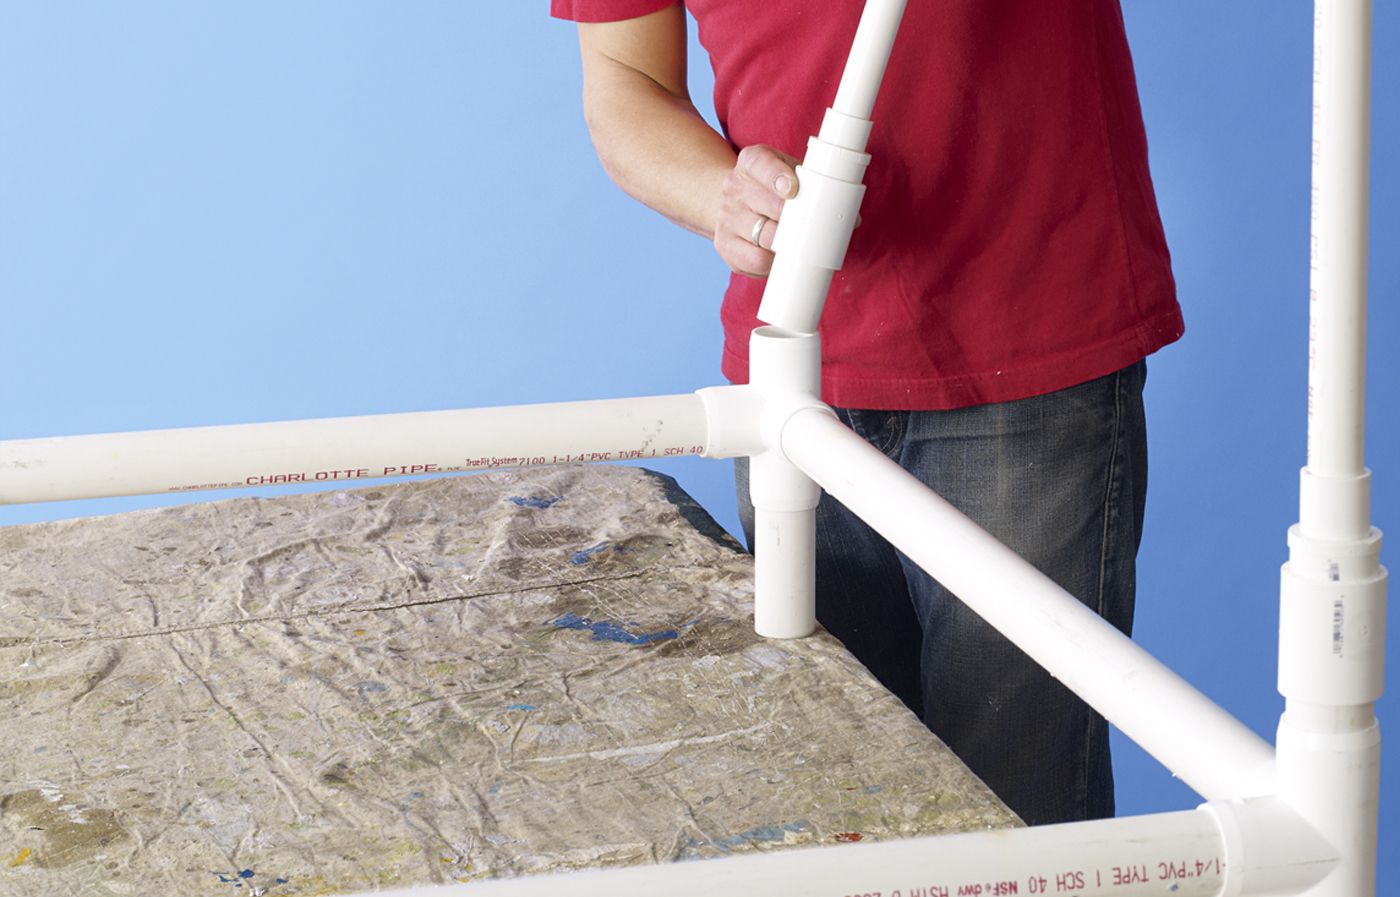
With the posts assembled, it’s time to connect them to the bed frame. Carefully insert the bases of the posts into the upward-facing outlets of the bed frame’s tees. Confirm the posts are straight and secure. Properly aligned posts will help the canopy sit correctly.
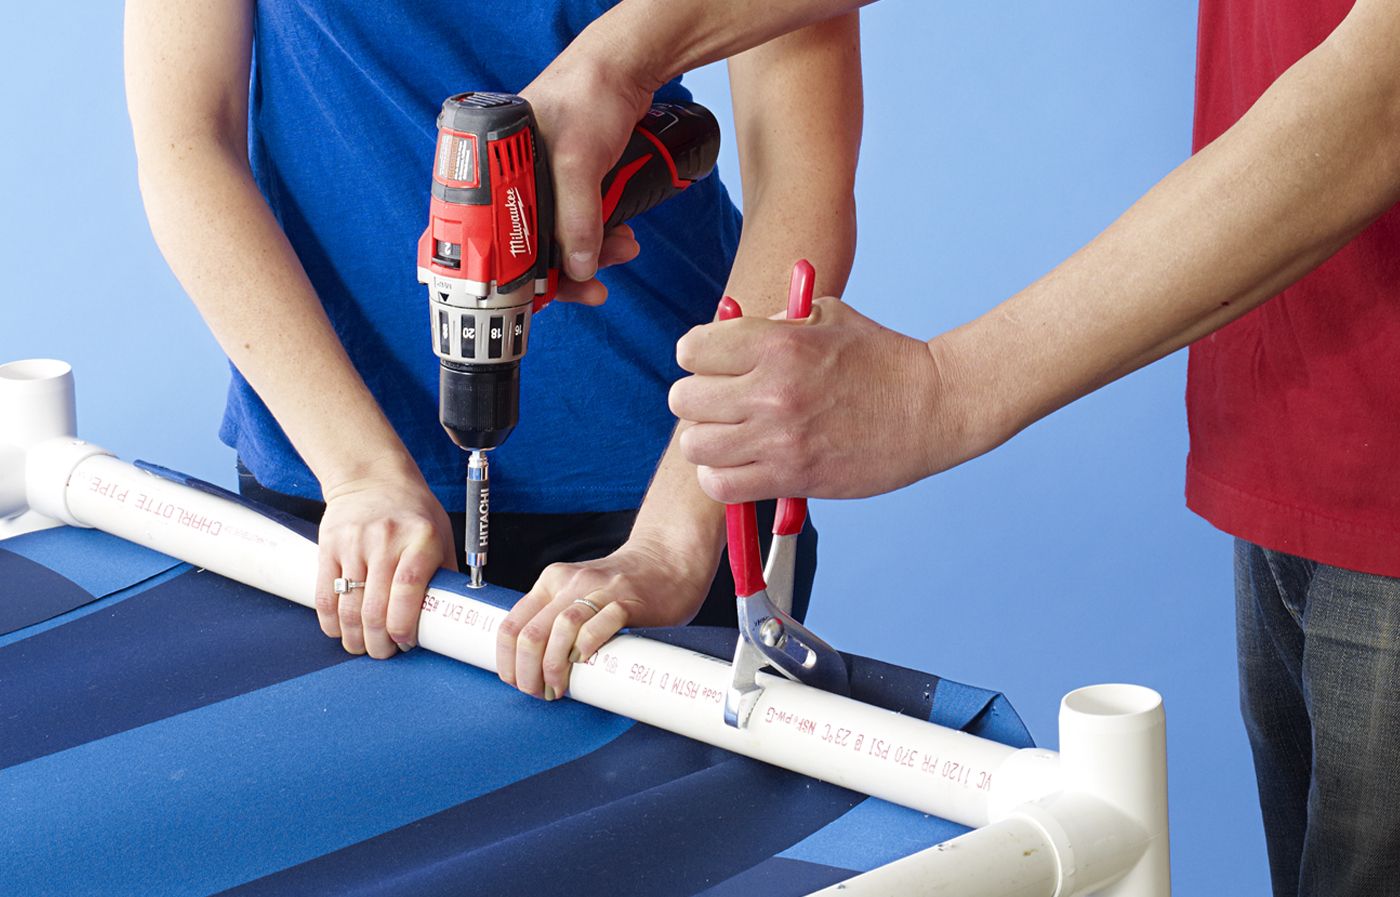
Step 6: Make the Canopy Frame
The canopy frame is what gives your dog shade. Connect two 1/2-inch side-outlet elbows using the back pipe, leaving the extra outlet facing up. Join two 1/2-inch 90-degree elbow fittings with the front pipe. Insert the side pipes to form a rectangle.
Step 7: Attach the Canopy Frame
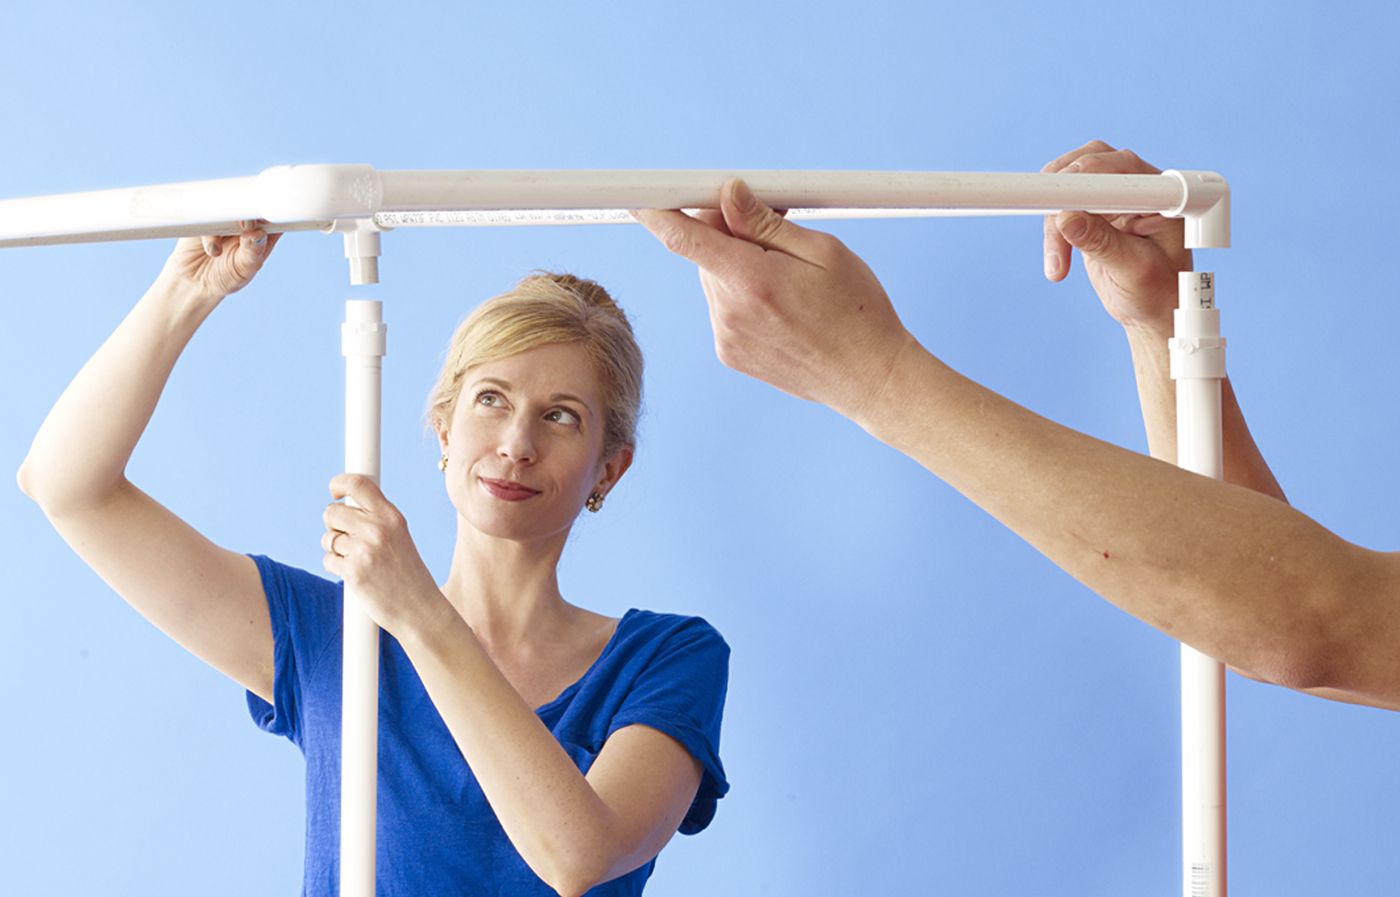
You may need an extra set of hands for this step. Otherwise, it might be difficult to align the canopy as precisely as you need to.
With your helper, hold the canopy frame above the bed frame, aligning the side-outlet elbows with the tops of the posts. Carefully join each fitting to a post to complete the bed-with-canopy frame and check to make sure all connections are secure.
Step 8: Fit the Bed Fabric
Now, it’s time to add some comfortable fabric for your dog to lie down on.
Separate the bed frame from the canopy frame and posts. Center the bed frame upside down on top of a 36-by-46-inch piece of awning fabric. Then, fold in the corners of the fabric so that the edges line up neatly around the bend of the front elbow fittings and the side outlets of the four-way back tees.
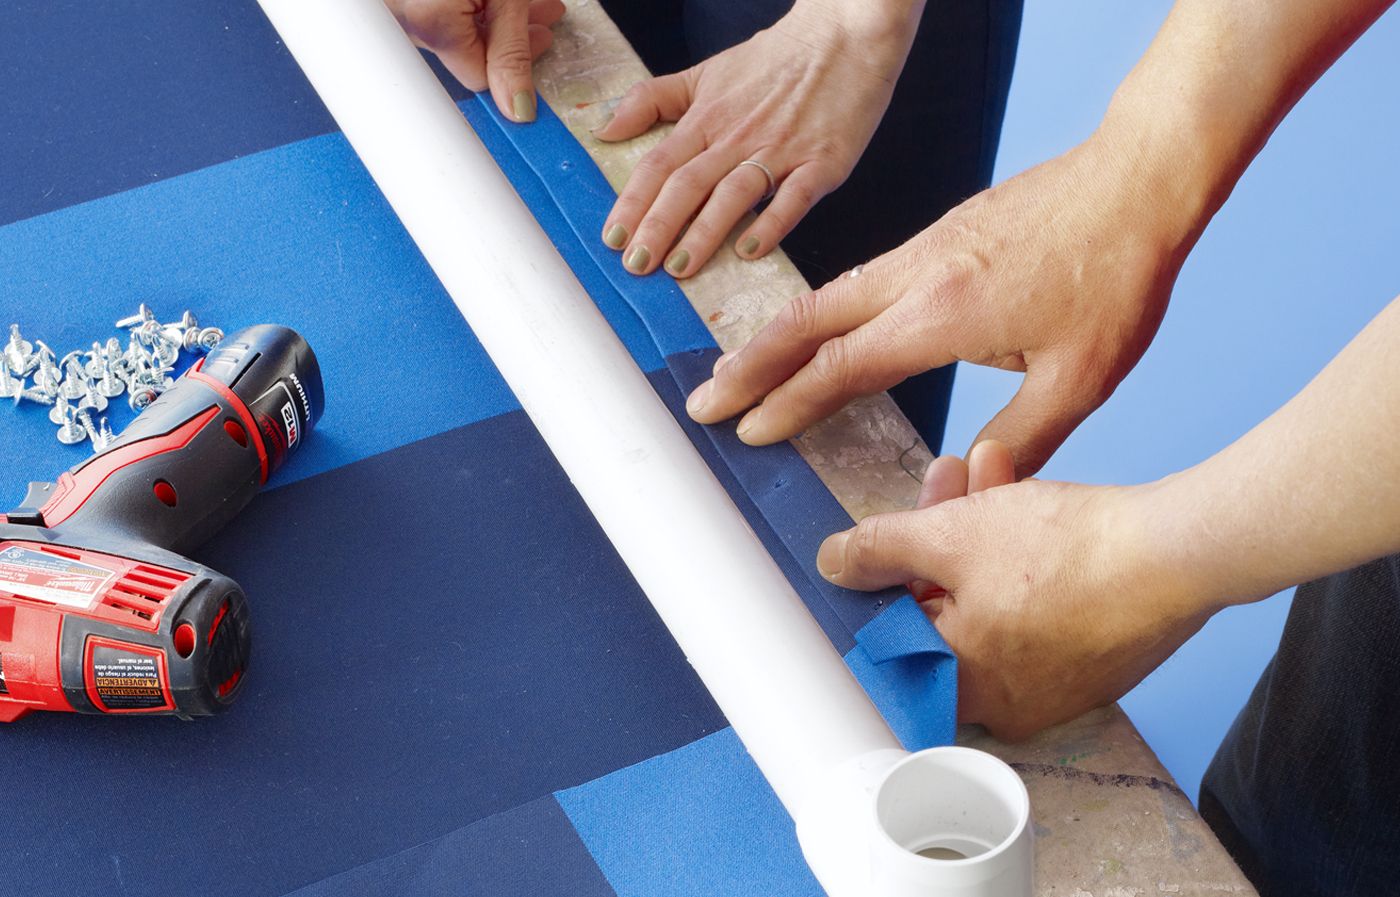
Step 9: Fasten the Fabric to the Bed
To secure the fabric to the bed, start along the front pipe by folding the fabric edge over twice, leaving about a 1/2-inch finished edge. Pull the fabric taut over the pipe and fasten the center with a washer-head screw. Keep working the fabric outward along the edge, spacing your screws evenly.
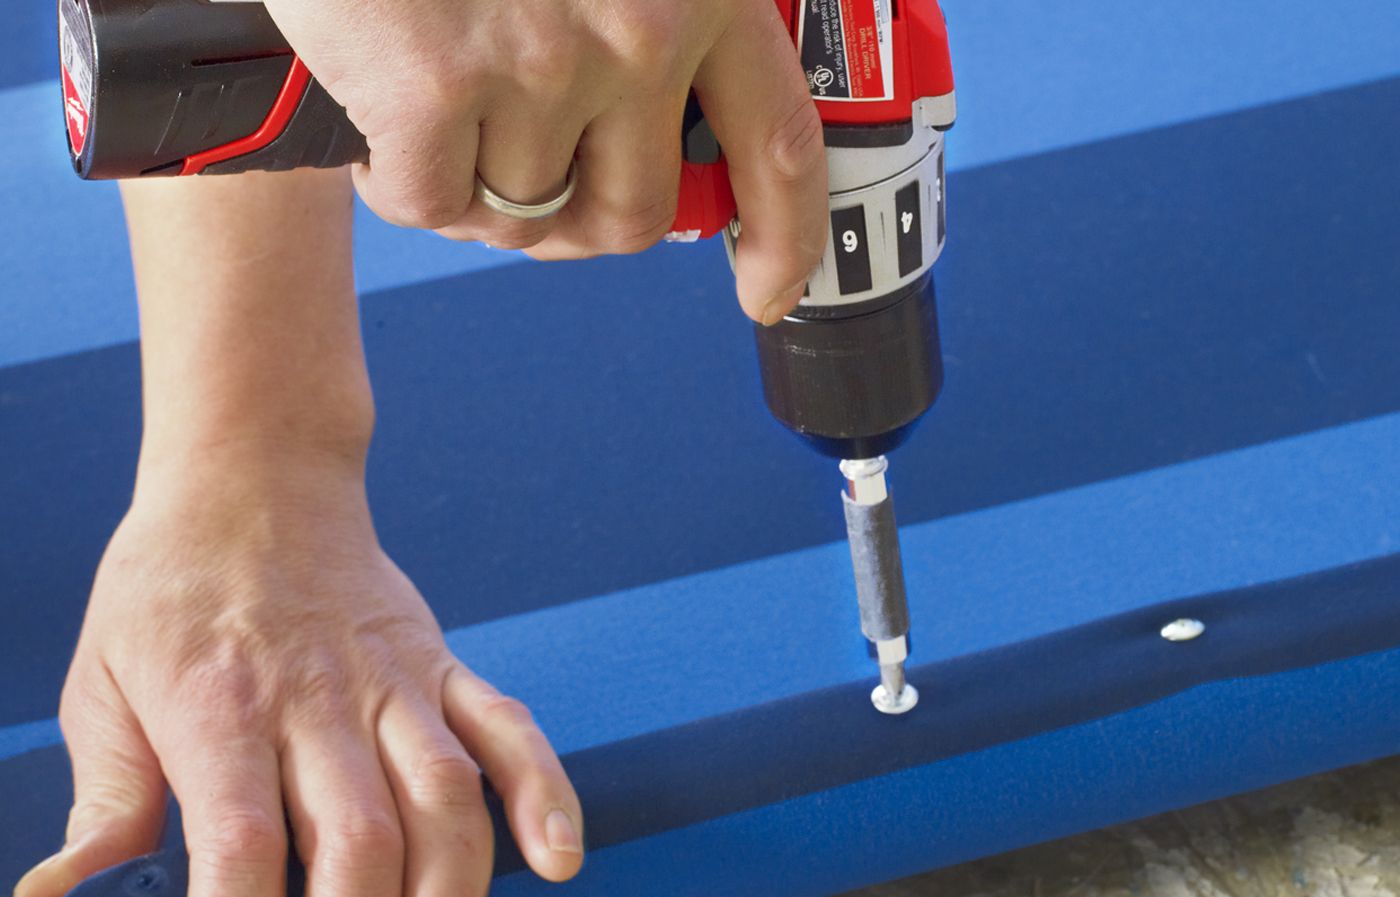
Step 10: Tighten the Fabric
On the opposite side, fold the fabric edge and pull it taut. Secure it with a screw in the center of the pipe. Use tongue-and-groove pliers to grip the back pipe between its center and end, rotating the pipe toward the center to stretch the awning fabric as tight as possible. Secure the fabric to the frame with screws every 2 inches.
Repeat this process on the sides for a uniformly tight surface. Sagging that’s left behind after this step could make the bed less comfortable for your dog.
Step 11: Attach the Fabric to the Canopy
The last step is to attach the fabric to the canopy frame.
Start by draping a protective drop cloth over your work surface. Remove the canopy frame from the posts and center it upside down on the drop cloth.
Use heat-fused hem tape to fold and finish the cut edges of the fabric. Then, make awning flaps by cutting out square sections from each corner of the fabric. Fold the edges over and finish them with tape.
Stick adhesive-backed Velcro strips along the tops of the frame pipes and the underside of the awning fabric. Reattach the canopy frames to the posts.