Project details
Skill
Cost
Estimated Time
We may be compensated if you purchase through links on our website. Our team is committed to delivering honest, objective, and independent reviews on home products and services.
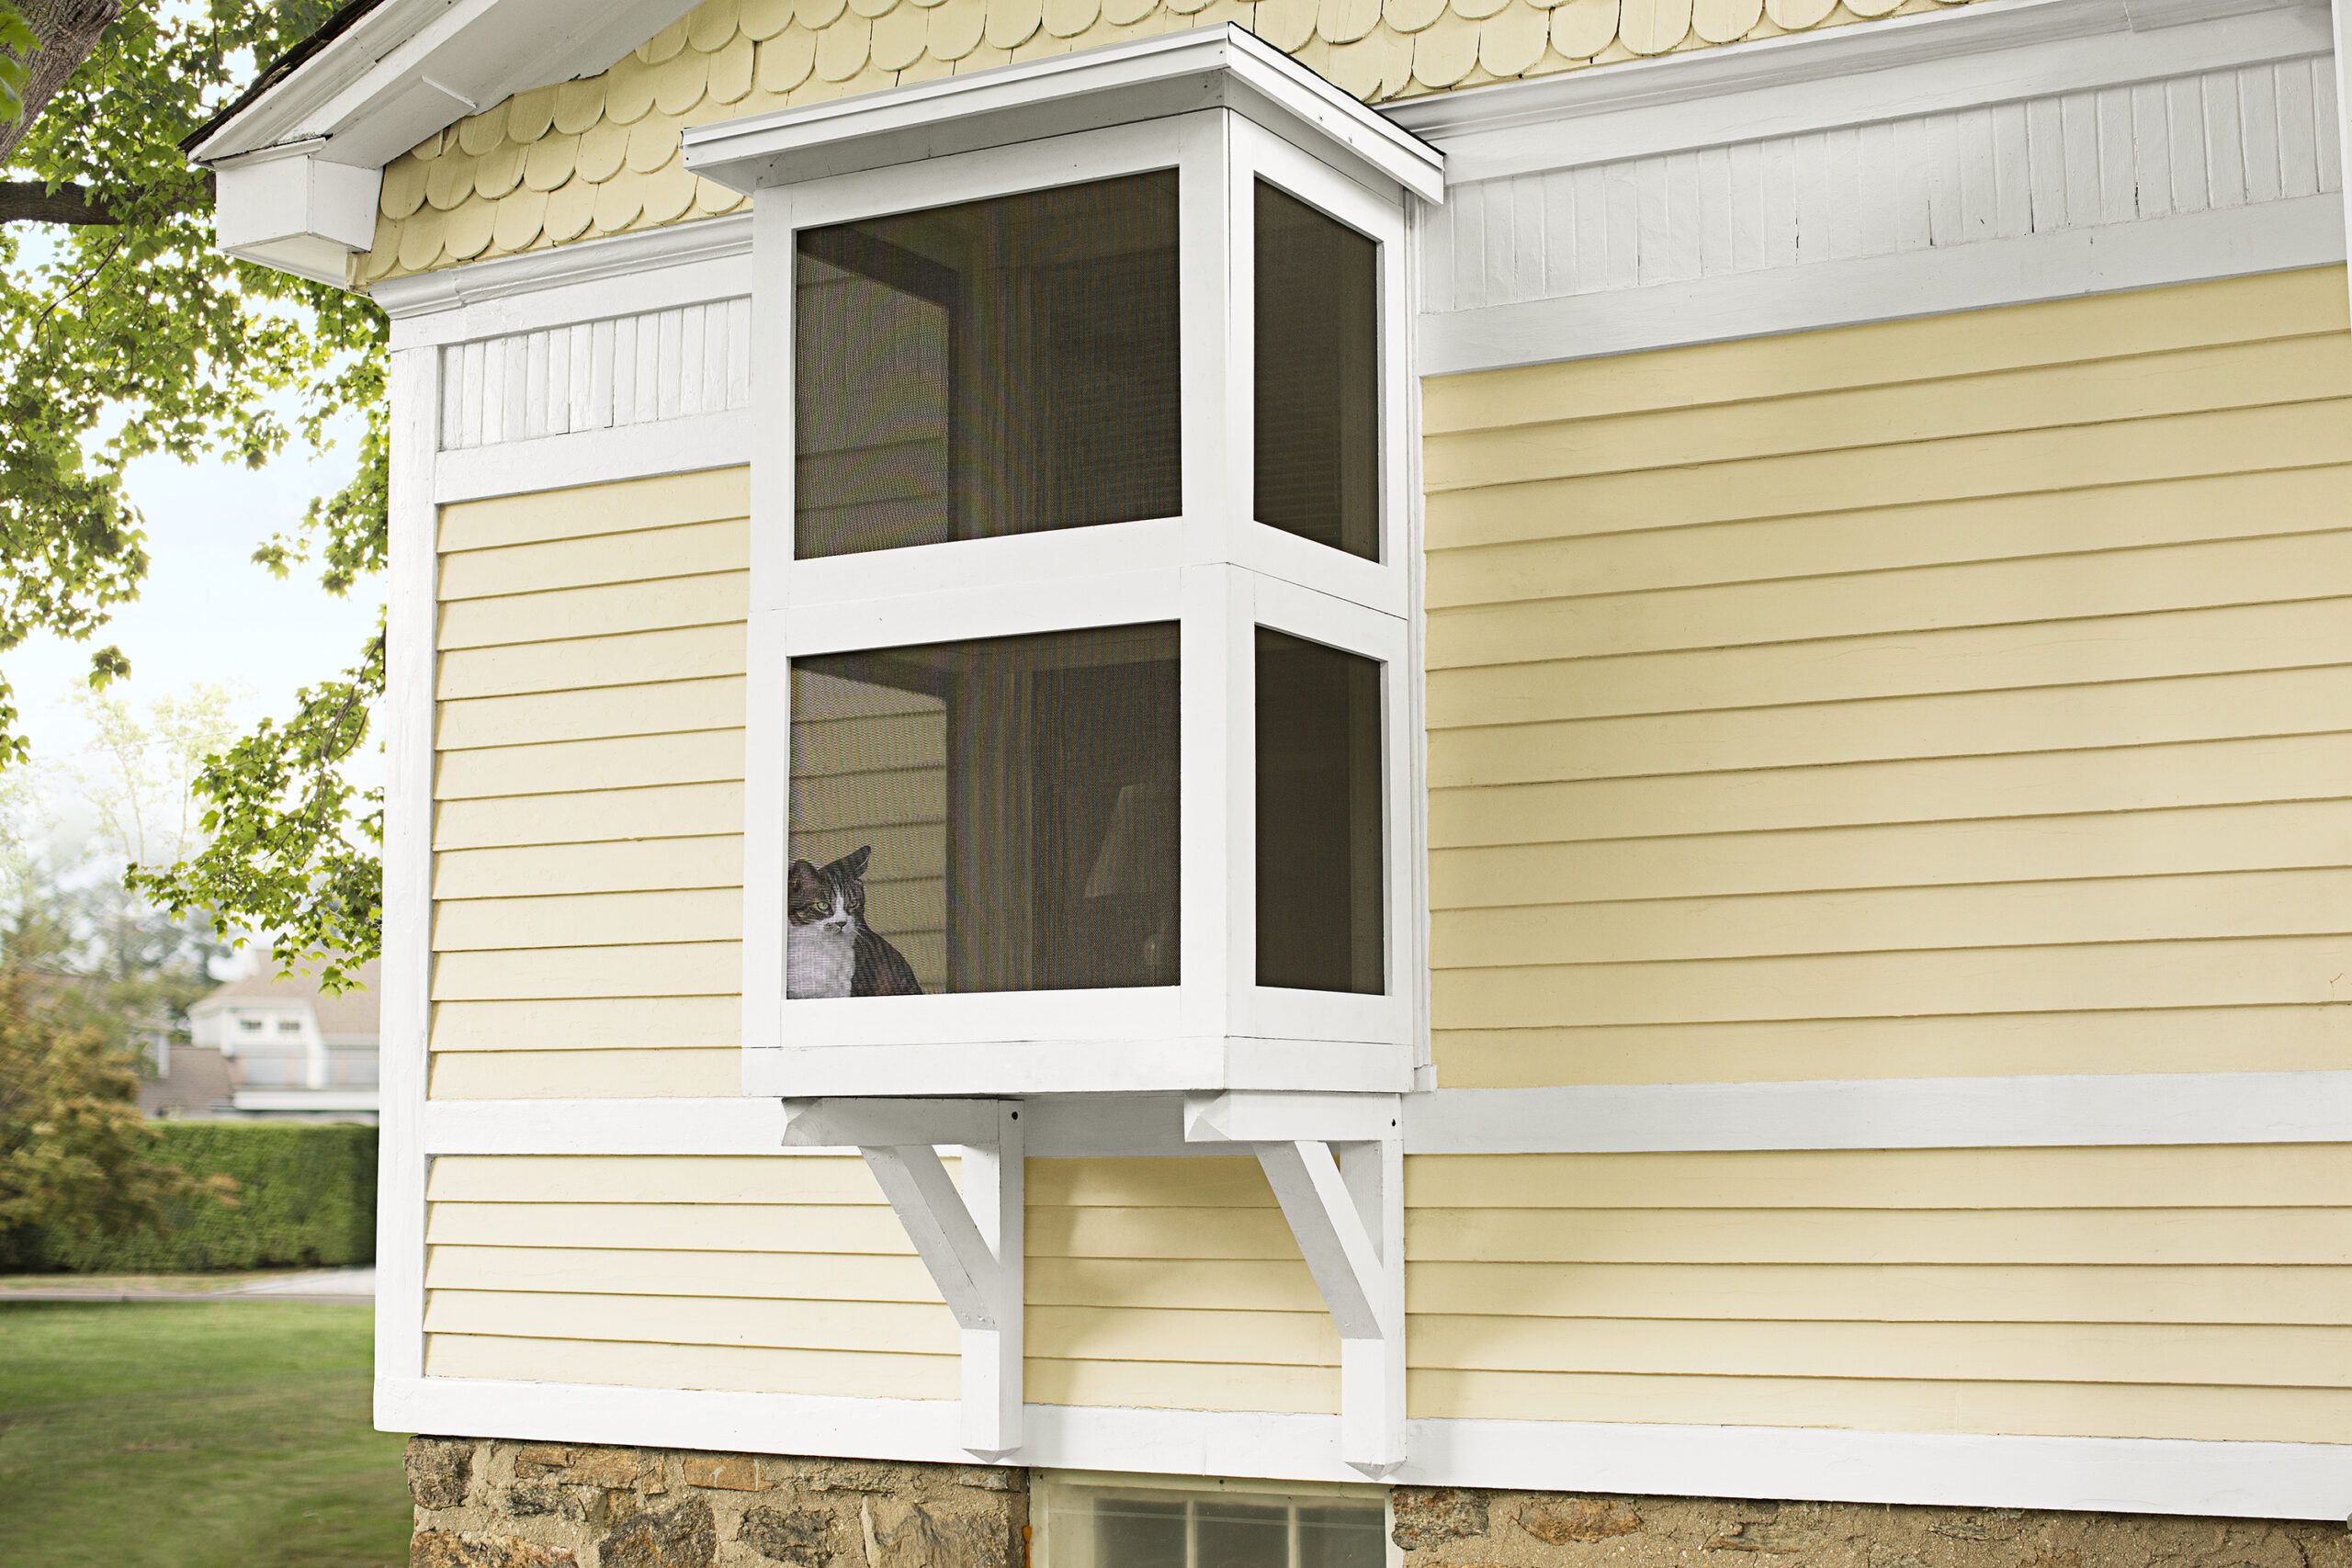
Is your feline friend itching for some fresh air but not an outdoor cat? You can give them all the sunshine and bird-watching they need while keeping them safe and secure with a catio—or cat patio. This is a practical do-it-yourself (DIY) project if you have some carpentry skills, lumber, and a keen eye. In this article and visual guide, we’ll explain how to build a catio, the tools you’ll need, and the ways to customize it.
*Costs in this article reflect an average of prices that our team found from hardware stores like Lowes and Home Depot, and on Amazon.com
Tools and Materials for Building a Catio
Gather up all the tools and items you’ll need to build your catio before you get started. If you have all of these things at your fingertips when you start, it will make the project move faster.
Tools
We’ve created a comprehensive list below:
- Caulk gun
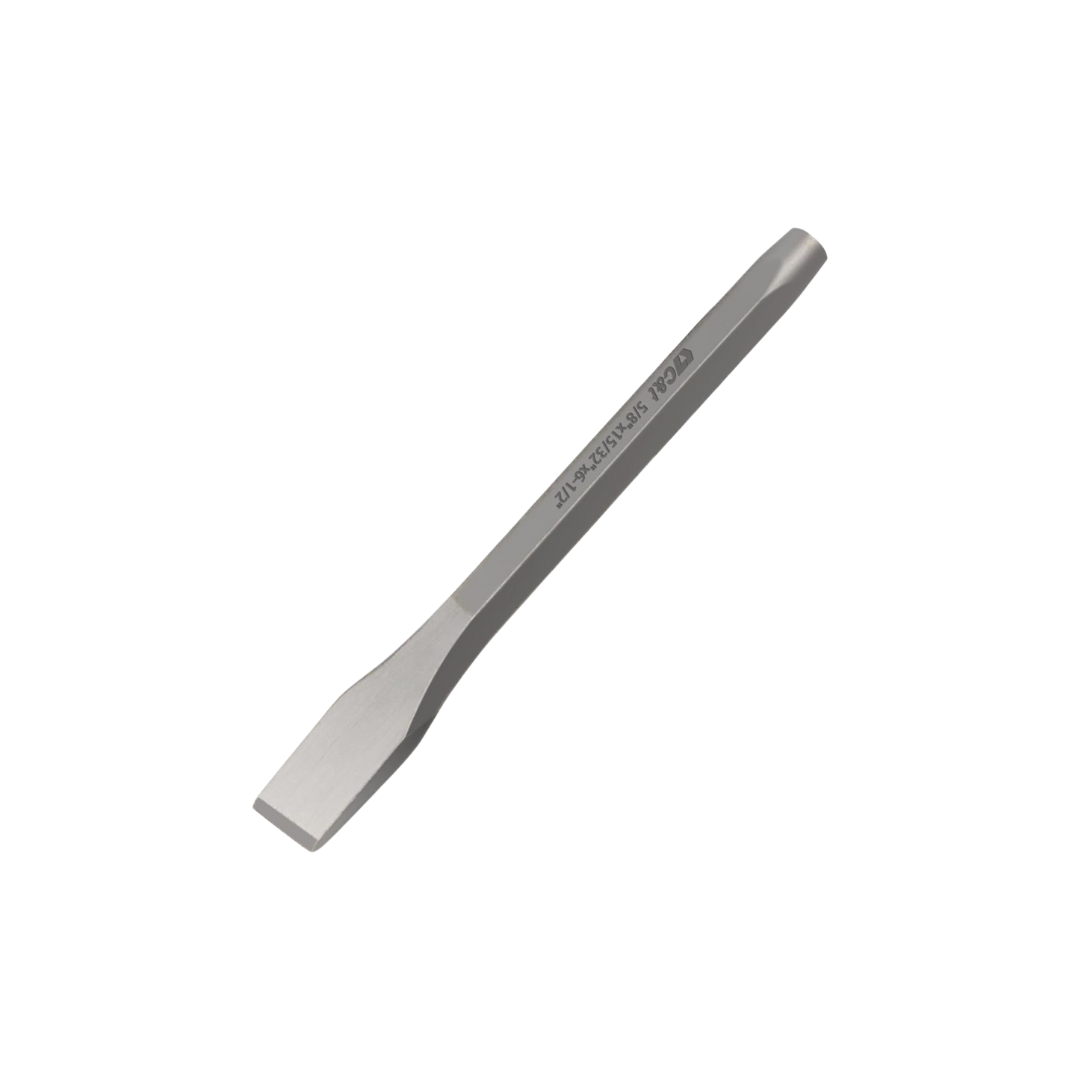
- Chisel
- Circular saw
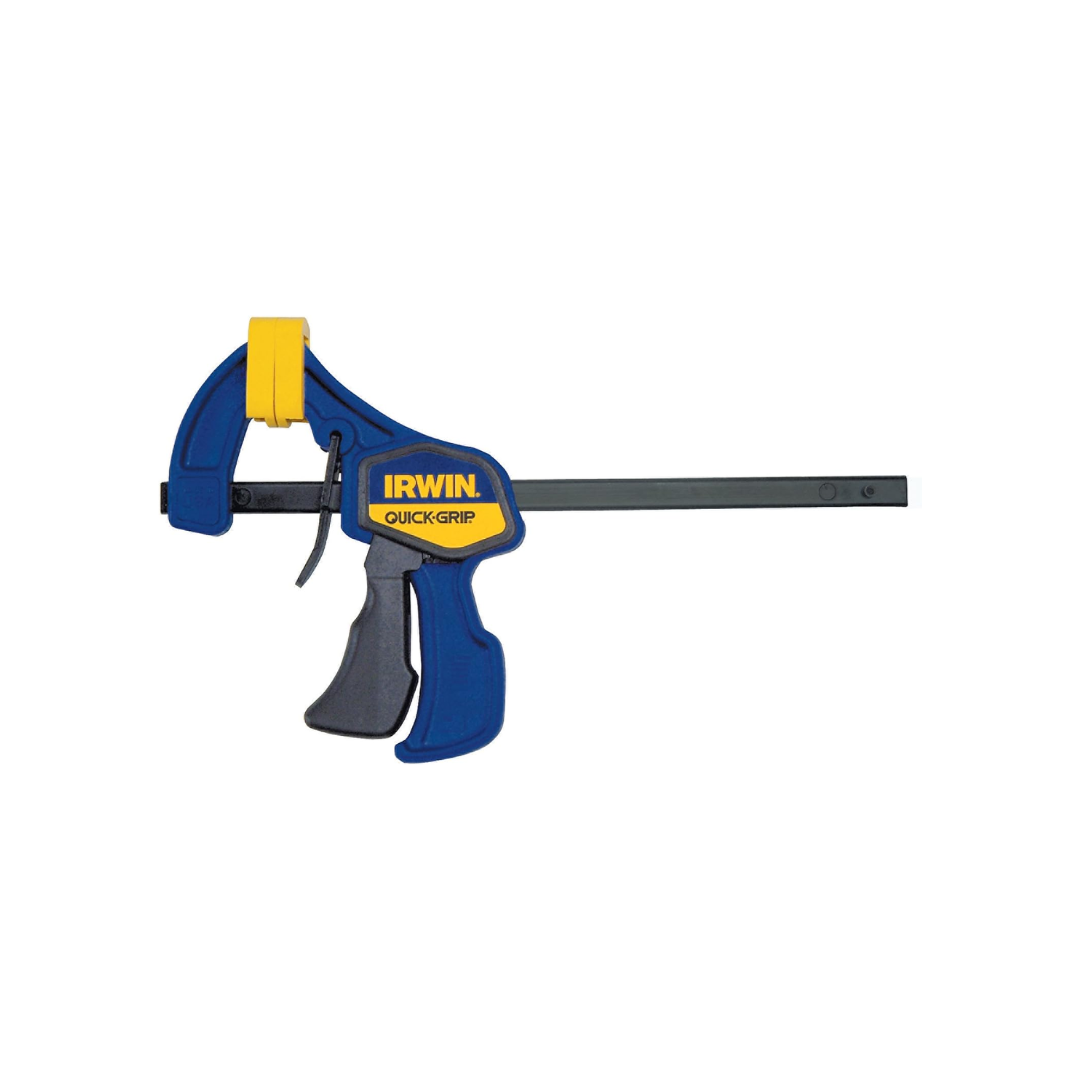
- Clamps
- Drill/driver
- Hammer
- Jigsaw
- Ladder
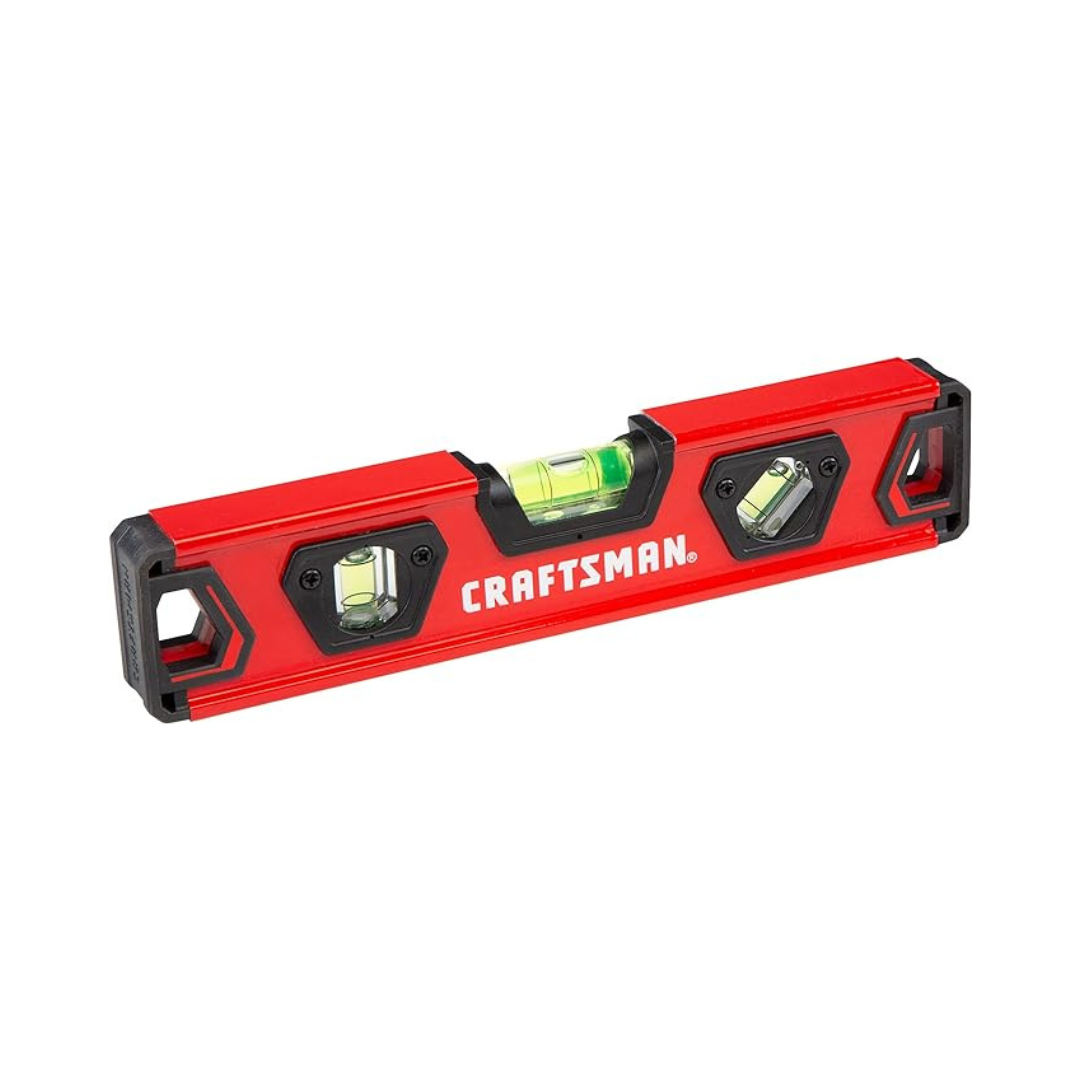
- Level
- Mini paint roller
- Miter saw
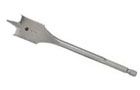
- Paddle bit (3/8-inch)
- Paintbrush
- Pencil
- Staple gun
- Tape measure
- Tin snips
- Utility knife
Materials
While you have plenty of options for the materials you can use, we recommend cedar for the lumber. Here’s what you’ll need:
- 2×2 cedar balusters
- 1×4 cedar boards
- Plywood
- Exterior primer
- Stainless-steel screws
- Screening
- Roofing materials
- Structural screws
Build Your Catio
Step 1: Get the Big Picture
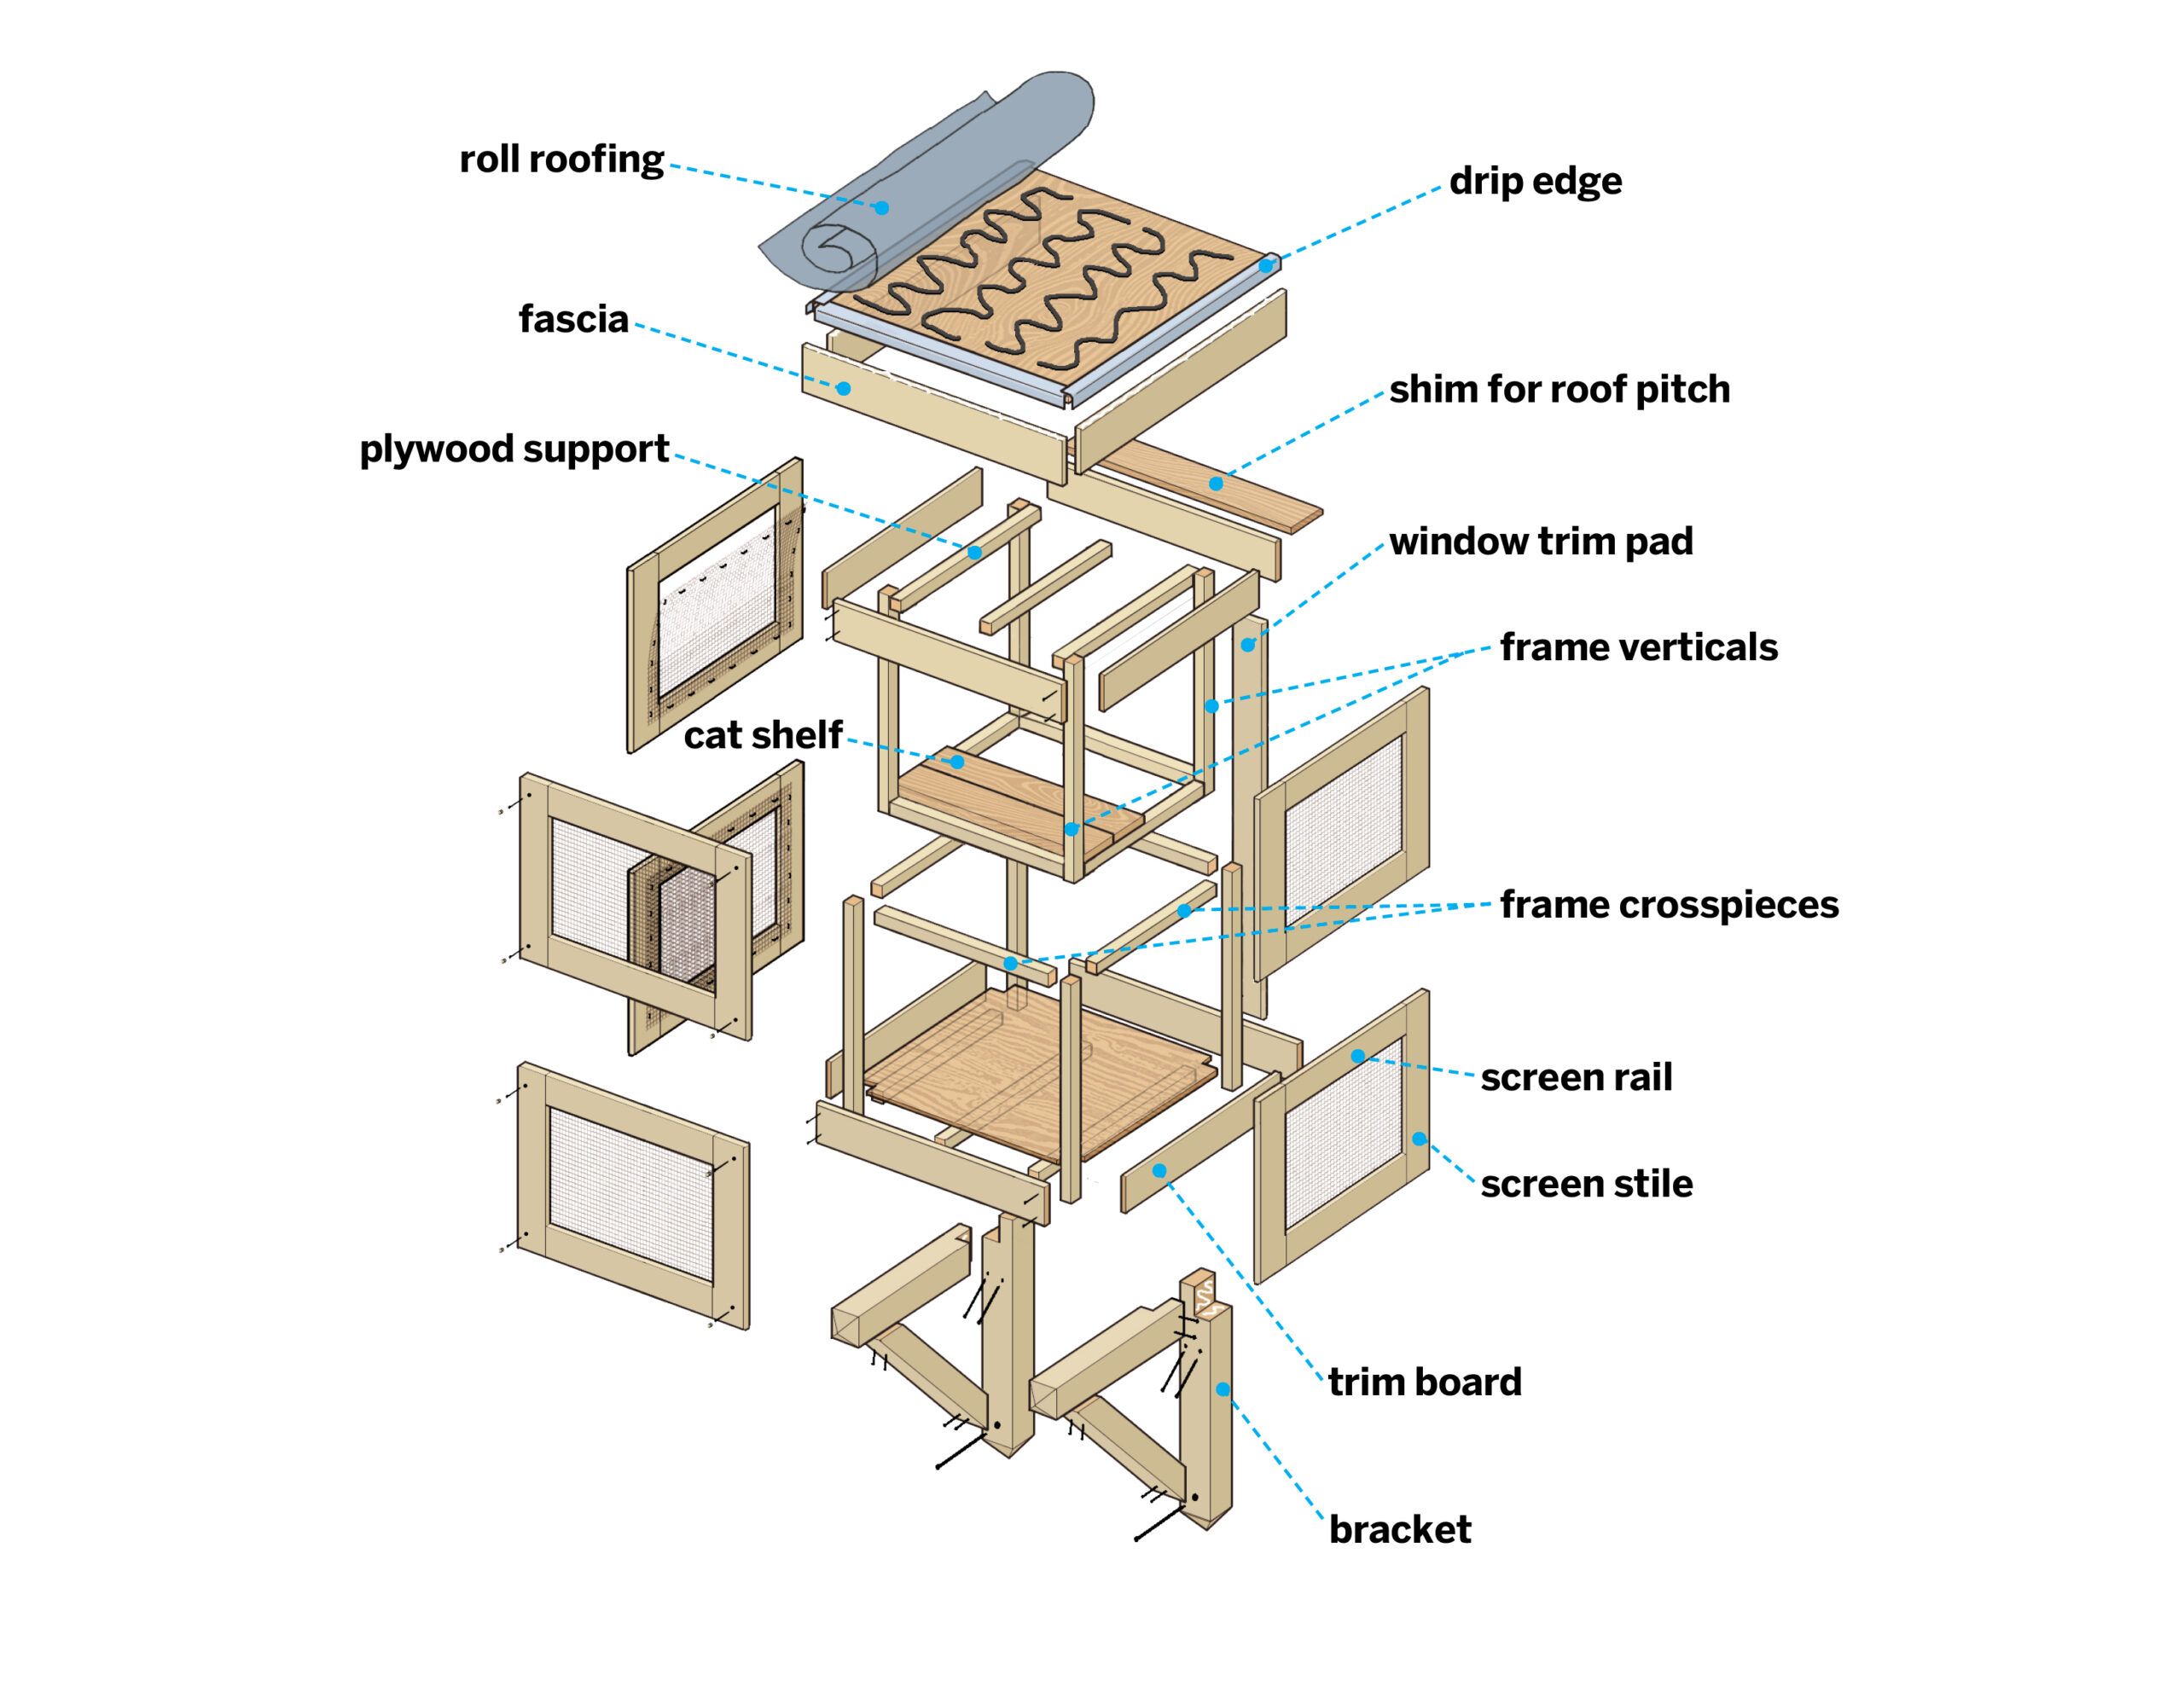
Let’s go over a few things before you dive into the construction. The catio is a two-story space you’ll attach to a window. It has wooden frames and a shelf for perching that you’ll cover with a screen. Here’s a basic timeline for this weekend project:
- Saturday: Build the frames (Steps 2–12)
- Sunday: Attach the catio to the window (Steps 13–19)
We have a cut list you can download and print so that you have all the necessary pieces prepared.
Step 2: Make a Story Stick
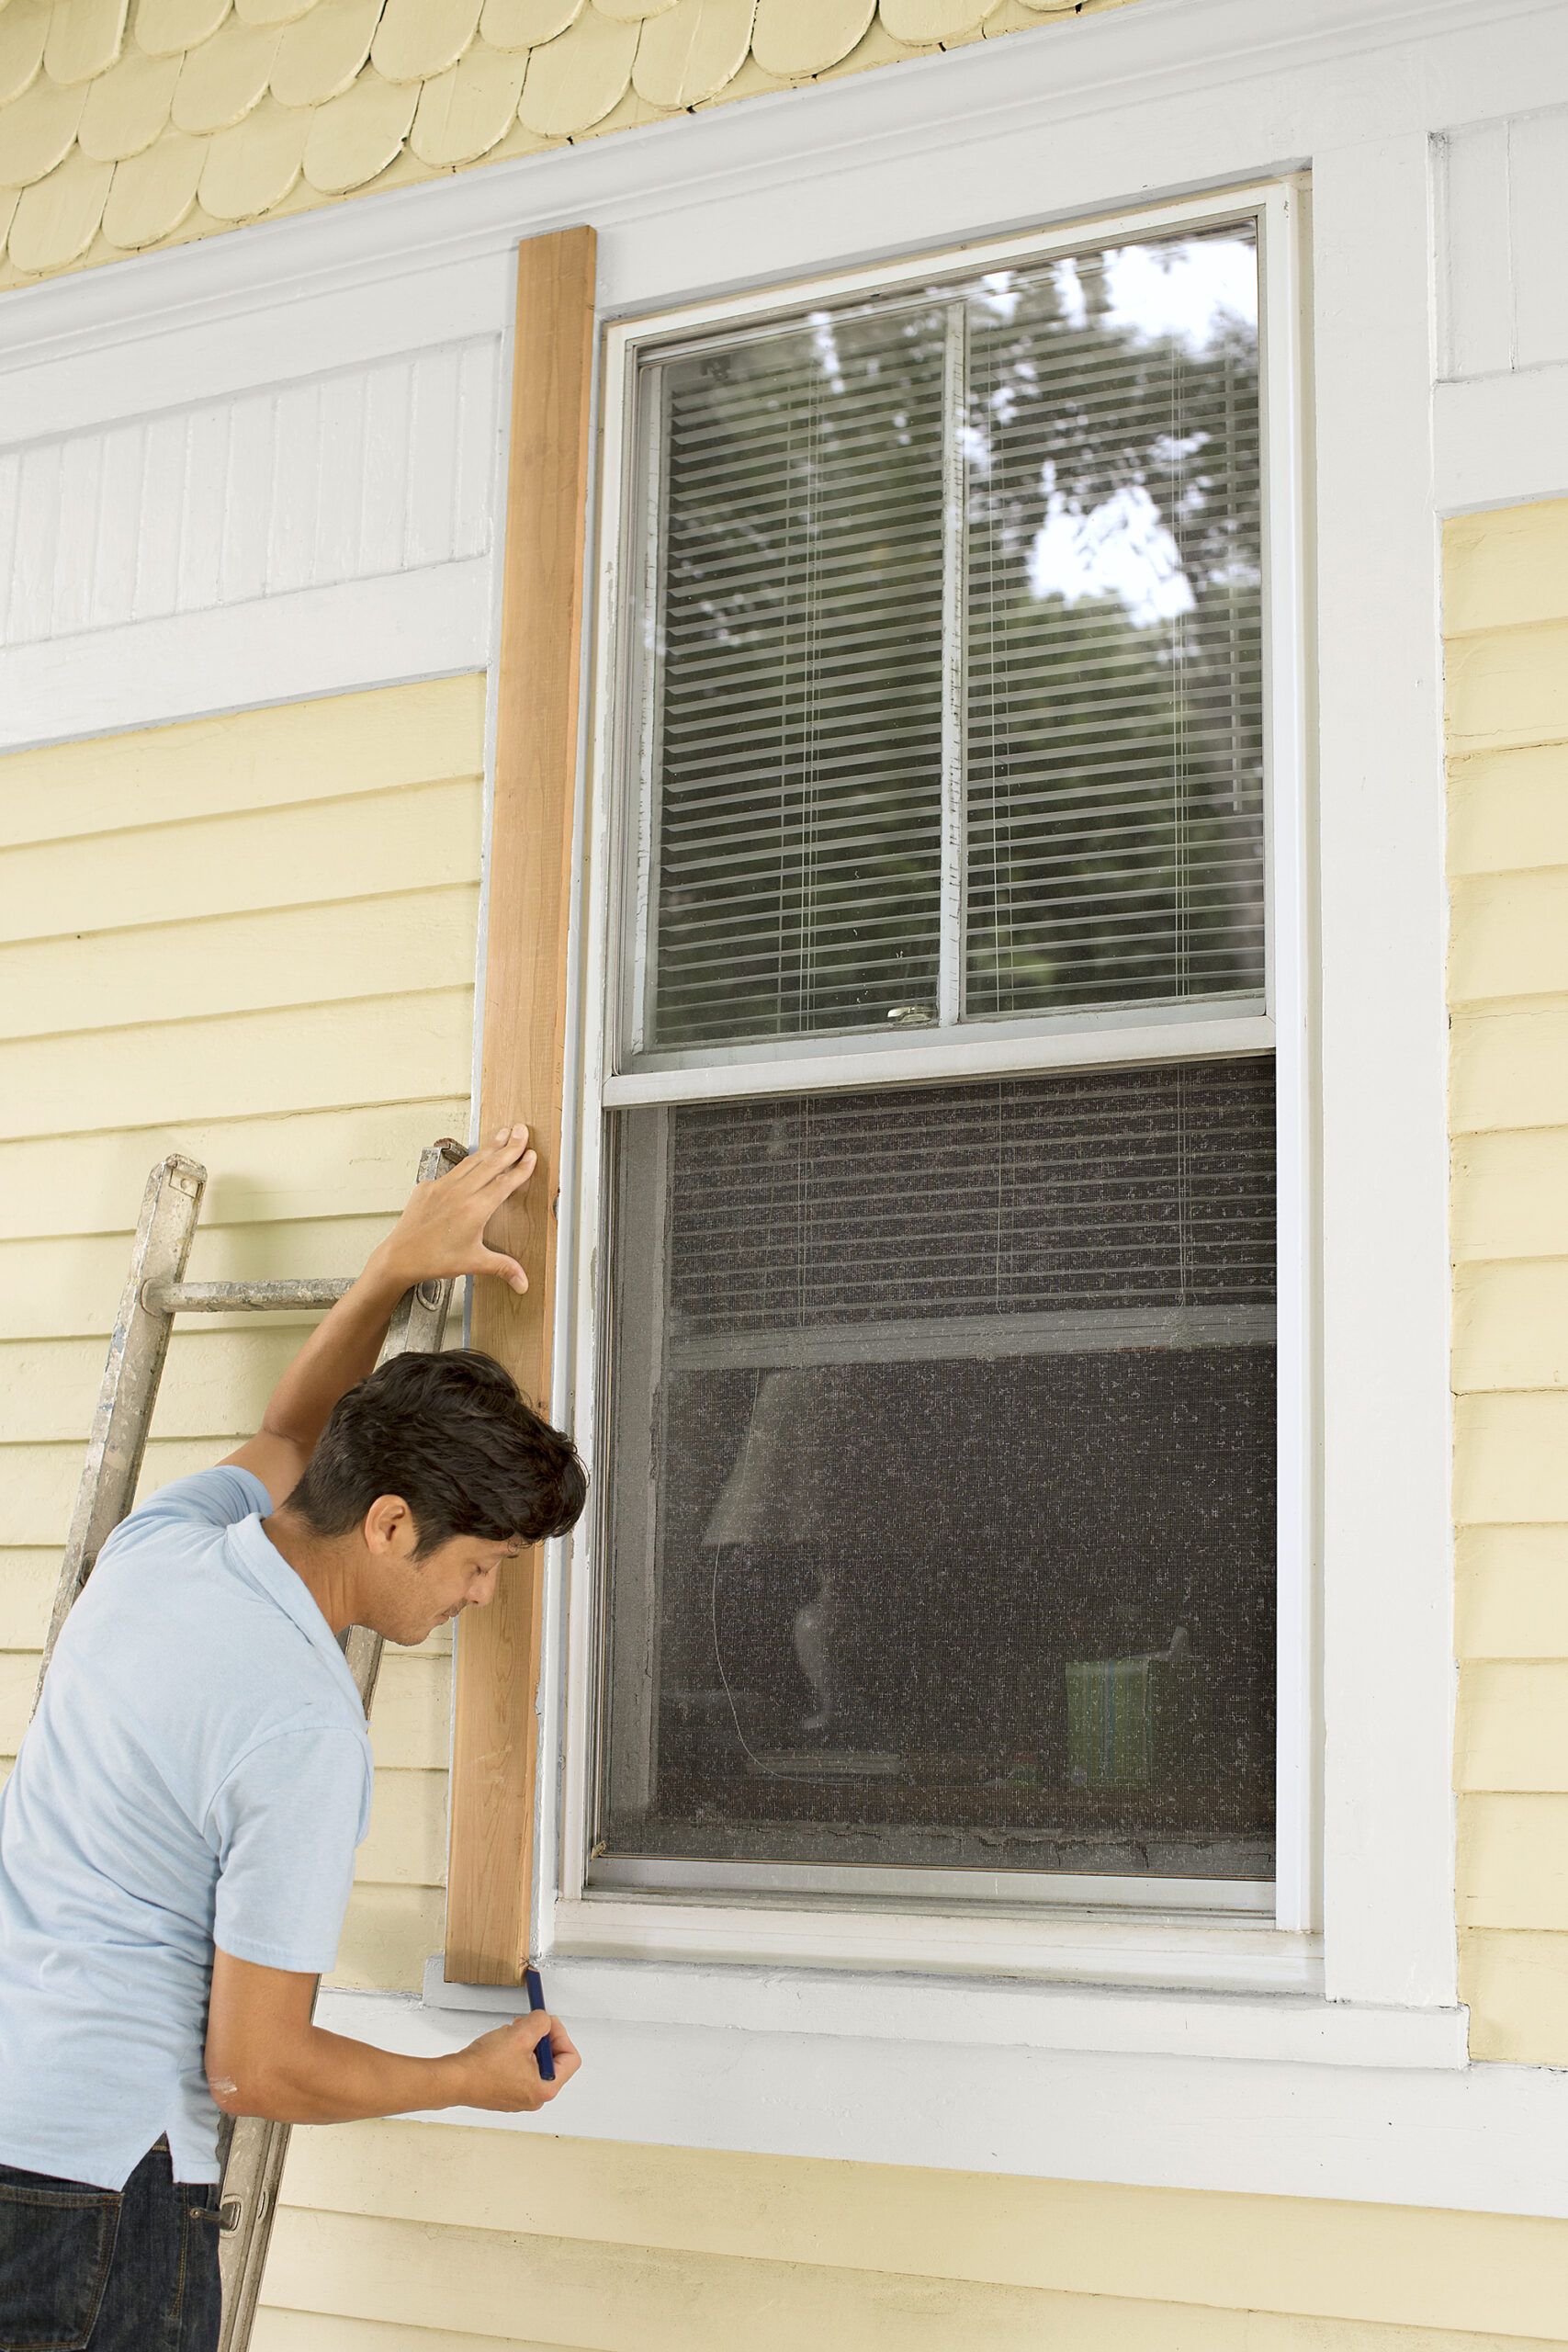
You can create a story stick to make sure your measurements are accurate. Use a long board to mark the location of the windowsill and the head casing. Measure the width from the outside edges of the side casings. By doing this, you’ll make sure that your catio frames will be the right size to fit your specific window.
Step 3: Prime and Cut the Parts
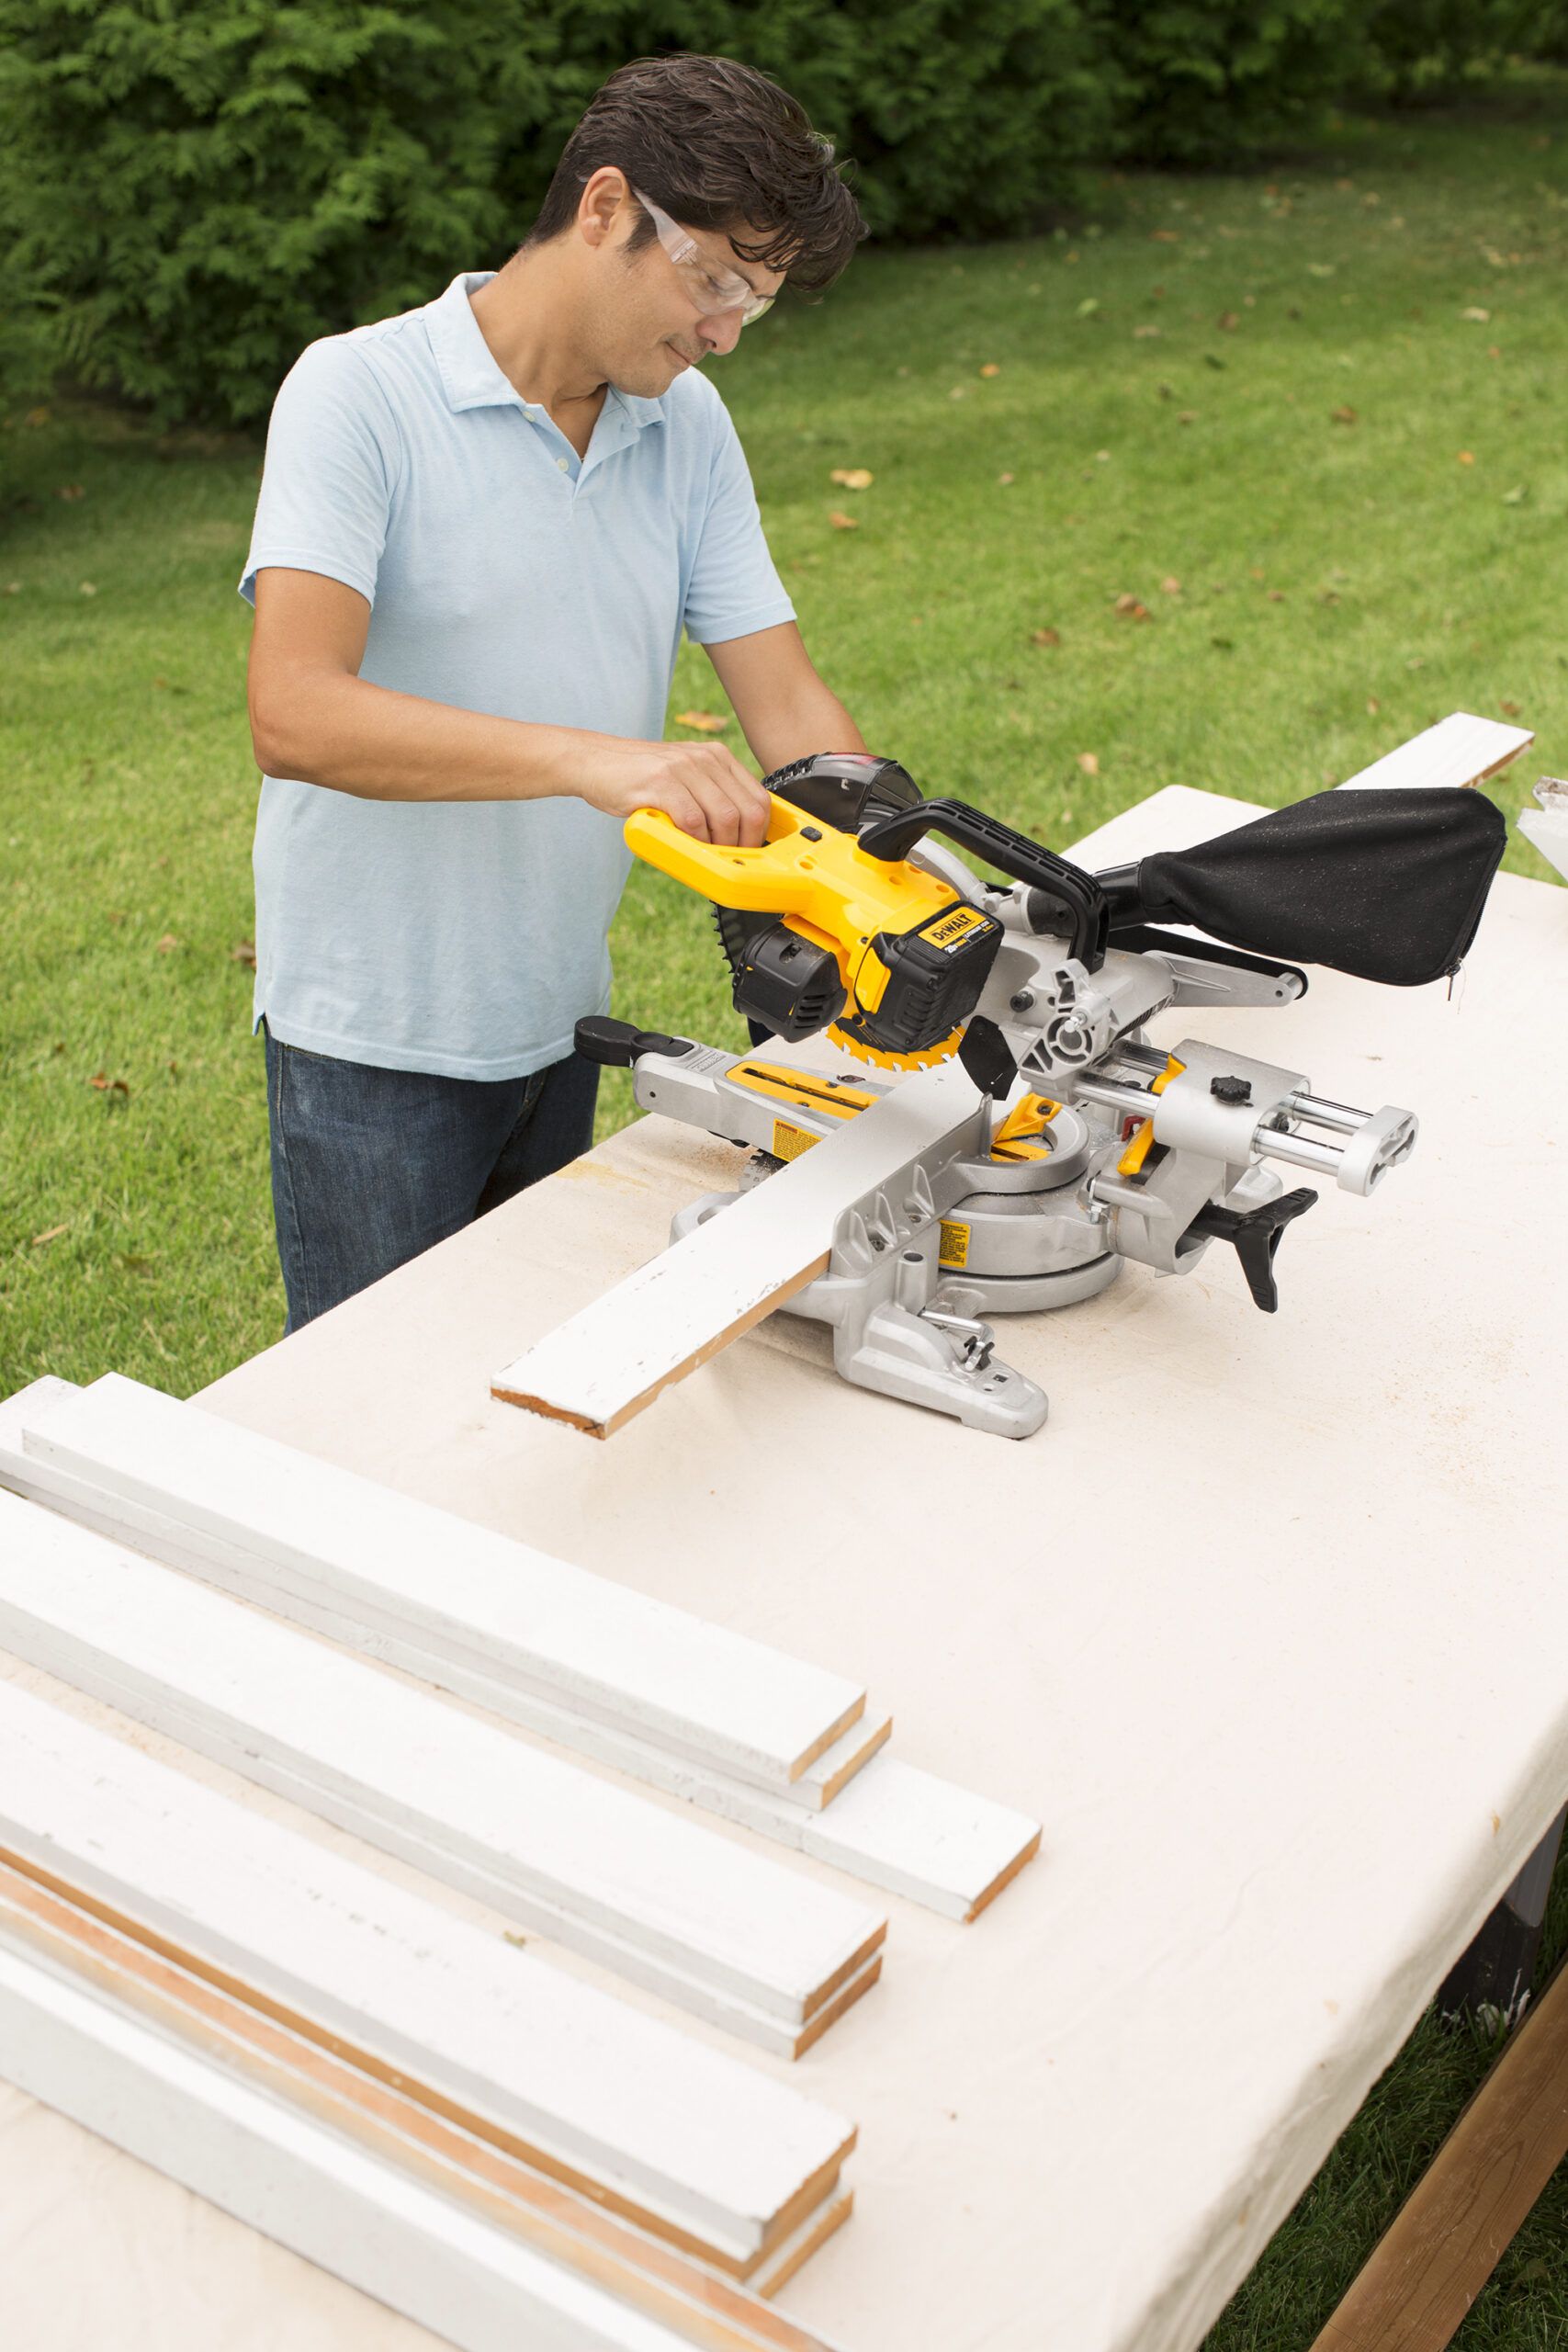
Begin by coating the cedar 2×2 balusters and 1×4 boards with a tannin-blocking exterior primer. This will protect the wood from moisture and rot, which helps to extend the life of your catio. Once the primer is dry, use a miter saw to cut the parts for the catio frames and window screens according to your cut list. Priming and cutting at this stage will make the assembly process more efficient because all of the pieces will be ready to be put together.
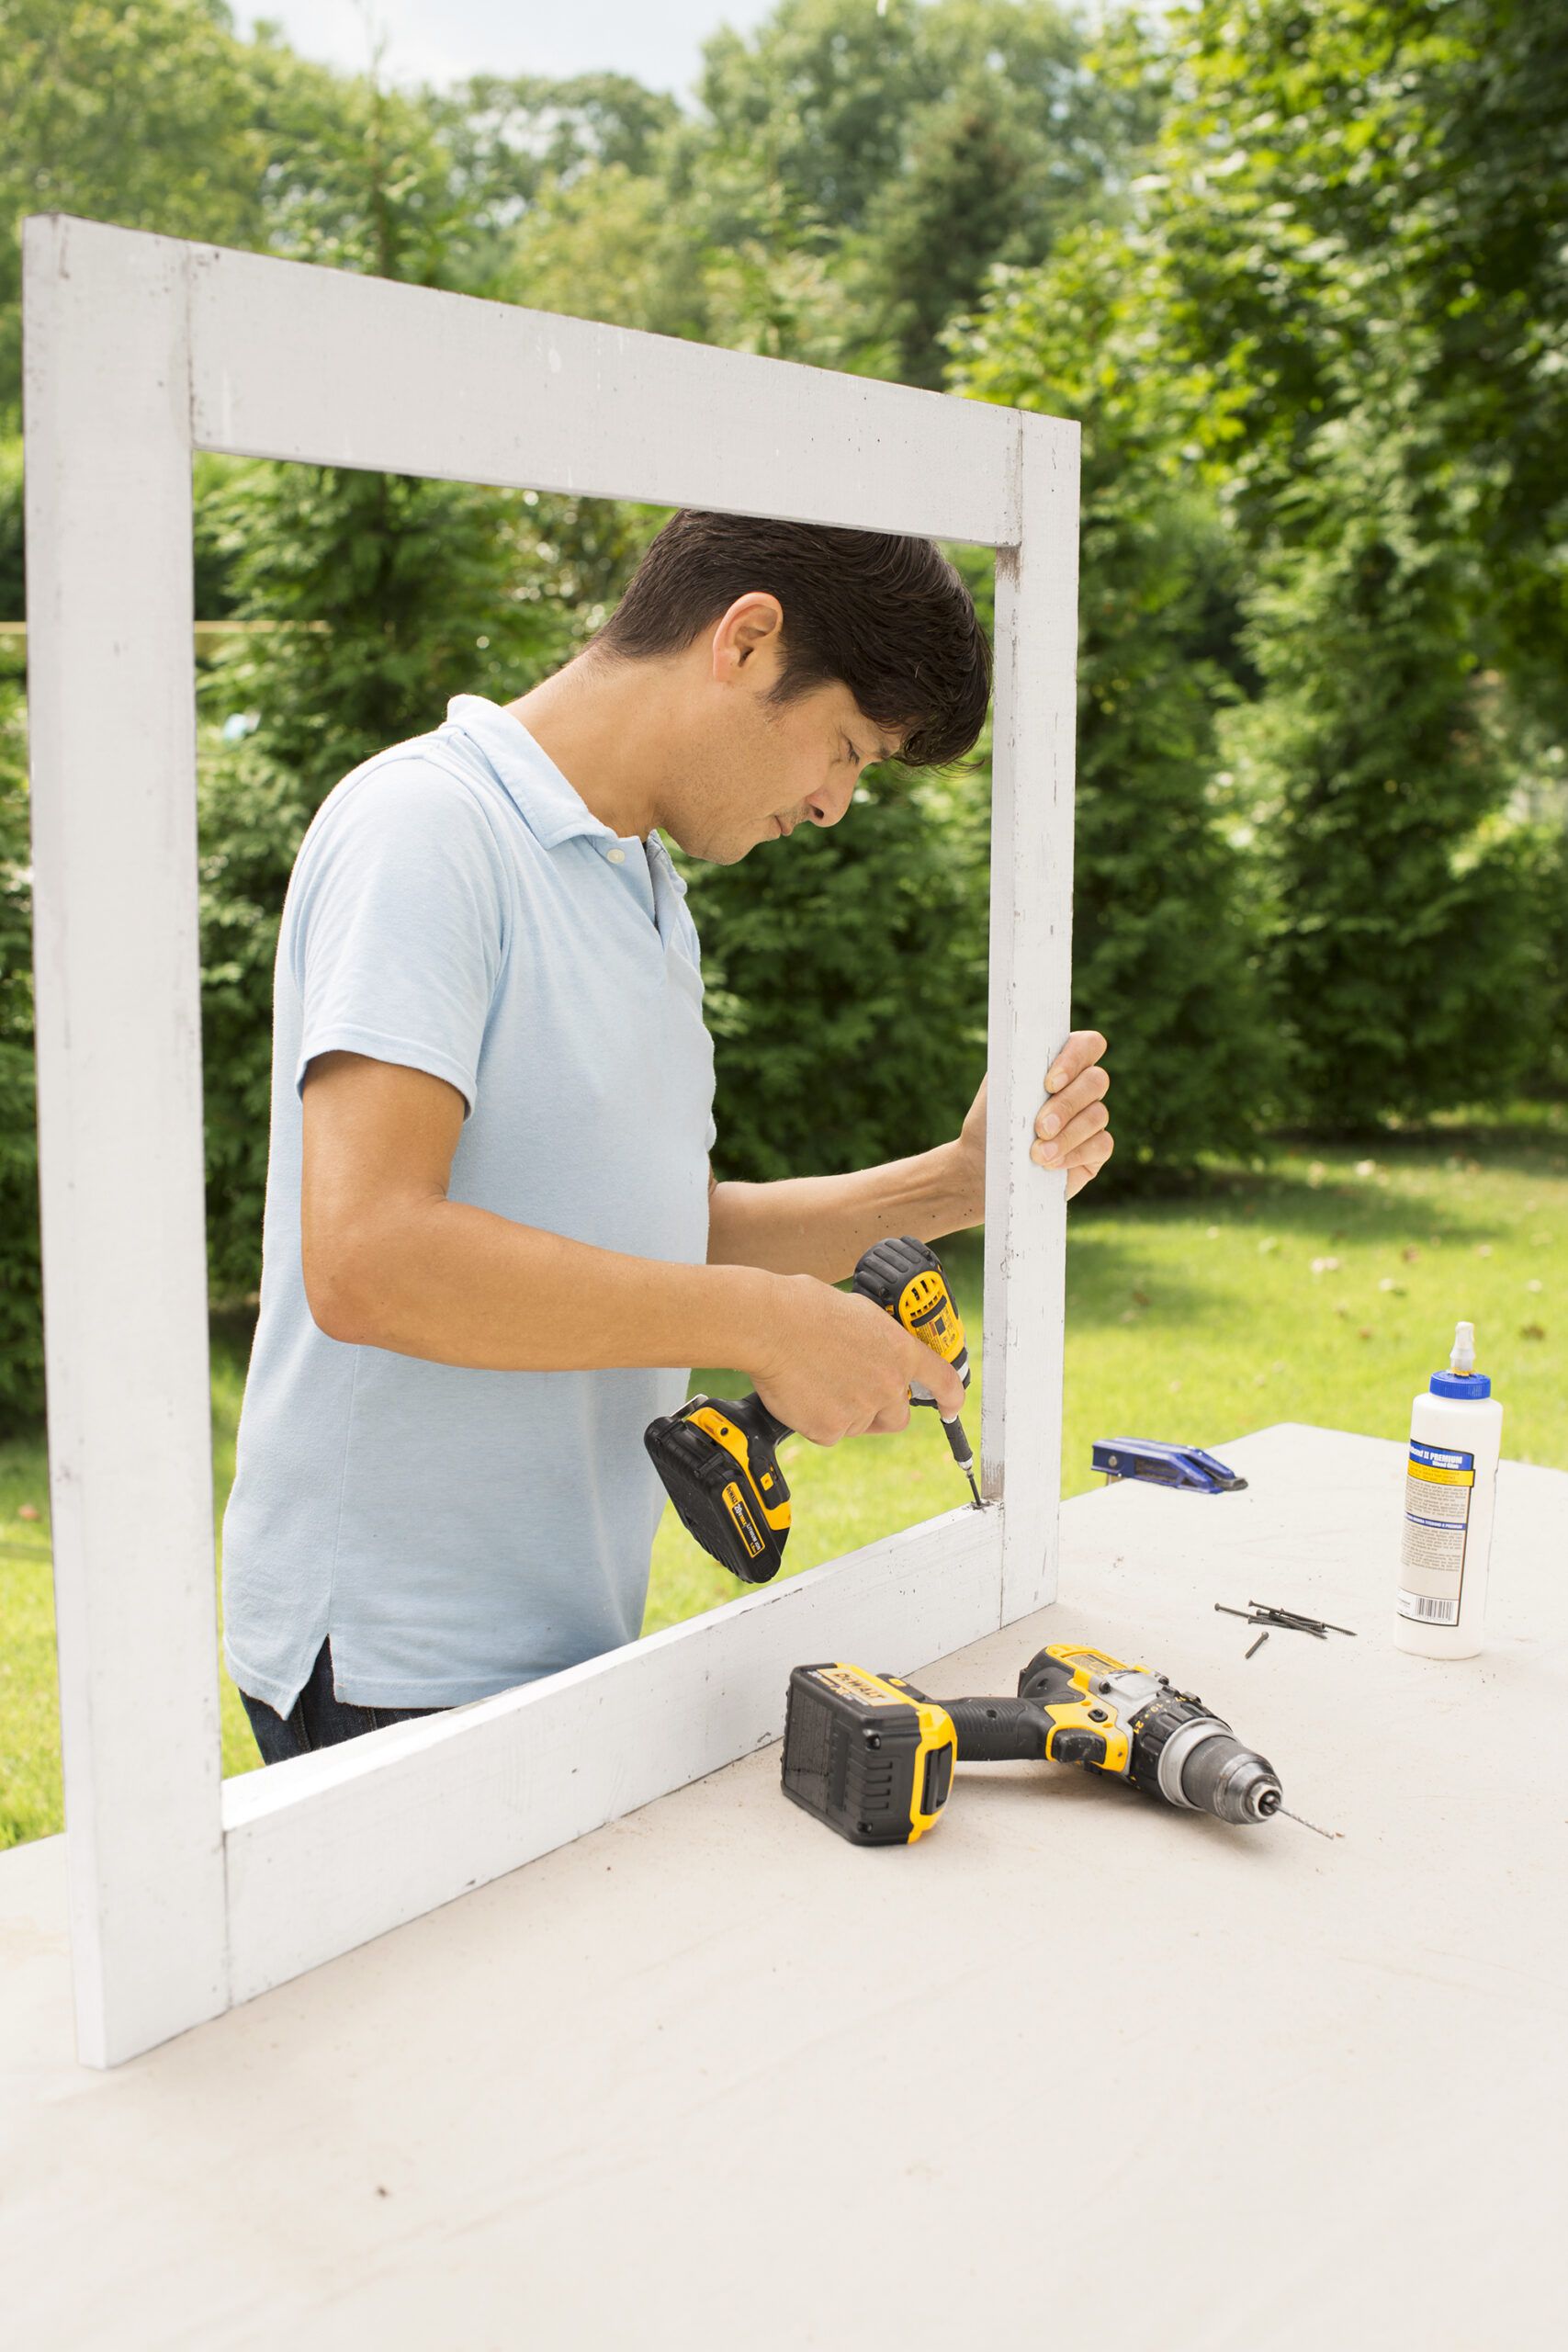
Step 4: Build Frames for the Sides
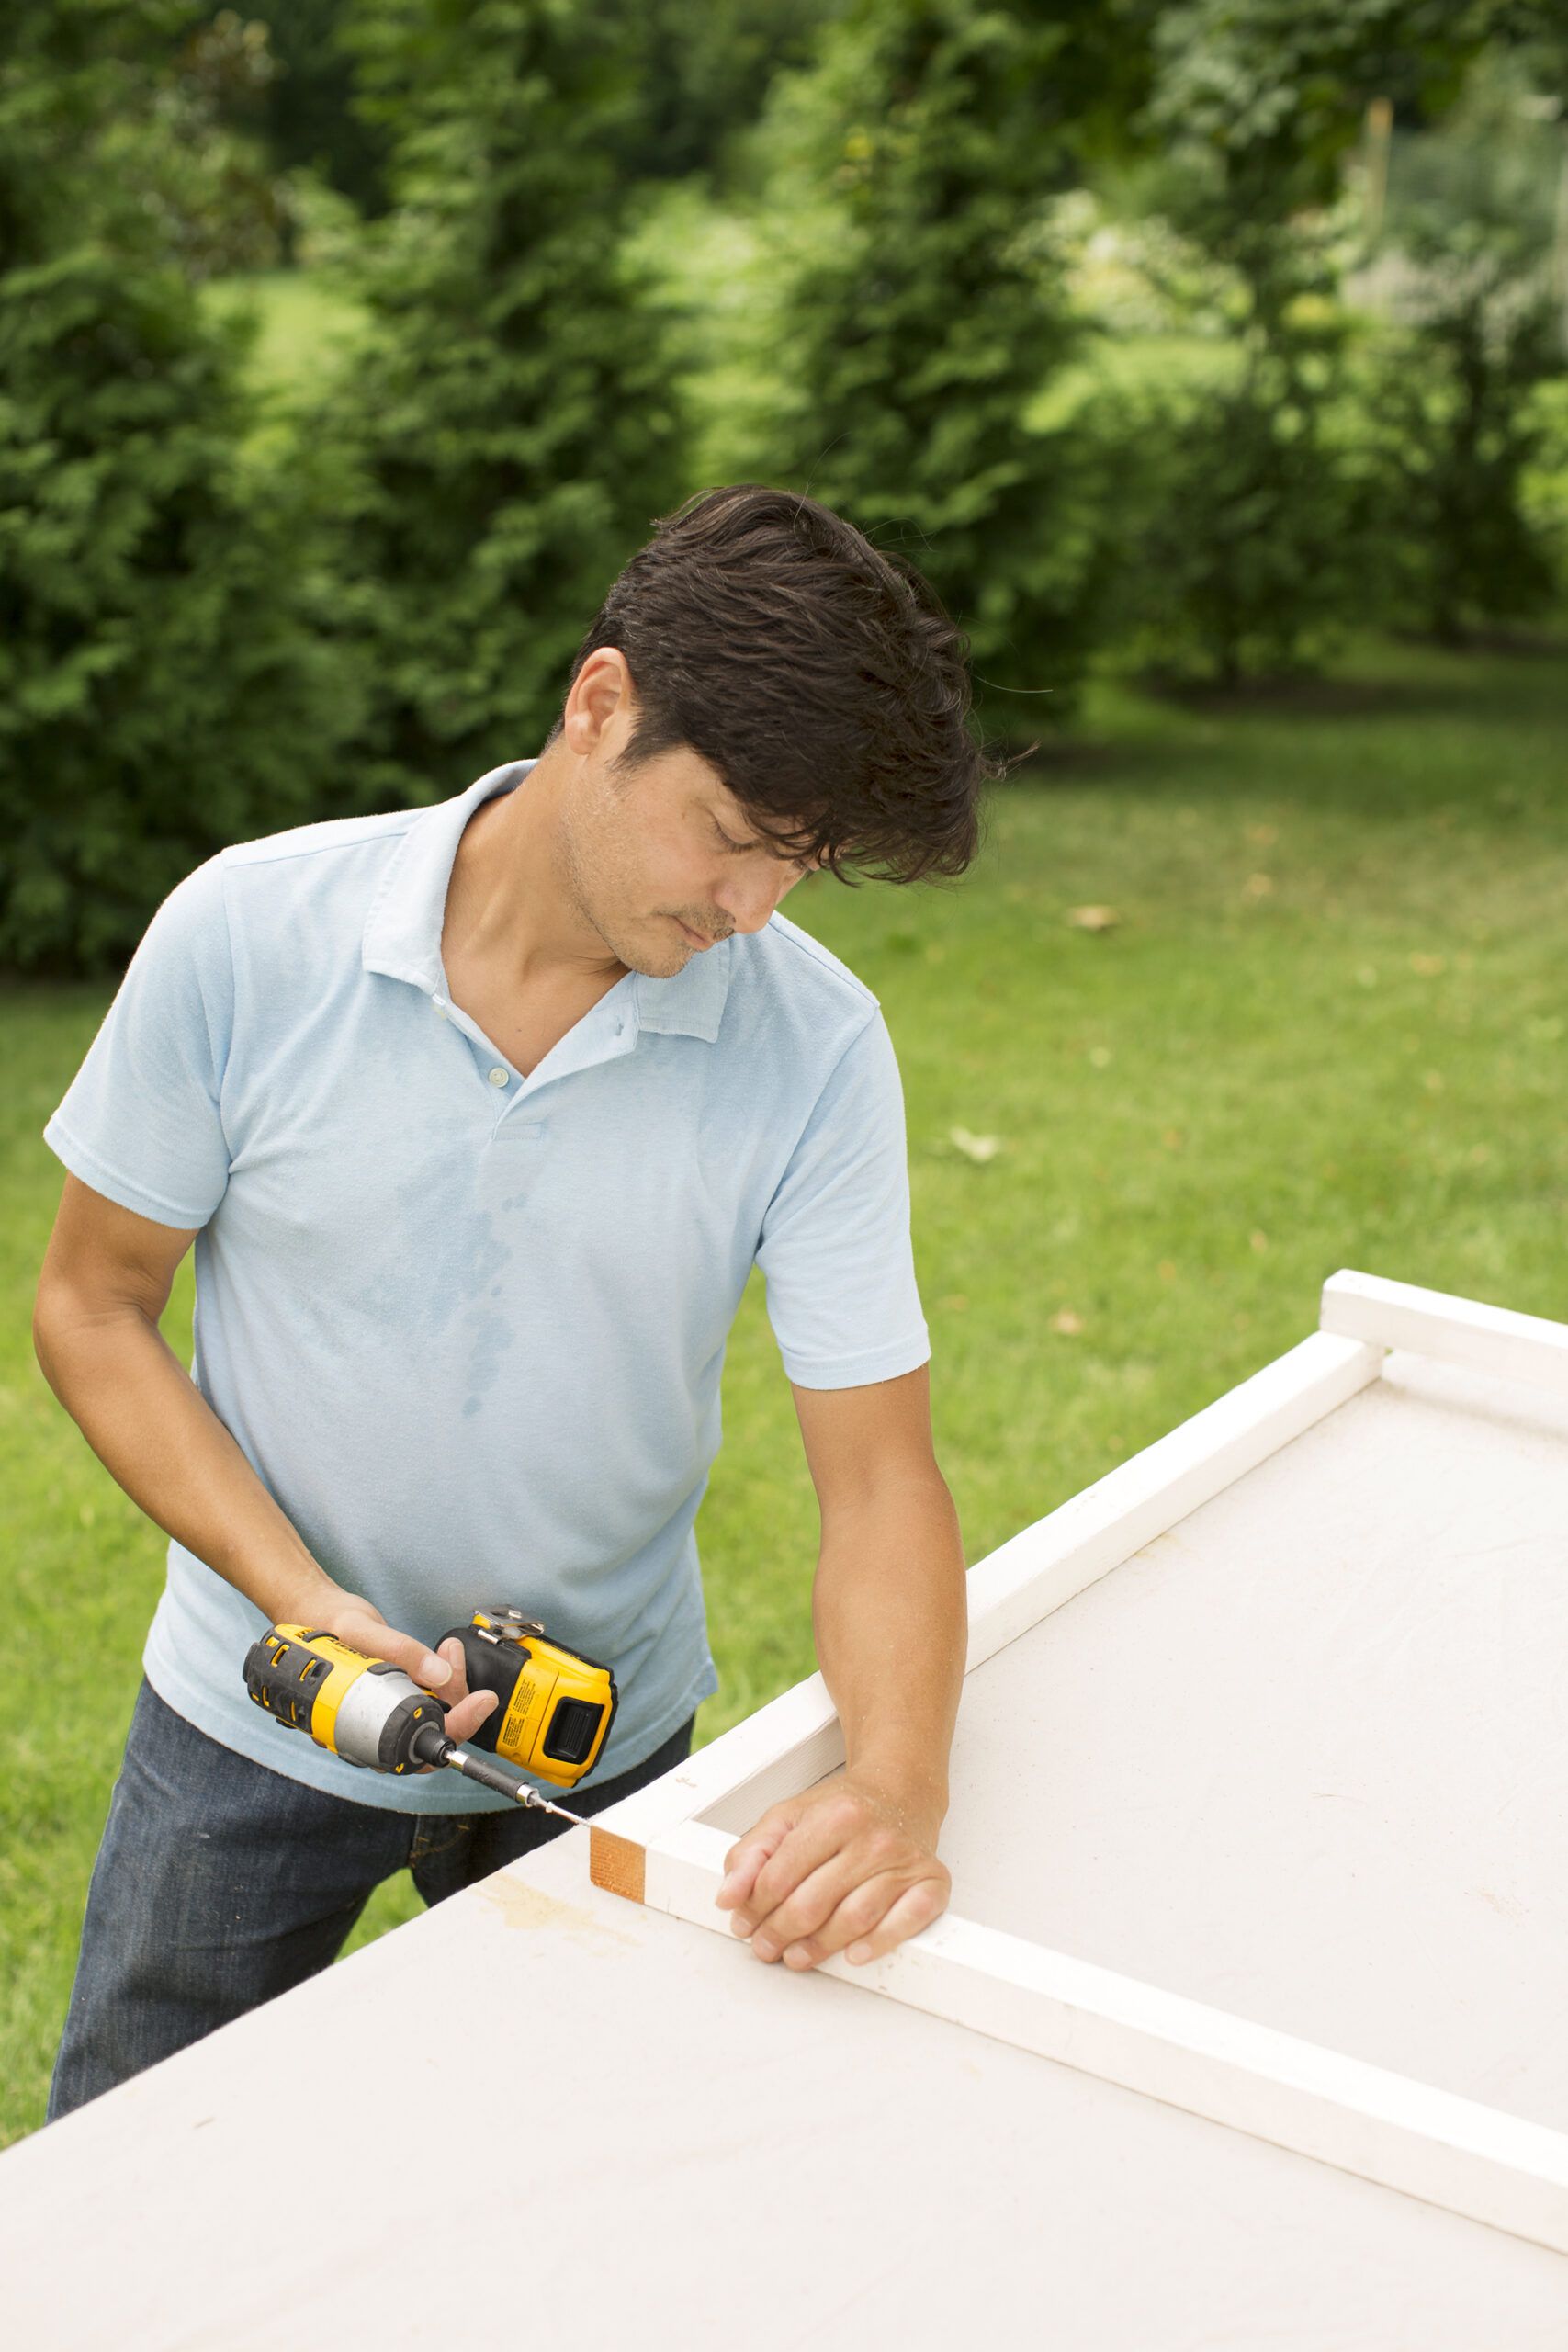
Using the 2×2 balusters, create U-shaped frames for the sides of your catio. Attach a frame crosspiece between two verticals using butt joints and 2 1/4-inch stainless-steel screws. Add a 2×2 plywood support on top of the verticals at the open end of the U-shape. Repeat this process to make all four sides, and don’t forget to coat any newly exposed ends with primer for added protection. Take your time on this step because proper assembly will make the structure more stable and durable.
Step 5: Add the Trim Boards
Attach 1×4 trim boards to the 2×2 sides opposite the plywood supports using 1 5⁄8-inch stainless-steel screws. Stand the side frames on edge and join them with front and back 1×4 trim boards. Drive screws through the trim boards and into the 2×2 verticals. Center an additional plywood support between the front and back trim boards. This step adds structural integrity and more stability to your cat patio. It will also give it a more polished look.
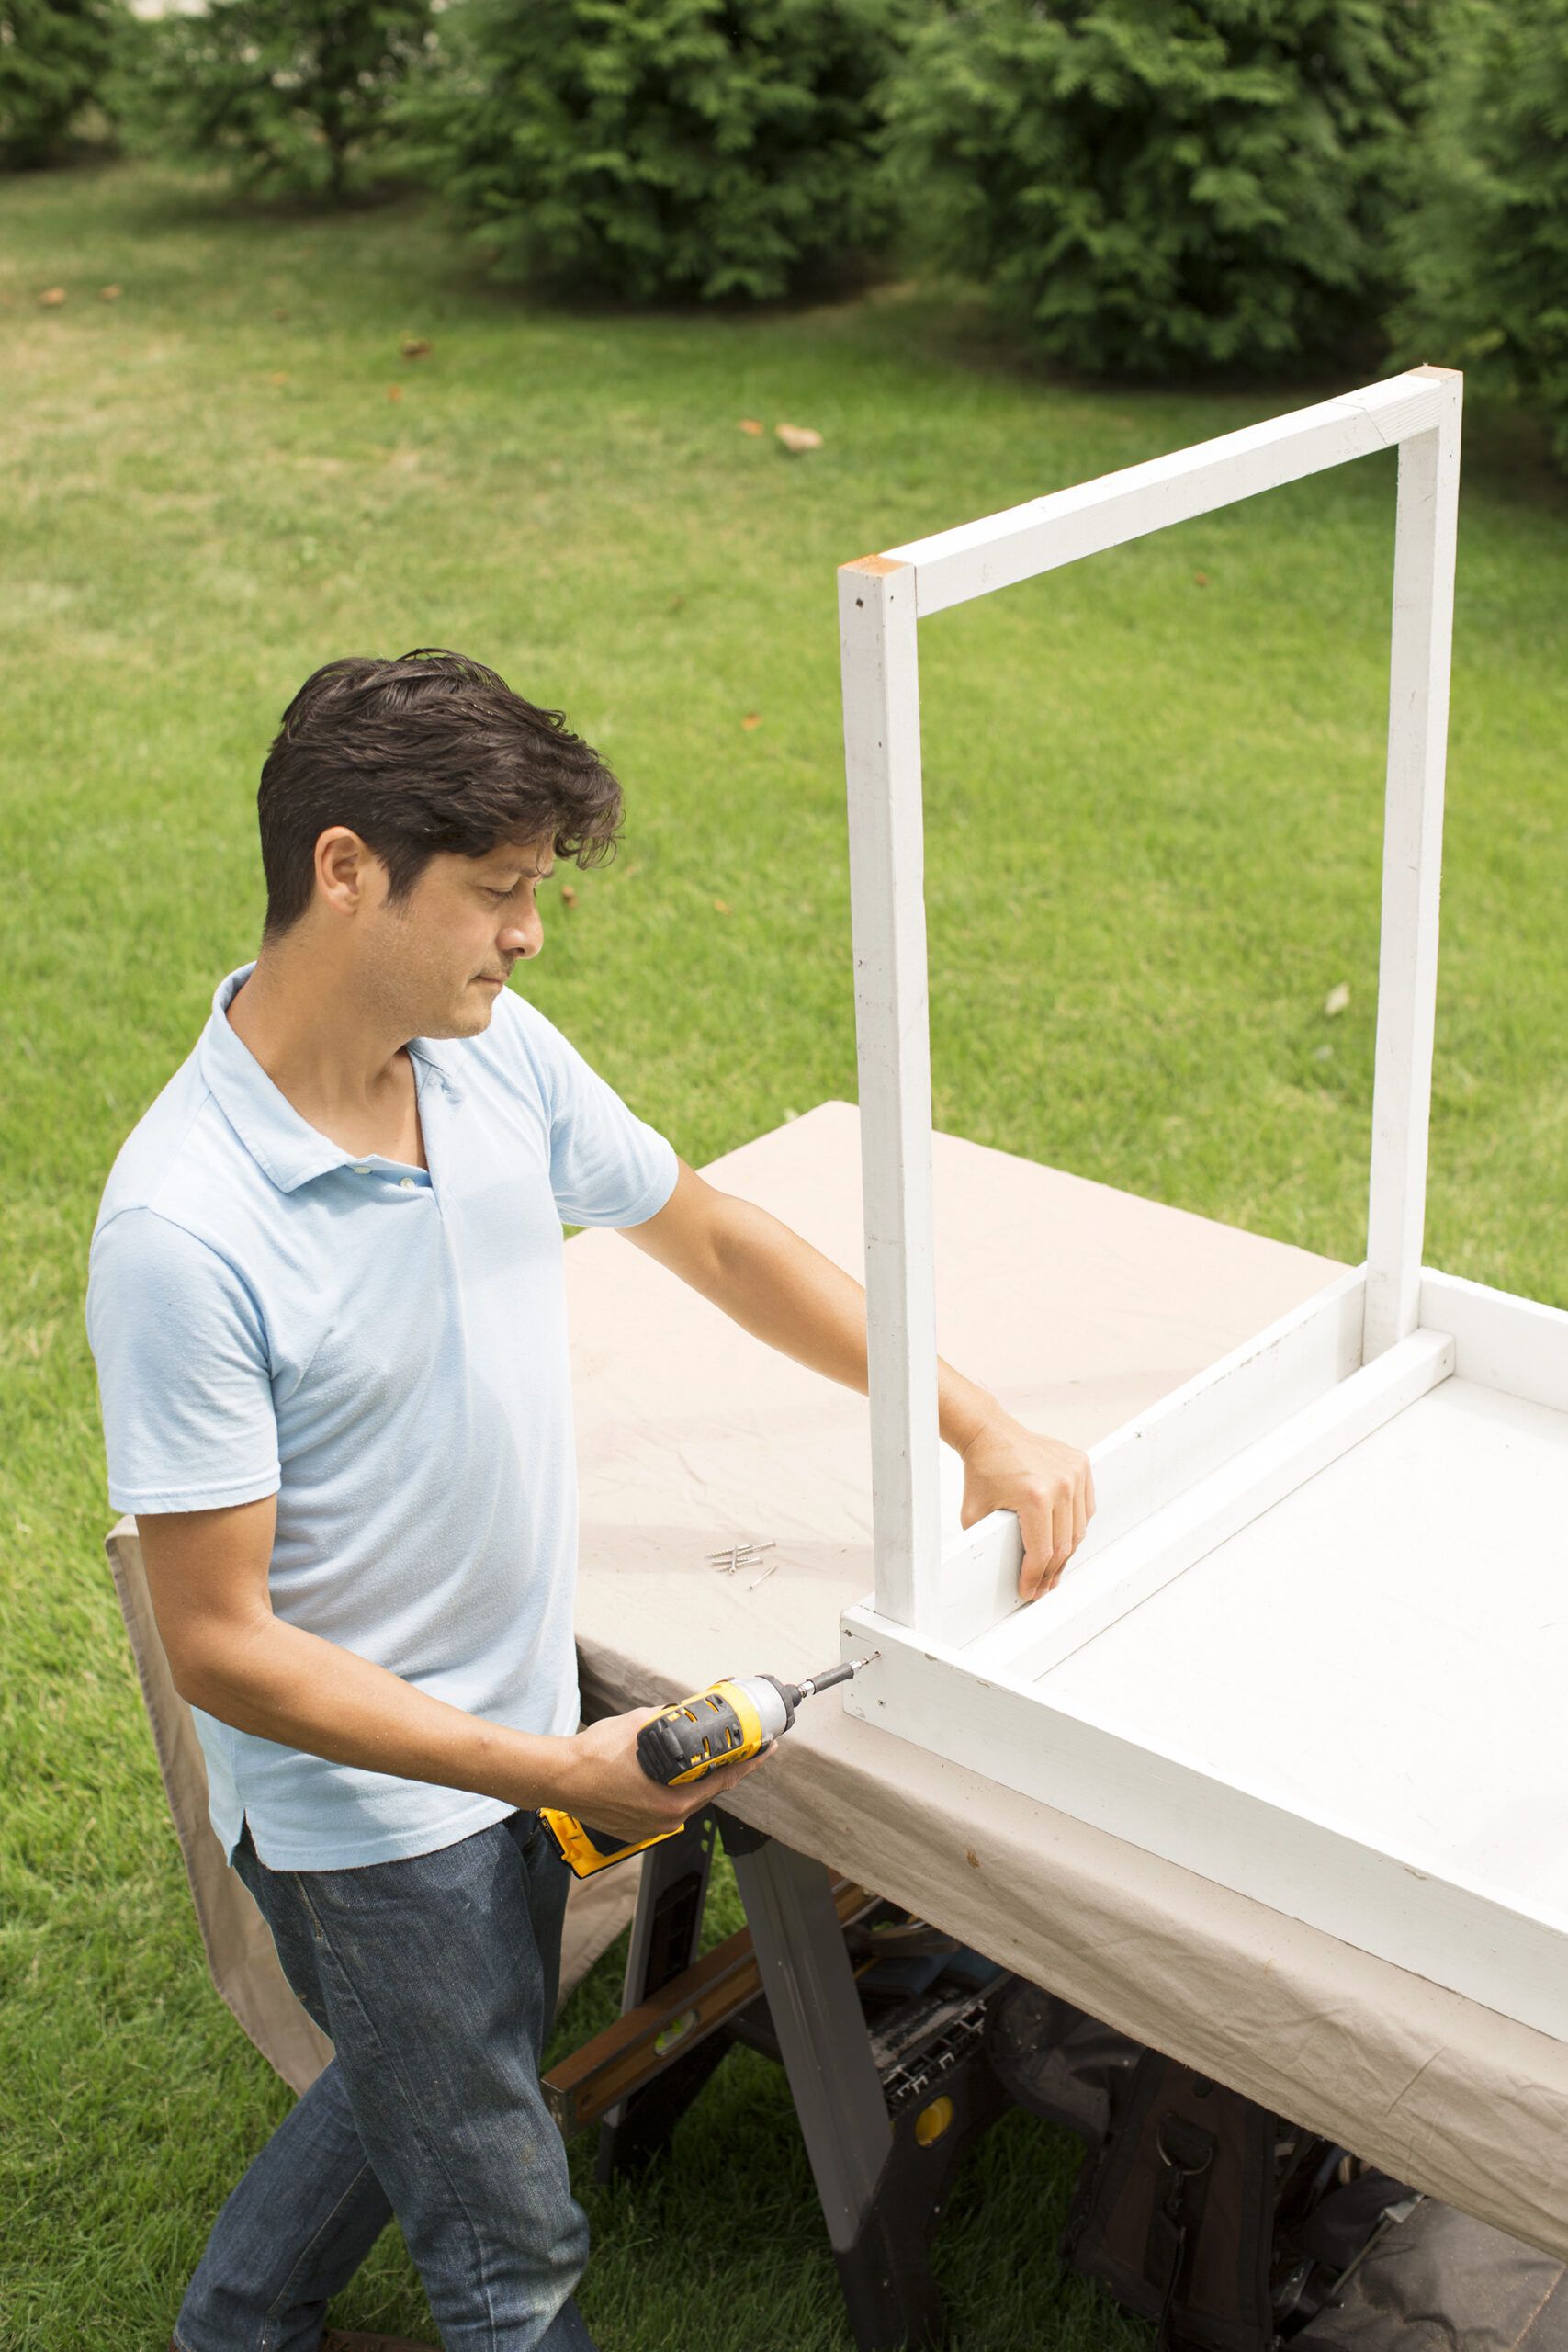
Step 6: Fasten Upper Crosspieces
To complete the frame, join the sides together at the top by screwing on the 2x2s. Use 1 5⁄8-inch fasteners to drive through the top of the verticals and into the ends of the 2×2 crosspieces. This step provides a solid base for the roof. Securely fastening the crosspieces will help it stand up to poor weather conditions and heavy use.
Step 7: Make the Floor
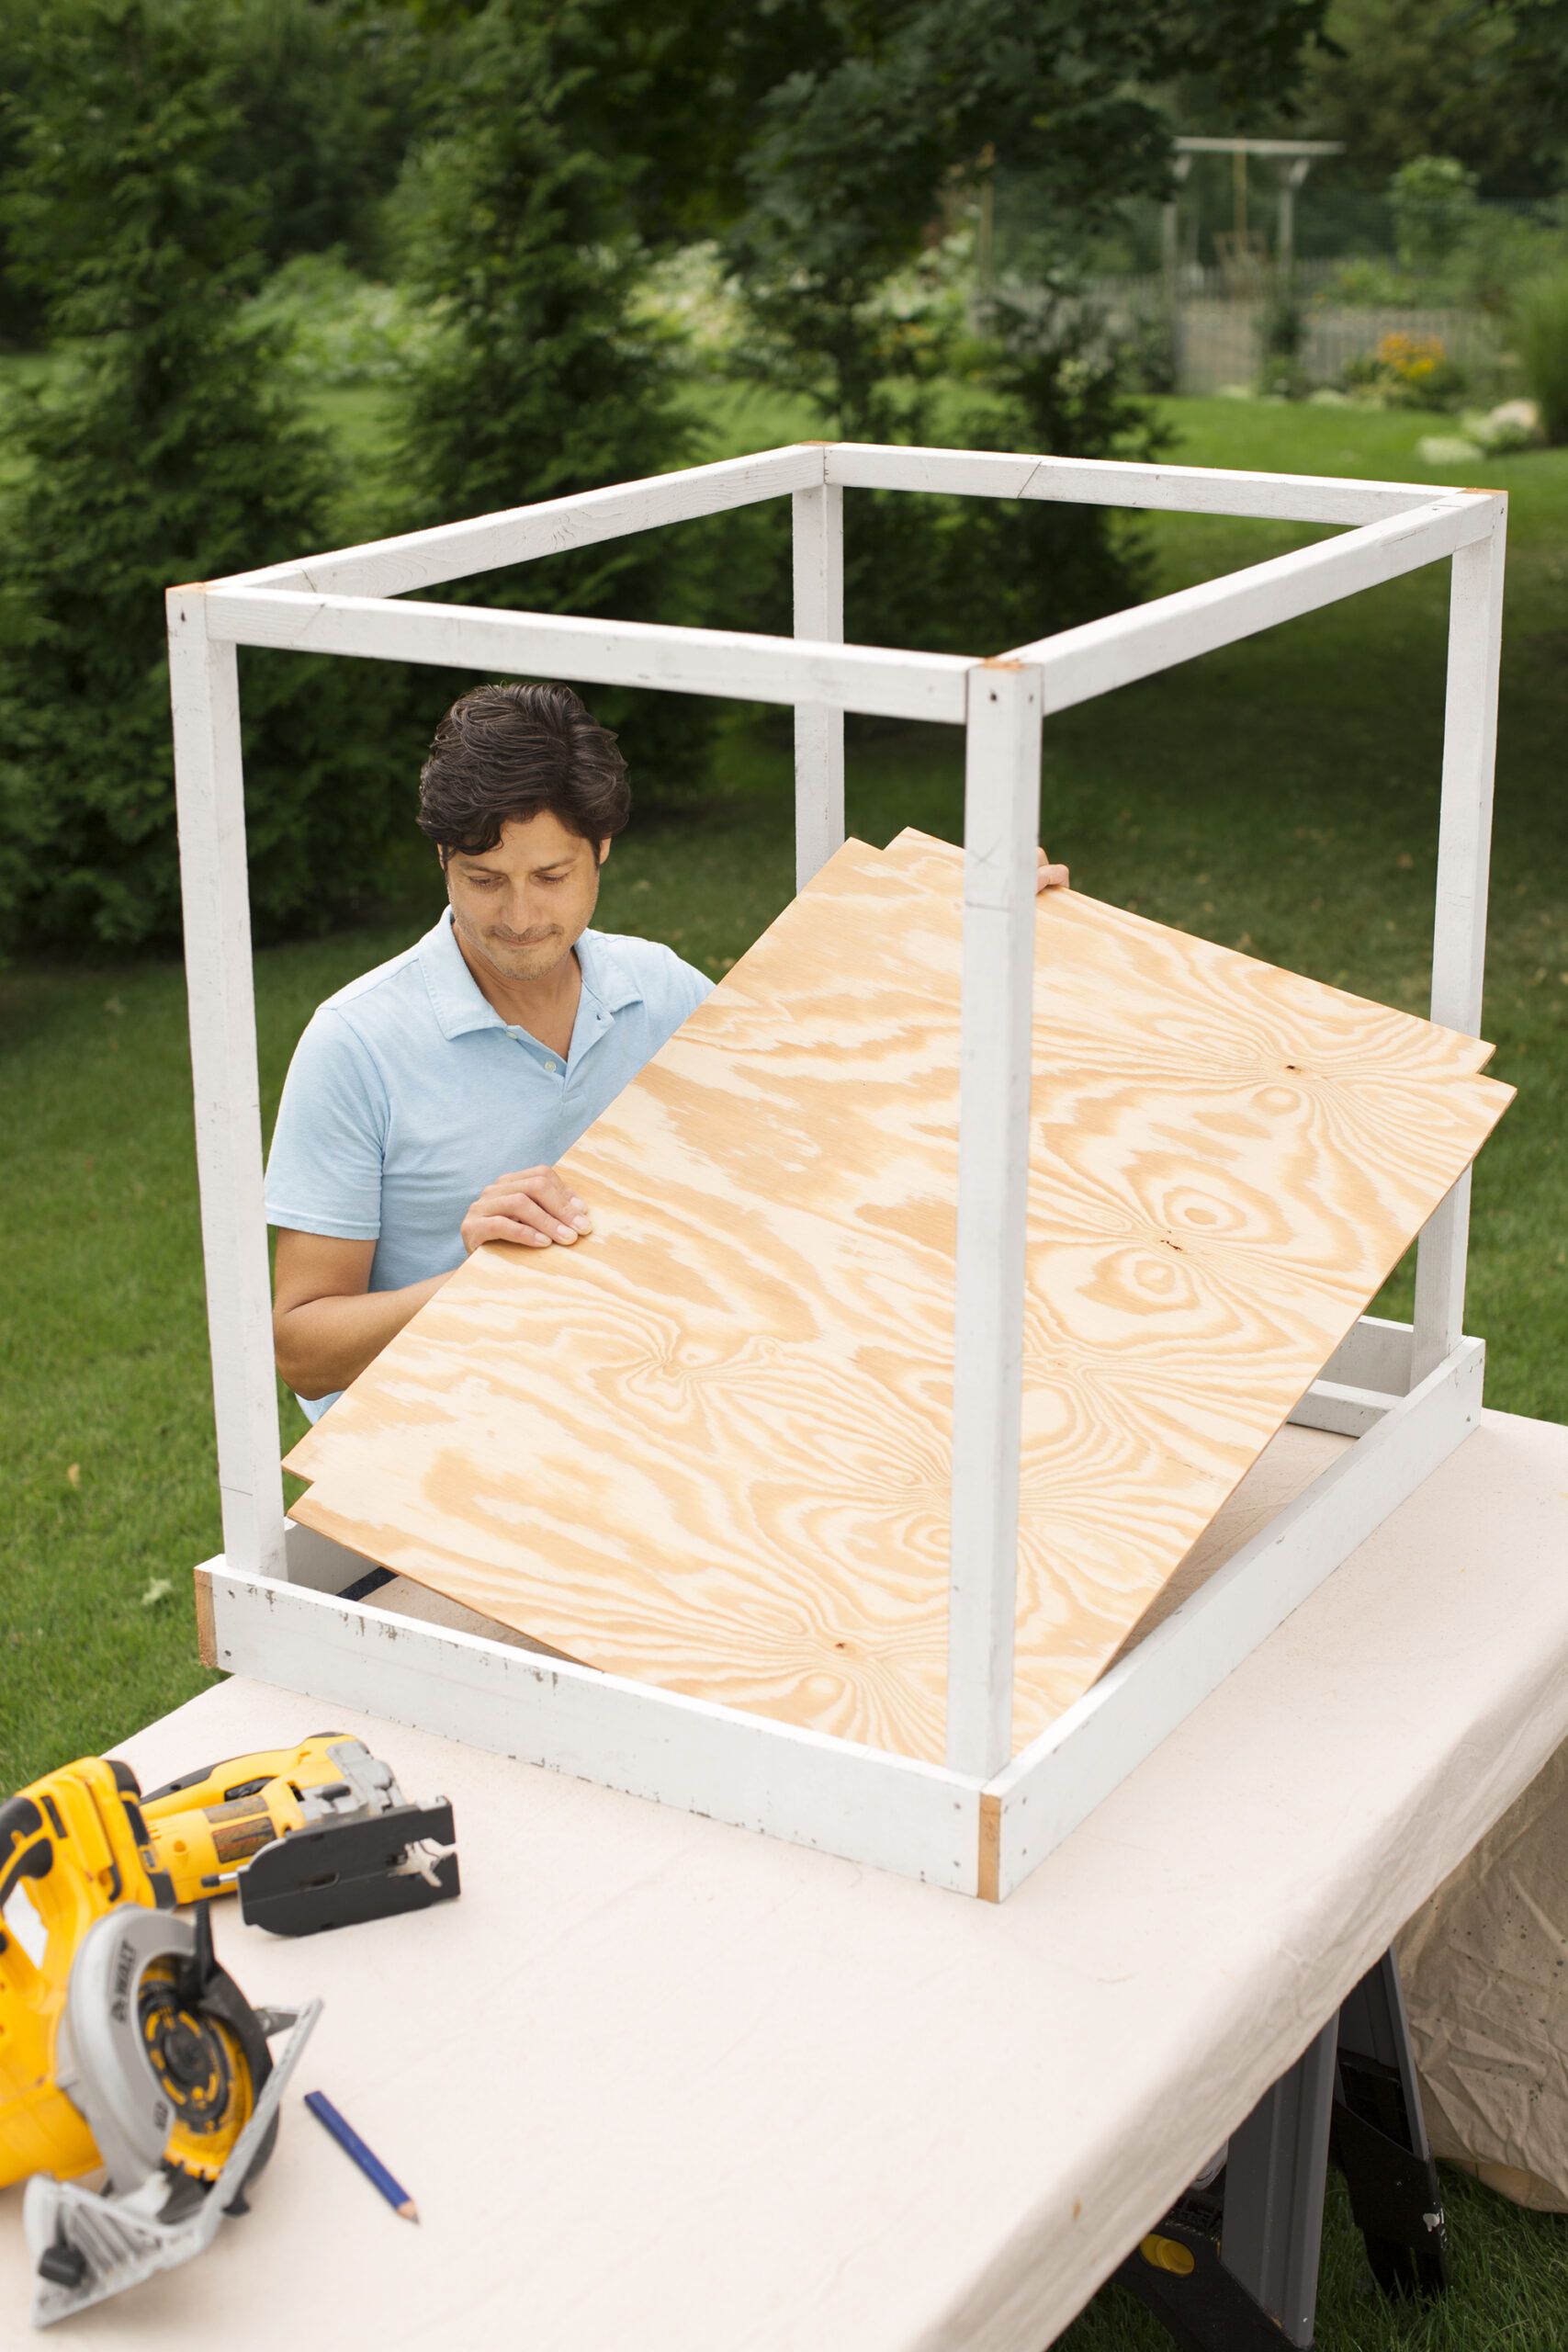
Measure the interior dimensions of a frame and cut a sheet of plywood to fit. Create notches in each corner of the plywood by tracing a 2×2 and cutting with a jigsaw. Test the fit, then remove the plywood to stain the bottom side. Set it aside for later installation once the catio frames are mounted on the brackets.
Step 8: Build the Screen Frames
For each screen frame, arrange 1×4 boards with the rails between the stiles. Glue the joints together for added strength. Drill pilot holes at an angle through the outside edge of a rail and into the adjoining stile, then secure with 2 1⁄4-inch trim screws. Repeat this process for all corners to create sturdy screen frames. Stand the frame up, drill an angled pilot hole through the rail and into the stile, as shown, at each inside corner, and follow with a screw.
Step 9: Stretch the Screens
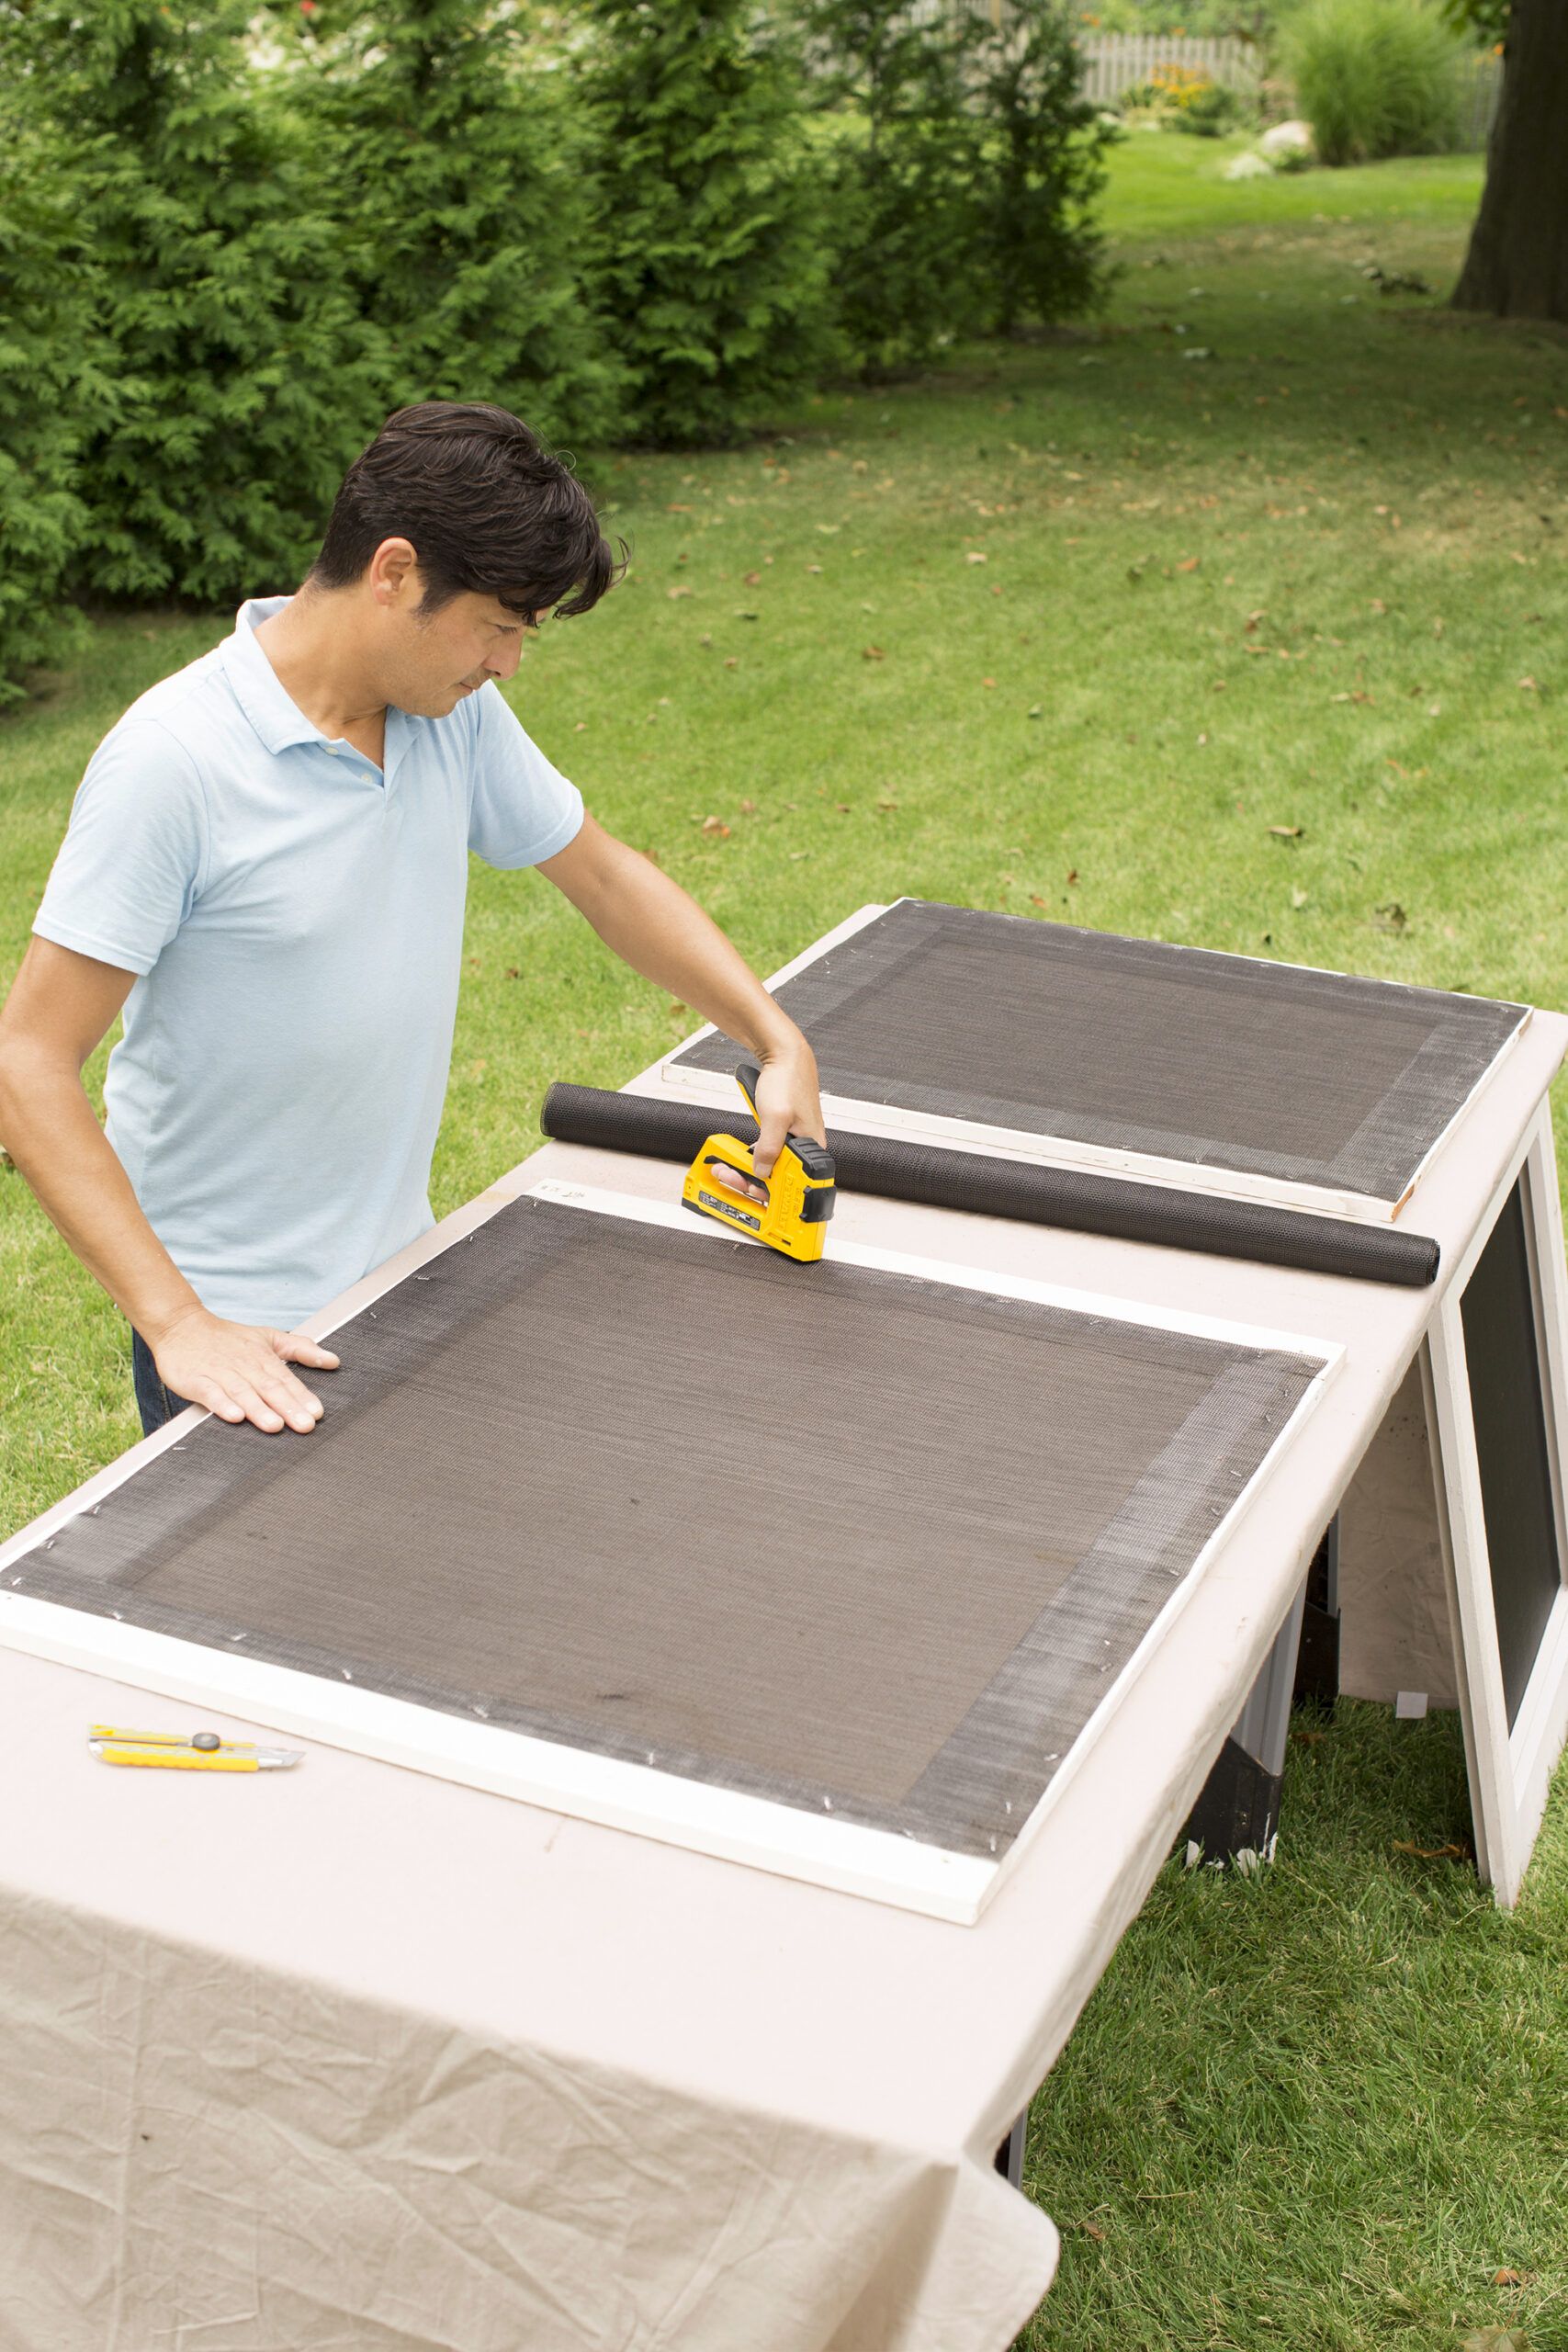
Cut an oversized piece of screening for each frame. To make the screens taut and smooth, staple the screens to the frames in a specific order. You can do this by envisioning a clock overtop your screen. Start stapling at the 12 o’clock and 6 o’clock spots, then continue stapling where 3 o’clock and 9 o’clock would be, then 1 o’clock and 7 o’clock, and so on. Work your way around the frame and smooth out any ripples before you attach it. Trim excess material with a utility knife for a clean edge. You’ll have a professional-looking screen that won’t wear quickly by taking the time to smooth it.
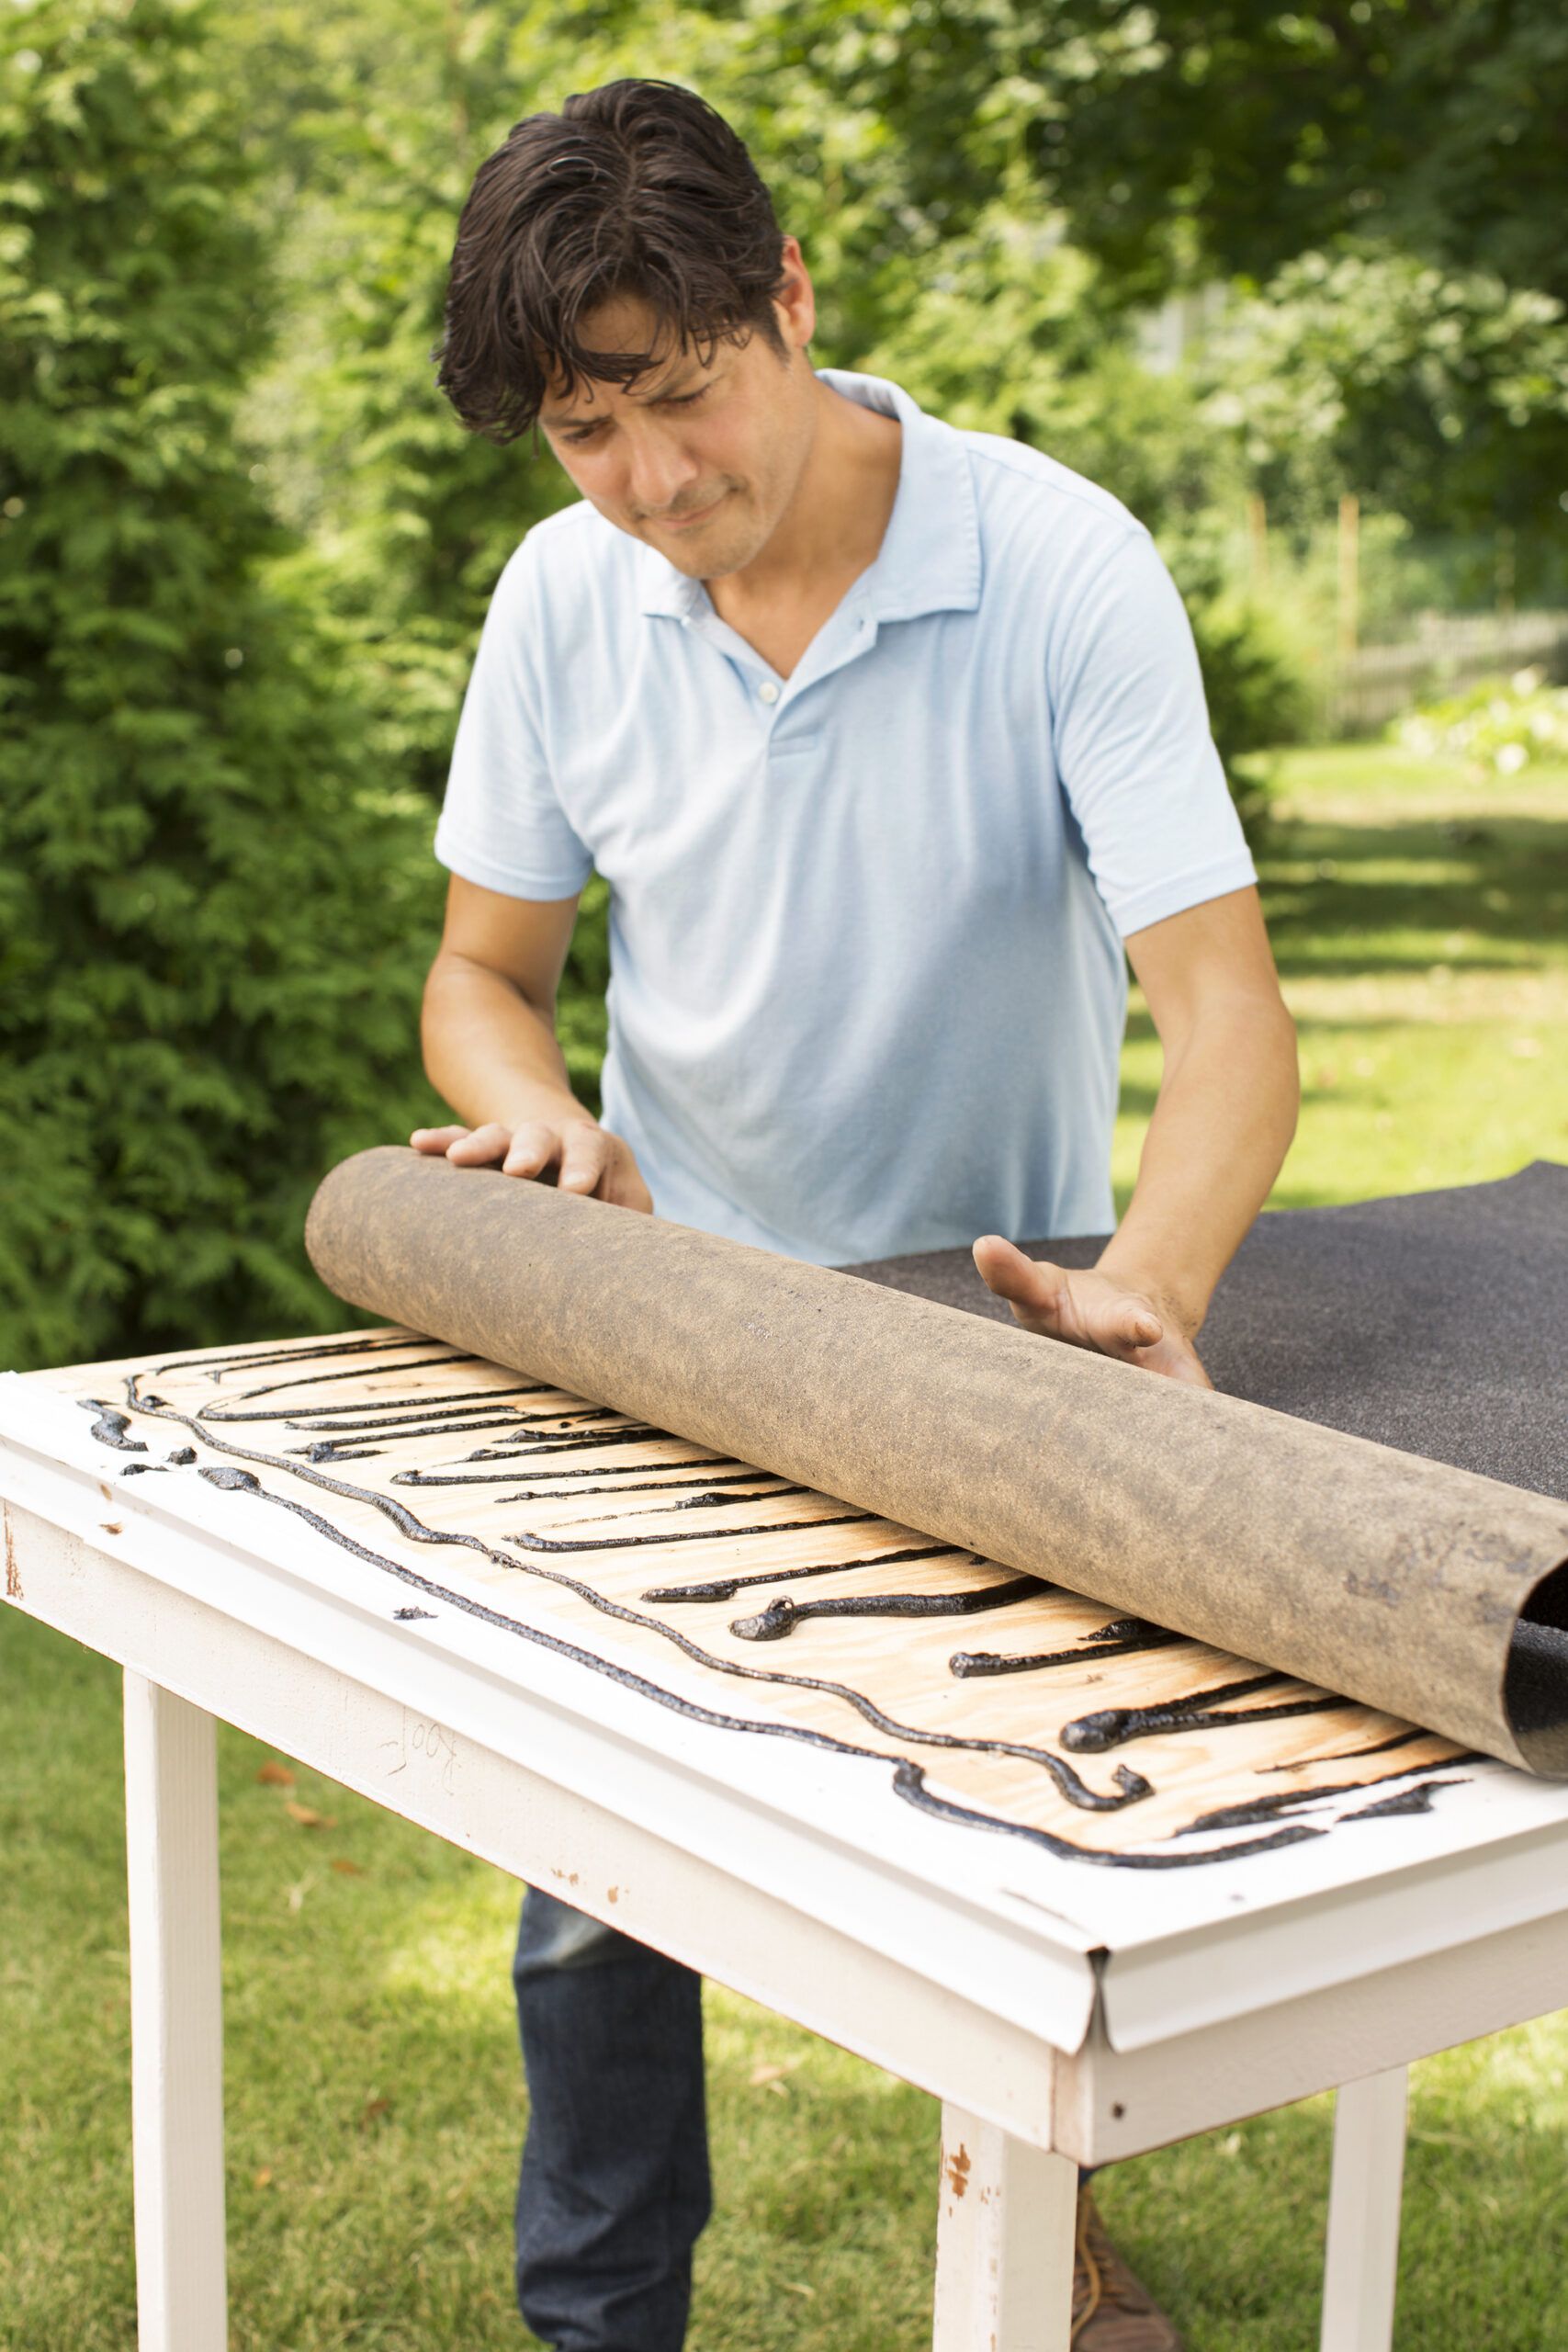
Step 10: Assemble the Roof
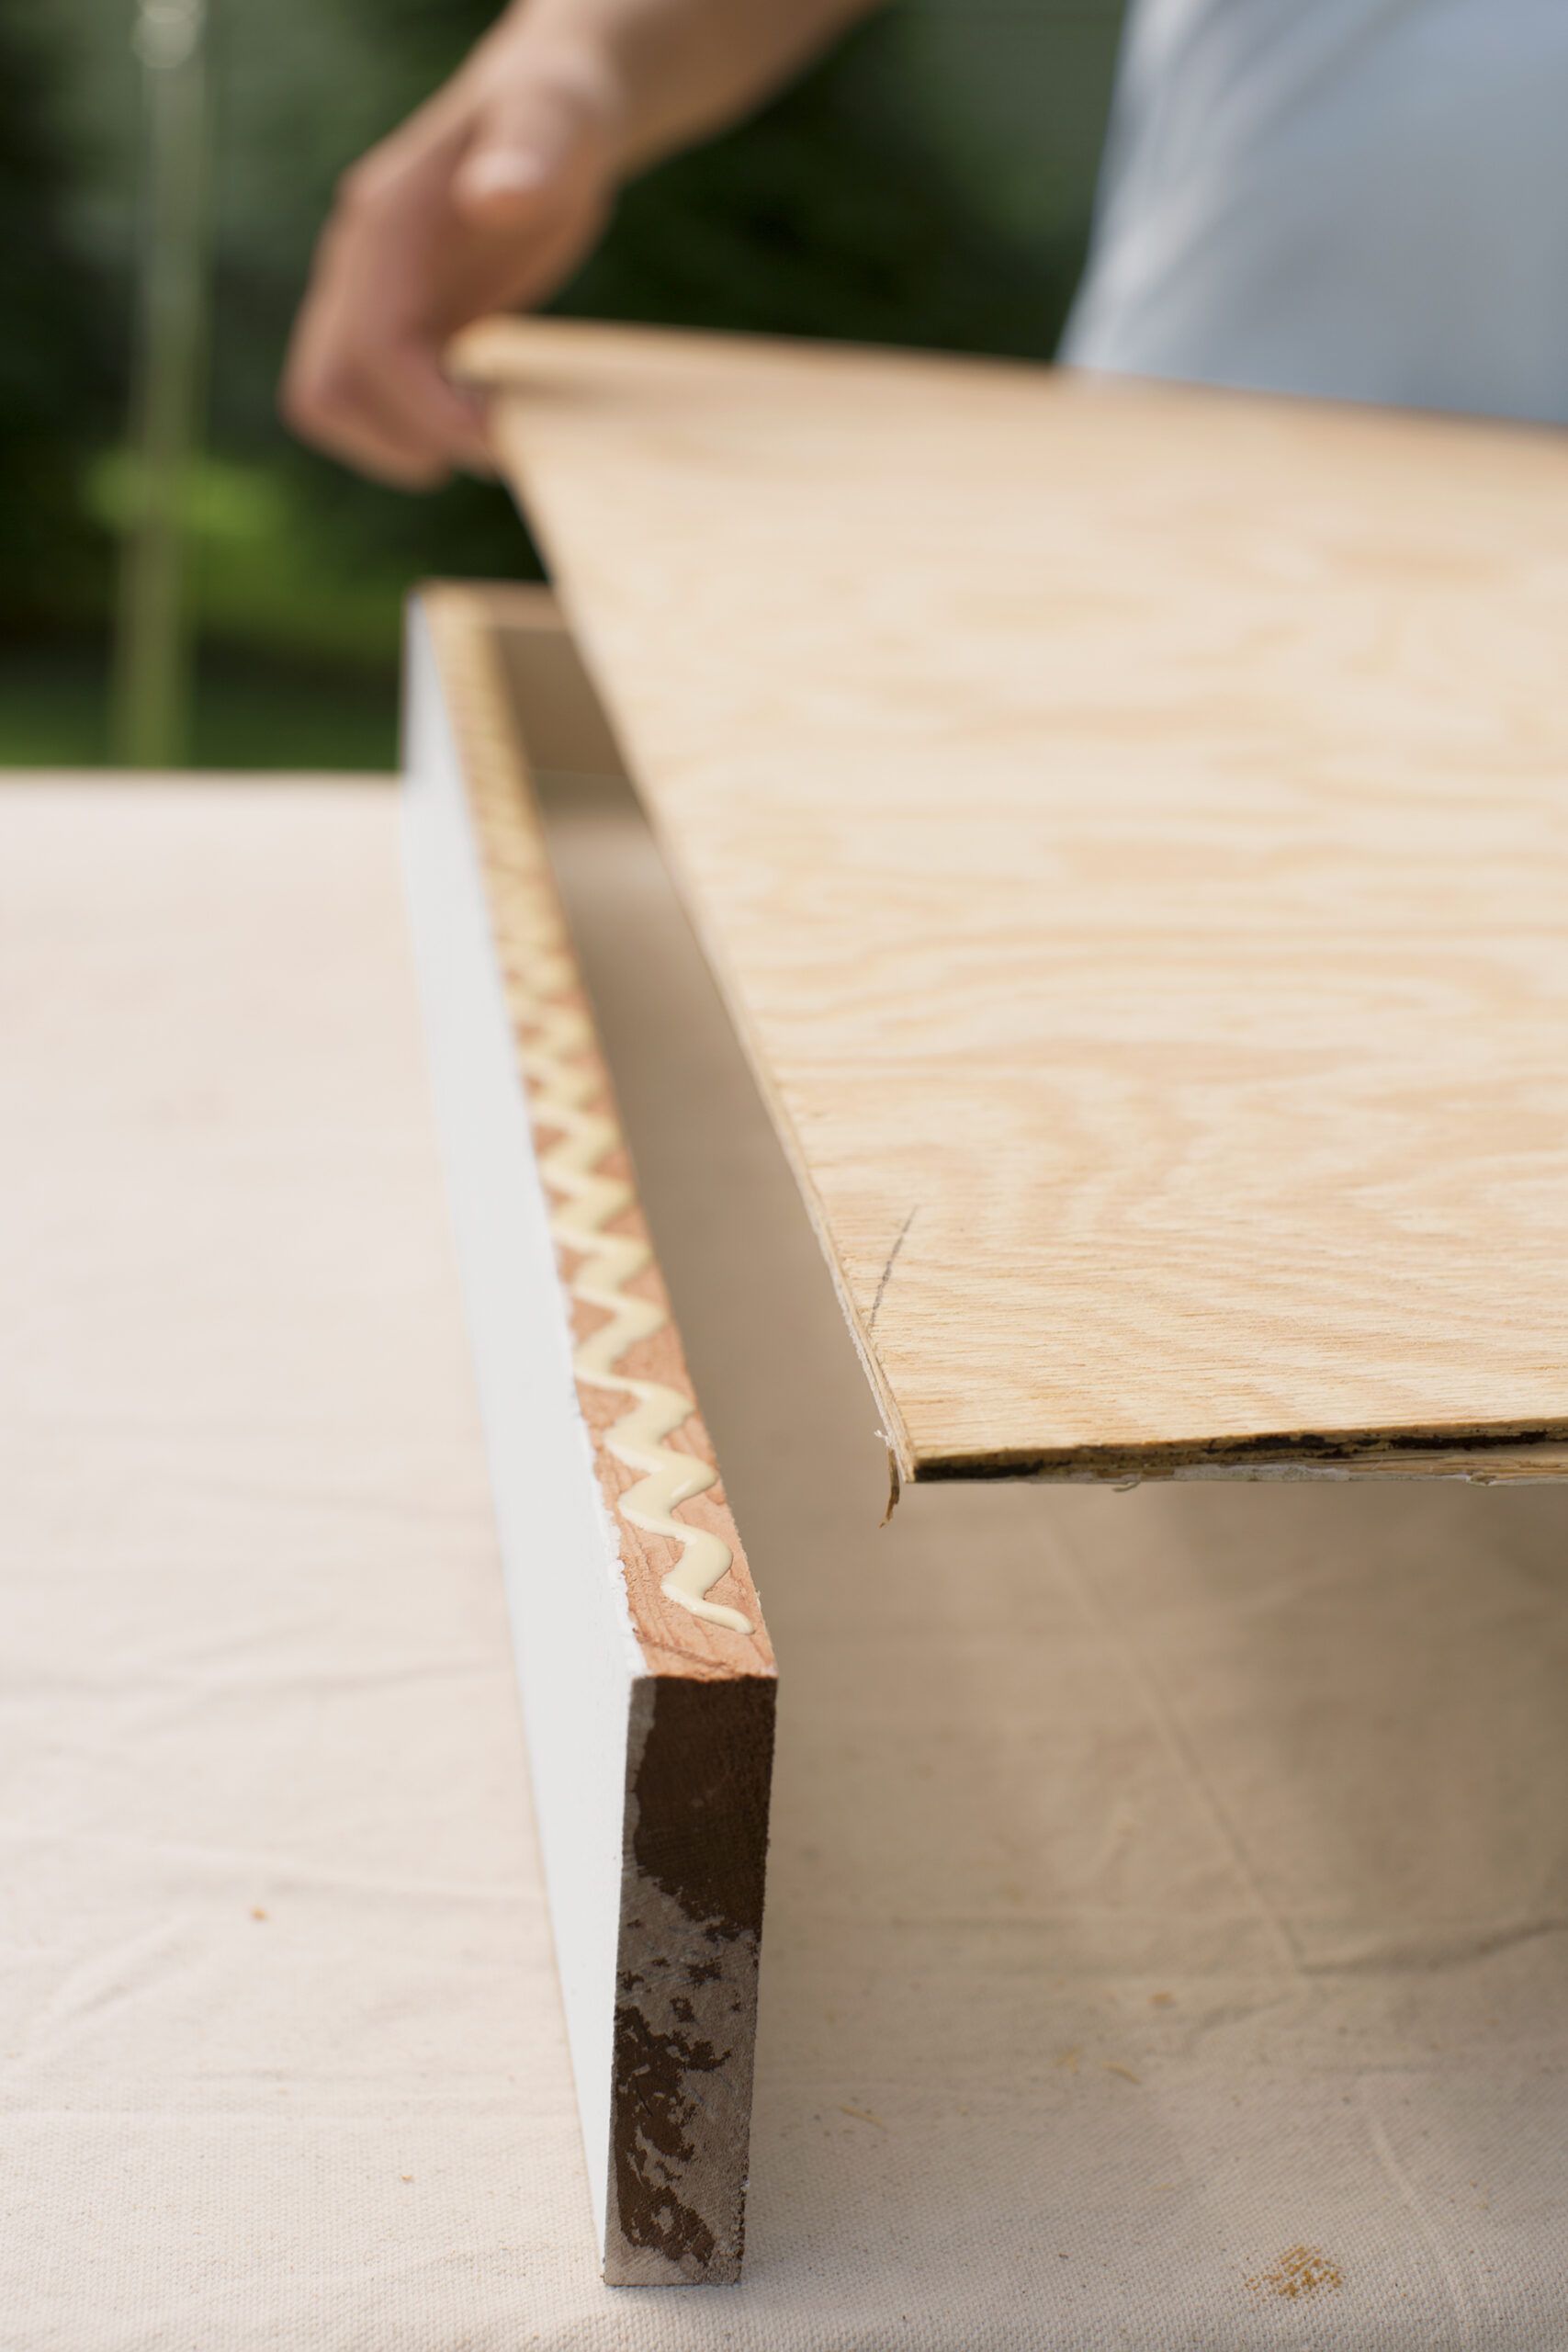
Create a U-shaped structure for the roof by joining three lengths of fascia with butt joints using 1 5⁄8-inch screws. Apply glue to the top of the fascia boards, attach the plywood roof (as shown), and secure it with additional screws. Cut aluminum drip edge to size and attach it to the front and sides of the roof using roofing cement and 1 5⁄8-inch screws. Next, add the side drip edge the same way, overlapping the front. By doing this, you’ll have proper drainage that protects the wood from water damage.
Step 11: Attach the Roof
Position the upper frame with the trim boards facing up. To create a slight forward pitch for water runoff, screw a 1×4 scrap on top of the frame’s upper plywood supports, flush with the rear trim board. Center the roof on the frame, aligning it flush with the back. Secure the roof to the upper plywood supports with screws. The water will flow off the roof and away from your house, which reduces the risk of water damage.
Step 12: Unroll the Roofing
Apply roofing cement to the plywood roof surface. Carefully unroll the roofing material onto the wet adhesive, pressing it in place as you go. Take your time to avoid air bubbles or misalignment. Trim the asphalt roofing to width and make sure it just covers the aluminum drip caps. The roofing layer will protect your catio against the elements so it stays leak-free.
Step 13: Cut Half-Lap Joints for the Brackets
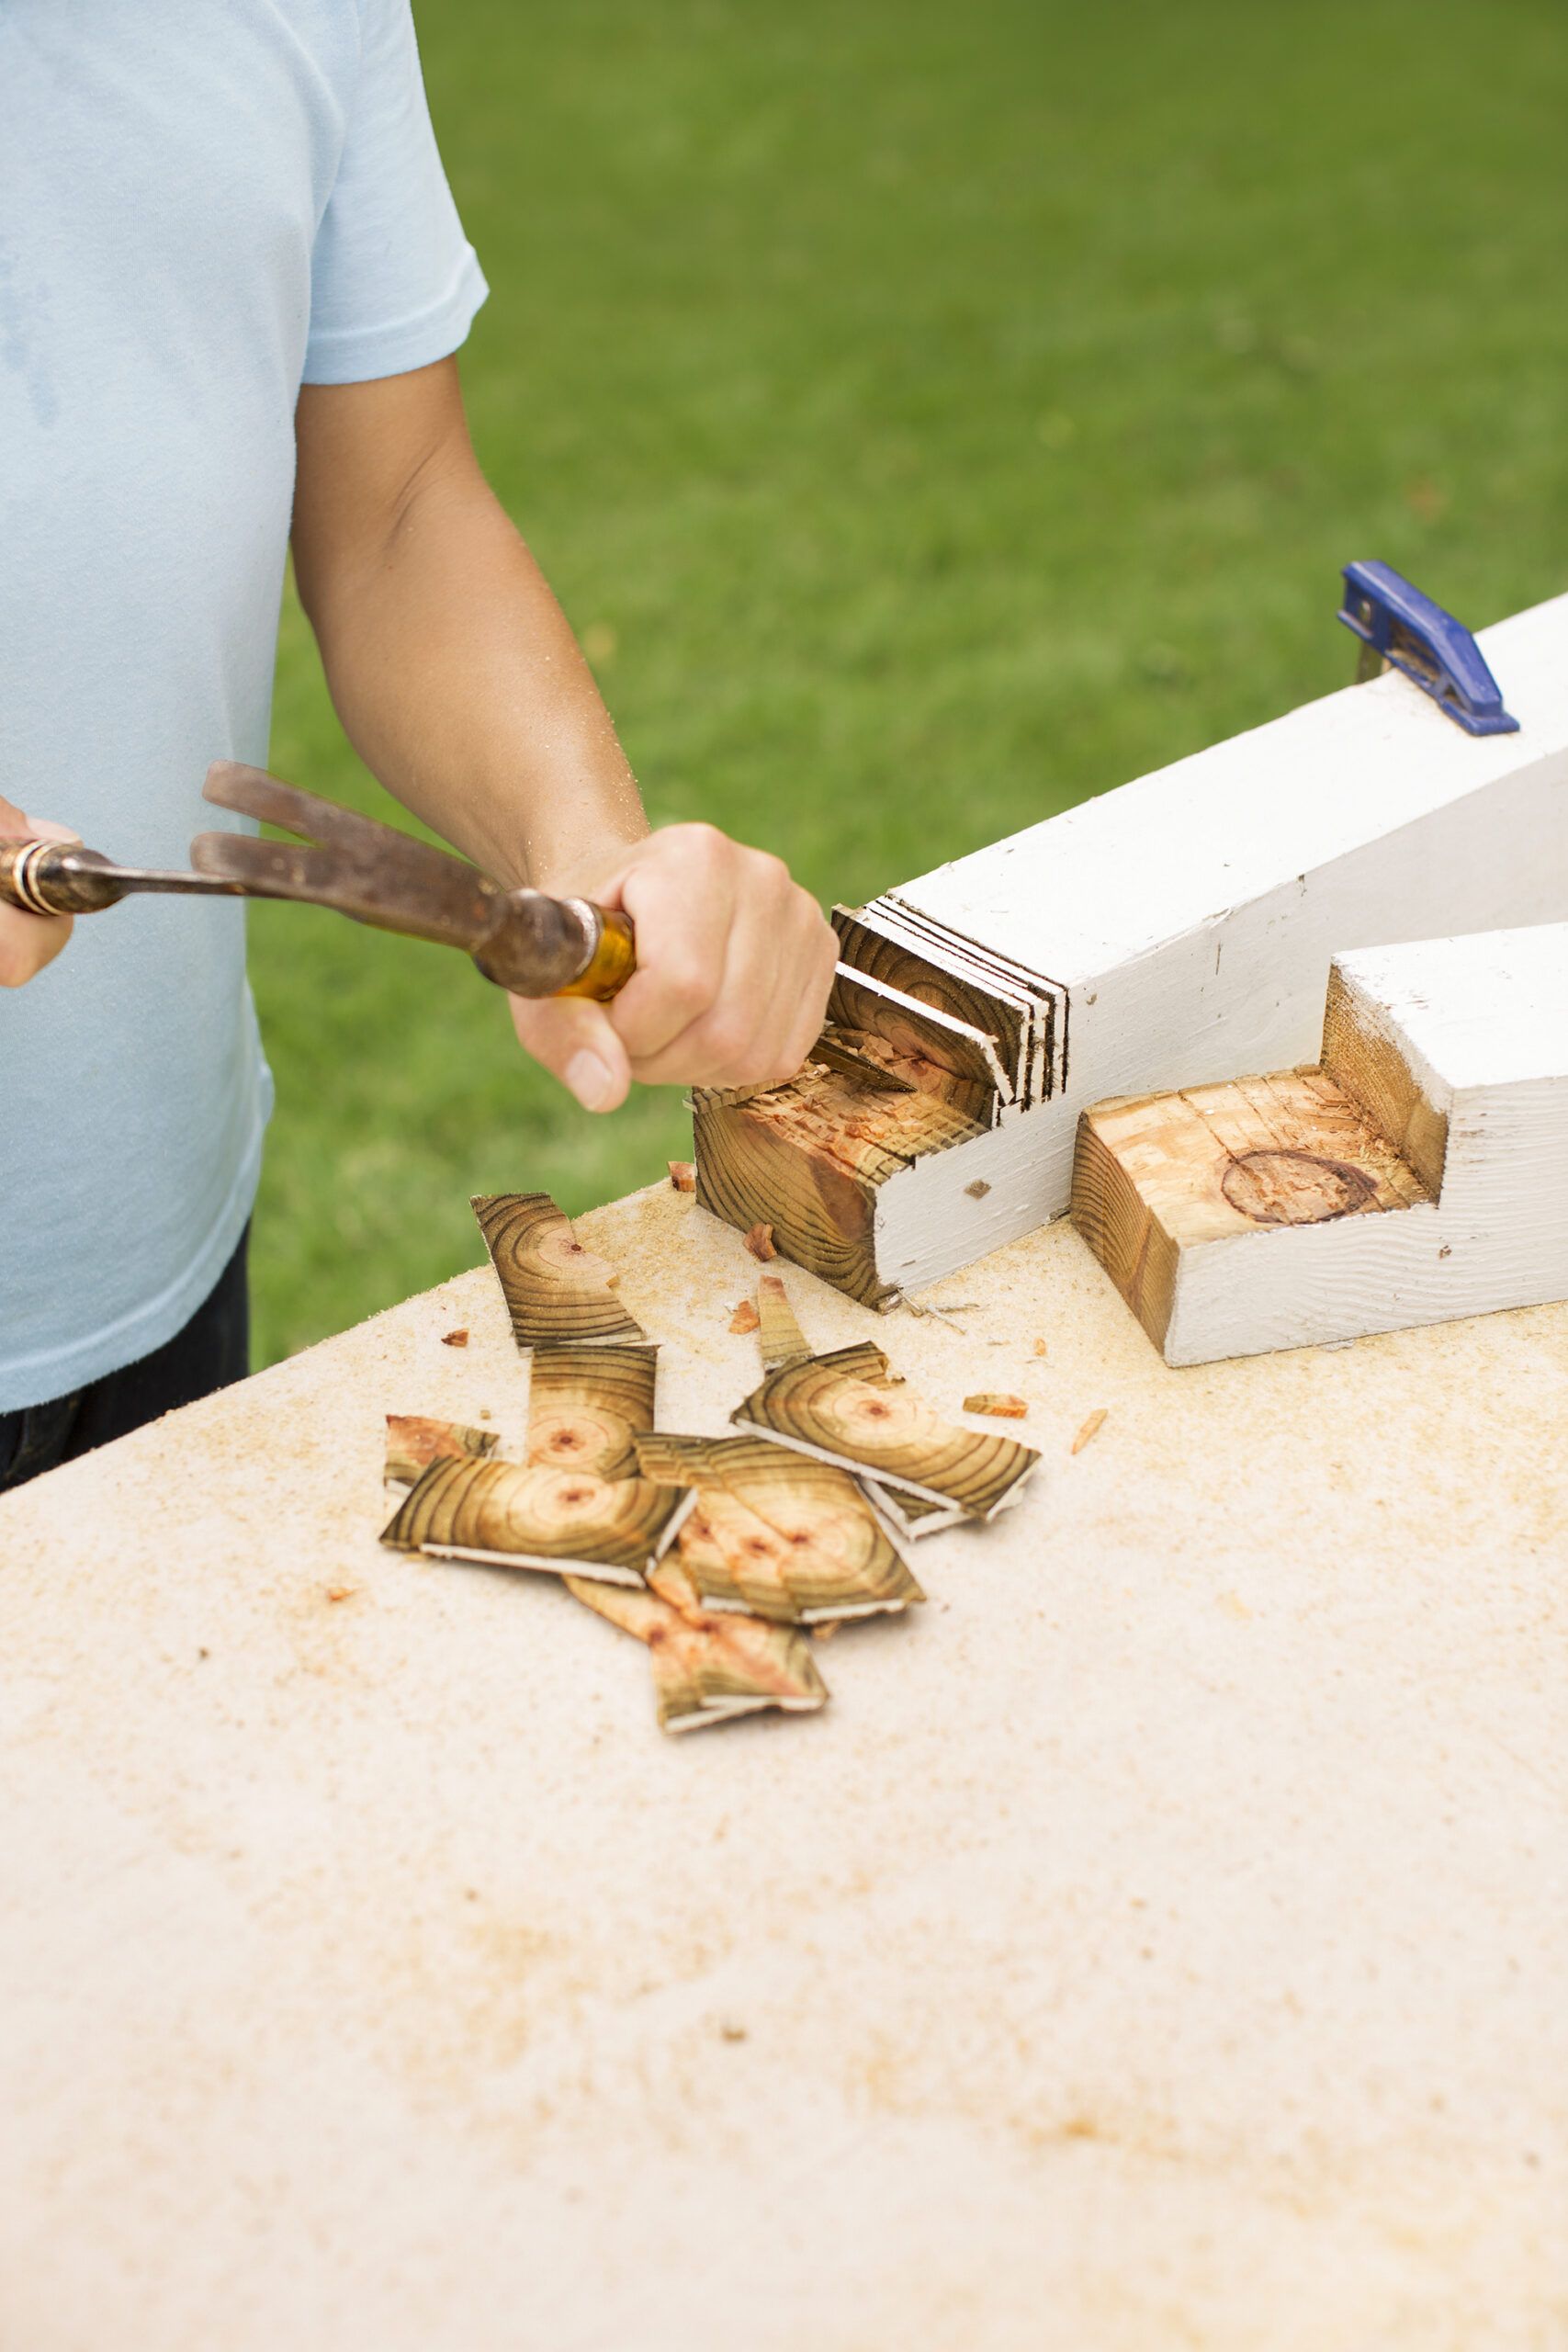
For decorative and functional brackets, set your circular saw to a 40-degree angle and trim 1 1/2 inches off each face of the bracket ends to form pyramids. On the square ends, use a circular saw to make a series of passes 3 1/2 inches wide and 1 3/4 inches deep. Use a hammer and chisel to remove the slivers, creating half-lap joints. Repeat this process for both brackets. Your custom brackets will boost your catio’s visual appeal.
Step 14: Build the Brackets
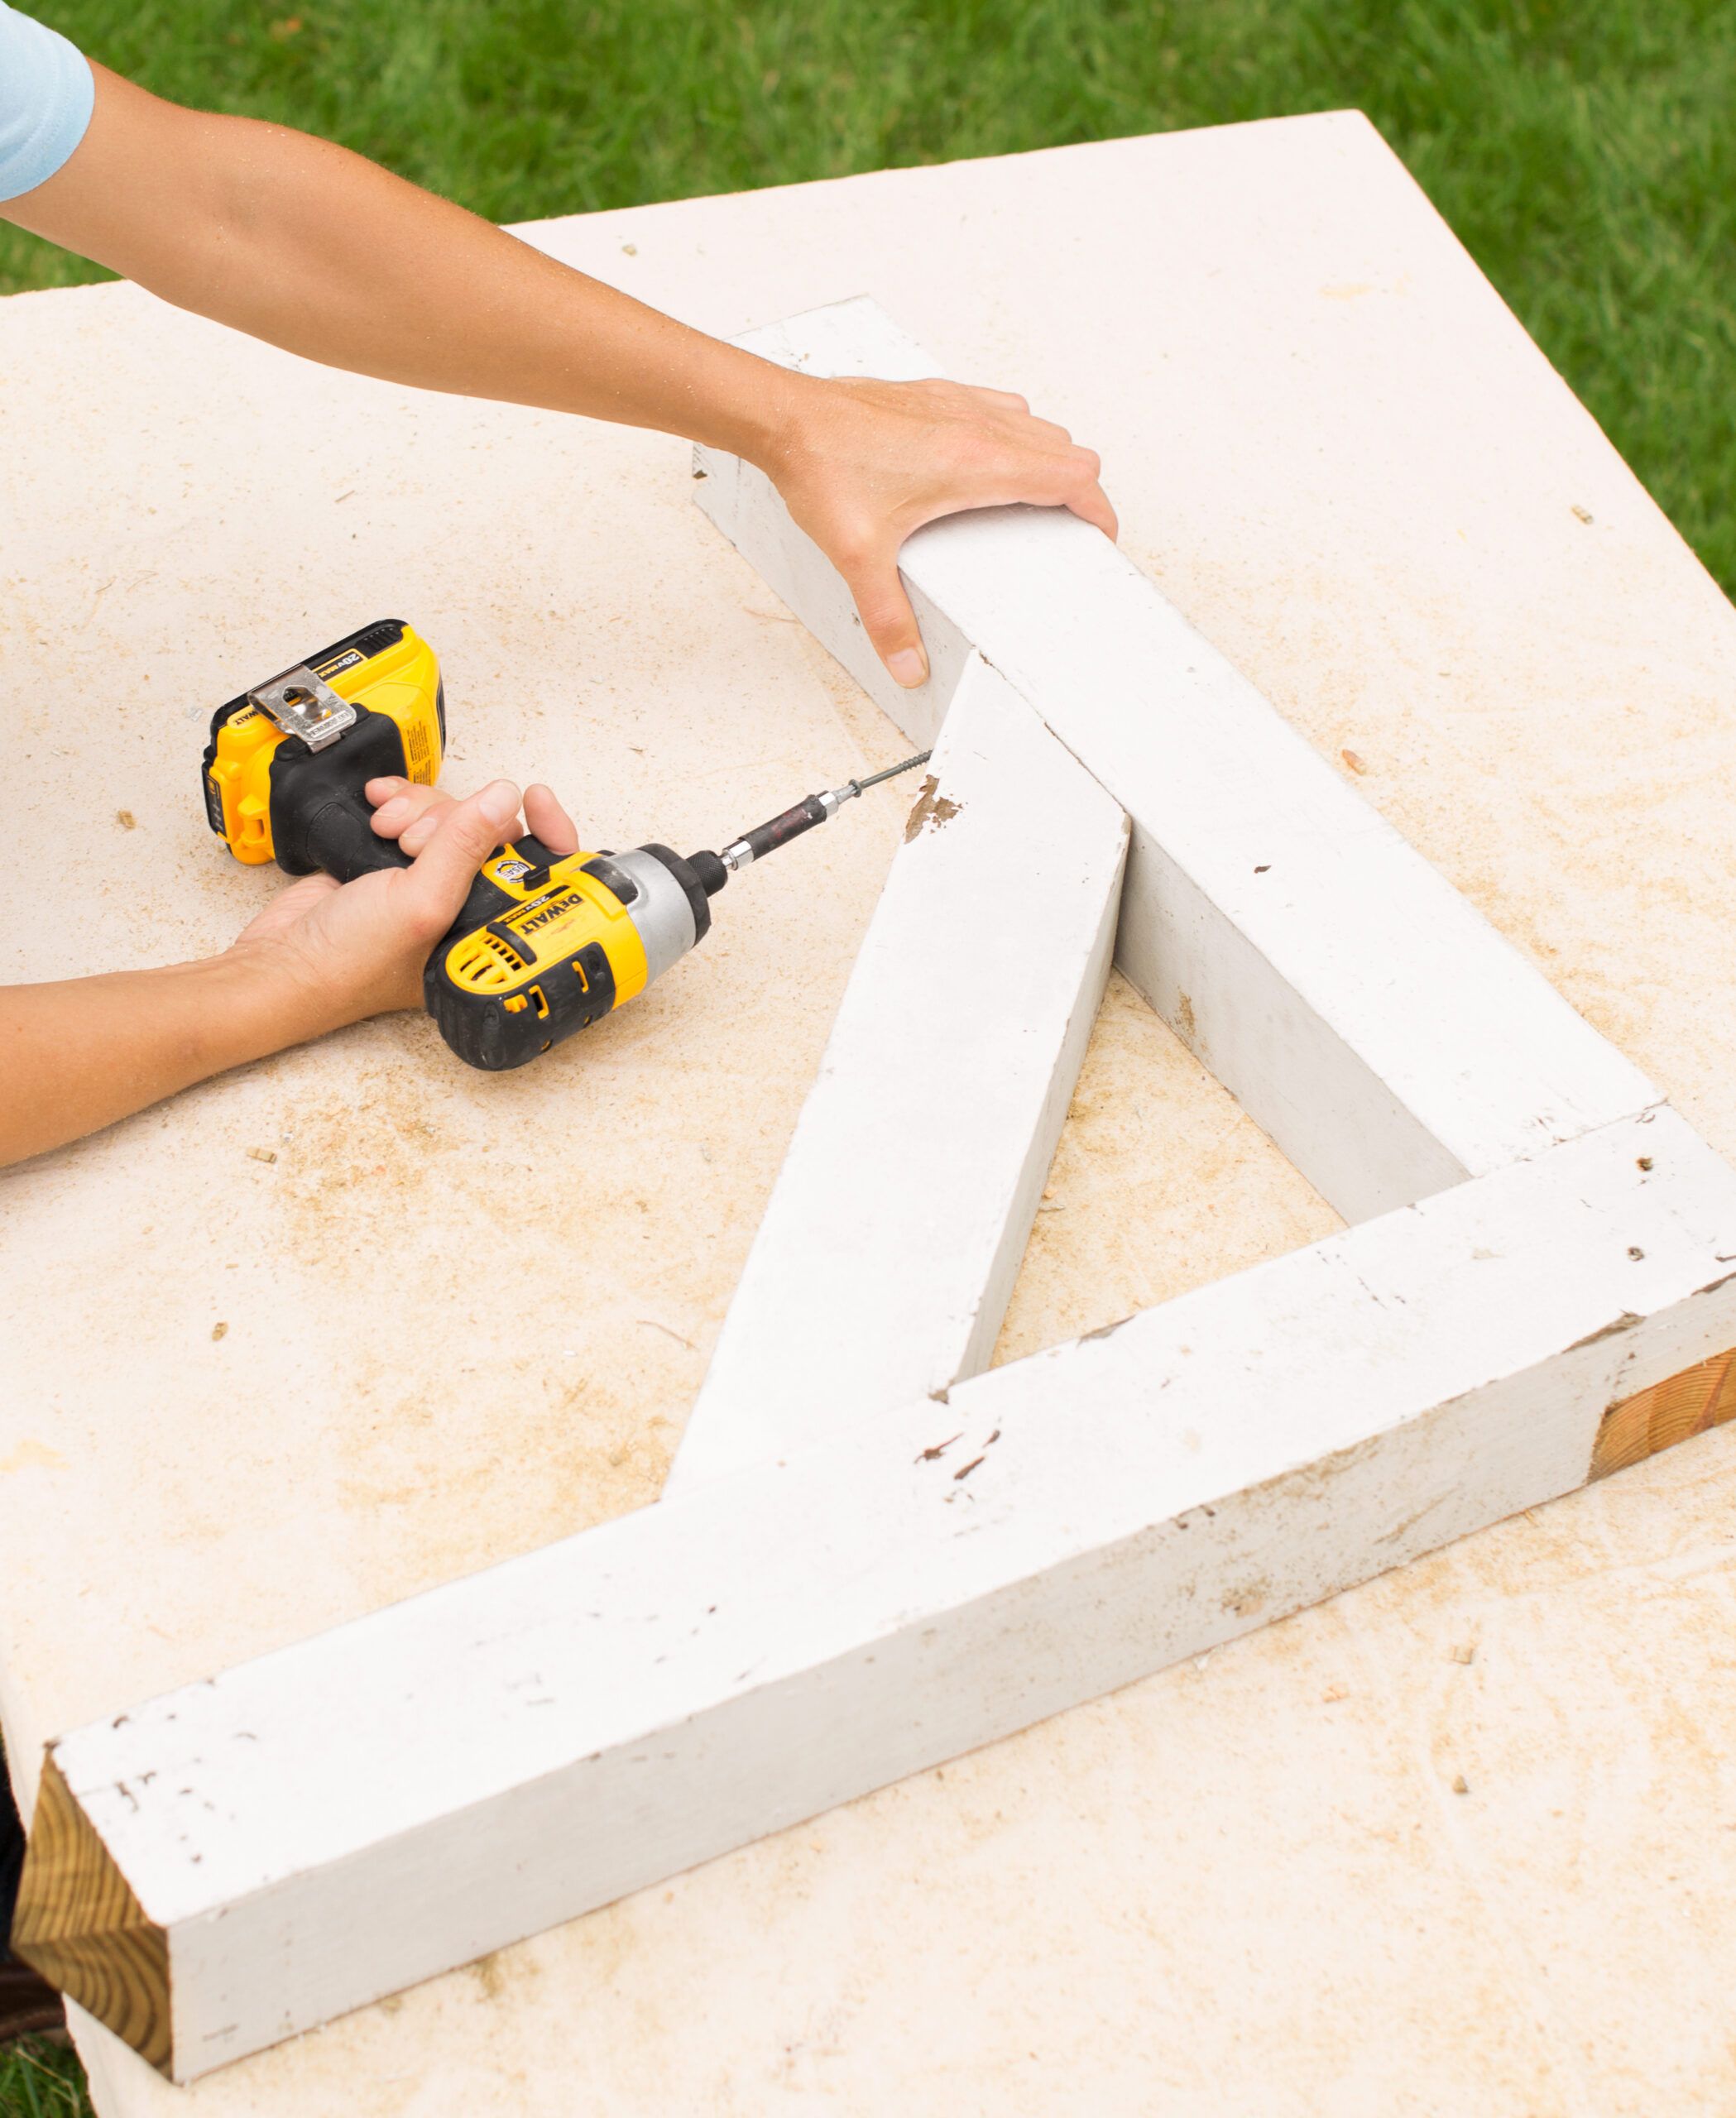
Apply construction adhesive to each side of the half-lap joint and fasten it together with 3-inch deck screws. Position the diagonal brace and secure it with 3-inch deck screws through the mitered ends and into the bracket. Repeat for the second bracket. Coat any exposed ends with primer so that you protect them against the elements.
Step 15: Attach the Brackets
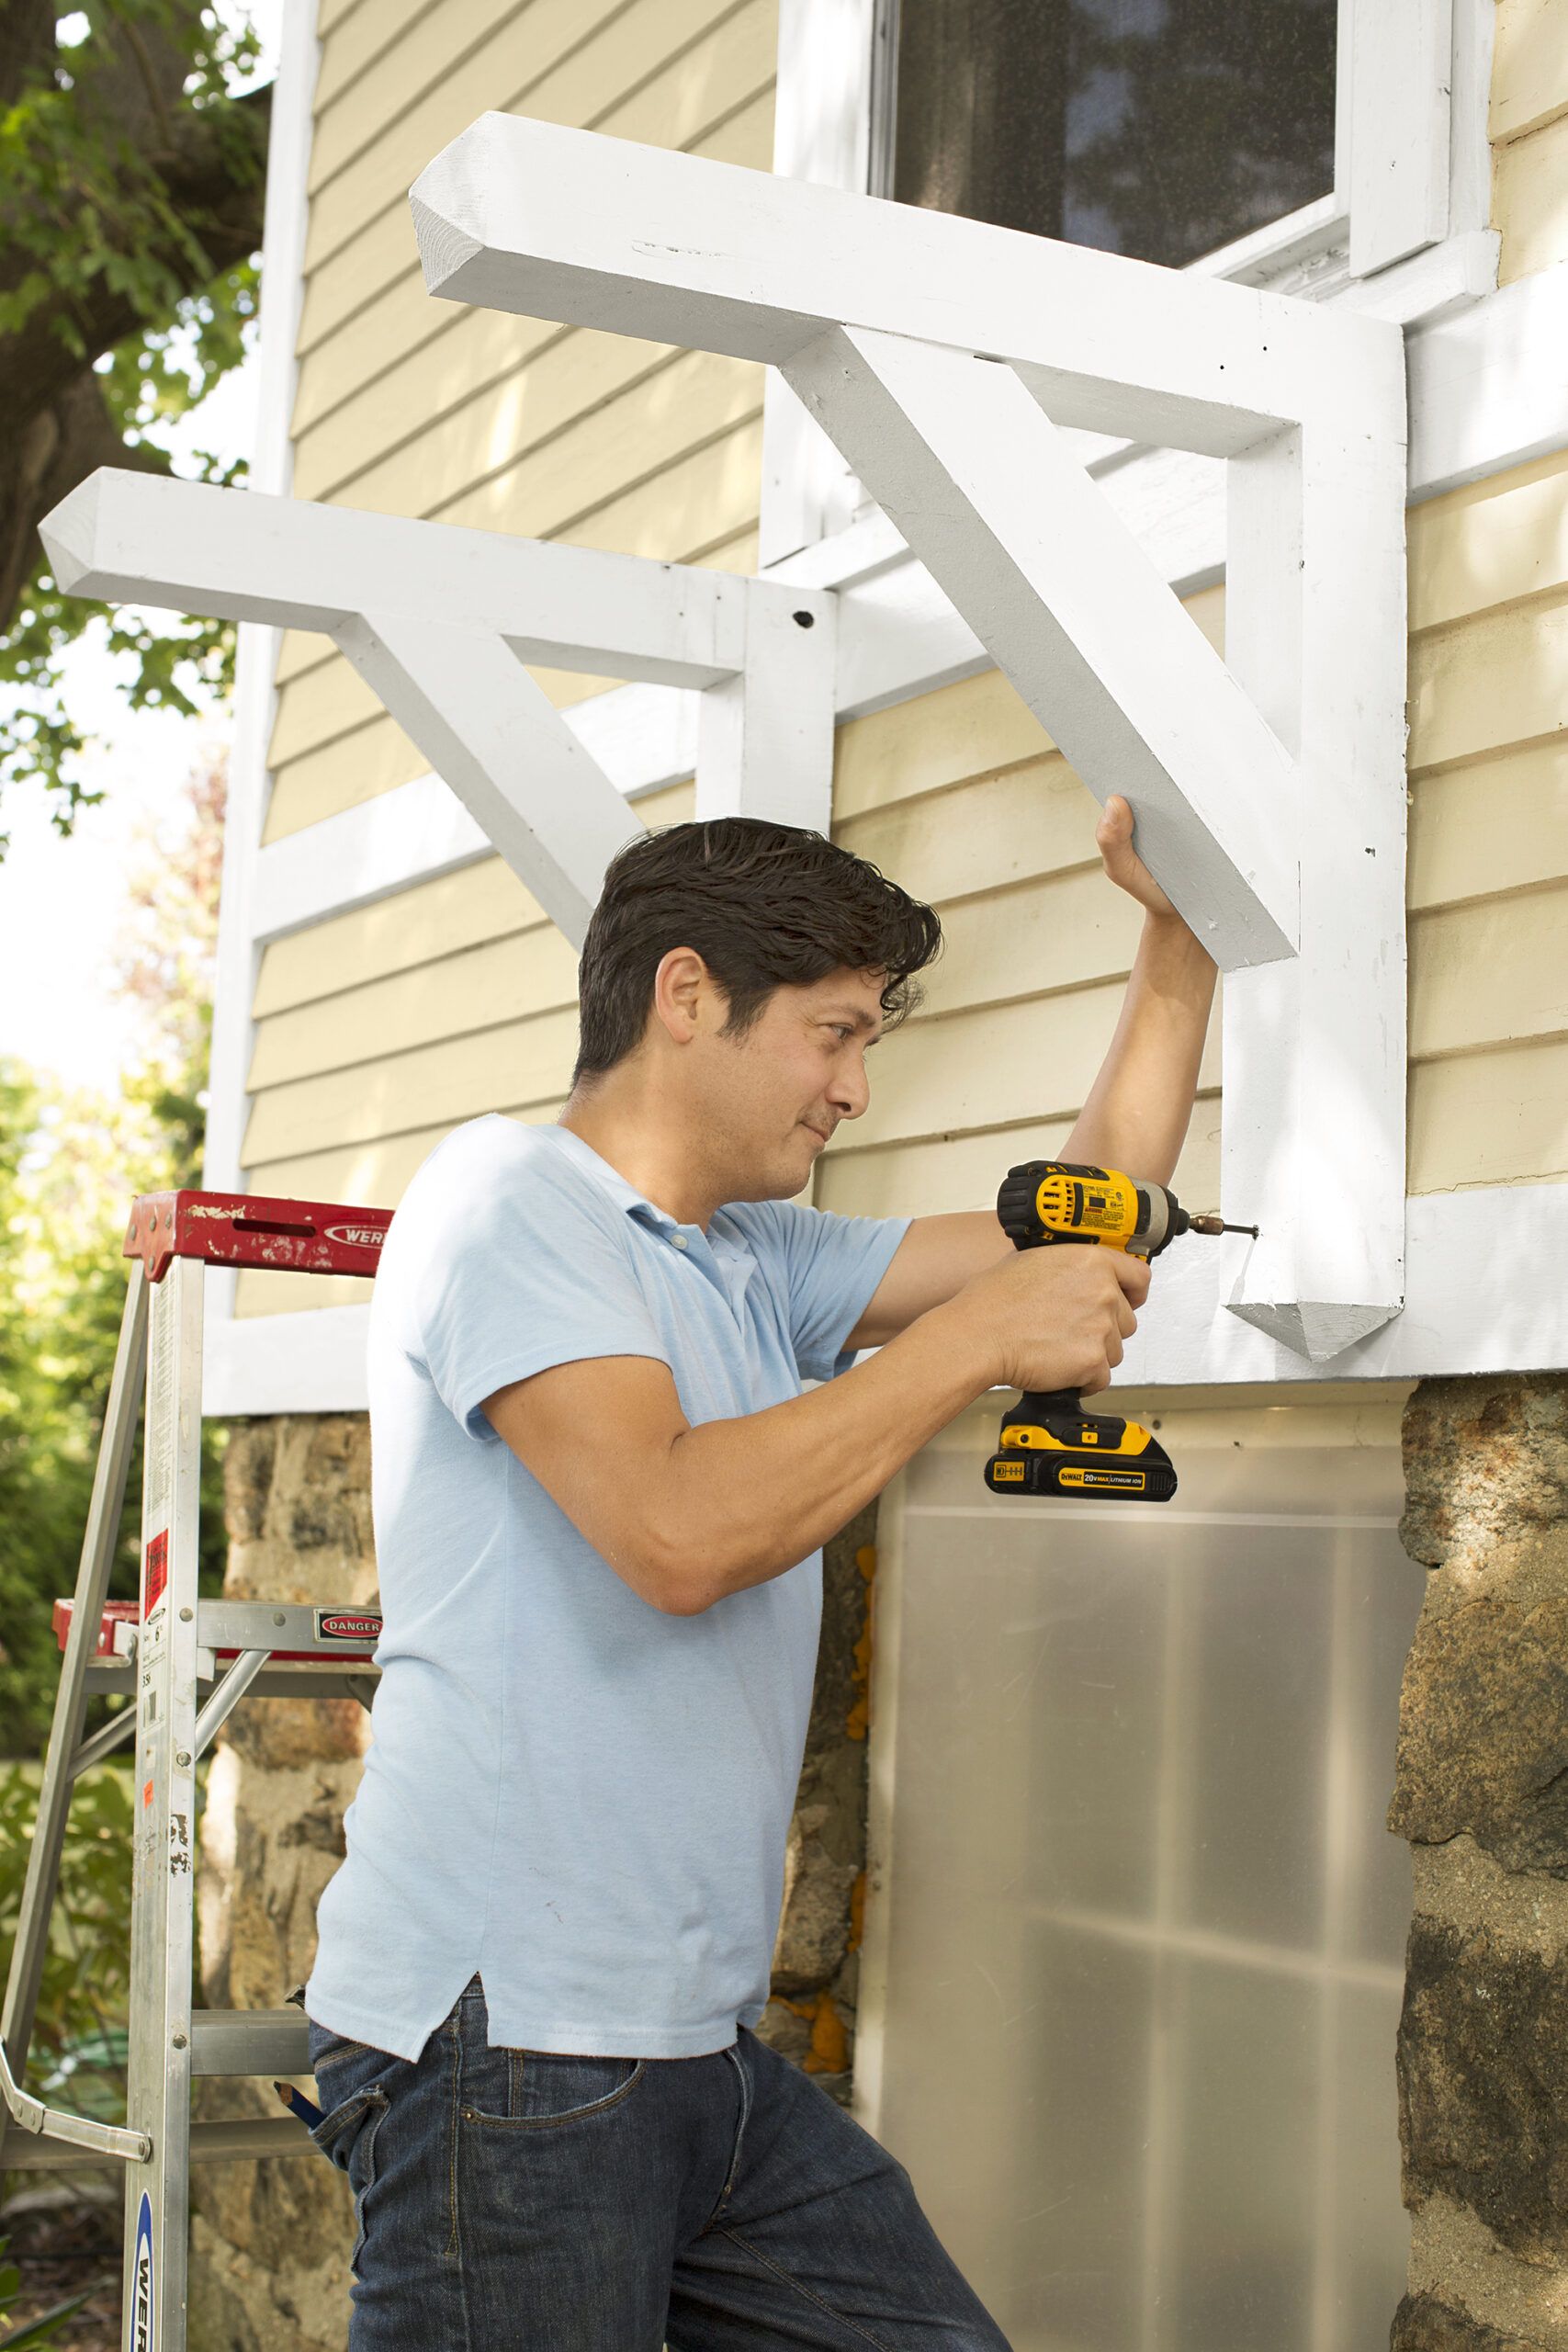
Position a bracket underneath the windowsill. Drill a shallow 3⁄8-inch pilot hole through the lower leg for the decorative buttons that will hide the screwheads. Attach the bracket to the house using a 9-inch structural screw. Check for plumb with a level, then toe-screw through both sides of the bracket’s half-lap joint and into the house with two more structural screws. This will keep the foundation secure.
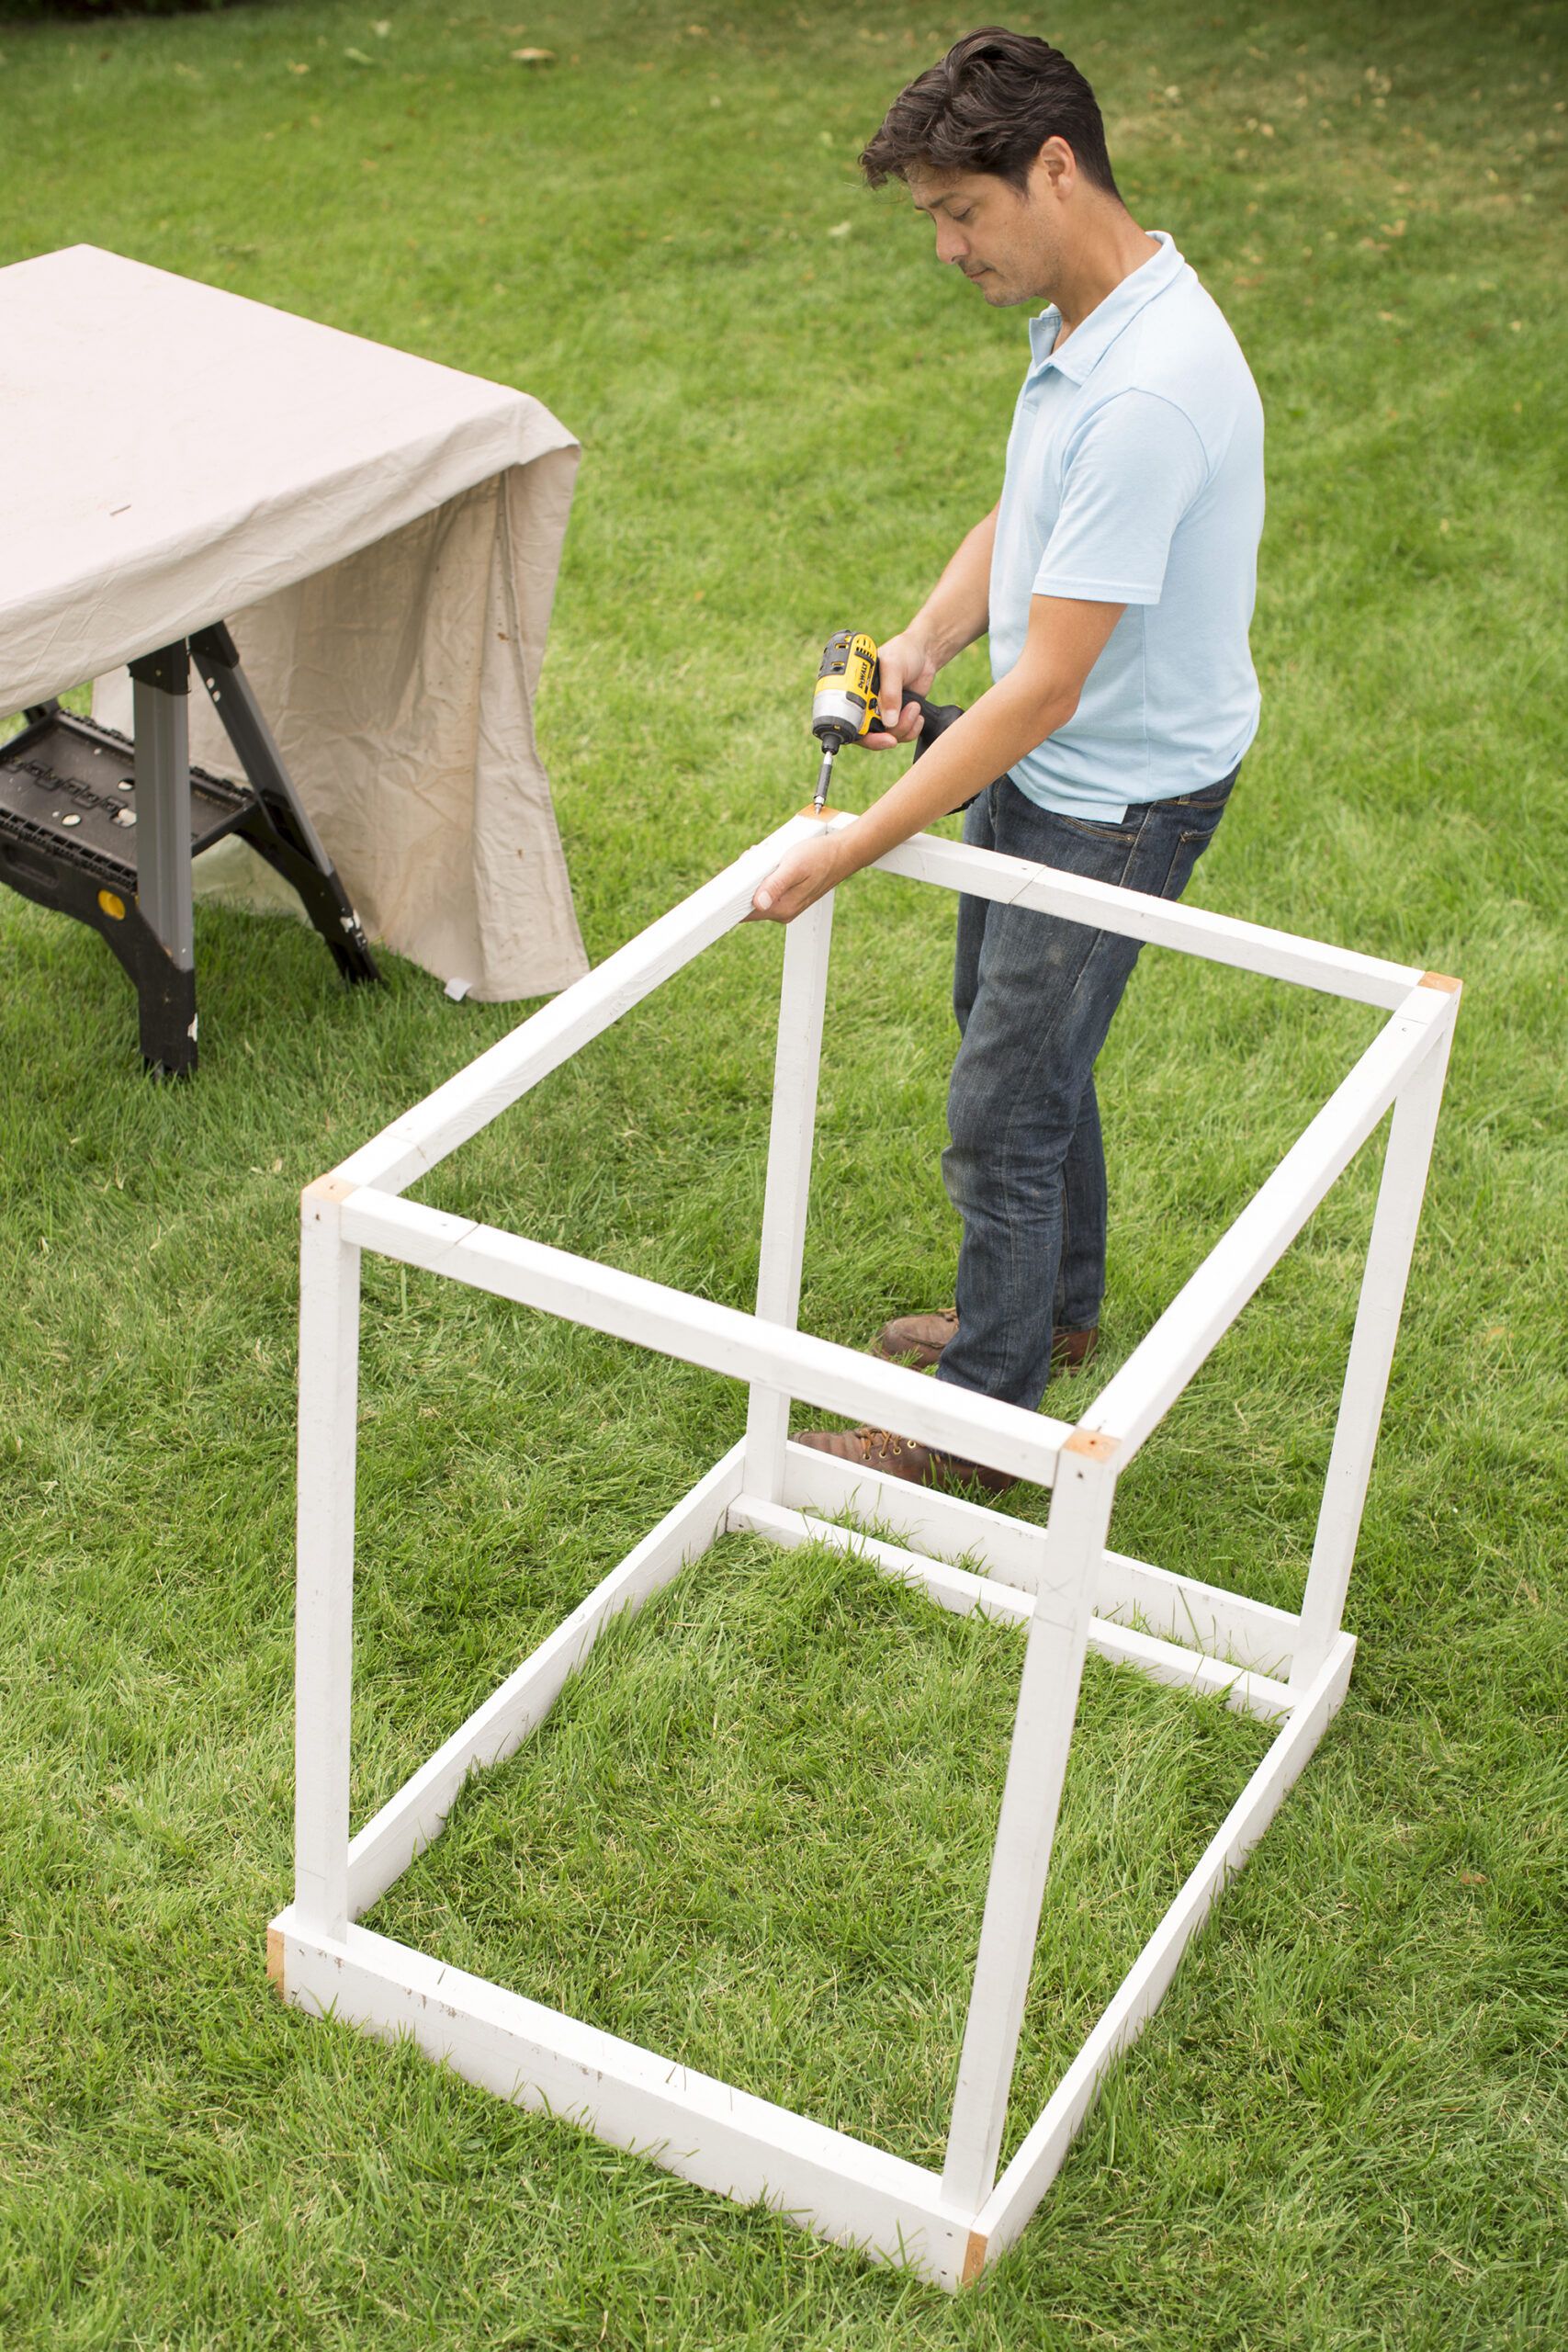
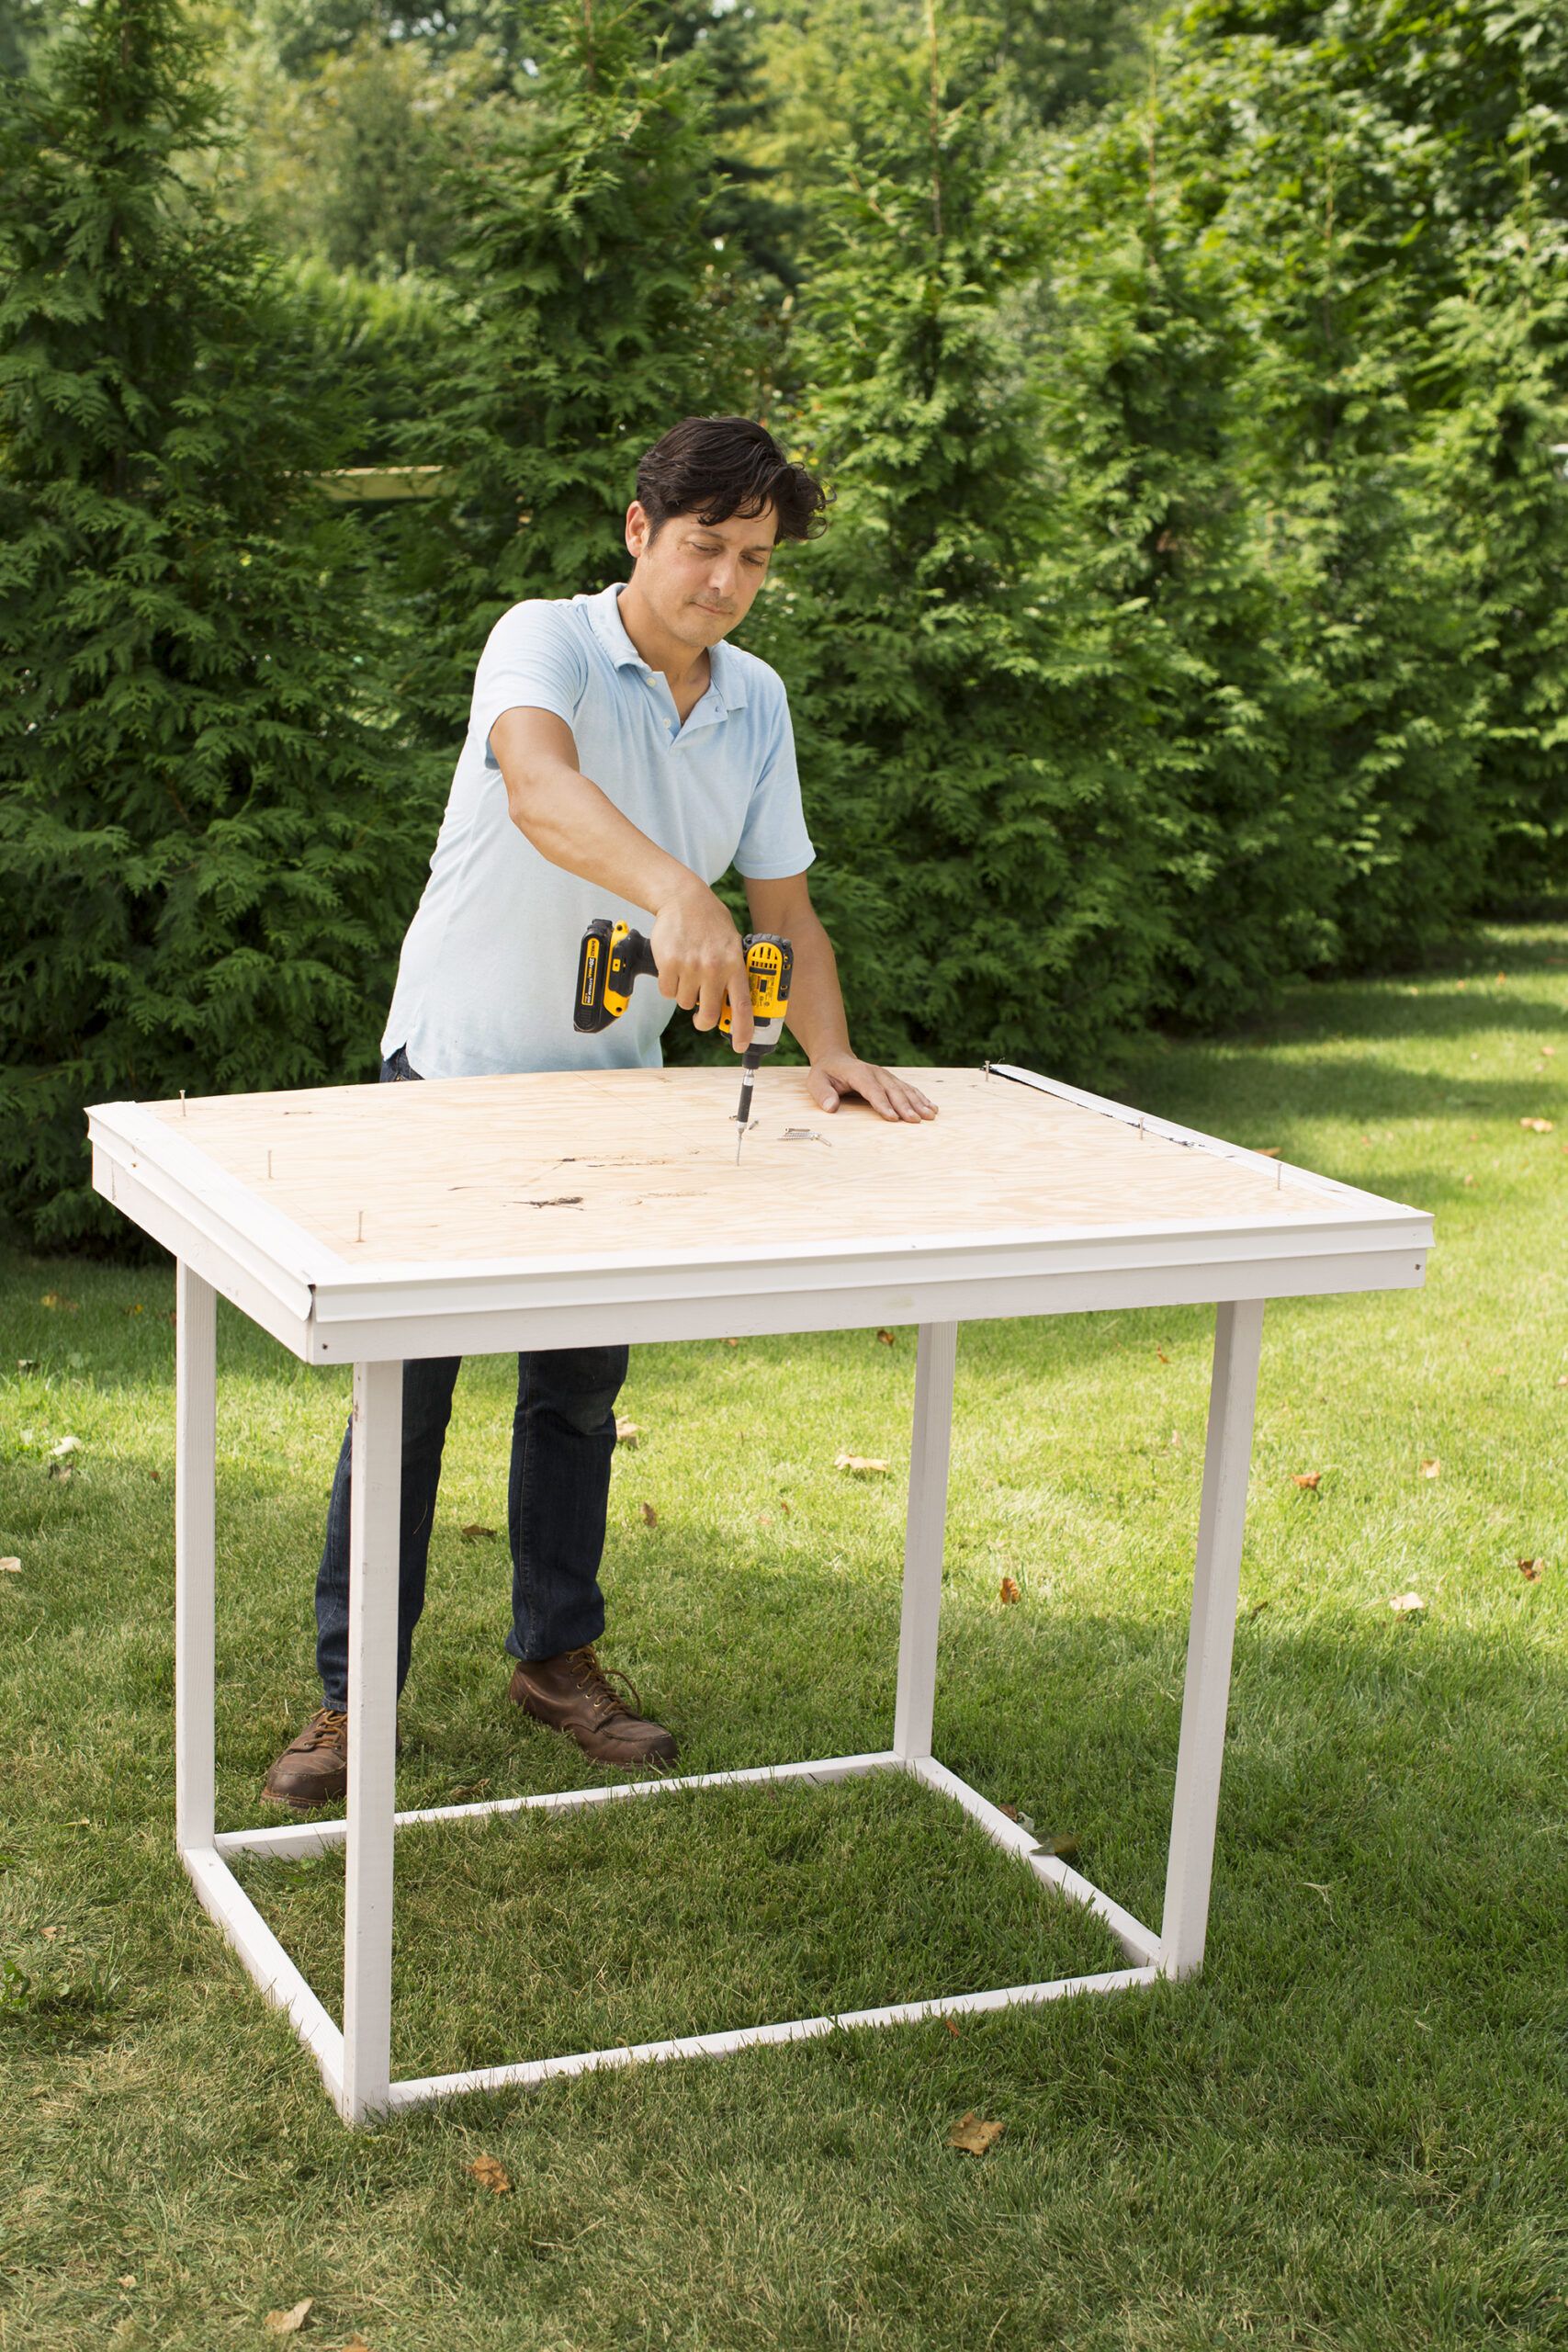
Step 16: Join the Frames
You’ll need a friend to help you stack and center the catio frames on the brackets. Clamp the frames together and fasten through the crosspieces of the upper frame into the lower one with 2 1/4-inch screws every 10 inches. Attach 1x4s to the back edges of the joined frame to pad out the window casing. Secure the lower frame to the brackets with 3-inch deck screws through the plywood supports. Finally, add the floor and screw it to the supports.
Step 17: Connect the Frame to the House
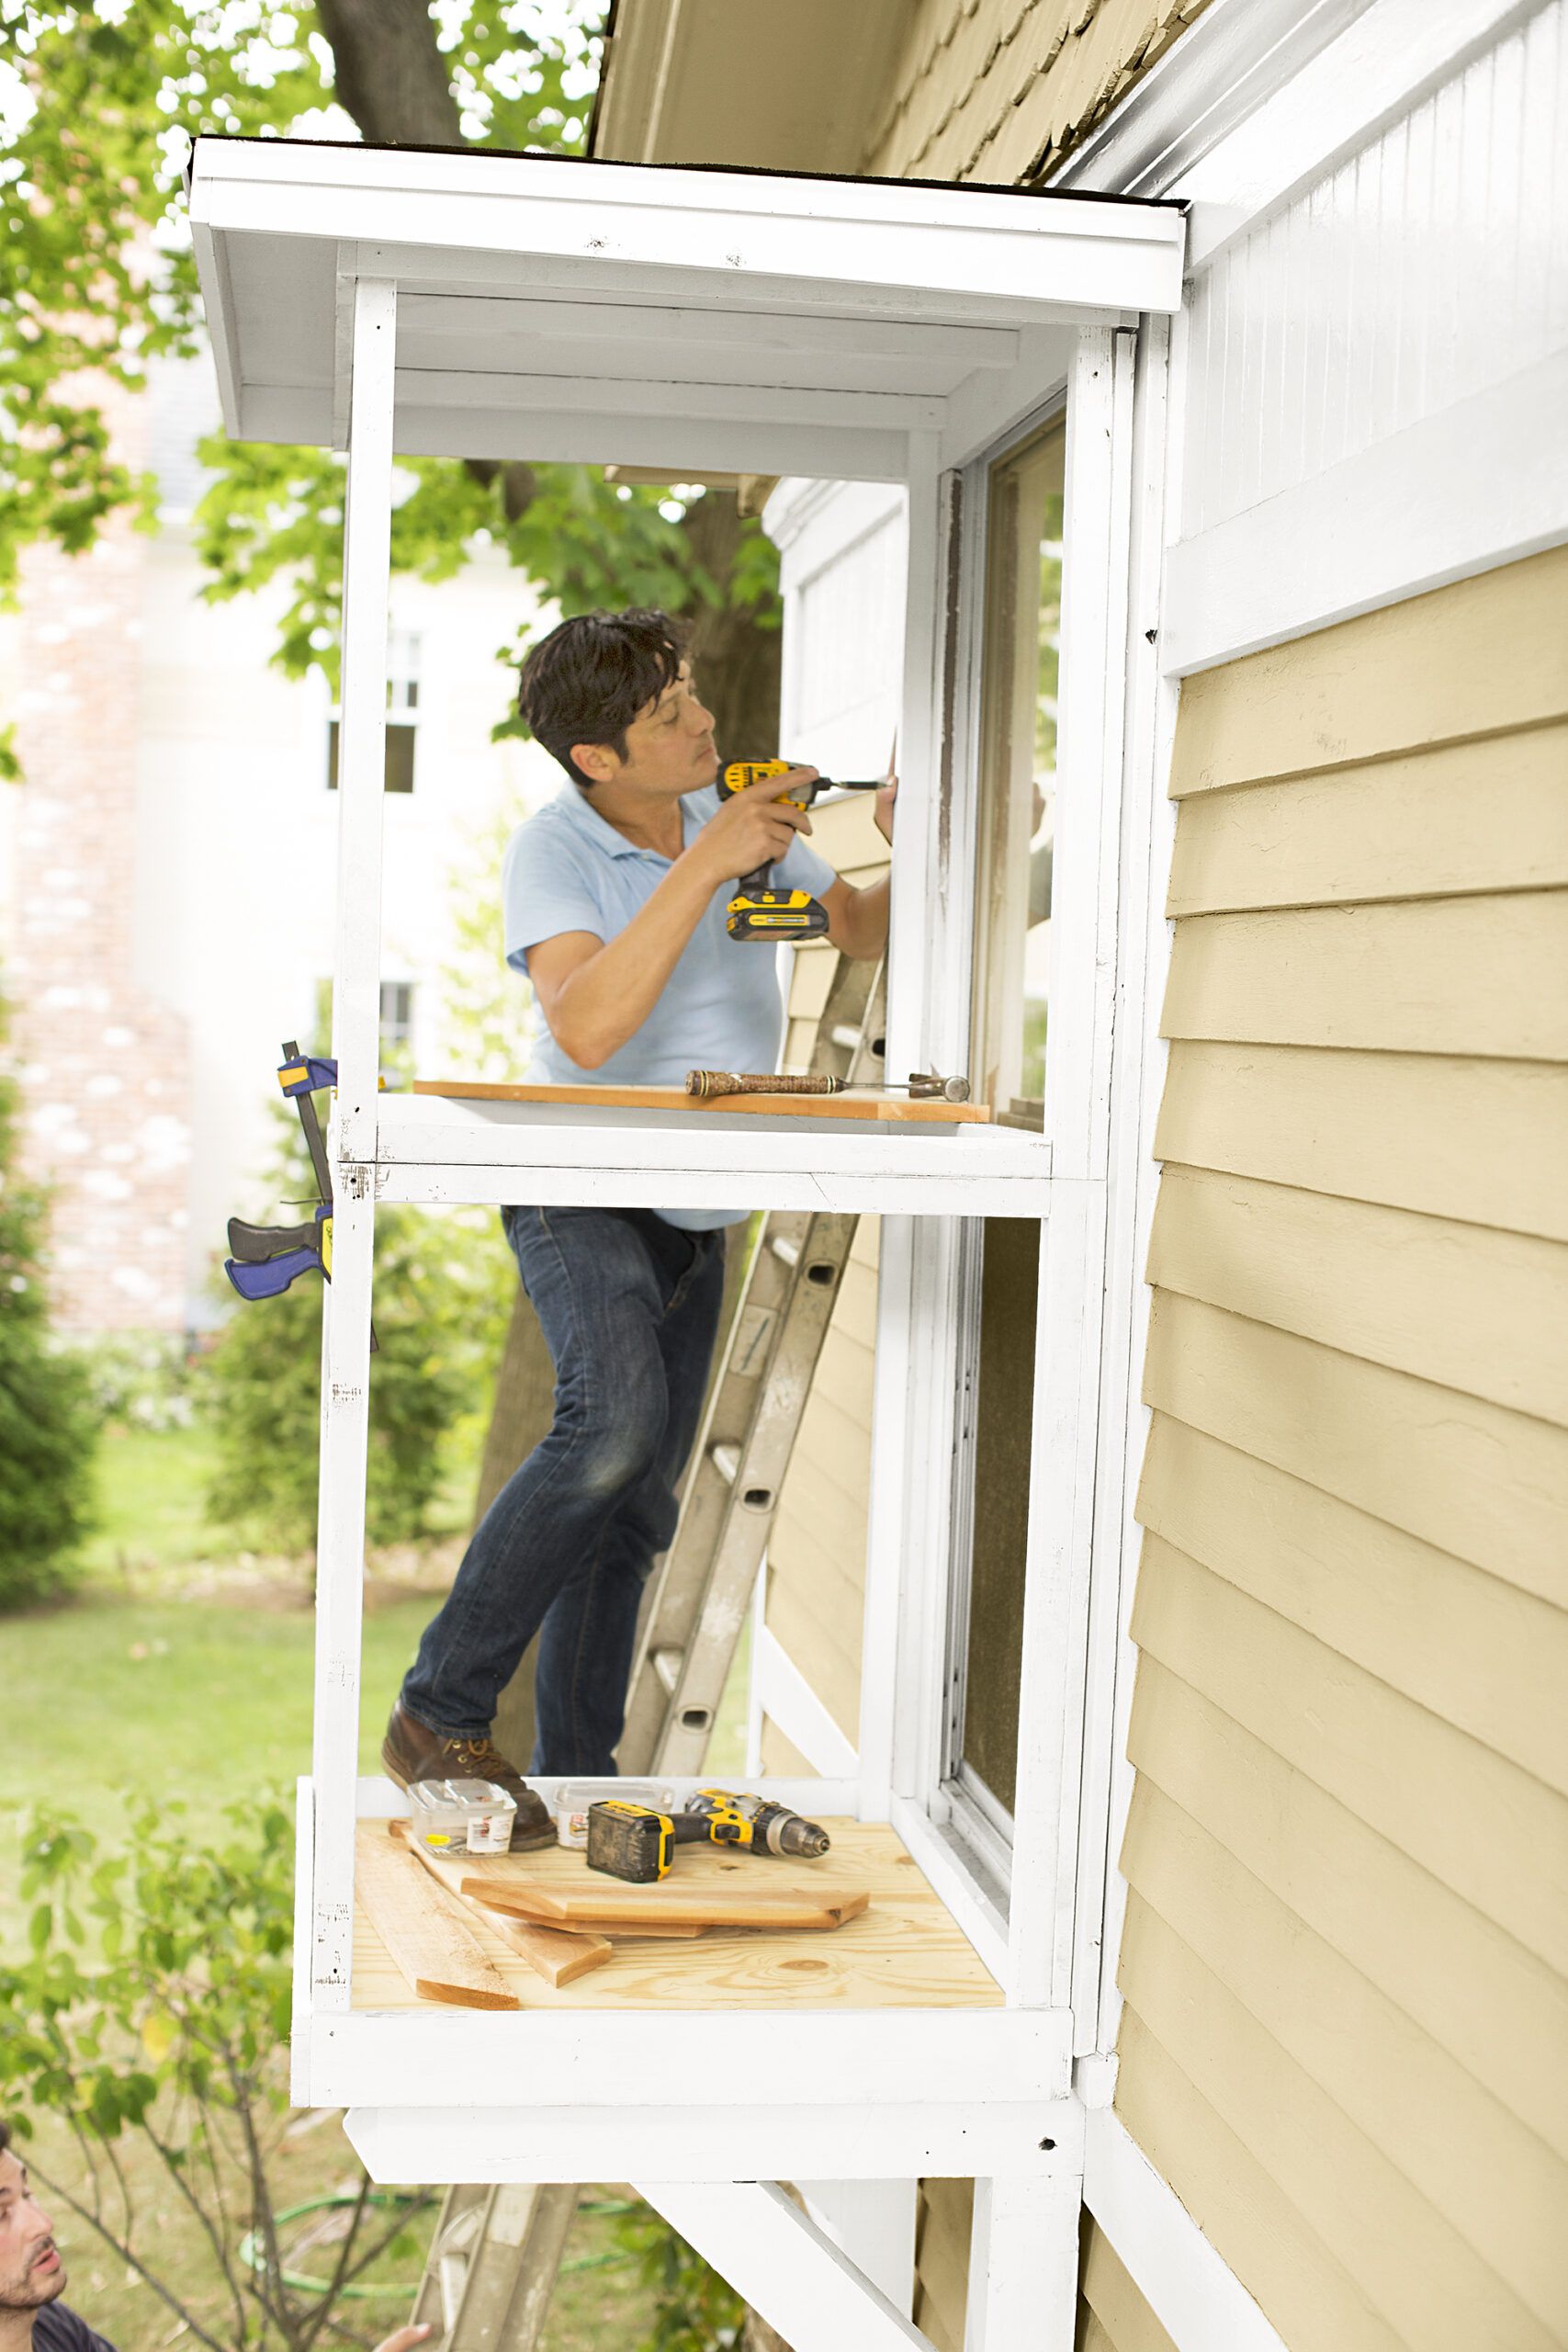
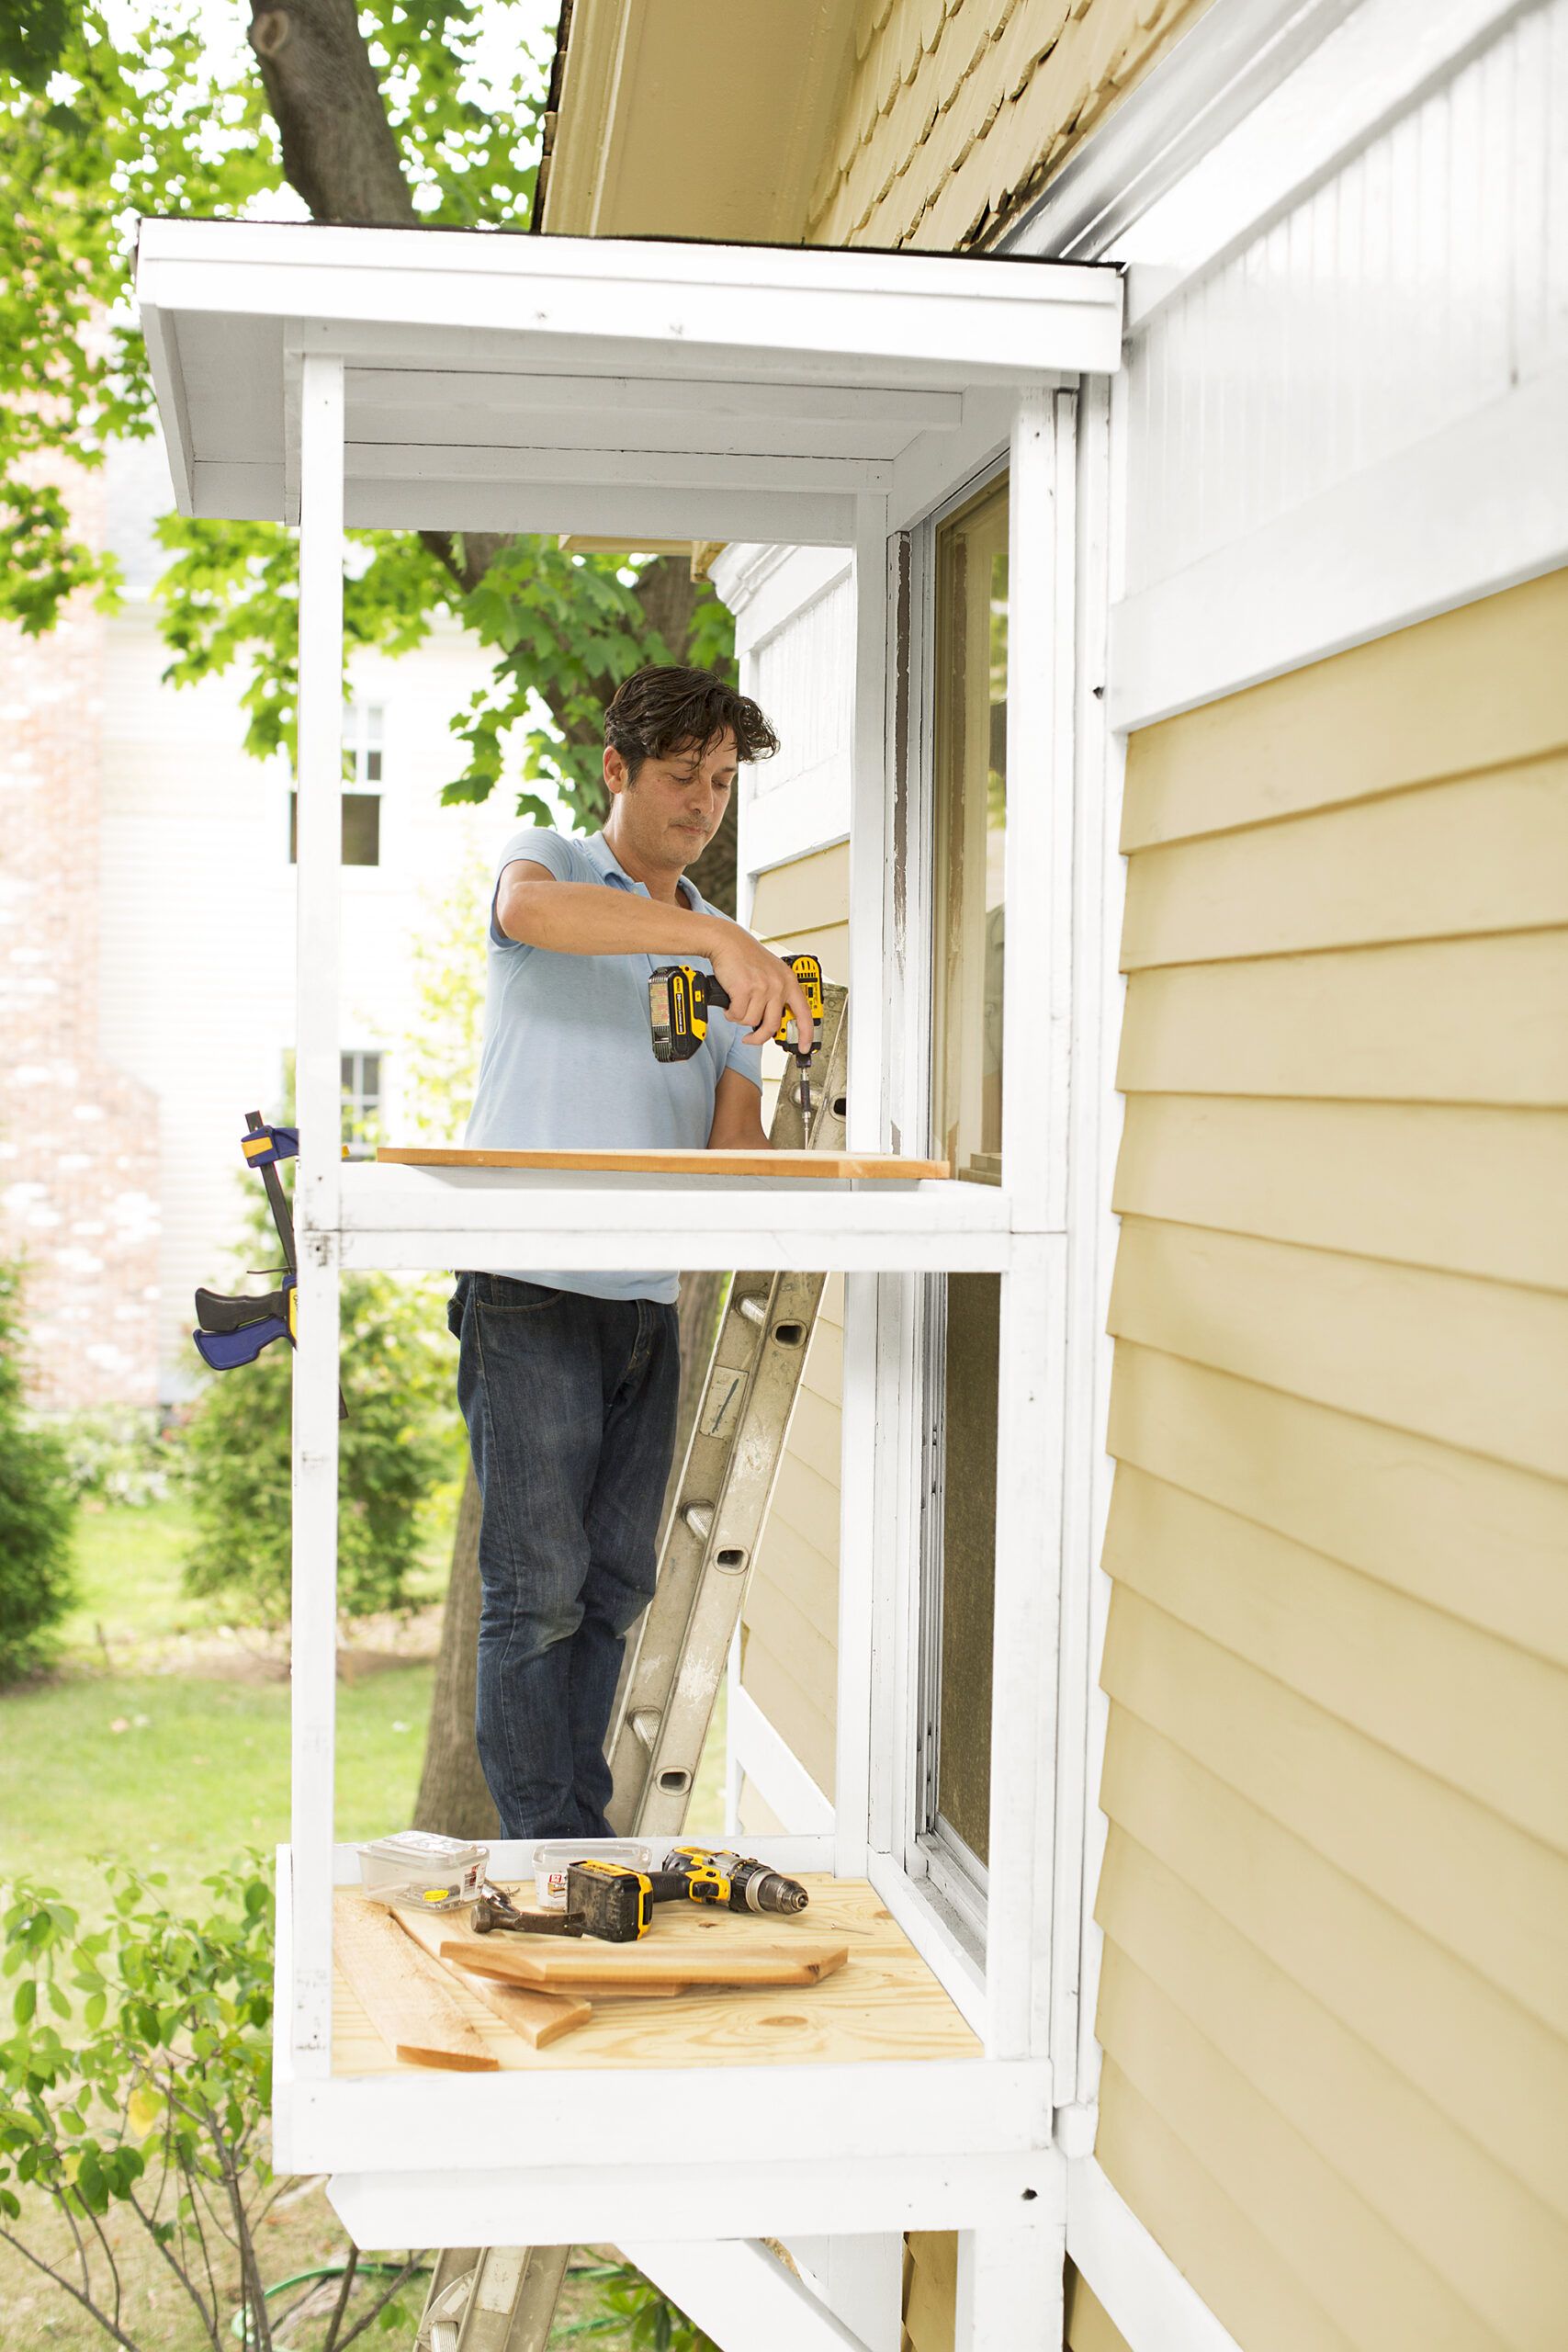
Use a level to ensure the catio frame is plumb and level. Measure for consistent spacing between the upper and lower trim boards where the screen frames will fit. Adjust for any racking by adding shims between the catio frames before fully tightening the connecting screws. Attach the cat shelf to the lower crosspieces of the upper frame. Finally, secure the entire structure to the house by driving 3-inch deck screws through the 2x2s and into the window trim at regular intervals. Double-check the alignment so that the catio is level and secure.
Step 18: Tip in the Screened Side Panels
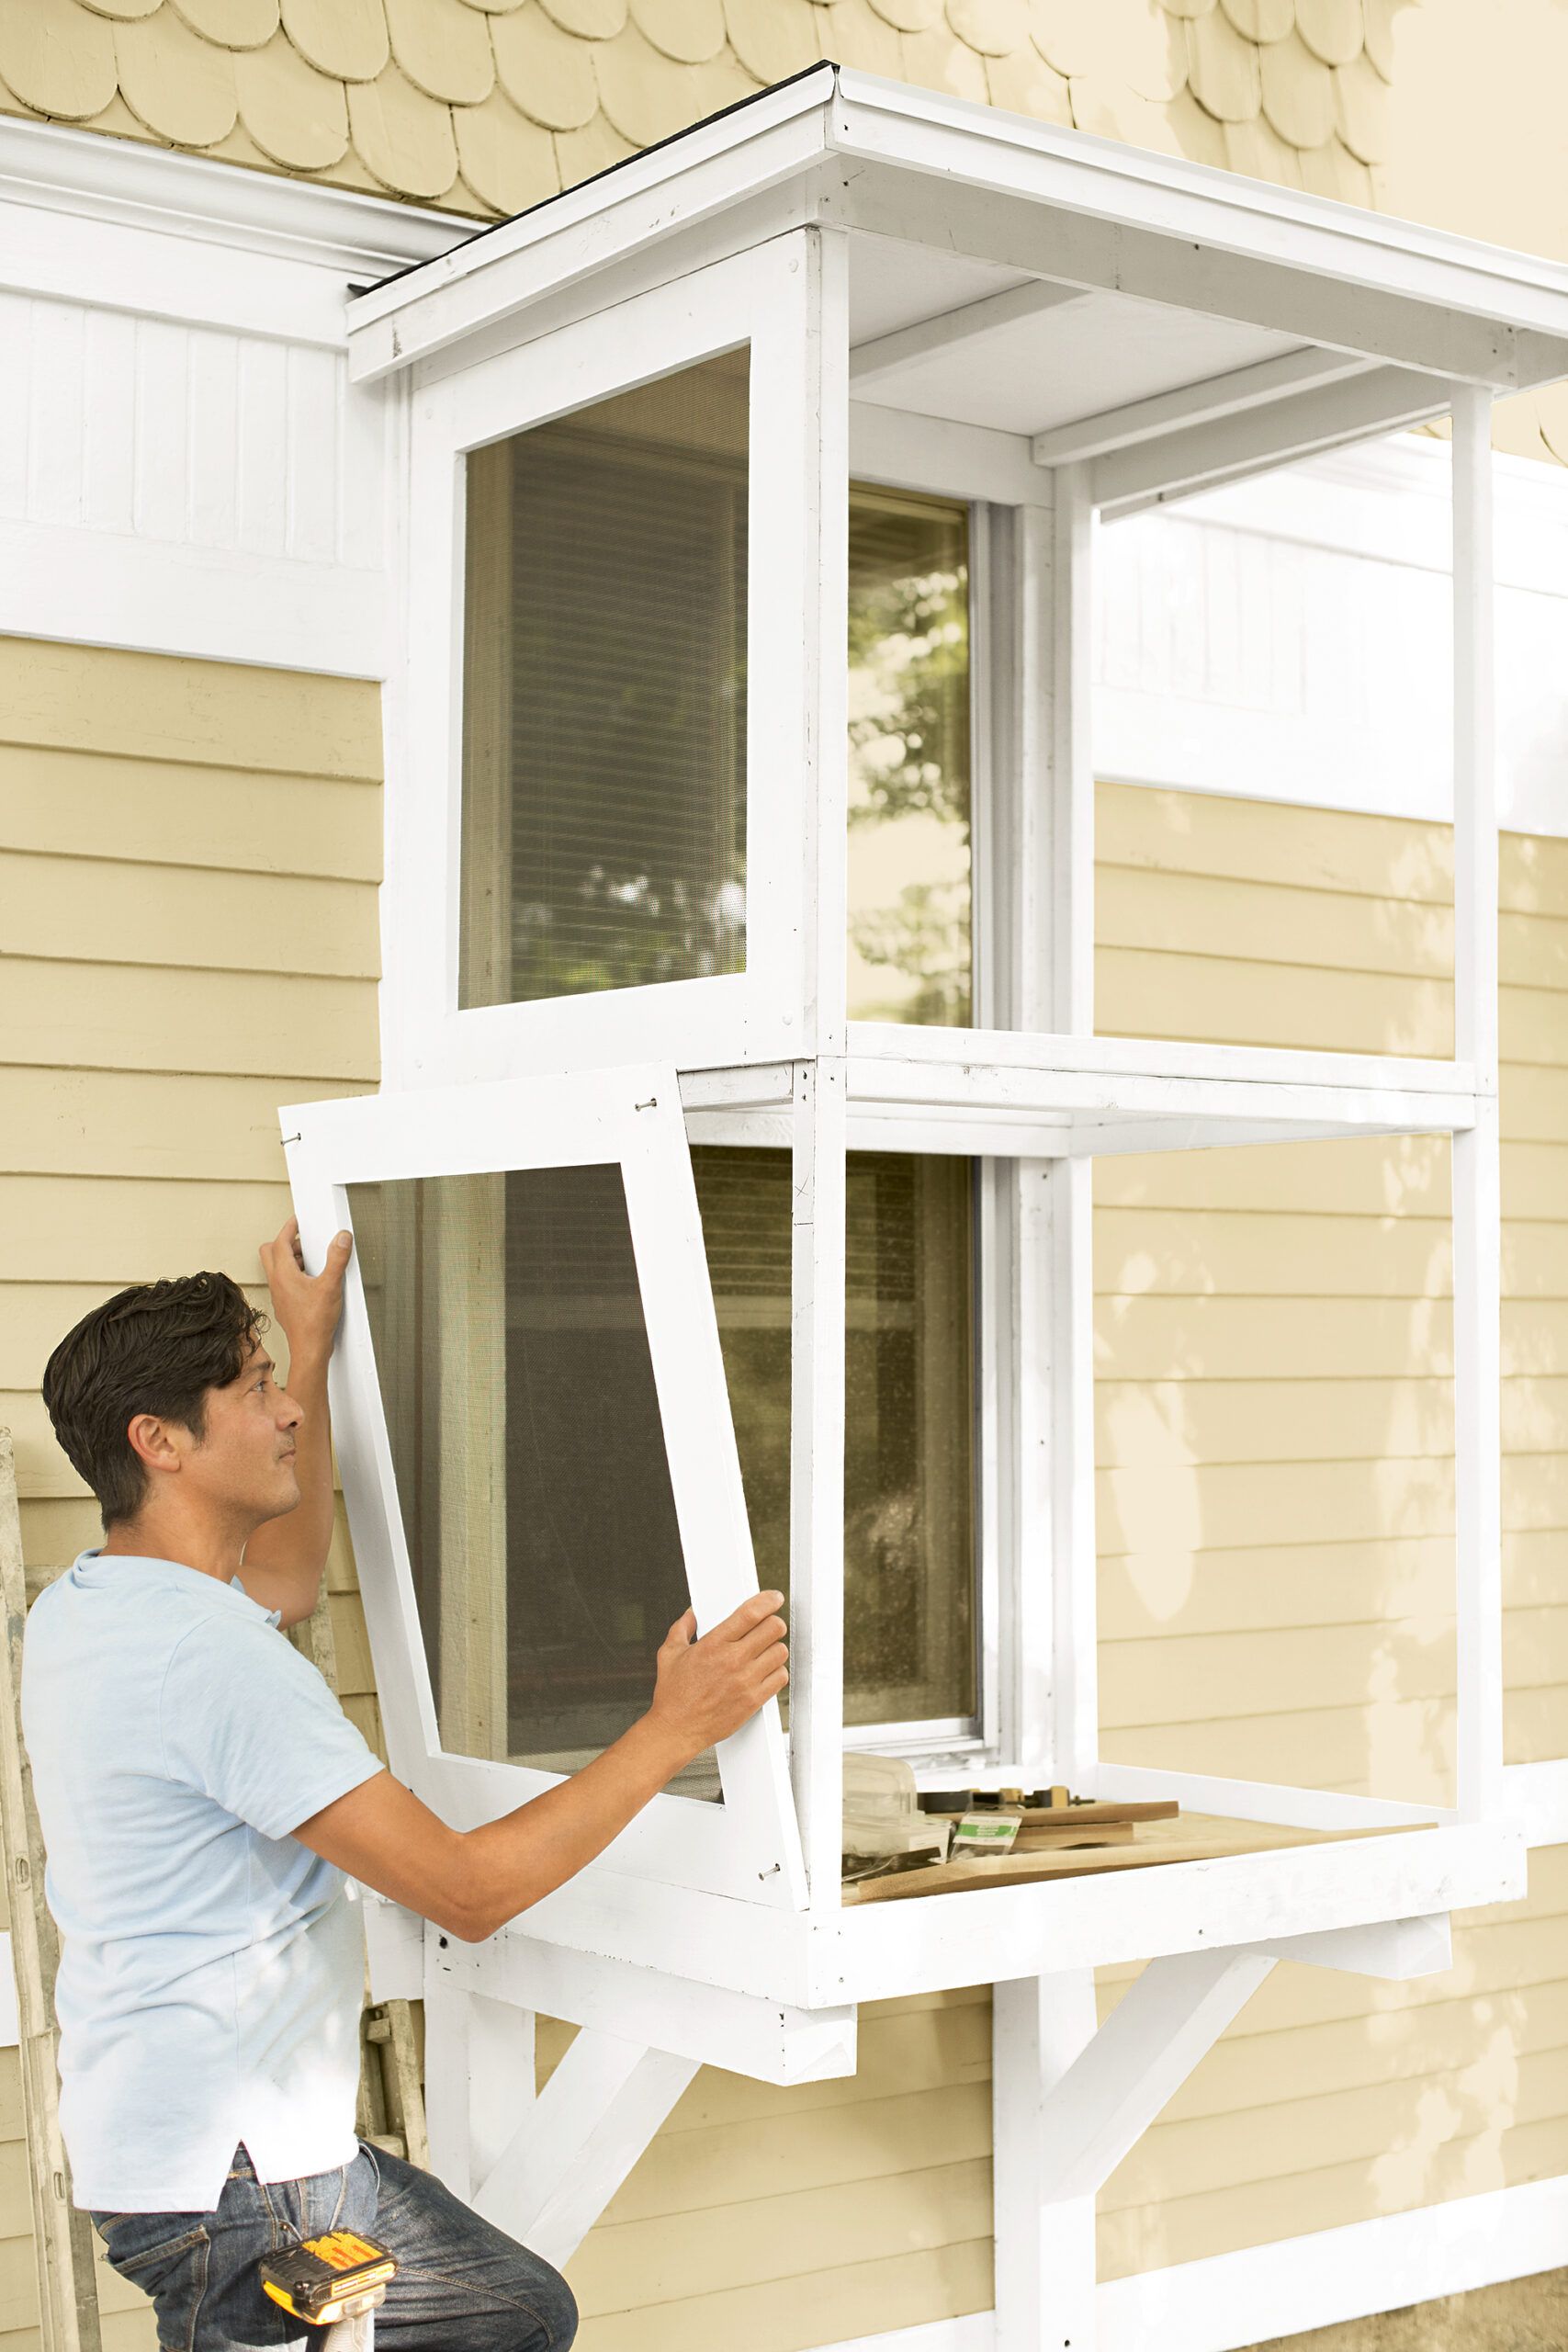
Prepare each screen panel by drilling shallow pilot holes for button plugs in each corner using a 3⁄8-inch paddle bit. Place the screen in position with the mesh facing inside and the front edge flush with the outside corner of the catio frame. This will give it a snug fit.
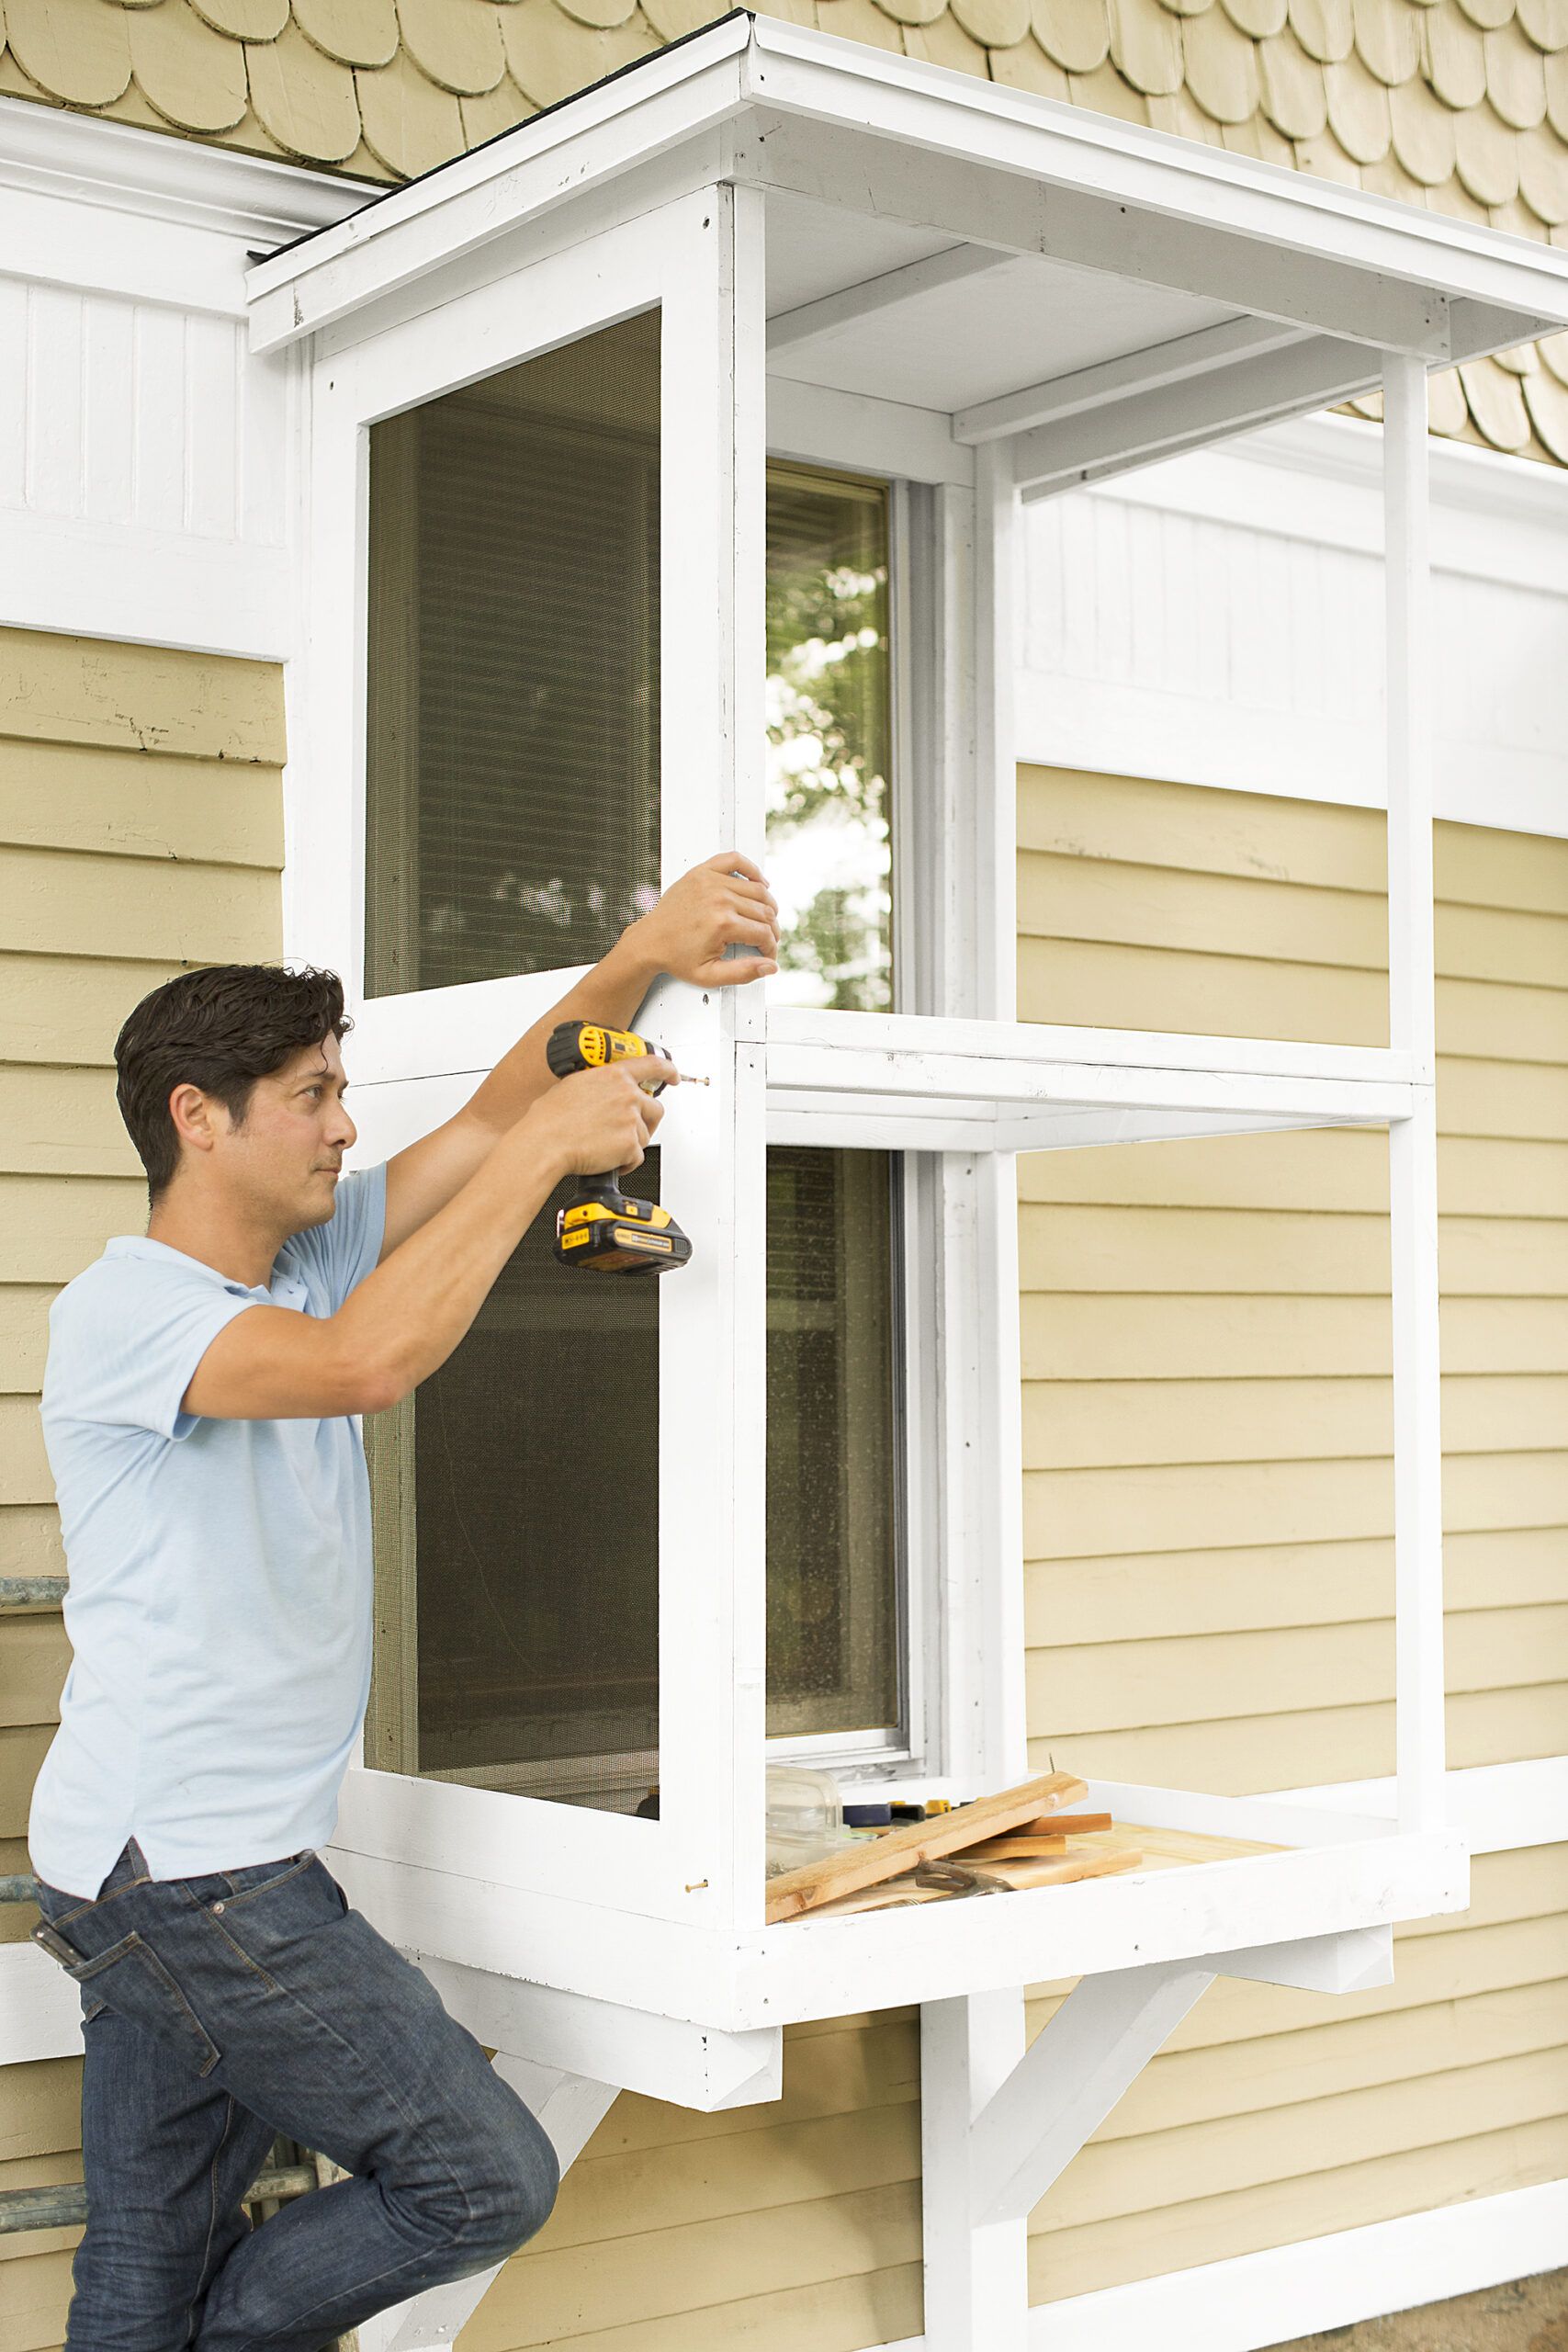
Step 19: Screw Screens in Place
Secure each screen panel with four screws, one in each corner. Press in the button plugs to conceal the screw heads for a polished look. Repeat this installation process for all sides of the catio. Once all screens are in place, apply a coat of stain to the entire structure for added protection and make it look polished.
Maintenance and Safety Considerations for a Catio Build
You can keep your cat safe by regularly inspecting the structure. Check it for loose screws, damaged screens, and signs of wear. Keep fresh water nearby so your cat has something to drink on hot days if the space gets strong sun and remember to clean it regularly so it doesn’t accumulate a lot of dust, dirt, and cat hair.
Customizing Your Catio
These instructions provide you with the basic design, but you can have a little fun adding unique elements based on your cat’s preferences. Try placing a scratching post or climbing shelves to keep your cat occupied. You can even include a cat-safe garden plant or two. If you want to give your exterior a cohesive look, you can also paint or stain the wood to match your home. Give it these final touches to reflect your style and help meet your cat’s needs.