Painting your home’s exterior can enhance your home’s curb appeal and help protect it against harsh sun, wind, and rain. Yet homeowners must select the right paint, properly prepare their homes, and use the right techniques to execute the job correctly. Read our guide to learn how to correctly paint your home’s exterior, from planning to post-paint maintenance.
Knowing When It’s Time To Paint
Homeowners should periodically inspect exterior paint jobs for signs of damage. Different variables, such as climate, can affect how long a paint job lasts, but most paint lasts for about 15 years.
Walk around the outside of your home and look for peeling, cracking, or fading. These issues indicate that it’s time for a new paint job. Inspect your home’s siding for any damage, too, such as rotted wood, loose boards, or areas through which moisture has penetrated. Attend to these issues before you start painting to extend the life of your paint job.
Selecting the Right Exterior Paint
Once you’ve determined it’s time to paint, give some thought to the type and quality of materials you’ll use. Choosing the right paint will give you the best chance at a beautiful, long-lasting finish on your home’s exterior.
Types of Exterior Paint
The two main types of house paint are water-based paint, which is also called vinyl or latex paint, and oil-based paint. Modern acrylic latex paint is the best choice for exterior painting because of its durability, flexibility, and ease of use. This paint resists fading, peeling, and blistering more successfully than oil-based paints, and can expand and contract along with changing temperatures. It also dries faster, emits fewer volatile organic compounds (VOCs), and is easier to clean.
Oil-based paint works successfully in high-traffic areas such as wood steps and porch floors. It also works well on steel- and cast-iron railings because it repels water.
Paint Quality
High-quality paints typically cost more upfront, but they last longer, look better, and adhere to your home’s exterior more easily. We recommend paints with titanium dioxide pigments and at least 45% solids by weight. All-acrylic binders resist weathering better than vinyl or vinyl-acrylic binders, so check the can for a “100% acrylic” label, or make sure the list of ingredients includes acrylic polymer.
Color Selection Tips
Consider the following variables when choosing a color for your home’s exterior:
- The colors of neighboring houses
- The natural surroundings
- Your home’s fixed elements (roof, stonework, etc. )
- Your home’s architectural style
Test several colors by painting large swatches on different sides of your house. Observe how the colors look at different times of day and in various weather conditions
Calculating Paint Quantity
To estimate how much paint you’ll need, multiply the perimeter of your house by the height. Subtract the total area of doors and windows, then divide the result by the coverage listed on the paint can. This is usually about 400 square feet per gallon. The result is the number of cans you’ll need for a single coat.
Use an online calculator if you need additional help. We recommend adding at least one extra gallon to your order for touch-ups. Remember, too, that textured or porous surfaces may require more paint. This is especially important if you’re purchasing a custom paint color.
Essential Tools and Materials for Exterior Painting
Make sure you have the right tools and materials on hand before you start your project. This will make the process smoother and more efficient.
Primer Options
Apply a coat of primer before you start painting to protect your house paint from wind, water, and other weather damage. The paint will last longer this way, and your house will look better. Try to buy your paint and primer from the same manufacturer for the sake of compatibility.
Aim for a high-quality latex acrylic primer with 100% acrylic binders, unless you are painting cedar and redwood. In that case, use oil-based primers and an oil-based topcoat to prevent tannins in the wood from bleeding through the new paint.
Brushes, Rollers, and Sprayers
Whether you should use brushes, rollers, and sprayers to apply your paint depends on your home’s exterior surface and your personal preference. Brushes offer the most control and are ideal for detailed work. Rollers can cover large, flat areas quickly. Brushes and rollers are more physically demanding to use, but they afford you greater control of your project.
Paint sprayers work quickly but require more prep work and skill to avoid drips and overspray. You’ll also need up to three times more paint, and you’ll waste some in the transfer process. Be meticulous about blocking off areas that you don’t want to paint if using a sprayer, and wear a mask to protect yourself against atomized paint spray.
Safety Equipment
Prepare the necessary safety equipment below before you begin your project to protect you from falls, paint fumes, and debris:
- A sturdy ladder
- Drop cloths to protect plants and surfaces
- Dust masks or respirators
- Non-slip shoes
- Safety glasses
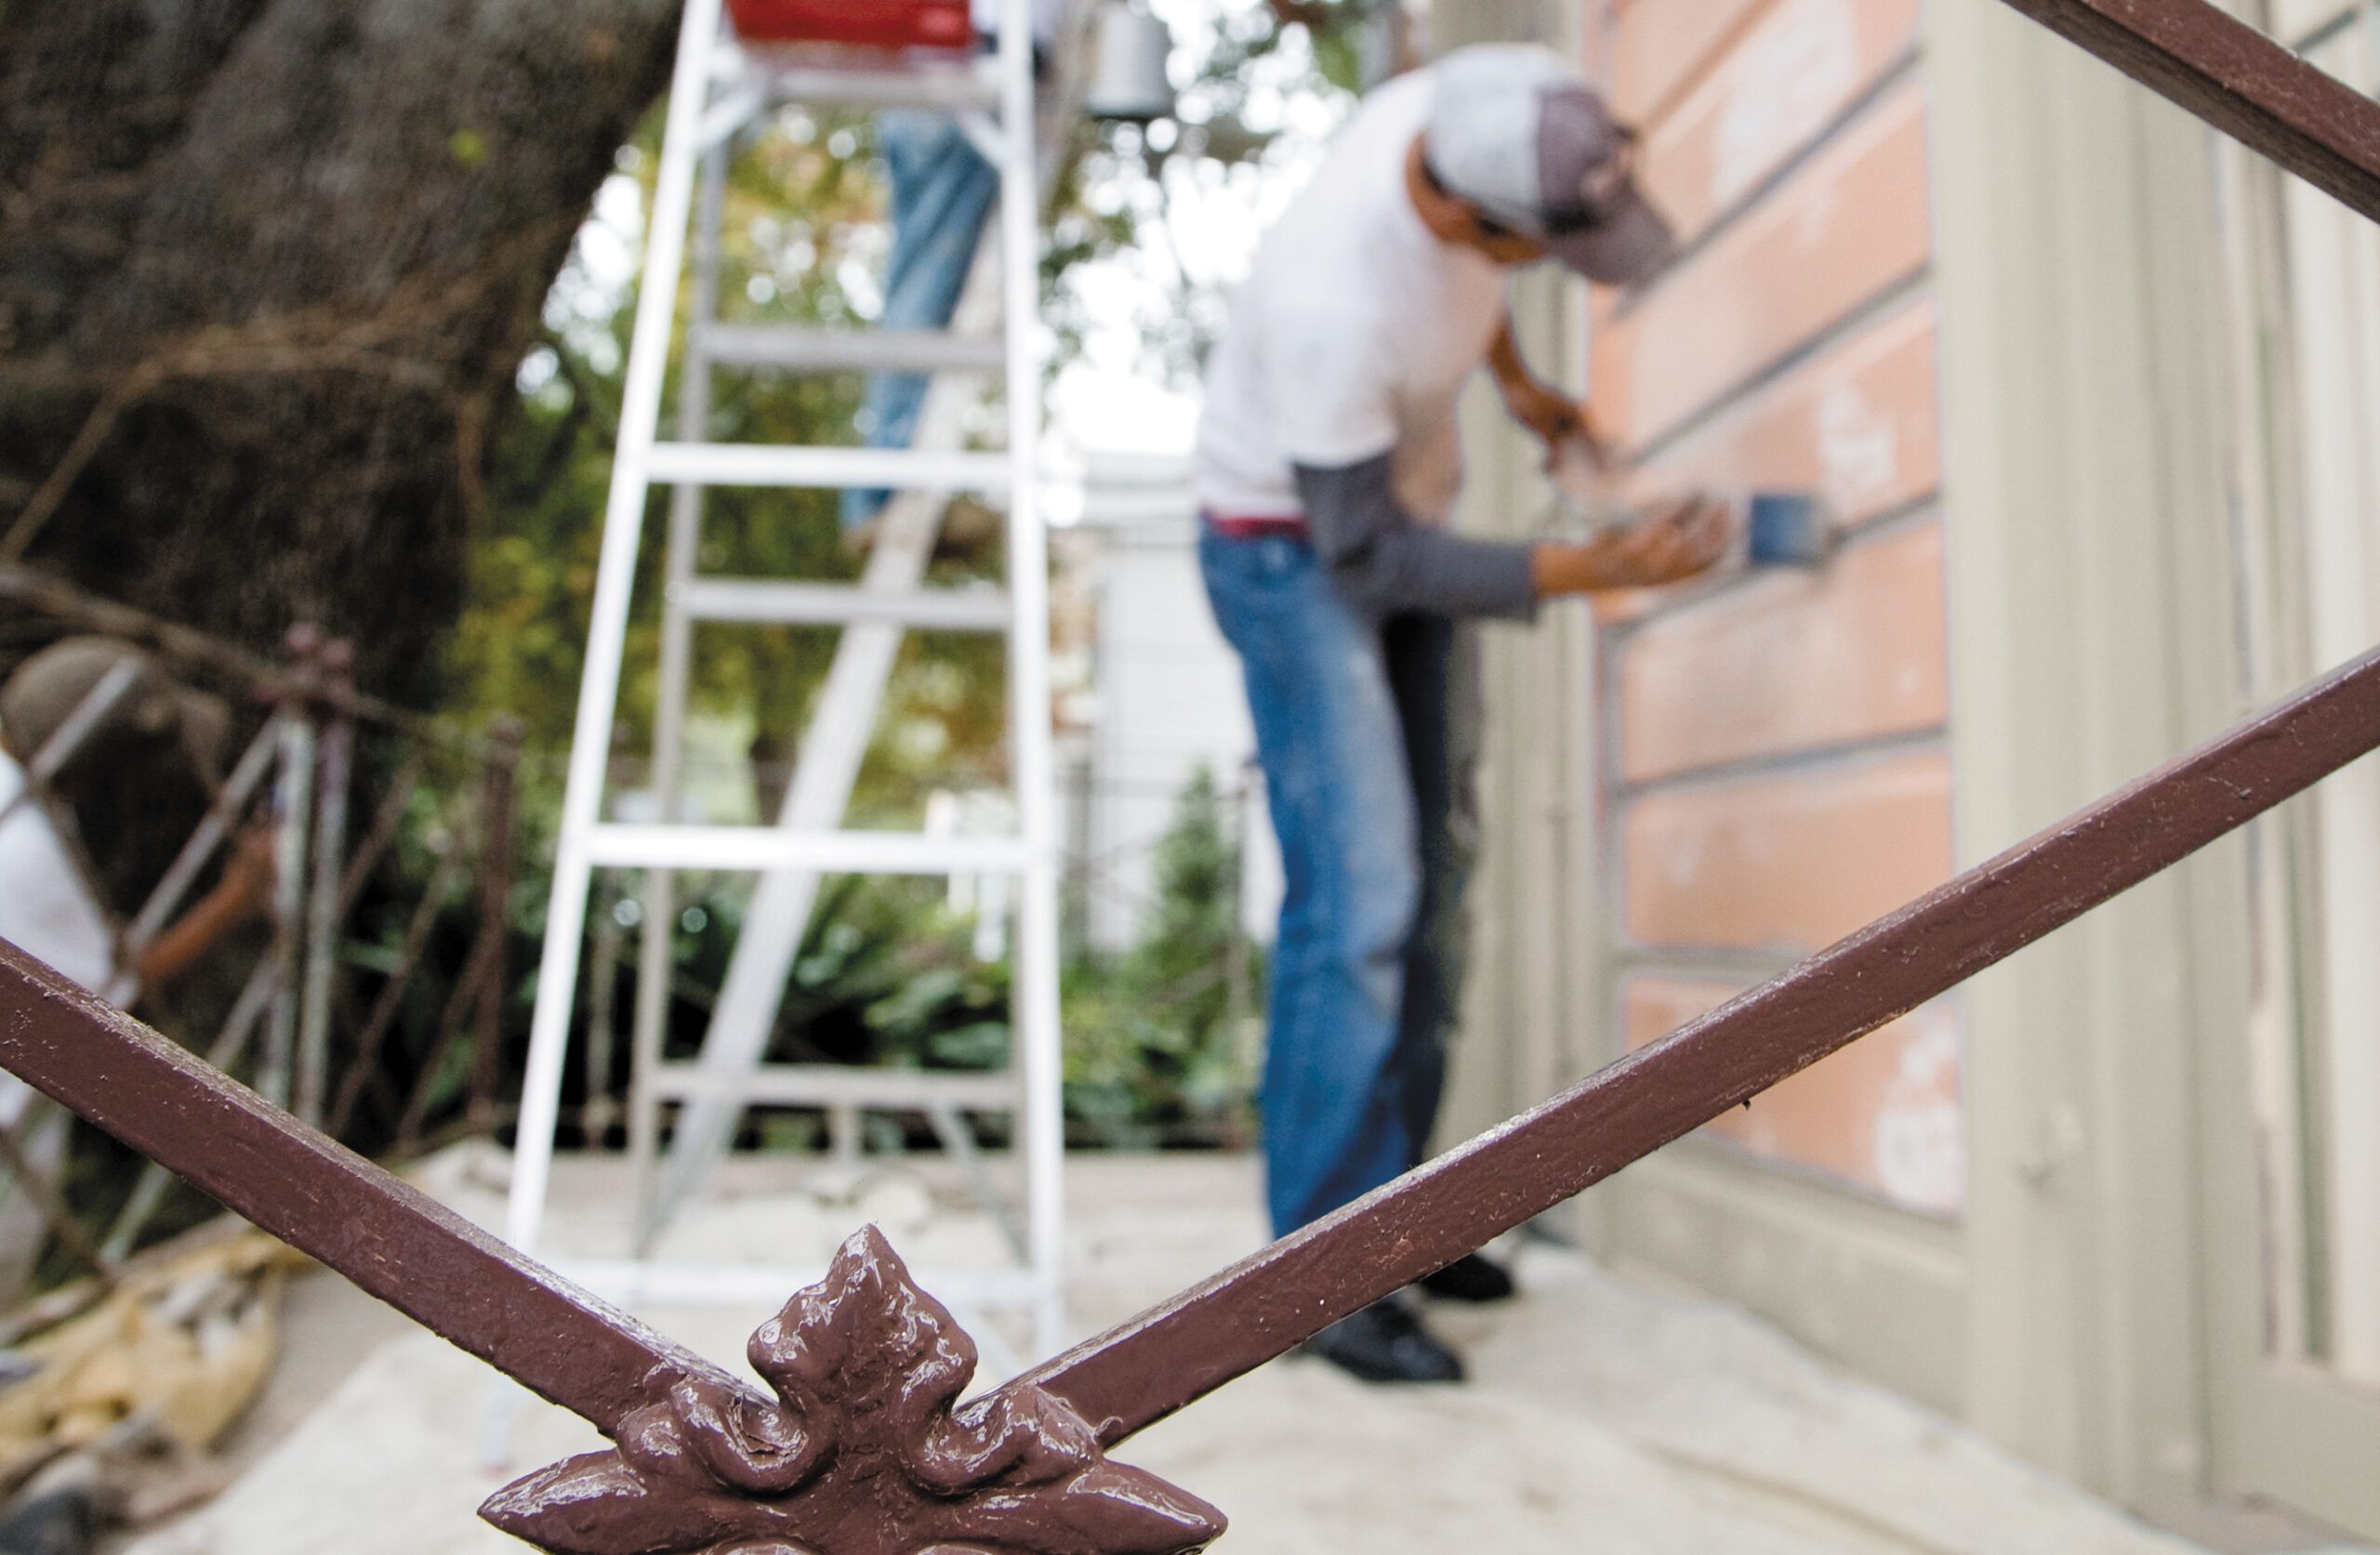
Preparing Your Home’s Exterior for Painting
Proper preparation is the key to a successful and long-lasting exterior paint job. This can be the most time-consuming step, but it’s important for achieving professional-quality results.
Cleaning and Power Washing
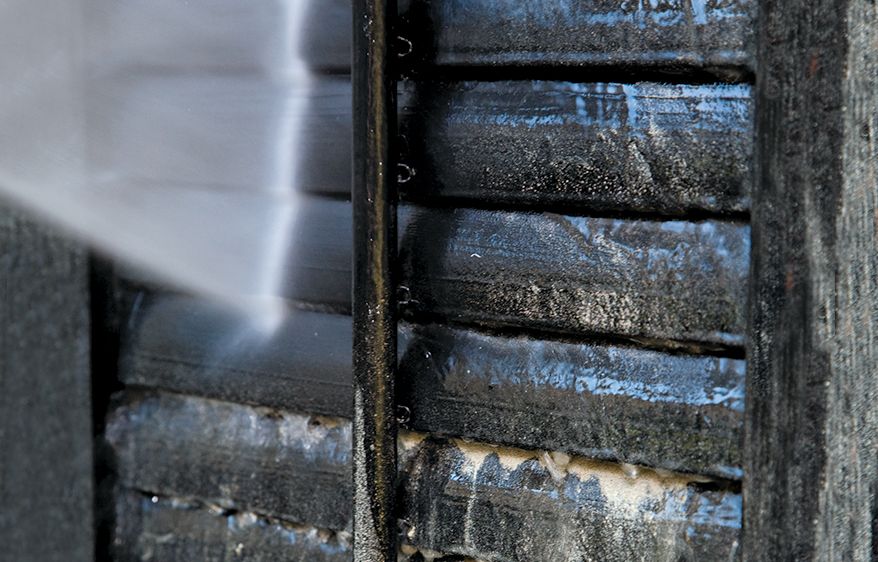
Scrub your exterior surface to remove dirt, mildew, and broken-down paint residue that can keep fresh paint coats from adhering to your walls. Most contractors clean with pressure washers, but if you aren’t familiar with this equipment, you can gouge wood, shatter glass, and drive water behind your siding and trim. You can use a hose, a pump sprayer, or a scrub brush to safely and effectively clean.
Before you begin the scrub-down, protect nearby plants by misting their leaves and saturating the surrounding soil with water. Pull them away from the house if possible, and shroud them in fabric drop cloths. Lay additional drop cloths along the base of the walls to collect any falling paint debris.
Wet your walls before you scrub them, then wash them with a mixture of 1 gallon of water, 1 cup of chlorine bleach, and 1 cup of either a concentrated, phosphate-free cleaner, such as a trisodium phosphate substitute, or Jomax House Cleaner. Work from the bottom to the top to avoid streaks. Rinse your walls well before the solution dries. Wood siding and trim should be ready to paint after a day or two of dry weather.
Scraping and Sanding
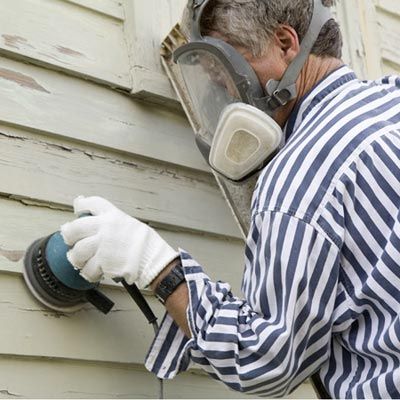
Homes built before 1978 may contain lead paint. If you suspect your paint may contain lead, have it tested before disturbing it with scrapers or sanders. Carefully chip off a small sample and use an EPA-recognized lead test kit or send it to an accredited lab for testing. If the paint is lead-free, you only need to wear a mask and lay down tarps to catch debris before proceeding.
Scraping
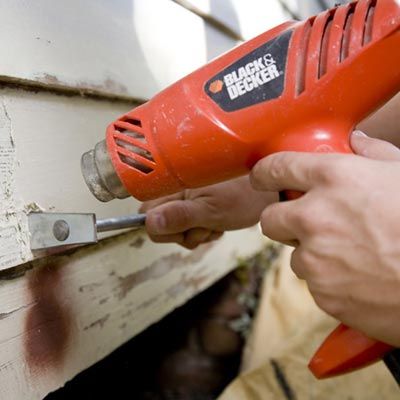
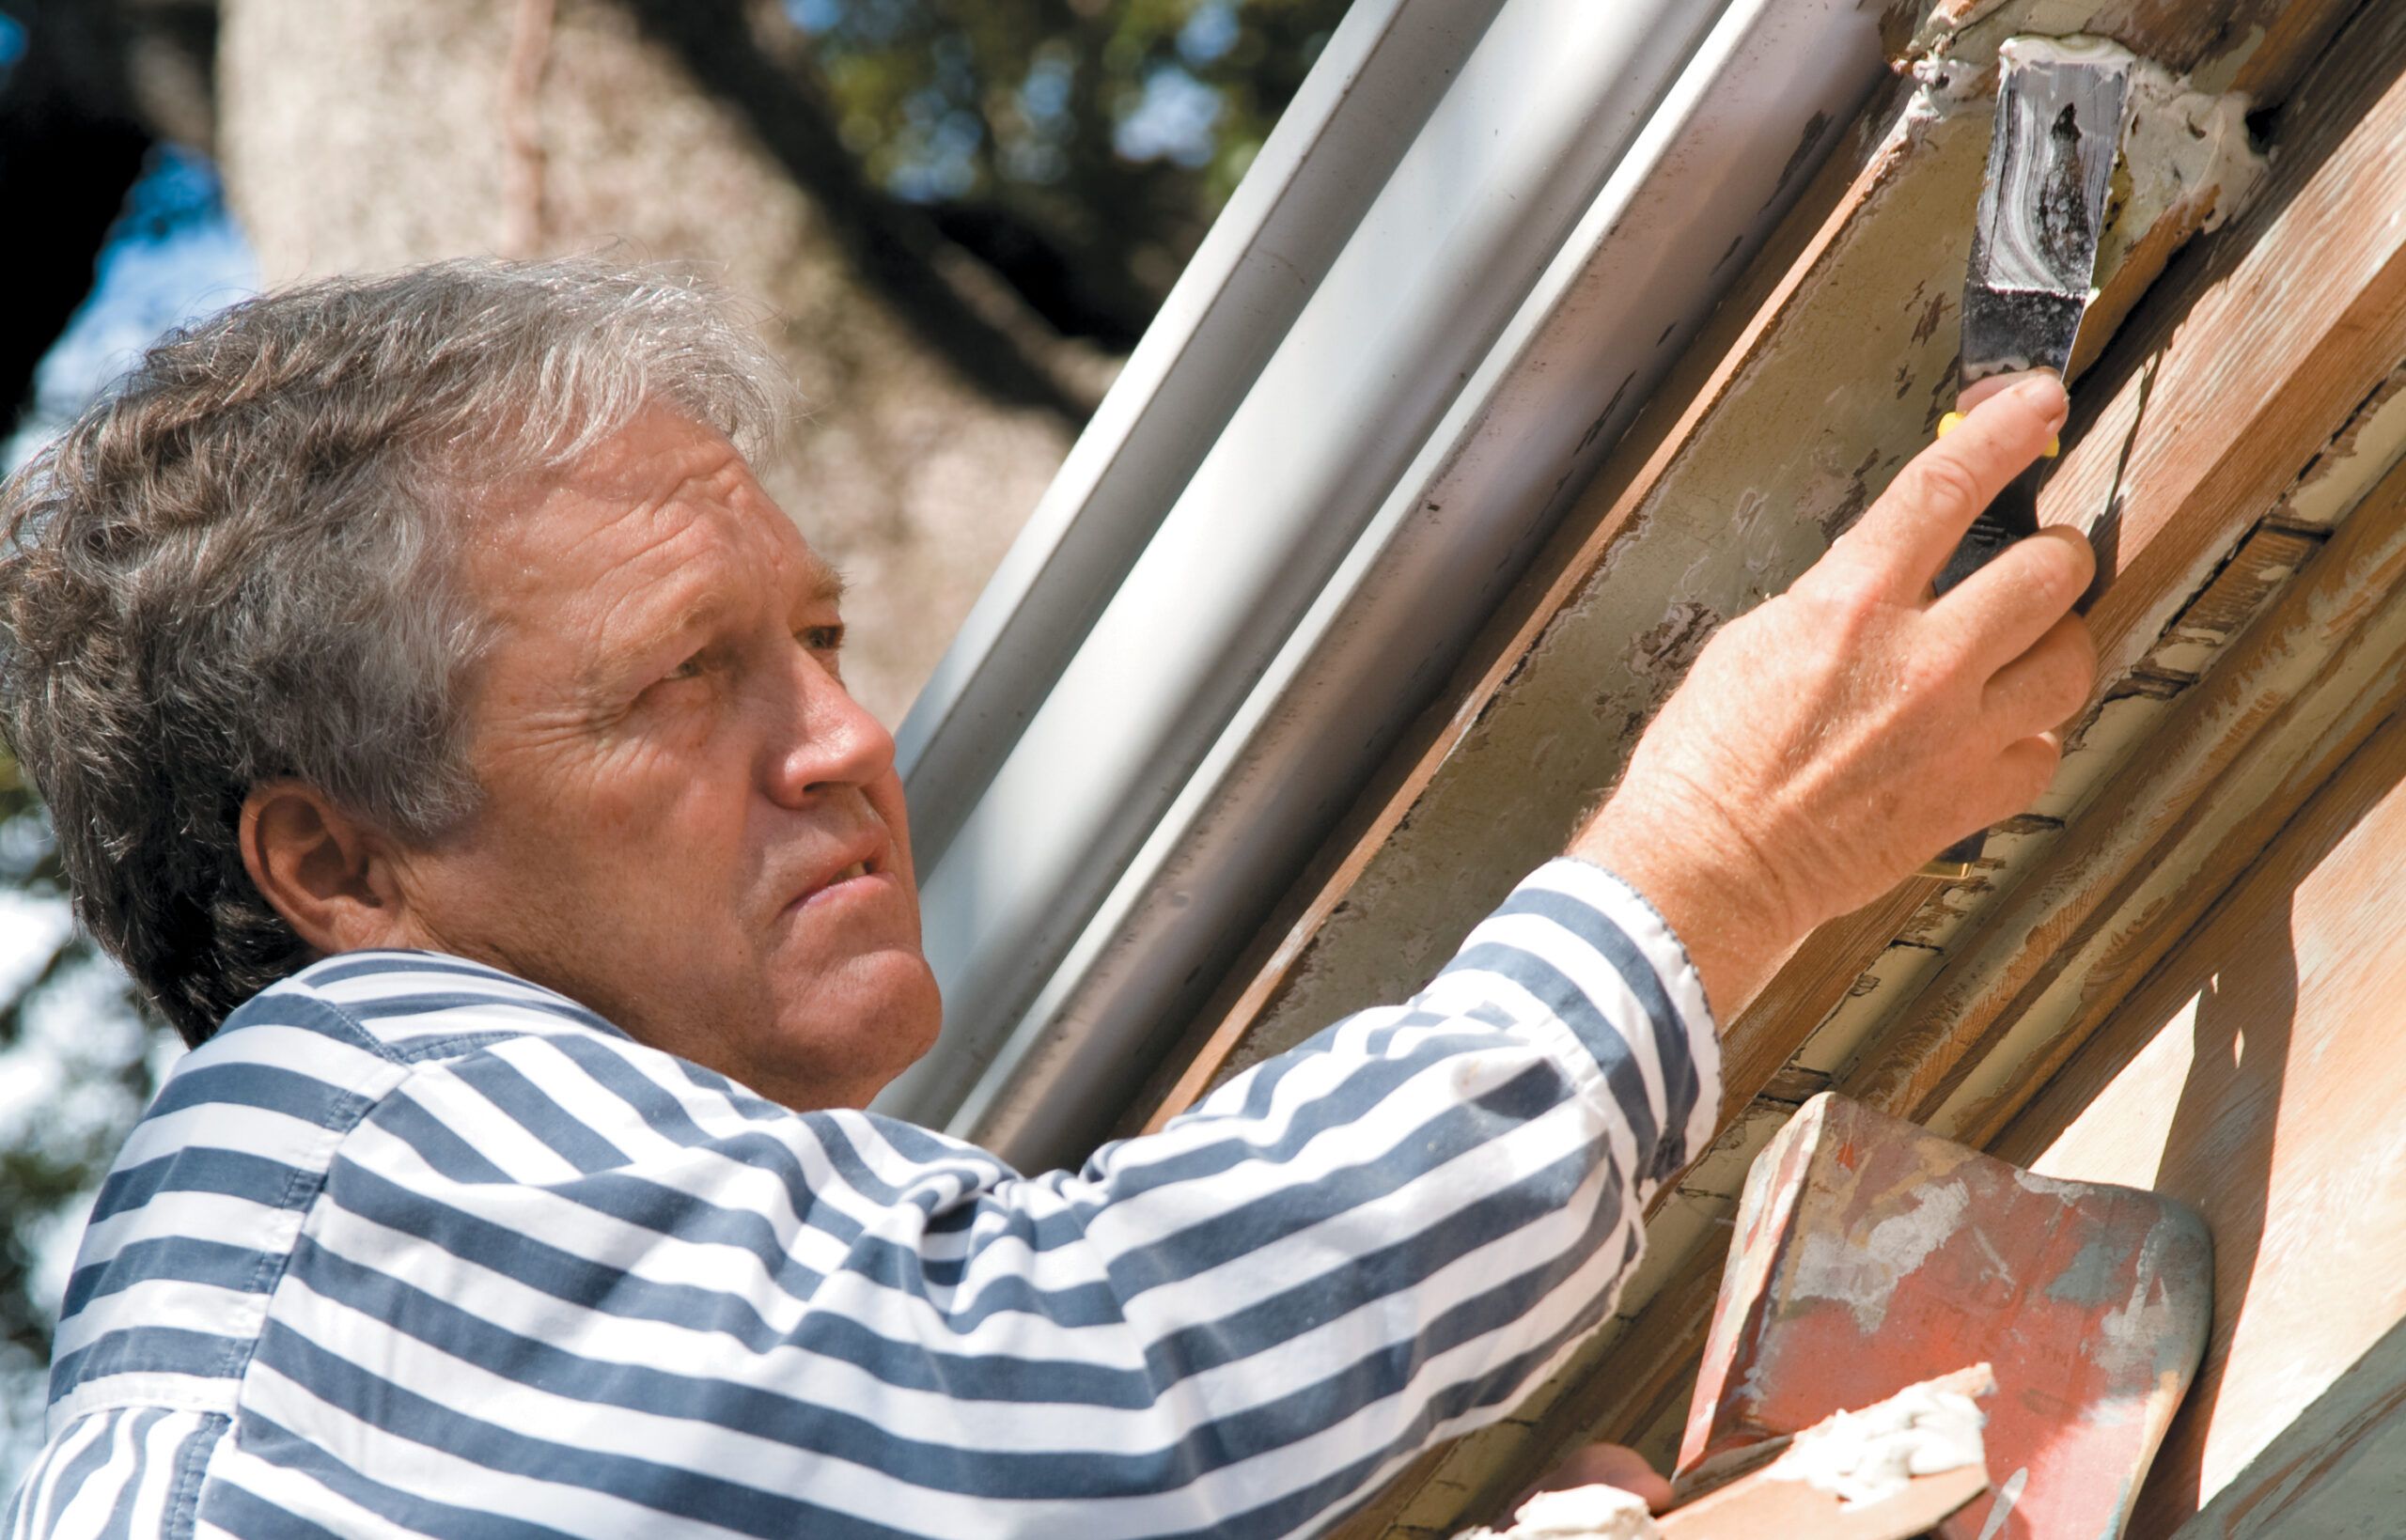
After you’re done cleaning, remove any loose, peeling, or bubbling paint. This will lead to a smoother finish and a longer-lasting paint job. Start with a paint scraper to remove loose paint, and work from multiple angles to catch all problem areas. Always scrape with the grain, and pay special attention to corners where paint can build up and crack
Scraping paint by hand is a grueling task, but it’s the least damaging way to remove old layers. You can speed up the process by using a heating gun to soften the paint.
Use a respirator when scraping paint by hand, and protect the surrounding work area with a tarp covering.
Sanding
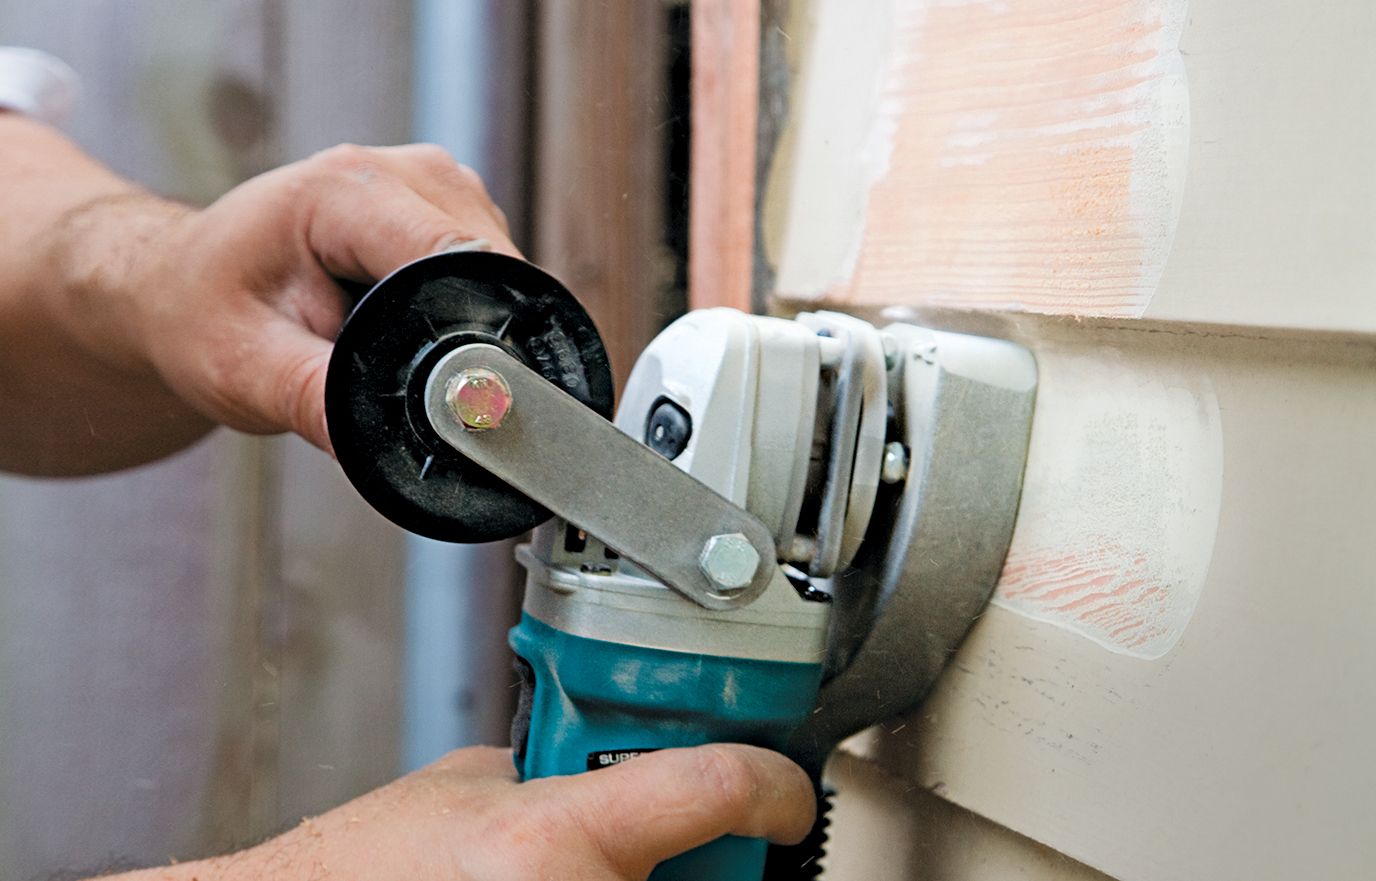
With loose paint removed, it’s time to sand the scraped areas where the paint meets bare wood. This will create a smooth transition between the two. Use 50- or 80-grit sandpaper.
Small random-orbit or pad sanders will accelerate this job. Make sure that there is a feathered, smooth transition from exposed wood to old paint. You can follow up with a 100- or 120-grit rubdown to erase any scratches.
If less than half the old paint is left, you may have to strip it all off. You can get rid of stubborn remnants using shrouded grinders, such as the PaintShaver, infrared paint strippers, such as the Speedheater, or chemical strippers, such as Multi-Strip. Then, smooth the wood with a course or two of sanding.
If you use a random-orbit sander, use a respirator to protect yourself from refuse. If you’re sanding by hand, you’ll only need a dust mask.
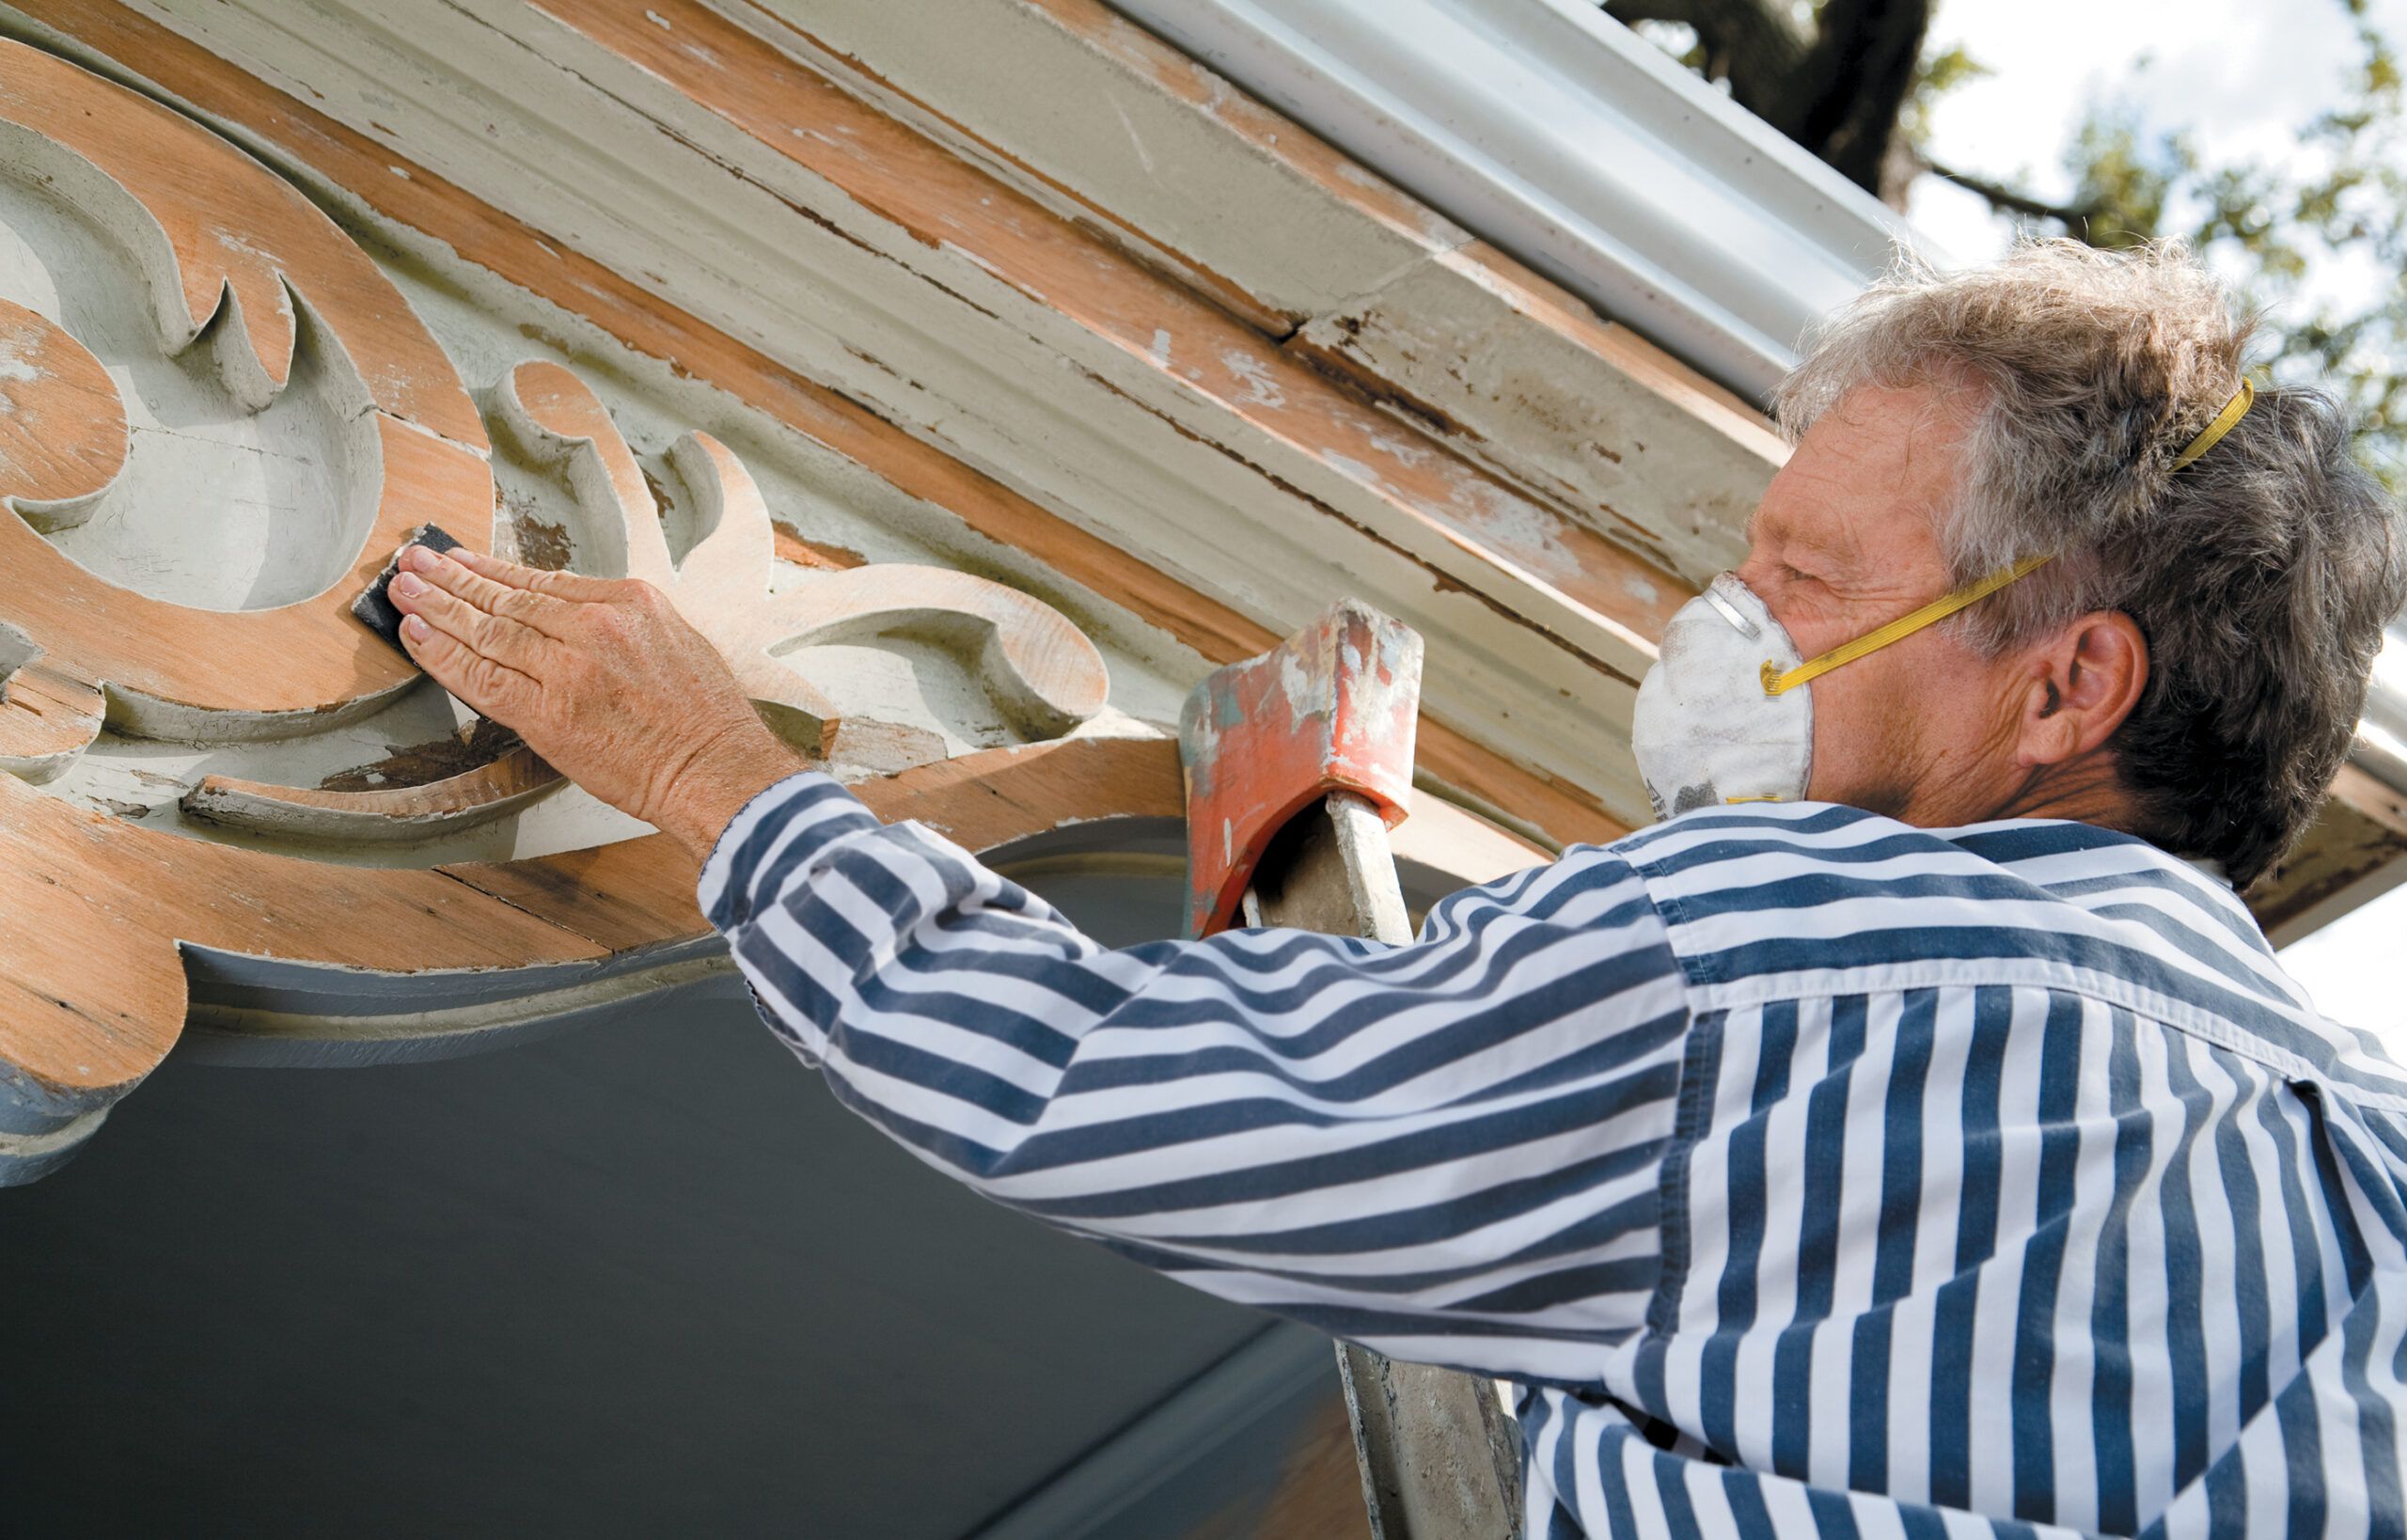
Patch and Fill
After you’ve finished sanding, fill minor cracks and dents, repair any rot, and replace any pieces that are too far gone. You can do much of this patching yourself, but wholesale replacement of wood siding or trim will probably require a carpenter. Patch shallow holes and divots with Ready Patch, which dries fast, sands smooth, and stays flexible. Repair deep cracks and rotten spots with two-step epoxies—Advanced Repair Technology makes a reliable one.
Priming

It’s time to prime. A good primer creates an ideal surface for paint adhesion and can help prevent issues such as tannin bleed-through. Apply primer with the same care you’d use for paint. If you’re using a sprayer, back-brush the wet primer immediately with a handheld paintbrush or roller to work the primer into cracks and crevices.
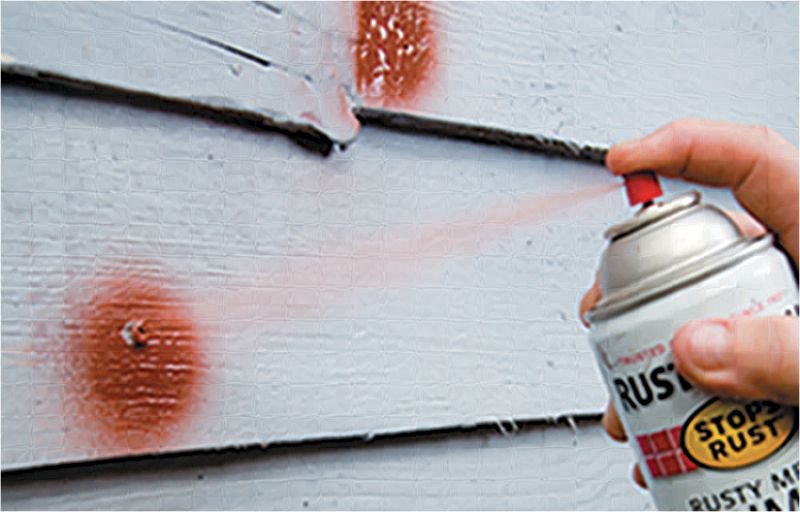
Painters often tint primer in a color that’s close to the top coat. Some, though, use a contrasting color to make sure they’ve covered every spot once it’s time to paint. Spray exposed nailheads with a metal primer to prevent rust from bleeding through the paint.
Caulking
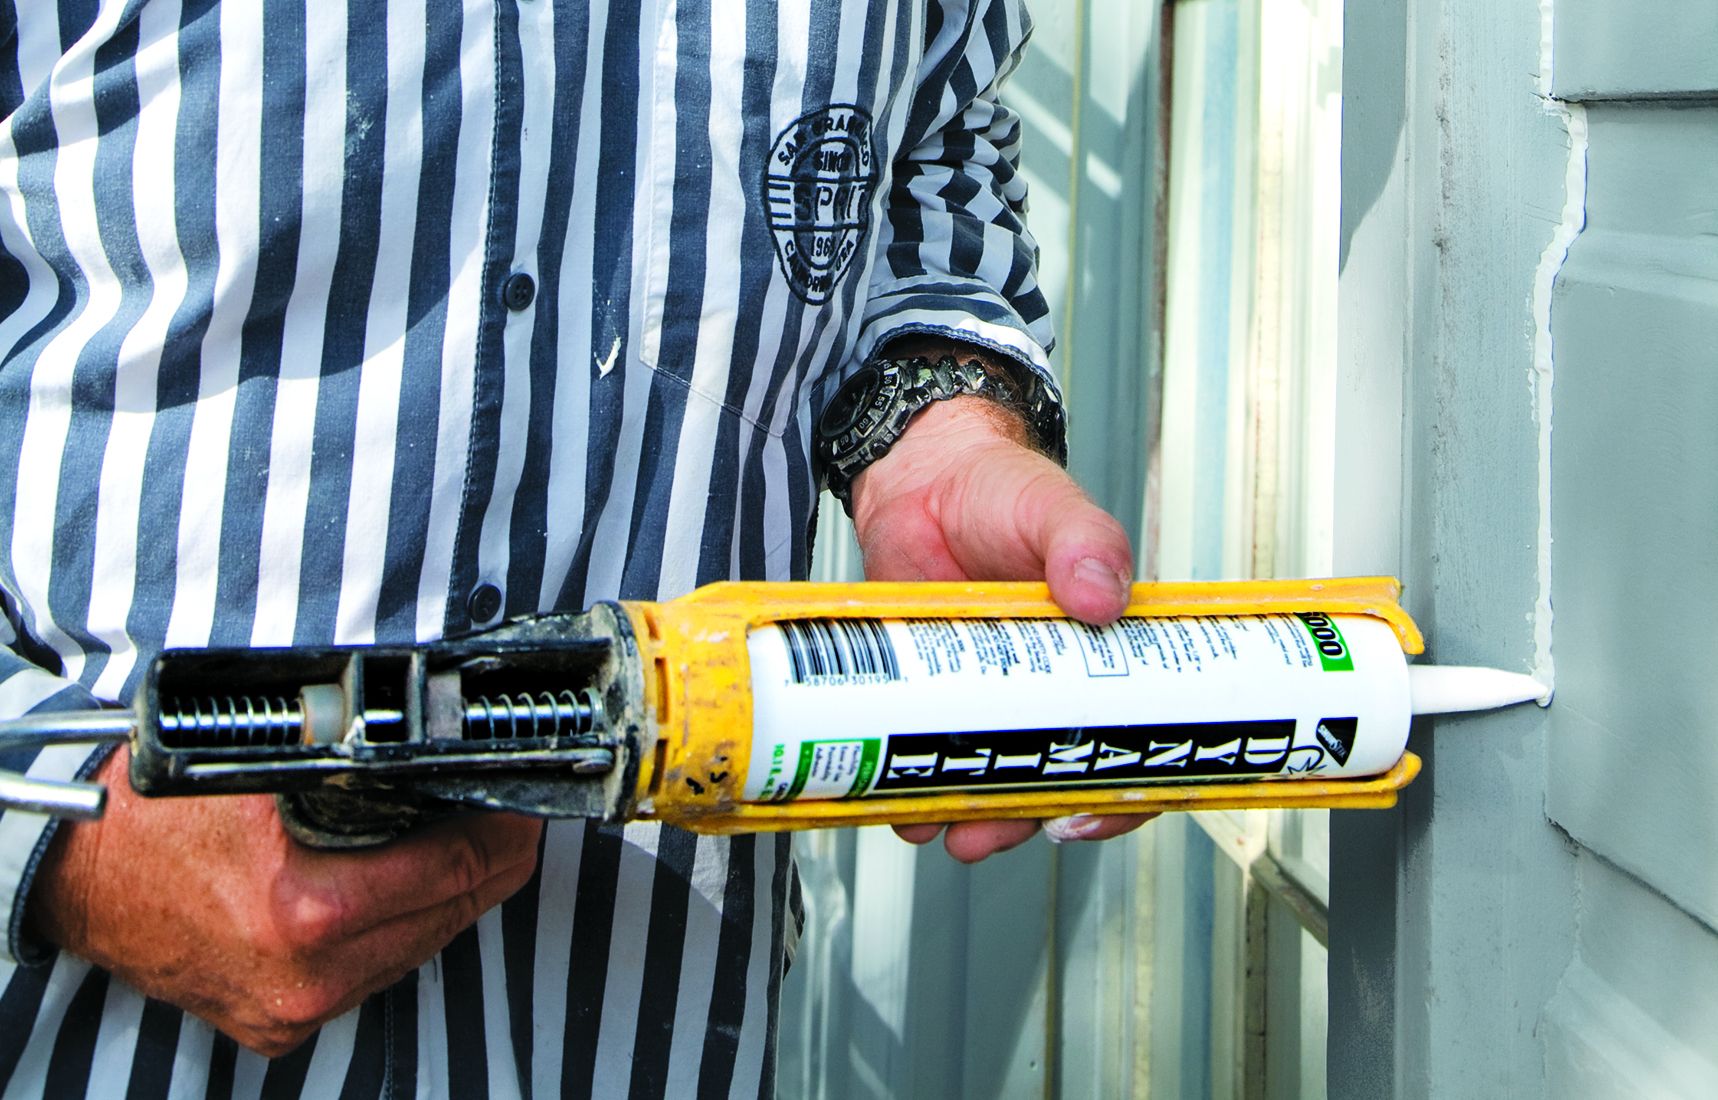
When the primer is dry, caulk all small joints that are less than 1/4-inch wide in the siding and trim. Most pros use siliconized acrylics since paint won’t stick to silicones. We recommend using the lifetime rating as a rough quality guide. Although “35-year caulk” may not last 35 years, it’ll last longer than 15-year caulk.
Painting Tips
Follow these tips for a flawless finish:
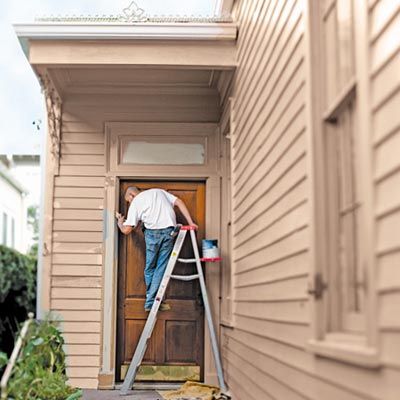
- When it’s finally time to paint, work in the shade.
- Start at the top of the house and work your way down to avoid drips on freshly painted surfaces.
- When using a brush, dip it about a third of the way into the paint, tap off any excess, and apply with smooth, even strokes.
- For large areas, use a roller or sprayer, and back-brush immediately to work the paint into the surface.
- For the best overall results, apply one coat of primer and two coats of paint, and allow proper drying time between coats. This two-coat approach provides better coverage and increased durability.
Proper Painting Techniques for Different Surfaces
Wood, masonry, metal, and synthetic surfaces require different painting and preparation techniques. Read more about the best approaches to different types of siding below.
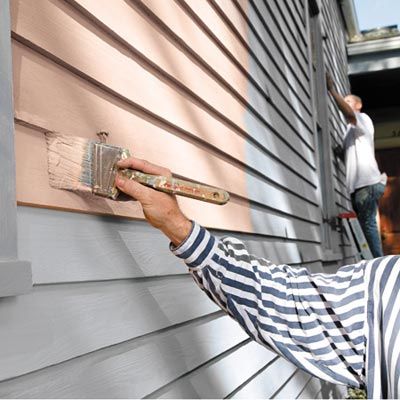
Wood Siding
Wood siding is one of the most common exterior surfaces, and requires careful preparation. After cleaning, scraping, and priming your surface, apply paint in the direction of the wood grain. Start at the top of the house and work your way down. Overlap each stroke so that you have even coverage.
Brick and Masonry
Brick or masonry are porous and may require a specialized masonry primer. Use a roller for large areas and a brush for mortar lines and details. Choose a paint that’s specifically formulated for masonry surfaces for proper adhesion.
Vinyl and Aluminum Siding
You don’t need to prep vinyl or aluminum as rigorously as you prepare wood, but you must thoroughly clean it before painting. Use a paint that’s specifically formulated for these materials to achieve proper adhesion. Avoid using a color that’s significantly darker than the original color when painting vinyl siding, as this can cause the siding to warp from increased heat absorption.
Best Practices for Exterior Painting
Following best practices and planning ahead will help you to achieve a professional-looking finish, and lead to a longer-lasting paint job.
Weather Considerations
Pay close attention to weather conditions when planning your painting project. Mild weather and low humidity are ideal conditions for exterior painting:
- Humidity below 60%
- No rain in the forecast for at least 24 hours
- Temperature between 50°F and 85°F
Painting in direct sunlight or extreme heat can cause the paint to dry too quickly, leading to visible brush strokes or lap marks. Painting when it’s too cold, on the other hand, can prevent proper curing. Certain cold-weather paint formulas such as Sherwin-Williams’s Duration, Resilience, and SuperPaint, and Benjamin Moore’s MoorGard Low Lustre are formulated to tolerate temperatures as low as 35 and 40 degrees, respectively, though.
Painting Order

Follow the order below when painting your home’s exterior:
- Trim
- Siding
- Doors and windows
Troubleshooting Common Exterior Painting Issues
Any paint job will come with complications. Below are tips for addressing some common problems:
Peeling and Blistering
Poor surface preparation, such as insufficient scraping, incorrect sanding, or moisture issues, can lead to peeling and blistering. To fix these, you’ll need to strip and repaint the peeled or blistered area.
- Scrape away all loose paint.
- Sand the area smooth.
- Prime bare spots.
- Repaint the area.
Chalking and Fading
Chalking, which is a powdery residue on the paint surface, and fading are the products of sun exposure or low-quality paint. To address these, follow the steps above, but use a high-quality exterior paint with UV resistance for the topcoat.
Maintaining Your Home’s Exterior Paint Job
Proper maintenance can significantly extend the life of your exterior paint job. Make a habit of performing the actions below.
- Address any water drainage issues promptly.
- Clean your home’s exterior annually with a gentle detergent solution and a soft-bristled brush.
- Inspect for damage or wear regularly, and touch up as needed.
- Trim trees and shrubs away from the house to prevent moisture buildup.
Safety Precautions for Exterior Painting
Safety is a top priority when preparing and painting your home’s exterior. Pay special attention to ladder safety, and be especially cautious when dealing with lead paint.
Working with Ladders
Be diligent about ladder safety when you’re painting your home’s exterior.
- Use a sturdy ladder.
- Place the ladder on a firm, level surface.
- Maintain three points of contact (usually two hands and one foot, or two feet and one hand) when climbing.
- Make sure the ladder extends at least 3 feet over the point of top support. This is typically the roof’s edge.
- Never overreach. Move the ladder instead.
Use scaffolding for extensive work at heights, as it provides a more stable work platform.
Dealing with Lead Paint
It’s always a good idea to test old paint for lead before you disturb it. Dried lead paint isn’t dangerous until you scrape or sand it, and sanding is especially hazardous because it creates dust that can enter your lungs. If the old paint does contain lead, follow EPA guidelines for lead-safe work practices. You should also consider hiring a certified lead abatement professional, particularly if you have young children. Lead exposure is especially dangerous to babies and children.
Cost Considerations for Exterior Painting
The cost of painting your home’s exterior can vary widely depending on several factors, including those below.
DIY vs. Professional Painting
Painting your home’s exterior yourself can save money, but it’s a time-consuming and physically demanding job. Professional painters have the experience and equipment to complete the job efficiently.
Budgeting for Materials and Labor
Consider the following costs when budgeting for your exterior painting project:
- Costs for complex architectural features or multiple stories
- Labor costs, if you’re hiring professionals
- Paint and primer costs
- Repairs and preparation materials
- Tools and equipment, if you’re performing the job as a DIY project
Remember that professionals can get materials at a lower price than homeowners who shop retail. We recommend getting multiple quotes from reputable painters. Be sure to factor in the long-term value of a professional, long-lasting paint job.
Our Conclusion
Painting your home’s exterior is a significant undertaking that can dramatically improve your home’s appearance and protect it from the elements. It requires careful planning, preparation, and execution, but the results can be truly transformative. Use high-quality materials, follow proper painting techniques, and maintain your paint job diligently to enjoy a beautiful and protected exterior for years to come.