Project details
Skill
Cost
Estimated Time
We may be compensated if you purchase through links on our website. Our team is committed to delivering honest, objective, and independent reviews on home products and services.
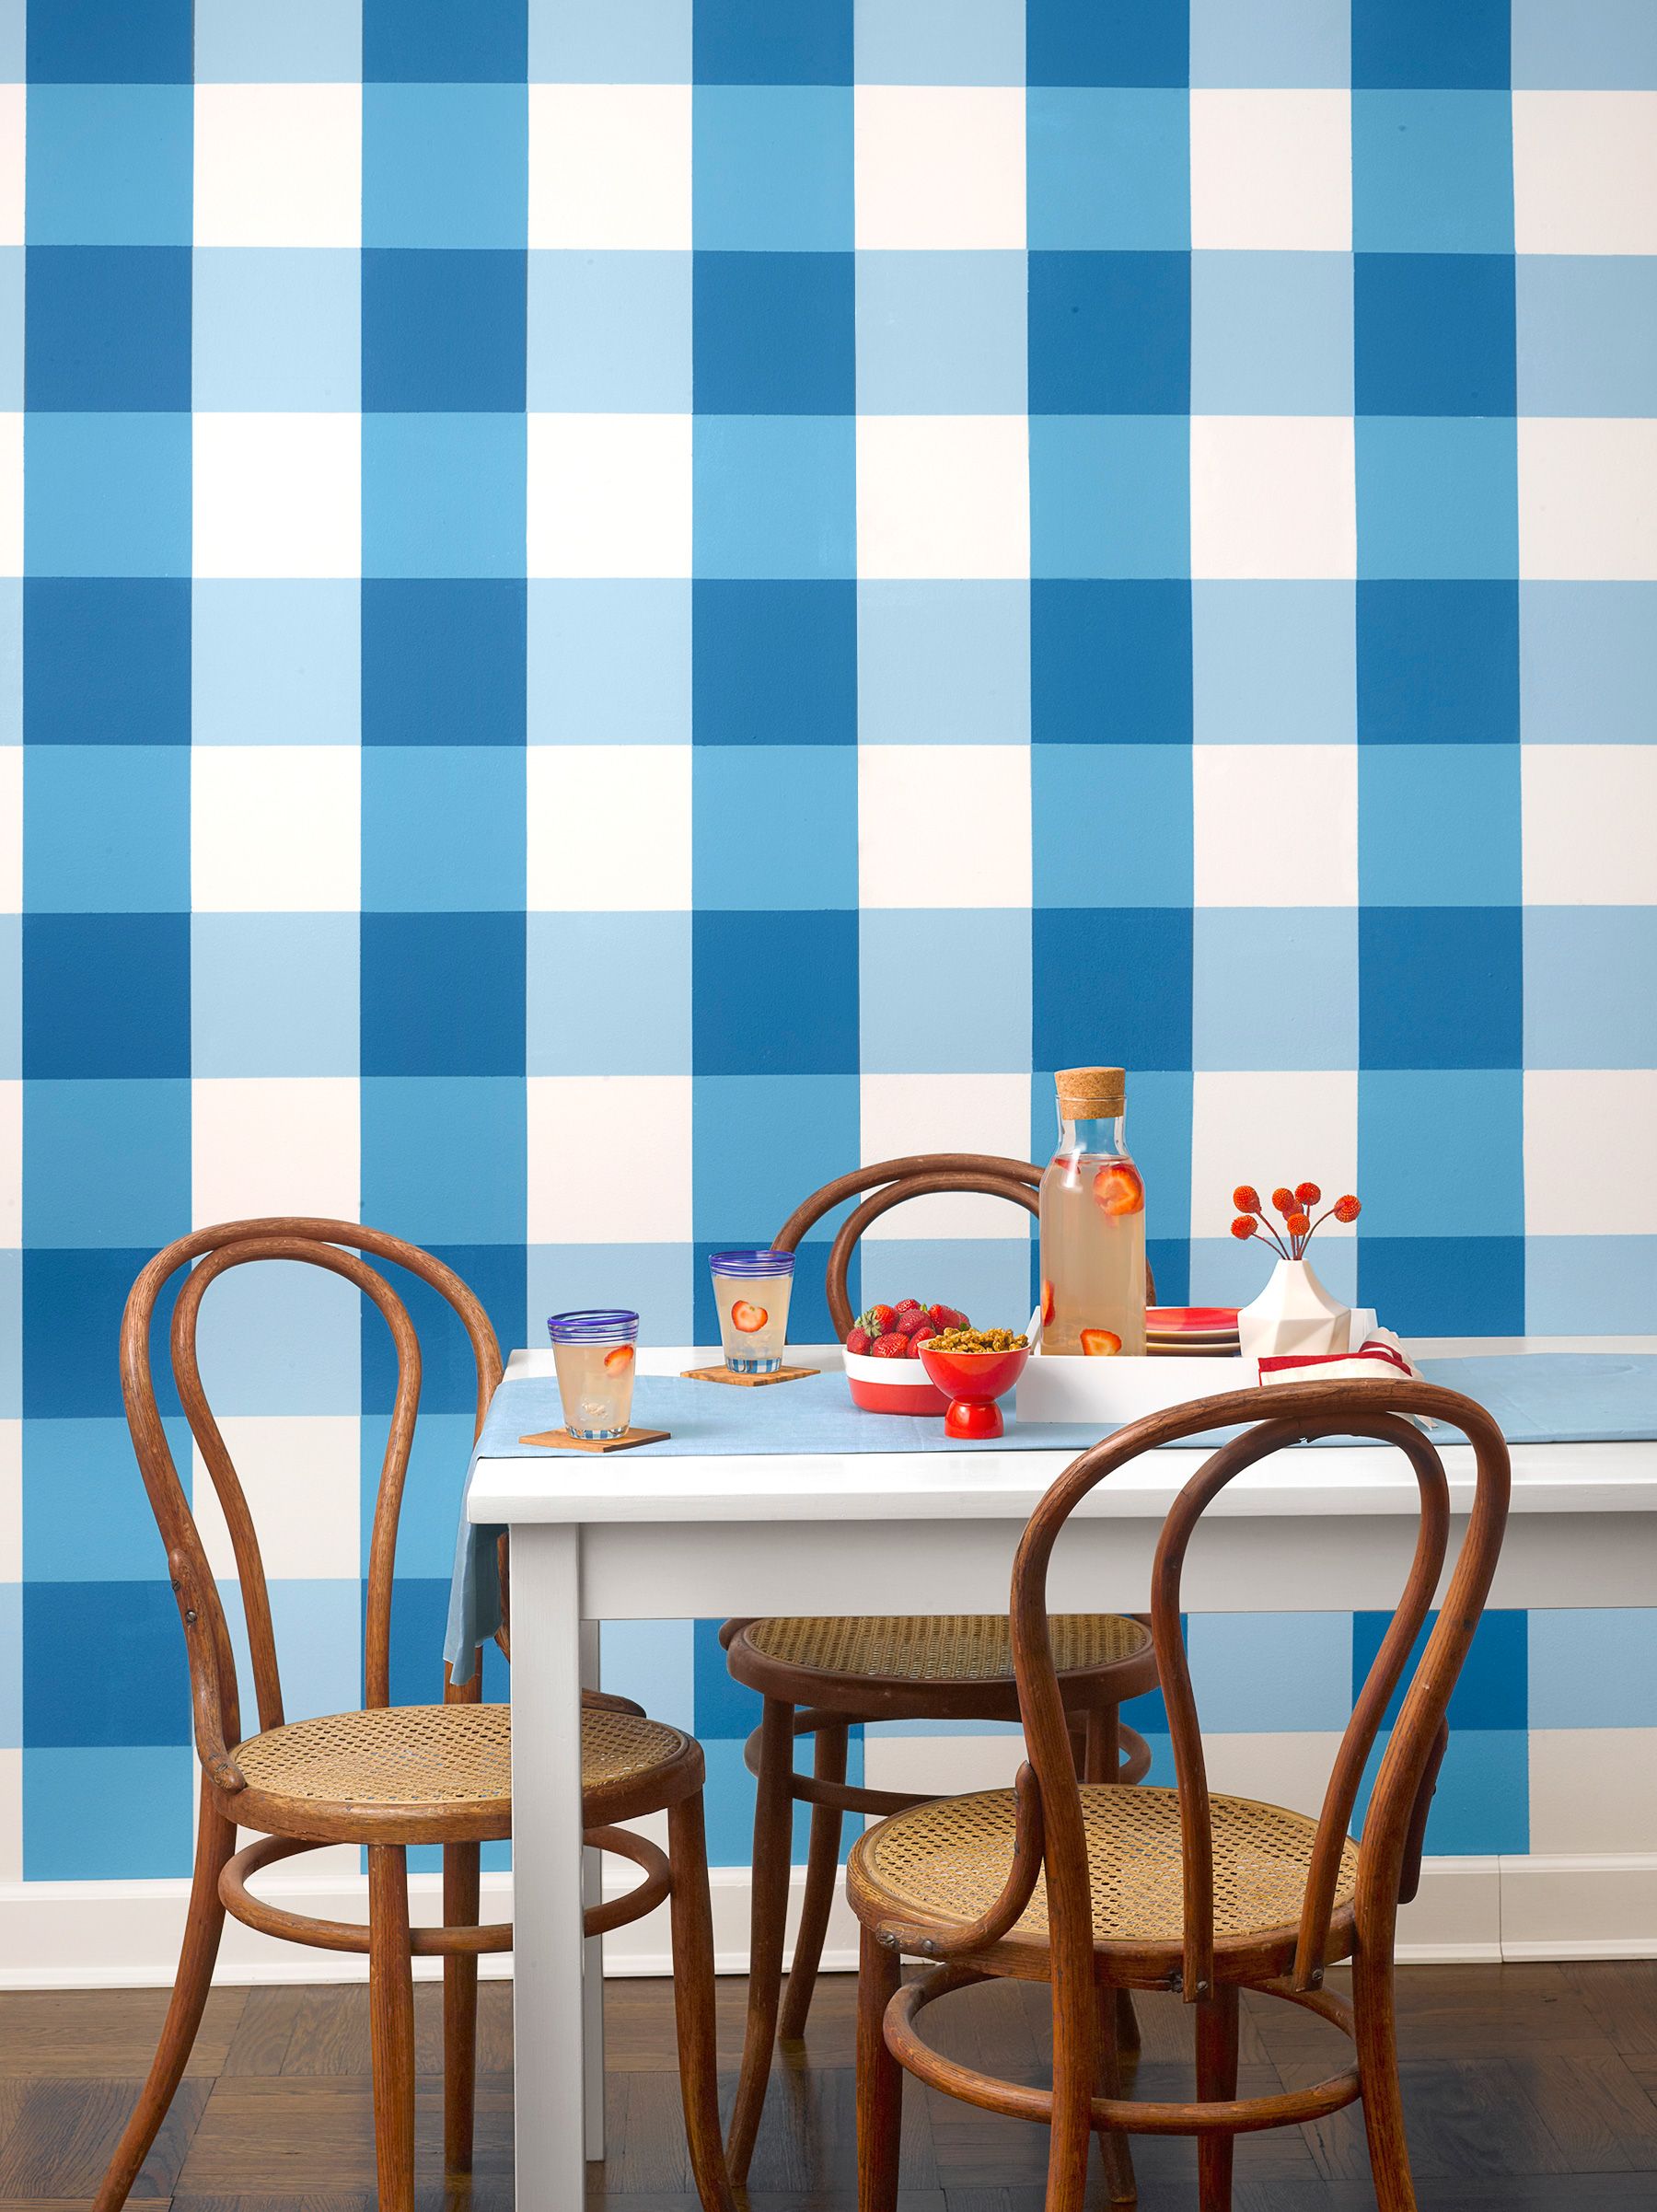
Gingham patterns can evoke a sense of timeless charm and rustic elegance—so they could be perfect for adding character to any room in your home. While the process requires attention to detail, painting a gingham pattern is an achievable DIY project that can dramatically change the look and feel of your space. Here, we’ll walk you step by step through measuring, marking, taping, and painting.
*Unless otherwise noted, costs in this article reflect an average of prices that our team found from hardware stores like Lowes and Home Depot, and on Amazon.com.
Tools and Materials Needed To Paint Gingham Pattern Checks
Before you begin, gather everything you’ll need for the project.
- Colored paint in three shades (dark, midtone, and light)
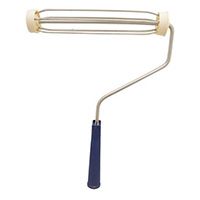
- Foam roller or paintbrush
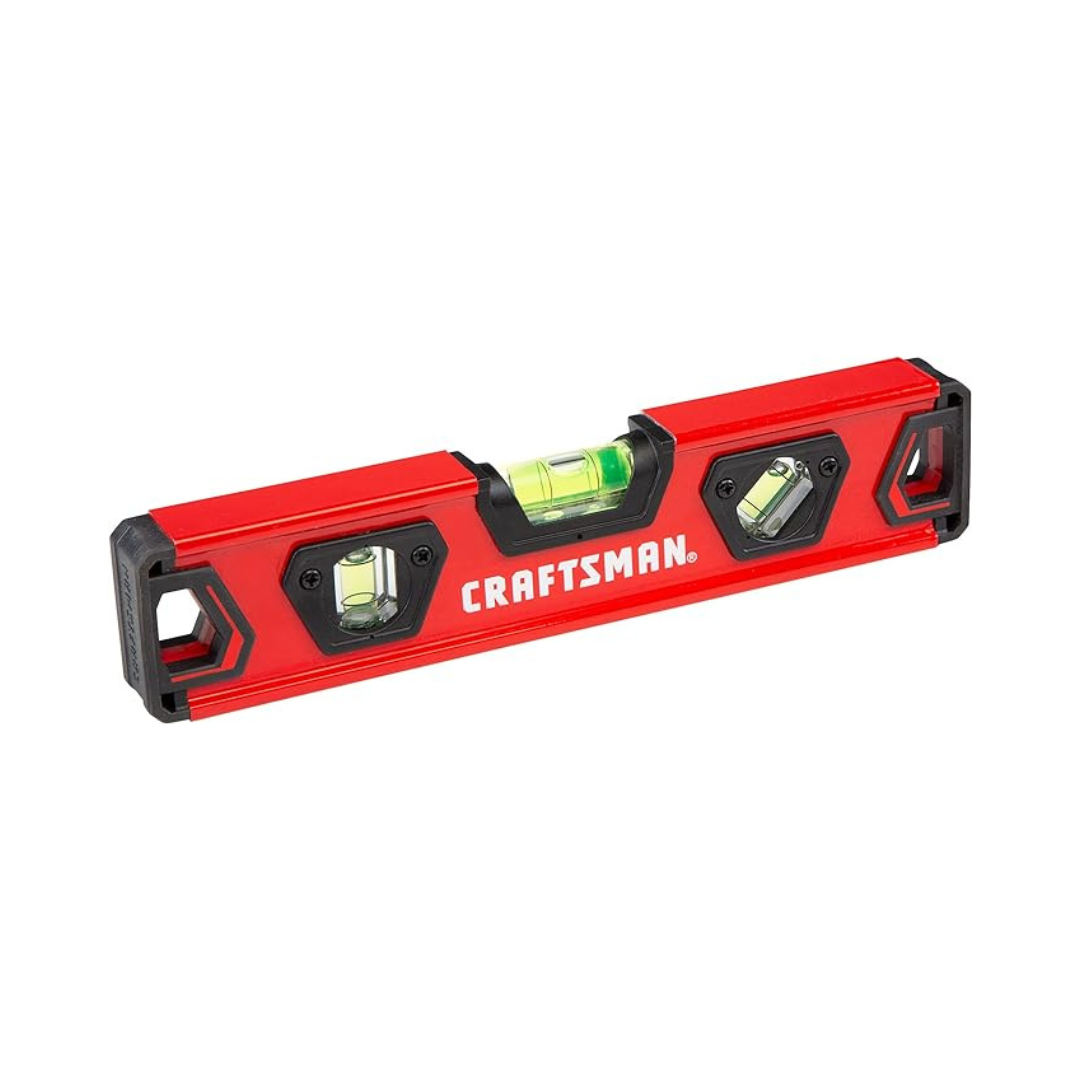
- Level
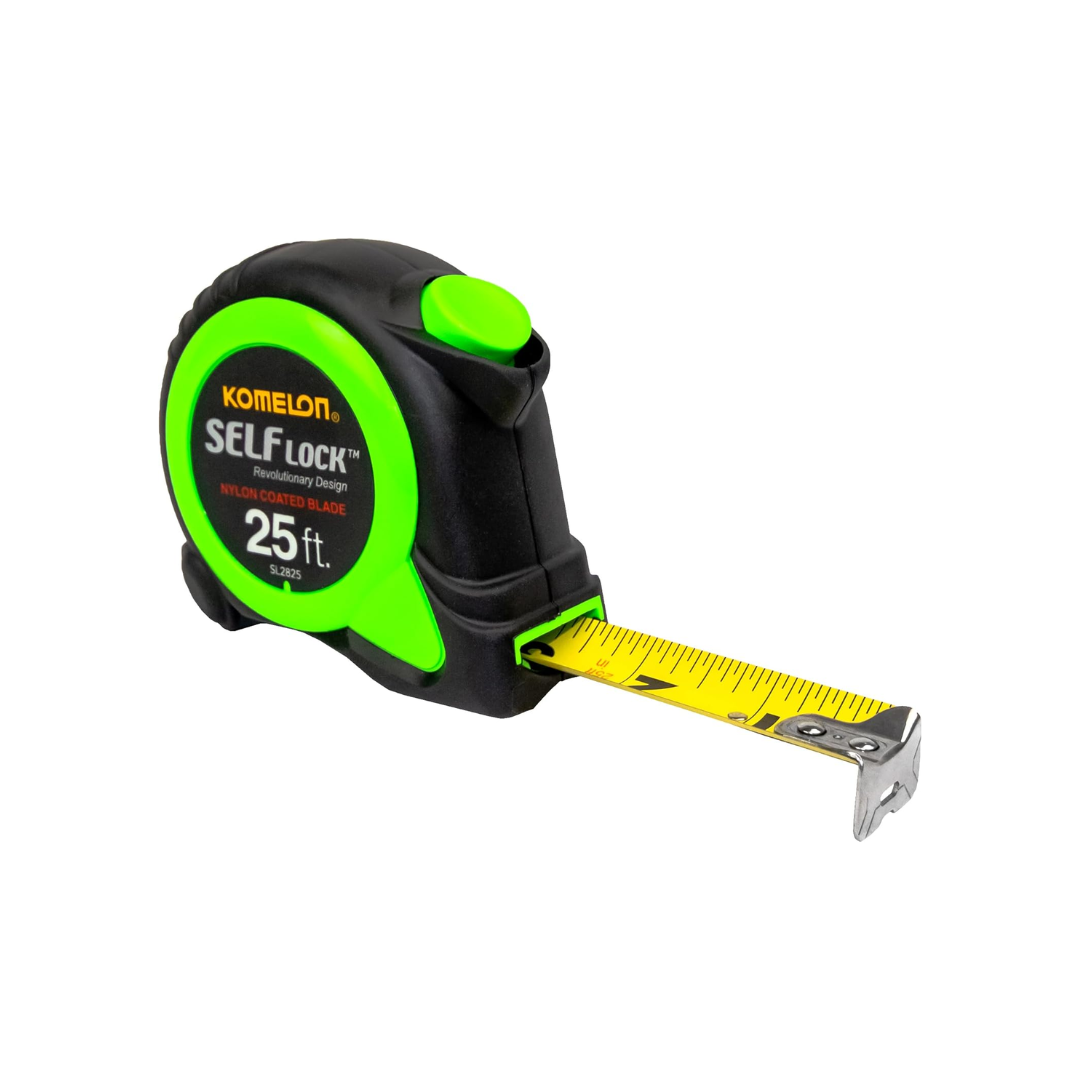
- Measuring tape
- Painter’s tape
- Pencil
- White paint
Step-By-Step Guide to Painting a Gingham Pattern
There’s a quintessentially American country charm to a gingham print, which tends to find a home among warm-weather staples like picnic baskets and outdoor table linens. The trick to creating this pattern on a wall is to start by measuring and marking off rows of same-size squares, then outline just one set of colored boxes at a time with tape. When those squares are painted, move on to the next set.
Step 1: Measure and Mark
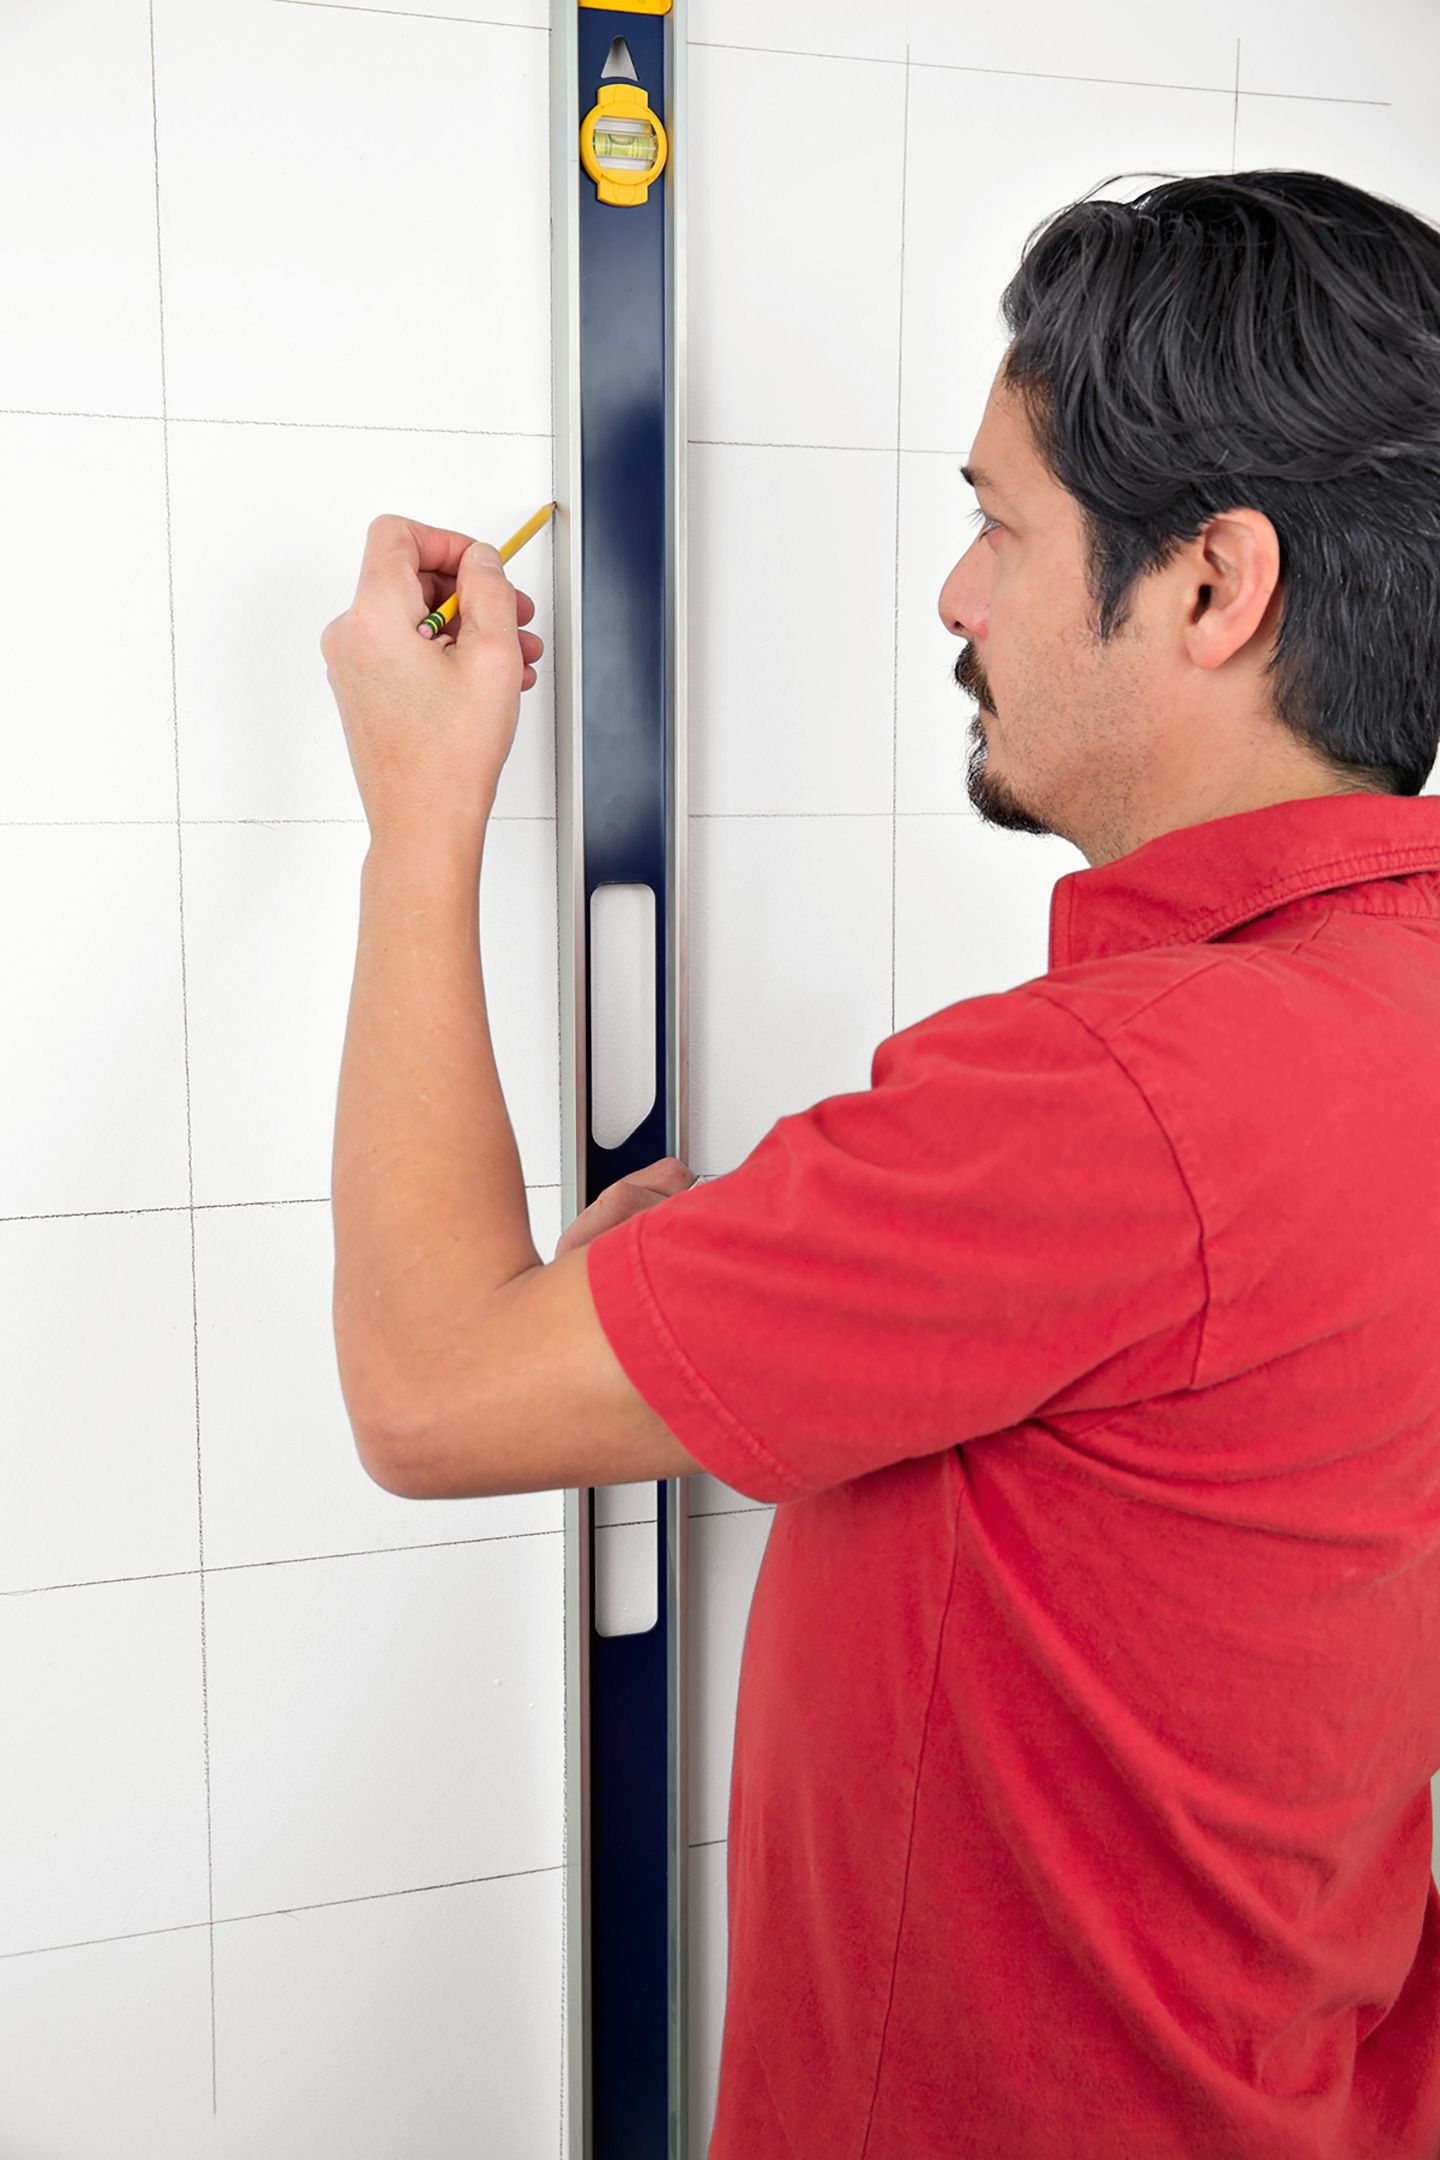
Start by applying a base coat of flat white paint to your chosen wall. Once dry, it’s time to create your grid. Using a pencil, tape measure, and level, carefully mark off vertical and horizontal rows to form 7-inch squares. Begin at the center of the wall and work your way outwards.
To ensure accuracy, double-check your measurements and use a long level to keep your lines straight. Measure twice, mark once to be extra cautious. However, don’t worry if the squares end up slightly narrower at the corners—this won’t be noticeable in the final design.
Step 2: Tape Off the Darkest Squares
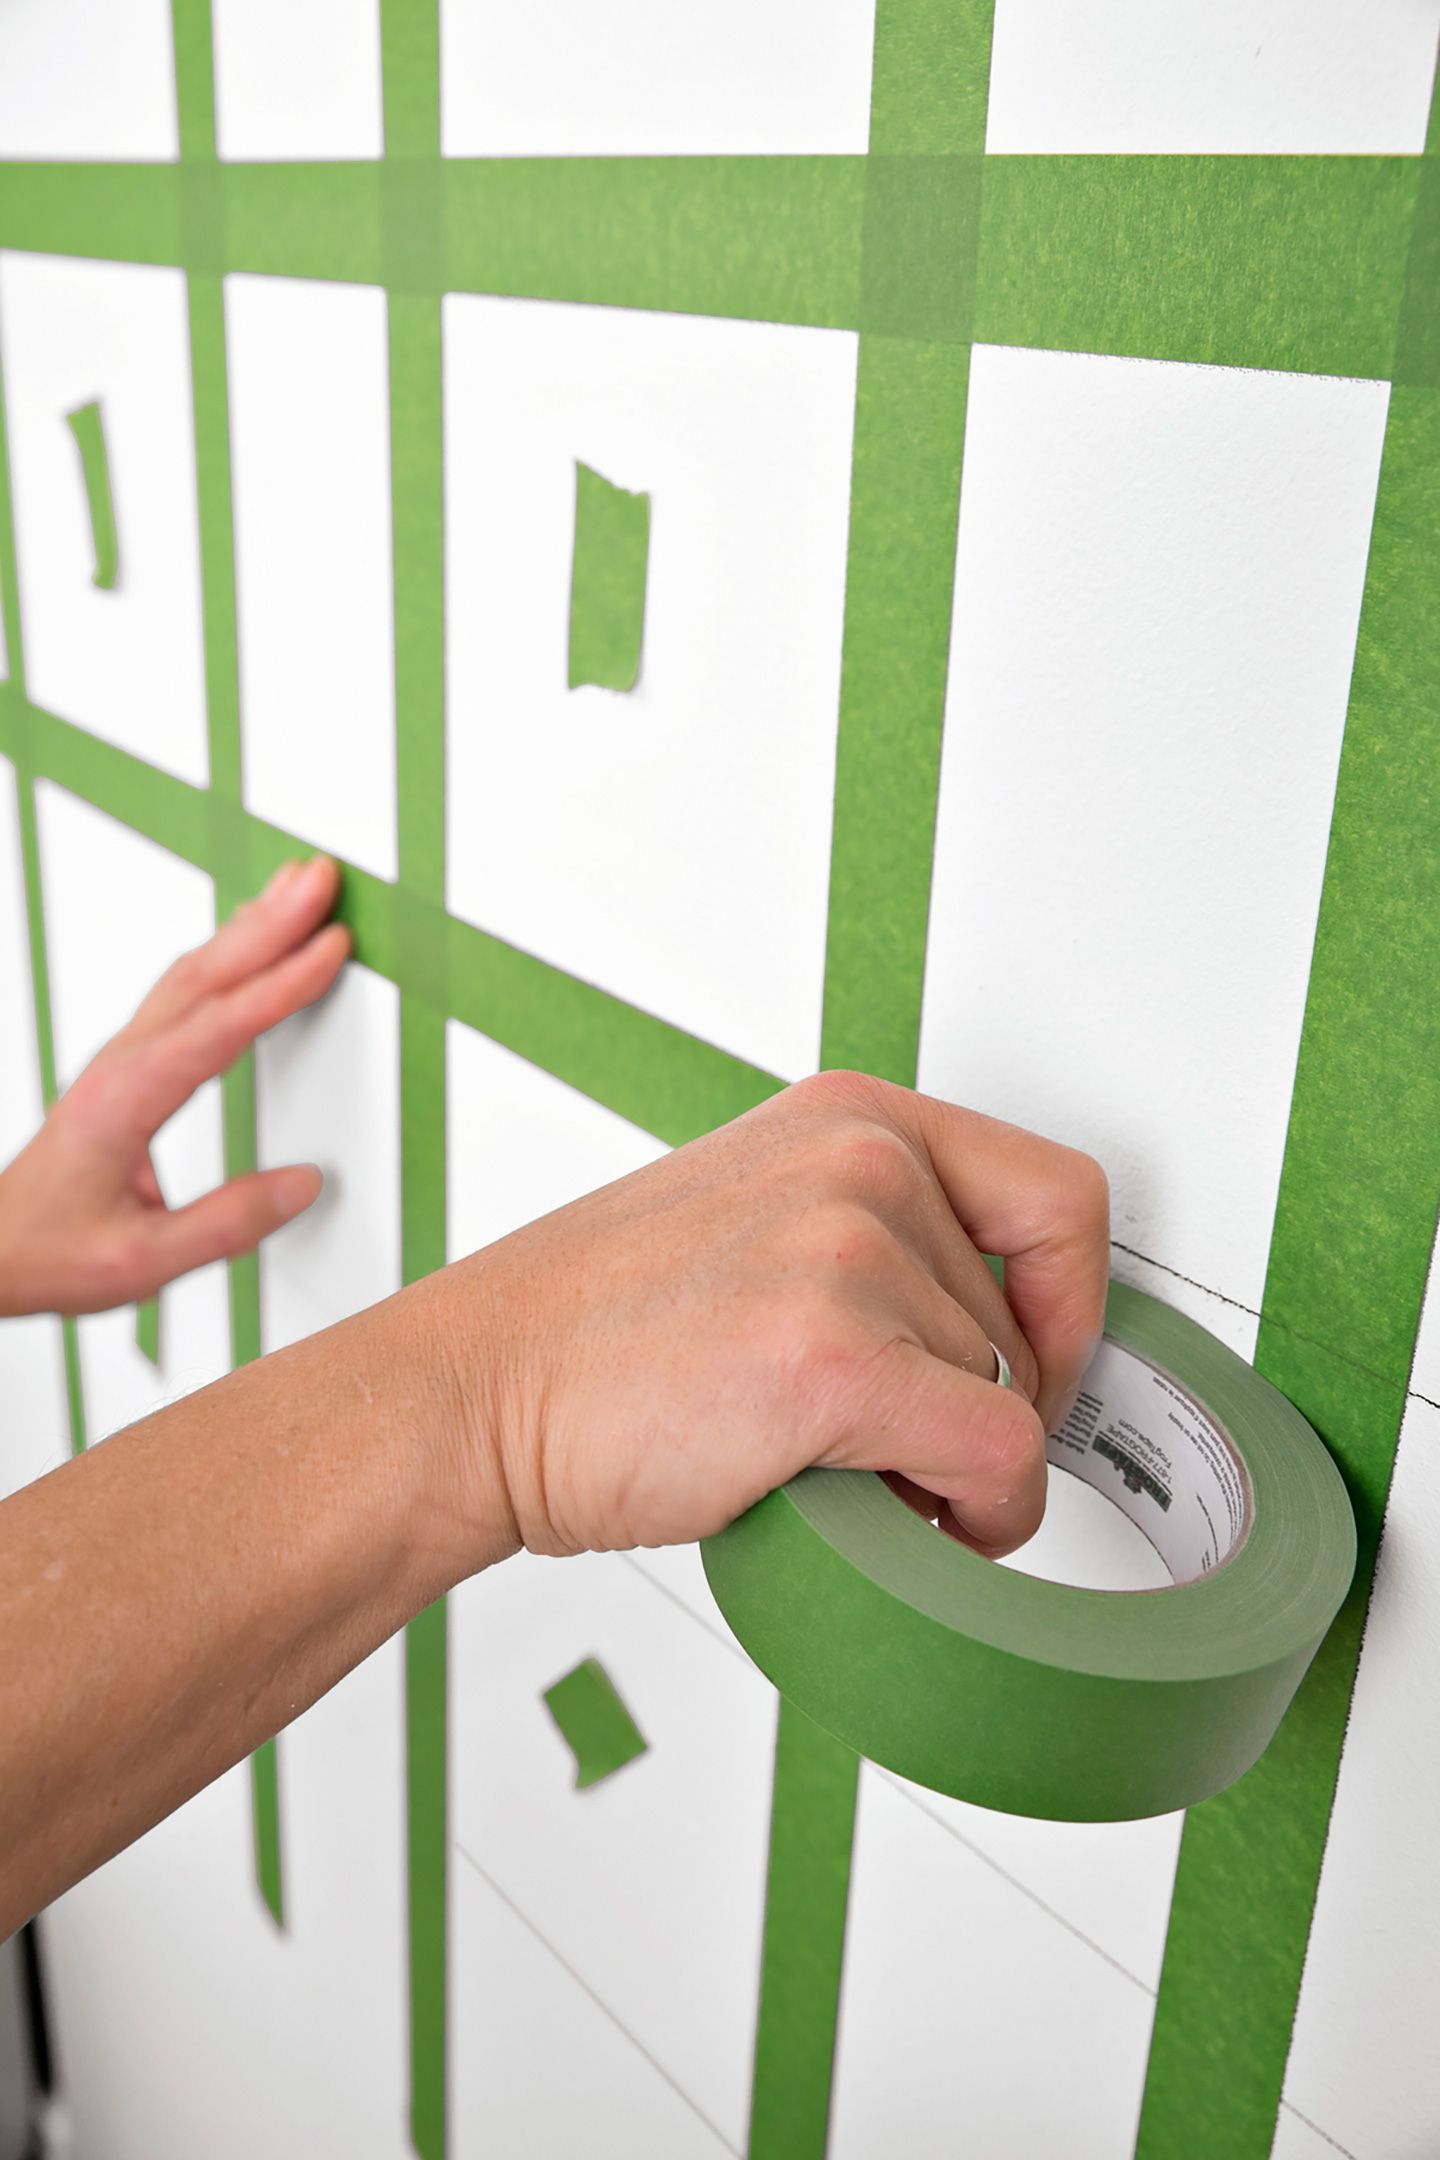
With your grid in place, it’s time to start taping off the areas for your darkest shade of blue. Begin at the top row and use small pieces of painter’s tape to mark every other square in every other row. These marked squares will be painted with the darkest blue, creating the bold lines that define the gingham pattern.
Once you’ve tagged the appropriate squares, run painter’s tape vertically along the outside lines of all the marked boxes. Then, tape along the outside of their horizontal lines. Press the tape firmly against the wall to prevent paint bleed and ensure sharp lines.
Step 3: Paint the Dark Squares
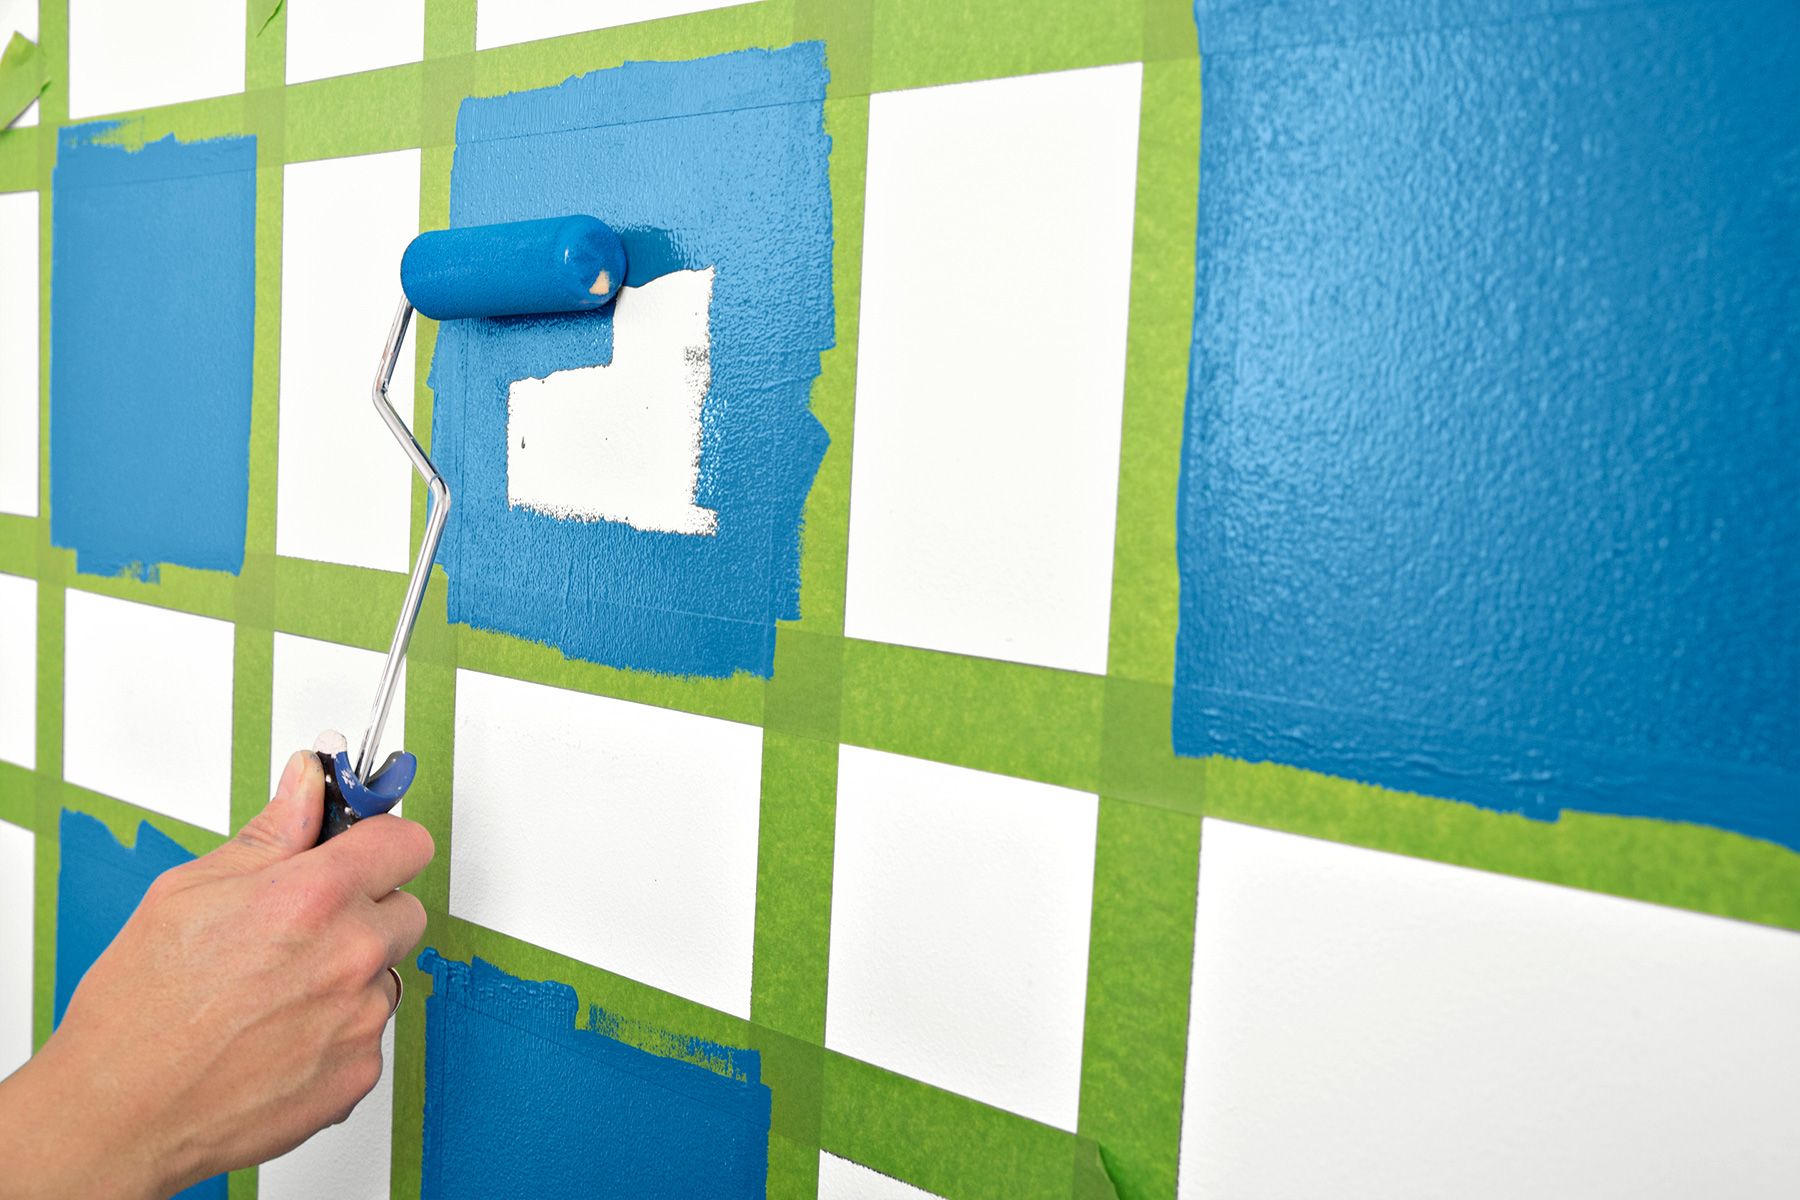
Using a small paintbrush or foam roller, carefully fill in the taped-off boxes with your darkest shade of blue. The key to a smooth, even finish is to apply the paint with a light touch. Start with one coat, allowing it to dry completely before adding a second. This two-coat approach ensures rich, consistent color coverage.
Step 4: Tape the Midtone Squares
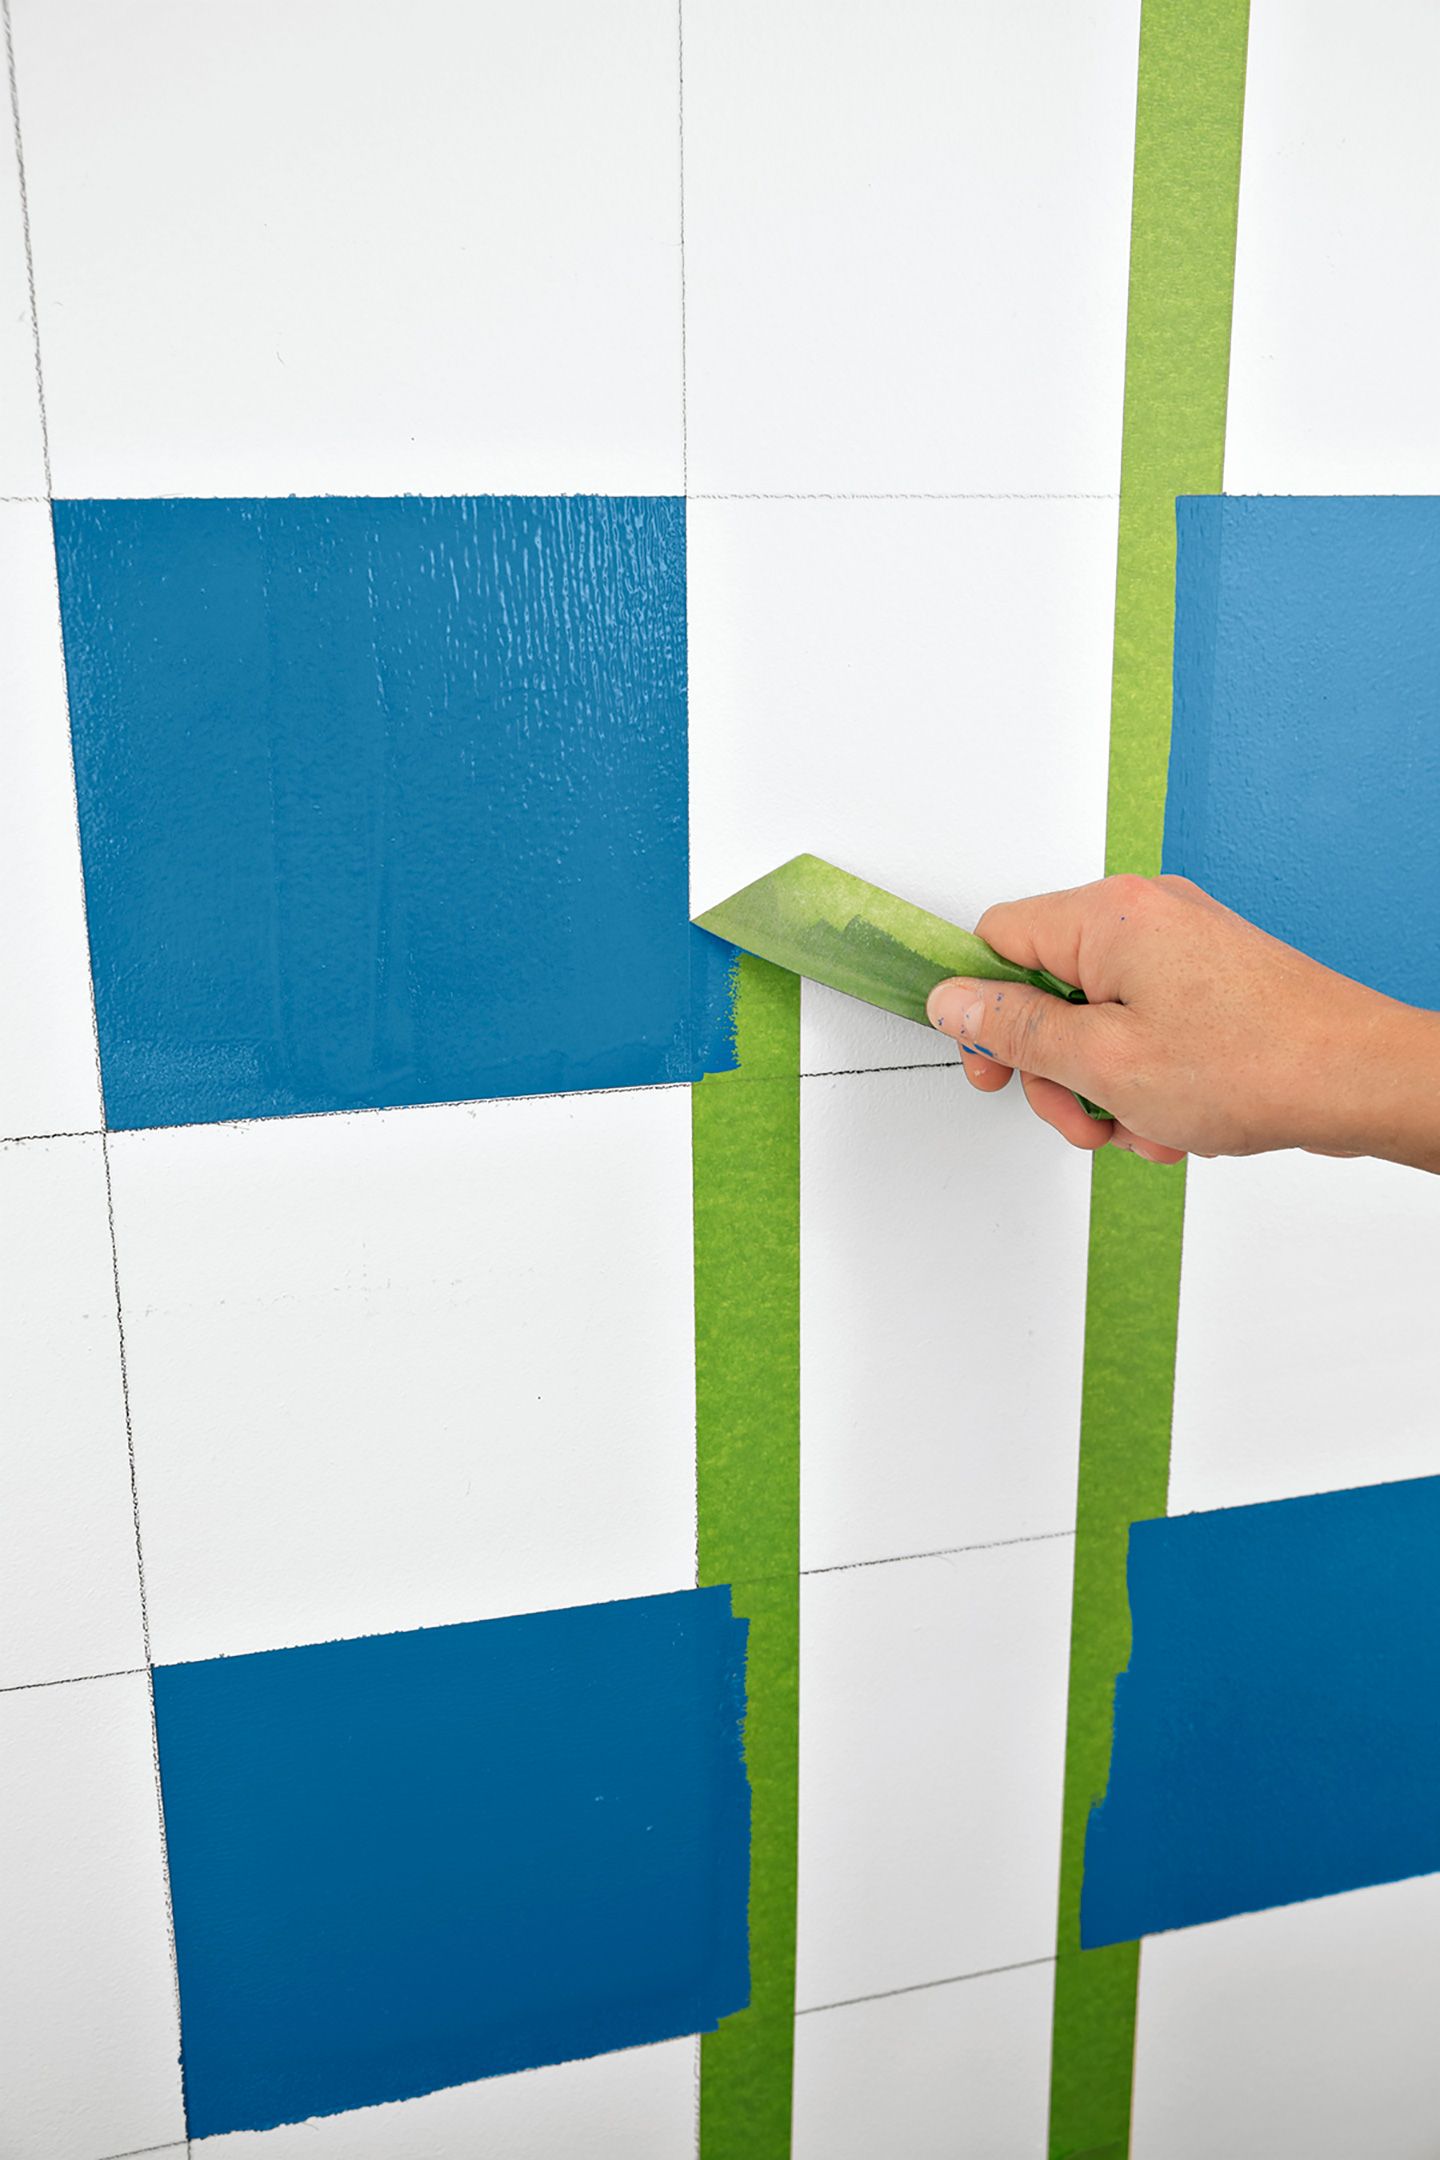
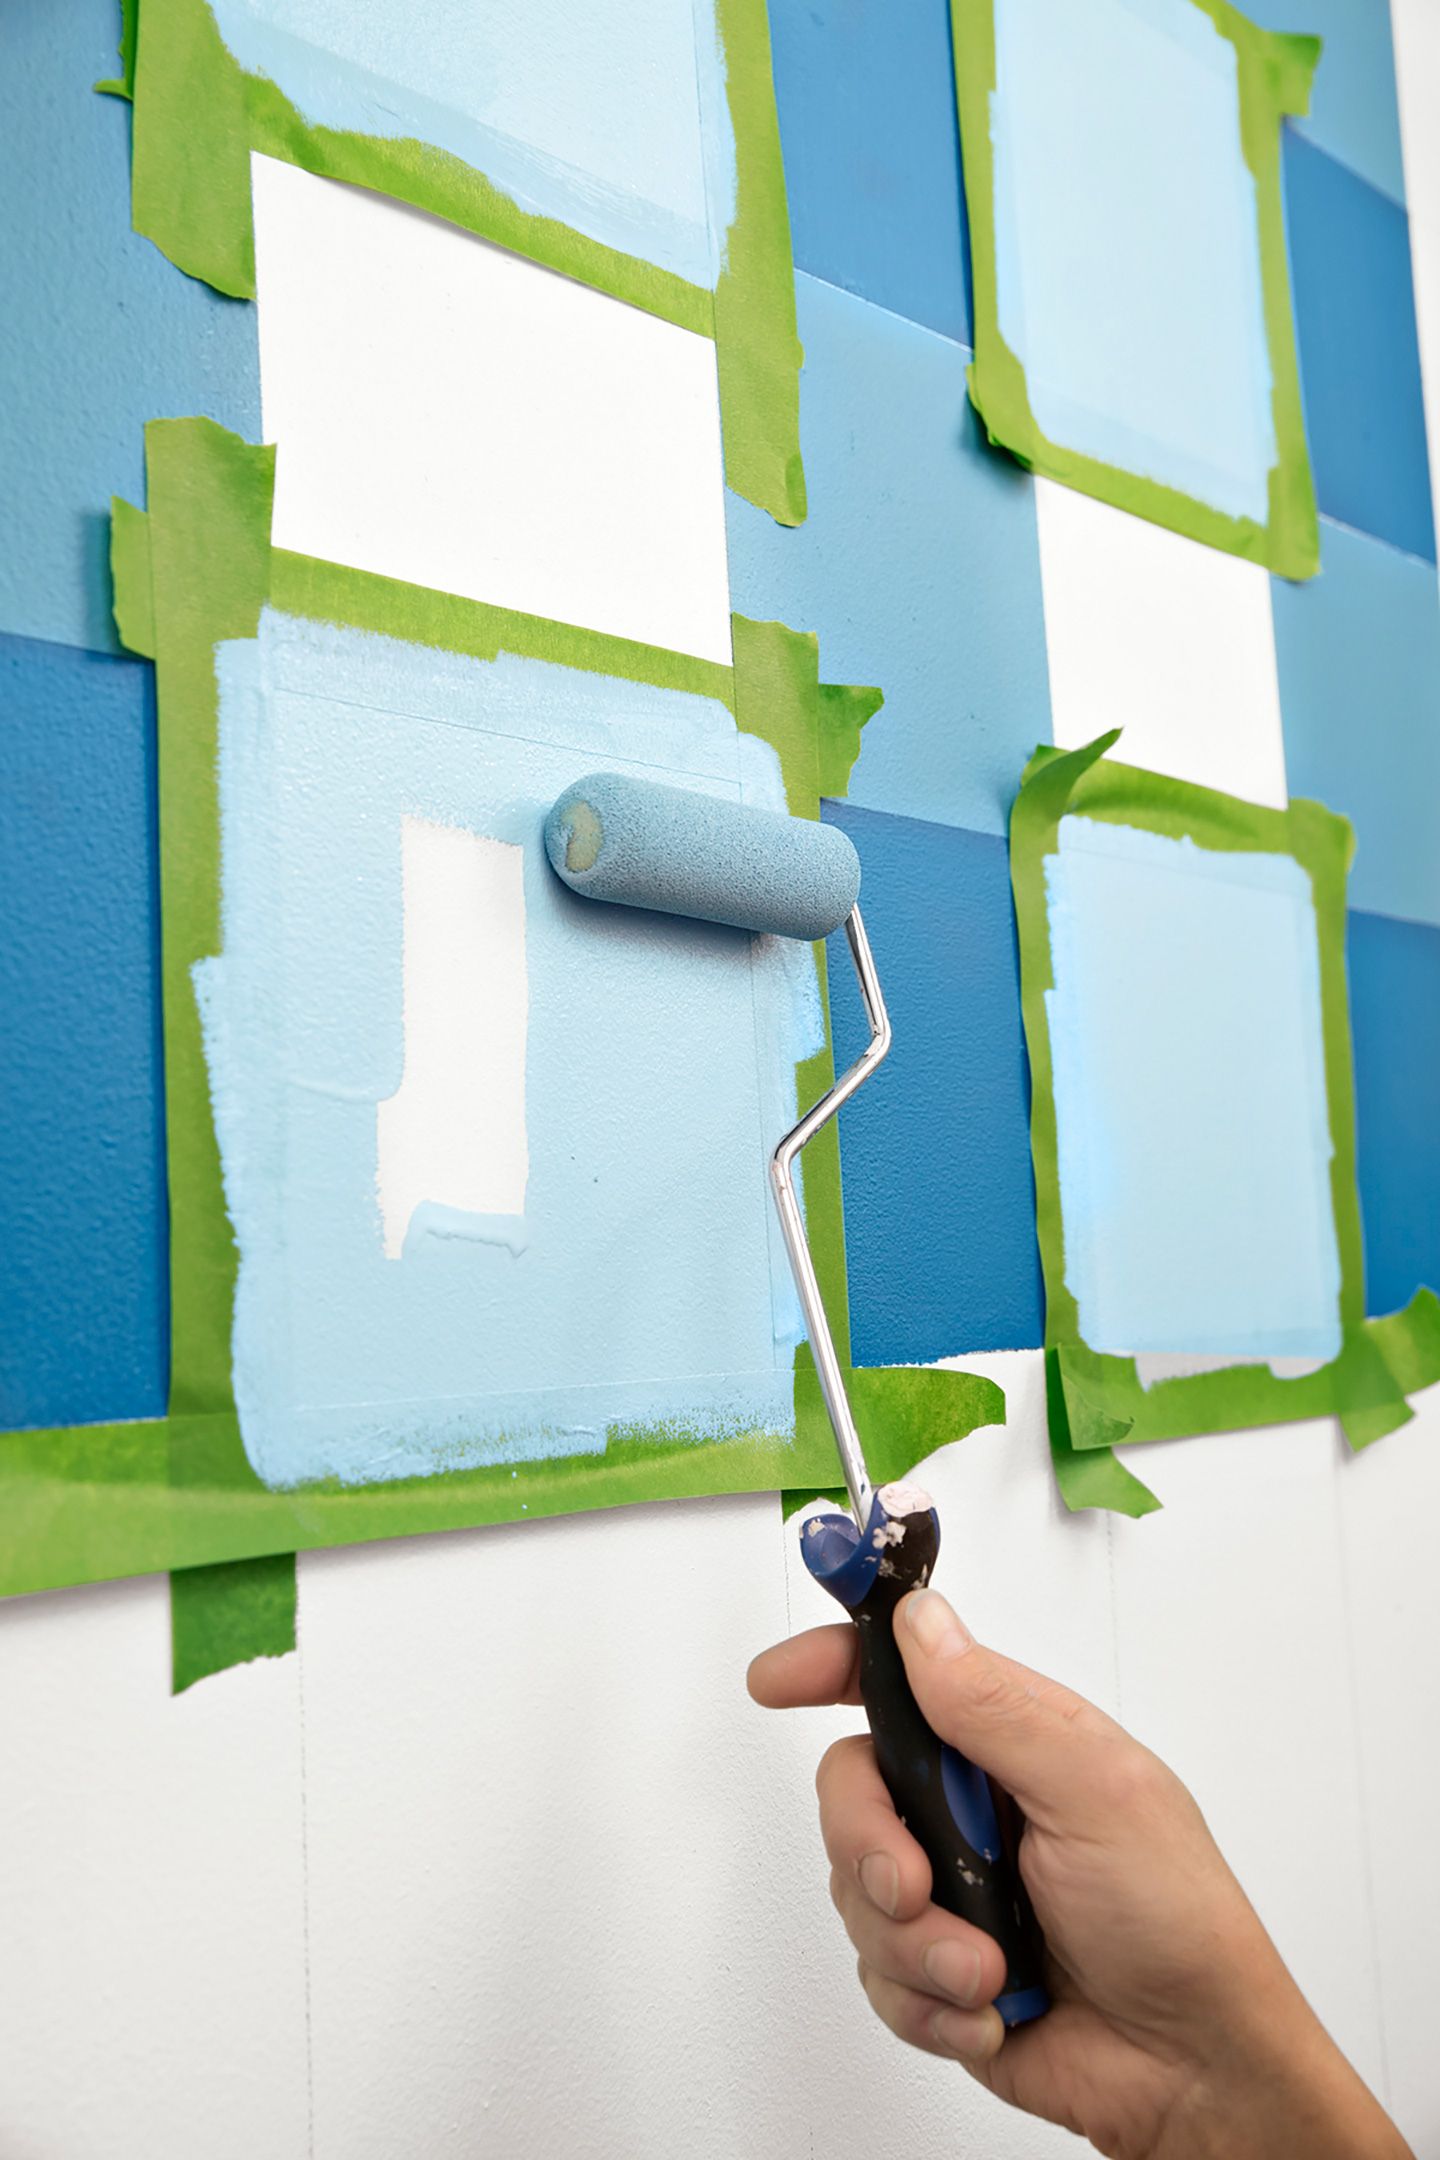
Once your second coat of dark blue paint is tacky but not completely dry, it’s time to remove the tape. Peel the tape away at a 45-degree angle away from parallel, as demonstrated in the photo above, to achieve the cleanest possible lines. After removing all the tape, allow the paint to dry completely before moving on to the next step.
Now, focus on the midtone squares. Starting with the second row, tag and tape off the squares directly above and below the ones you’ve already painted dark blue. As before, make sure to tape along the outside of these squares, which will receive the midtone blue paint. This alternating pattern is what creates the classic gingham look.
Step 5: Paint the Midtone Squares
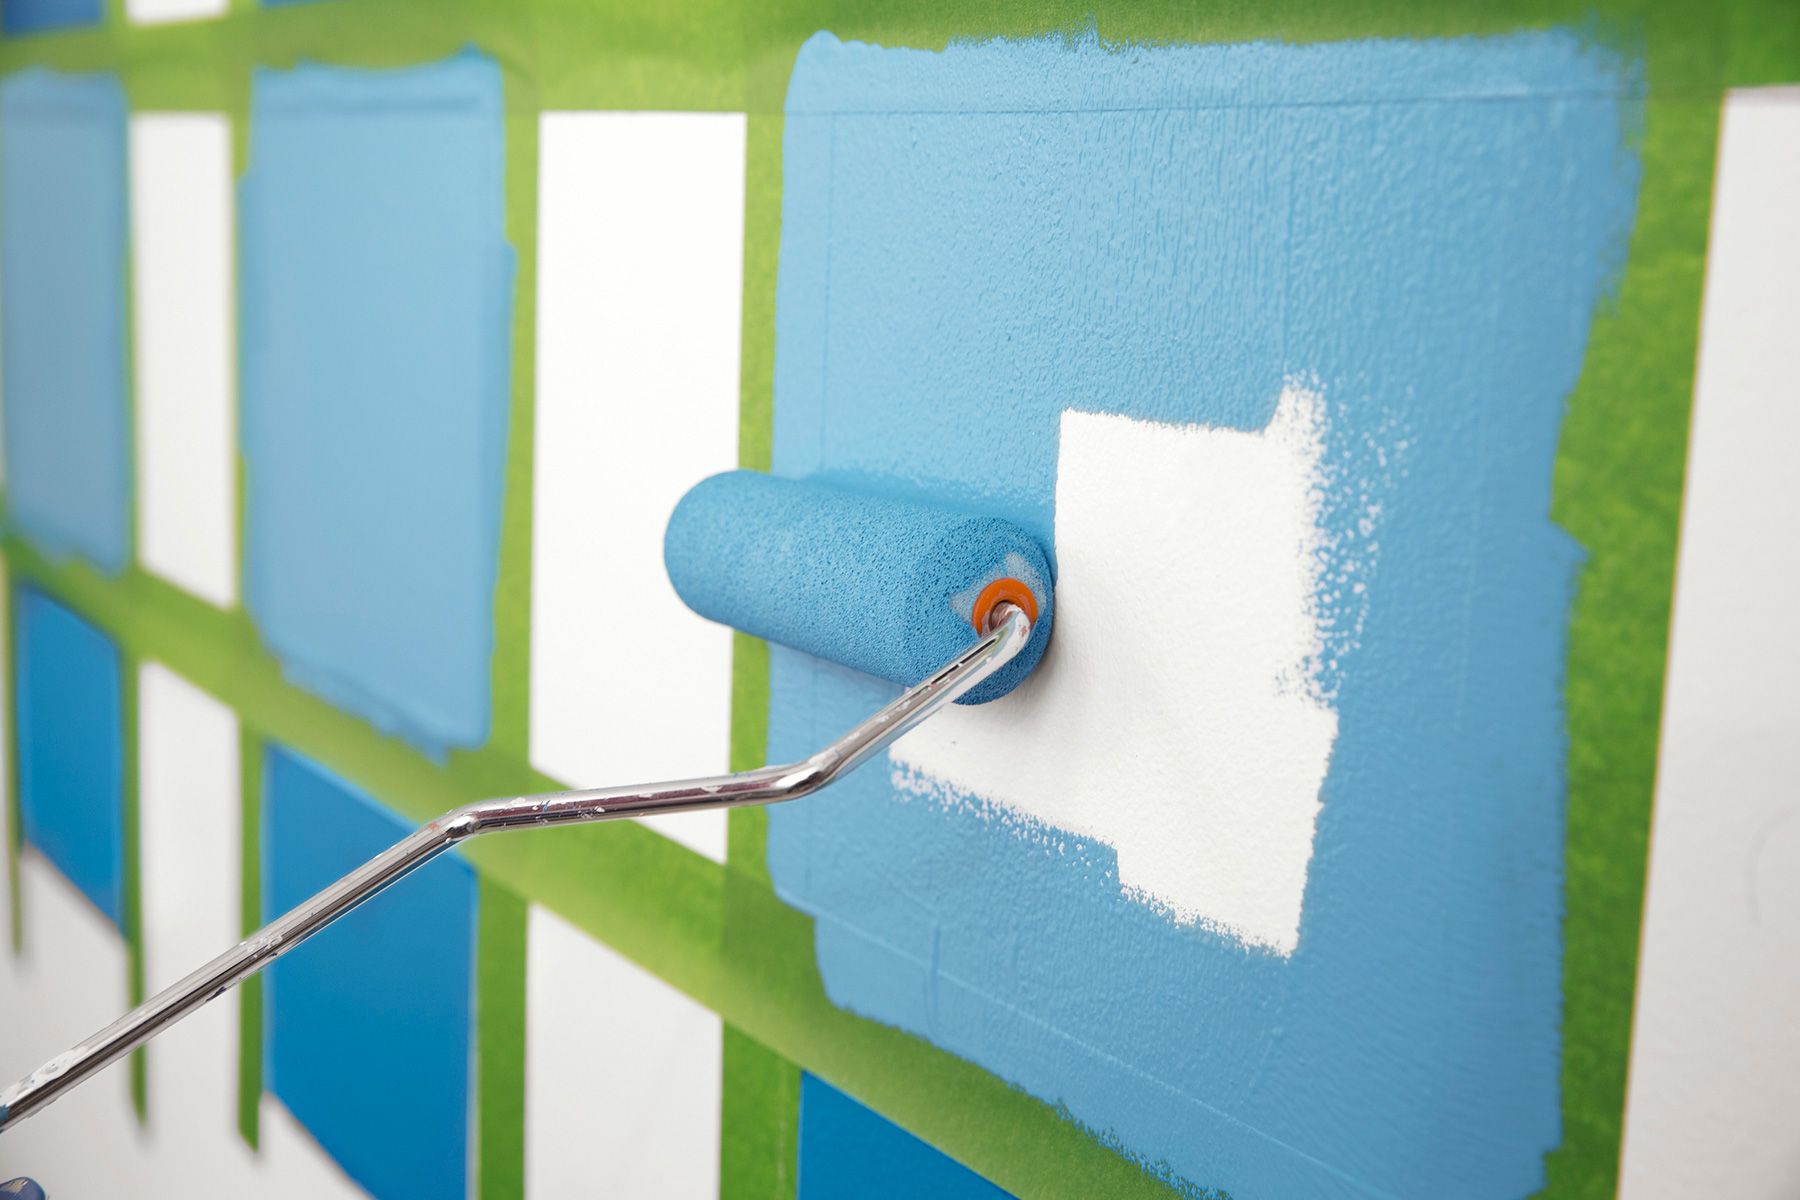
With your midtone squares taped off, it’s time to apply the second shade of blue. Using your foam roller, apply the midtone blue paint to this second set of squares. As with the dark squares, apply two coats for even coverage, allowing the first coat to dry completely before adding the second.
Maintain a light touch with the roller to avoid creating texture differences between the colors. Pay close attention to the edges where the tape meets the wall and the previously painted dark squares. Once the second coat is slightly tacky, carefully remove the tape at a 45-degree angle. Allow the paint to dry completely before moving on to the final color.
Step 6: Tape and Paint the Lightest Squares
The final step in creating your gingham pattern involves adding the lightest shade of blue. These squares will go on the left and right of the dark blue squares, completing the classic gingham look. Tape off these boxes along the outside of their outlines, just as you did with the previous colors.
Apply the lightest blue paint using the same technique as before—two coats with a foam roller, allowing proper drying time between coats. Once the second coat is tacky, carefully remove the tape. As you peel away the last pieces of tape, you’ll reveal your completed gingham pattern in all its glory.
Finishing Touches
After all the paint has dried completely, step back and inspect your work. Touch up any areas where the paint may have bled under the tape or where lines aren’t as crisp as you’d like. Use a small artist’s brush for these touch-ups to ensure precision and a finished look.
Consider adding complementary decor elements to enhance your new gingham wall. White or wooden furniture pieces can create a charming contrast, while floral arrangements or vintage accessories can amplify the pattern’s classic appeal. Adding texture with throws, pillows, or table linens can also enhance the cozy feel.