We may be compensated if you purchase through links on our website. Our team is committed to delivering honest, objective, and independent reviews on home products and services.
Painting trim is a small but transformative project that can breathe new life into any room. While it may seem daunting, you can achieve professional-looking results with the right approach and techniques.
In this guide, we’ll show you how to paint your trim like an expert—from picking your paint to applying the final coat. Whether you’re refreshing baseboards, window frames, or crown molding, these steps will help you create a polished, updated look for your home.
Choosing the Right Paint for Your Trim
Selecting the proper paint for your trim isn’t just about the color—it’s key to achieving a durable and attractive finish. Factor in both the type of paint and the sheen you want. Here’s how.
Oil-Based vs. Latex Paint
The debate between oil-based and latex paint for trim continues, with each option offering distinct advantages.
Oil-based paints offer excellent coverage and adhesion, produce a smooth surface with minimal brush marks, and provide a durable, long-lasting finish. However, they have a high volatile organic compound (VOC) content, require more time to dry, and can be difficult to clean up.
Latex paints dry quickly, are easy to apply, produce fewer VOCs—making them more environmentally friendly than oil-based paints—and clean up easily with soap and water.
It’s really a matter of preference, but latex paints are typically the paint of choice. Also, latex will adhere to oil-based painted trim, but oil-based paint won’t adhere well to trim already painted with latex paint. For that reason, if you’re not sure what kind of old paint you’ll be covering, go with latex.
Paint Sheen Options
Paint sheen refers to how glossy the painted surface will appear once dry. The sheen you choose affects the appearance and how easy it is to maintain and clean it. For trim, there are three main sheen options to consider:
- Gloss: The shiniest option, gloss paint, is highly durable and easy to clean but will highlight any imperfections in the trim.
- Semi-gloss: With a light shine, semi-gloss is easy to clean and makes trim stand out, though it may show some surface flaws.
- Satin: This finish has a subtle luster and hides imperfections well, making it ideal for older homes with less-than-perfect trim.
When choosing a sheen, consider the condition of your trim and how much wear and tear it typically endures. High-traffic areas may benefit from glossier finishes, which are easier to clean than matte ones.
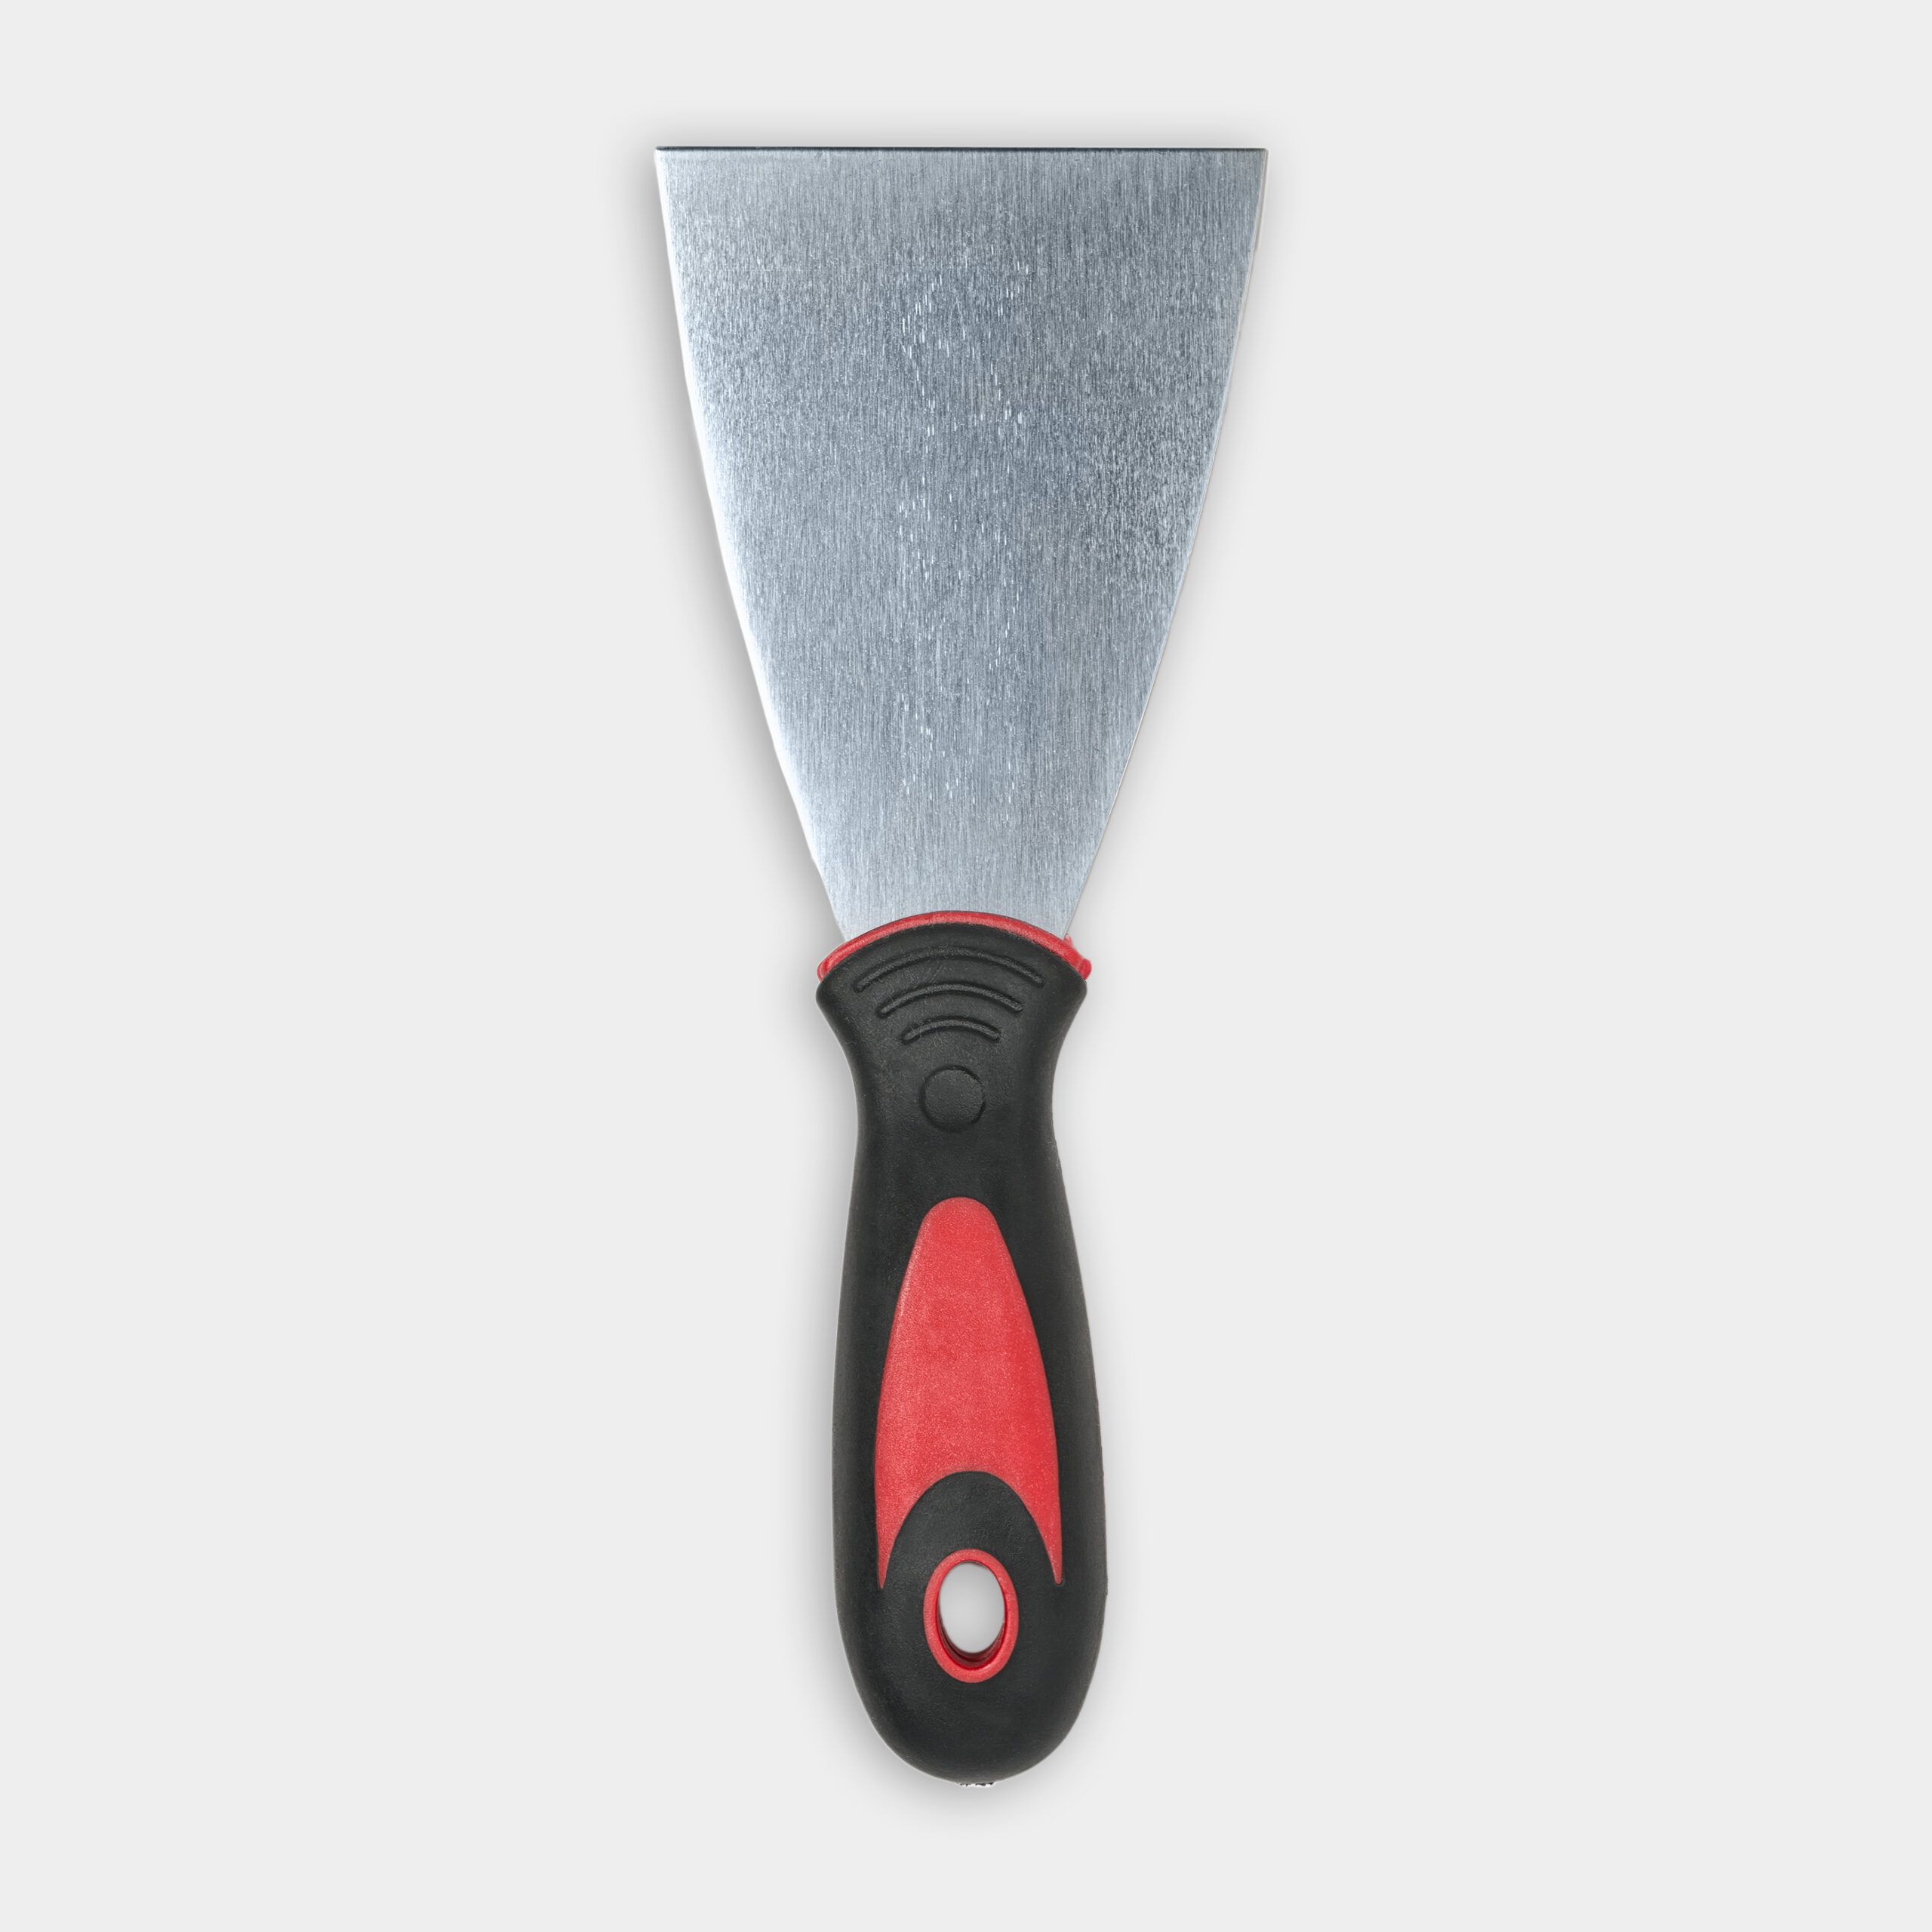
Tools and Materials Needed
Gathering the right tools and materials before you start will ensure a smooth painting process.
Here’s what you’ll need:
- 2-inch angled paintbrush
- Caulk
- Drop cloths
- Paint
- Painter’s tape
- Primer
- Sandpaper or sanding blocks
- Tack cloth
- Wood putty
Preparing Your Space
Proper preparation is key to achieving a professional-looking paint job on your trim. This phase involves several important steps to ensure the best possible outcome.
Clearing and Protecting the Room
Begin by removing any portable items from the room and moving larger furniture to the center. Cover the furniture pile with drop cloths to protect against paint splatters. This step safeguards your belongings and gives you more room to work around the trim.
Repairing Damaged Trim
Inspect the trim for any damage that needs addressing before painting. Secure loose trim pieces with nails, using a nail set to recess the nail heads below the surface. Replace any severely damaged sections of trim. Take a small sample to a home improvement store for an exact match. Sand down any rough or uneven areas to create a smooth surface for painting.
Filling Holes and Caulking Gaps
Use wood filler to patch nail holes and minor imperfections in the trim. Wood filler is preferable to spackle or joint compound as it shrinks less when dry. Once the filler is dry, sand it smooth with fine-grit sandpaper.
Next, apply a paintable latex caulk to fill any gaps along the edges of the trim or where trim pieces meet. This step creates a seamless look and prevents the paint from seeping behind the trim. Allow the caulk to dry completely before painting.
Step-By-Step Process for Painting Trim
With preparation complete, you’re ready to begin painting. Follow these steps for the best results on your trim.
Applying Painter’s Tape Effectively
Carefully apply painter’s tape to protect surfaces next to the trim by doing the following:
- Place tape along the floor, under baseboards, and above them on the wall.
- Tape around window and door frames and along walls and ceilings near crown molding.
- Press the tape edges firmly to create a good seal and prevent paint bleed.
Sanding and Dust Removal Techniques
Even if your trim appears smooth, a light sanding helps the paint adhere better.
Start with 80-grit sandpaper to remove any remaining roughness or old paint flakes. Follow up with 120-grit sandpaper to get a smoother surface. Vacuum the area thoroughly to remove all the sanding dust. Then, wipe down the trim with a tack cloth to pick up any remaining dust particles.
Priming the Trim
Priming is essential for achieving a smooth, long-lasting paint job. Follow these steps:
- Spot-prime any repaired areas or visible knots in the wood.
- Once the spot priming is dry, apply an even coat of primer to all trim surfaces.
- Work from your non-dominant side to your dominant side for smoother brush strokes.
- When priming corners, start about ½-inch away and gently push the brush into the corner.
Allow the primer to dry completely before moving on to painting.
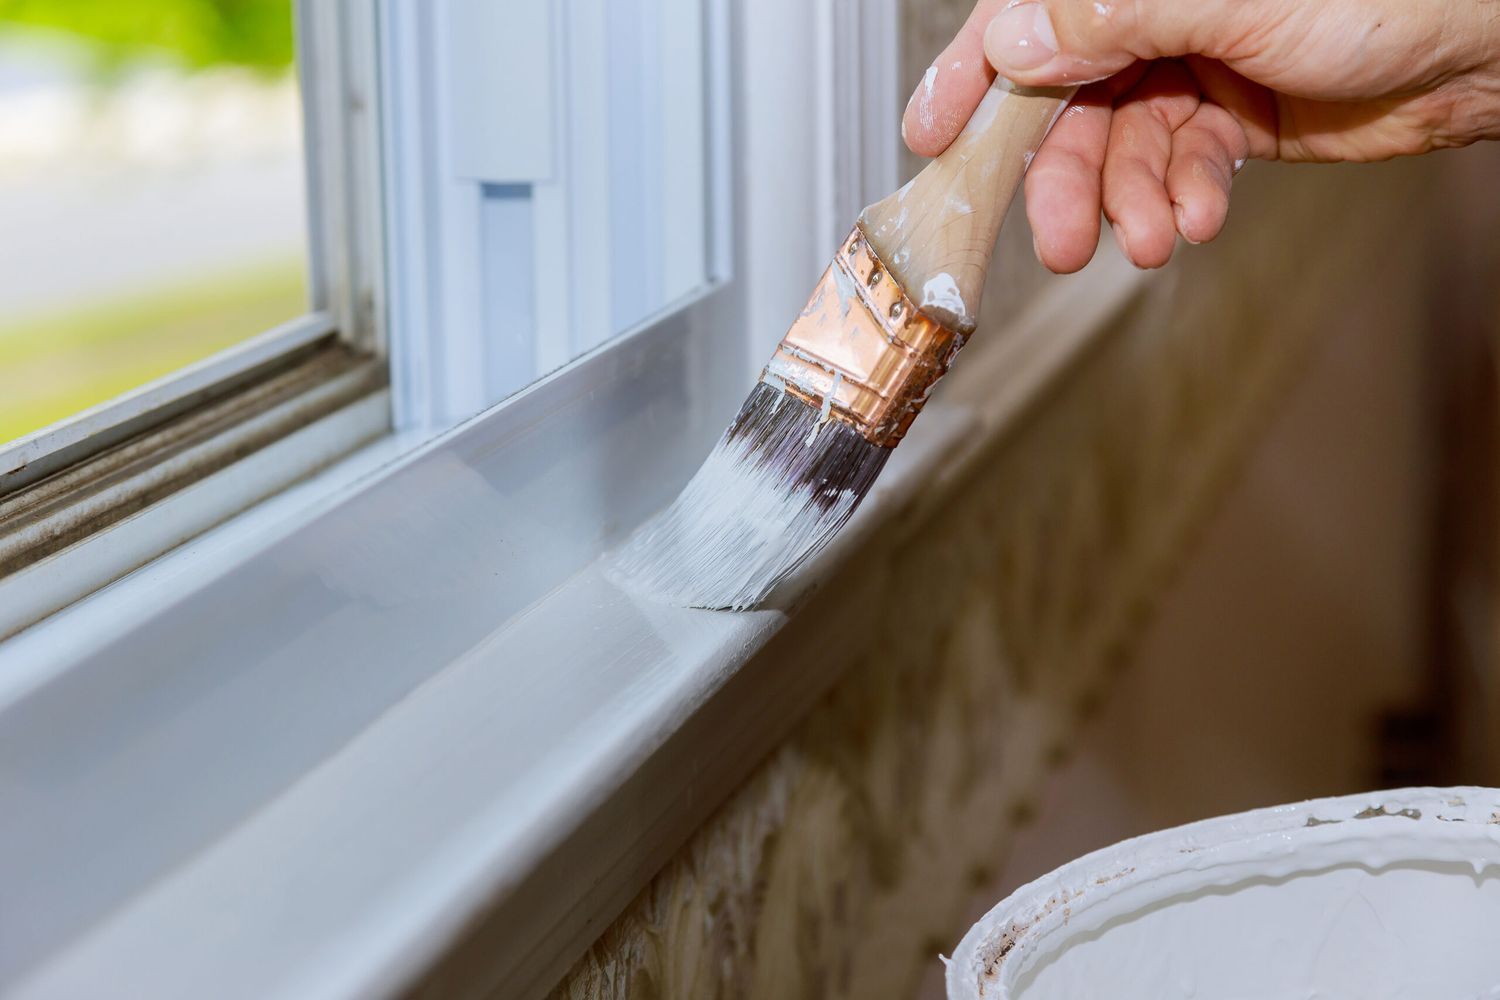
Painting Techniques for Professional-Looking Results
Follow these steps for a flawless paint application:
- Dip the brush about 1½ inches into the paint and remove excess by tapping the brush on the can’s interior.
- Begin with corners and edges, then move to the main surfaces.
- Paint in long, smooth strokes, overlapping slightly with each pass to maintain a wet edge.
- Avoid overworking the paint—three to four brush strokes per section are usually sufficient.
- For horizontal trim, paint the top and bottom edges first, then fill in the center.
- On vertical trim, paint the sides before the middle section.
Remember to maintain a consistent technique throughout for an even finish.
Comparing Brush and Spray Techniques
Choosing between a brush and a sprayer can impact the final look of your trim.
Using a brush offers detailed precision, especially for complex areas and edges. It allows for control and an even paint layer, though it may leave some brush marks.
On the other hand, a sprayer can create a smooth, uniform finish and is generally faster for larger areas. However, it requires thorough masking to prevent overspray and is a lot more challenging for beginners to master.
Layering Multiple Coats for Durability
Applying multiple coats of paint can enhance its color and provide extra protection against wear and tear.
Start with a thin initial coat to outline and cover the surface, followed by a slightly heavier second coat for thorough coverage. Allow ample drying time between coats to ensure proper adhesion and a smooth finish.
Troubleshooting Common Trim Painting Issues
Even with careful preparation, you may face some challenges.
Here are solutions to common problems:
- Drips or runs: Quickly smooth out with a brush while the paint is wet or sand when dry and repaint.
- Peeling paint: Ensure proper surface preparation and priming before repainting.
- Uneven color: Apply additional coats for consistent coverage.
- Visible brush strokes: Use a higher-quality brush and thin the paint slightly if necessary.
Preventing Common Problems
Preventing issues before they happen is the best way to ensure a smooth process. Stir the paint thoroughly to give it a uniform consistency on your trim. Avoid painting in extremely humid or cold conditions to prevent issues with drying and adhesion.
Always work in a well-ventilated area to reduce the risk of drips and improve overall drying time. Proper surface preparation, quality tools, and careful paint application will also help prevent common painting problems.
Fixing Mistakes Efficiently
Mistakes can happen even to the most careful painters. If you notice drips or uneven spots, lightly sand the area and clean off any dust before applying touch-up paint. For minor imperfections, you can use a fine brush to correct the mistake without redoing the entire section.
If you have larger areas with discoloration or rough patches, we recommend repainting the section to prevent repeat issues and inconsistencies in the finish.
Maintaining Your Newly Painted Trim
To keep your freshly painted trim looking great, take these tips from our experts:
- Allow the paint to cure fully before cleaning (usually about 30 days).
- Clean gently with a damp cloth and mild soap when needed.
- Repaint trim every 3–5 years or as necessary to maintain its appearance.
- Touch up any chips or scratches promptly to prevent further damage.
Our Conclusion
Painting trim is a rewarding DIY project that can significantly enhance the look of your home. By following these steps and techniques, you can achieve long-lasting, professional-looking results. Remember that patience and attention to detail are key to a successful trim painting project.