Painting doors, windows, and walls can transform the look of your home, but achieving professional-looking results requires more than just picking up a brush. With the right approach, tools, and techniques, you can create a smooth, even finish that will make your space stand out. This guide will walk you through how to paint doors, windows, and walls, from preparation to the final touches, ensuring your painting project is a success.
Preparing Your Space for Painting
Before you start painting, prepare your space by gathering the necessary tools and materials and protecting your furniture and floors.
Gathering Essential Tools and Materials
To paint doors, windows, and walls, you’ll need the following tools:
- Drop cloths
- Extension pole
- Ladder or step stool
- Paint (interior latex or oil-based)
- Paint brushes
- Paint rollers and roller covers
- Paint trays
- Painter’s tape
- Primer
- Sandpaper (120-grit and 220-grit)
- Soft sanding block
If you also have cracks, holes, or other gaps to fill, we recommend adding these tools:
- Caulk and caulk gun
- Putty knife
- Spackling compound
Protecting Furniture and Floors
If you’re painting a room, remove as much furniture as possible and cover your floors with drop cloths and tarps. Use painter’s tape to protect trim, outlets, and switchplates. For doors and windows, remove or cover the hardware so you don’t accidentally get paint on them. You can also use painter’s tape to protect the glass in your windows from accidental paint drops.
Prepping Surfaces for a Flawless Finish
When painting woodwork, proper surface preparation is key for a professional-looking paint job. This involves cleaning, sanding, filling holes, and priming where necessary.
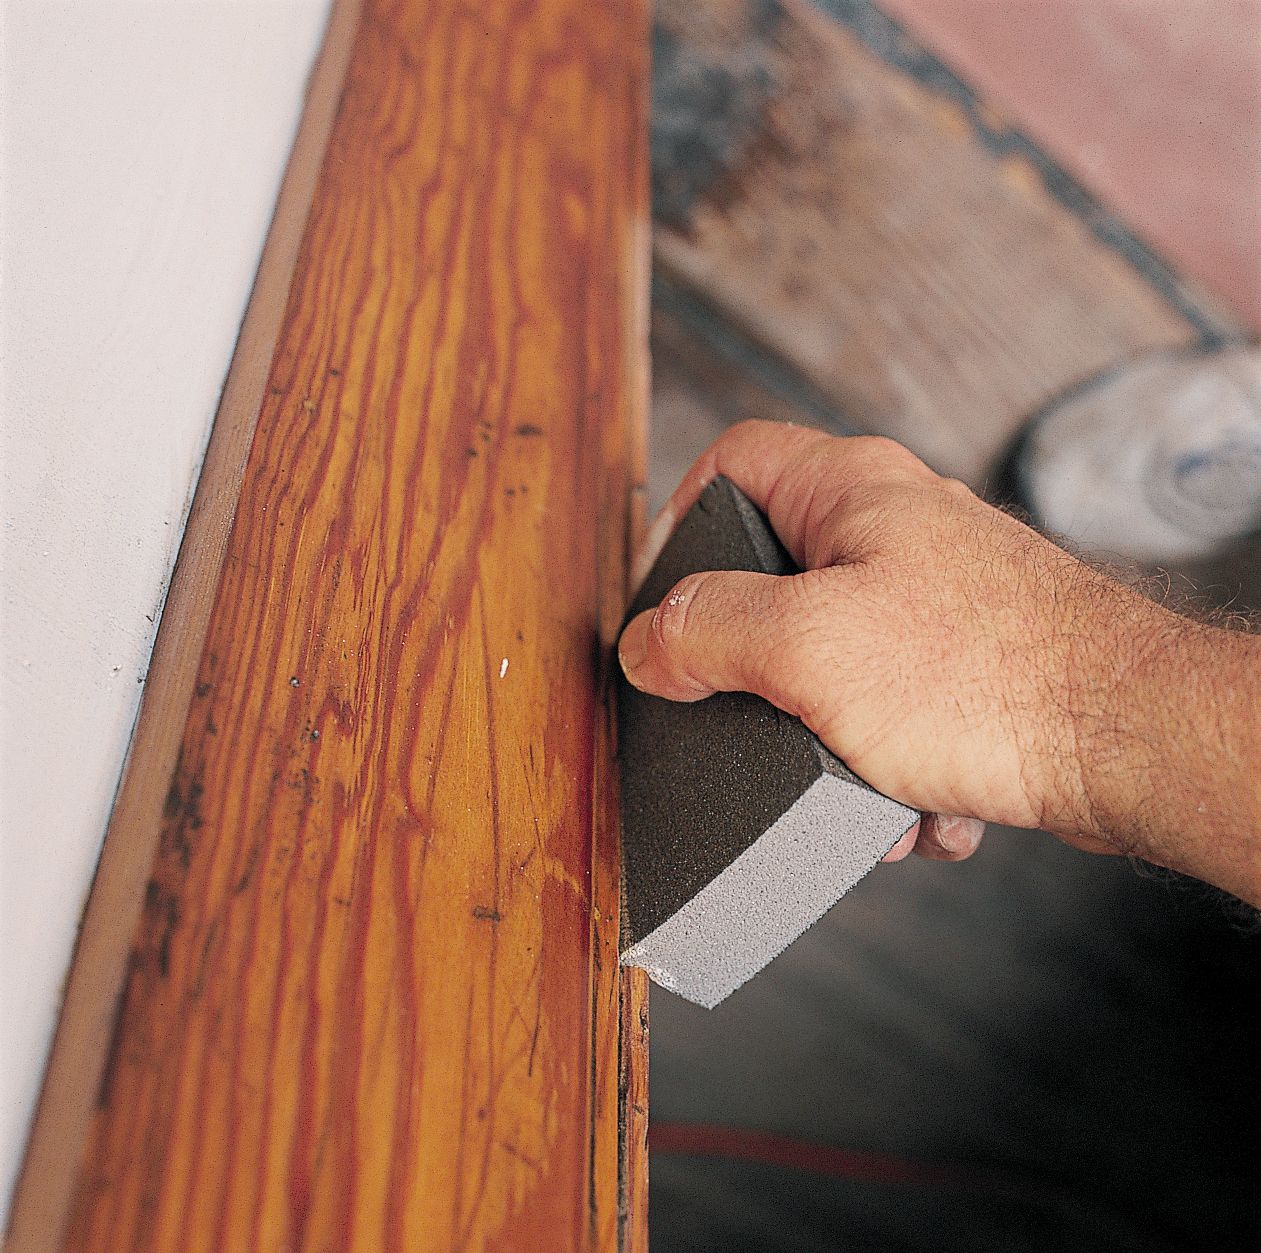
Cleaning and Sanding Woodwork
Start by cleaning your surface with a household cleaner to remove dirt and grime. Once the surface is dry, sand the woodwork:
- Use 120-grit sandpaper on flat surfaces, holding it in your hand to reach slight depressions. “Check paper regularly for wear,” advises painting contractor John Dee. “It’s time to switch to fresh paper when you feel that your elbow is doing more of the work.”
- For contoured surfaces, such as moldings, use a soft sanding block or sponge that conforms to the shape. Don’t sand glass, as this can cause scratches.
- After sanding, remove dust with a vacuum or brush.
- Wipe the surface clean with a tack cloth.
Filling Holes and Caulking Joints
Next, address any imperfections in the surface:
- Use lightweight spackling compound to fill small holes or cracks in walls.
- For woodwork, use wood filler to fill nail holes, slightly overfilling to allow for shrinkage.
- Once dry, sand the filled areas smooth.
- Caulk gaps between primed woodwork and walls for a seamless look.
Priming Bare Surfaces
Priming is essential for bare plaster, new drywall, or bare wood:
- Make sure the woodwork is bare and sanded to ensure good adhesion of finish coats.
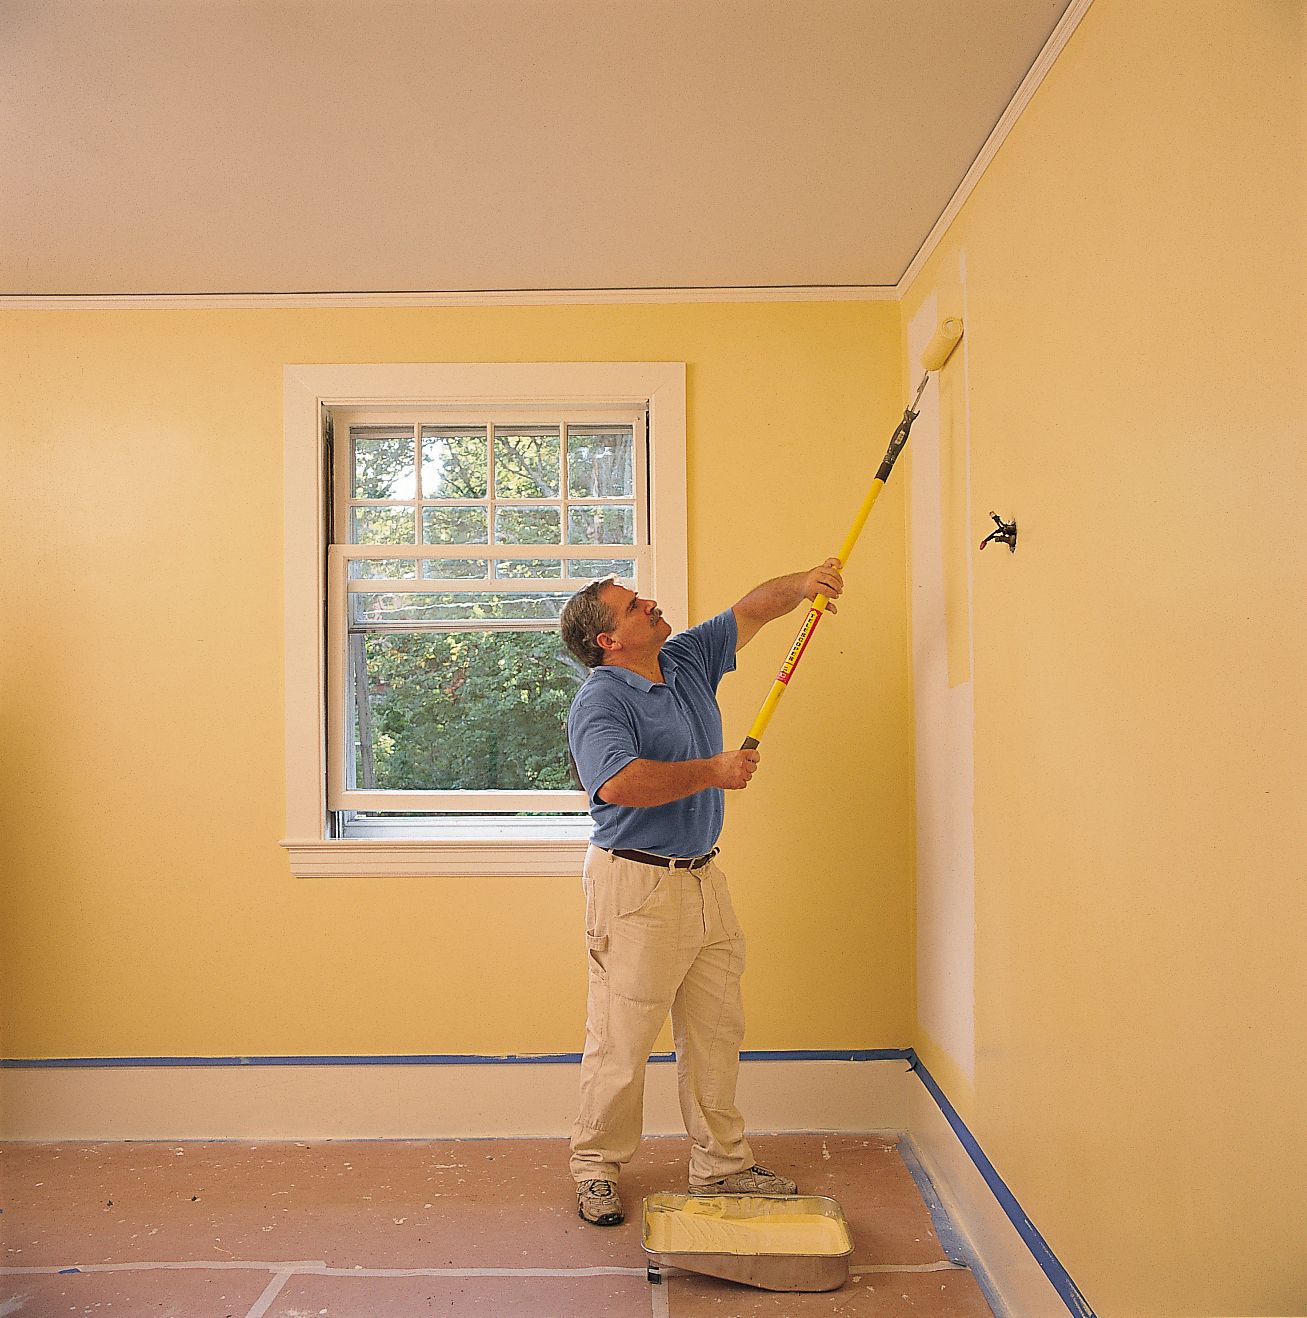
- Apply oil-based or all-purpose acrylic primer to walls and ceilings.
- Allow the primer to dry overnight.
- Lightly sand the surface with 220-grit sandpaper.
- Clean up dust with a vacuum and tack cloth before applying the final coats of primer.
Mastering the Art of Painting Walls
With surfaces prepped, you can start your painting project. Proper technique is crucial for achieving an even, professional-looking finish.
Cutting In
Cutting in refers to painting the edges of walls where they meet ceilings, baseboards, and other surfaces:
- Use a 2-inch angled brush for precision.
- Load the brush with paint and start about 6 inches from the edge.
- Work the paint toward the edge, using steady strokes.
- Feather the paint out to avoid visible brush marks.
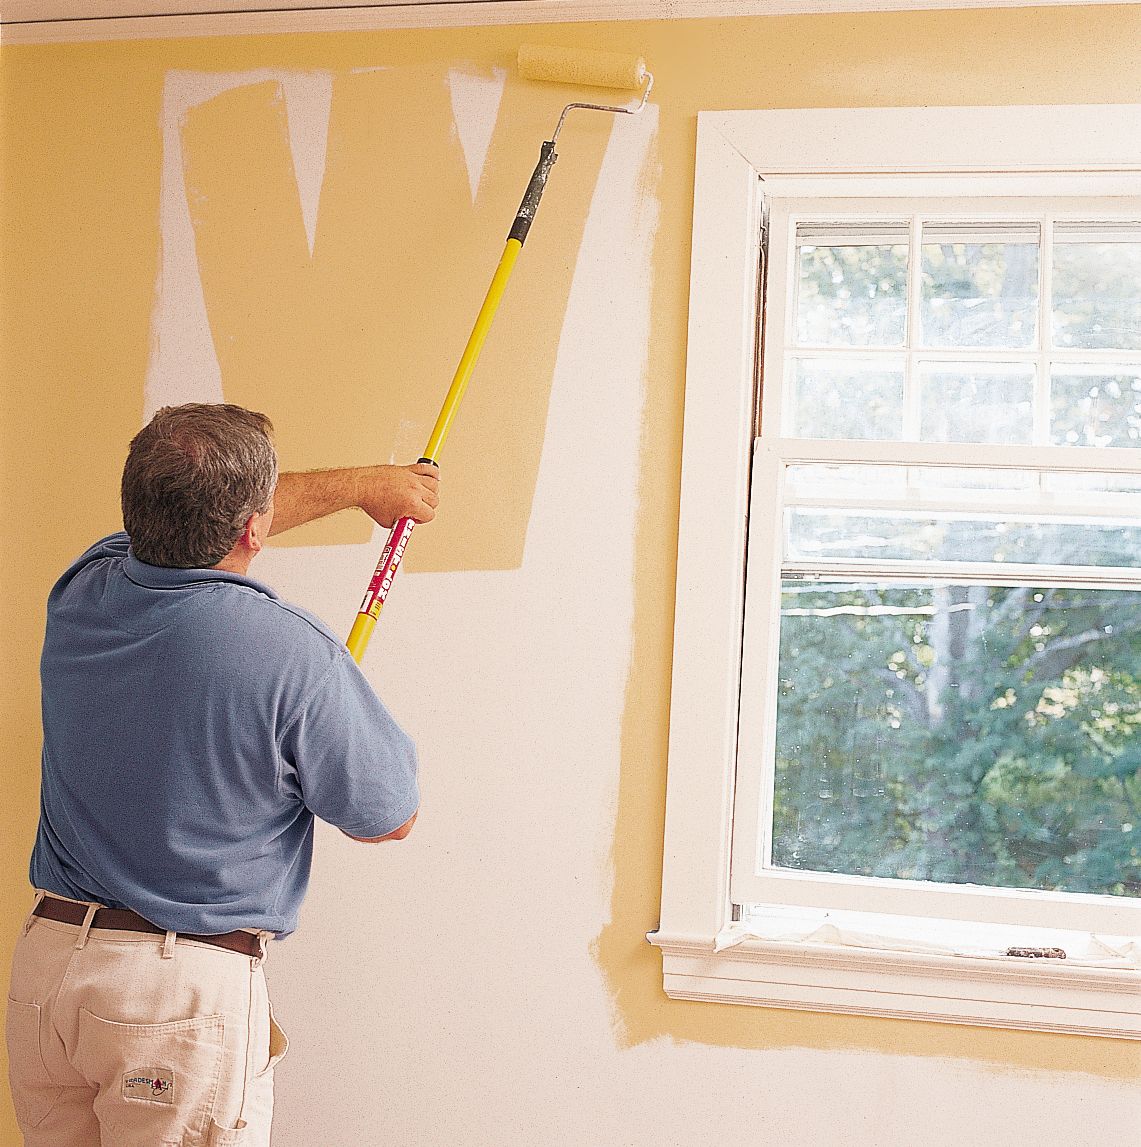
Rolling Walls
For the main wall areas, use a roller for efficient, even coverage:
- Pour paint into a roller tray, filling it about halfway.
- Evenly load the roller with paint by rolling it back and forth in the tray’s shallow end.
- Start in a corner of the wall and work in 3-foot square sections.
- Roll in a “W” or “M” pattern, then fill the surface in with vertical strokes.
- Overlap the strokes slightly with the previous section to blend.
For more detailed instructions on painting walls, check out our guide on how to roll paint onto a wall.
Dealing with Textured Walls
Textured walls require special attention:
- Apply paint more heavily on textured walls than you would on smooth walls.
- Prepare to paint an extra coat for full, even coverage.
- Roll in various directions to ensure complete coverage.
- Use a thicker nap roller cover (3/4 inches or more) to reach into crevices.
Tackling Doors: From Prep To Perfect
Painting doors can be tricky, but you can achieve a smooth, professional finish with the right approach.
Removing Hardware and Sanding
Prepare the door by removing any existing hardware and sanding the surface:
- Remove all hardware or tape it off carefully.
- Sand the entire door with 120-grit sandpaper to create a smooth surface.
- Wipe away dust with a tack cloth.
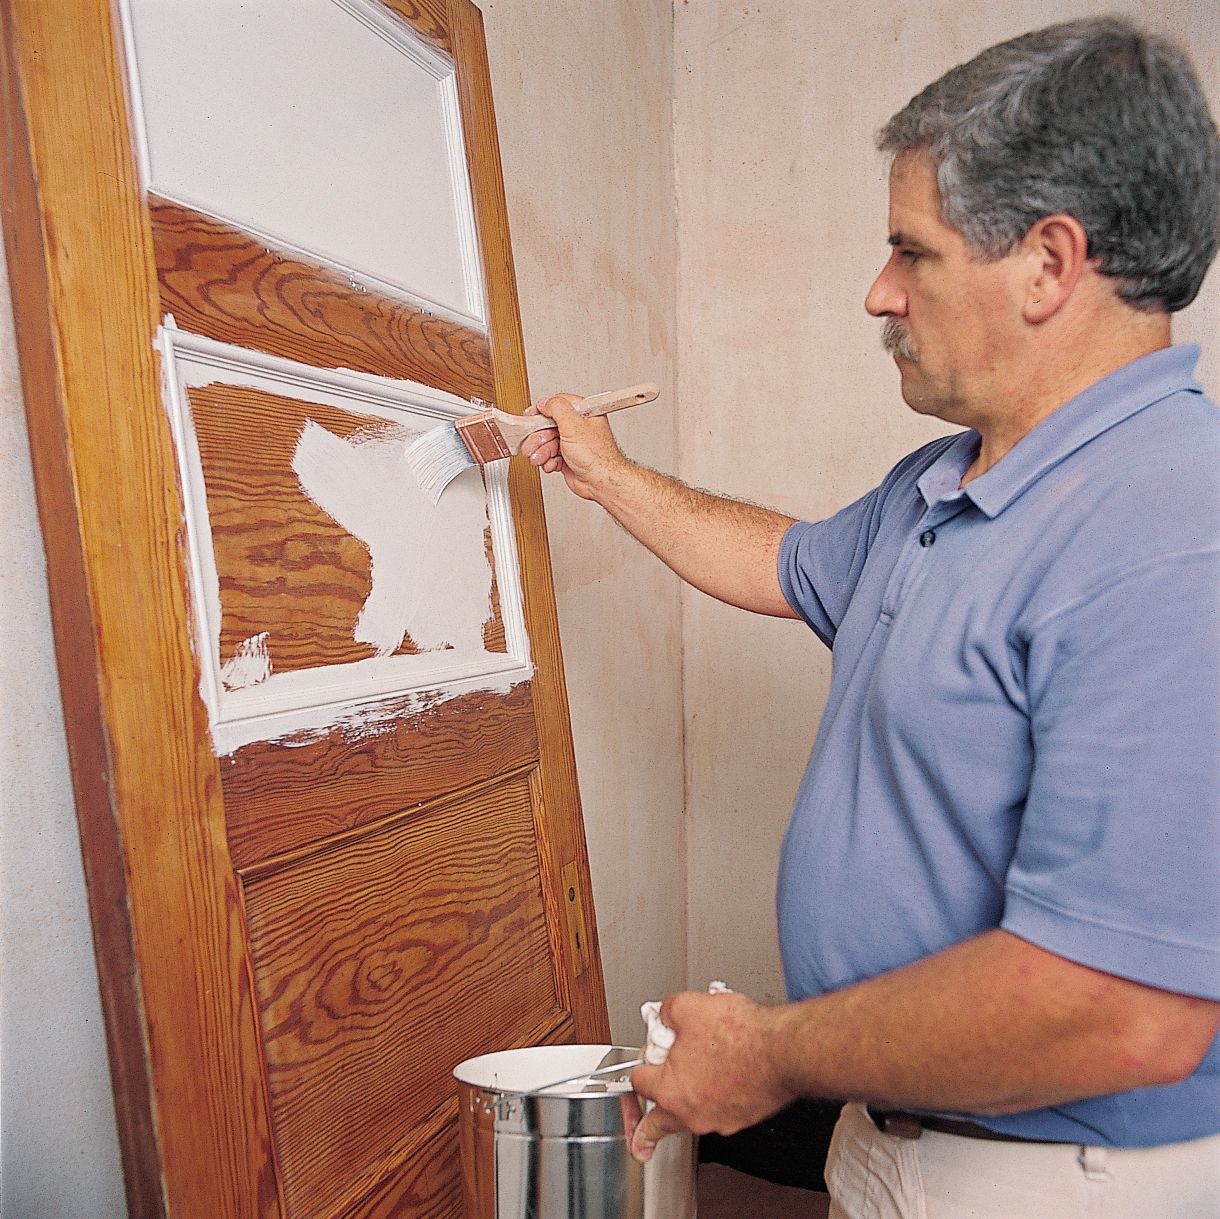
Painting Techniques for Different Door Types
For flat doors, use a foam roller to cover large areas and use a brush to paint edges and any raised panels. If you have paneled doors, paint the panels first followed by the rails (horizontal pieces) and stiles (vertical pieces). Use long, smooth strokes in the direction of the wood grain.
Reattaching Hardware and Finishing Touches
Once the paint is completely dry, lightly sand the surface with 220-grit sandpaper for an ultra-smooth finish. Apply a second coat of paint if needed, and reattach hardware once the paint fully cures (usually 24–48 hours).

Window Painting: Achieving Professional Results
Windows require patience and precision to paint properly. Follow these steps for the best results.
Preparing Windows for Paint
Before painting, prepare the windows:
- Remove or tape off all hardware.
- Tape off the inner panes.
- Clean the window frames thoroughly with warm water, mild soap, and a clean cloth.
- Sand the window frames lightly with 120-grit sandpaper.
- Wipe away dust with a tack cloth.
Protecting and Cleaning Glass
To protect and clean the glass before and during painting, follow these steps:
- Use painter’s tape to mask off the glass, leaving a small gap for a seal.
- After painting, remove the tape while the paint is still slightly wet.
- Use a razor blade to carefully remove any paint that got on the glass.
“You want to leave a narrow strip of paint on the glass to seal the wood from moisture,” advises John Dee. “Hold the edge of a 6-inch-wide putty knife blade against the glass, with its flat side against the wood, and scrape up to it. You’ll be left with a neat, even strip of paint on the glass that’s the thickness of the blade.”
Brush Techniques for Window Frames
When painting window frames, start with the inner edges of the frame. Work your way outward, painting in the direction of the wood grain, and use light, even strokes to avoid drips and runs.
Woodwork and Trim: Adding the Final Touch To Your Painting Job
Painting woodwork and trim is the final step of your paint job. Target baseboards, crown molding, and other trim work that frames your doors, windows, and walls.
Painting Baseboards and Crown Molding
Paint baseboards and crown molding after the walls are completely dry. Use a two-inch angled brush for precision and paint in long, smooth strokes following the wood grain. Be careful not to get paint on the walls or ceiling during this process.
Techniques for Smooth Finish on Trim
To achieve a smooth finish on trim, sand between coats with 220-grit sandpaper. Use a high-quality brush designed for trim work, and apply thin, even coats to avoid drips and brush marks.
Troubleshooting Common Painting Problems
Even experienced painters can encounter issues during painting. From fixing uneven coverage to dealing with paint drips, here are a few common painting problems and how to address them.
- Addressing paint bubbles and peeling: If you notice bubbles or peeling, scrape off the affected area and sand the edges smooth. Prime the bare spot and repaint the area, feathering the edges to blend.
- Dealing with drips and runs: If you notice drips or runs, wait for the paint to dry completely. Sand the area smooth with fine-grit sandpaper, clean the area, and repaint.
- Fixing uneven coverage: Allow the paint to dry completely before addressing the issue. Lightly sand any rough areas before applying another coat of paint, paying attention to even application.
For a comprehensive guide on painting an entire room, including walls, trim, and ceilings, check out our guide on how to paint a room.
Our Conclusion
Painting doors, windows, and walls may seem daunting, but you can achieve professional-looking results with the proper preparation, tools, and systematic approach. Whether you’re refreshing a single room or tackling your entire home, these techniques will help you create a beautiful, long-lasting finish. Remember, the key to a great paint job lies in the details: thorough surface preparation, careful cutting in, and even application of paint.