Project details
Skill
Cost
Estimated Time
Building a bed with storage is a great way to maximize space in your bedroom. Incorporating built-in cubbies beneath the mattress allows you to reclaim valuable floor space and keep your room organized.
In the video above, This Old House contributor Christopher Beidel demonstrates how to make a queen-sized storage bed with a stylish beadboard finish. Get step-by-step instructions and more tips in our guide below.
Materials and Tools To Build a Storage Bed
Before you begin, gather the following materials and tools:
- Bar clamps
- Beadboard panels
- Brad nailer
- Circular saw
- Deck screws
- Door casing
- Drill
- Jigsaw or Japanese handsaw
- MDF screws (1 1/4-inch and 1 1/2-inch)
- Medium-density fiberboard (MDF)
- Miter saw
- Primer and paint
- Rosettes
- Wood glue
- Shoe molding
Cut List
Read the cut list below to make sure you have all the lumber and fiberboard you need.
Large Storage Carcasses
Here are the materials needed for the large storage carcasses:
- 3/4-inch medium-density fiberboard (MDF) tops and bottoms: 4 @ 21 x 82 inches
- 3/4-inch MDF backs: 2 @ 10 1/2 x 82 inches
- 3/4-inch MDF dividers: 8 @ 10 1/2 x 20 1/4 inches
Small Storage Carcass
Here are the cuts for the small storage carcass:
- 3/4-inch MDF top and bottom: 2 @ 21 x 27 1/2 inches
- 3/4-inch MDF sides: 2 @ 10 1/2 x 26 3/4 inches
- 3/4-inch MDF back: 1 @ 10 1/2 x 21 inches
Bed Frame
Below are the cuts for the bed frame:
- 3/4-inch MDF headboard: 1 @ 48 x 63 inches (cut to fit)
- 3/4-inch MDF side panels: 2 @ 8 1/2 x 82 inches
- 3/4-inch MDF footboard: 1 @ 8 1/2 x 61 1/2 inches
- 2×4 support frame: Measure void and cut to fit.
- Trim and beadboard panels: Measure and cut to fit.
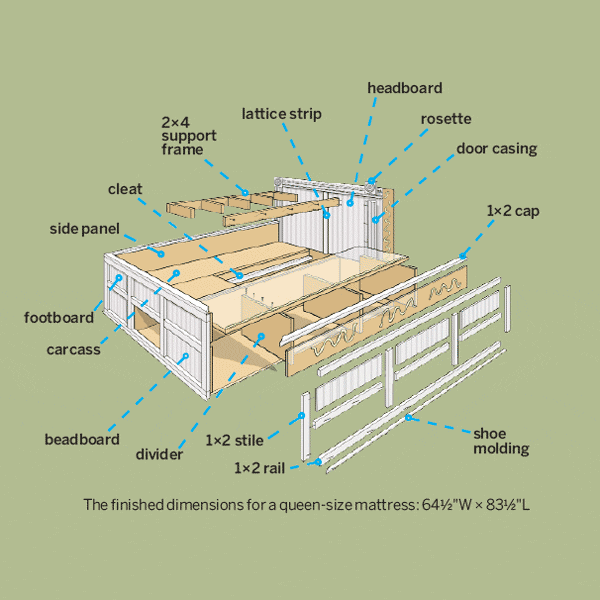
Building the Under Bed Storage Carcasses
The foundation of your storage bed consists of three carcasses that form the platform for your mattress. As shown in the video, this foundational step sets the stage for the entire build.
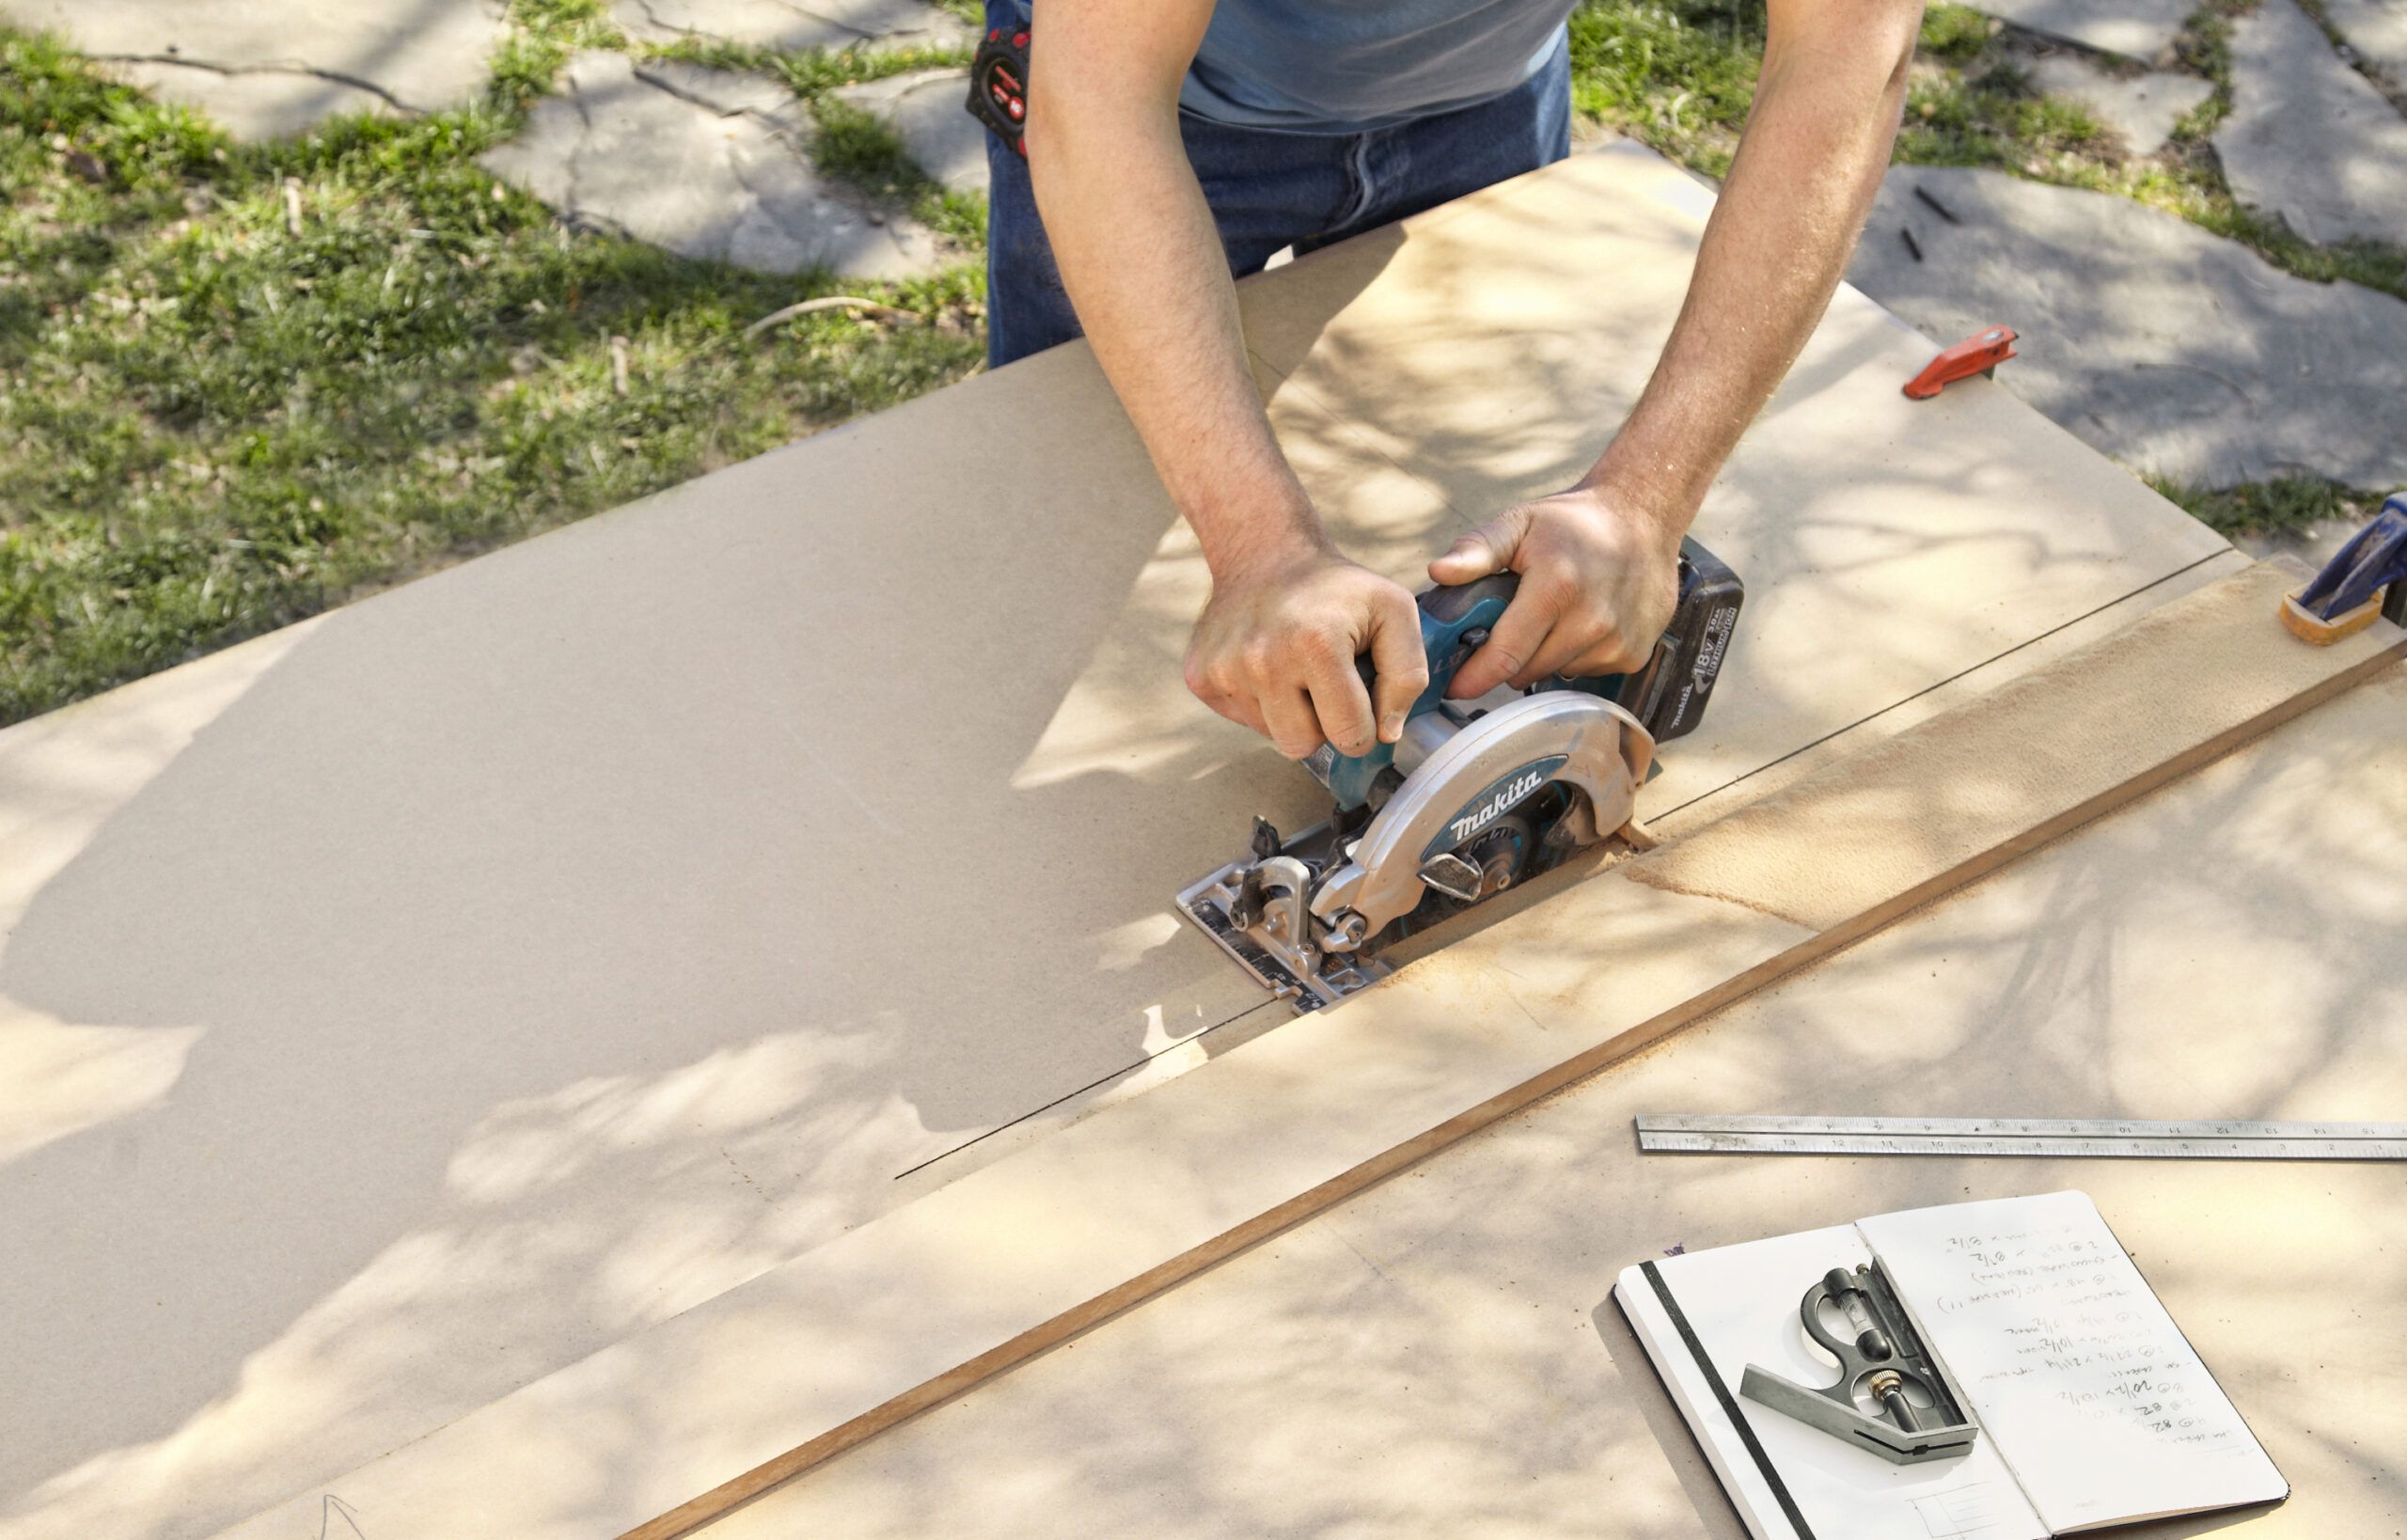
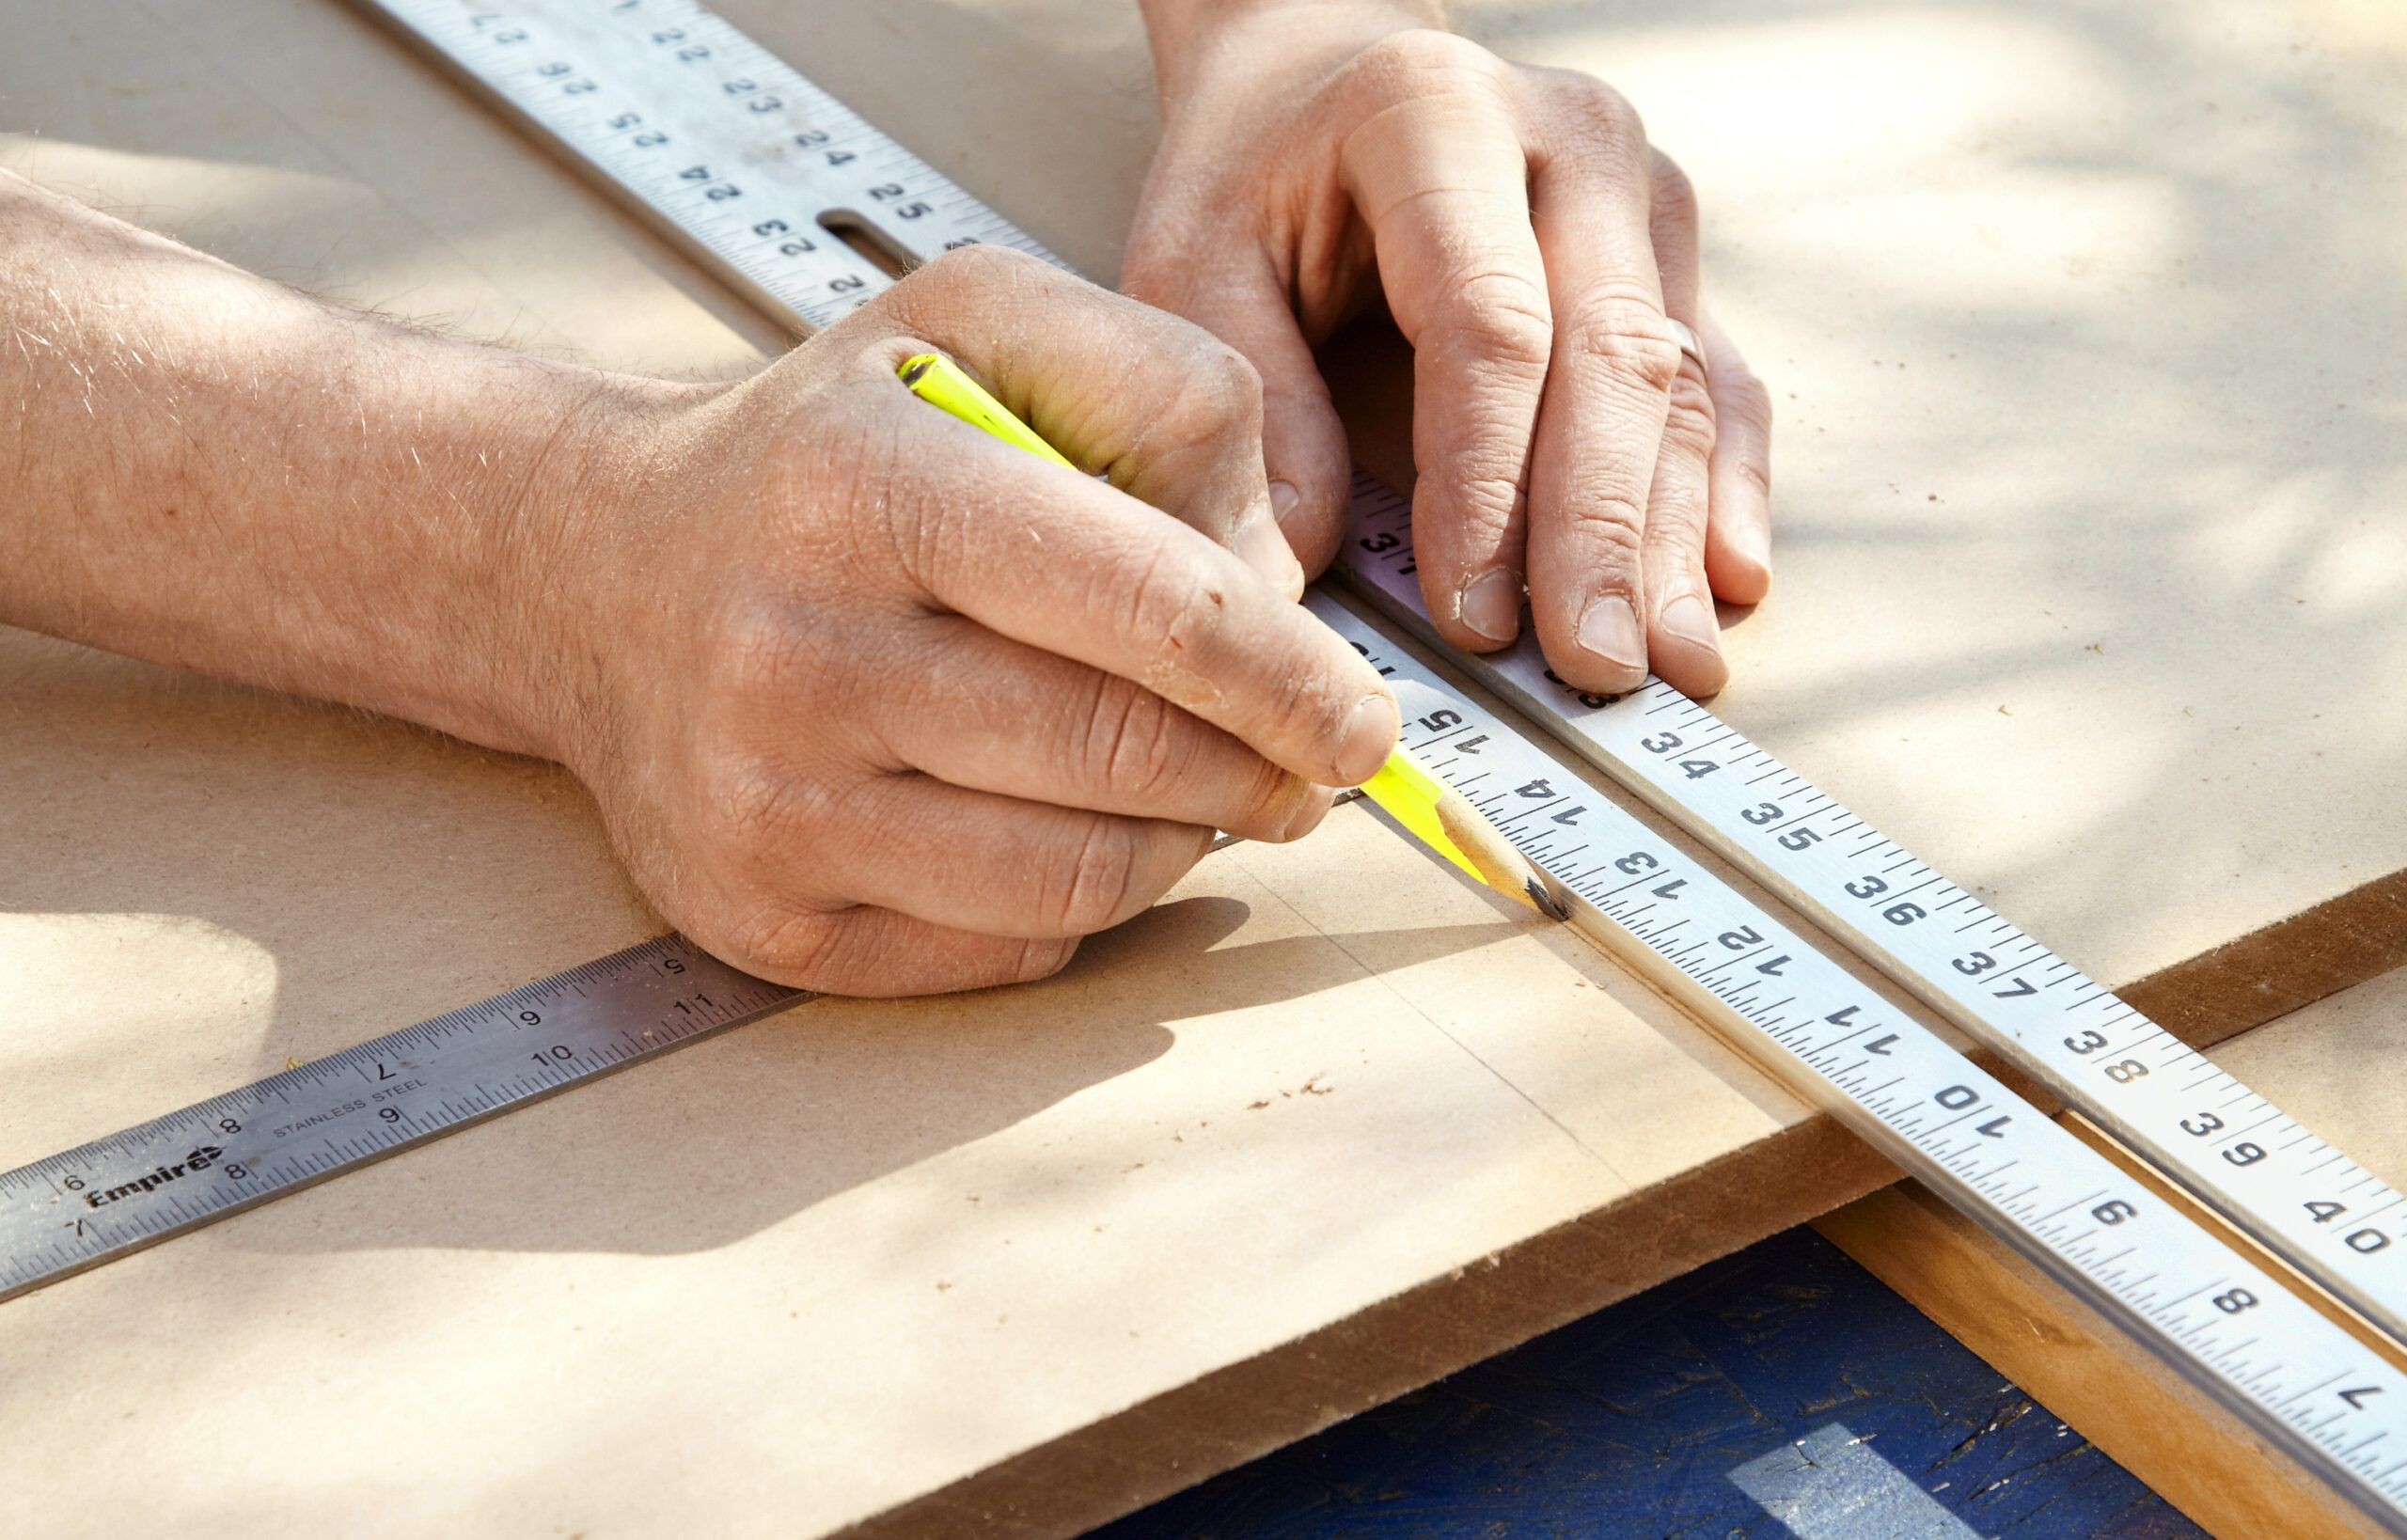
Cutting the MDF Pieces
Begin by cutting the MDF pieces according to the cut list provided. Using a circular saw with a clamped straightedge leads to more accurate cuts.
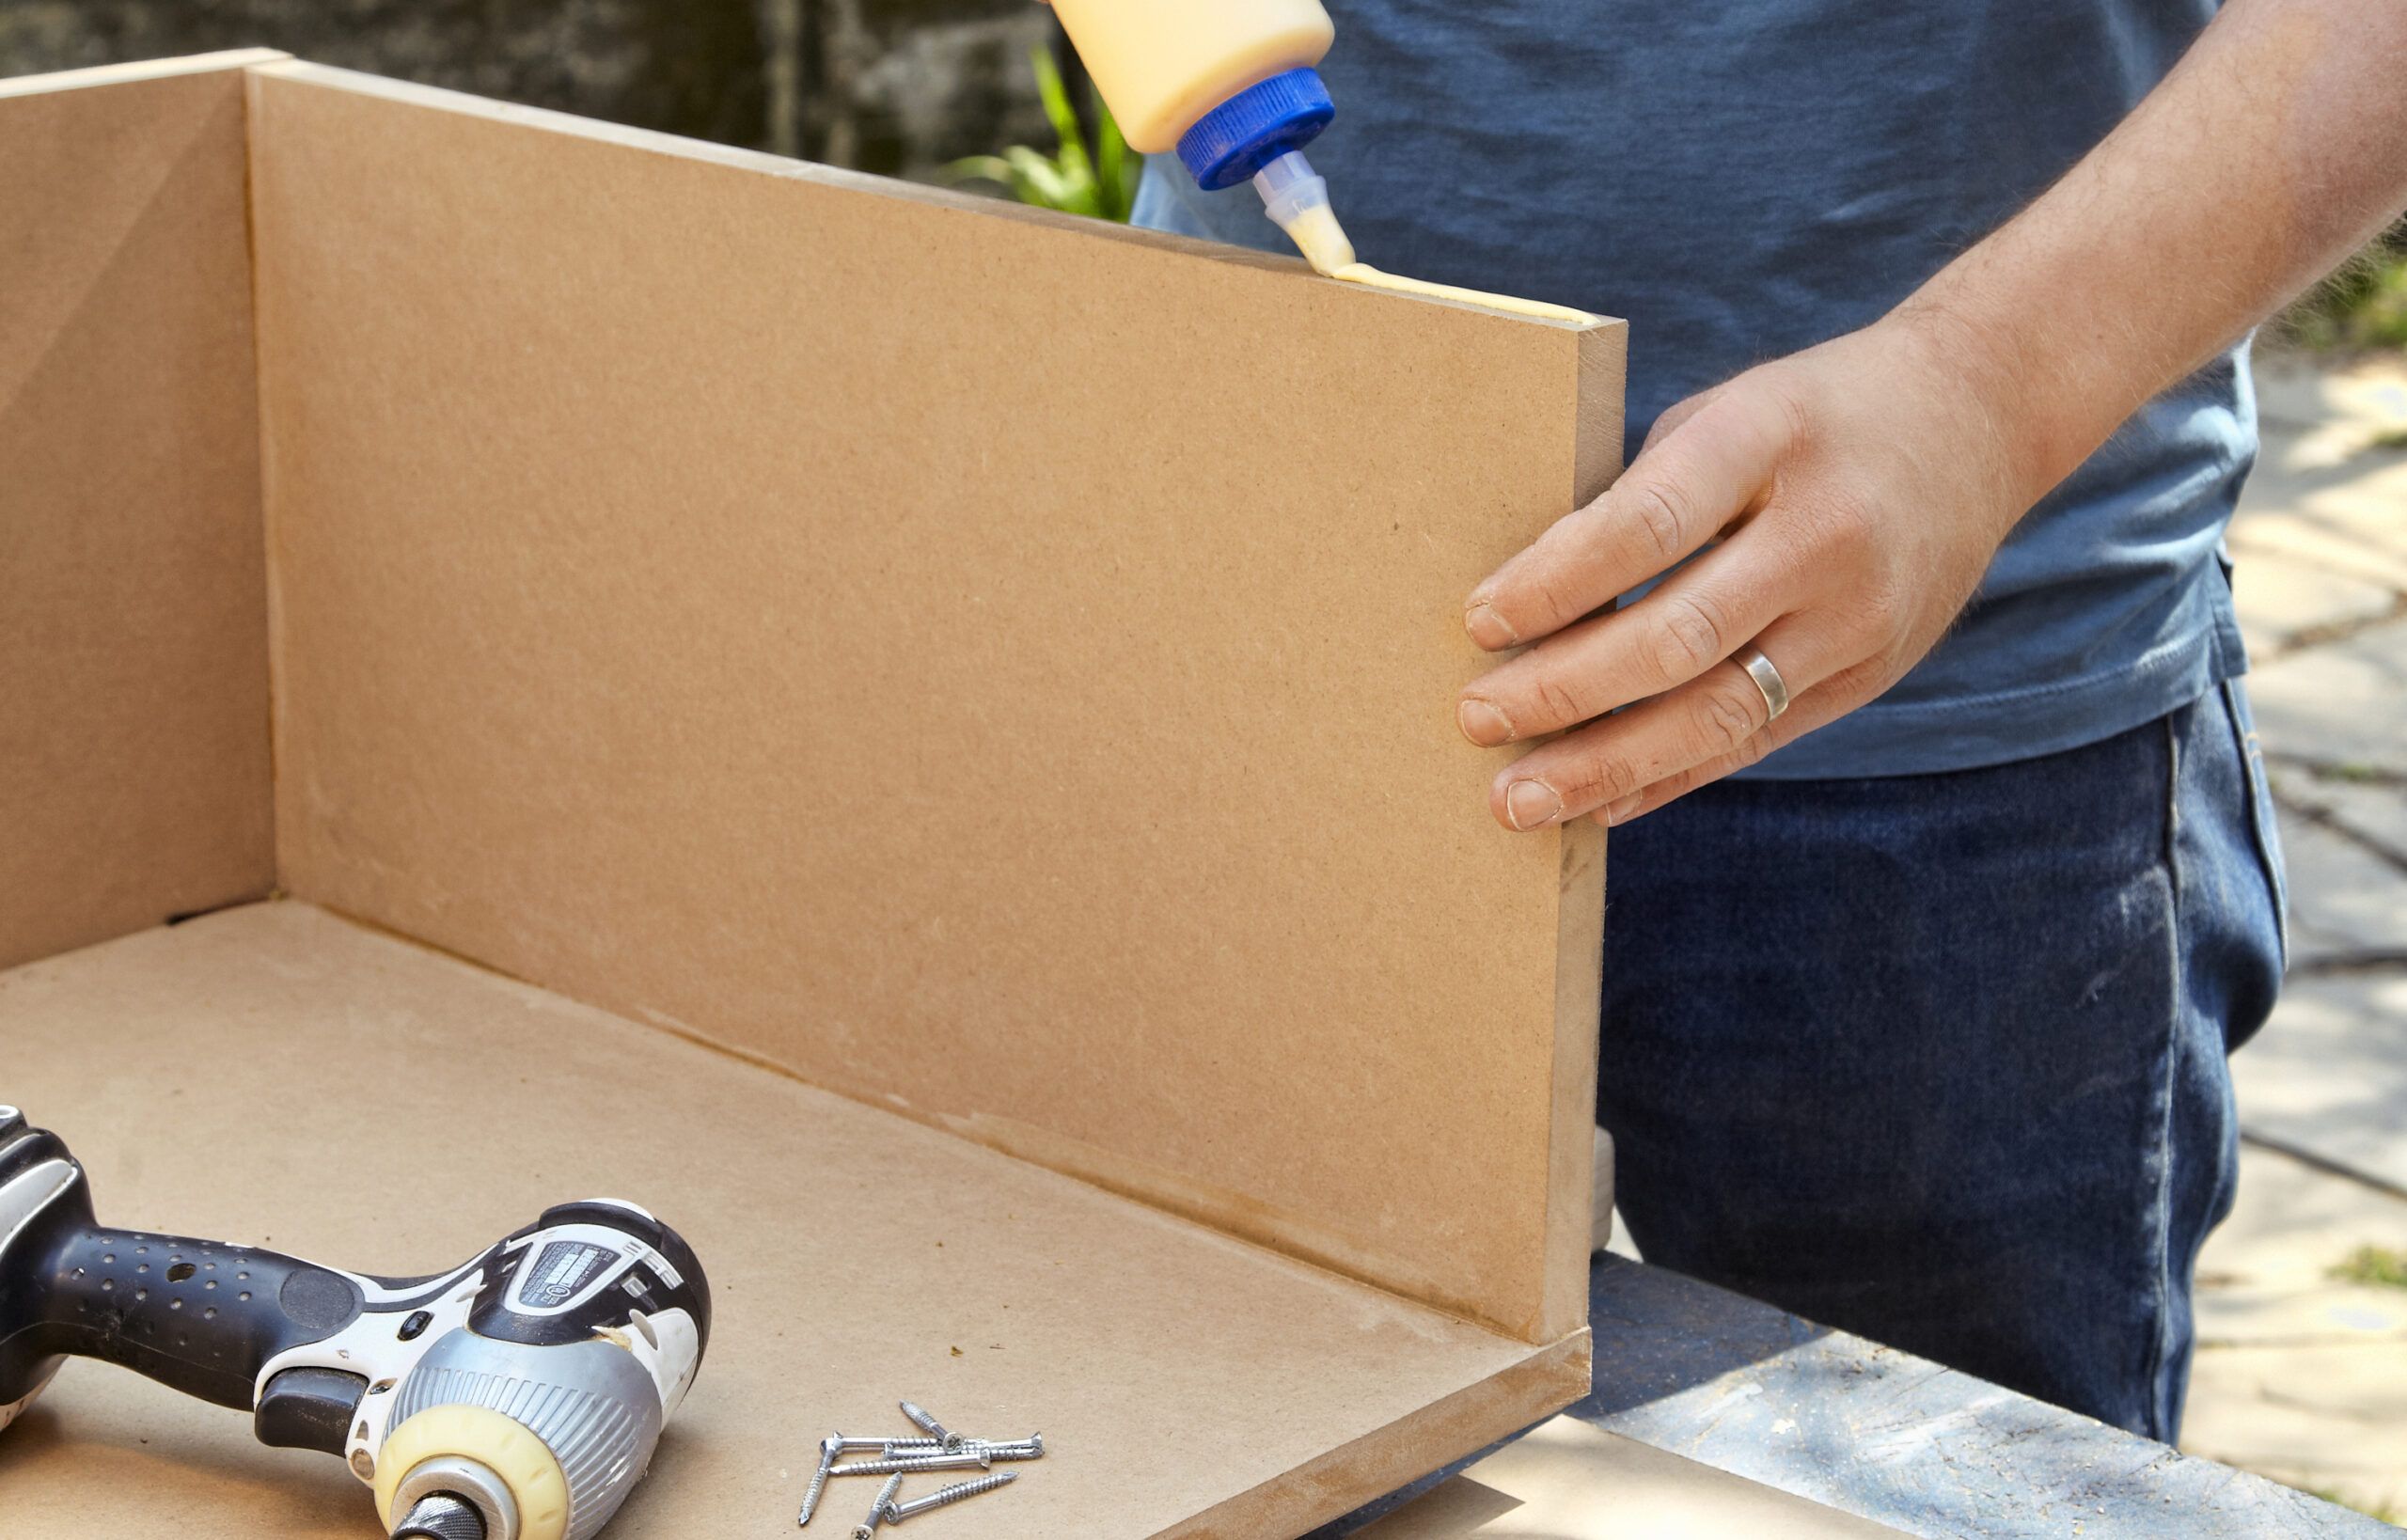
Assembling the Carcasses
With the pieces cut, it’s time to assemble the storage carcasses. This assembly should be done systematically to check that each piece aligns perfectly.
- Lay a bottom piece flat and apply wood glue along its back edge.
- Stand the back piece on the glue line and secure it with bar clamps.
- Drill pilot holes through the bottom into the edge of the back piece.
- Screw the pieces together using 1 1/2-inch MDF screws.
- Space the dividers evenly along the length of the assembly.
- Glue, clamp, and screw the dividers in place.
- Attach the top piece in the same manner.
Repeat this process for all three carcasses—two large ones for the sides and one small one for the foot of the bed.
Creating the Bed Platform
With the carcasses built, it’s time to create the platform that will support your mattress.
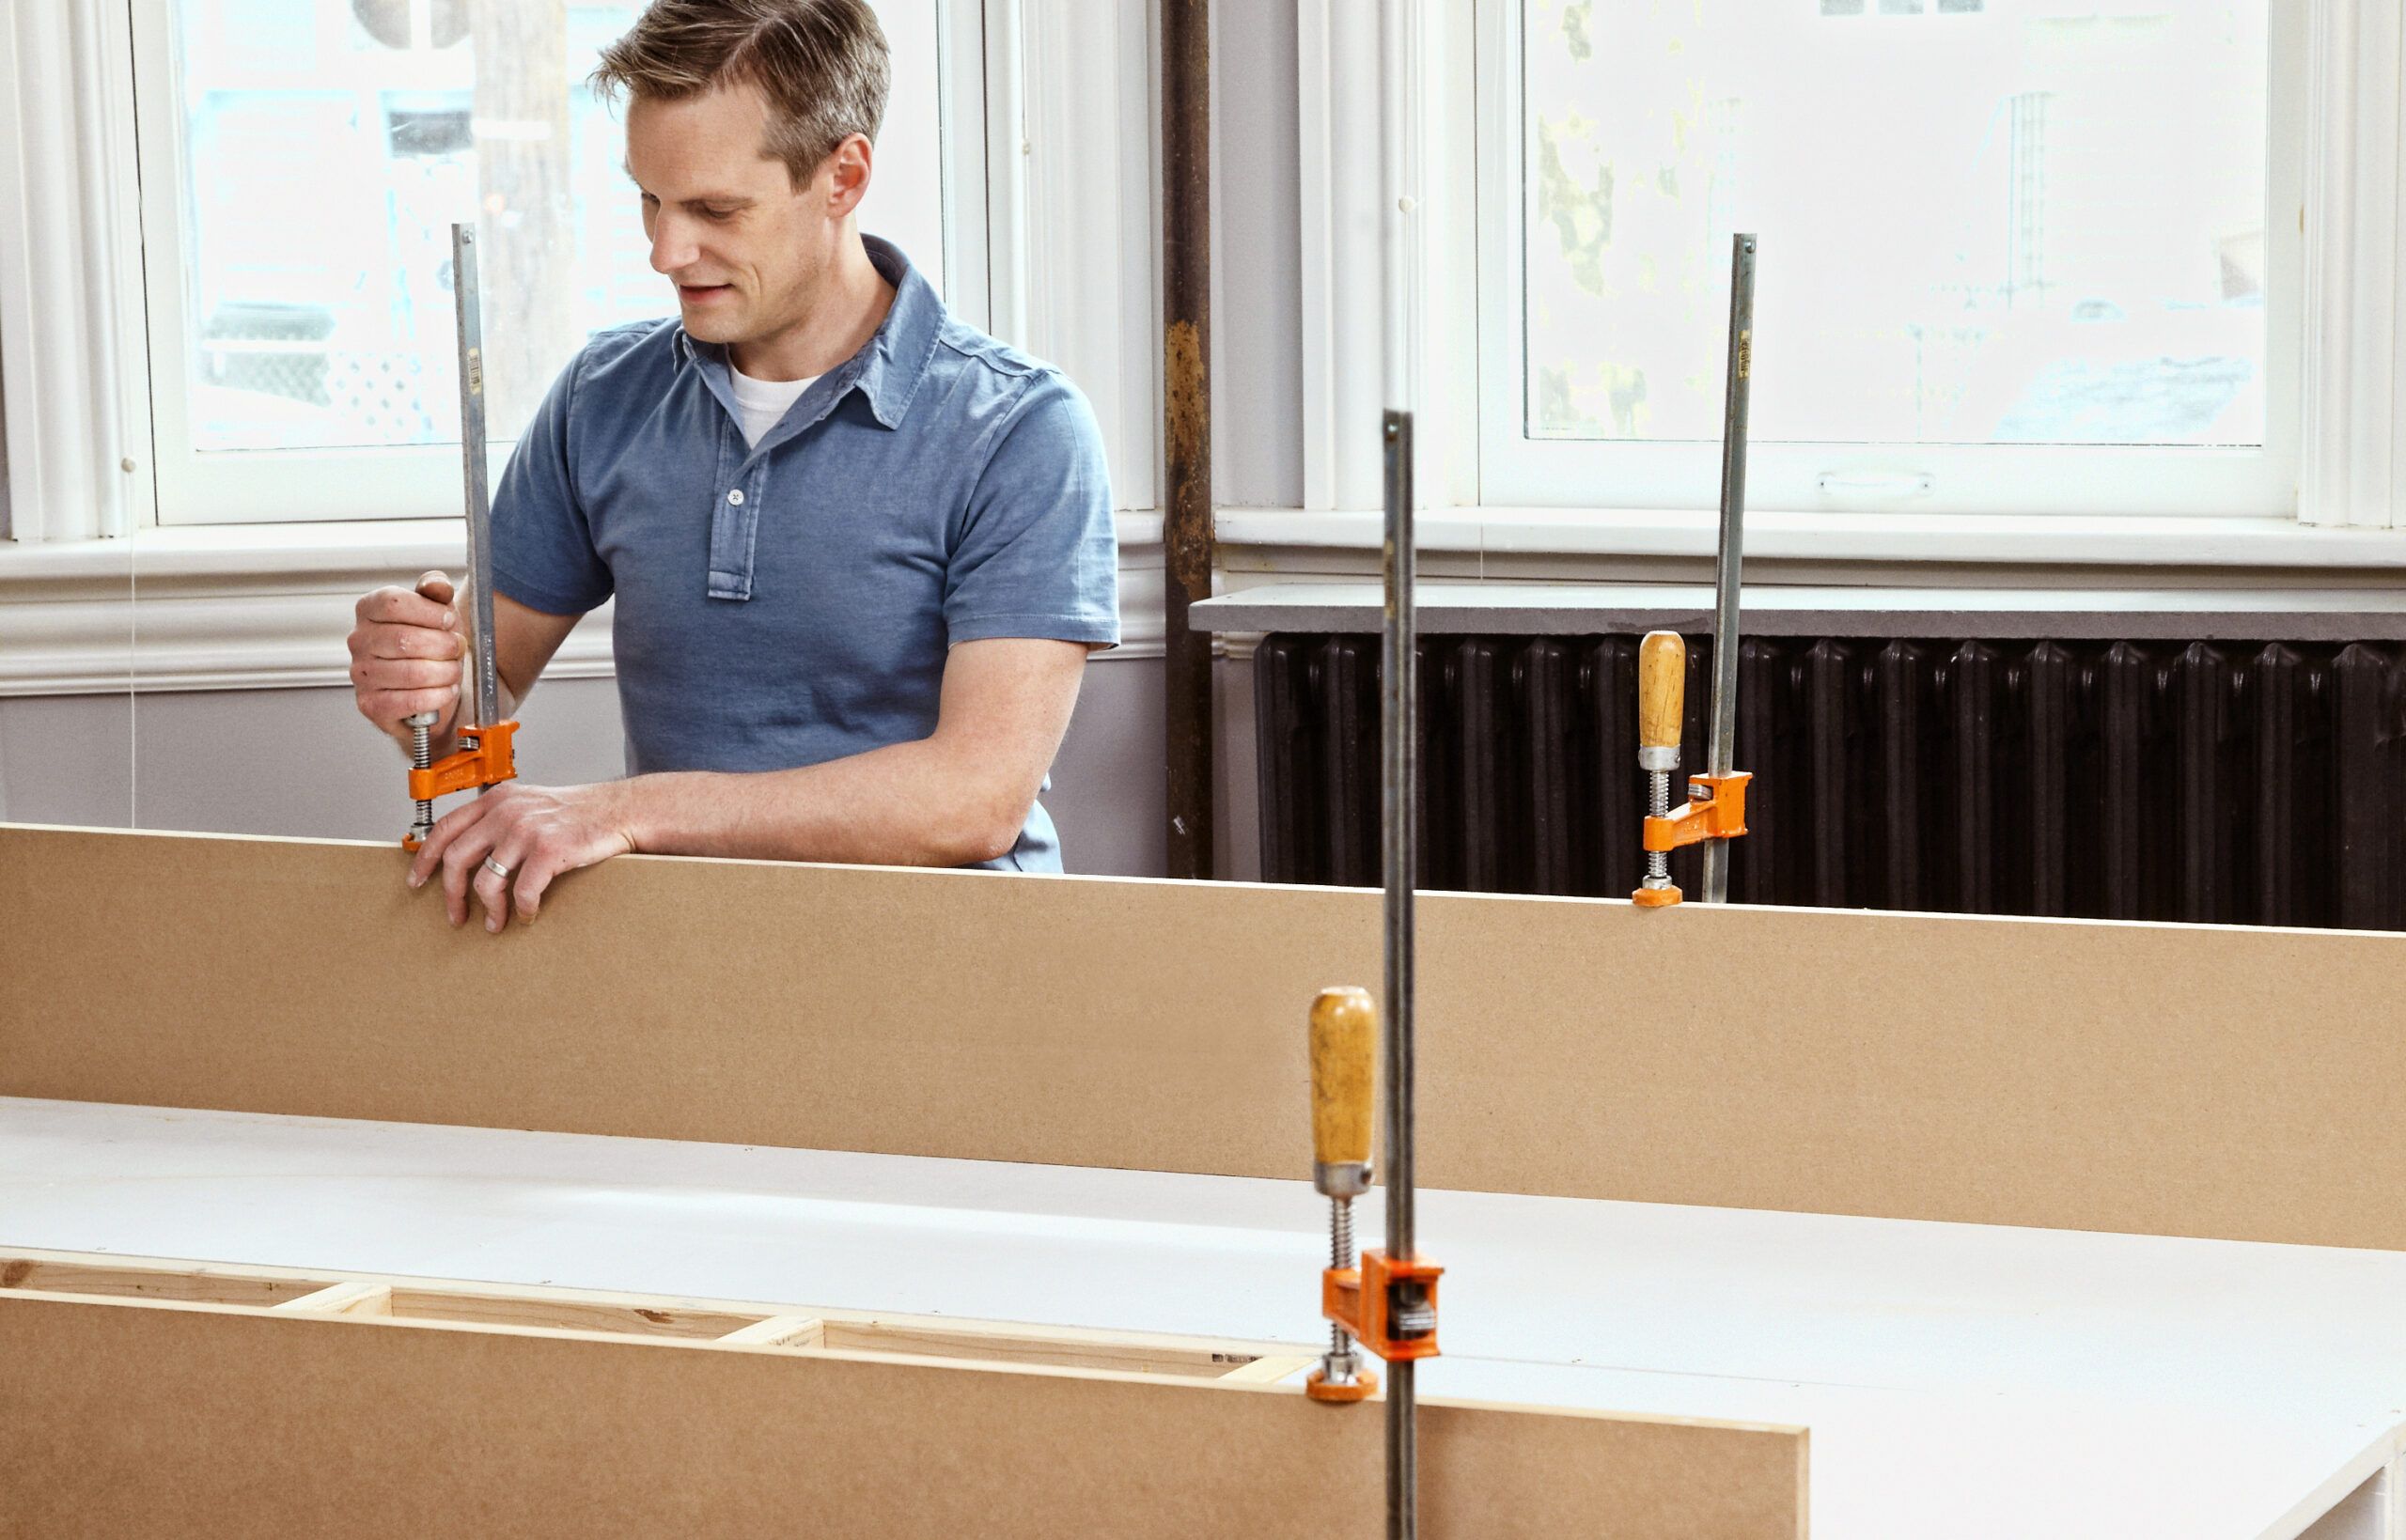
Dry-Fit the Carcasses
- Move the carcasses into the bedroom and place them on 1×2 furring strips.
- Arrange the carcasses as they will be assembled, with the two large ones on the sides and the small ones at the foot.
- Clamp the carcasses together at the foot end.
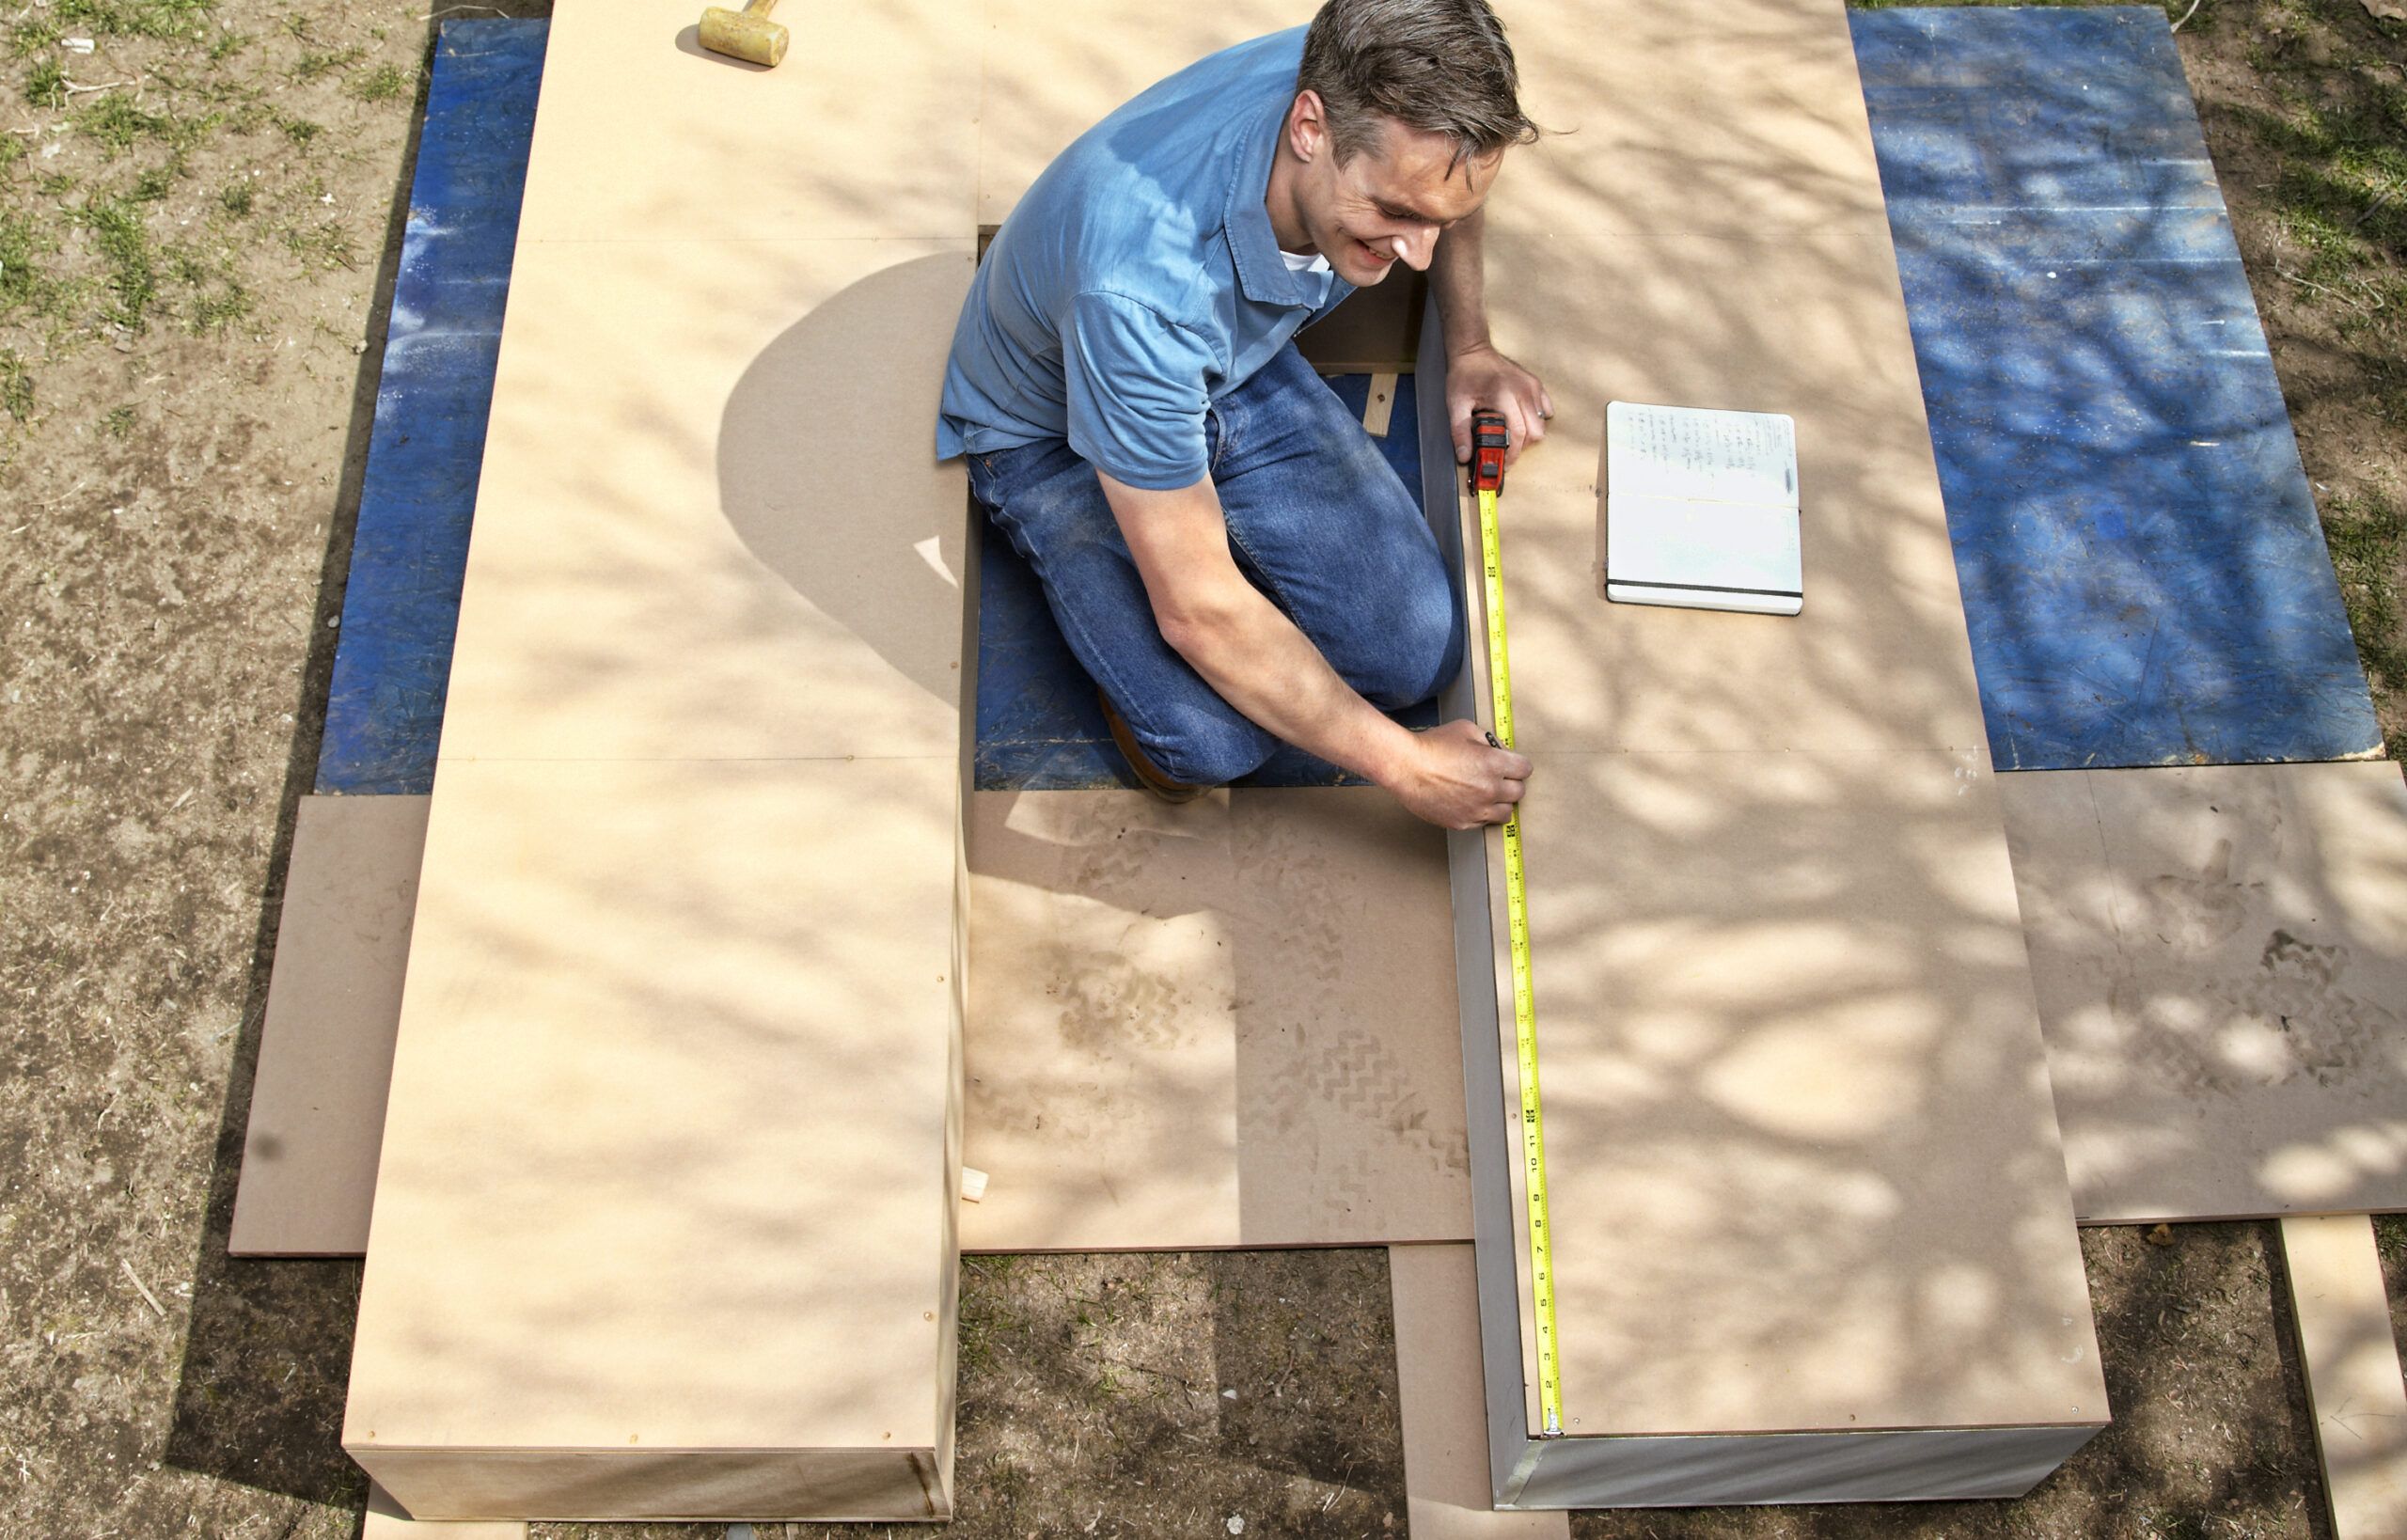
Join the Carcasses
Once you’re happy with the fit, it’s time to join the carcasses together. Using 1 1/4-inch MDF screws, go through the wall of the small carcass and into the adjacent ones, as shown.
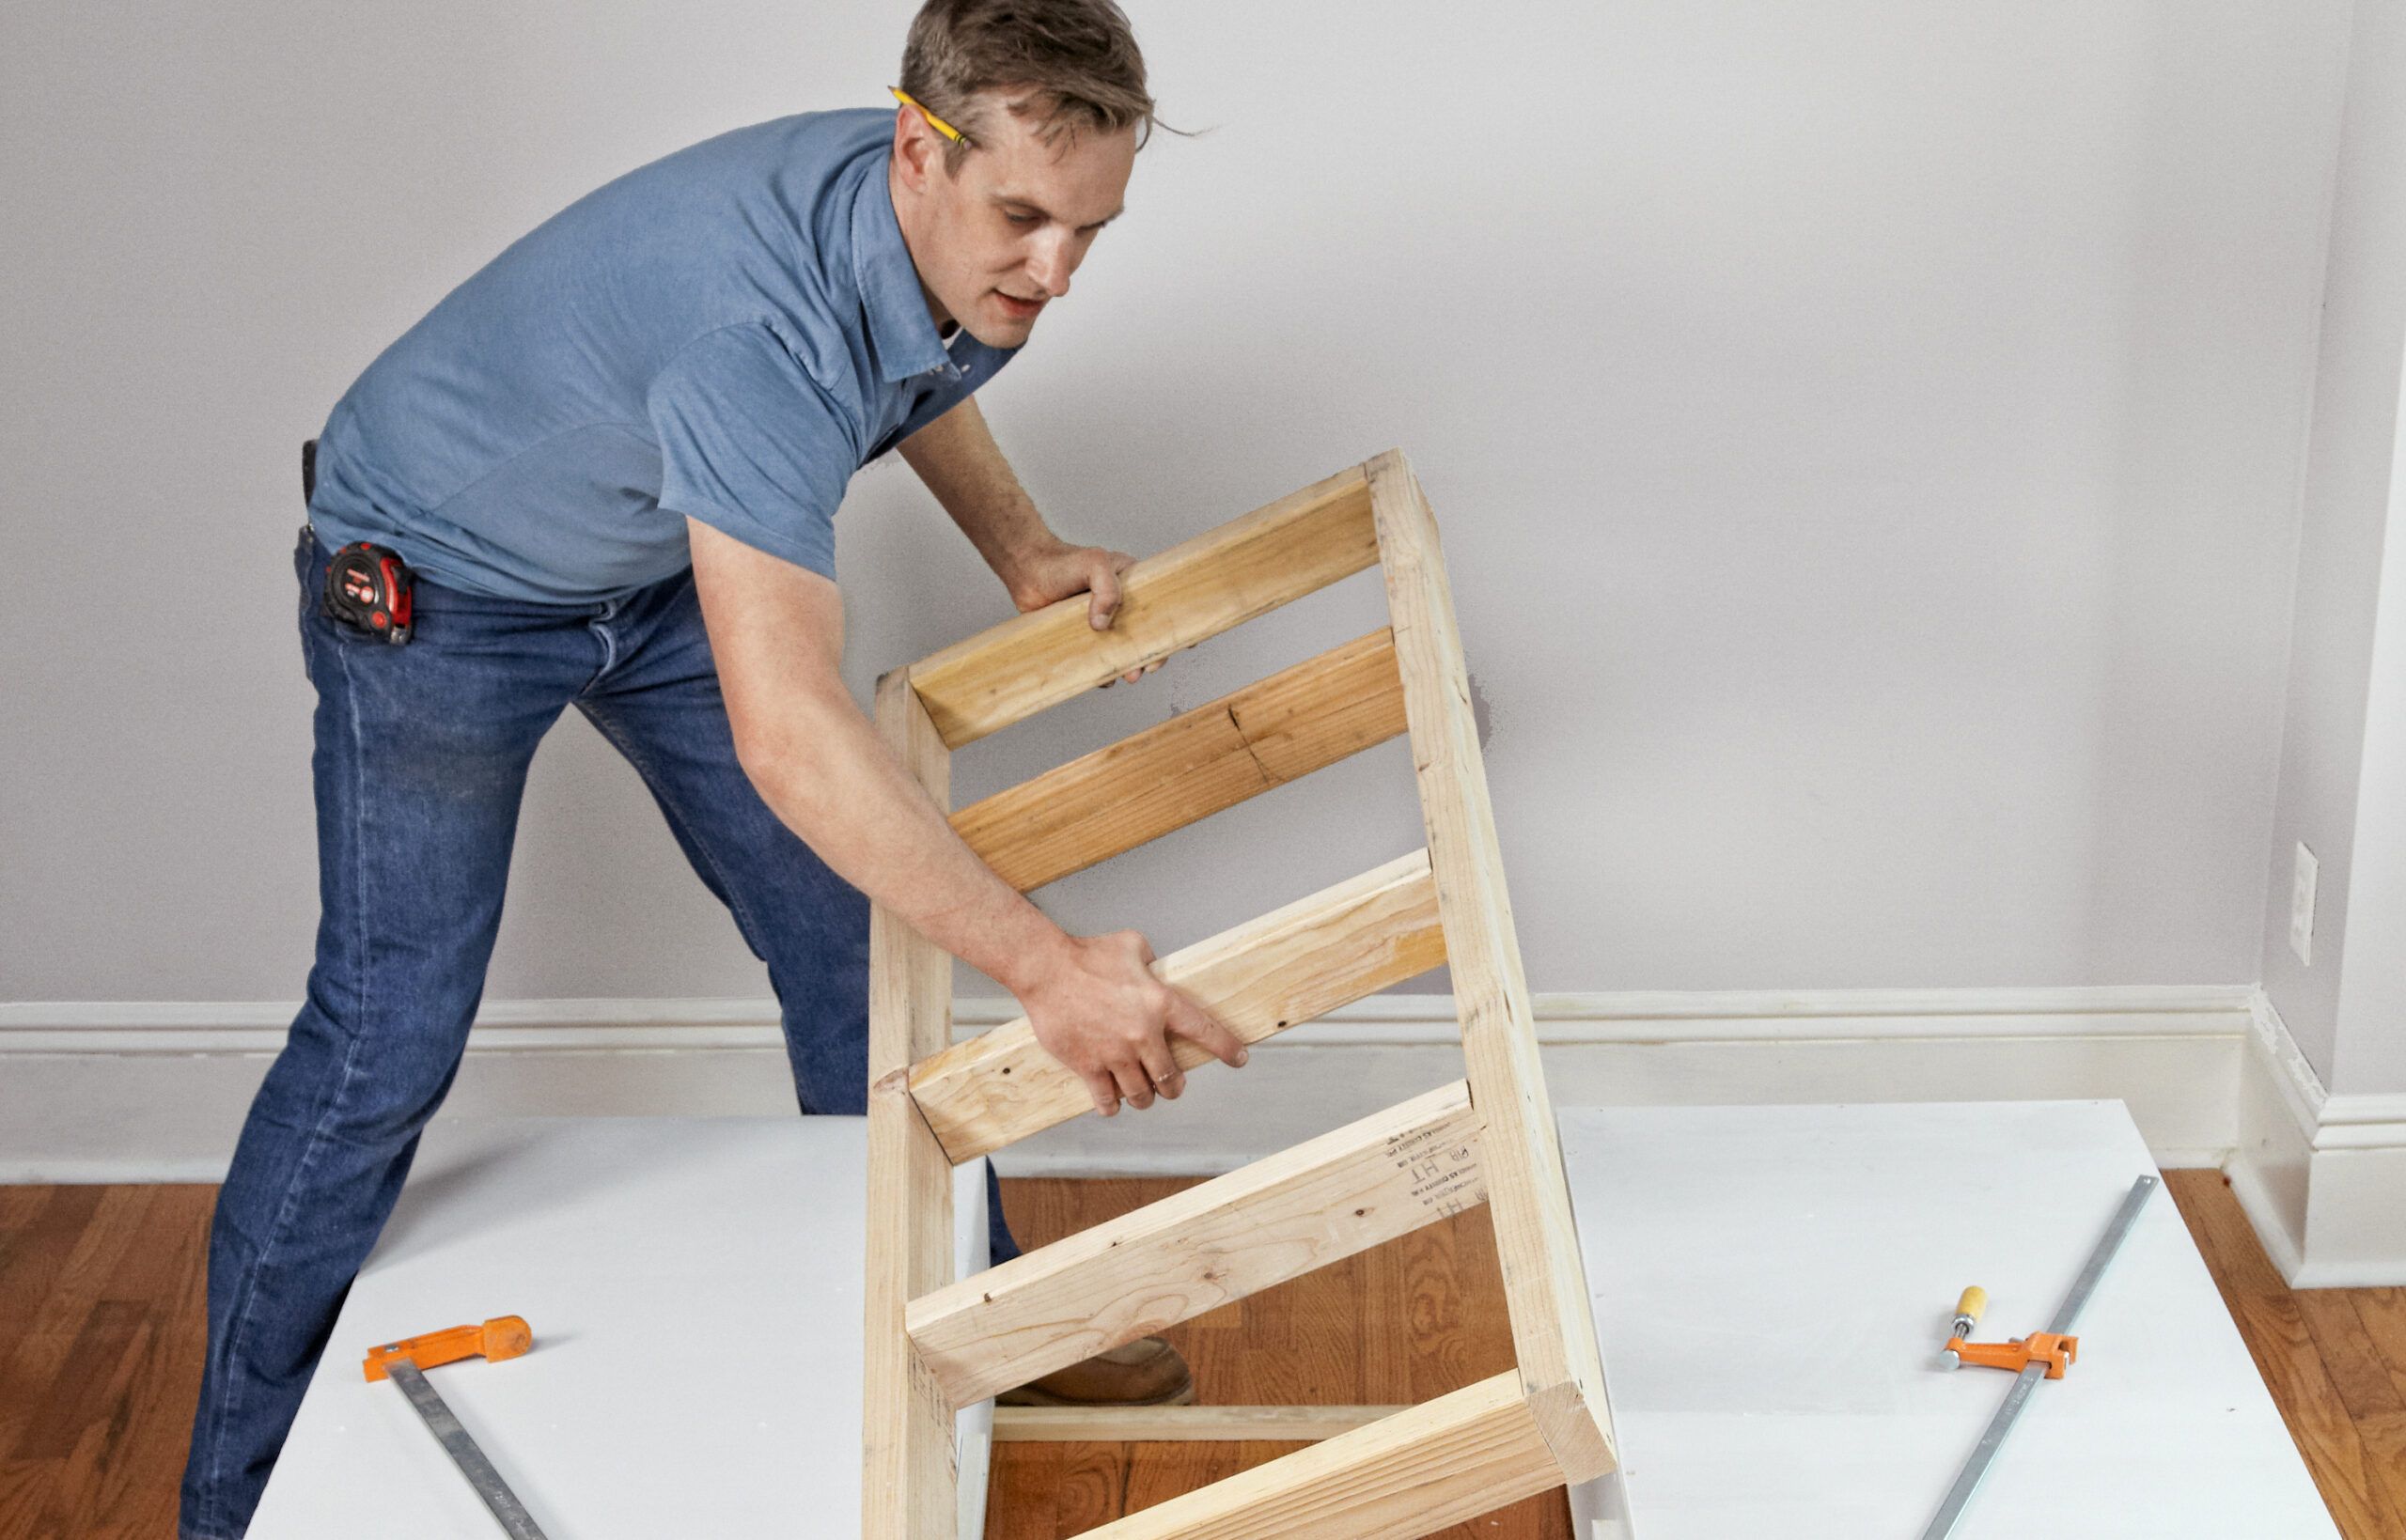
Installing the Support Frame
To fill the void between the carcasses at the head of the bed, you’ll install a support frame.
- Measure the void and cut 2x4s to build a support frame.
- Assemble the frame using deck screws.
- Install 1×2 cleats around the platform opening, 3 1/2 inches down from the top.
- Set the frame in place and secure it to the carcasses with 2-inch MDF screws.
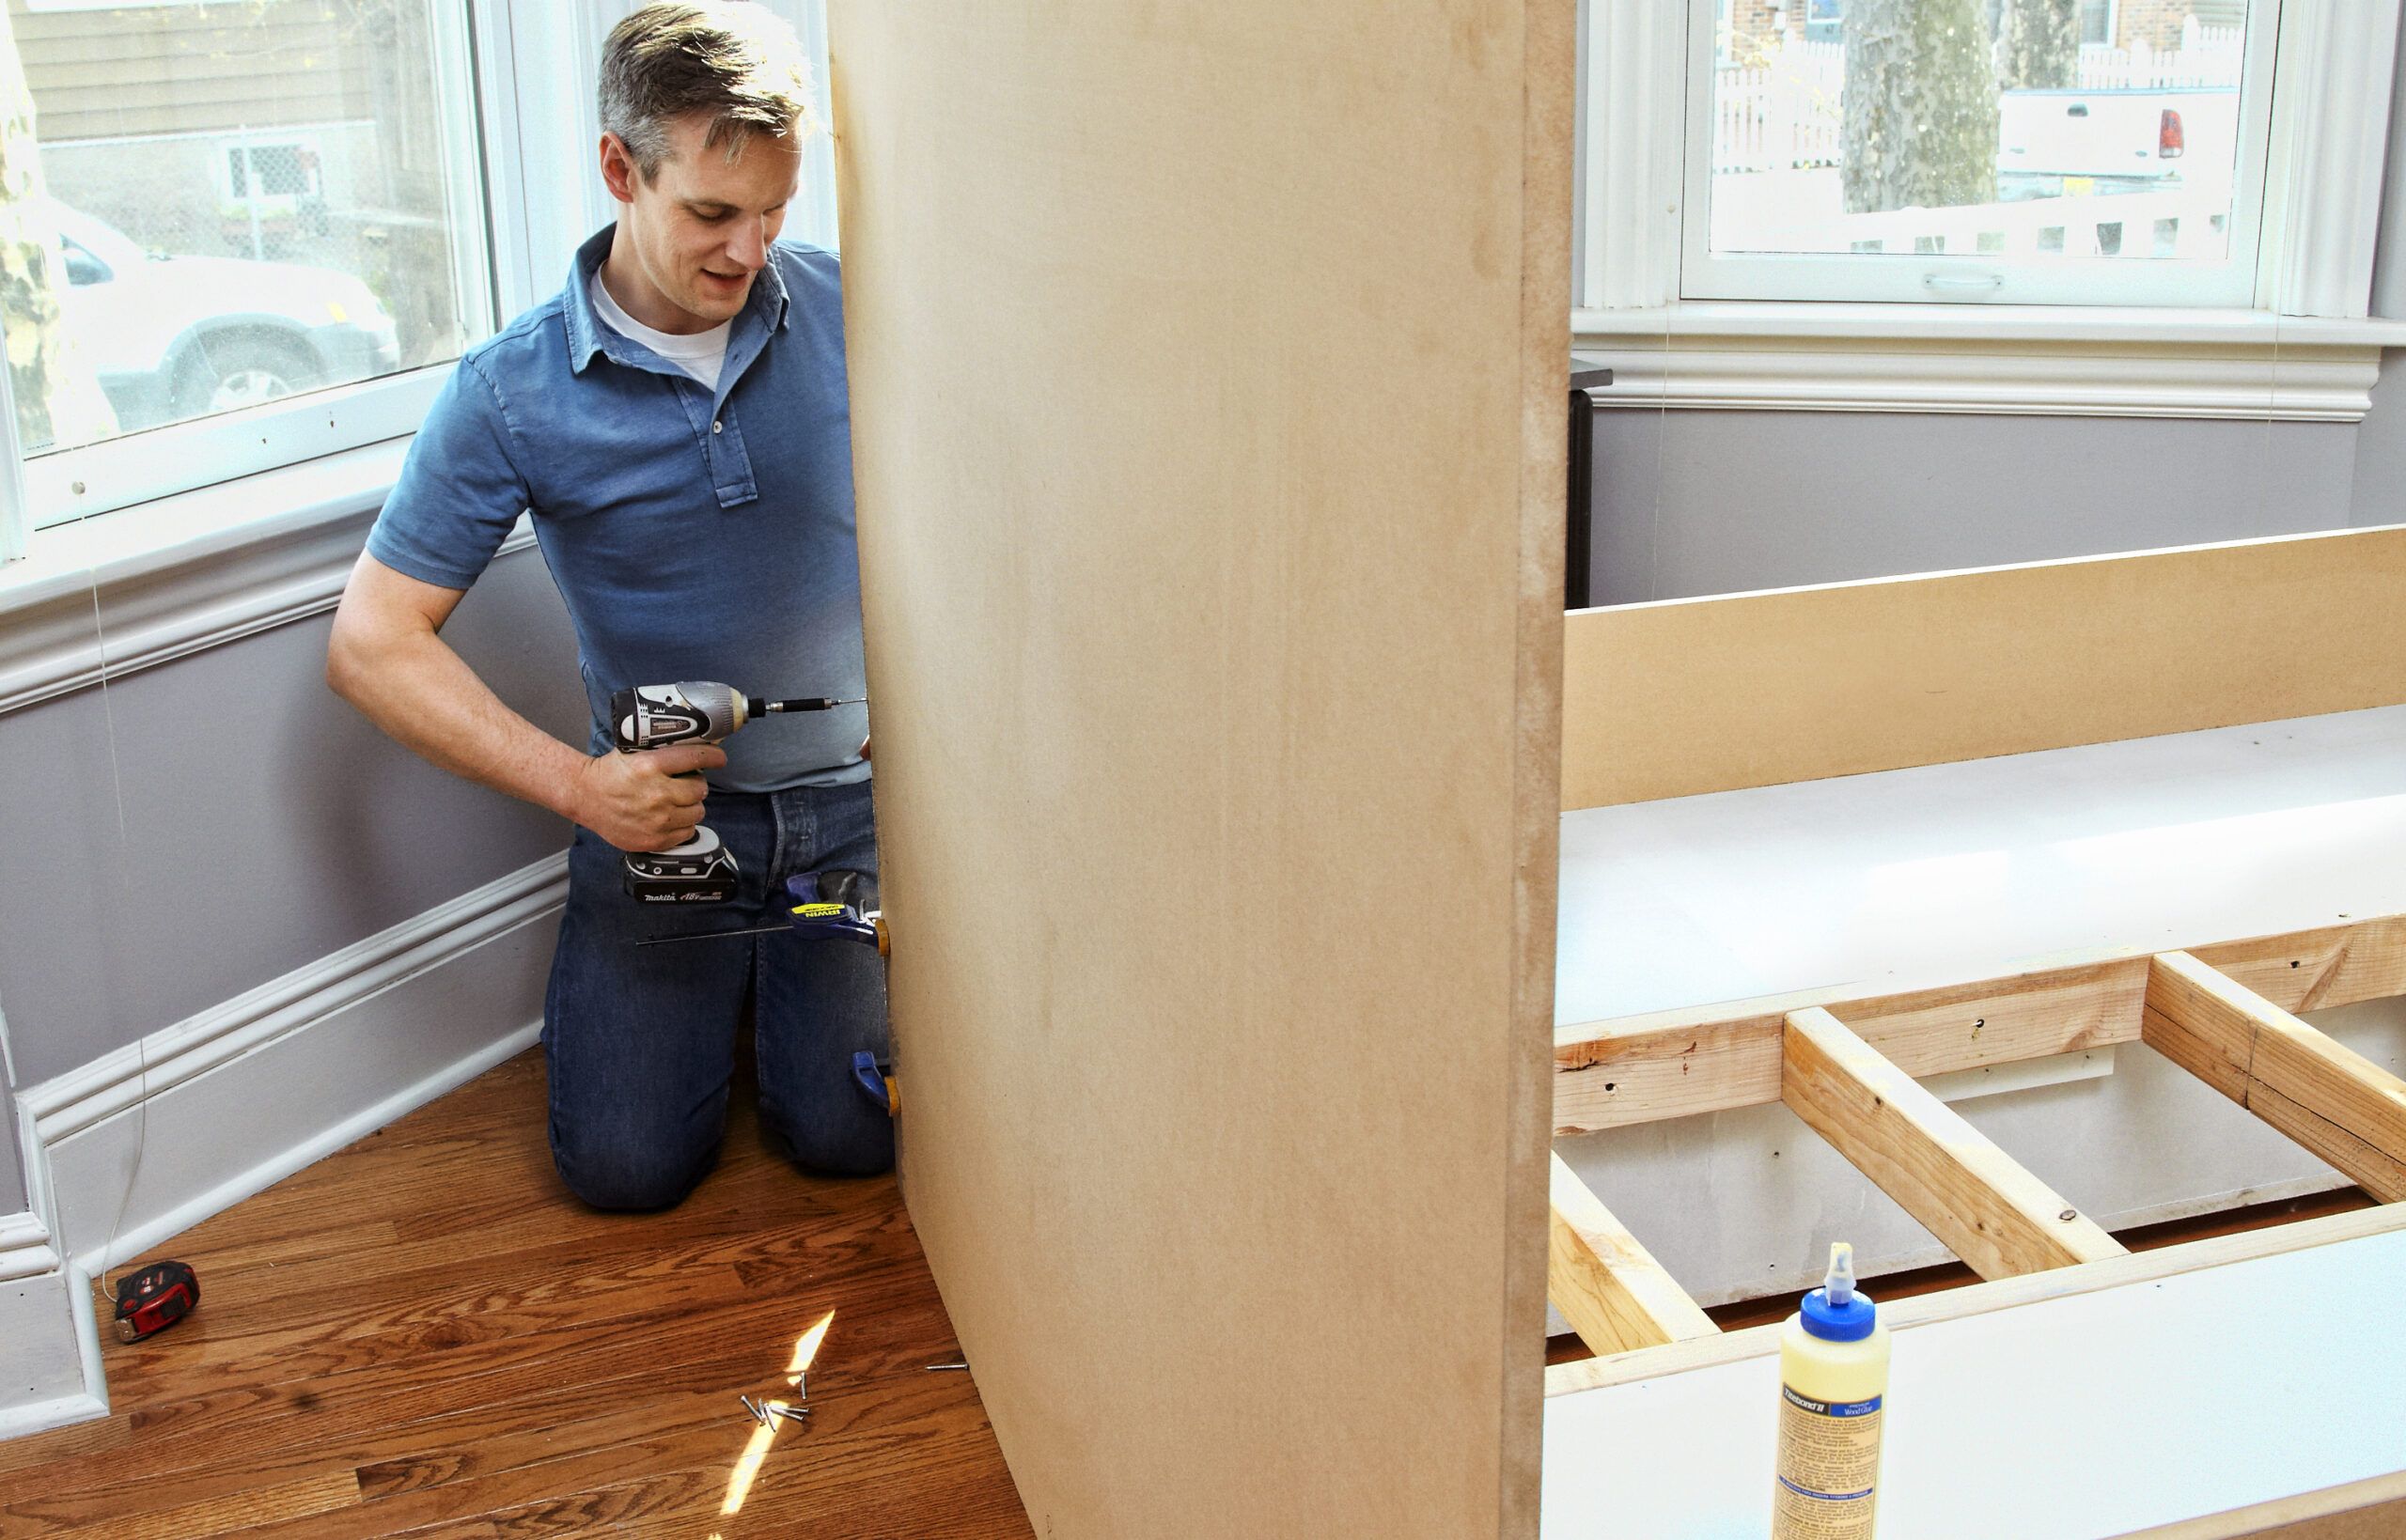
Adding the Bed Frame to the Storage Bed
The bed frame will give your storage bed its finished look and hold the mattress in place. This frame also prevents the mattress from shifting during use.
Cutting and Installing the Panels
Here’s how to cut and install the panels:
- Cut MDF panels for the sides and footboard according to the bed’s dimensions.
- Apply wood glue along the top edge of the platform.
- Place each panel on the edge in the glue and clamp it in place.
- Drill pilot holes and secure with 1 1/2-inch MDF screws.
- Attach the footboard to the side panels.
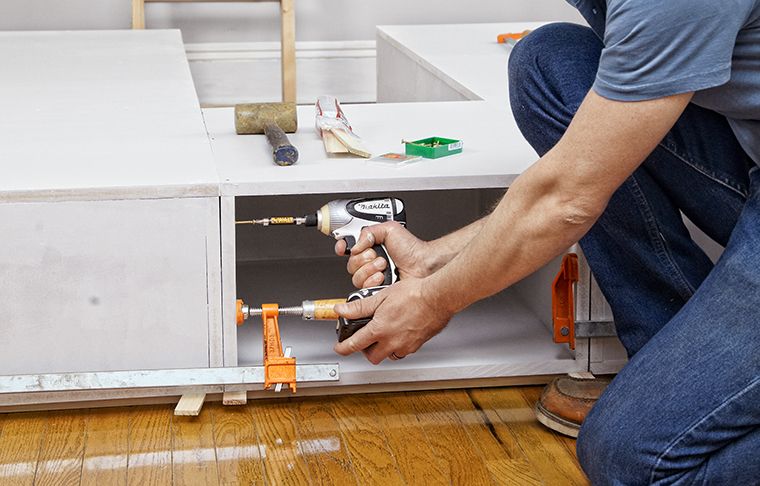
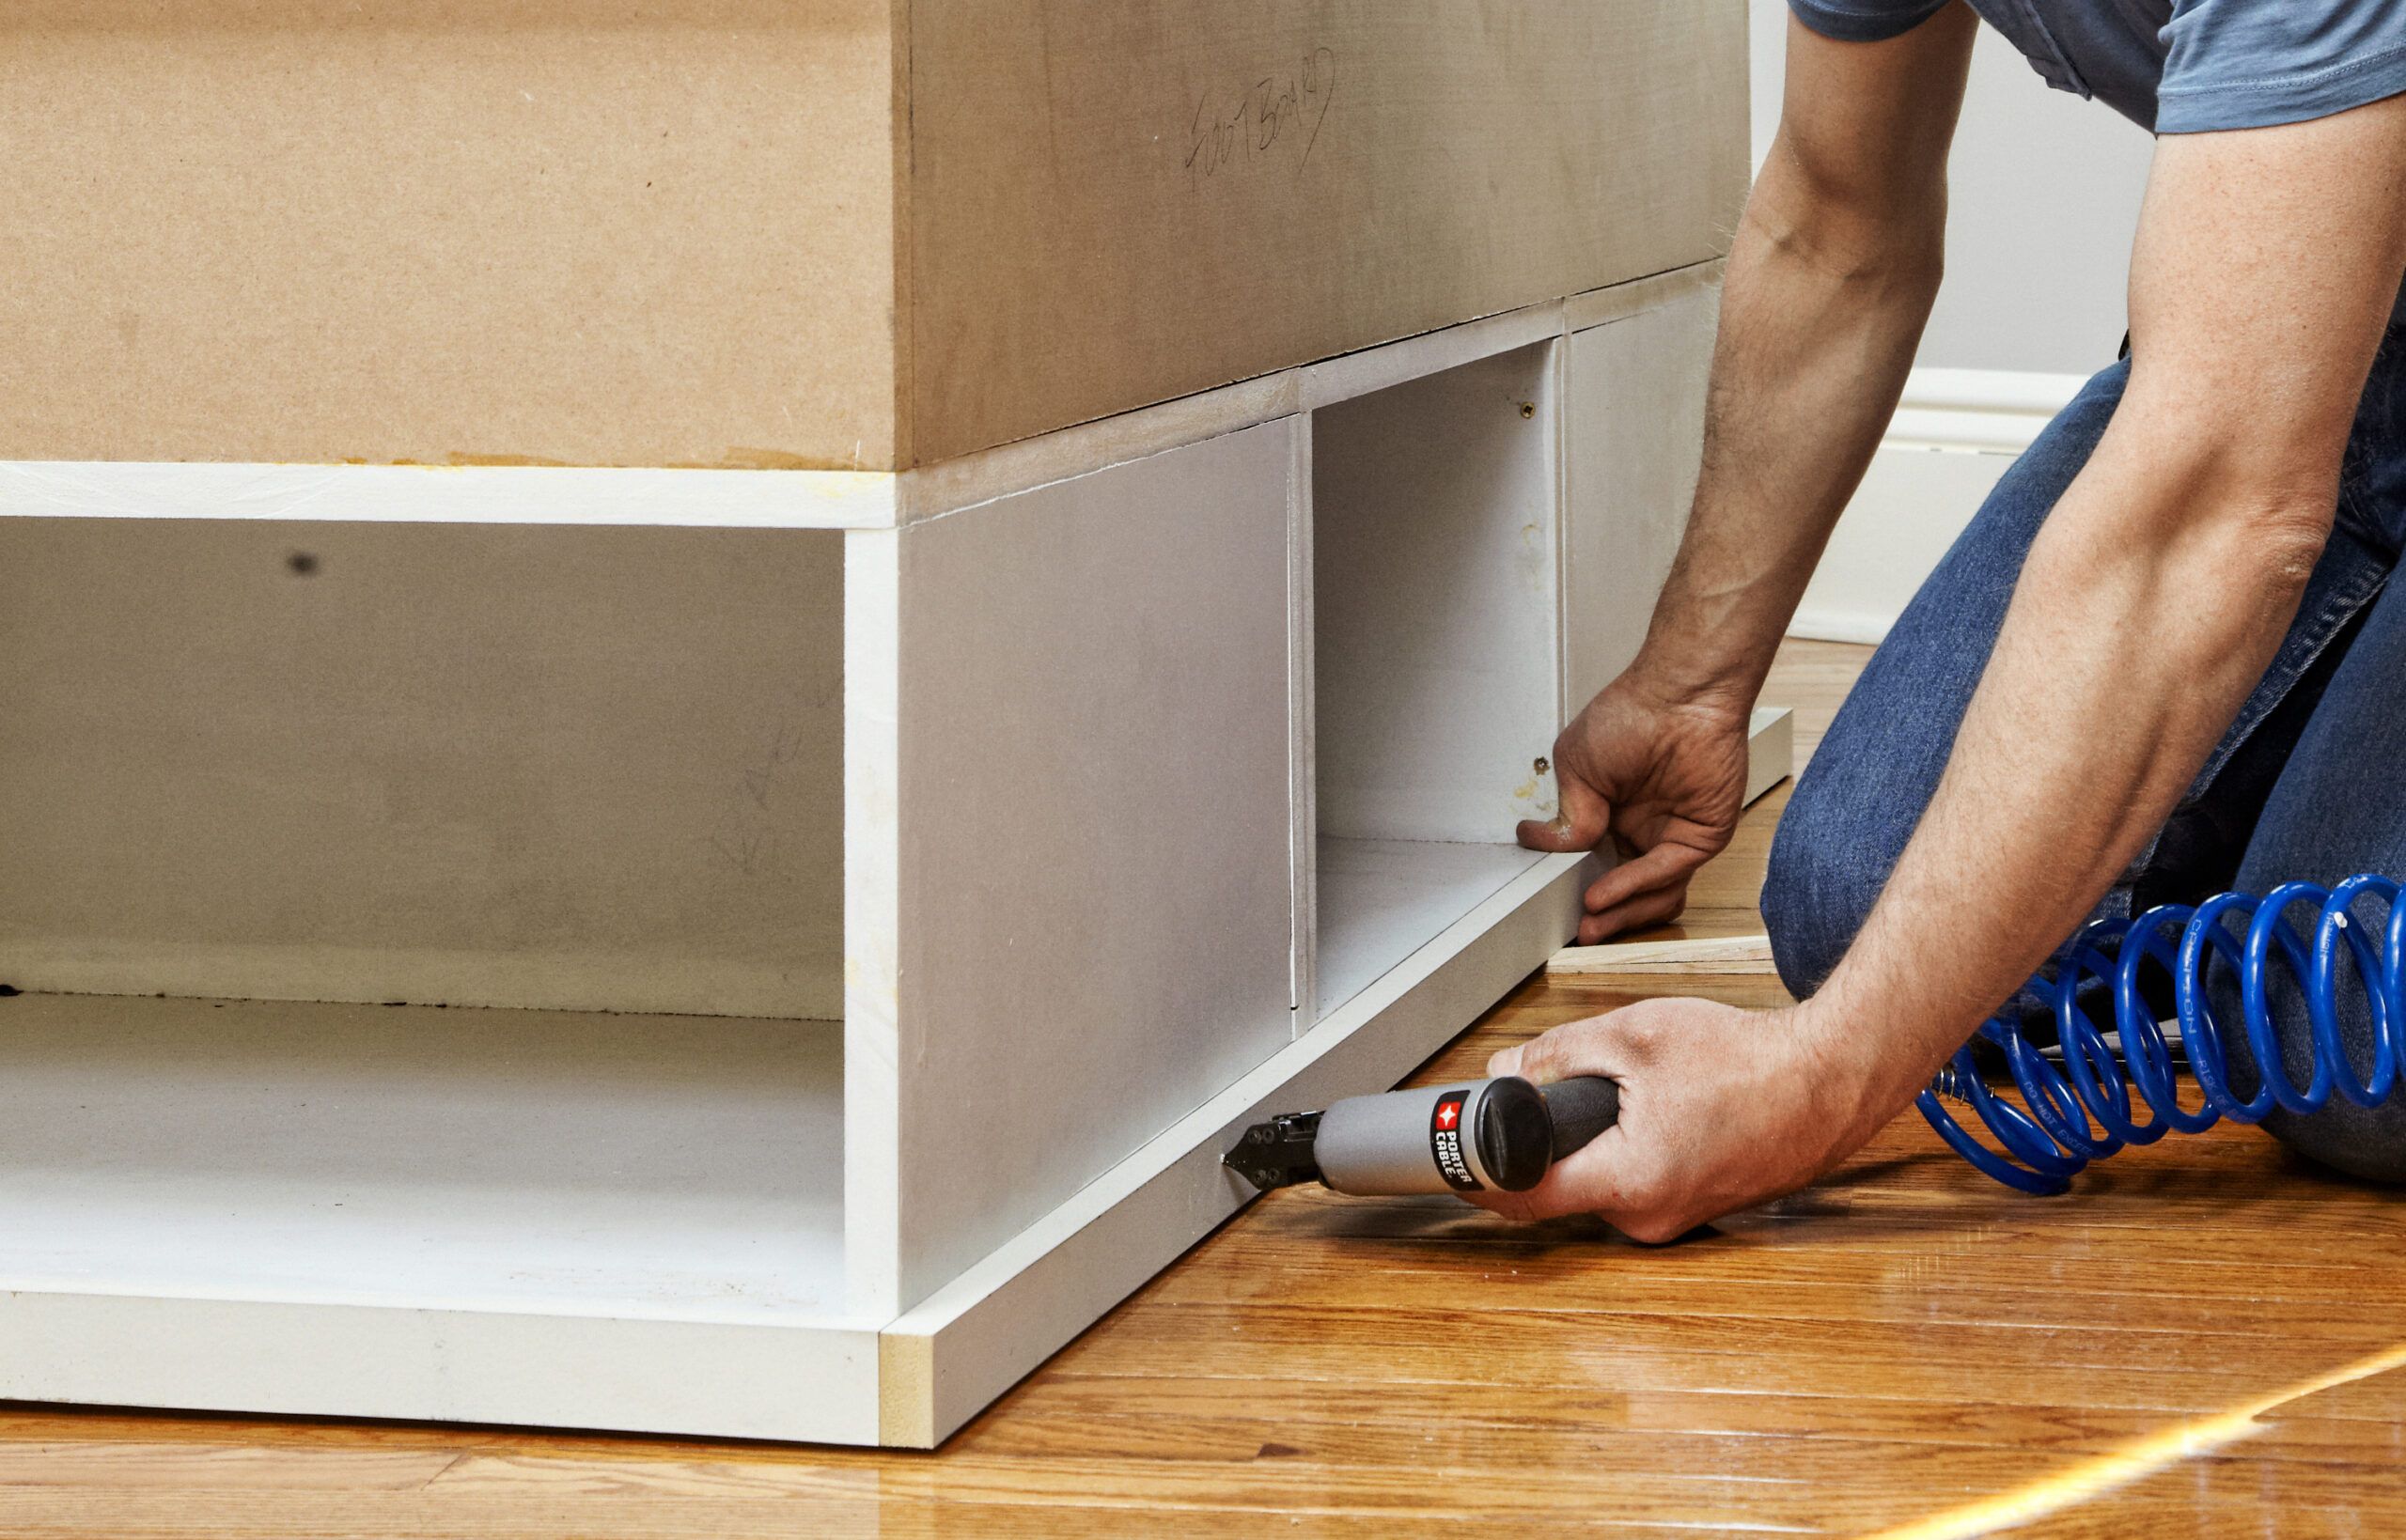
Install the Panels
You’re now ready to install the panels:
- Run a bead of wood glue along the perimeter of the top of the platform, one side at a time for each panel.
- Place each panel on the edge in the glue and clamp it in place, as shown.
- Check that the face is square and flush with the platform, then drill pilot holes up into the edges from the storage bays and install 1 1/2-inch MDF screws.
- Screw through the side panels and into the edges of the footboards, too.
Attach the Headboard
Measure the width of the bed, and cut the headboard to size. Use 1 1/4-inch MDF screws to attach it to the carcasses and the 2×4 support frame. Don’t use glue if you ever plan to move the bed.
Install the Face Frames
For the best fit, measure and cut the 1×2 trim as you go. Starting with the top and bottom rails on the sides, glue them in place, then use a brad nailer to tack them down. Measure, cut, and install the top and bottom rails at the foot of the bed.
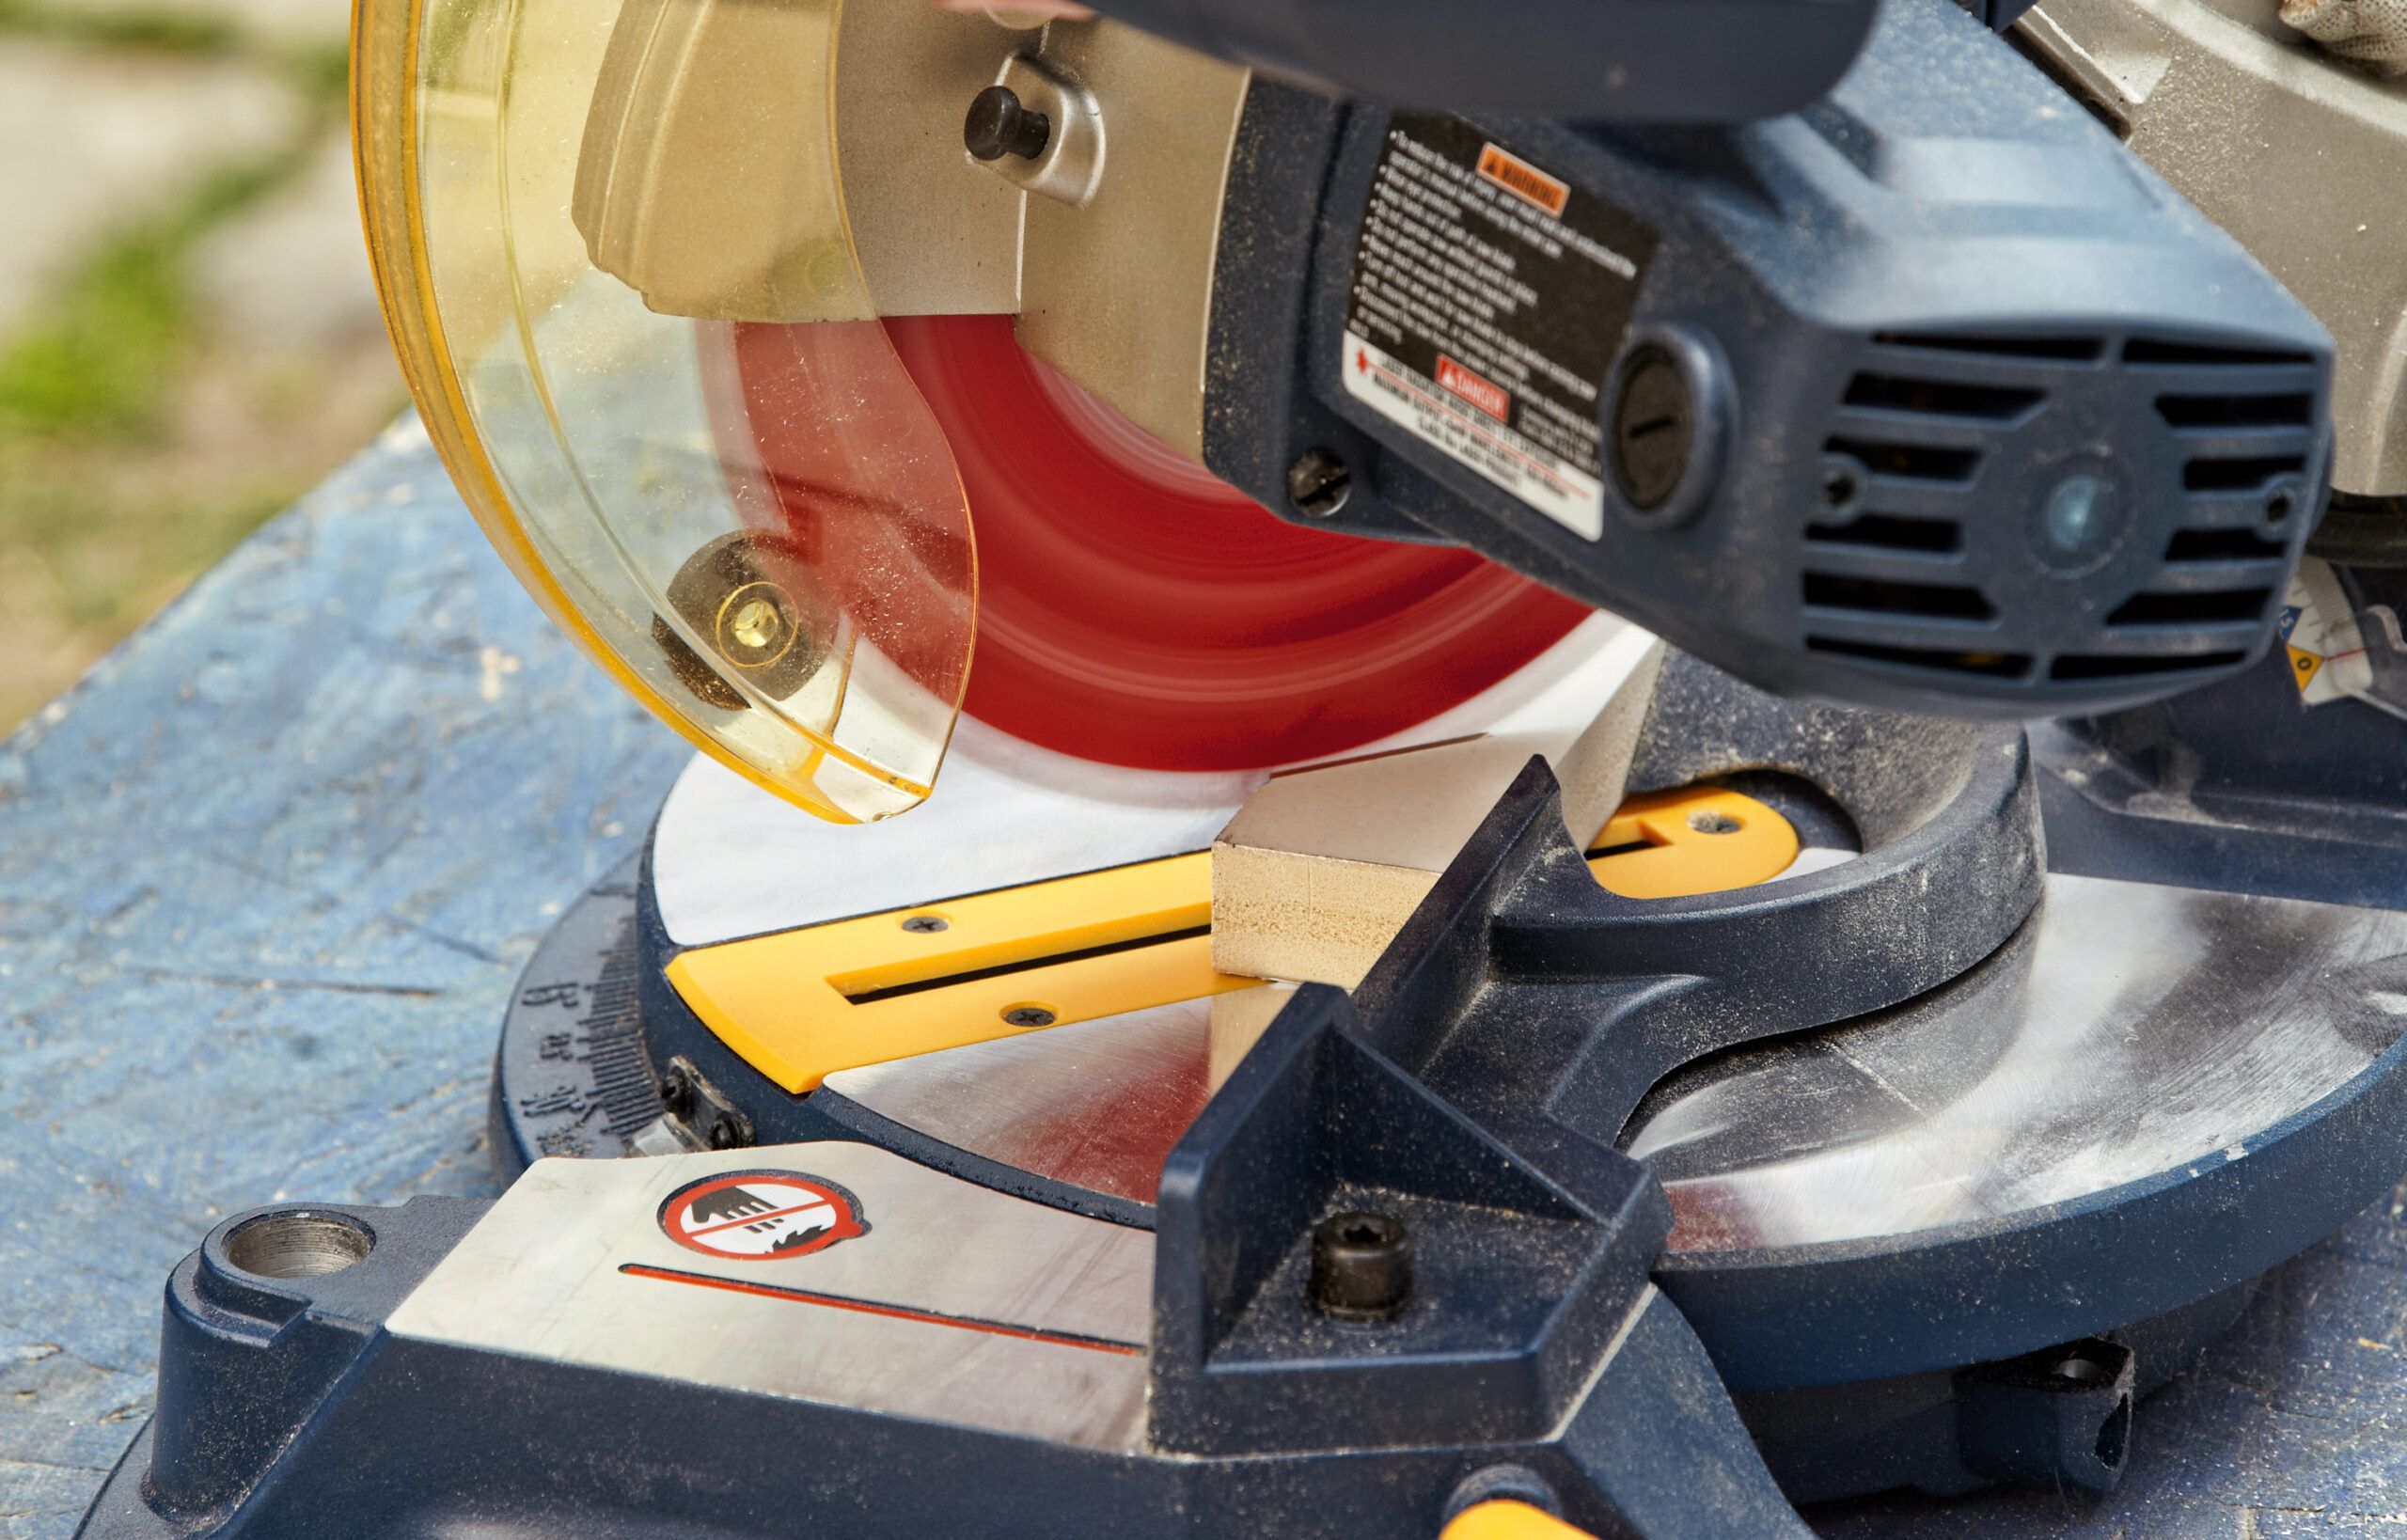
Install the Cap Trim
Set a miter saw to 45 degrees and cut the footboard ends of the two 1×2 pieces that cap the sides. Measure and cut the other ends at 90 degrees. Glue and nail the side caps in place. Next, measure for the footboard cap, set the saw back to 45 degrees, and miter both ends of the cap to fit. Glue and nail it in place.
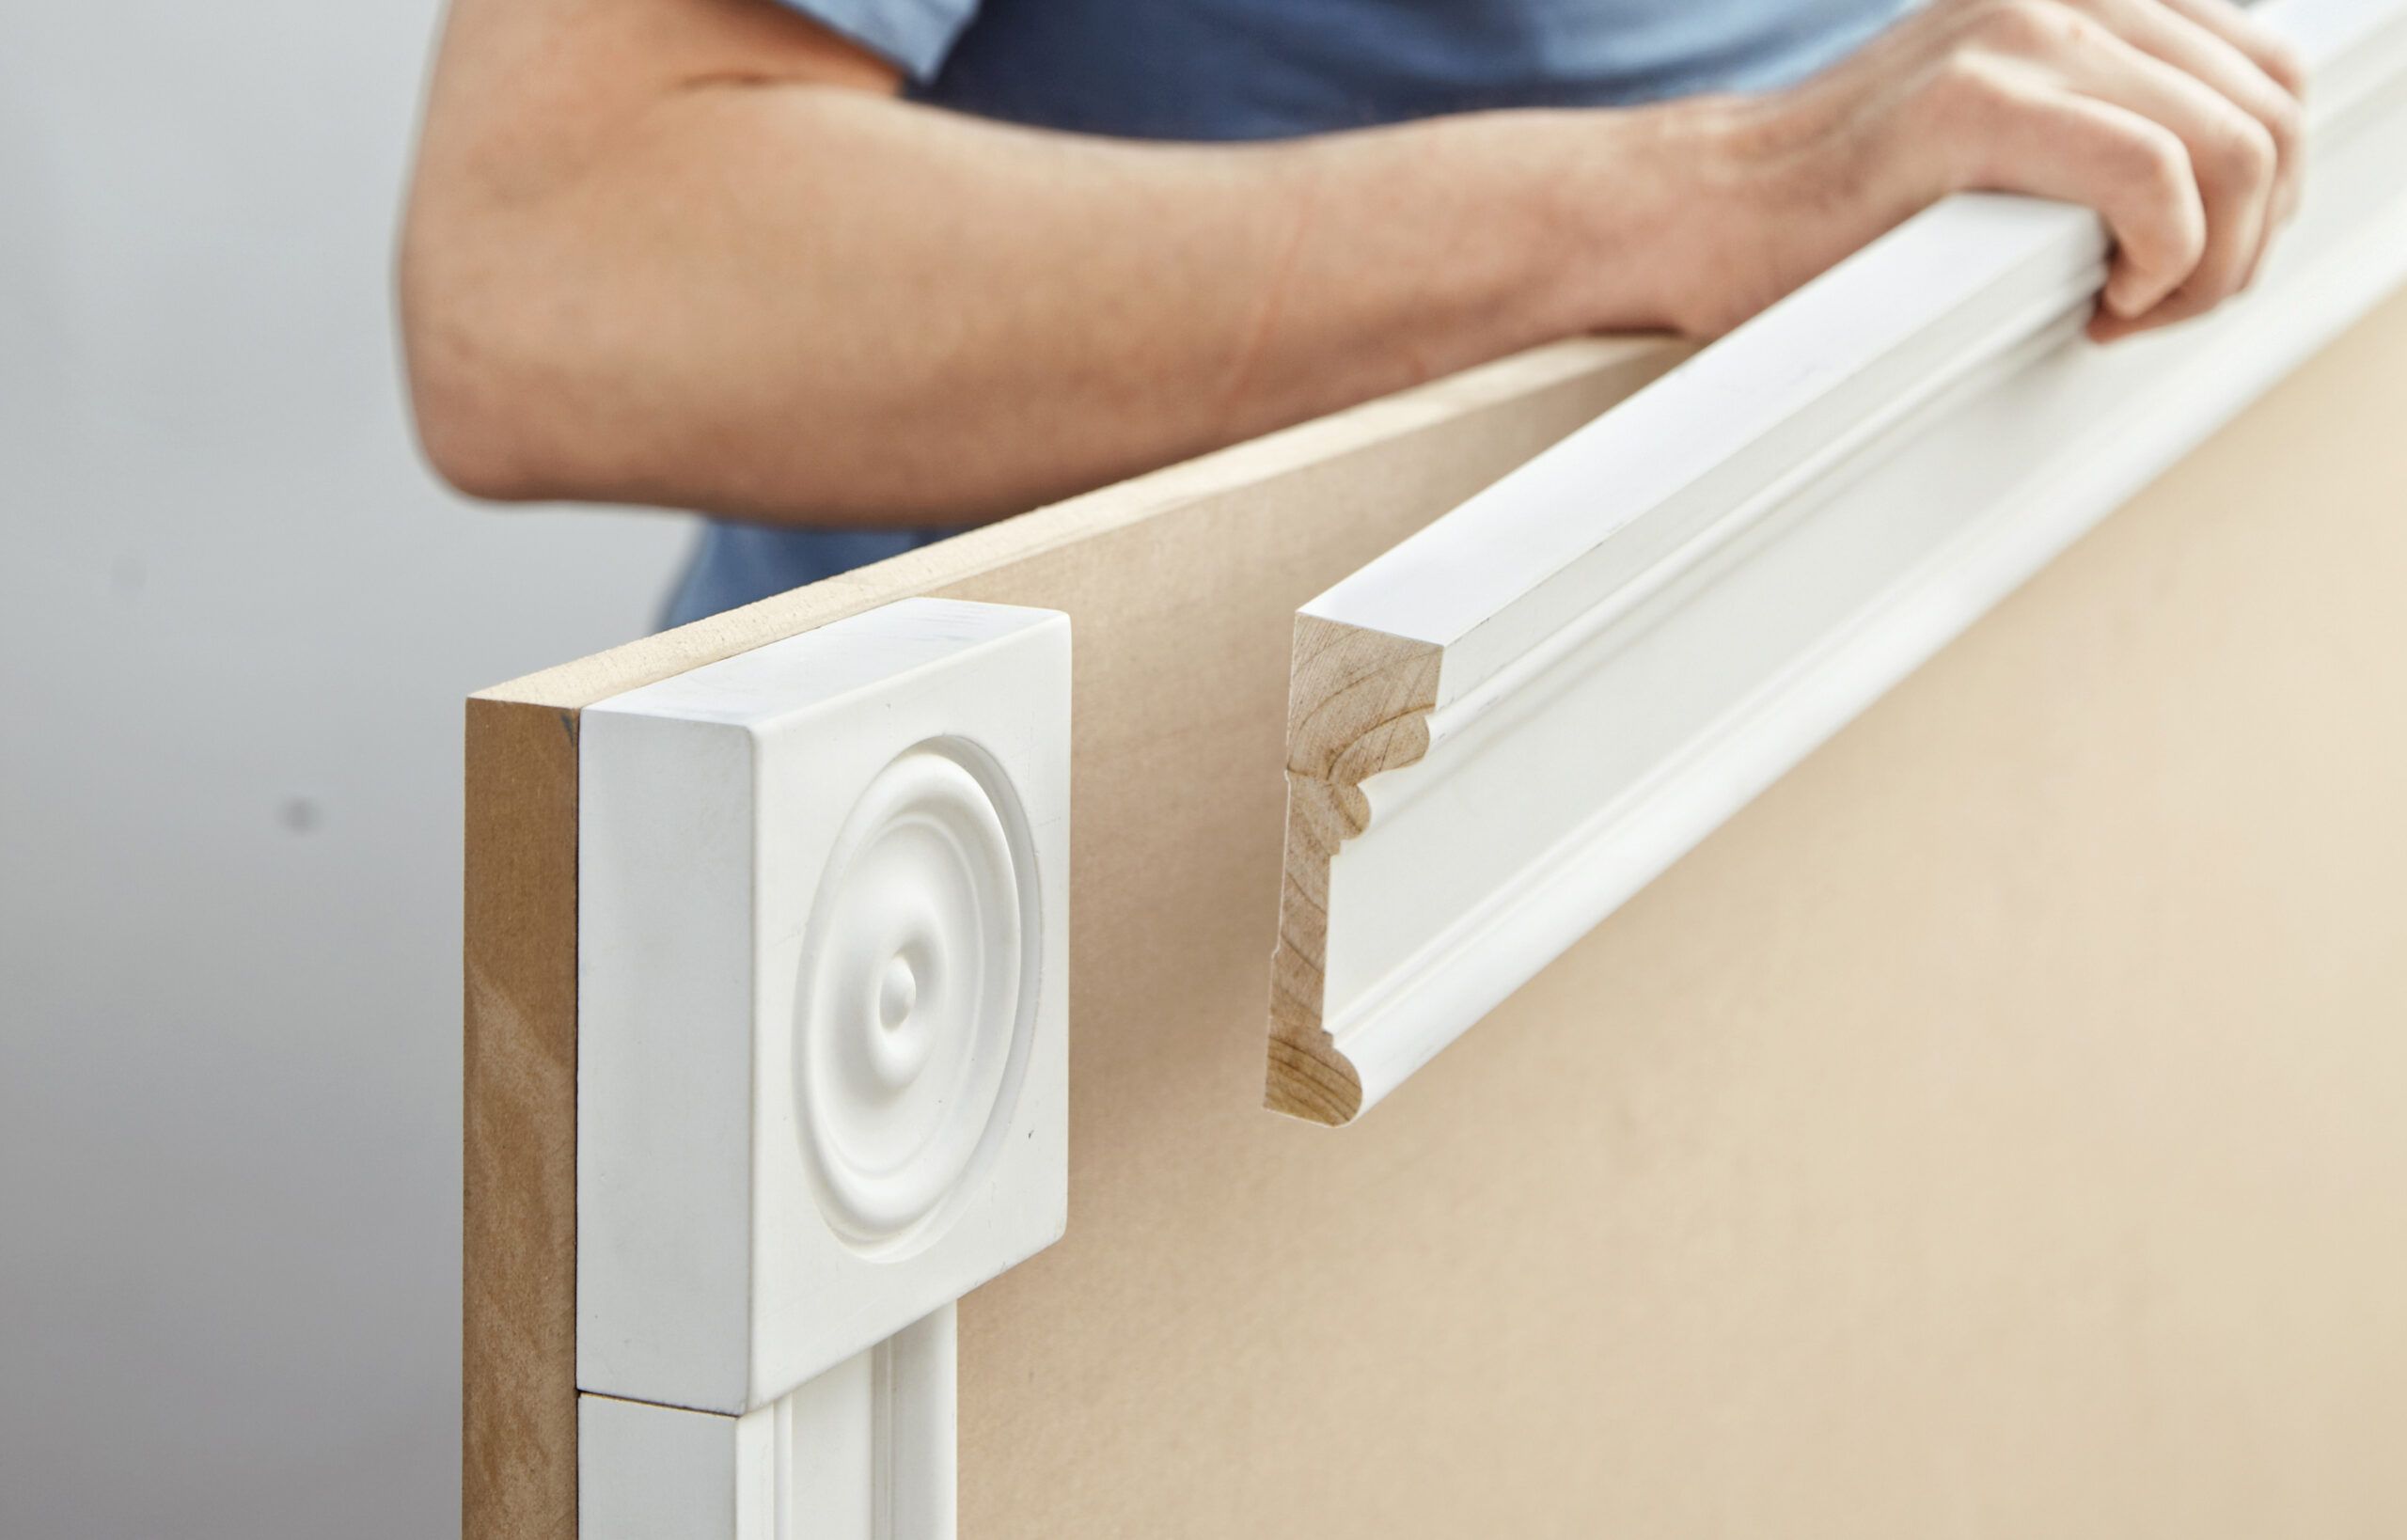
Install the Headboard Trim
You can now move on to the headboard trim:
- Glue and tack the rosettes in place at the corners.
- Measure the distance between each one and the platform, and cut the door casing to length.
- Use a jigsaw or a Japanese handsaw to notch the casings around the side panels, and glue and nail them in place with a brad nailer.
- Then, install the horizontal piece of casing between the rosettes.
- Finally, cut a 1/2×3 lattice strip to fit between the platform and the horizontal casing, center it side to side, and glue and nail it in place.
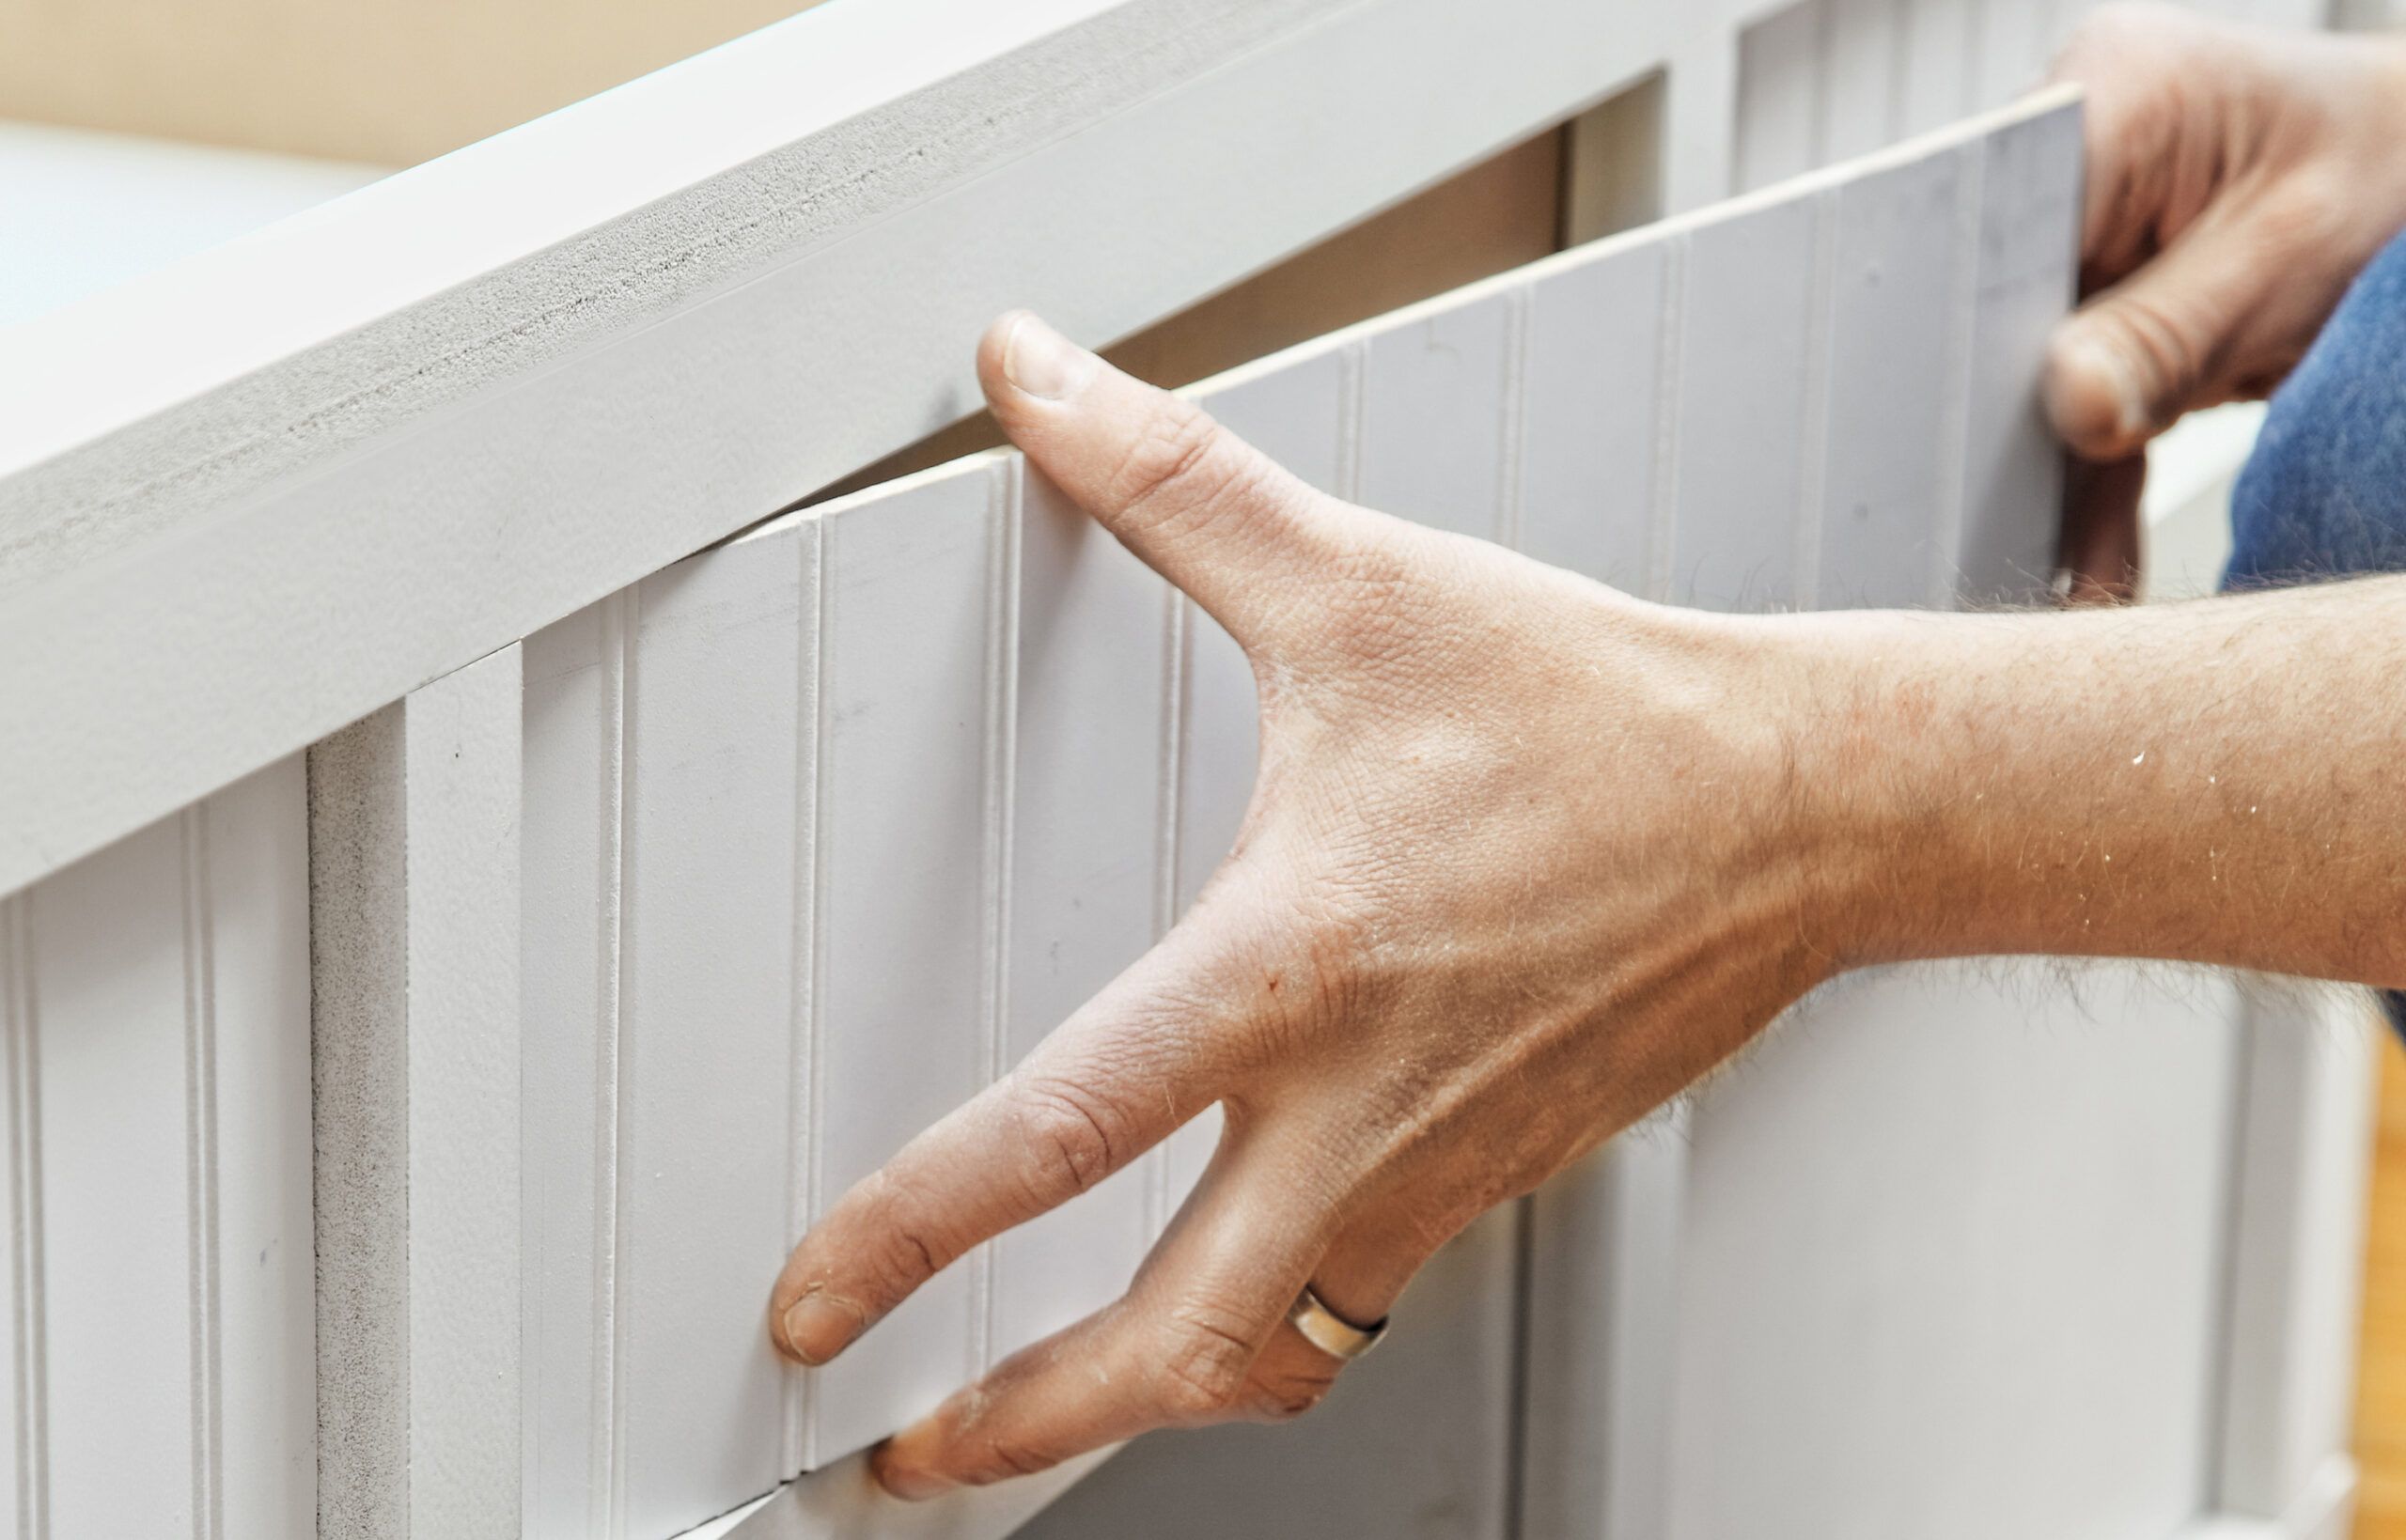
Install the Paneling
Cut pieces of beadboard panel to fit into the two halves of the headboard. Use construction adhesive to affix them, and tack them down with a brad nailer. Do the same for all the areas of the face frames with exposed MDF.
Final Touches
Finally, add these finishing touches:
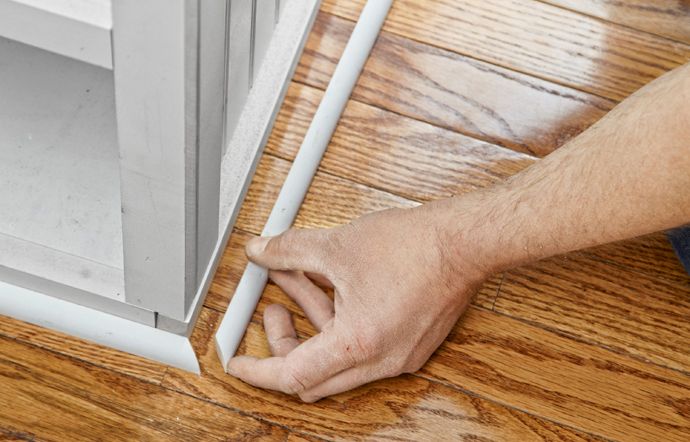
- Cut and install shoe molding where the bed meets the floor. This helps hide any gaps and gives the bed a finished look.
- Fill any nail holes and sand rough spots. Smoothing out these imperfections will prepare the bed for painting.
- Prime and paint the entire bed to achieve your desired finish. Choose a color that complements your room’s décor for a cohesive look.