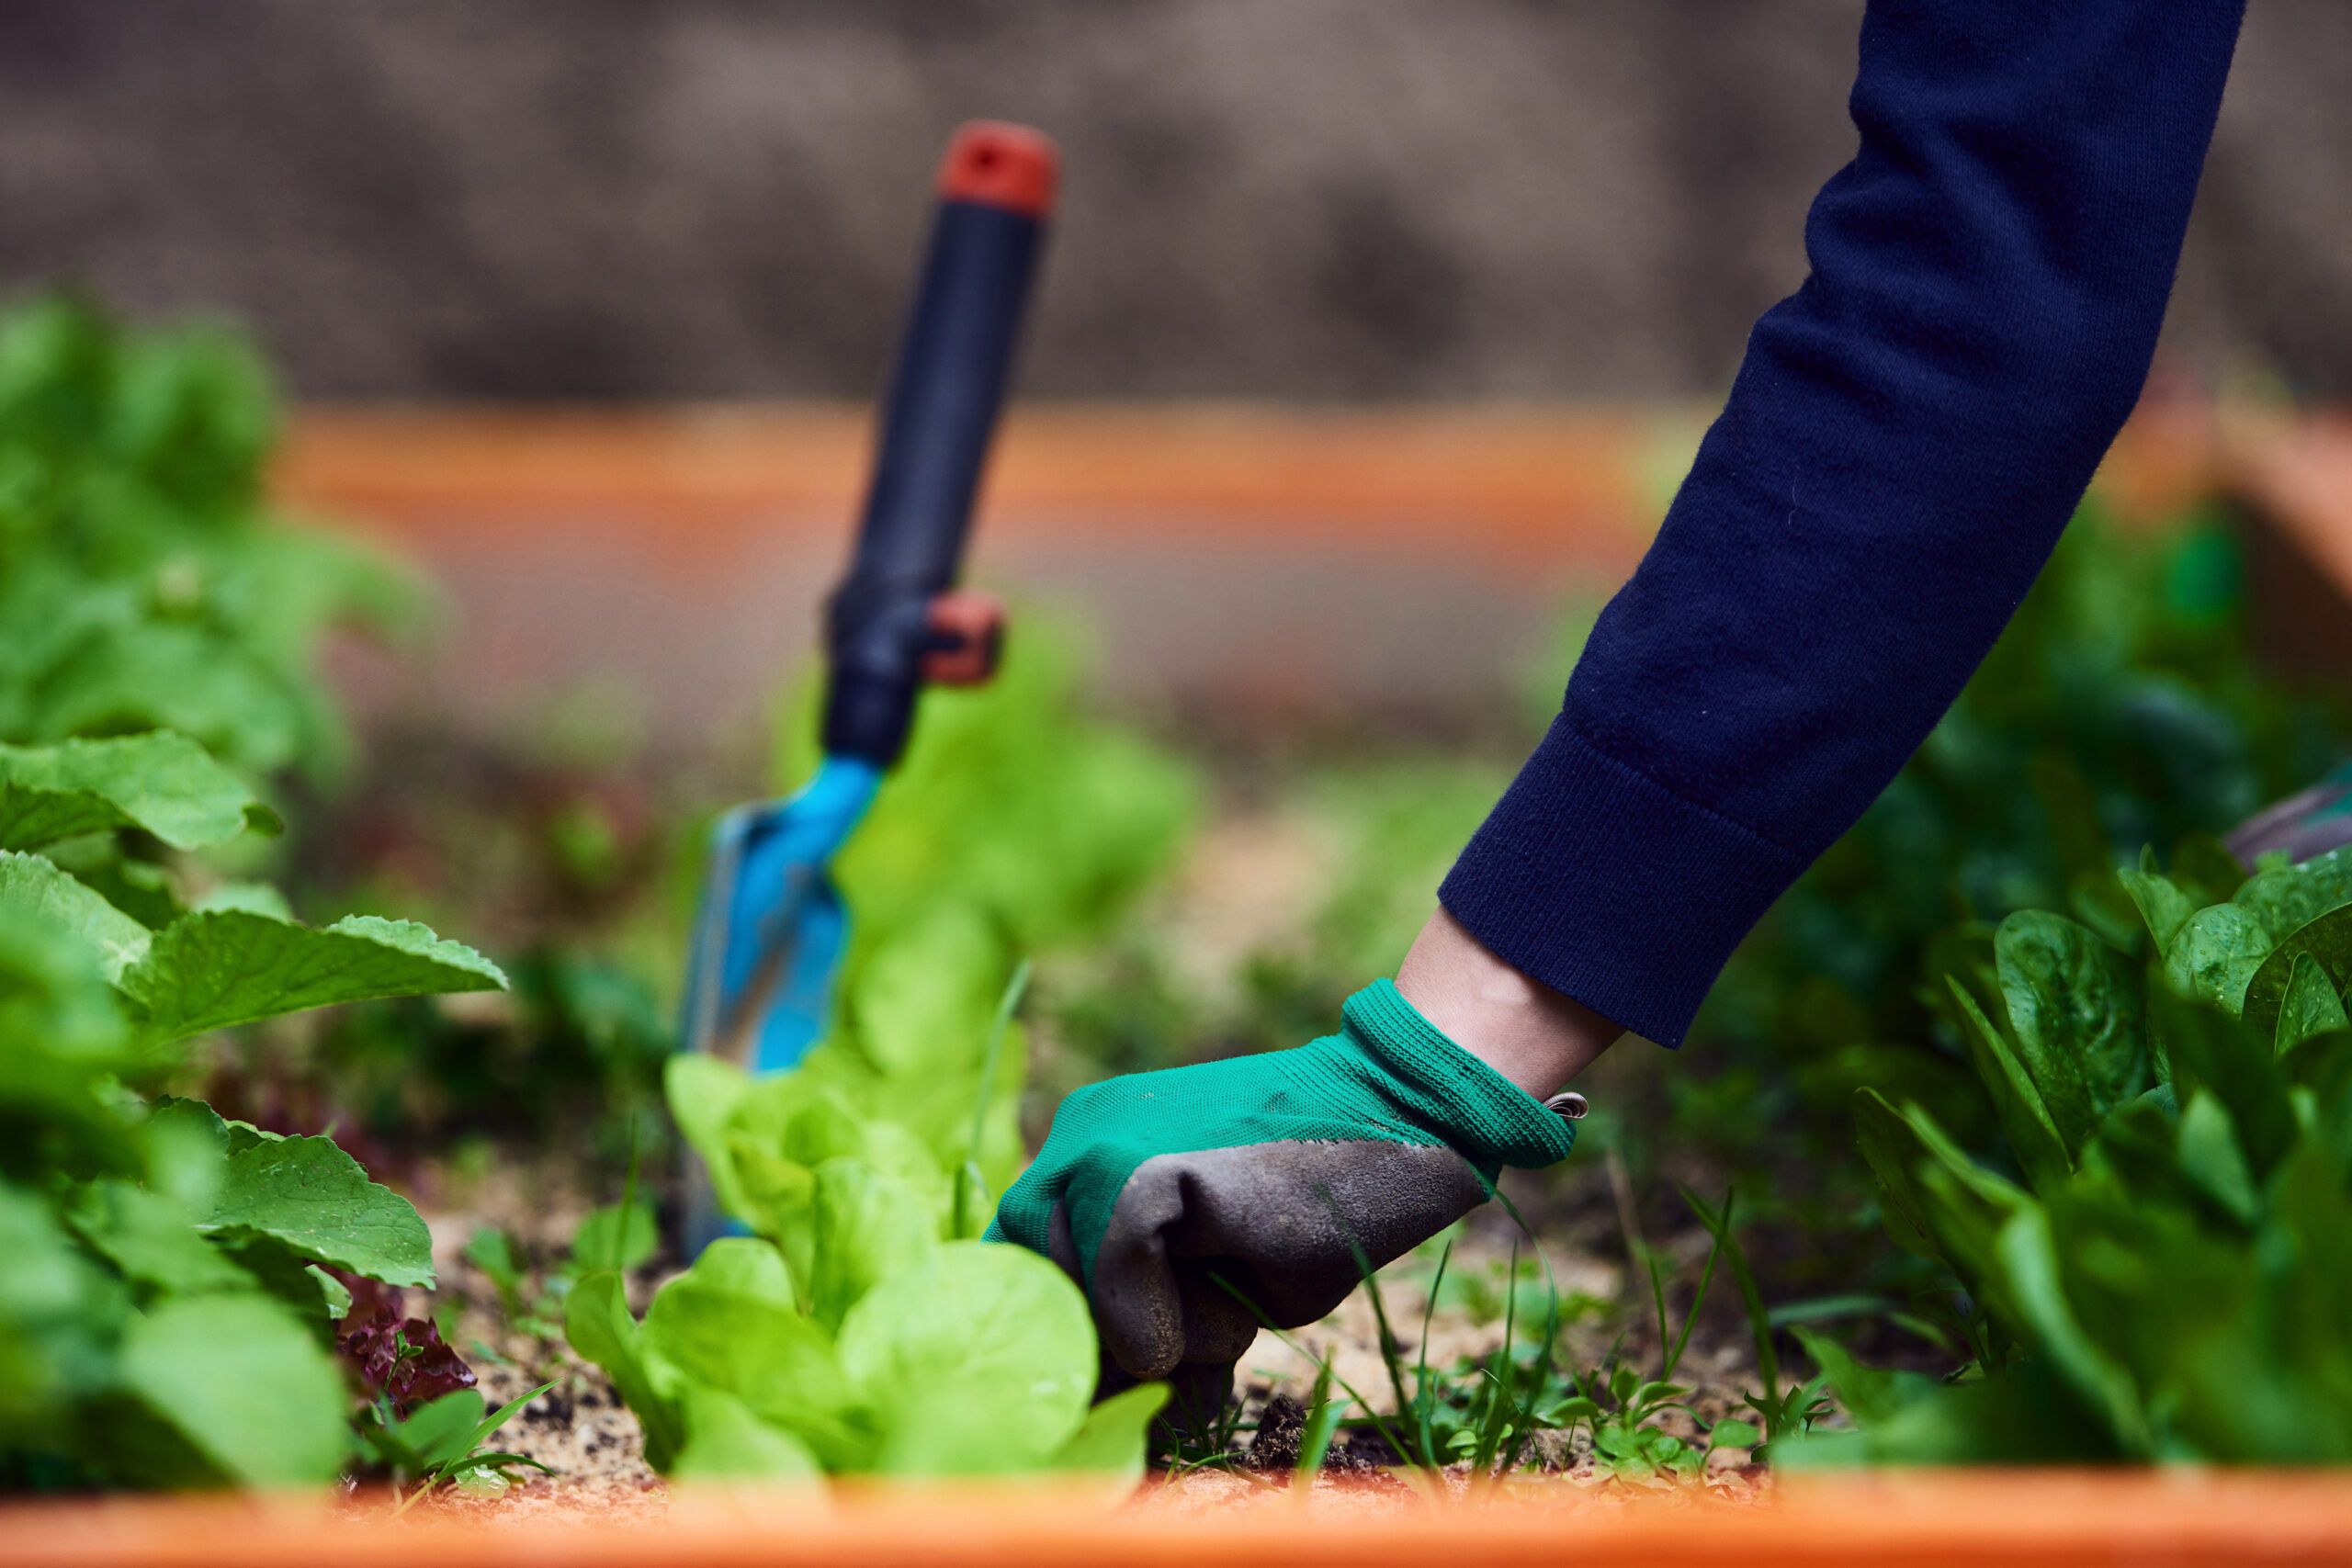
Spring is the perfect time to start your own garden of fresh greens rich in antioxidants, vitamins, and minerals. These hardy and hearty vegetables are easy to grow, survive cold snaps well, and become ready to harvest weeks before tomato-planting time. Snip them young and tender for a delicious salad mix, or add mature leaves to give dishes an extra zing.
We’ll teach you how to plant, grow, and harvest some of the most delicious spring greens in this guide.
Tips for Growing Collards
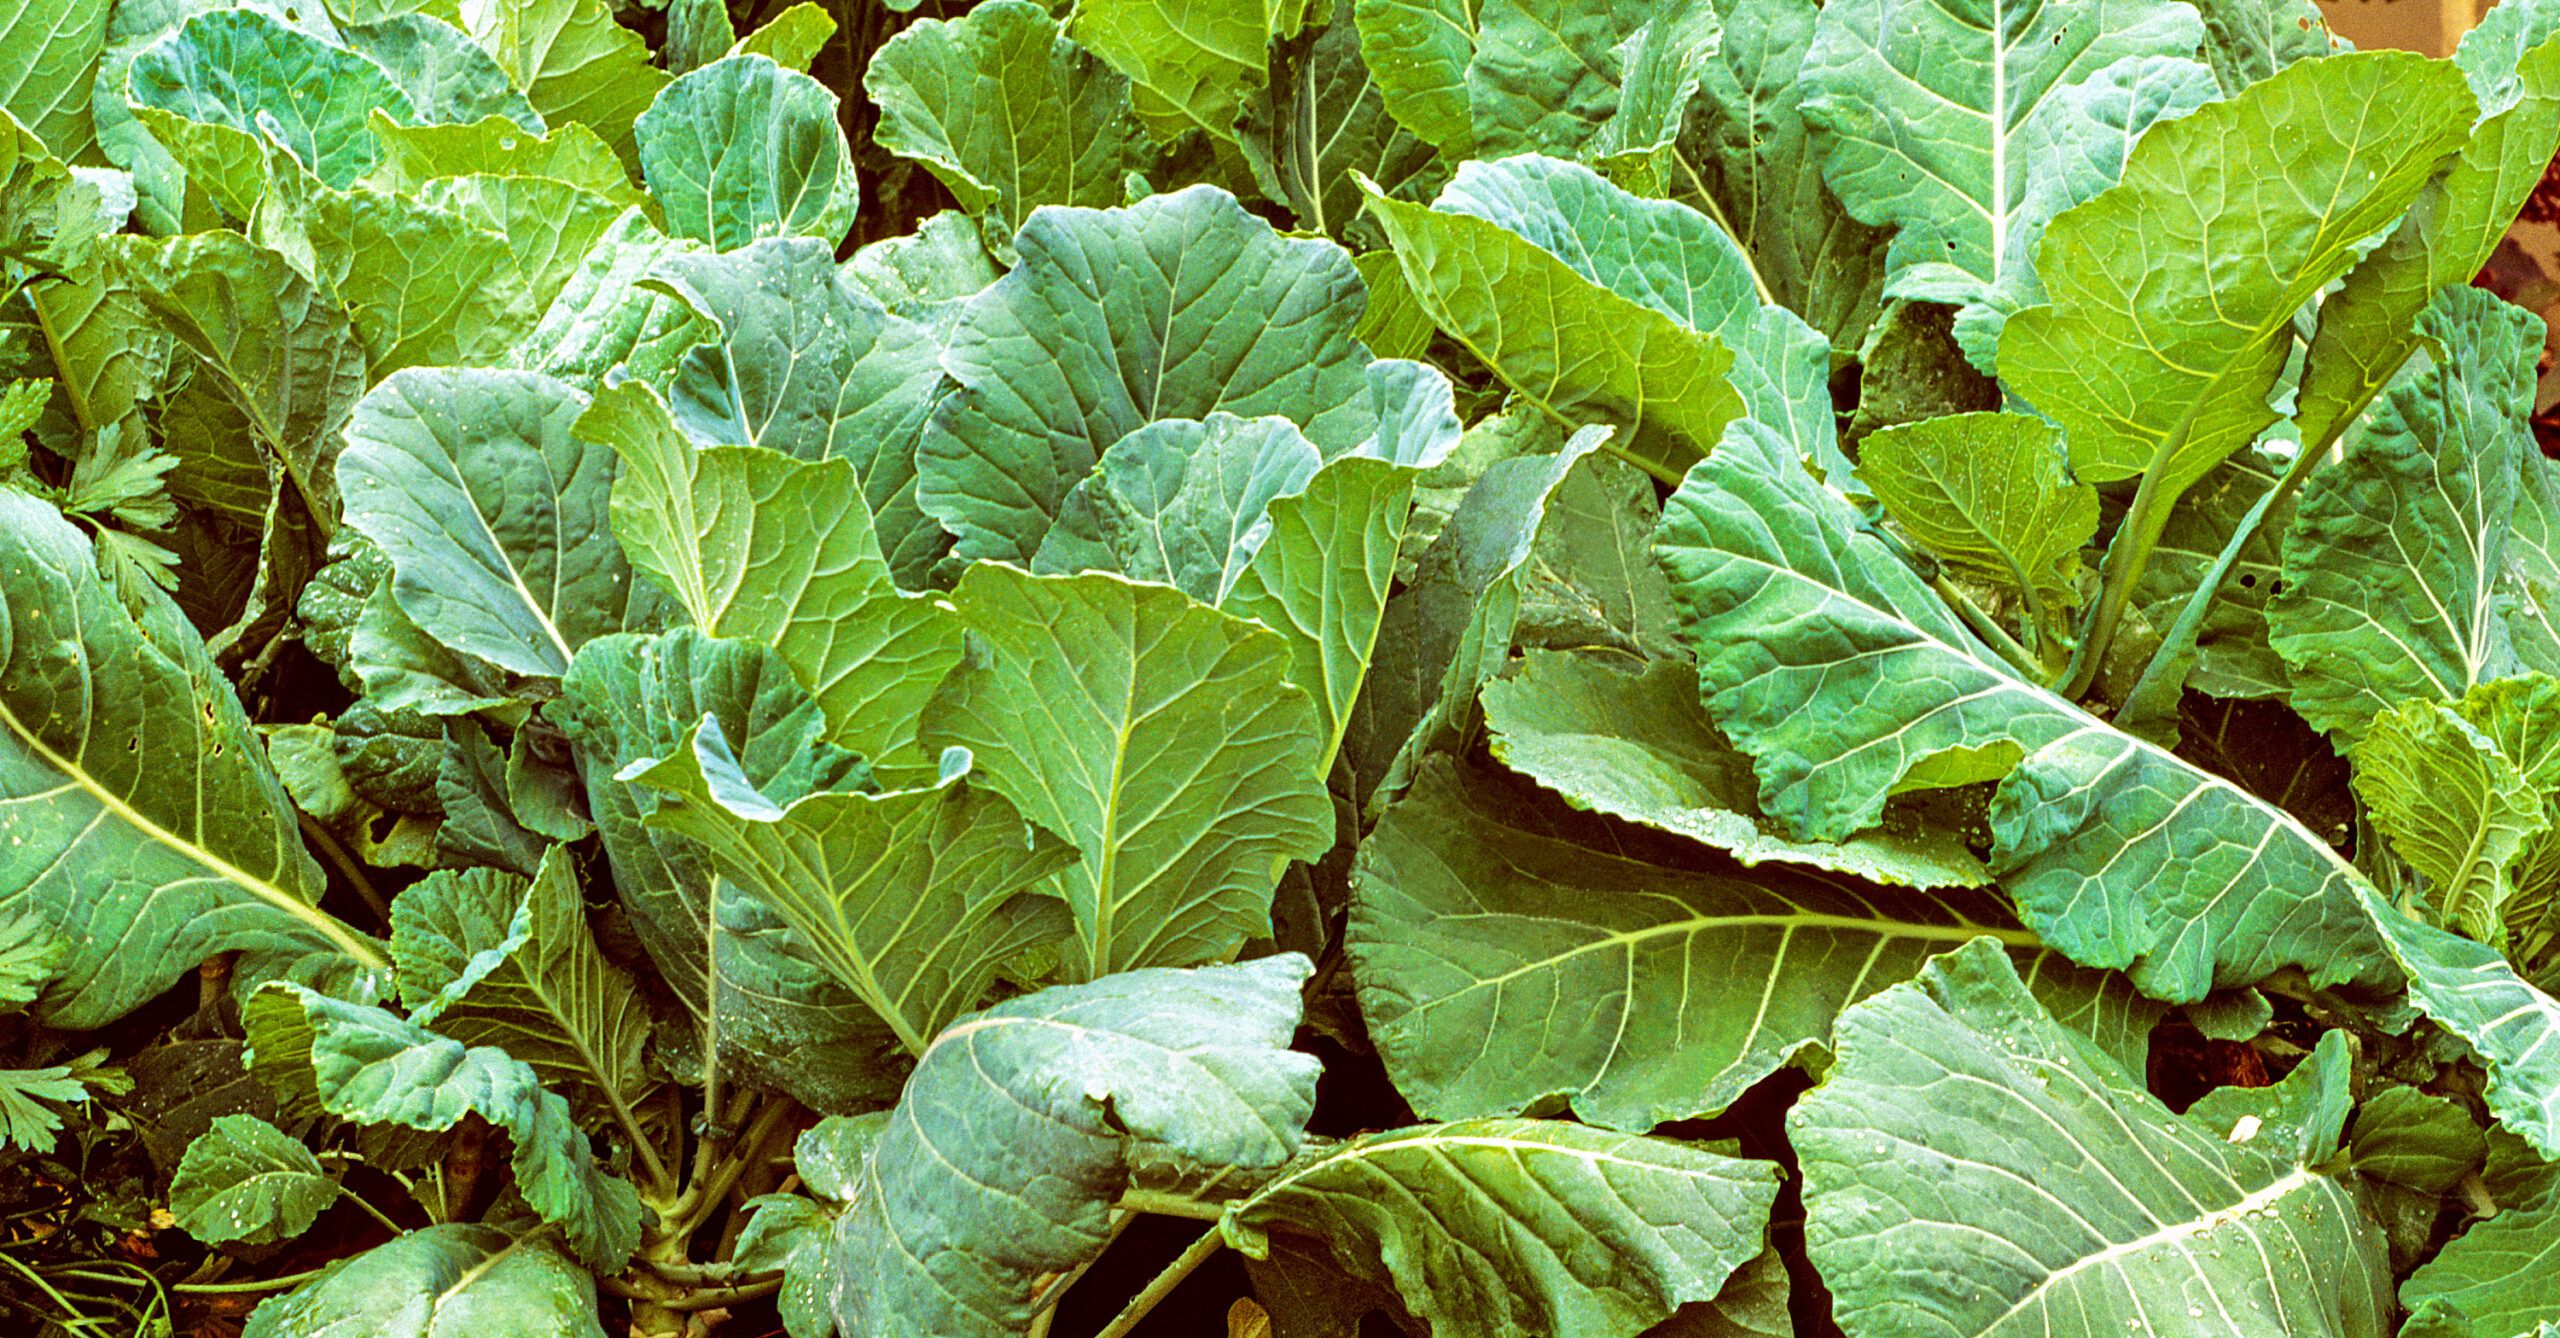
Collard greens are a staple Southern side dish that’s versatile enough to use at a number of different growth stages. Chop up young leaves and add them to your favorite slaw, or let the leaves mature and use them in stews and sandwiches. No matter how you use them, you’ll get a healthy dose of vitamins A, C, and K, calcium, and fiber with each bite.
These plants thrive in cool weather and can tolerate light frost. To make the most of them, try to find a compact variety like ‘Champion’ that matures quickly. Harvest the outer leaves regularly so the center can keep producing new growth. This also stops the leaves from becoming too tough and bitter.
Tips for Growing Kale
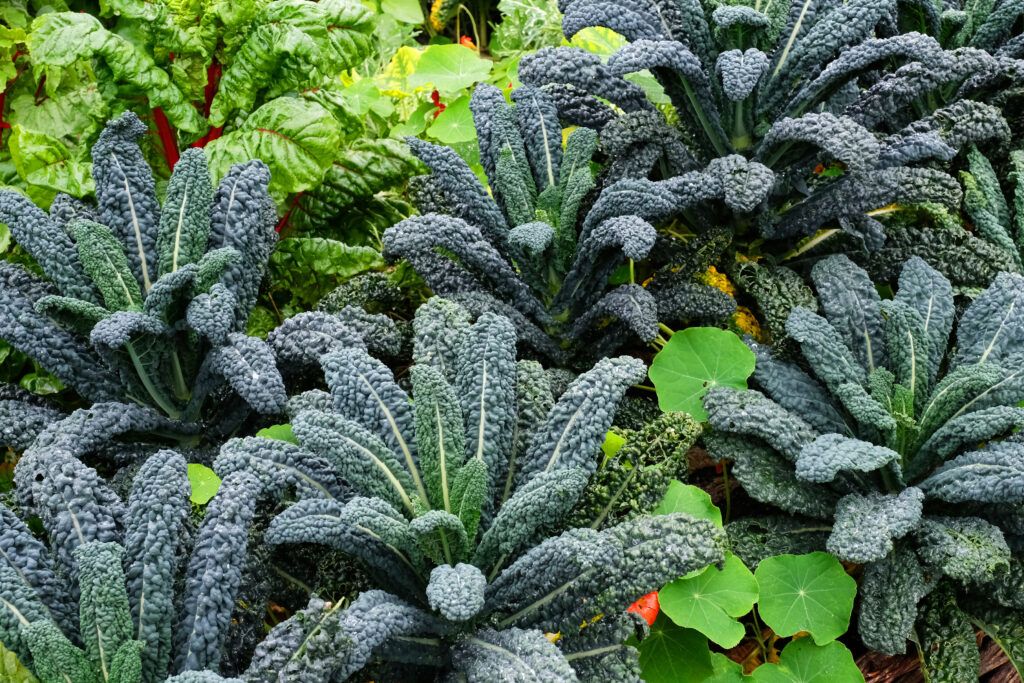
Kale has gained popularity in recent years, mainly due to its impressive nutritional profile and versatility in the kitchen. Tuscan kale, also known as black, lacinato, or dinosaur kale, is particularly well-suited for spring gardens. Its elongated, dark green, and pebbled leaves are tender and cook quickly, adding a rich texture to soups and stir-fries. You can also air fry and lightly salt the leaves to make a delicious alternative to chips.
If you want to explore different kale flavors and textures, we recommend buying a kale blend from your garden center. Besides Tuscan kale, some blends have unique varieties like ‘Red Russian’ and ‘Winterbor.’
Kale is a very cold-hardy and forgiving plant, able to withstand temperatures as low as 20 degrees Fahrenheit. Like collard greens, you’ll need to harvest the outer leaves regularly to promote continuous growth throughout the season.
Tips for Growing Mustard Greens
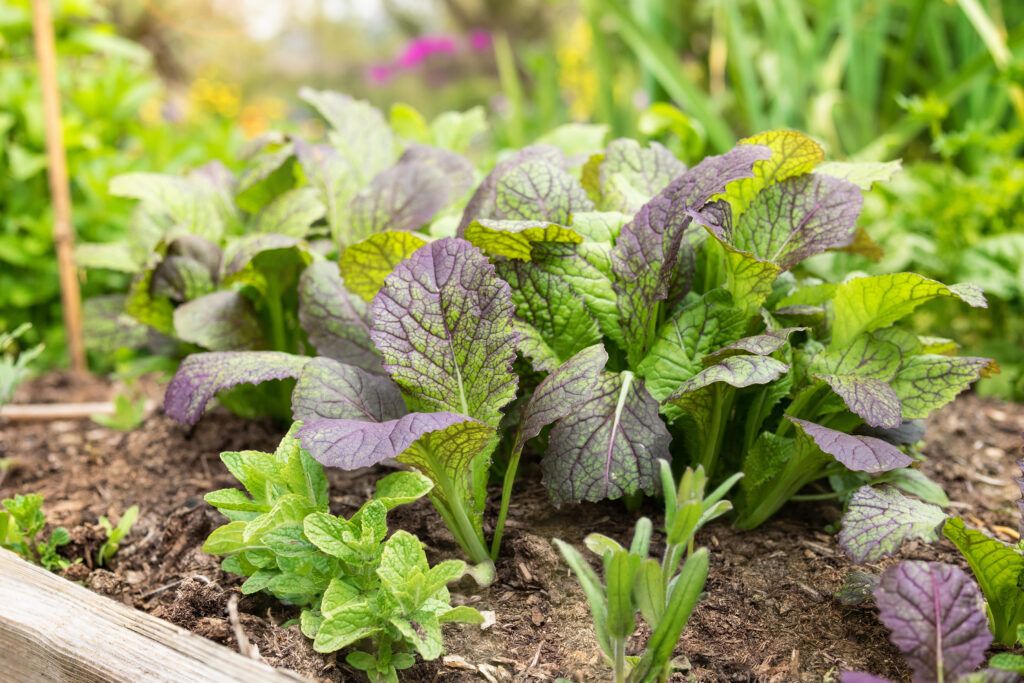
Mustard greens are another vegetable rich in vitamins A, C, and K, folate, and potassium. They come in various shapes and sizes, from the purple ‘Scarlet Frills’ to the broad-leaved ‘Red Giant’ and ‘Southern Giant.’
You can use mustard greens in a variety of dishes for a spicy, deep flavor. Young leaves, in particular, are excellent for salad. Since they’re a bit thinner than collard greens and most kale leaves, cook them until they’re just wilted. Overcooking them will make them bitter.
Mustard greens grow quickly and are often ready for harvest within 30–40 days. Sow every two weeks throughout the spring for a continuous harvest.
Tips for Growing Spinach
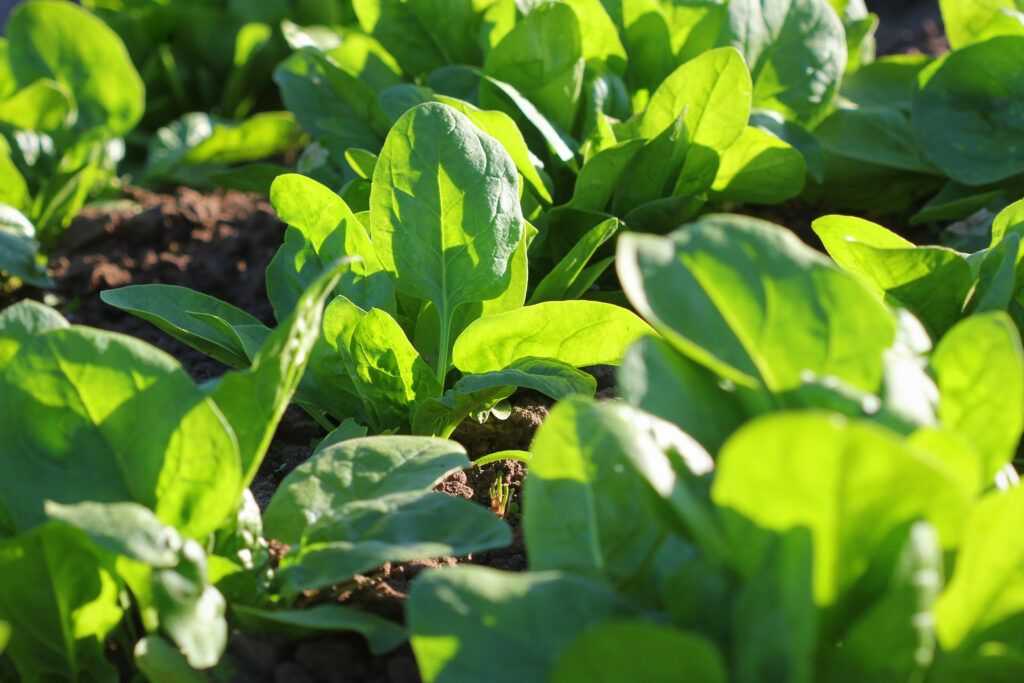
Spinach is a member of the amaranth family, with a milder flavor to complement brassica greens’ sharp taste. Its iron, vitamin, and antioxidant-rich leaves are versatile enough for everything from morning smoothies to cheesy quiche.
You can find spinach in savoy (very curly leaves), flat leaf, and semi-savoy varieties. For spring planting, consider a baby flat-leaf type like ‘Flamingo,’ which is slower to bolt (flower and go to seed). It grows best in cool weather, so you can plant it as soon as you can work the soil. For an extended harvest, plant heat-tolerant varieties and give them partial shade when it gets hot.
Tips for Growing Chard
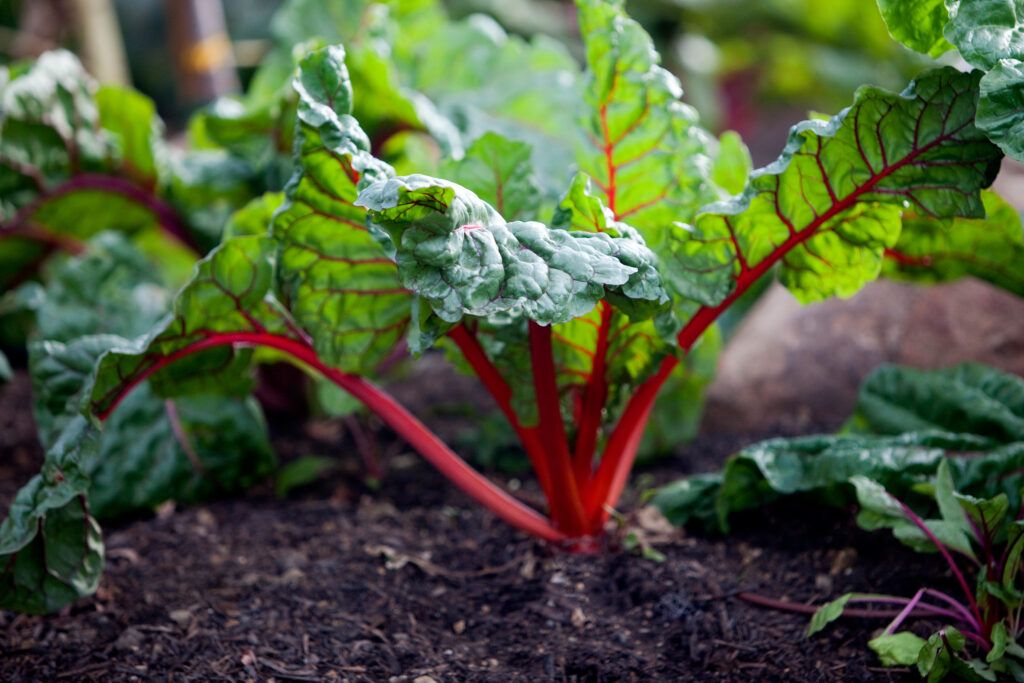
Chard is a member of the beet family and is rich in vitamins, magnesium, and potassium. It has a similar taste, texture, and nutrient profile to spinach but tolerates heat better—so we recommend planting it once your spinach is finished. We recommend ‘Bright Lights,’ a chard mixture with enticing purple, red, pink, orange, yellow, and white stems.
If you grow your chard from seed, you can sow it directly in your beds and pots once the temperature gets to 45 degrees F. The plant can poke up through the surface in just 5 to 8 days, and in 20 to 30 days, you could have small, young, and tender leaves to cook with.
Tips for Growing Arugula
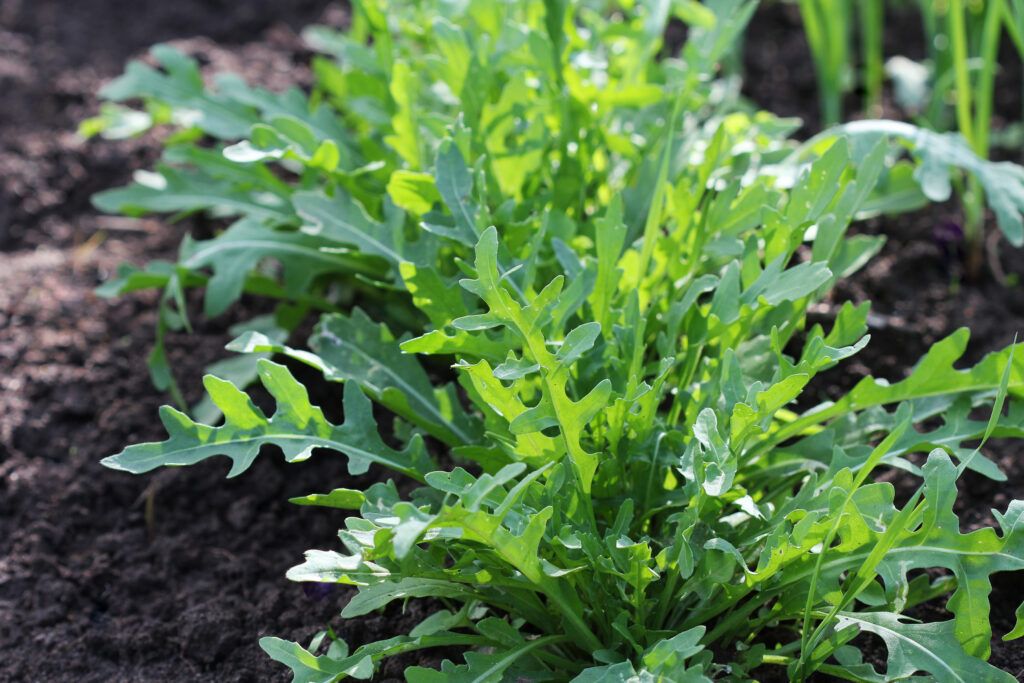
Arugula is a fast-growing green with a distinctive peppery flavor, perfect for pizza, pesto, and salads. It thrives in full sun but can tolerate partial shade, especially as temperatures warm up.
To plant arugula, scatter seeds across the surface of moist, organic soil and cover lightly with about ¼ inch of soil. Mist the soil until the seeds germinate, which typically occurs within 5–8 days. Once the seedlings emerge, thin them to allow proper growth.
Arugula grows well in containers, with about four plants fitting comfortably in a 12-inch pot. It can survive a light frost or two as long as it’s protected by a lightweight bedsheet when temperatures drop below 32ºF. For continuous growth, regularly snip off the outer leaves and sow seeds every other week through the spring.
More Spring Green Growing Tips
Here are a few good practices to follow regardless of the type of greens you’re growing.
Sow continuously: For a continuous crop of baby greens, snip off the tops of the plants and let them grow back for another round or two.
Transplant early: If you purchase plants or start your seeds indoors, you can transplant the seedlings to your beds and containers a bit earlier than other crops—from three to five weeks before the last frost date in your USDA agricultural zone.
Use a raised bed: Raised beds give you more control over soil composition. They also make planting, trimming, and harvesting easier on your back.
Cover before a frost: Greens can survive a light frost or two so long as they’re protected by a lightweight covering. An old bedsheet, removed during the day, will typically do the trick.
Don’t overwater: Water your greens when the soil feels dry, or the plants look droopy, but don’t overdo it.
Fertilize: Once the plants start to grow additional leaves, use an organic fertilizer according to the package directions
Harvest from the outside: Pluck or snip the plant’s outer leaves so the center can keep growing and leafing out. Cut them back before they go to seed to get more leaf growth.
Recipes to Make with Your Home-Grown Spring Greens

Once your garden’s in the works and you’ve started to reap the rewards, here are a few enticing recipe ideas:
- Arugula pesto pasta
- Chard and chickpea curry
- Fingerling potatoes with collard greens and apple cider dressing
- Simple stir-fried greens
- Spinach and feta quiche
- Spring greens garden salad
- Tuscan kale and garlic pizza