Project details
Skill
Cost
Estimated Time
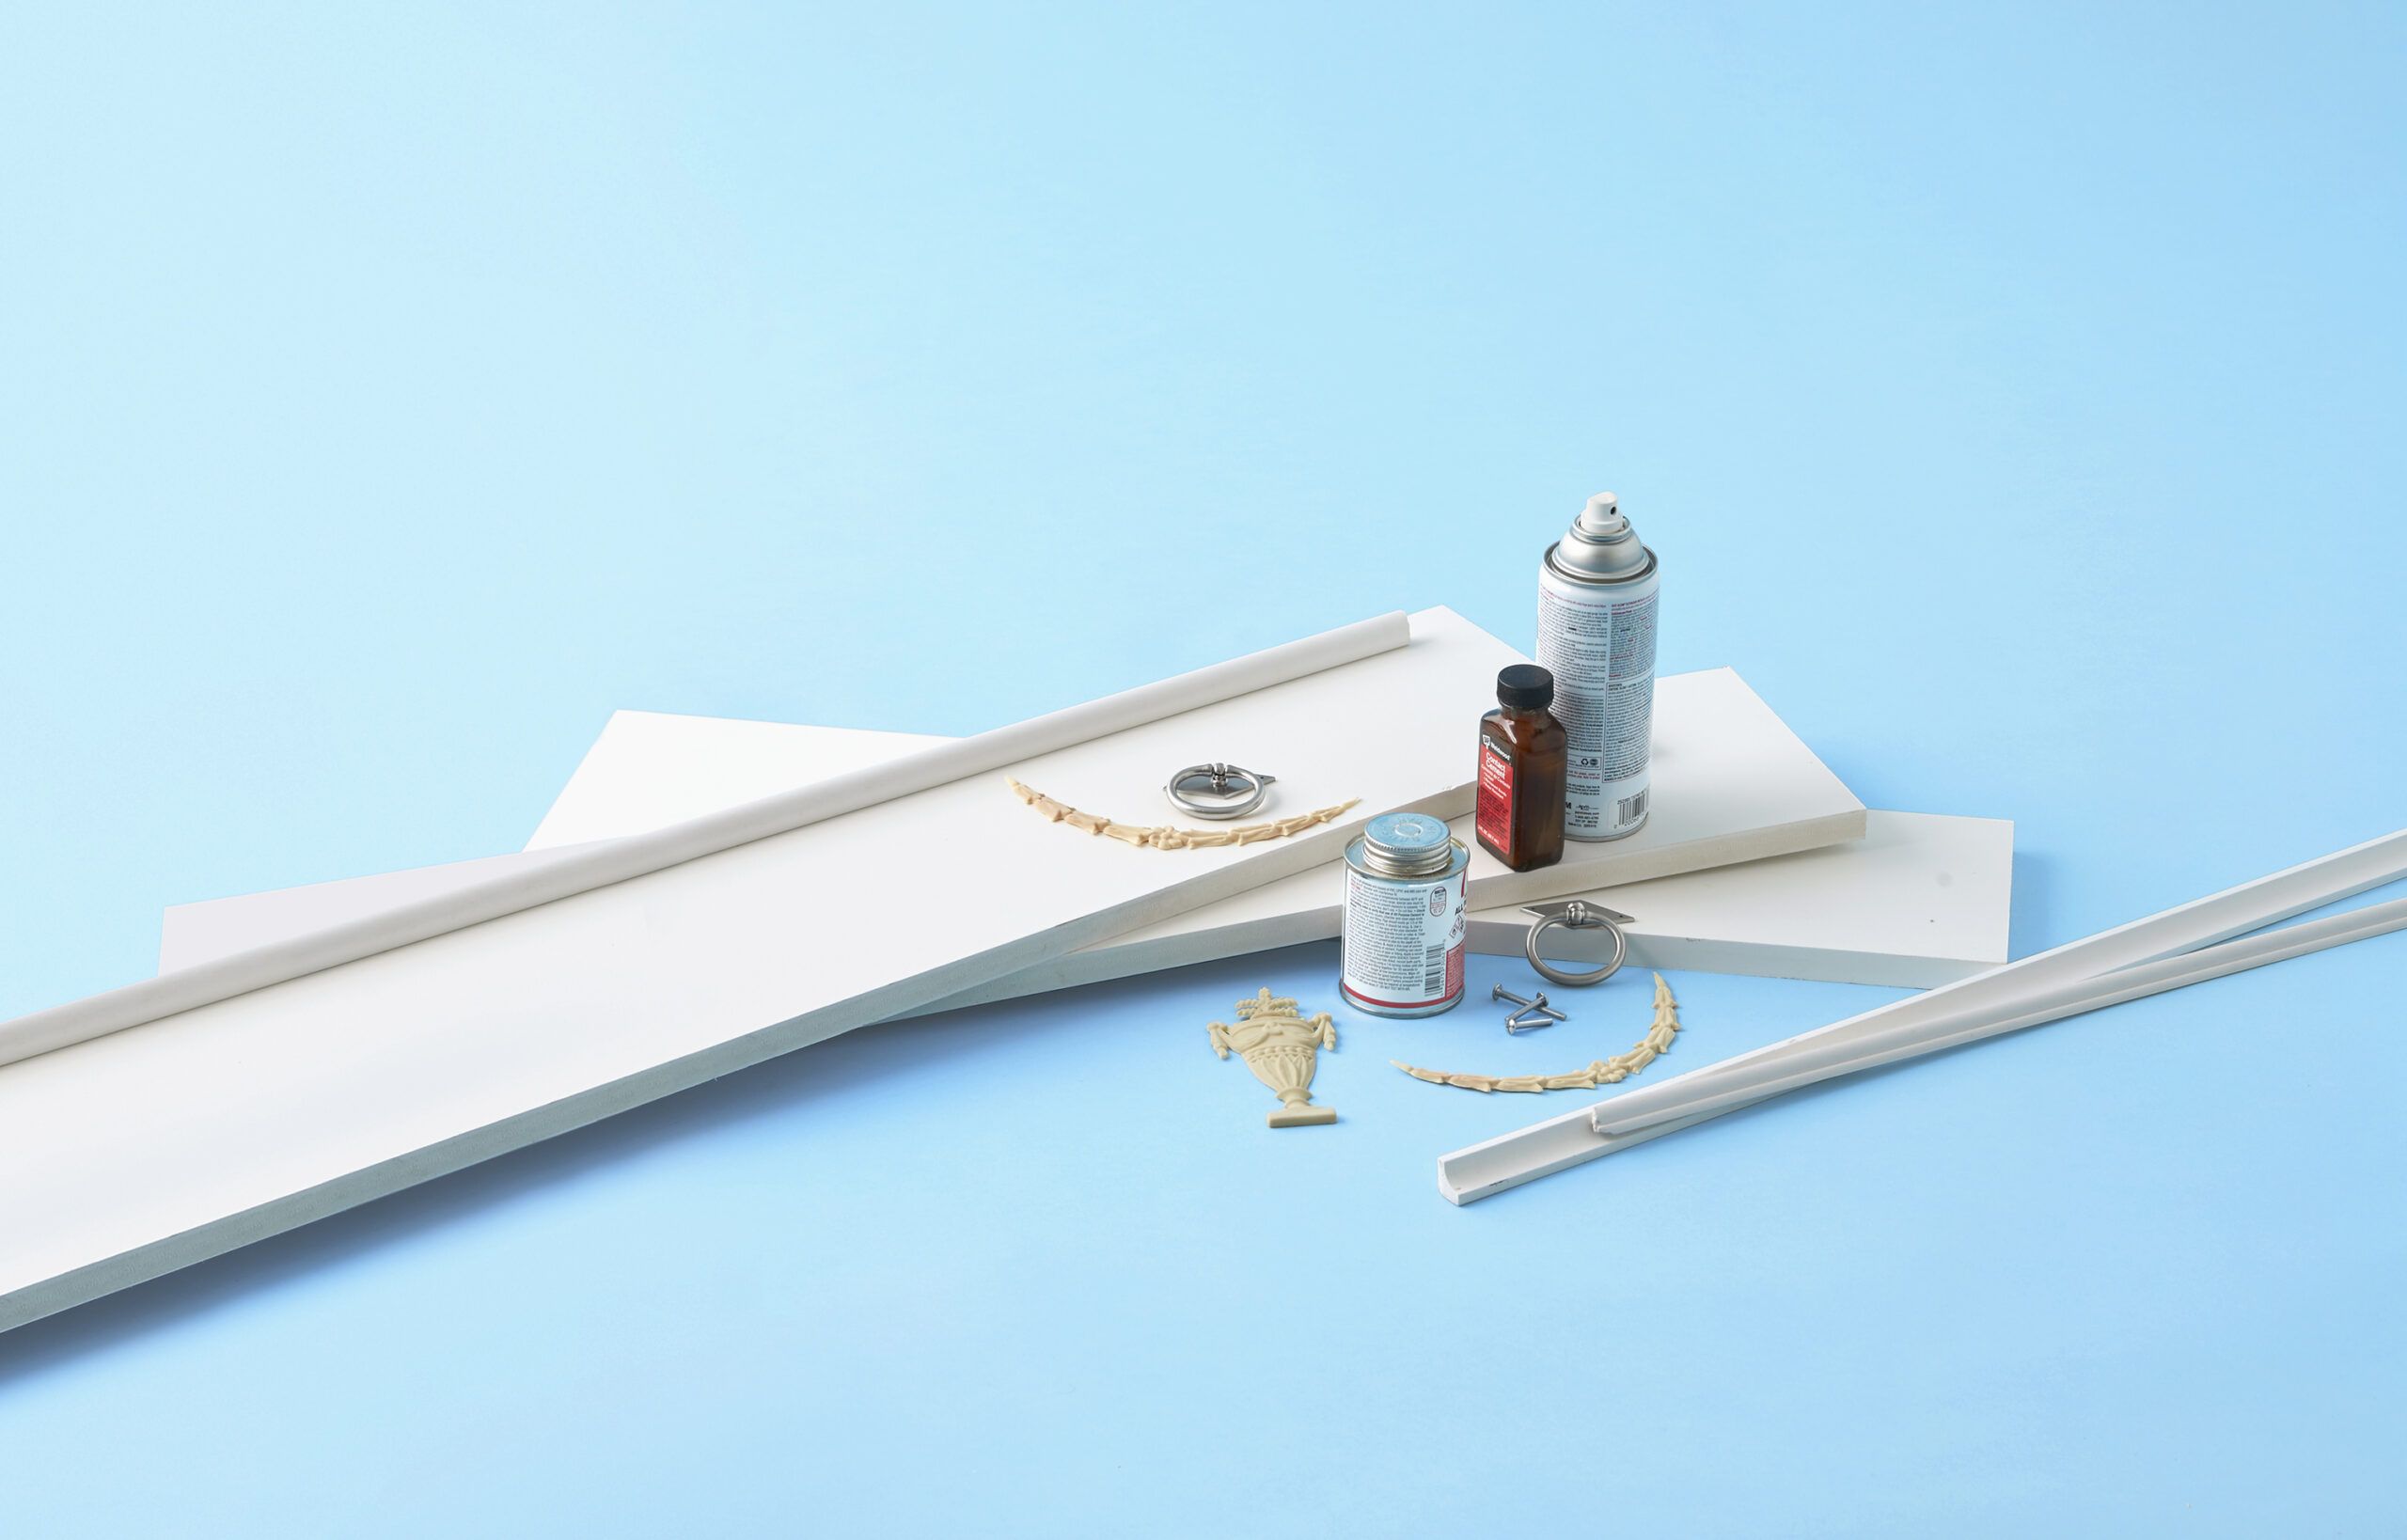
A cast-iron planter isn’t easy to move, and a vintage-looking one can set you back hundreds. We built one out of lightweight cellular PVC and mimicked the details with cemented-on appliqués and a few coats of spray paint.
Could you do better? It’s your turn to make use of any scraps you’ve got lying around, supplemented, of course, by one or three trips to the home center, to build a project of your own.
We’re calling it the #DIYDARE. Check out our examples to get inspired, then snap a photo and of your project and tag it #DIYdare when you post it to Facebook, Twitter, or Instagram. (HASH)Tag, you’re it.
Step 1
Overview to Build a PVC Planter with a Cast-Iron Look
Head cocked sideways, Allie was looking at a length of PVC trim in her #DIYDare box.
She had just realized it was about the same size as the cast-iron planters on the windowsills of townhouses in her neighborhood, the legit antique versions that salvage shops charge a bundle for and that weigh about 75 pounds—before soil and plants.
“We could totally build planters from this,” Sal said. He’d just used the material on a maintenance-free lamppost project for TOH. It’s lightweight, won’t rot, and holds paint better than wood, he said. “Hmm… and we could get the cast-iron look by gluing appliqués onto a basic box and painting it,” said Allie. She began to sketch an idea while Sal rounded up some more materials.
They made the box by joining the boards with PVC cement and finish nails. Once the cement dried, Allie added the rubber appliqués and Sal attached the handles. Then it was time for two coats of spray paint.
“Dead ringer for cast iron,” Sal said, admiring their work. “Easier to move around, too,” Allie said, “but come on—I’ve got two more windows to worry about.”
Step 2
Build the Box
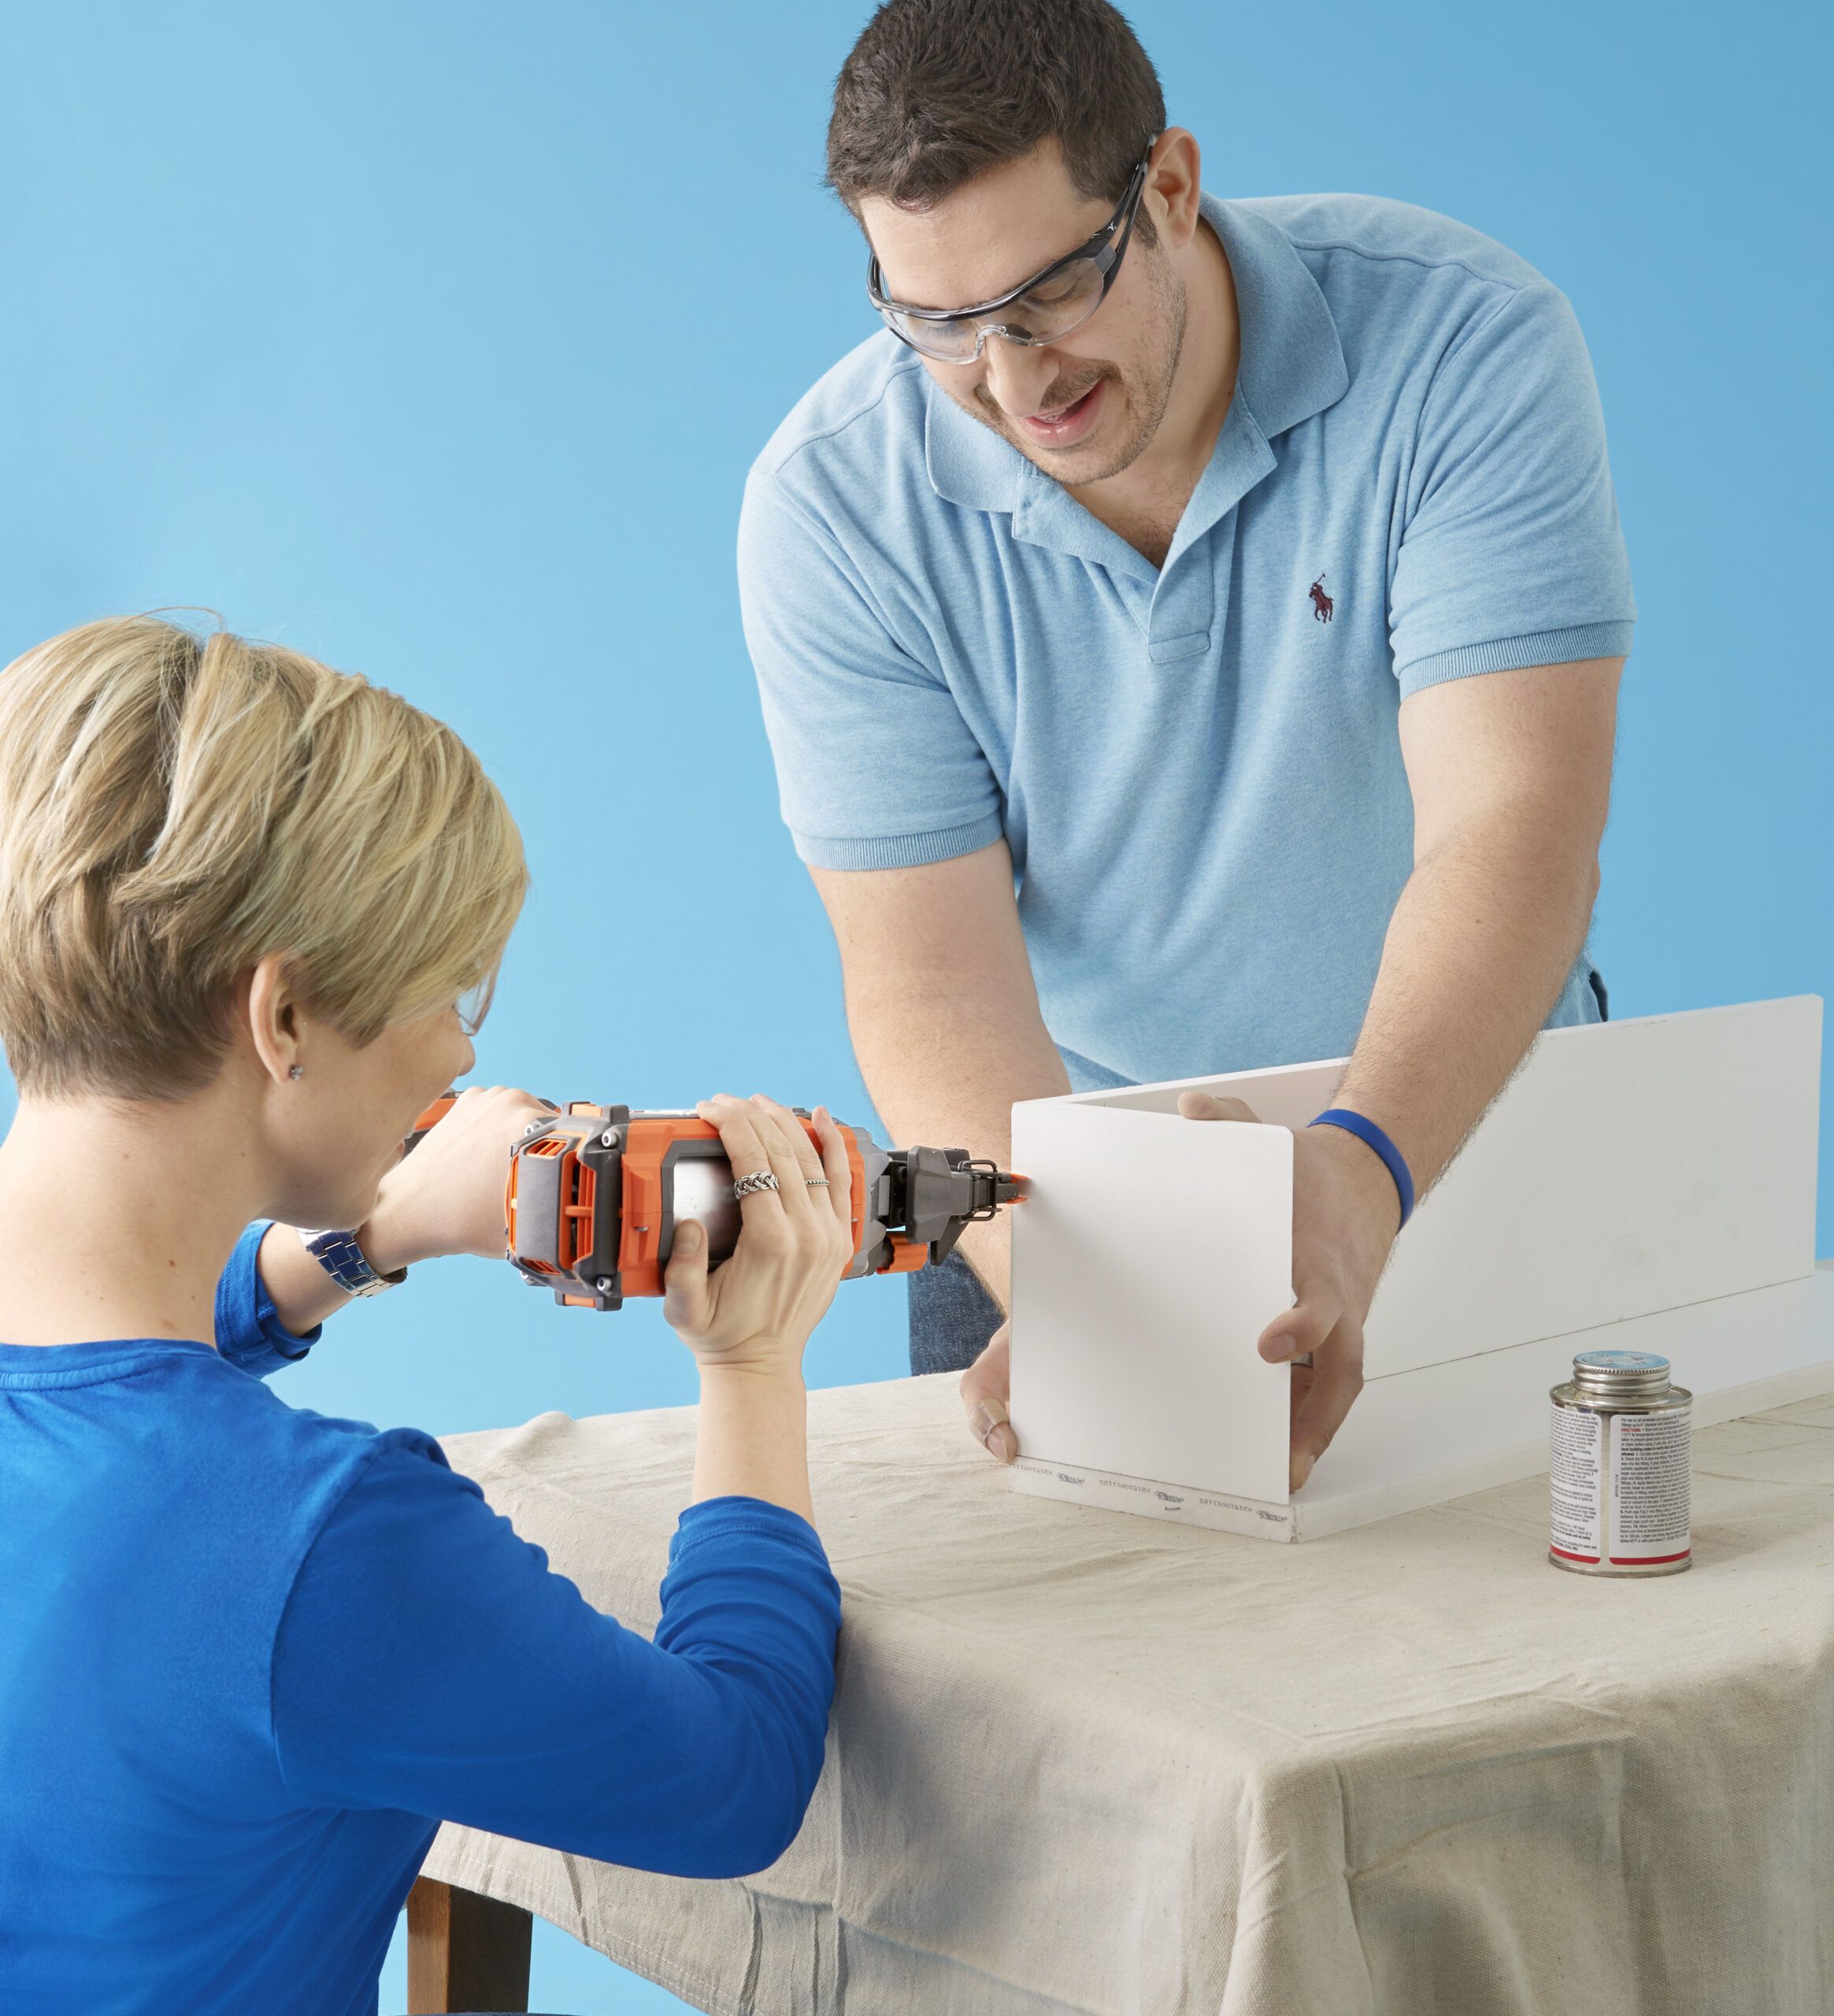
Miter four lengths of cellular PVC trim to make the sides of the box using a miter saw. Add PVC cement to the cut edges and use finish nails to hold the box together while the cement cures. Cut and attach a bottom using more cement and finish nails.
Step 3
Add the Appliques
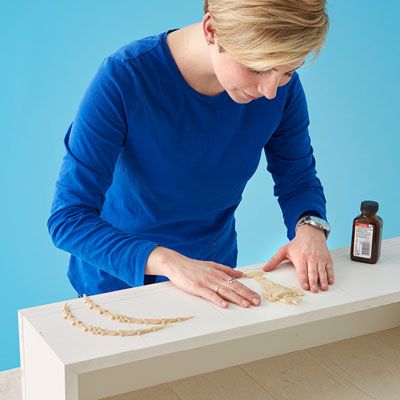
Determine the location of the appliques. Then add contact cement to the box and the back side of the appliques before pressing them into place.
Step 4
Drill Holes for the Handles
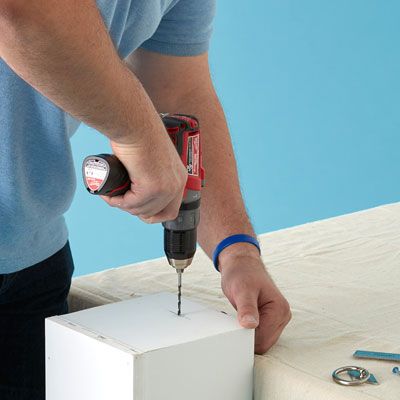
Drill a hole for the handle on each end.
Step 5
Miter the Molding
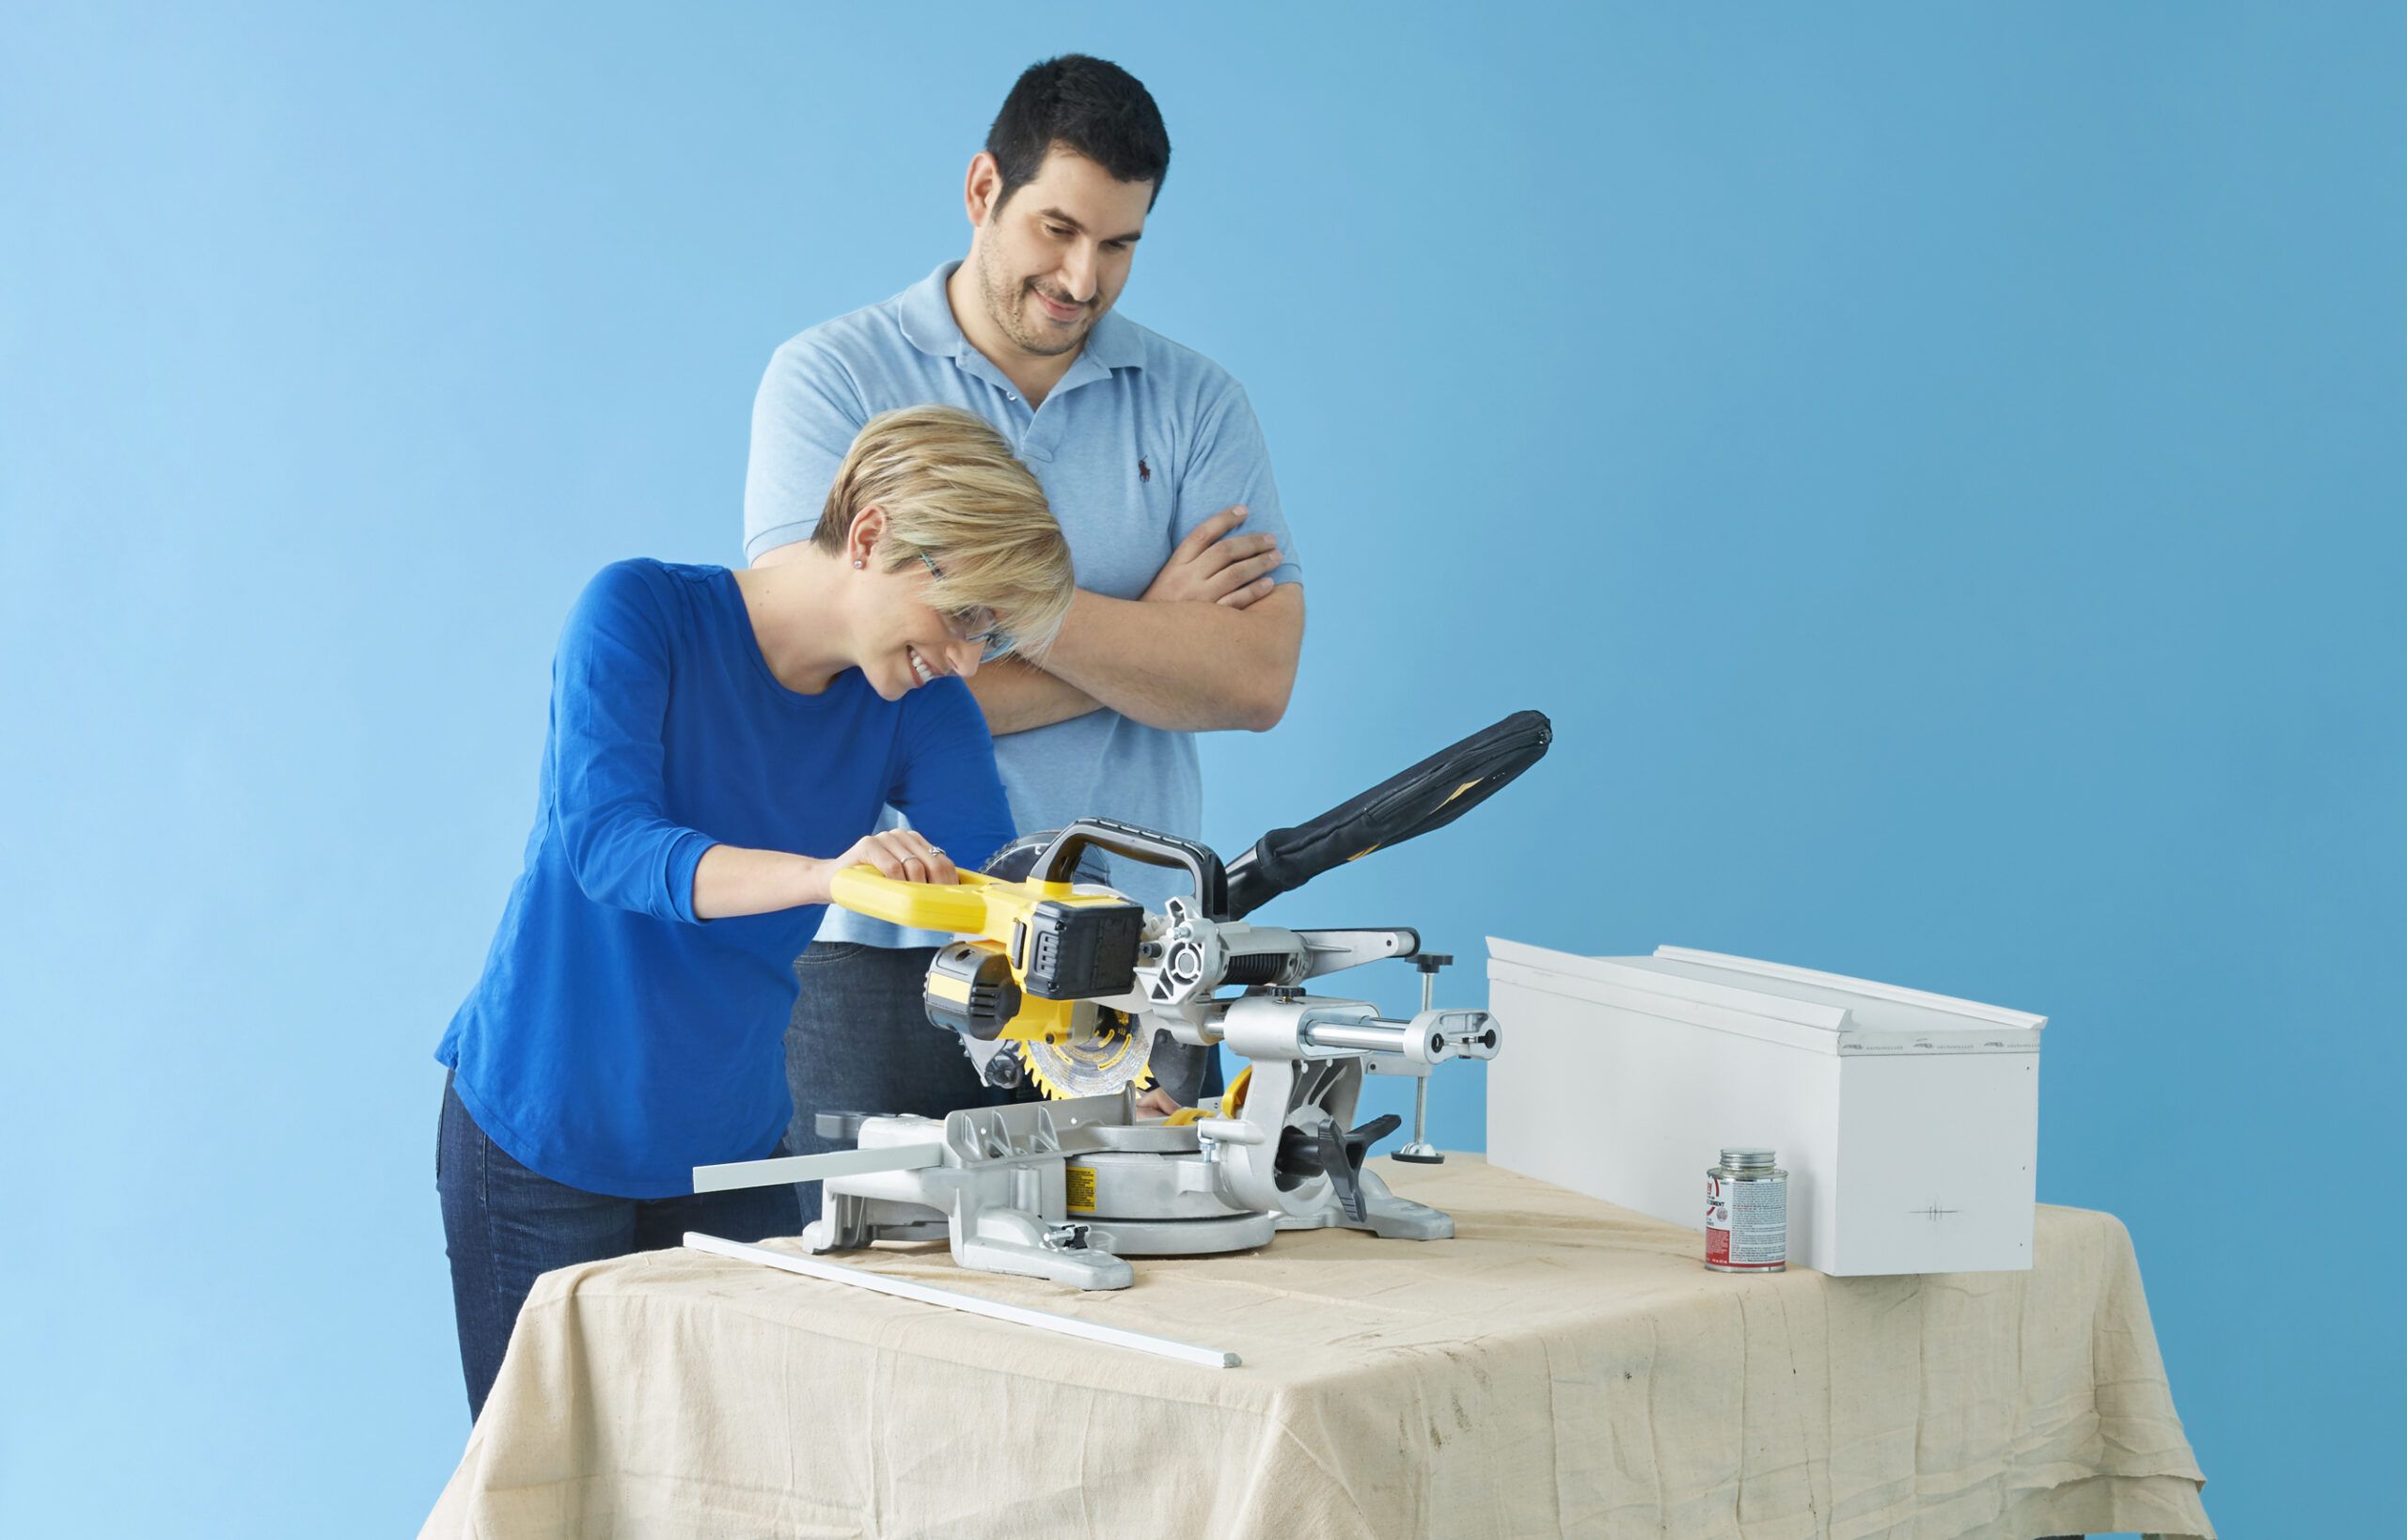
Use the miter saw to cut molding that wraps the box top and bottom. Use more cement and finish nails to attach each piece to the box.
Step 6
Spray on the Finish
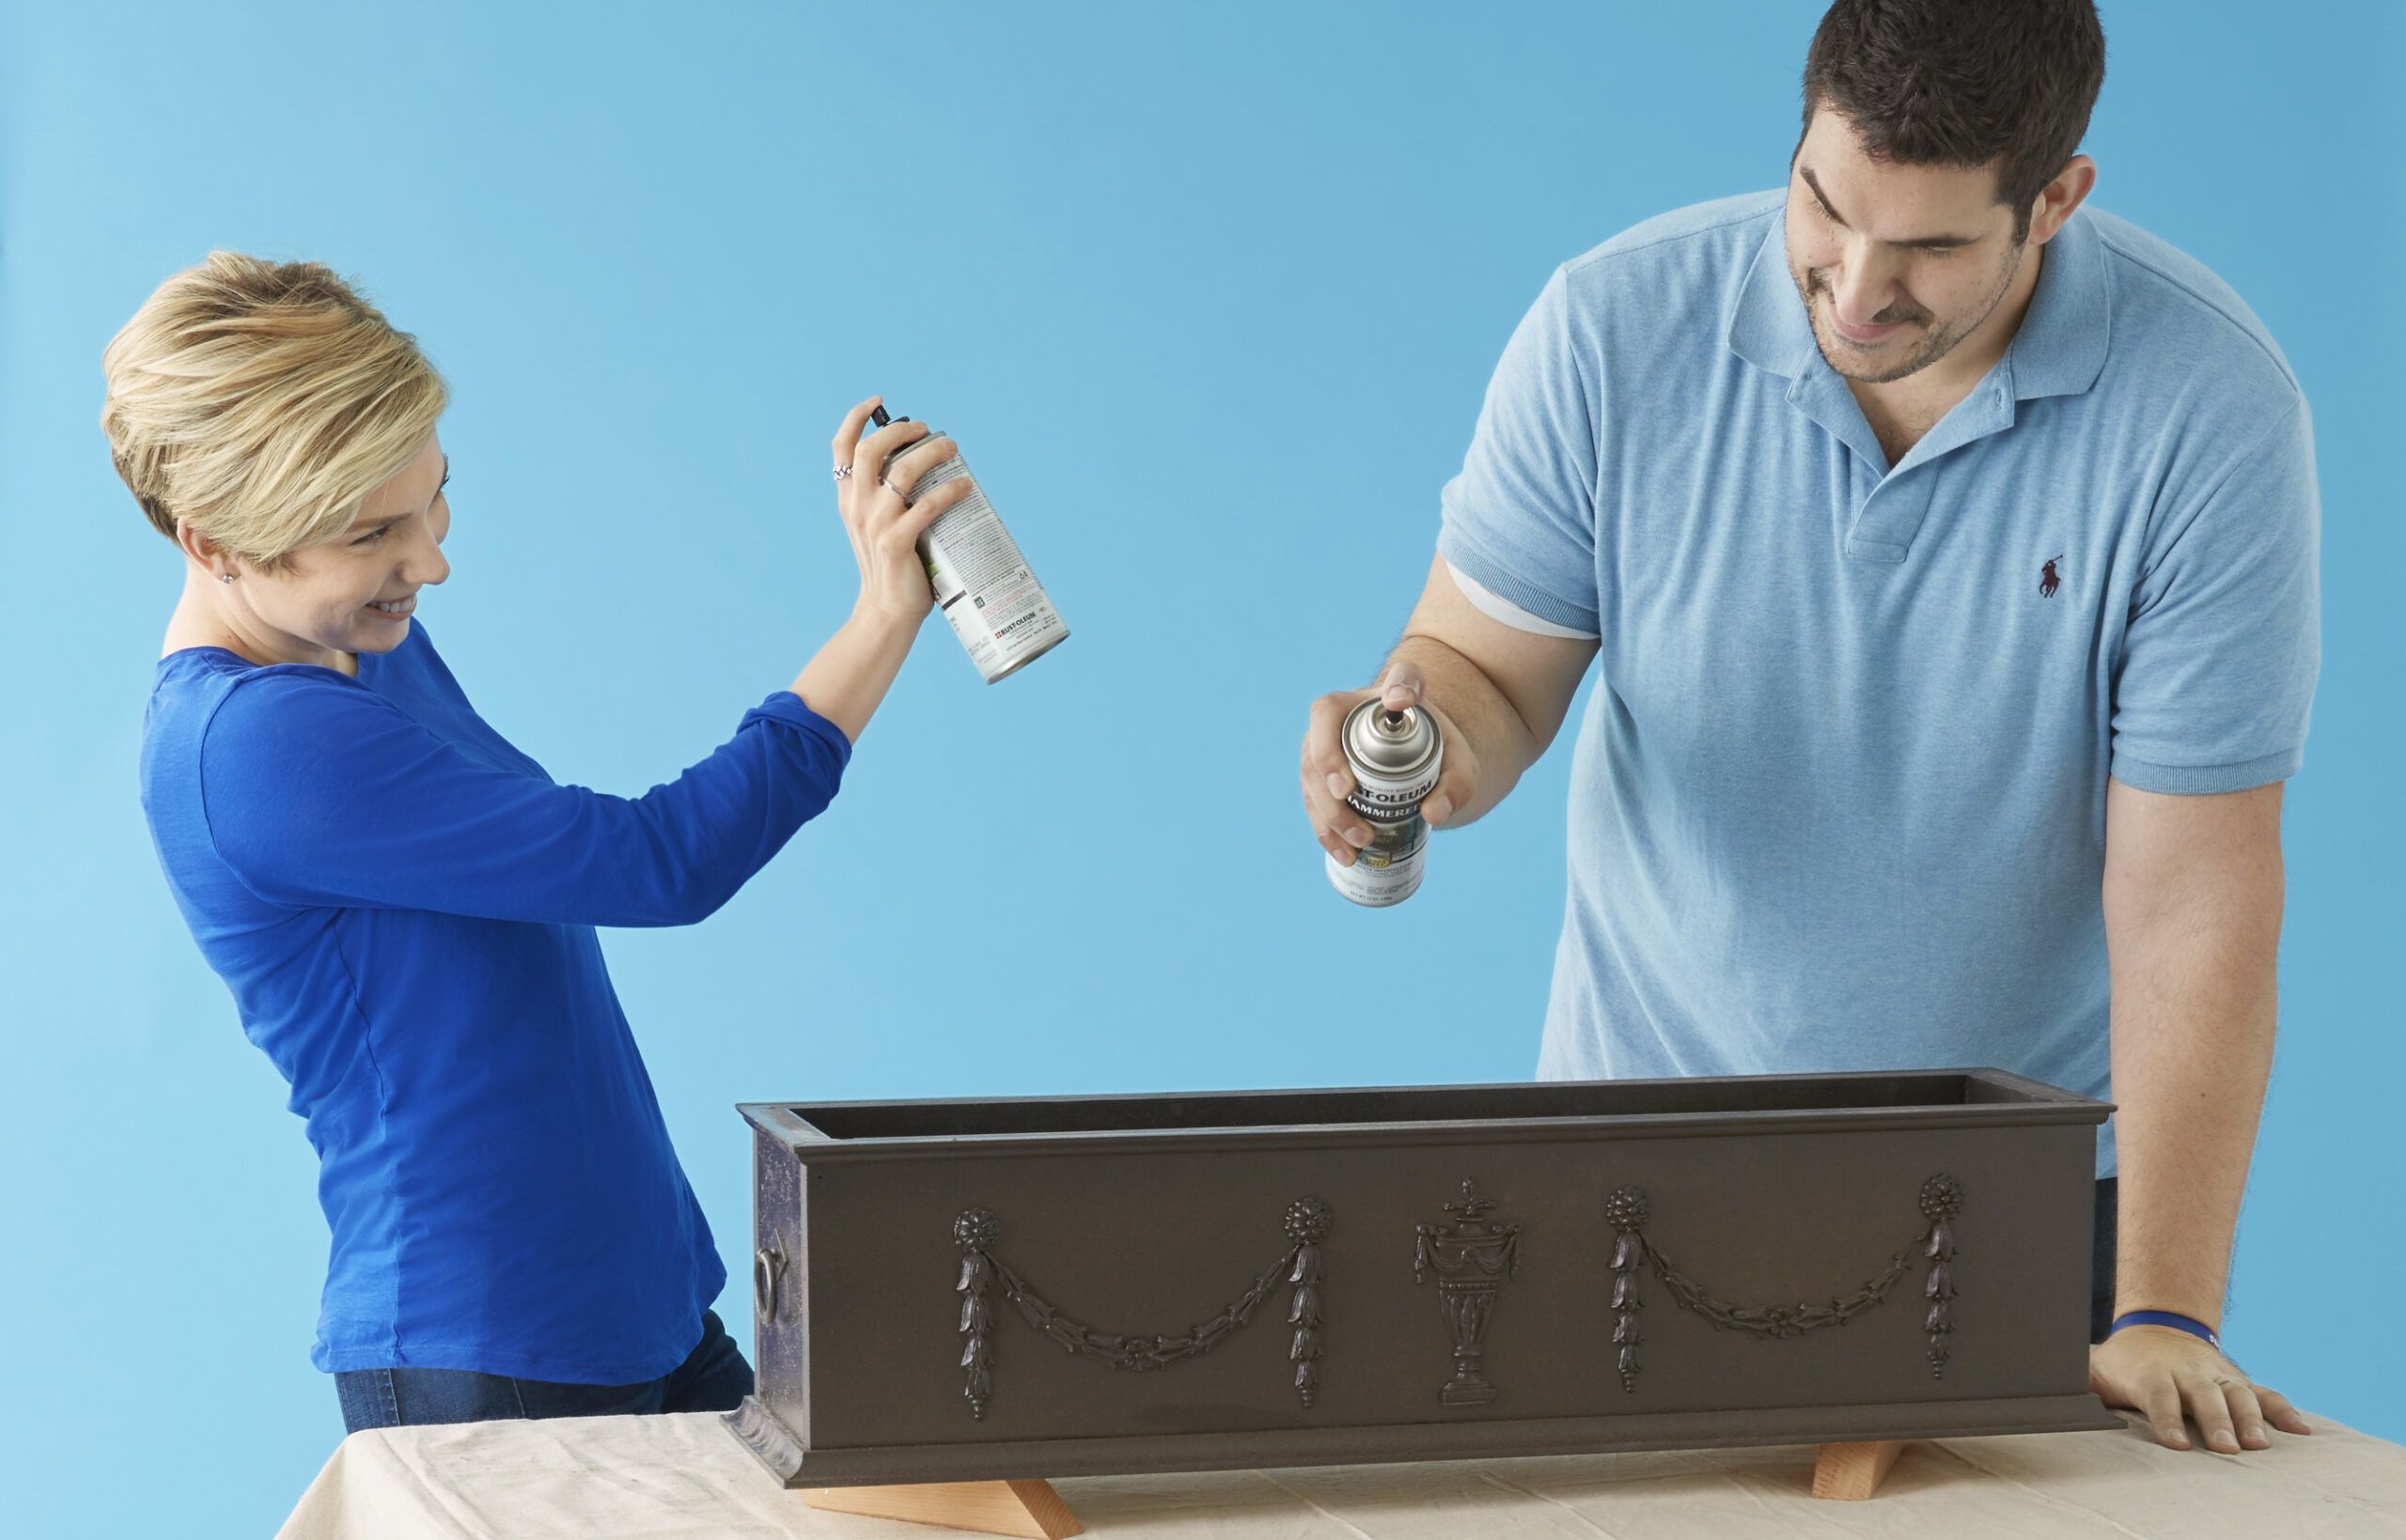
Attach the handles, one to each end. Once the cement cures, it’s time to paint the planter. Start with a coat of hammered black finish, which adds a cast-iron-like texture to the smooth PVC. Then, without spraying your partner, layer on the “patina” with a few measured sprays of brown to mimic oxidation. Evenly space a few drain holes in the bottom of the planter, add some soil and a few evergreens, and it’s ready for your window or stoop.
Tools
Tools & Materials
 Tape measure
- Pencil
- Miter saw
- nailer – 18-gauge
- Combination square
- Drill/driver