A demilune table, also known as a half-moon table, is a classic space-saving piece that adds elegance to narrow hallways and entryways. It’s a fun piece for woodworkers to experiment with, involving tapered legs and a laminated, curved apron. This Old House host Kevin O’Connor joins expert carpenter Tom Silva to explore the process of building one of these beautiful tables.
Preparing to Build a Demilune Table
Before diving into construction, gather the necessary materials and create a full-scale template.
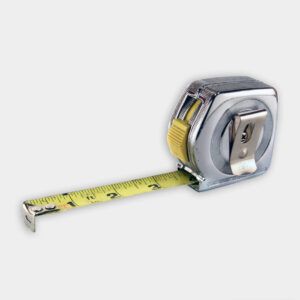
Materials Needed
- Hardwood (mahogany or similar)
- MDF for the bending form
- Screws
- Sandpaper
- Wood glue
- Finishing materials (wax, lacquer, or water-based finish)
Cut List
- 3 legs at 1 7/8 by 1 7/8 by 30 3/4 inches
- 10 strips for laminated, curved apron at 1/8 by 3 by 36 inches (The project calls for only eight strips, but it’s helpful to have extra on hand.)
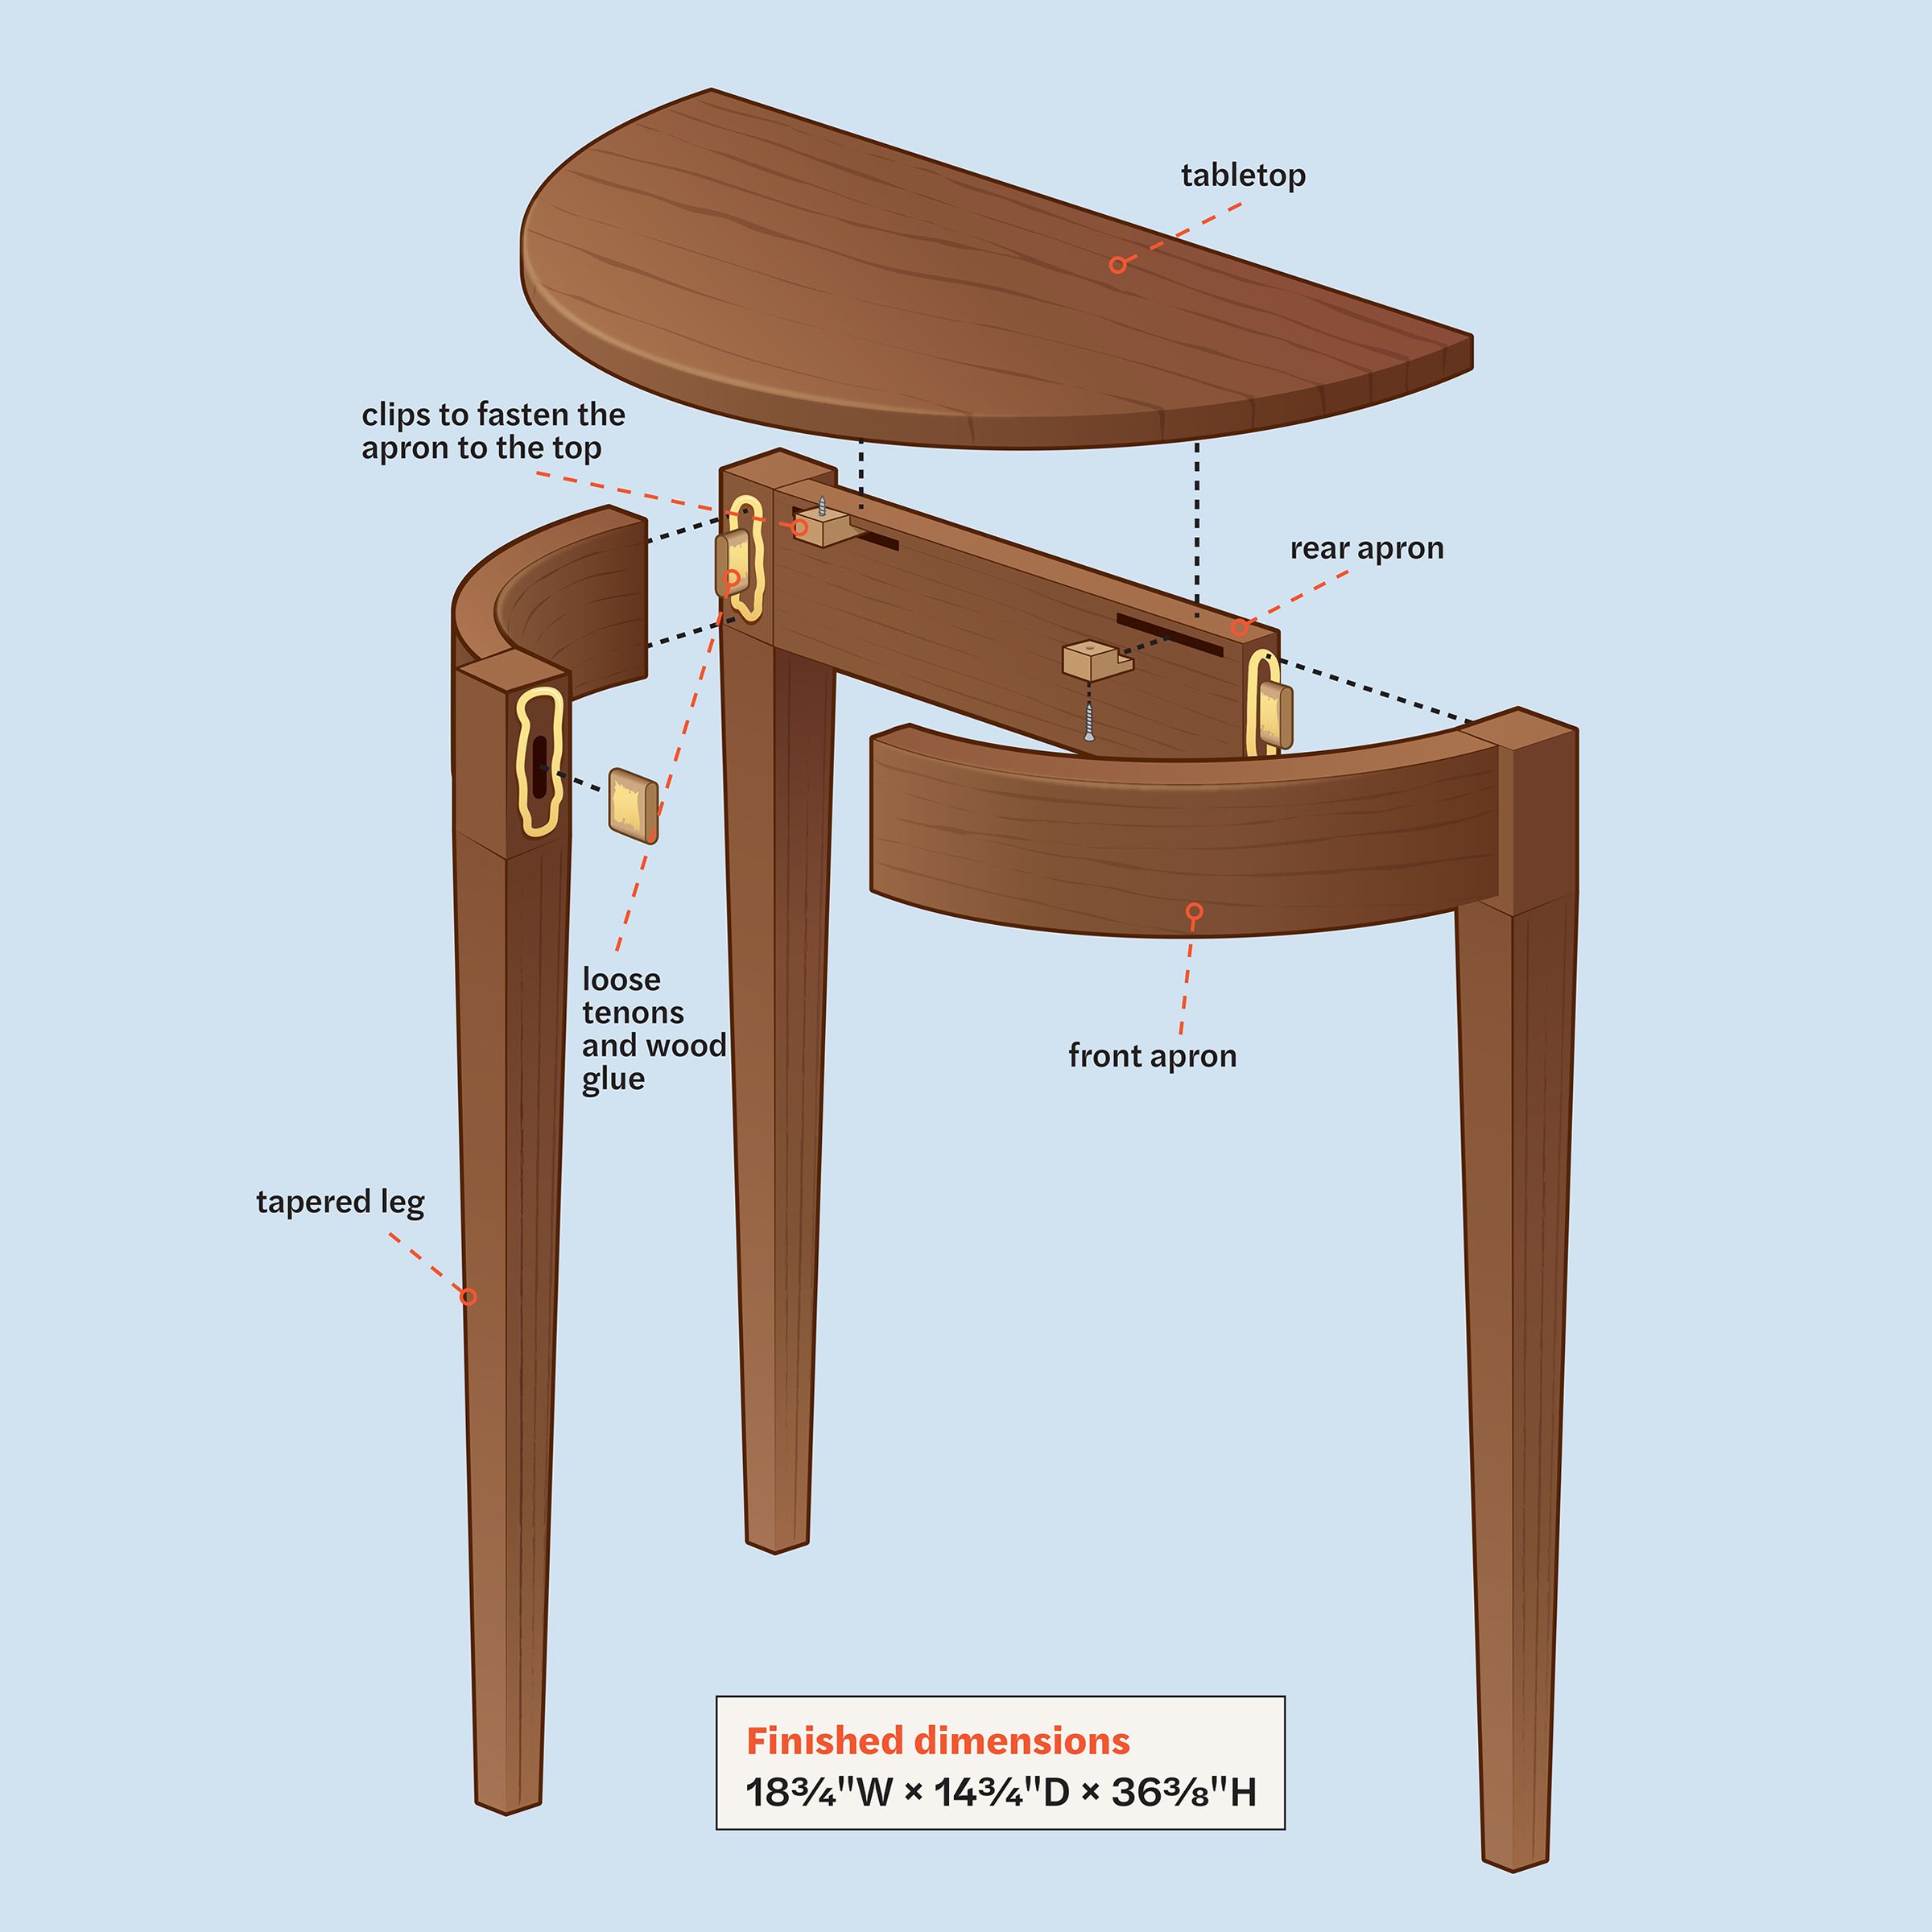
- 1 rear apron piece at 1 by 2 1/2 by 14 3/4 inches
- 1 glued-up blank tabletop at 3/4 by 12 by 24 inches
- 4 pieces of MDF bending form at 3/4 by 14 by 26 inches
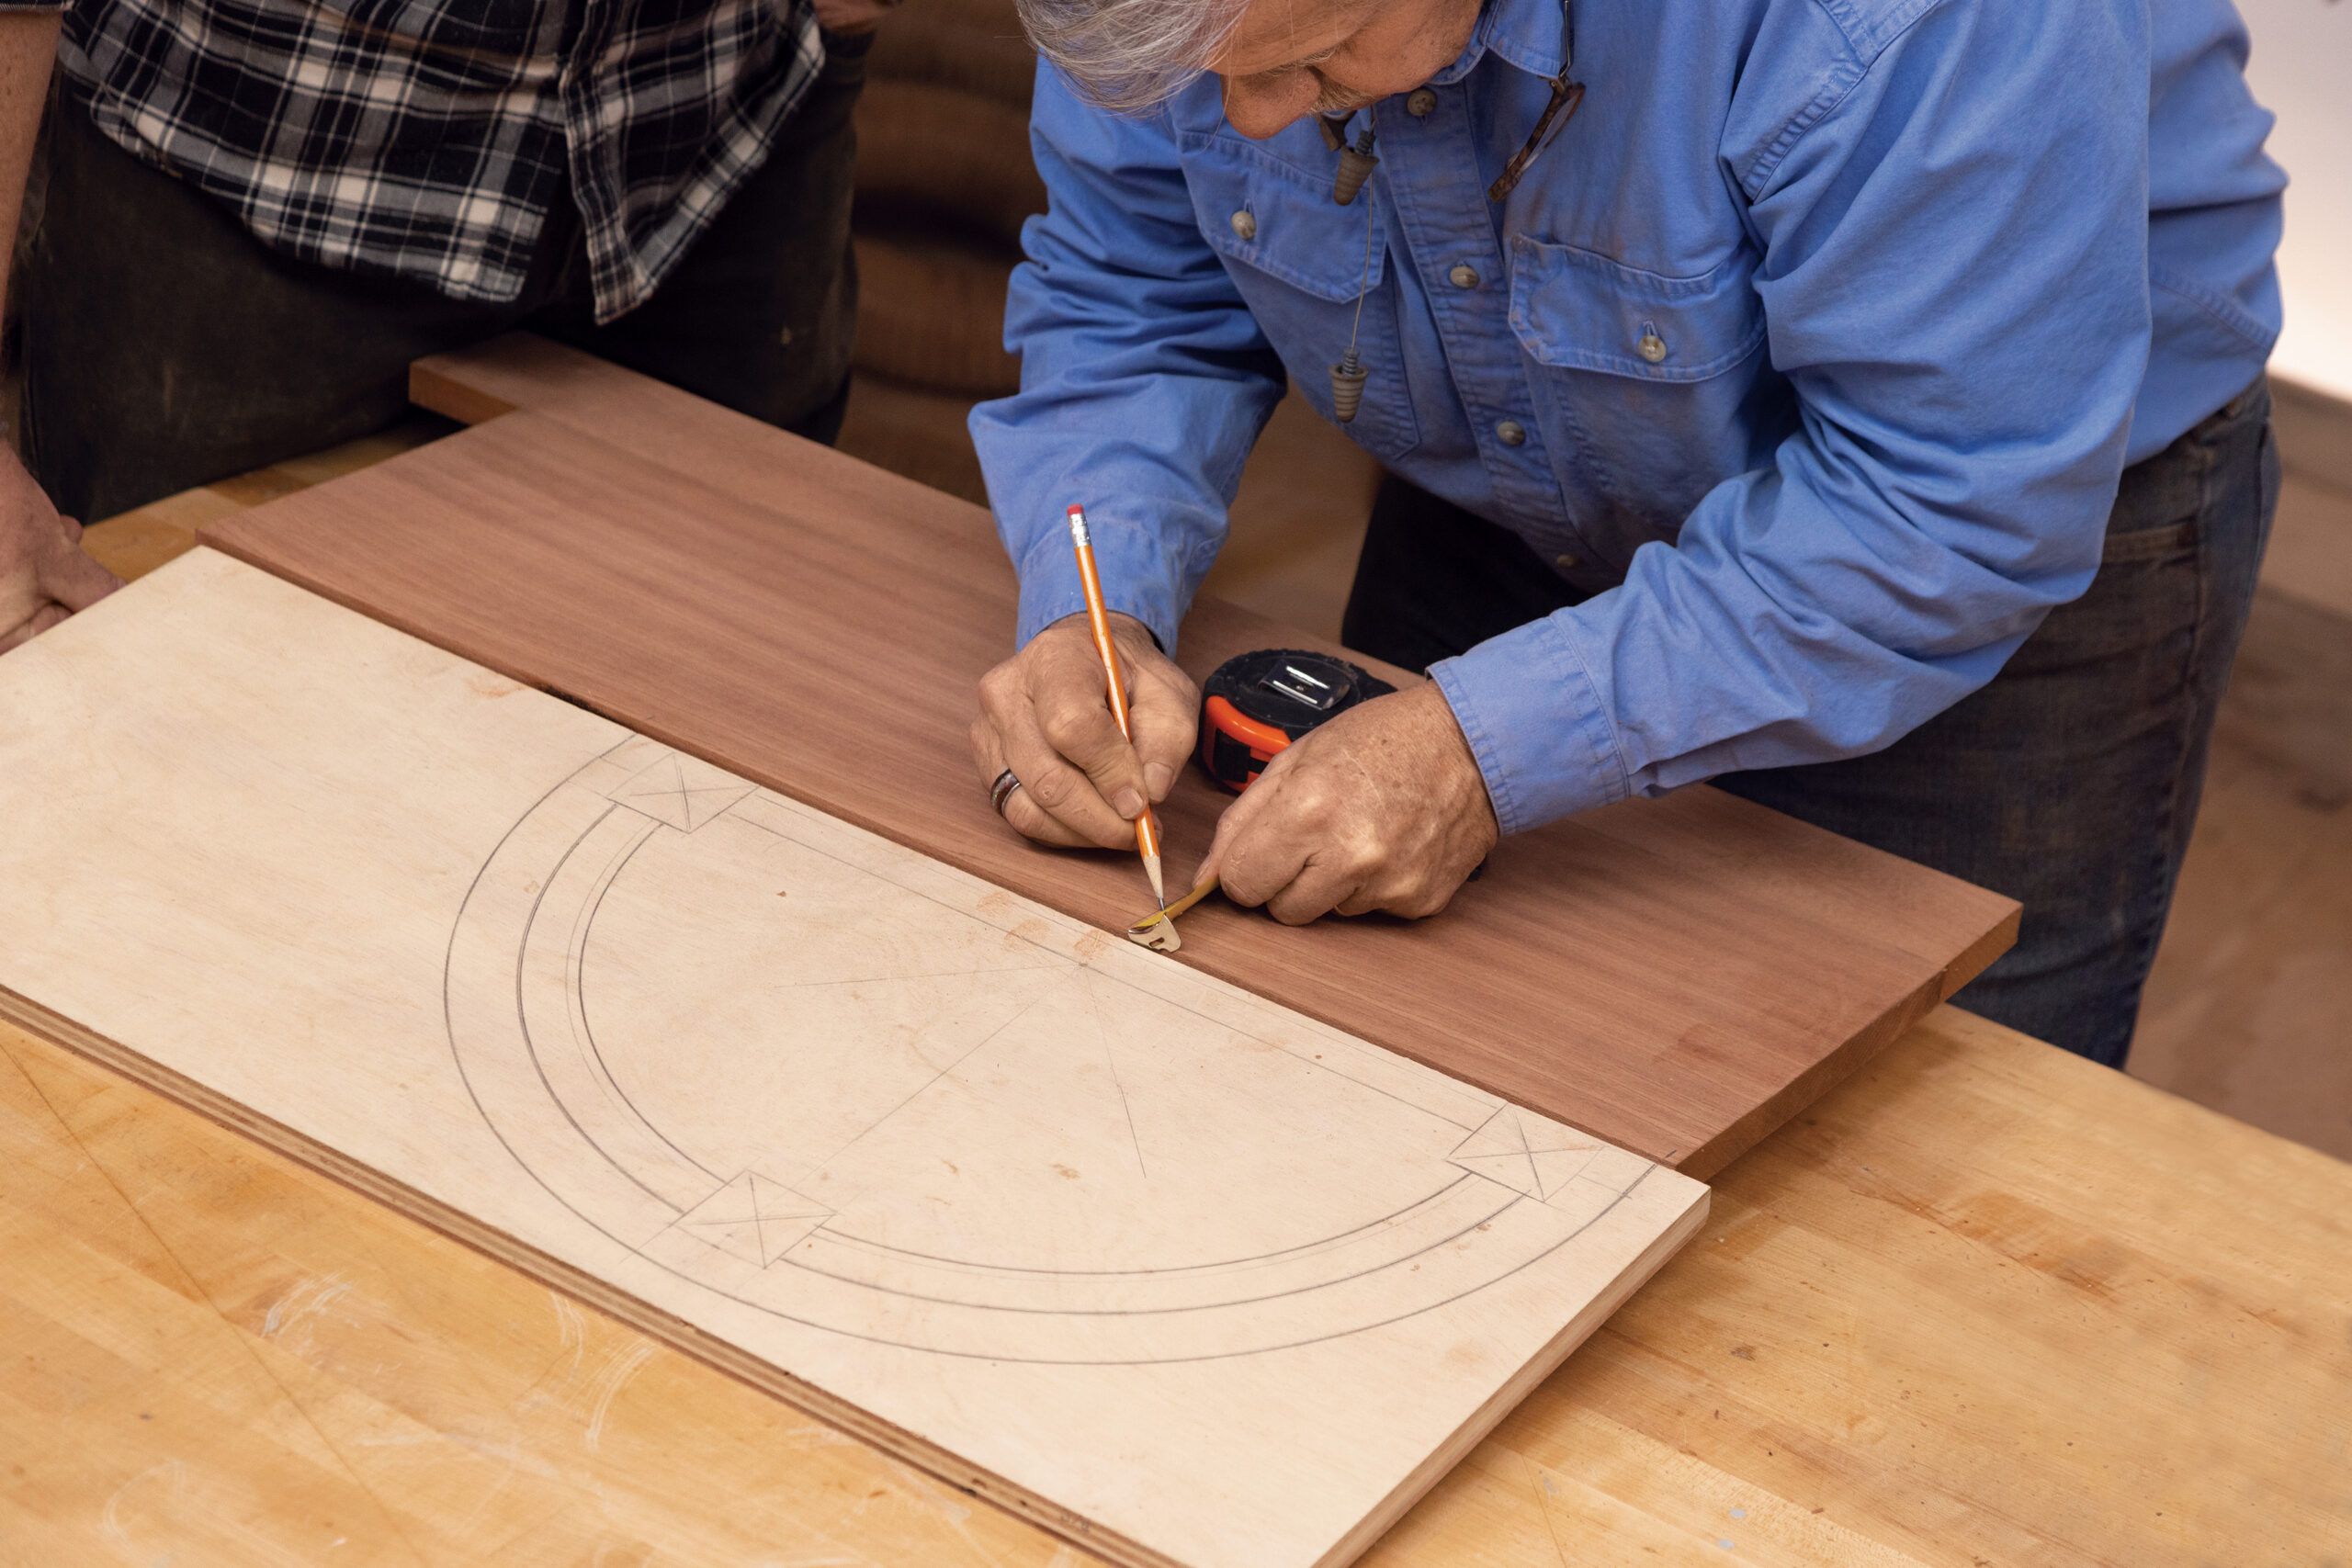
Creating the Template
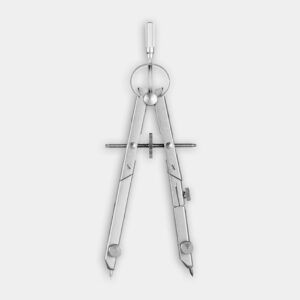
You’ll need a full-size template for accurately laying out the tabletop, legs, and apron pieces. Using a large compass to draw the curves and mark the leg locations helps create a reference point throughout the building process.
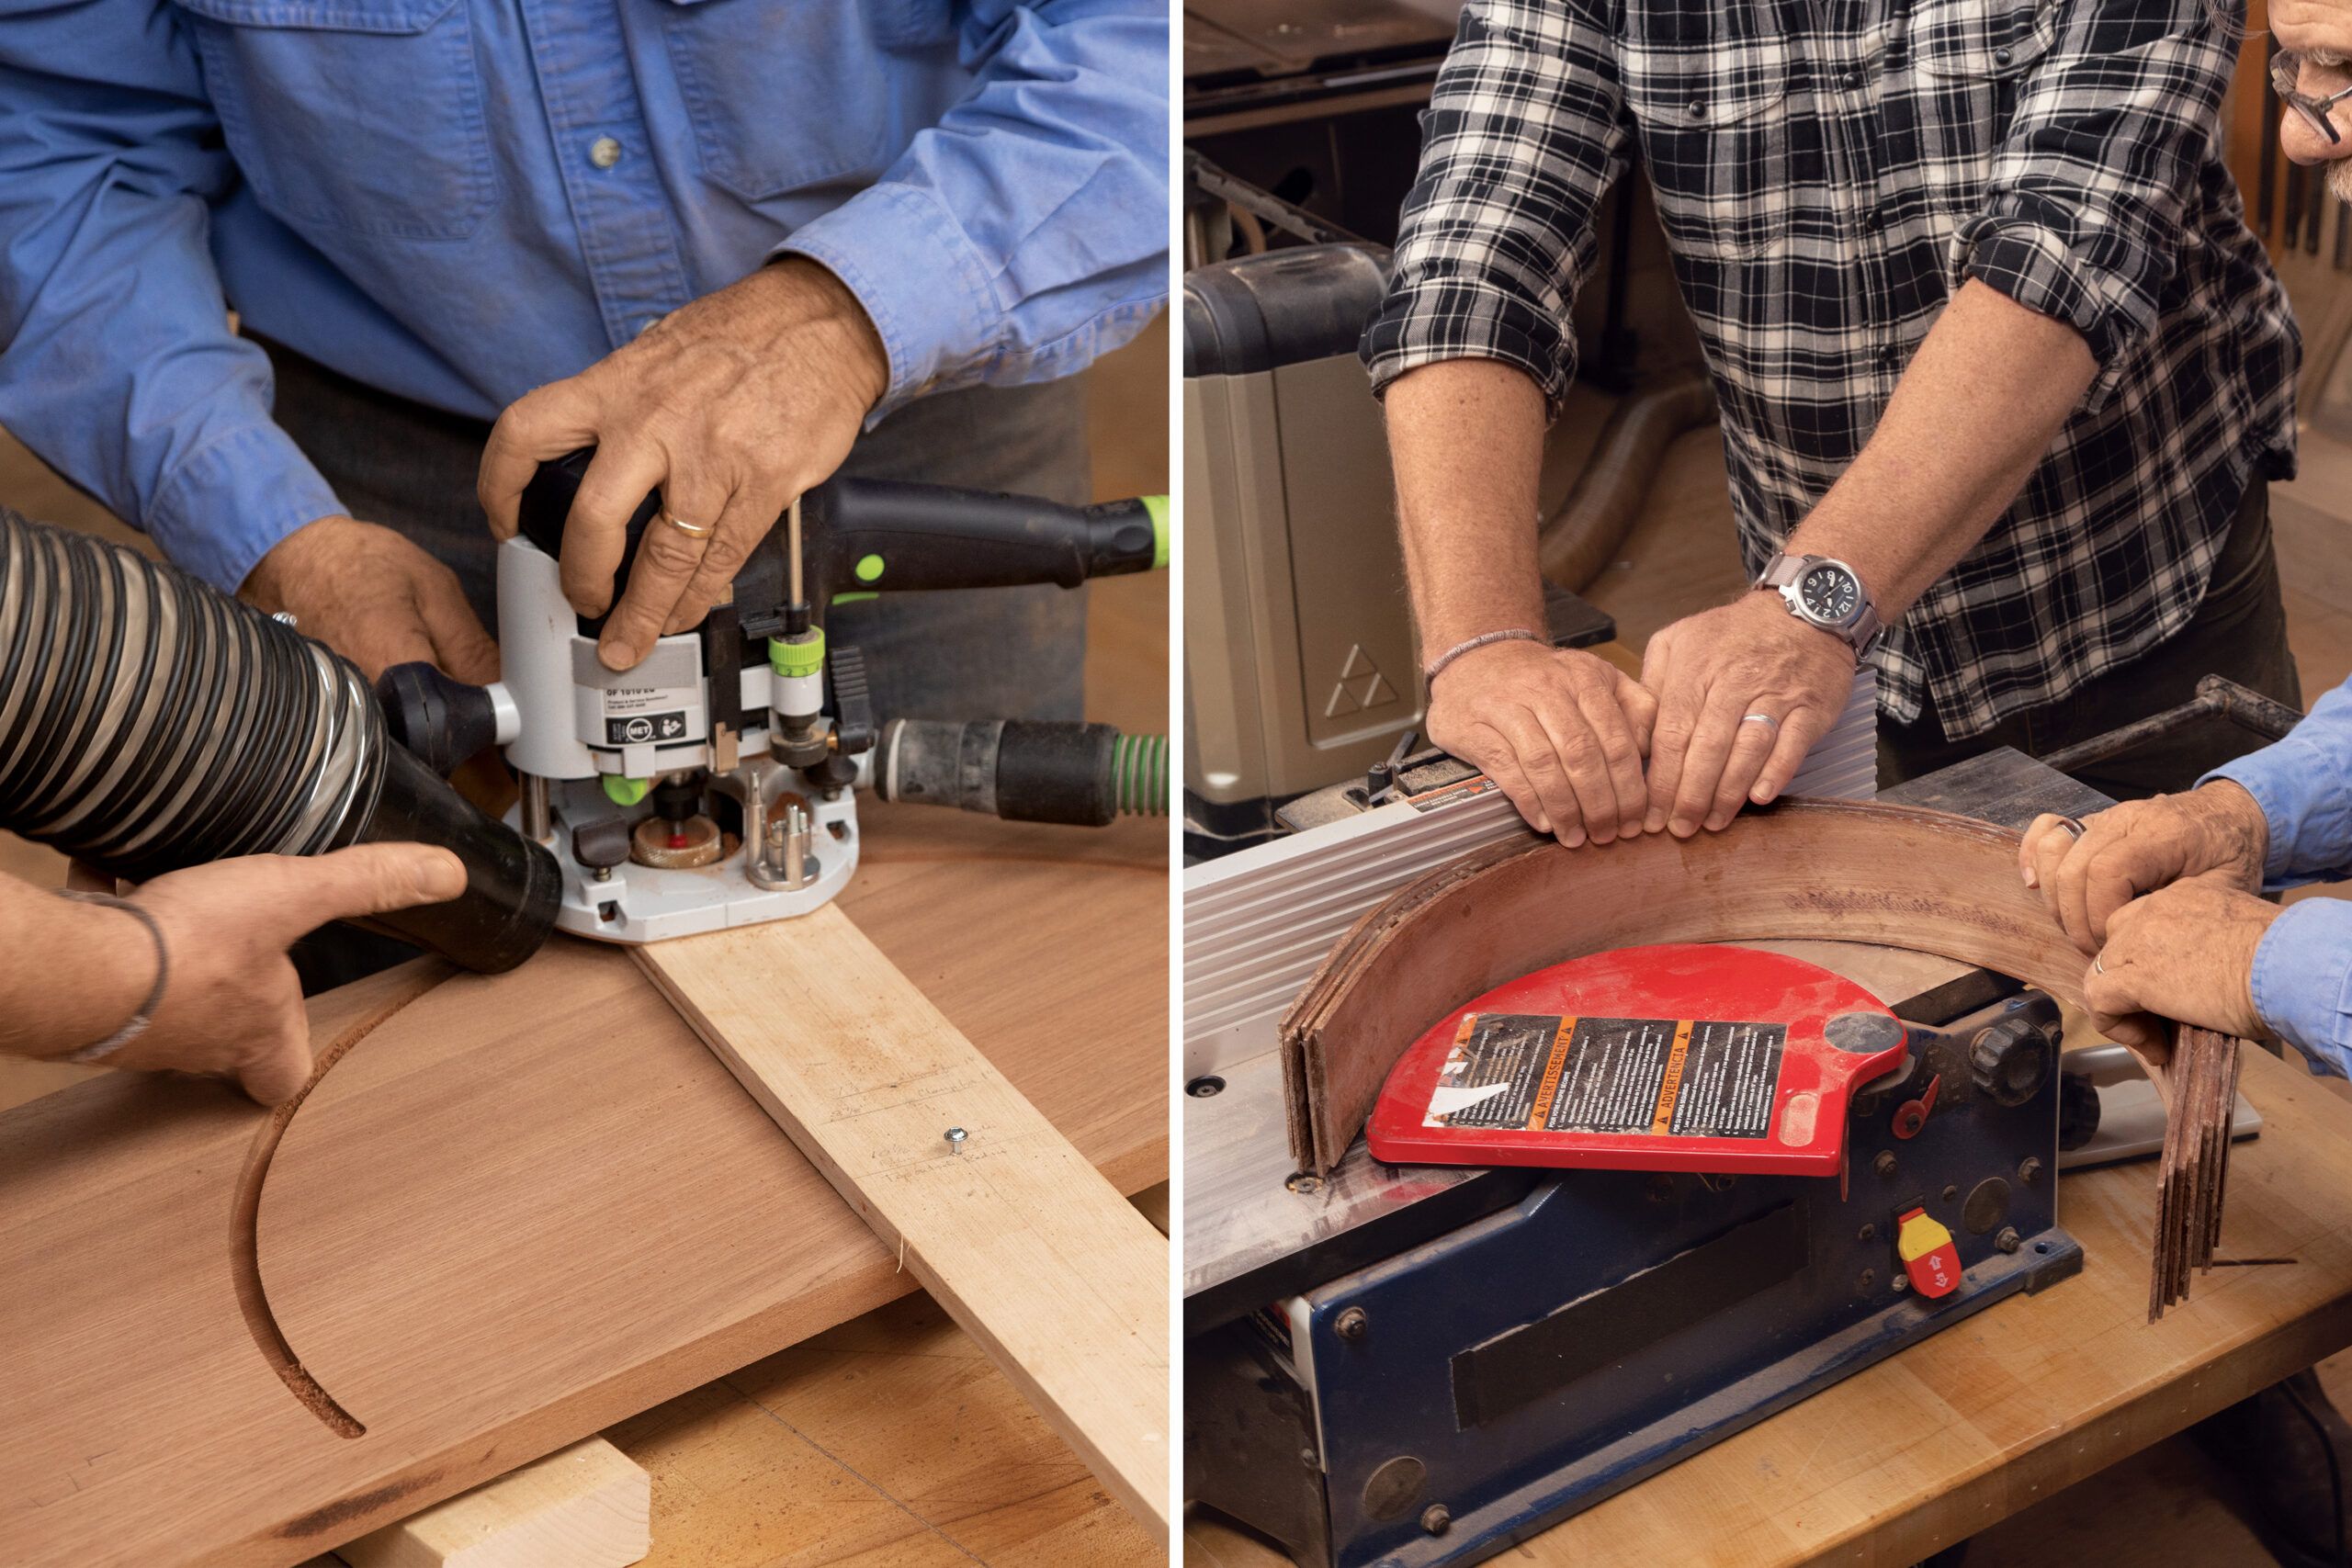
Step 1: Build the Two-Part Bending Form
Using the plywood template, scribe the two arcs for the apron on four 14-by-26-inch pieces of MDF. Cut along the lines with a jigsaw or band saw. Apply glue and stack the pieces, fastening each layer with several screws as you go. Once the glue is dry, use a rasp or sandpaper to smooth the curved edges. To keep the apron from sticking, apply polyurethane to the mold’s curves, followed by a coat of paste wax.

Step 2: Glue the Apron
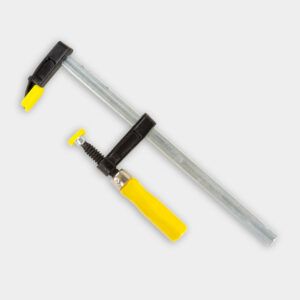
Spread slow-setting glue evenly over all but the first of the laminations. One at a time, push the strips into the outer half of the bending form, holding them loosely with a 12-inch trigger clamp until all of them are in place.
Step 3: Clamp Tight To Dry
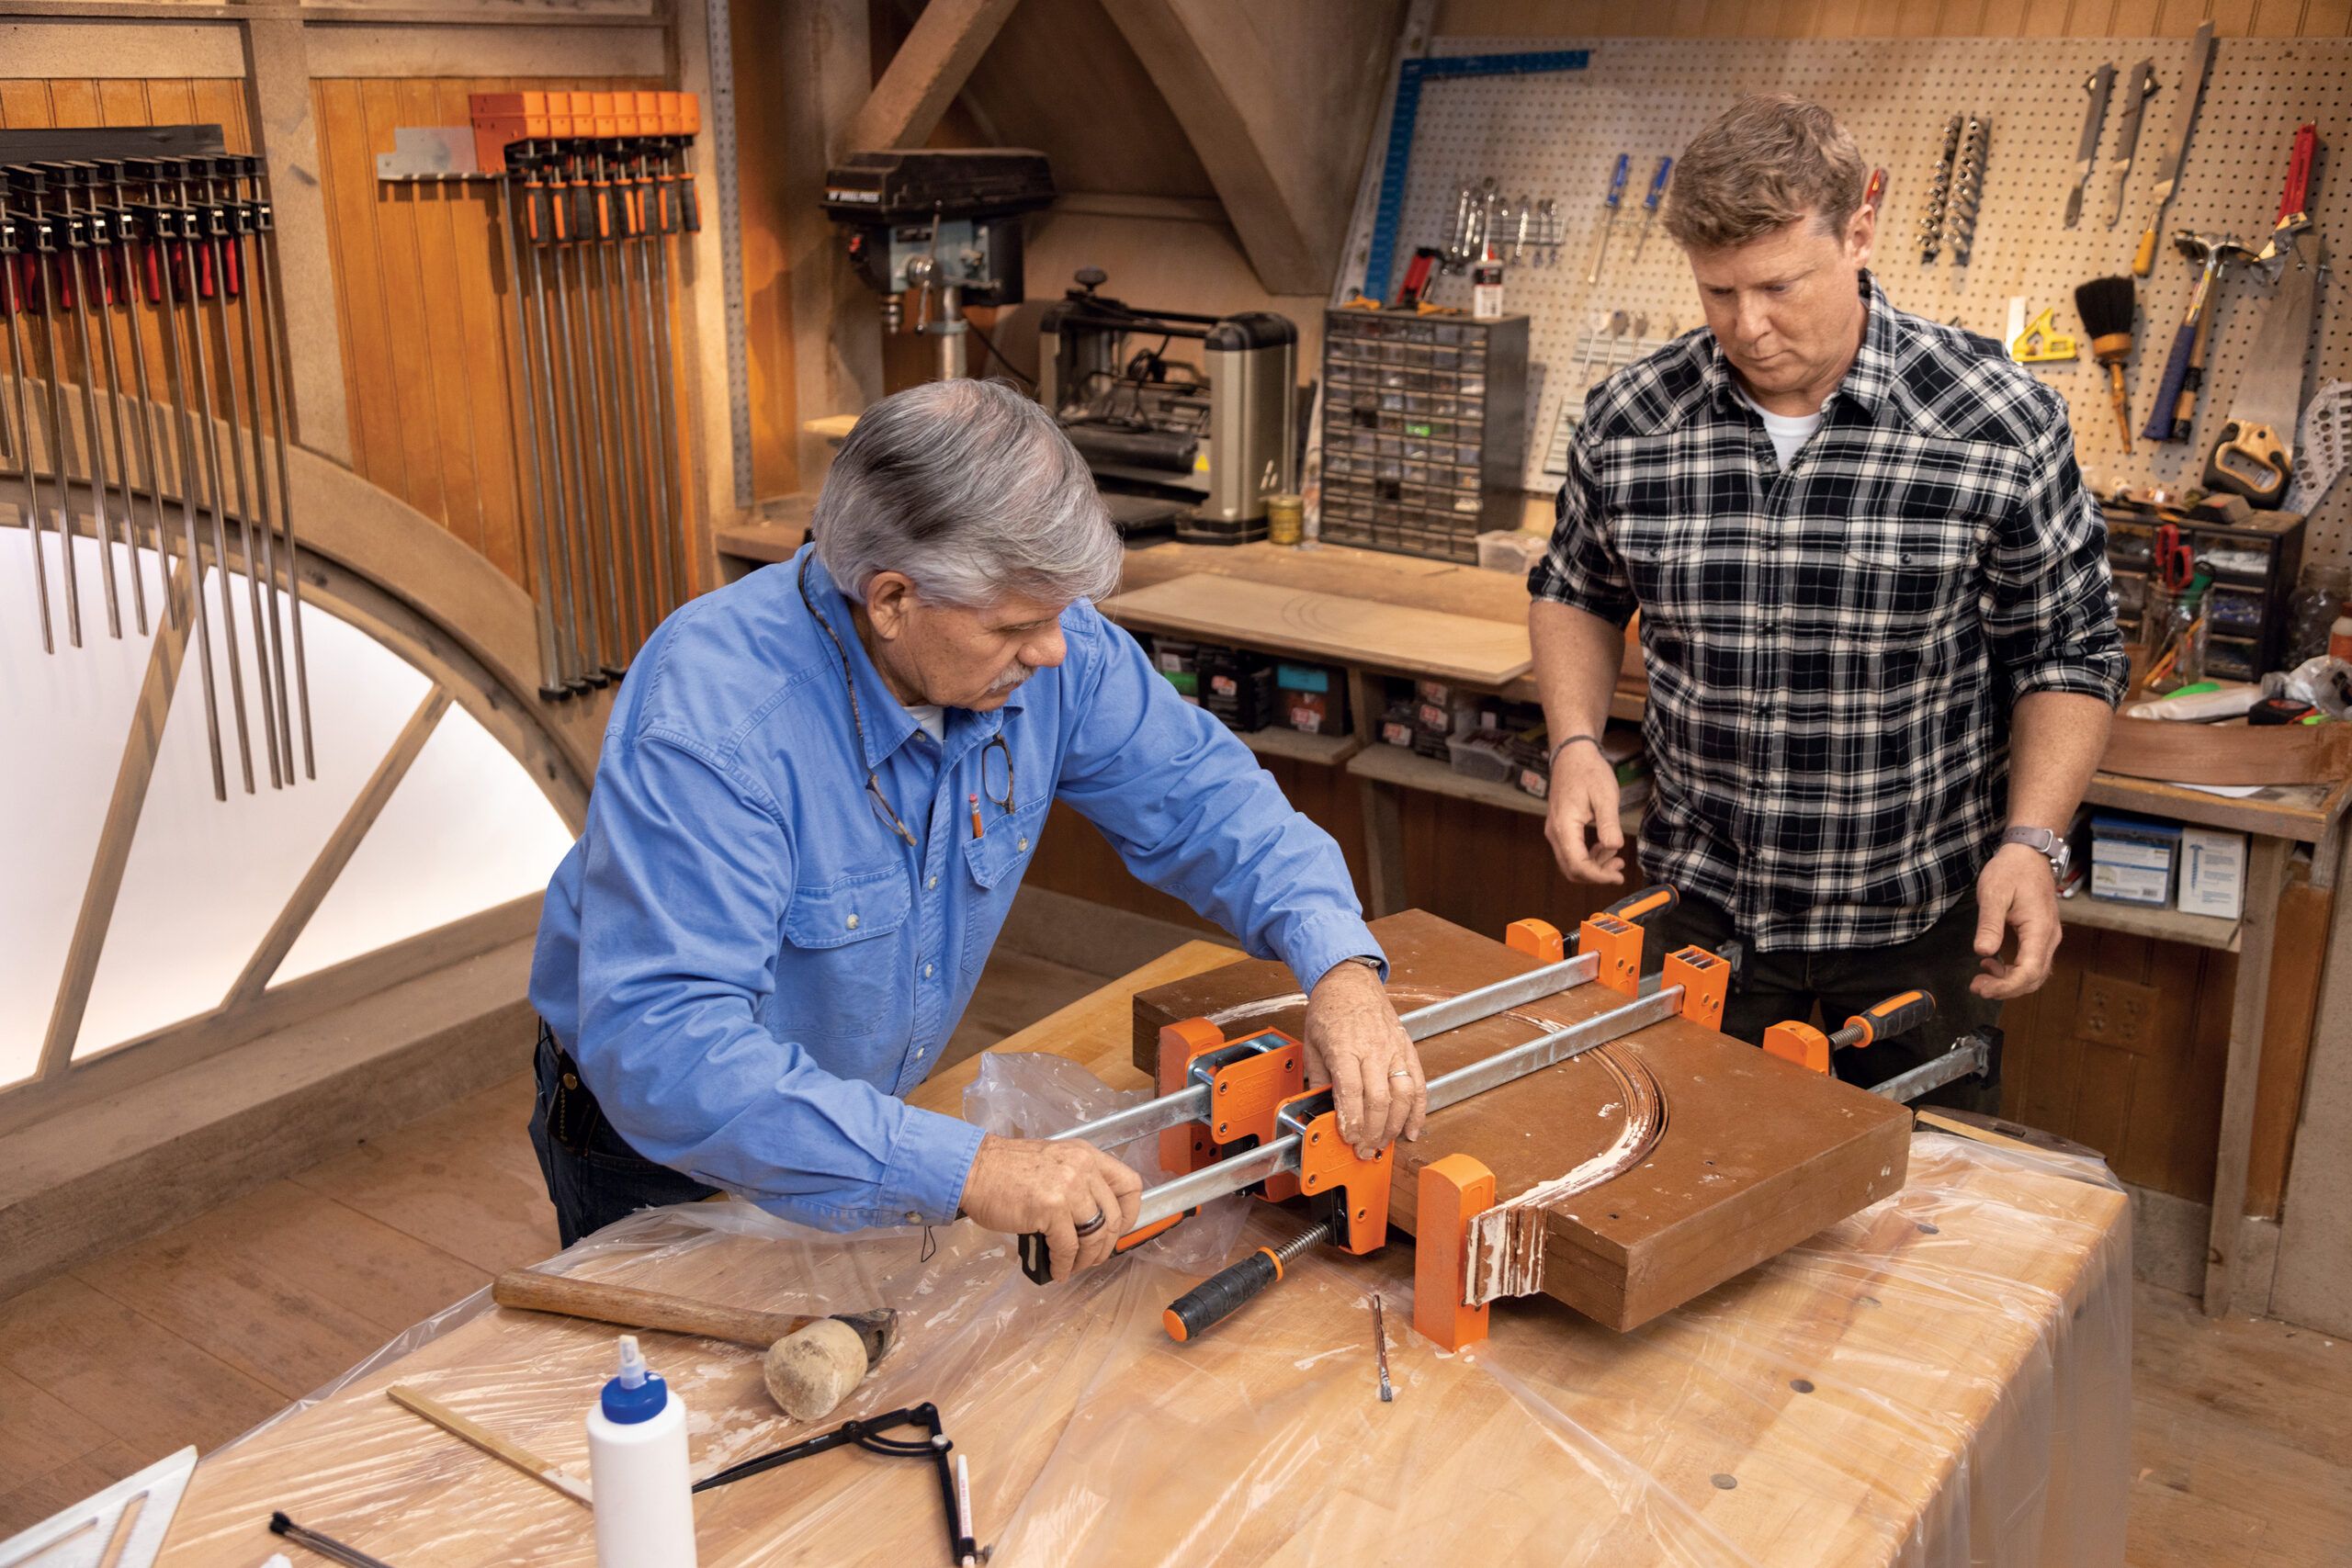
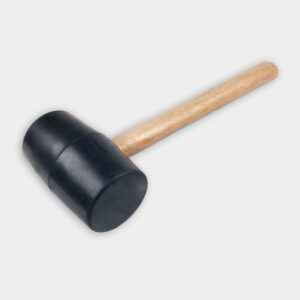
Place the bar clamps across the form and tighten them, tapping down the strips with a mallet to align them, until the form is pulled together and there are no gaps between any of the strips. Wipe away excess glue, and set the form aside overnight to allow the glue to fully cure.
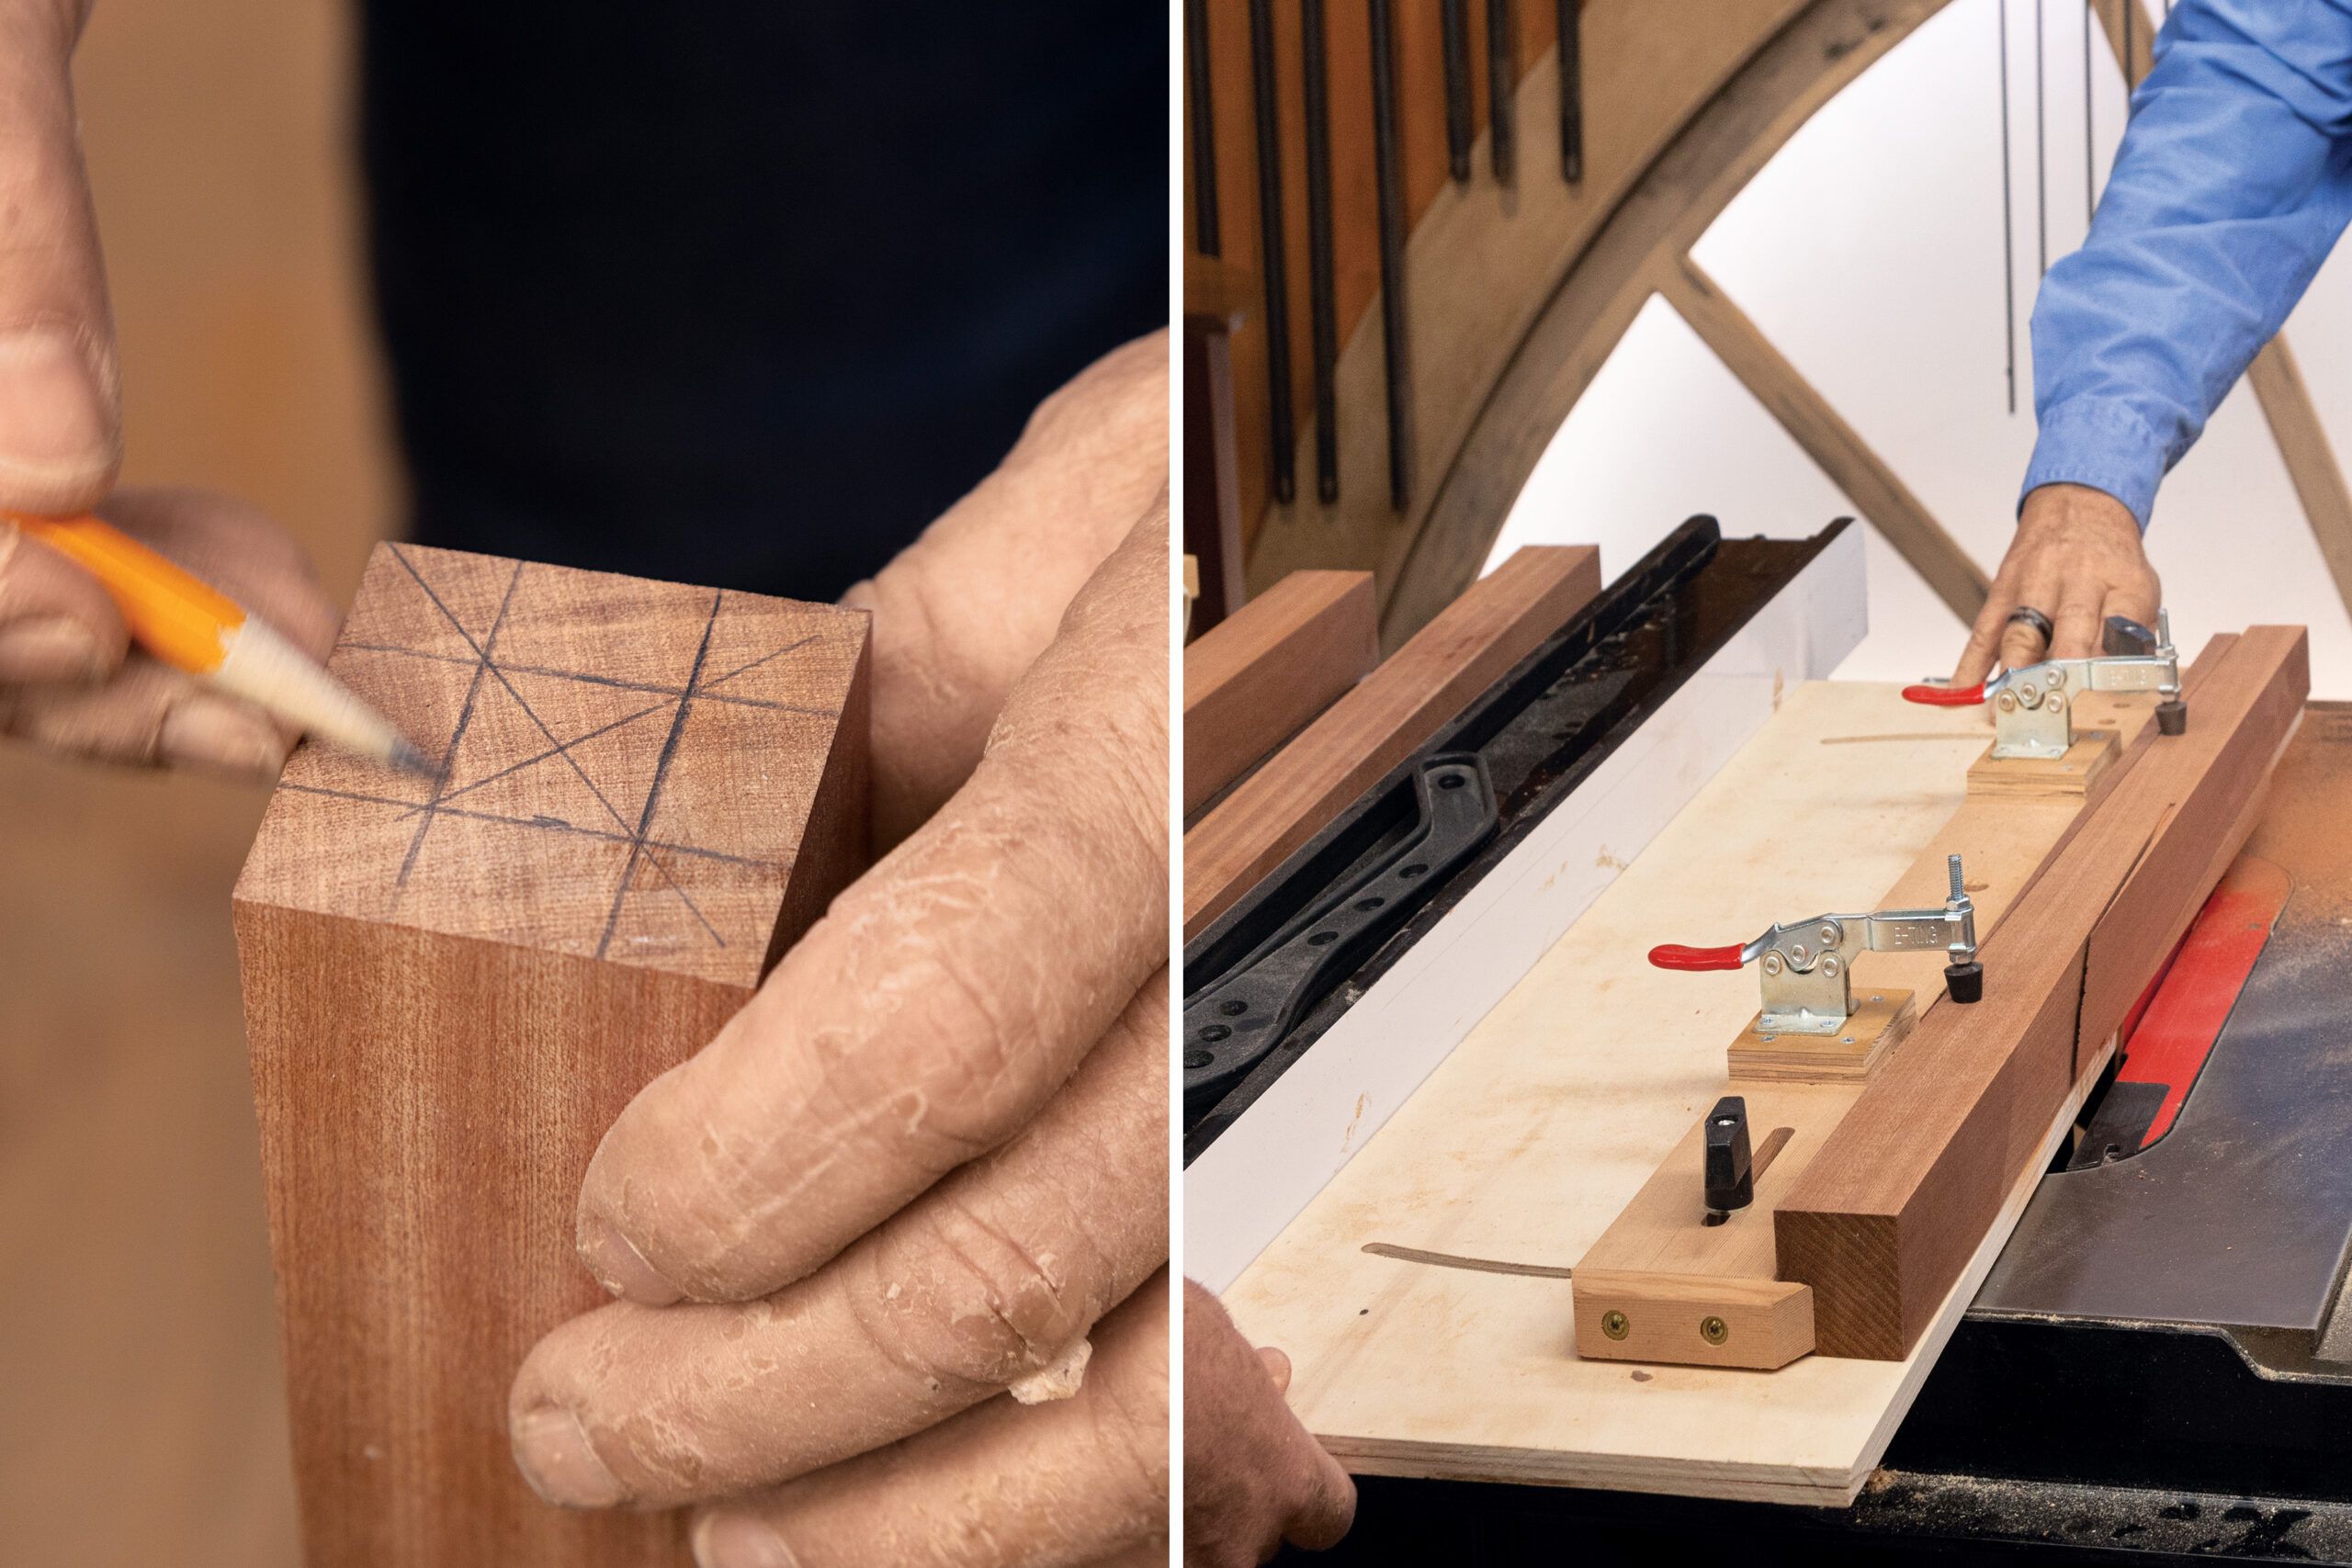
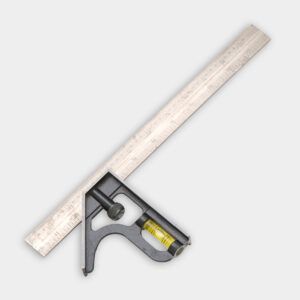
Step 4: Mark the Tapers on the Legs
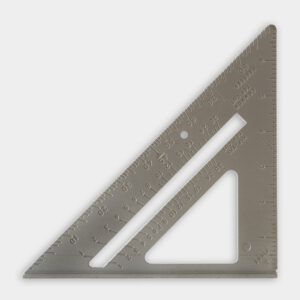
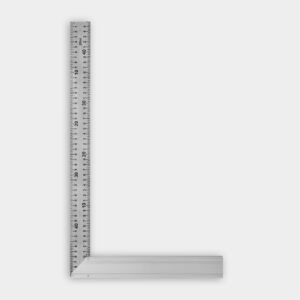
Use a combination square to center and mark a 3/4-inch square on the bottom center of each leg. Draw a line around the leg 4 inches from the top, then draw a line from the top line to the marks on the bottom to indicate the taper on each side.
Step 5: Cut the Tapers
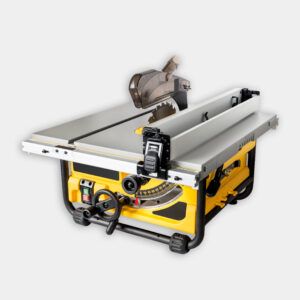
Use the marks to align the first leg in the tapering jig, so the table saw blade will enter the leg at the top mark and exit at the bottom. Clamp the leg in the jig, and rip the first taper. Flip the leg onto the next side, and use the waste piece from the first cut as a shim to hold it square (as shown). Rip the next taper. Repeat until you have ripped all four tapers on each leg.
Step 6: Lay Out the Tabletop
Align the template with the underside of the tabletop, and transfer the outer radius marks. Use the combination square to draw a 1-inch line perpendicular to the edge at each mark. Transfer the center point from the template to the top, 1 inch from the front edge, to locate the pivot point for the circle-cutting router jig.
Step 7: Cut the Tabletop
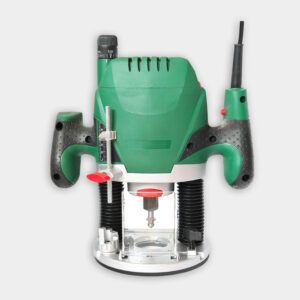
Set the router bit to cut 1/4 inch deep, then gently plunge the router into the piece just inside the far-right corner. Slowly swing the router jig counterclockwise until you are just shy of the far-left corner. Repeat the cut, setting the router 1/8 inch deeper for each pass until you have cut all the way through the board. Use a handsaw to cut the waste piece free.
Step 8: Clean Up the Apron
Remove the apron from the mold, and use a jointer (shown) or hand plane to flatten one edge of the apron. Feed it through a planer or use a hand plane to mill it down to a width of 2 1/2 inches.
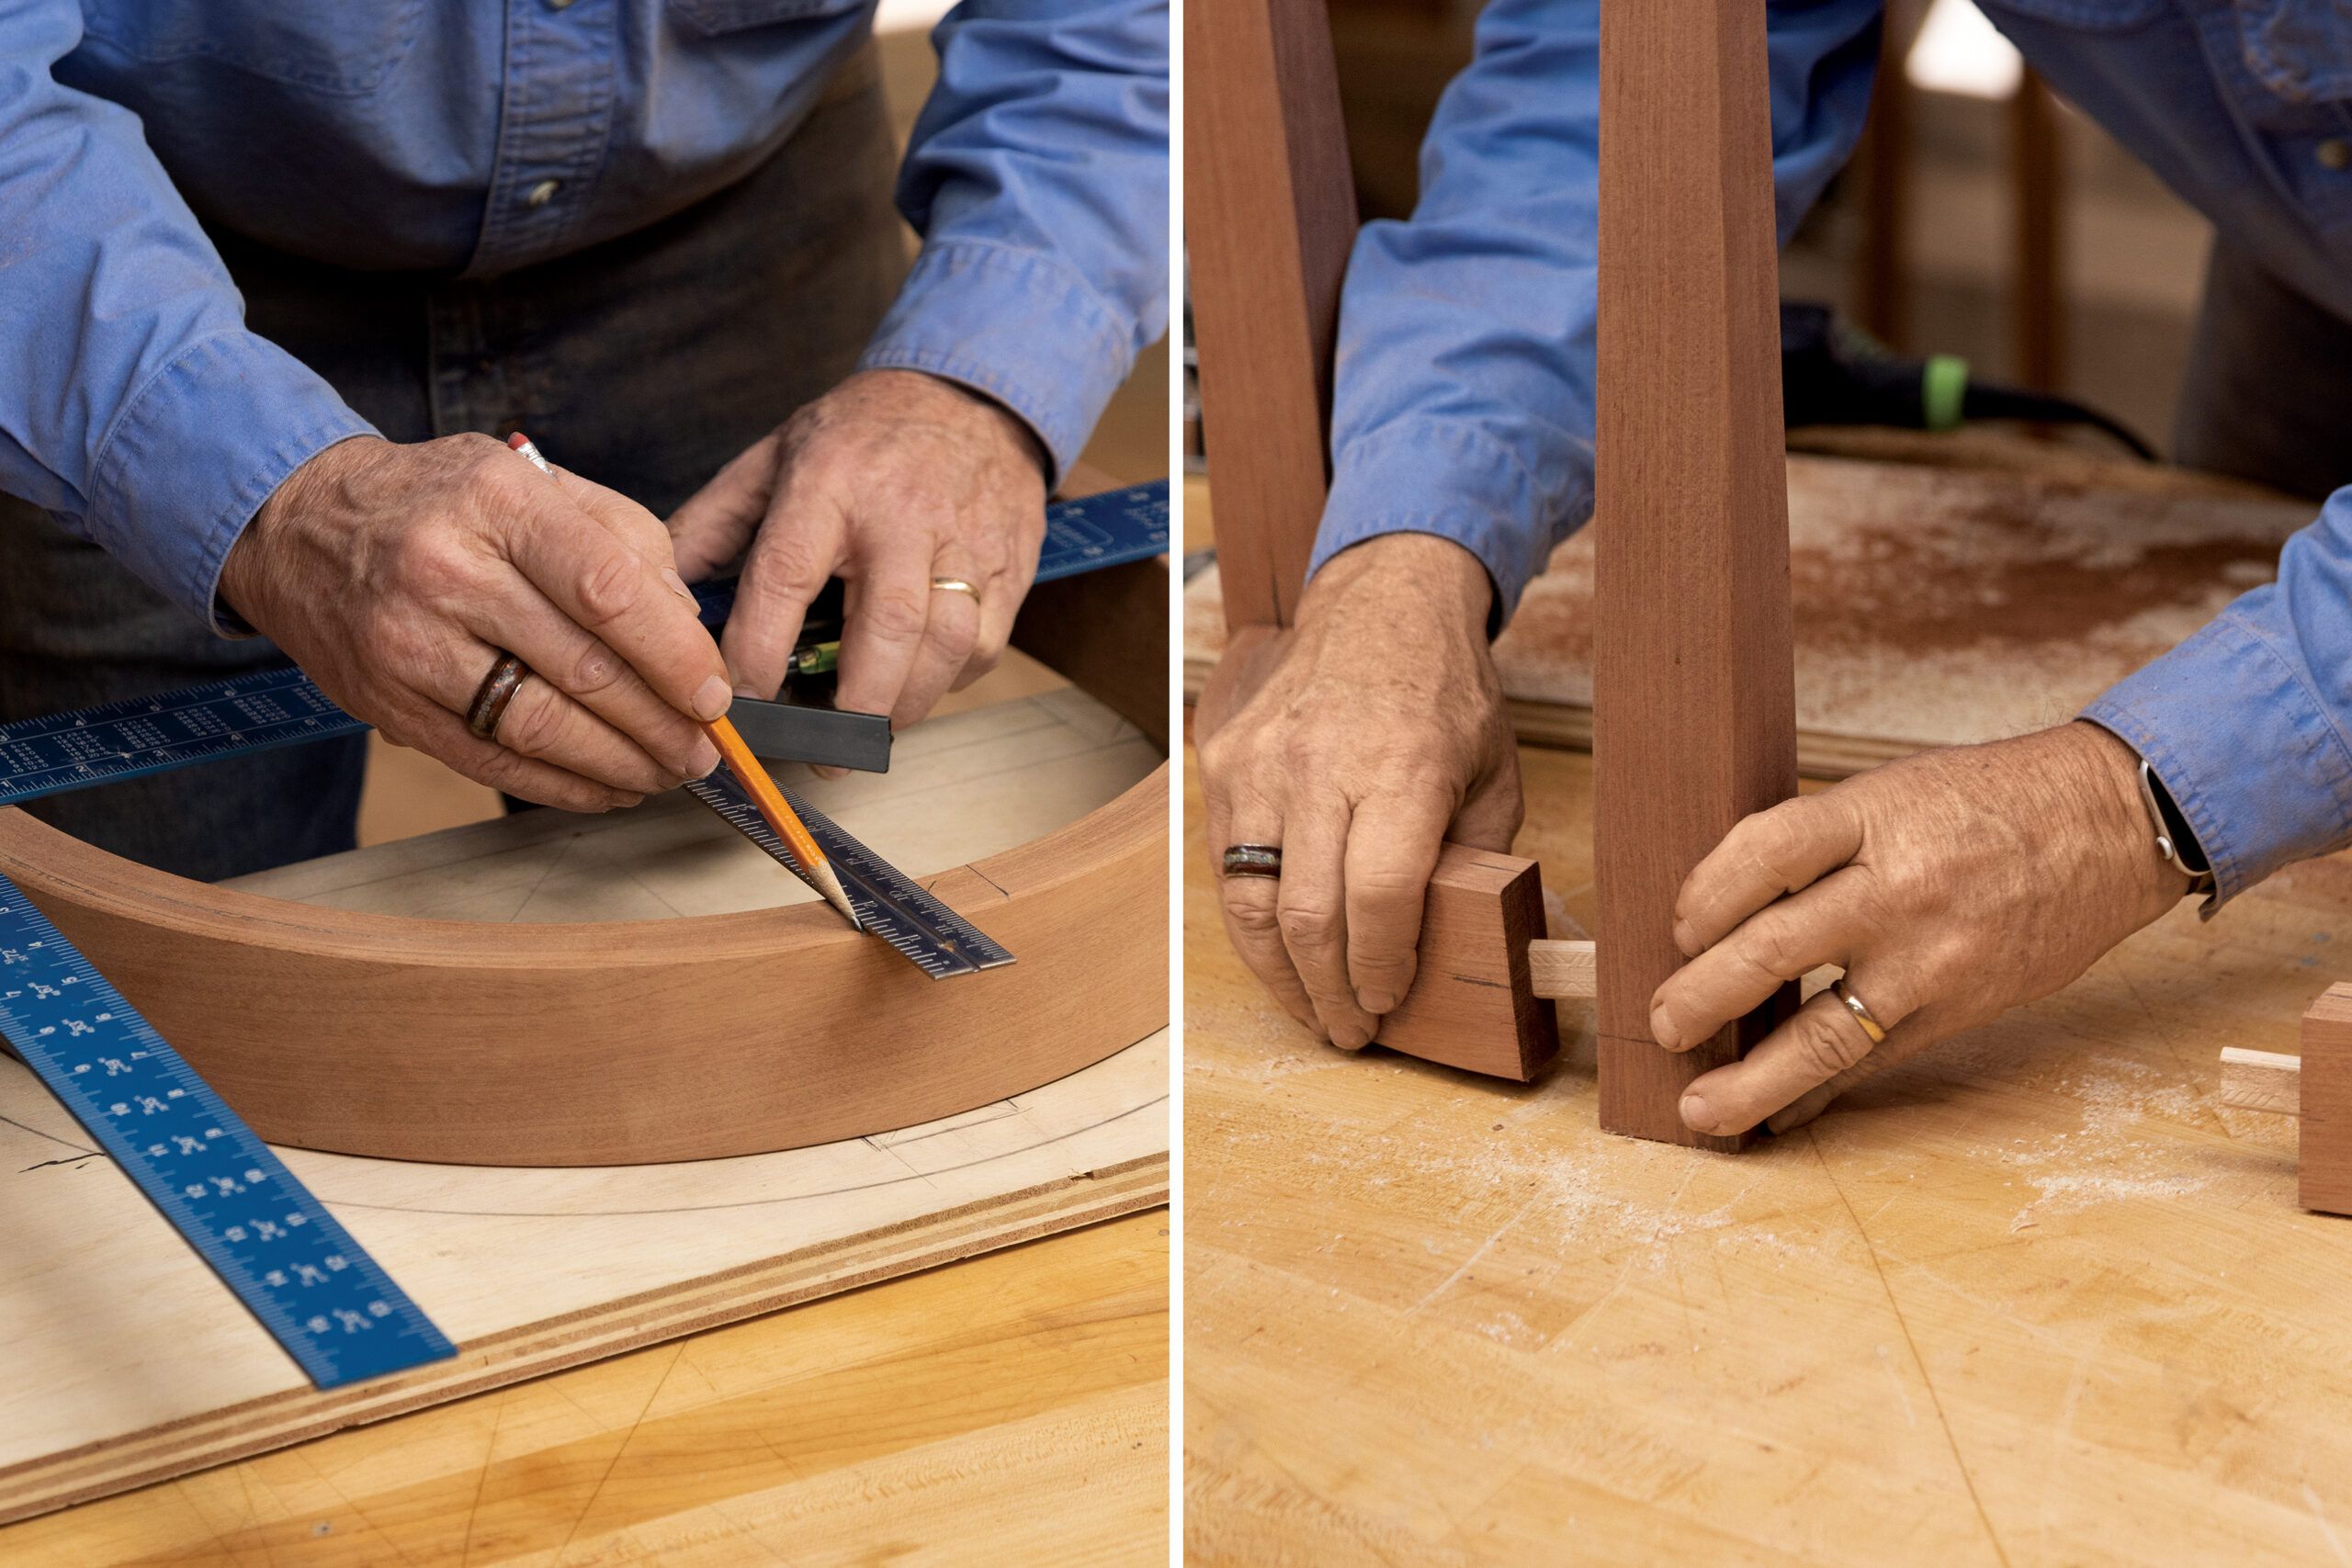
Step 9: Cut the Apron Parts
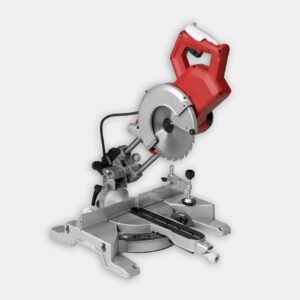
Lay the apron on the template and use framing and combination squares to mark the location and angles of the curved pieces. Use a miter saw to cut the pieces to size.
Step 10: Prepare the Joinery
Mark the position of the loose tenons or dowels on each apron piece, then make corresponding marks on the table legs with the template and combination square. Cut mortises or drill holes at each mark. Dry-fit the pieces to check for fit, then do a final sanding to remove saw marks.
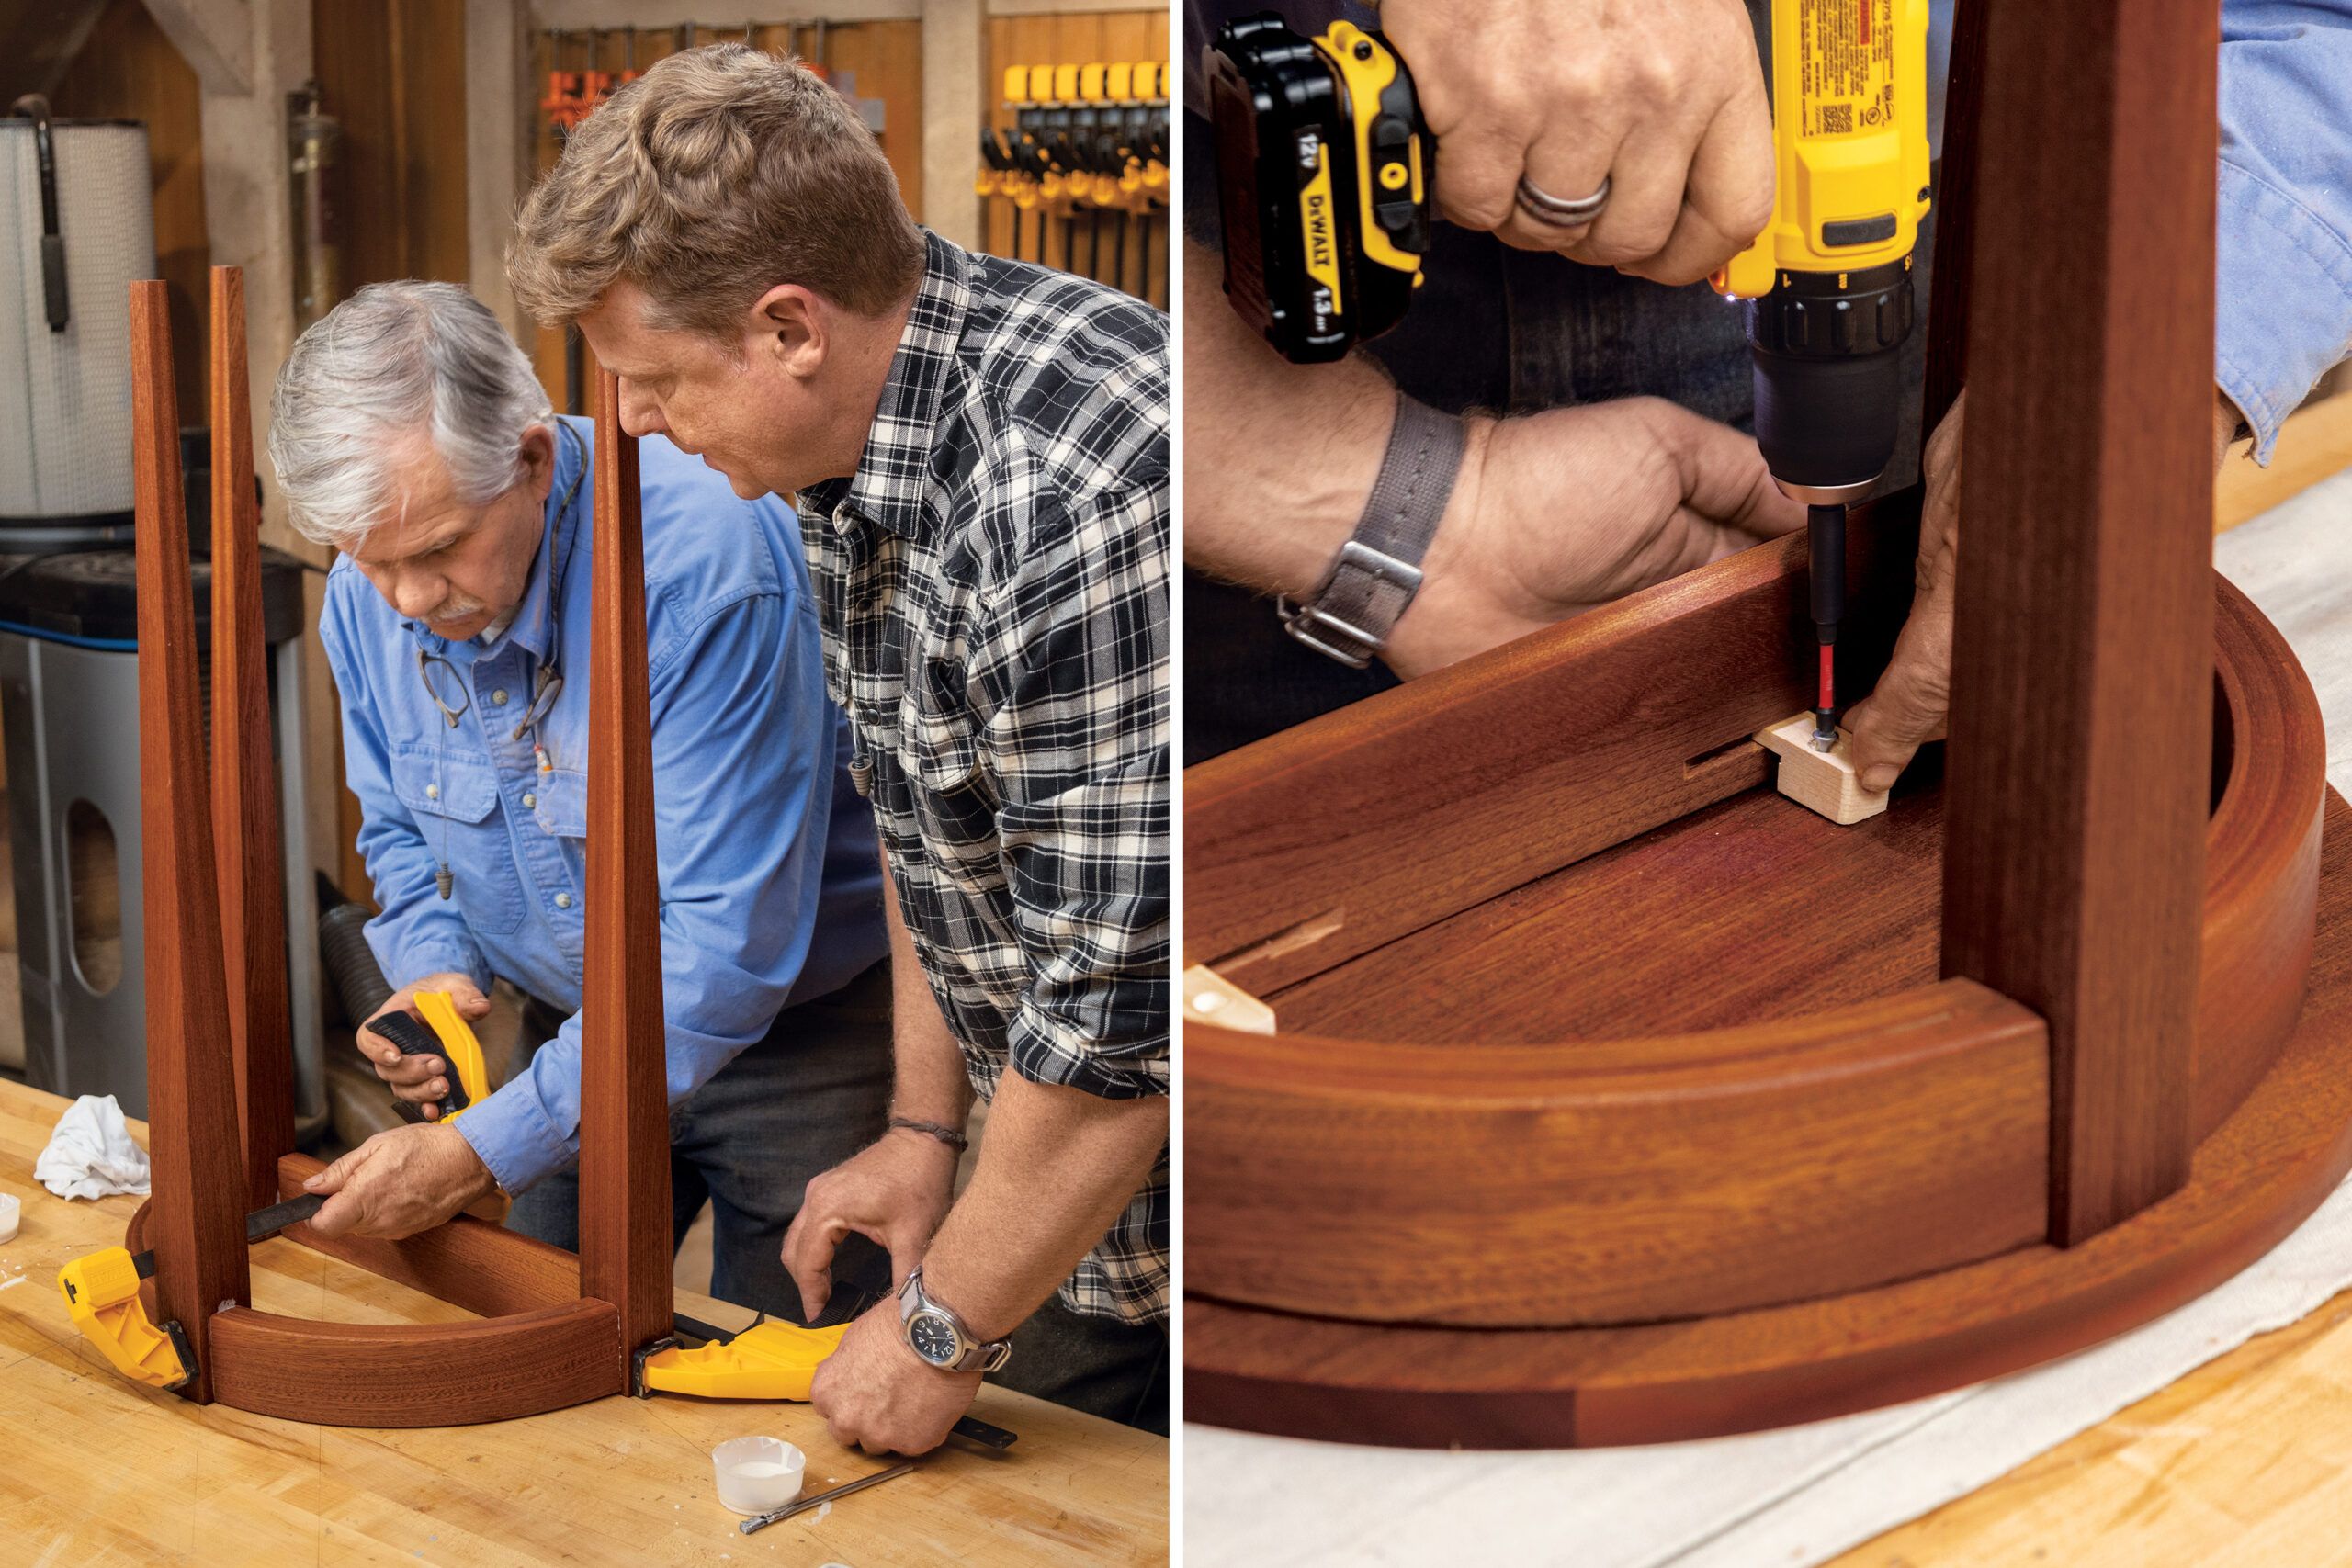
Step 11: Glue the Table Base
Apply glue to the apron pieces and legs, and place a tenon or dowels in each joint. Loosely assemble all parts, and then use bar clamps or a band clamp to pull all the joints tight. Check the joints and adjust the clamps if needed. Use a damp rag to clean off any glue, and allow it to dry.
Step 12: Attach the Tabletop
Use a slot-cutting router bit to cut a groove on the inside face of each apron piece. Position the table base in the center of the tabletop with legs flush to the back edge. Insert the clips into the grooves, and screw them into the underside of the top. Silva finished the table with a coat of wax, but lacquer or a water-based finish are also suitable options.
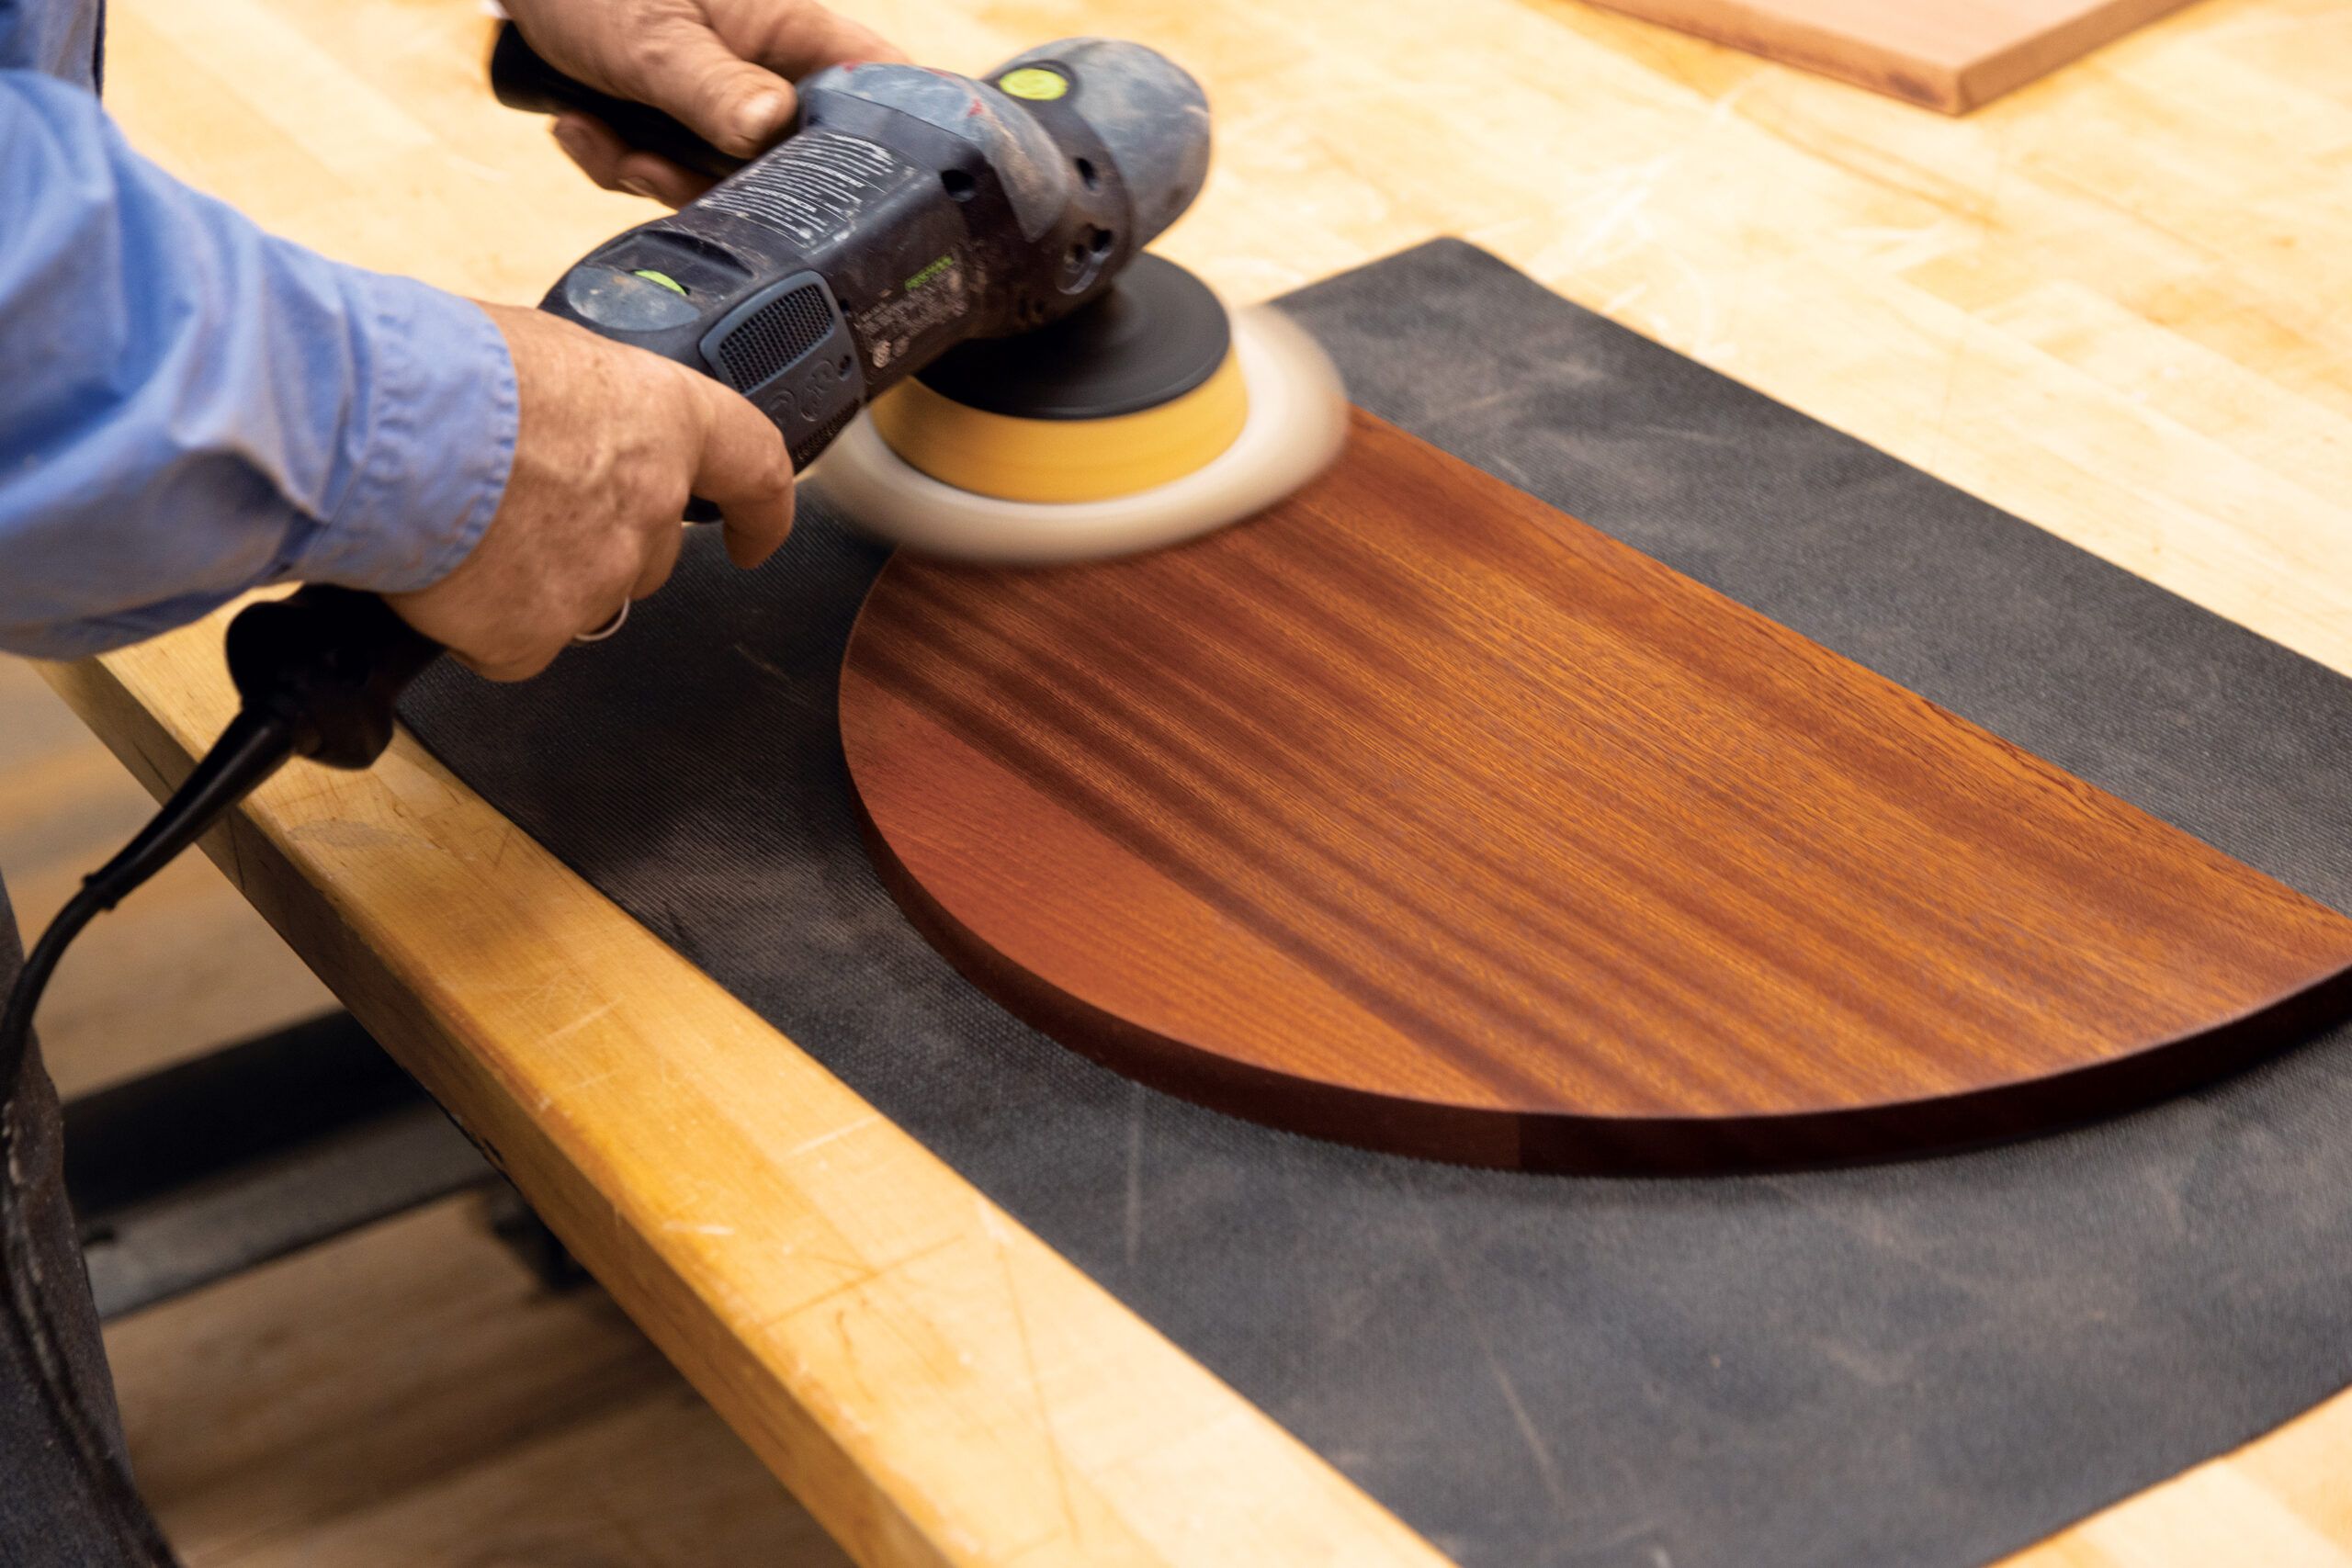
Pro Tip: Get an Extra Smooth Finish
Before assembling the parts, Silva and O’Connor sanded everything, then used a rag and buffing disc to apply a coat of sanding paste, a fine abrasive used by woodturners. The paste smooths the wood, fills the grain, and adds a bit of color. The paste also helps to prevent glue from staining the wood during assembly.