Project details
Skill
Cost
Estimated Time
This article originally appeared in the Jan/Feb 2019 issue of This Old House magazine. We published an updated and edited online version of the piece on August 2, 2024.
Creating a custom built-in bookcase is every book lover’s dream. With some help from IKEA’s Billy bookcases, you can achieve a high-end look without breaking the bank. Whether you’re looking to maximize storage, showcase your book collection, or add architectural interest to a room, this DIY project is a helpful solution for homeowners on a budget.
Planning Your Built-In Bookcase Project
Make sure you have a solid plan before you start on your built-in bookcase project. This includes careful measurements, selecting the correct number of units, and gathering all necessary tools and materials.
Measure Your Space
Start by measuring the width, height, and depth of the area where you plan to install your built-in bookcase. Take note of any obstacles, such as electrical outlets, vents, or windows that may affect your design. Also check for any unevenness in the floor or walls that could impact the installation.
Select the Right Number of Units
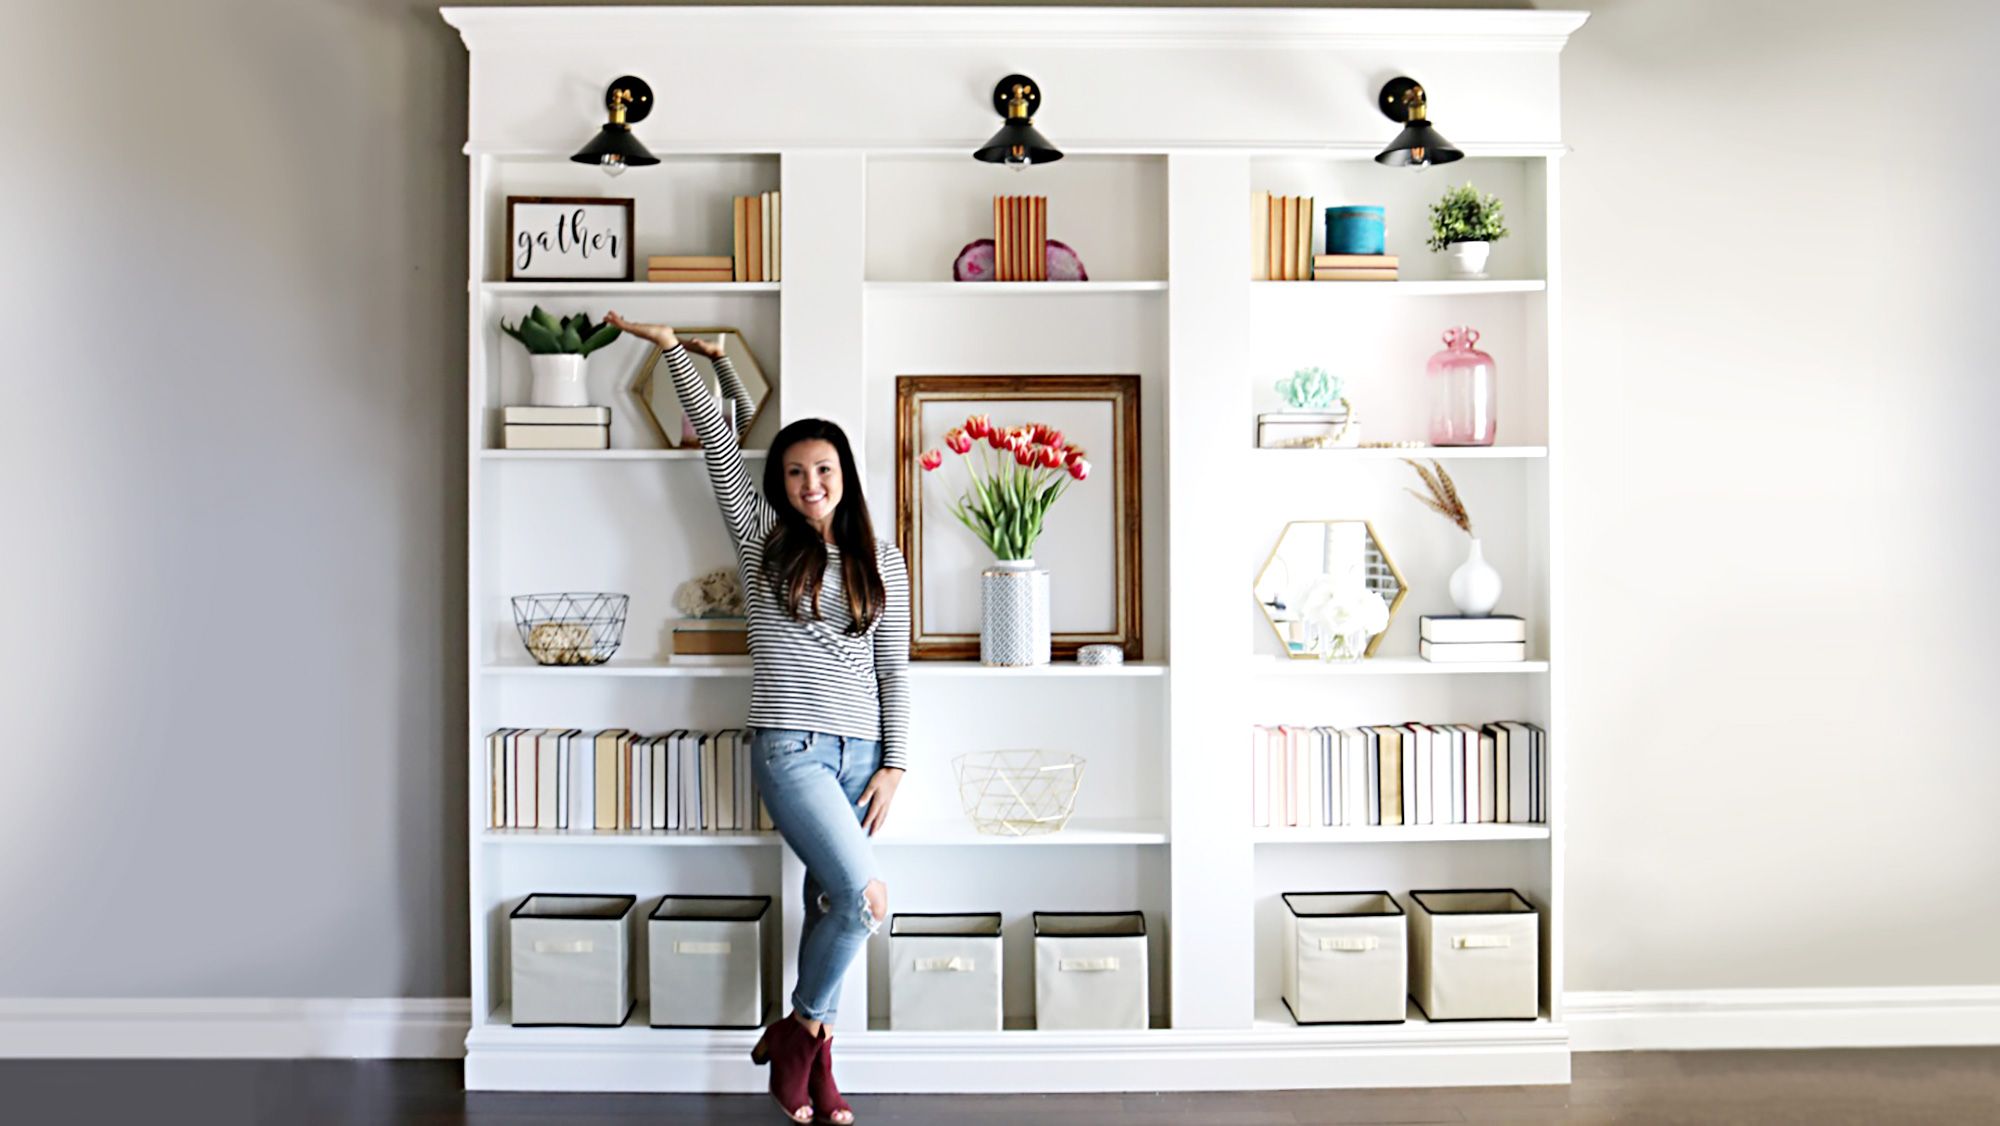
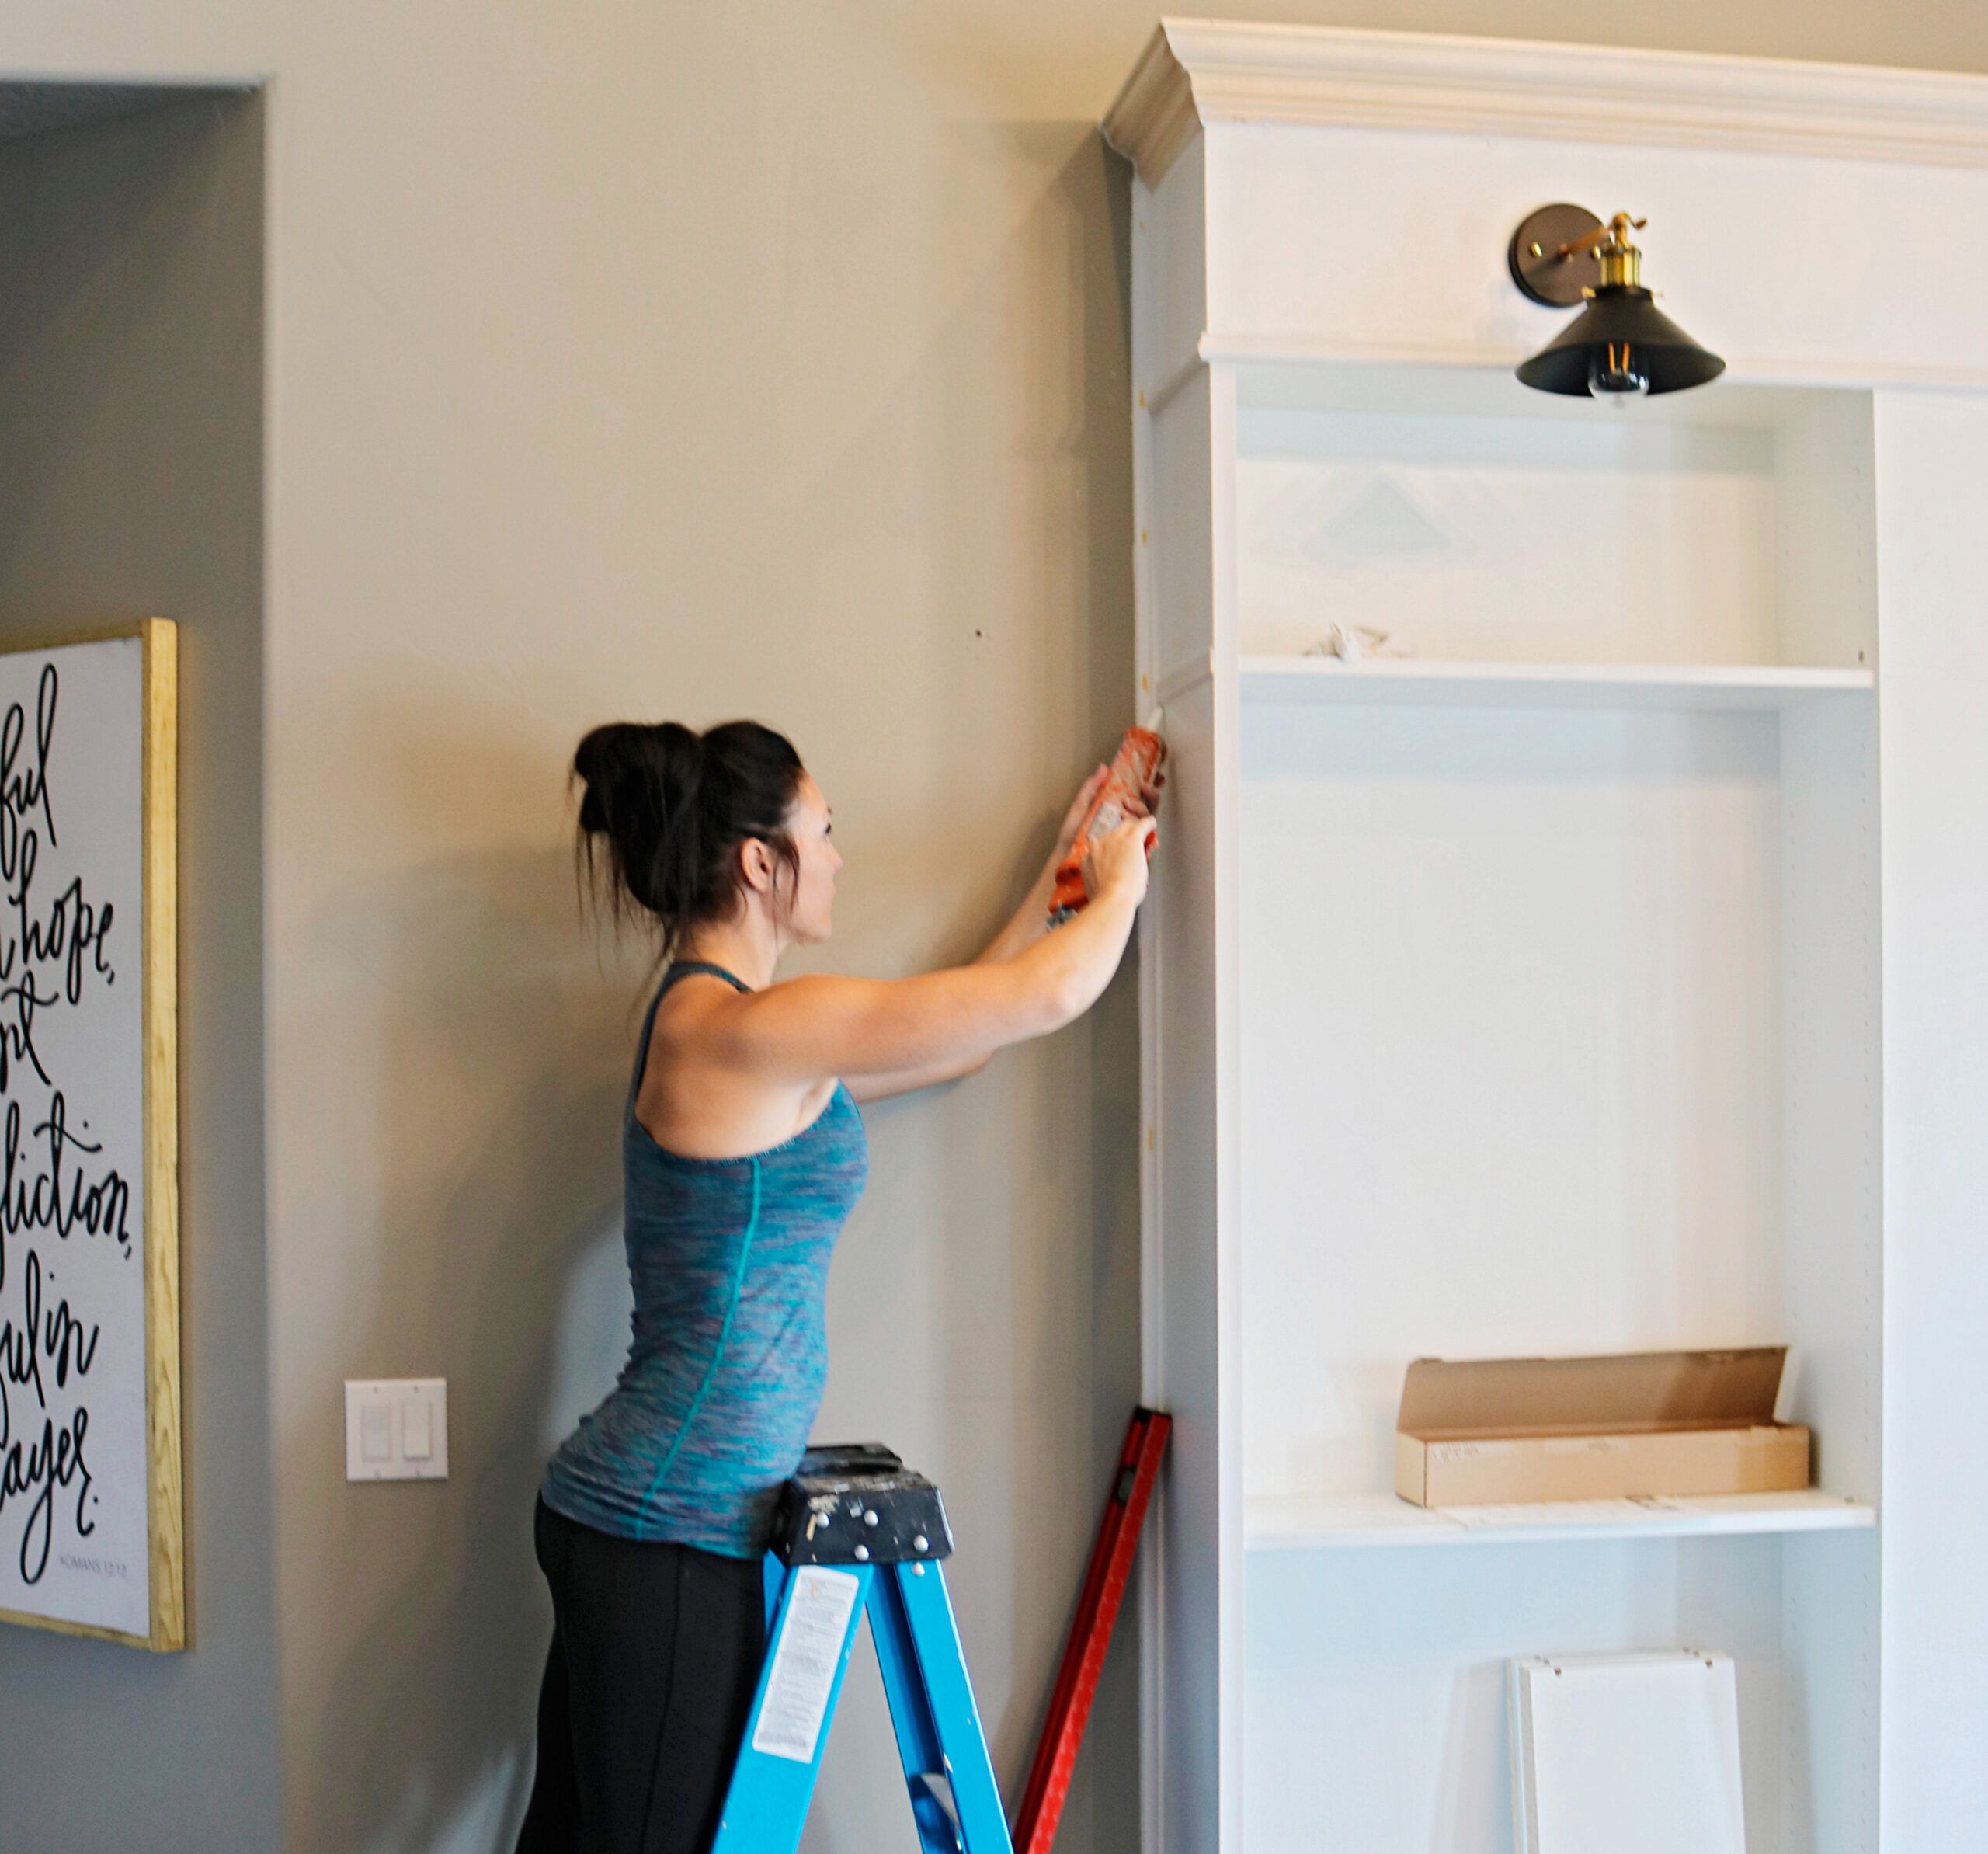
Based on your measurements, determine how many Billy bookcases you’ll need to create your built-in. Consider leaving small gaps between units for custom trim, which will give the appearance of a single, cohesive unit. In the photo above, Mysha Bolen, DIY enthusiast and author of the blog Remington Avenue, displays how she used three Billy bookcases spaced about six inches apart to create a more substantial piece.
“My living room has a vaulted ceiling and no architectural interest or detail,” Bolen says. “We had no place to put our books and we needed a solution for our kids’ toys, too. I’d heard about people hacking IKEA’s Billy bookcases to make them look more custom. If we’d hired a finish carpenter to do this, it would have cost thousands!”
Gather Tools and Materials
Assemble a list of tools and materials you’ll need for the project. This typically includes the following:
- IKEA’s Billy bookcases in chosen size
- Wood for custom trim and ledges (1-by-2-inch plywood)
- Baseboards and crown molding
- Wood filler
- Paint or stain
- Wood glue
- Nail gun and nails
- Screws and wall anchors
- Oscillating tool
- Measuring tape
- Level
- Saw (circular or miter)
- Paintbrushes or rollers
Preparing the Space for a Built-In Bookcase
Before assembling your bookcases, you’ll need to get the installation area ready. This involves removing existing baseboards if desired and creating a level surface for your built-in unit.
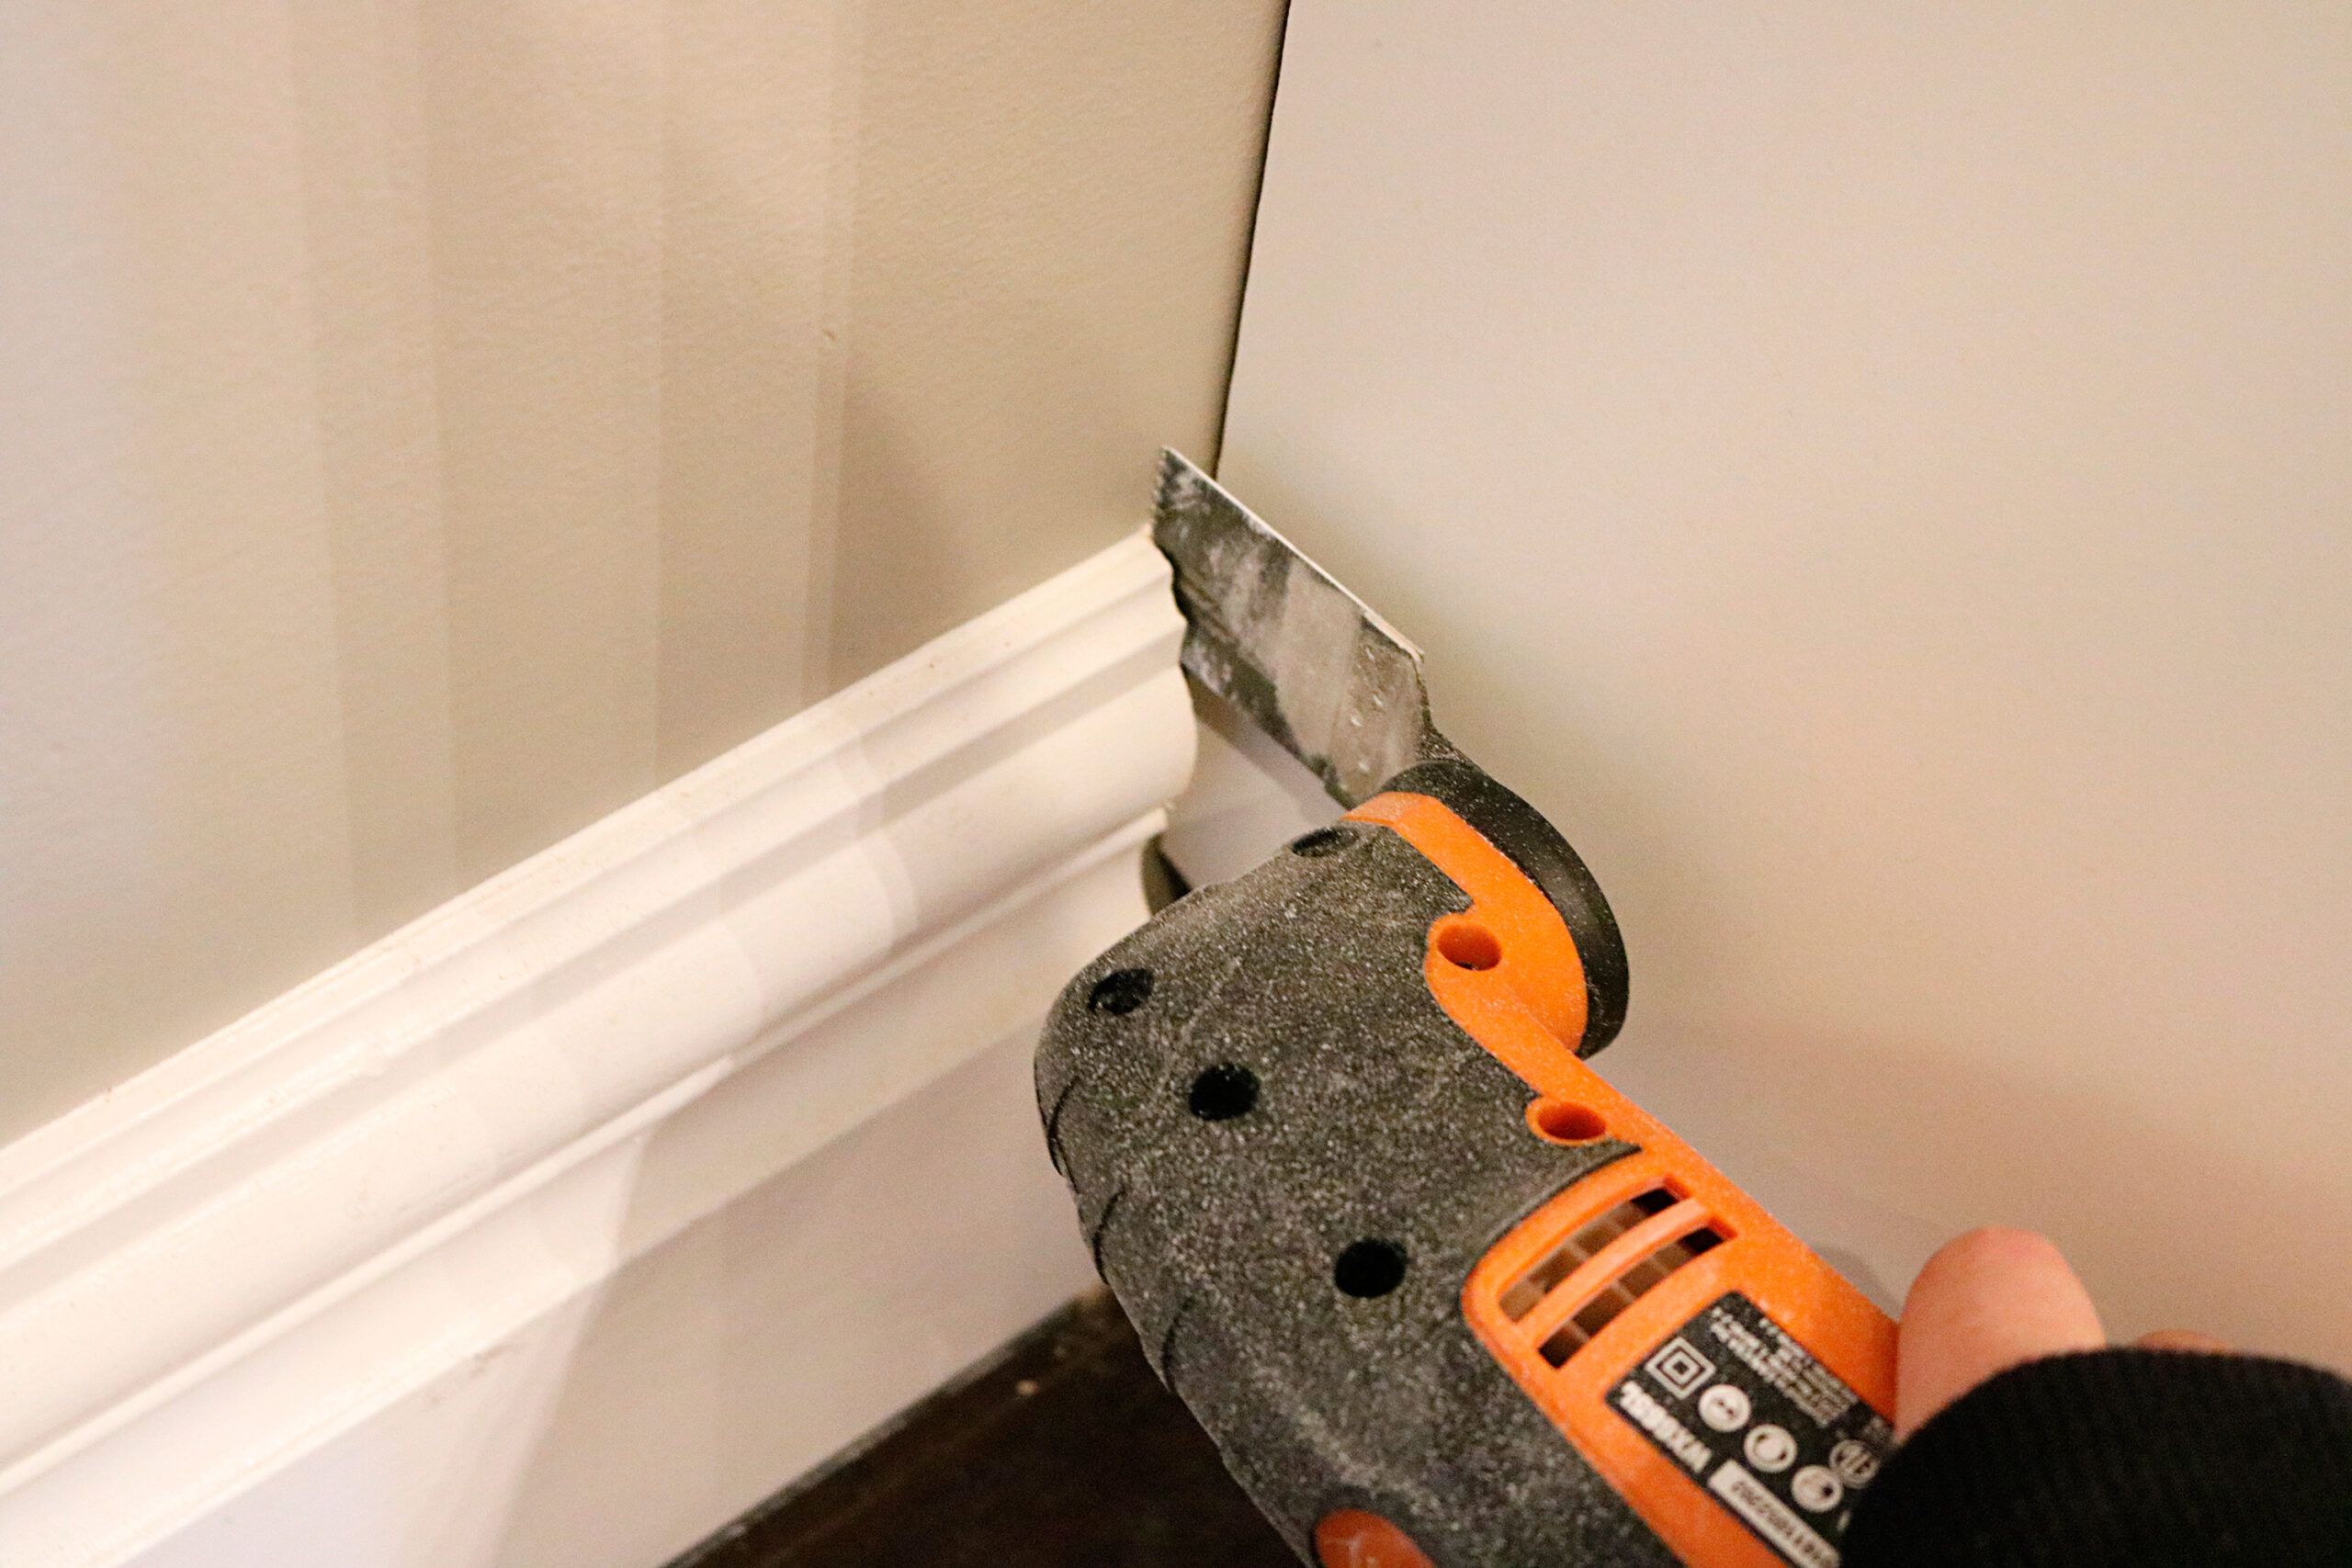
Remove Existing Baseboards
Using an oscillating tool, carefully cut out the section of baseboard where your built-in bookcase will sit. This step allows you to push the bookcases flush against the wall, creating a seamless look. Save the removed baseboard pieces, as you may be able to reuse them later in the project.
Create a Level Surface
Use a level to check the floor where you’ll install the bookcases. If there are any significant dips or uneven areas, you may need to use shims to make sure your built-in unit sits flat. This step is important for the overall stability and appearance of your finished bookcase.
Modifying IKEA Billy Bookcases
Next, assemble and modify the Billy bookcases to fit your design.
Basic Assembly Instructions
Follow IKEA’s instructions to assemble each Billy bookcase. Pay close attention so that all pieces are correctly aligned and securely fastened. If you plan to paint the units, it may be easier to do so before assembly, especially for the interior surfaces.
Spacing and Connecting Multiple Units
Position your assembled bookcases in the designated space, leaving gaps between them as planned. These gaps will get covered later with trim pieces to create a built-in look. Use a level to guarantee each unit is perfectly upright and adjust as necessary.
Adding Custom Elements for a Built-In Look
To transform your IKEA shelves into a true built-in bookcase, add some custom elements. These additions will give your project a polished, professional appearance.
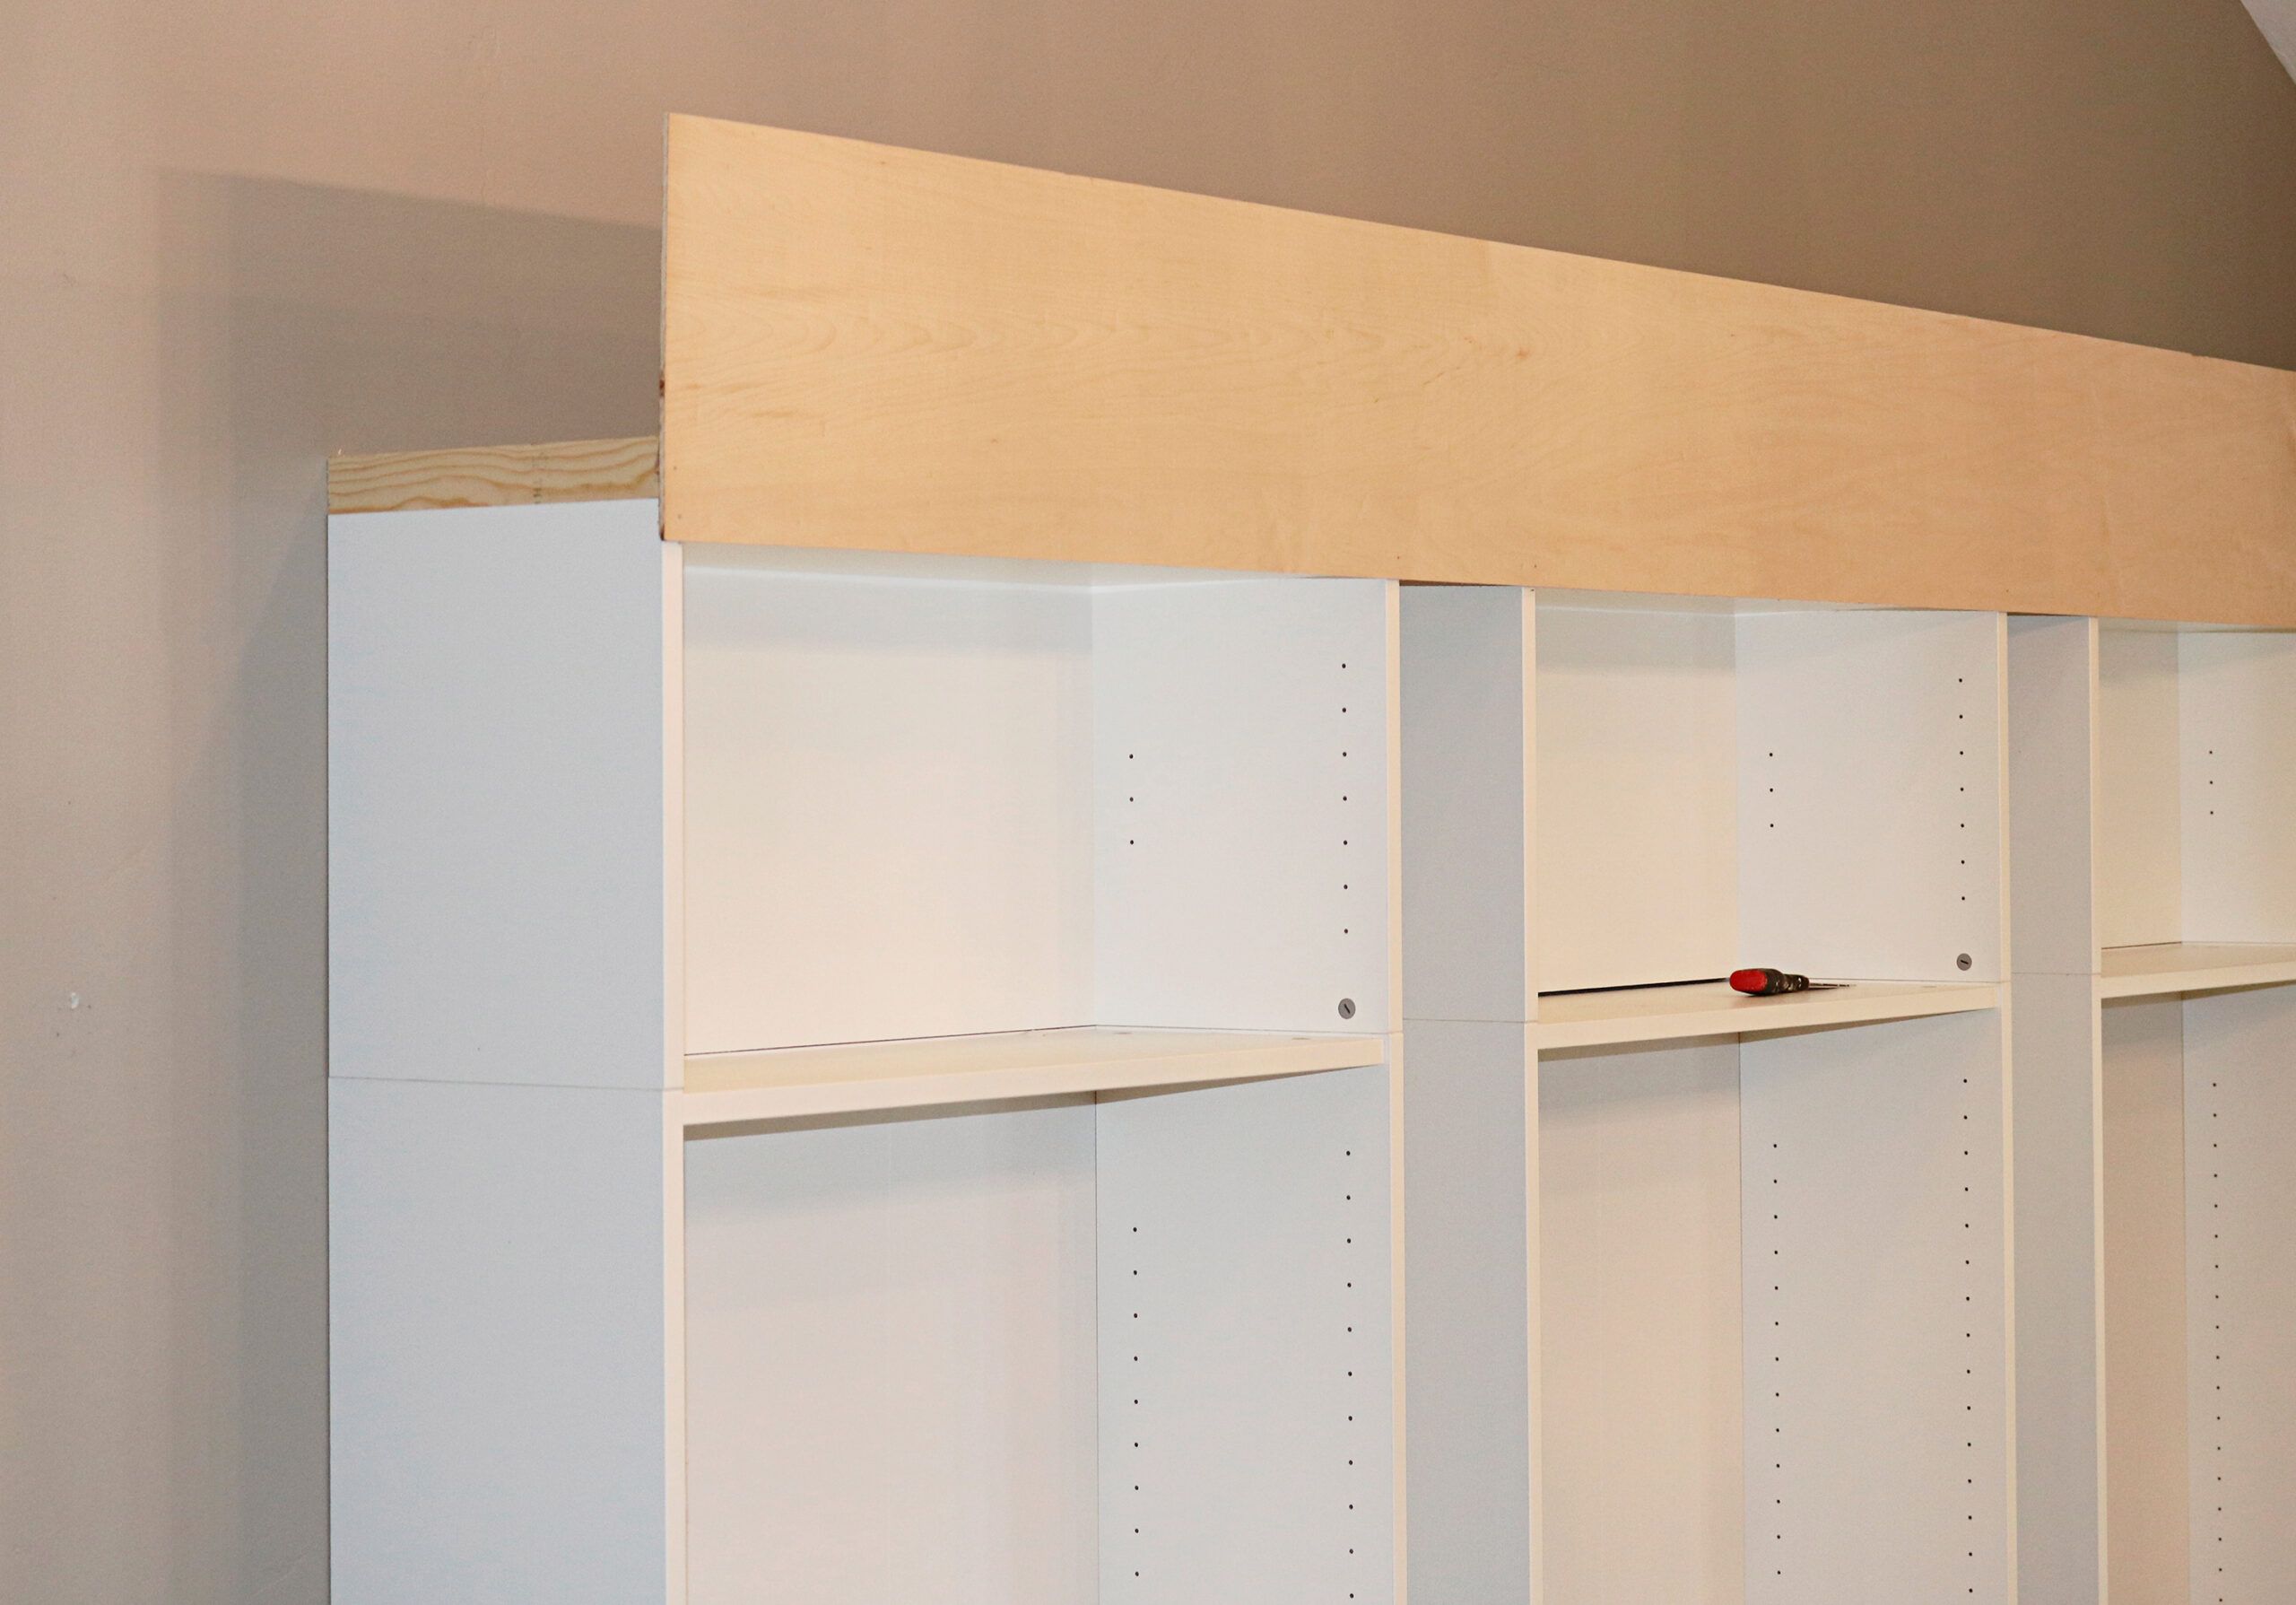
Create a Top Ledge
A top ledge helps unify the separate bookcases and draws the eye upward, boosting the built-in effect. As Mysha did in her project, install a frame of 1-by-2-inch strips along the top, front, and sides of the bookcase assembly. Then, attach a one-quarter-inch piece of plywood to this frame, creating a smooth, continuous surface across the top of the unit.
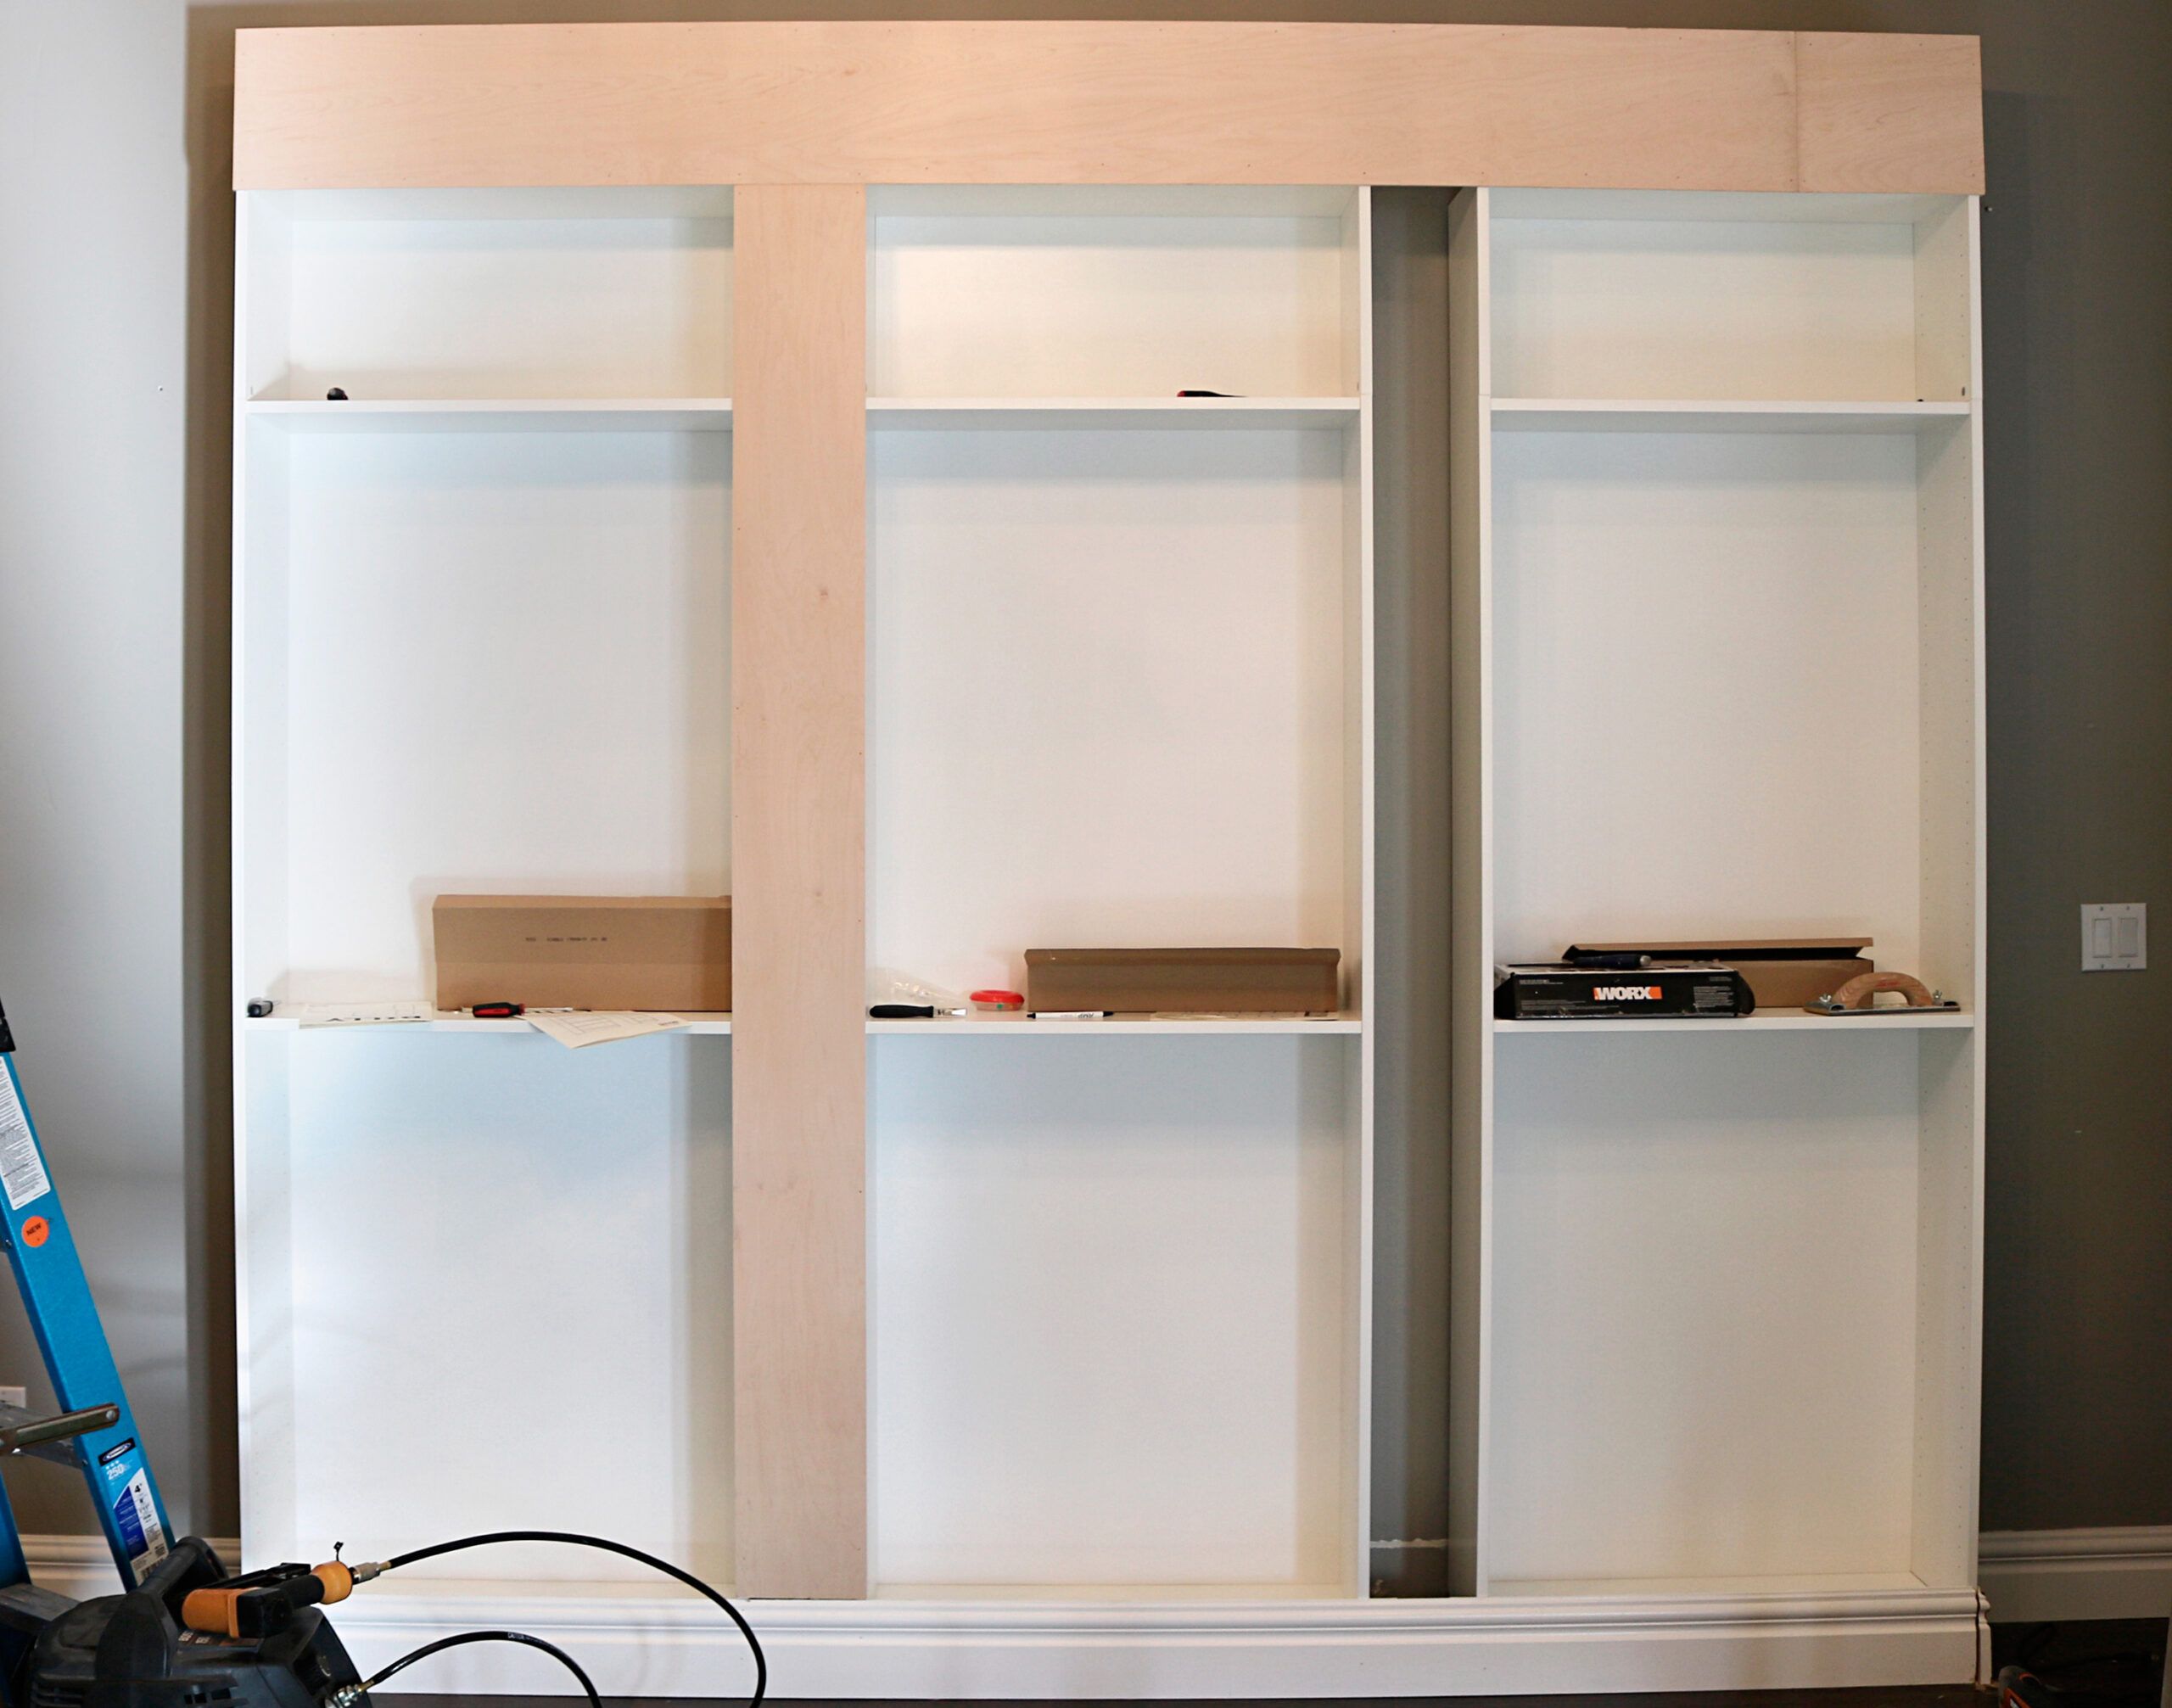
Bridge Gaps Between Units
To create a seamless look between the bookcases, cut pieces of plywood to fit the spaces between units. Nail these pieces to the front of the bookcases, bridging the gaps and creating the appearance of a single, custom-built unit.
Install Custom Baseboard Trim
Wrap the bottom of your built-in bookcase with baseboard trim that matches the existing baseboards in your room. This helps blend the bookcase with the rest of the space and provides a finished look at floor level.
Upgrading the Style of Your Built-In Bookcase
With the basic structure of your built-in bookcase complete, consider finishing touches that will elevate its appearance. Here are some ideas:
- Add crown molding: Install crown molding along the top of your bookcase to create a transition between the unit and the ceiling. This will make the built-ins appear to be part of the wall.
- Use decorative trim: Use thin pieces of trim to cover any visible seams where plywood or extension pieces were added to help conceal the modular nature of the Billy bookcases and reinforce the impression of a custom-built unit.
- Paint or stain for a cohesive look: Once all trim pieces are in place, fill any nail holes with wood filler and sand smooth. Then, paint or stain the entire built-in bookcase to achieve a uniform, cohesive appearance and level out the surfaces. Choose a color that complements your room’s decor.
Securing the Built-In Bookcase
Take care to securely attach your built-in bookcase for stability and safety.
Anchor It to the Wall
Use furniture anchors to fasten your built-in bookcase to the wall. This prevents tipping, especially if you have children in the home or live in an area prone to earthquakes.
Reinforce Shelves for Heavy Items
If you plan to store heavy items on your shelves, consider reinforcing them with additional support. You can add brackets underneath or use thicker shelving material for heavily loaded areas.
Troubleshooting Common Built-In Bookcase Issues
You may encounter challenges during your project. If your walls are not perfectly straight, you may notice gaps between the bookcase and the wall. Use caulk to fill small gaps, or consider adding a vertical trim piece to cover larger discrepancies.
If your ceiling is not level, you may need to scribe the crown molding to fit properly. This involves carefully marking and cutting the molding to follow the contours of your ceiling for a perfect fit.
Our Conclusion
Creating a built-in bookcase using IKEA’s Billy shelves is a great DIY way to add custom storage and style to your home without the high cost of traditional custom cabinetry. This project requires some basic tool skills and patience, but the result is a professional-looking built-in that can quickly improve the functionality and look of your living space.