Project details
Skill
Cost
Estimated Time
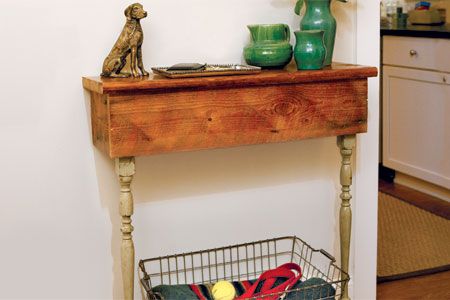
Building a unique table from salvaged stair parts is an innovative way to create functional, stylish furniture while repurposing materials. In this guide, we’ll walk you through the process of transforming stair components into a two-legged console table that anchors to the wall, perfect for leaving your keys by the front door without taking up much floor space.
The Potential of Stair Parts
Stair parts offer a wealth of possibilities for creative furniture projects. Their sturdy construction makes them ideal candidates for repurposing into unique table elements.
Types of Stair Parts Suitable for Table Construction
Several stair components can be repurposed for table building:
- Spindles or balusters: These make excellent table legs, offering both stability and decorative flair.
- Treads: The wide, flat surface of stair treads is perfect for creating table tops.
- Risers: These can be used to form aprons or support structures for your table.
- Newel posts: While not used in our specific project, these can serve as substantial central supports for larger tables.
Benefits of Using Salvaged Stair Parts
Opting for salvaged stair parts in your table construction offers several advantages over using new materials.
- Sustainability: Repurposing materials reduces waste and gives new life to old components.
- Unique aesthetic: Each salvaged piece carries its own history and character, ensuring your table is unique.
- Cost-effectiveness: Salvaged materials are often less expensive than new, custom-made table parts.
- Durability: Stair parts are designed to withstand heavy use, making them ideal for furniture construction.
Essential Tools and Materials
To build a table from stair parts, you’ll need a combination of hand tools, power tools, and additional materials.
Tools
- Clamps
- Drill/driver
- Dust mask
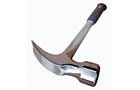
- Hammer
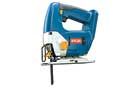
- Jigsaw
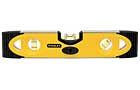
- Level
- Measuring tape
- Nail puller
- Safety glasses
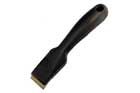
- Scraper
 Nail puller
- Scraper
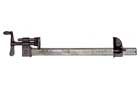
- Bar clamp
- Jigsaw
- Drill/driver
- Combination countersink drill bit
- Torpedo level
- Hammer


Materials
For this project, you’ll need a selection of wood parts.
- Two spindles for table legs
- One stair tread for the table top
- One riser for the apron
- 2×4 lumber for interior blocking
For our table’s front legs, we purchased a pair of green-painted spindles for $50. The top is an 11 1/4-inch-deep by 36-inch-long heart-pine tread that we salvaged for just $15. To replicate the look of a riser (salvage yards usually don’t stock them) for the apron, we cut a $5 rough-sawn pine board to a standard 7 1/2-inch height.
You’ll also need to supply some additional materials for the assembly.
- Deck screws (1 5/8-inch and 3 1/2-inch)
- Finishing nails
- Sandpaper
- Wood filler (if necessary)
- Wood glue
Step-by-Step Table Construction Process
Follow these steps to transform your salvaged stair parts into a beautiful table.
Step 1: Cleaning and Prepping Salvaged Parts
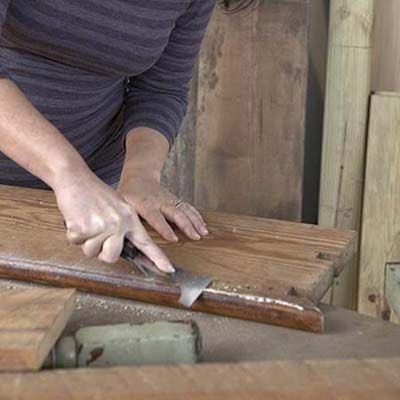
Start by removing old fasteners or adhesives from the salvaged wood.
- Inspect all parts for damage or rot, replacing any unsuitable treads, risers, or spindles.
- Use a nail puller to carefully extract nails or staples from the stair tread.
- Use a scraper to remove old glue or paint.
- Clean the surfaces with a damp cloth to remove dirt and debris.
- Sand rough areas to create smooth surfaces for finishing.
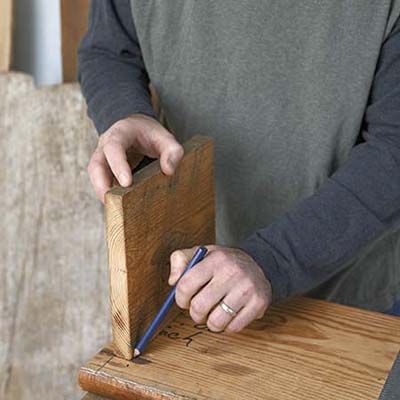
Step 2: Marking the Tread
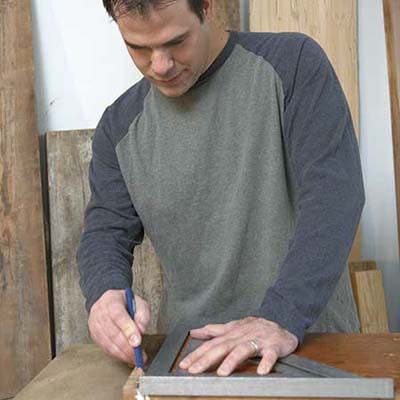
If your salvaged stair tread has returns (small projections at the ends), remove them for a clean edge. Mark a straight line along both ends of the tread.
Step 3: Cutting the Tread
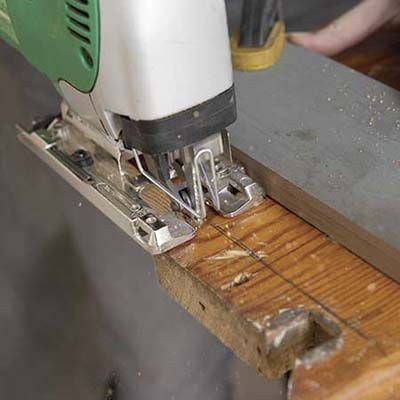
Clamp a wood scrap to the tread as a guide for your jigsaw. Put on your safety glasses and dust mask, and cut along the marked lines to create a straight edge on both ends of the tread.
Step 4: Arranging the Apron Boards
Position the apron board on the underside of the tread, leaving a 3/4-inch overhang for the tread. Mark locations for 2×4 interior blocking, which will reinforce the apron attachment.
Step 5: Clamping the Apron in Place
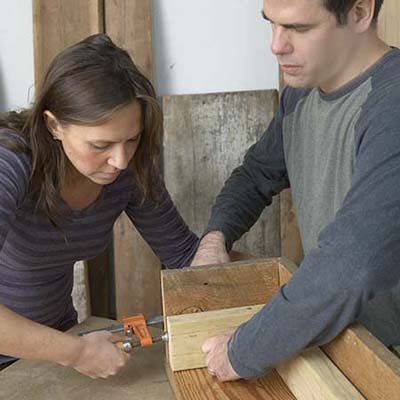
Clamp the apron and blocking in place and mark where the fasteners will go. You’ll use 3 1/2-inch deck screws to secure the blocking vertically to the tread, and 1 5/8-inch ones to attach it horizontally to the apron.
Step 6: Predrilling Screw Holes
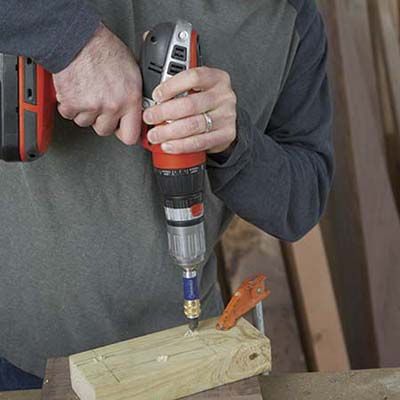
Use a drill/driver with a combination countersink bit to predrill screw holes in the blocking. Bore holes just deep enough so that the screws will anchor in the tread and apron but not go all the way through. Screw the blocking to the apron and tread using 3 1/2-inch deck screws for vertical connections and 1 5/8-inch screws for horizontal attachments.
Step 7: Attaching the Legs
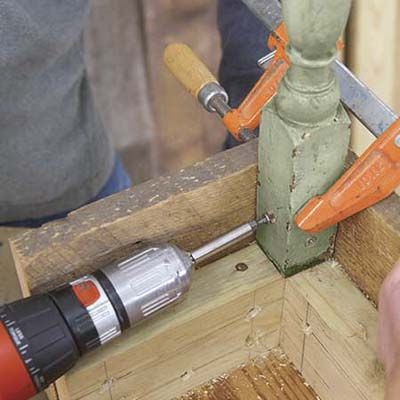
- Position the spindle legs at the front corners of the apron.
- Predrill holes through the apron into the legs to prevent wood splitting.
- Secure the legs to the apron using 1 5/8-inch screws.
Step 8: Mounting the Table
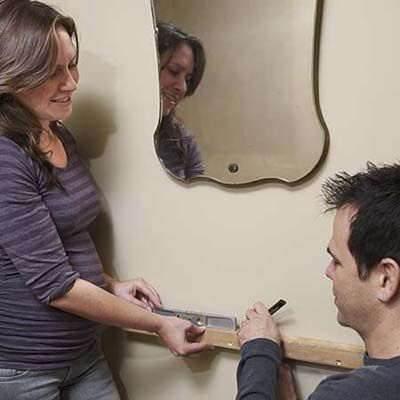
- Cut a wood strip that fits between the interior blocking.
- Install the strip on the wall at the height of the table’s underside, adjusting as necessary with your torpedo level.
- Rest the table on the mounted strip and secure it with finishing nails through the table top.
Customizing Your Stair Parts Table
We used prepainted spindles and left the original finish on the tread. However, your stair part table can be customized to fit your personal style and home decor.
Staining and Painting
Consider these techniques for finishing your table. Always work with paints and stains in a well-ventilated area.
- For a rustic look, consider using a wood stain that enhances the natural grain.
- Chalk paint can give your table a vintage, shabby-chic appearance.
- For a modern twist, try color-blocking with bold, contrasting paint colors.
Decorative Elements
If you’re feeling creative, add decorative elements to enhance the unique character of your table.
- Incorporate wood inlays or carvings into the table top for added flair.
- Use decals or stencils to create patterns or designs on the table surface.
- Attach decorative corner brackets or edge trim to elevate the table’s aesthetic appeal.
Troubleshooting Common Building Issues
Using salvaged materials comes with its own challenges, since they may have wear patterns and asymmetries that new materials don’t–that’s what gives them their character. Here are some tweaks to help you adjust for character.
Dealing with Uneven Surfaces
If your salvaged parts have uneven surfaces:
- Use wood filler to smooth out minor imperfections.
- For larger gaps, consider using thin wood shims to level components.
- Sand thoroughly after filling or shimming to ensure a smooth finish.
Fixing Wobbles and Instability
To address table instability:
- Check that all joints are tight and secure.
- Add additional support brackets if needed.
- Use adjustable furniture feet to compensate for uneven floors.
Repairing Damaged Parts
Salvaged materials may have damage that needs repairing.
- Discoloration: Use wood bleach to treat any discoloration or stains.
- Cracks: Fill cracks with wood glue and clamp until dry.
- Splinters: Sand down splintered areas and apply wood filler if necessary.