Project details
Skill
Cost
Estimated Time
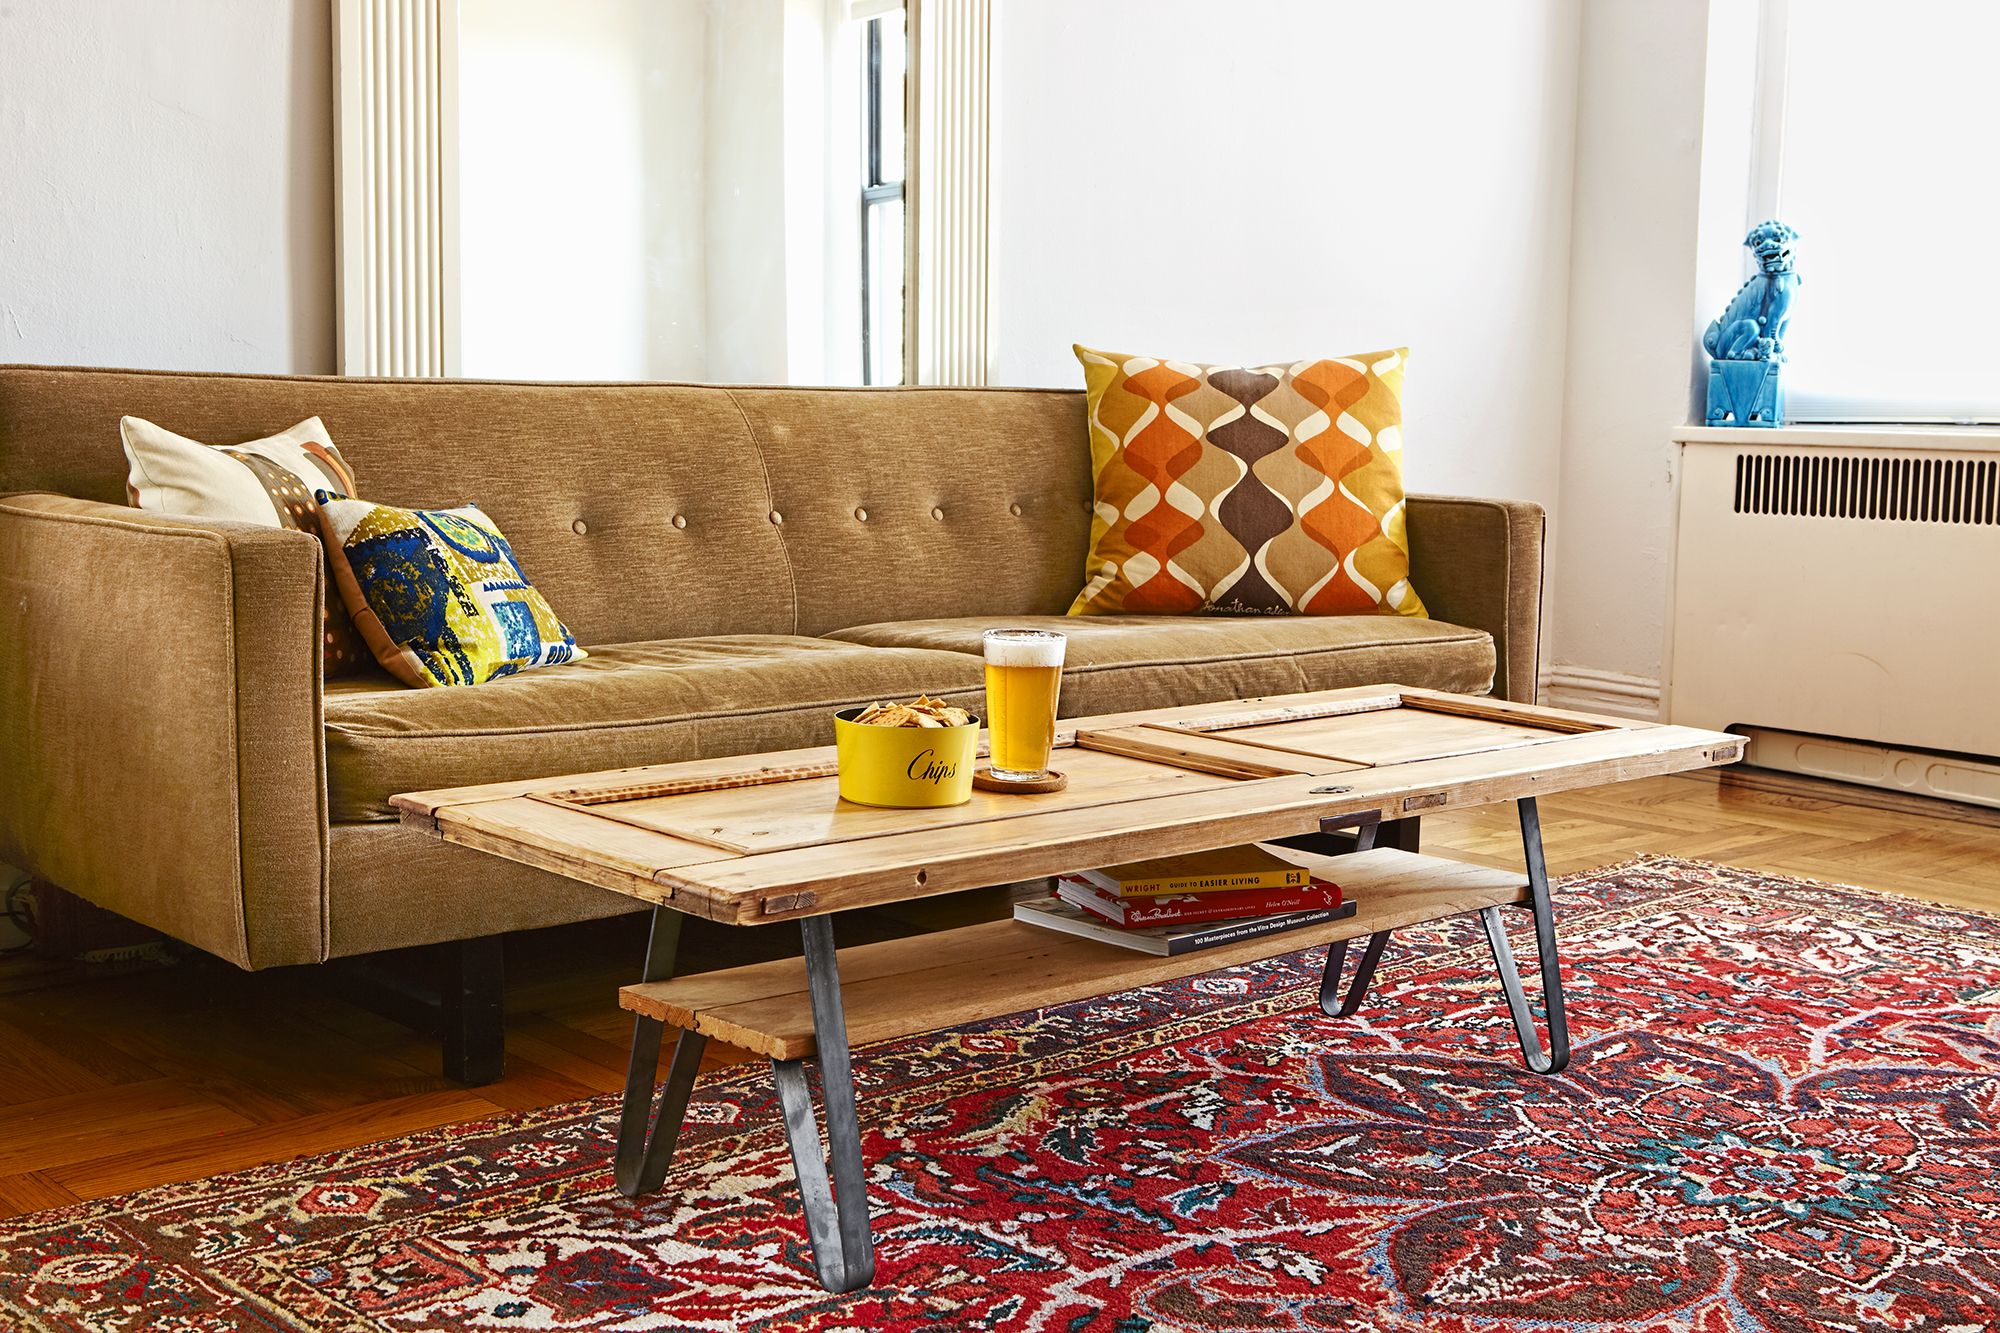
When I found an old knotty pine cabinet door on the curb near my house, I knew I had to save it from the landfill and bring it back to life. The result: A one-of-a-kind piece of furniture that cost me a fraction of what I’d have paid for a vintage piece like this from an artisan.
Transforming salvaged materials into a unique coffee table is a rewarding DIY project that combines creativity with sustainability. This guide will walk you through the process I used. If you come across a hidden trash-into-treasure gem, you can follow along.
Gathering Your Materials and Tools for a Cabinet Door Table
Before embarking on your coffee table project, it’s smart to gather all the necessary materials and tools. This preparation will kick-start a smooth building process and help you avoid unnecessary delays.
The heart of this project is a salvaged cabinet door. Look for one that’s sturdy and in good condition. Knotty pine doors are excellent choices due to their durability and attractive grain patterns. Other materials you’ll need include:
- Table legs (prefab steel legs work well)
- Wood for the lower shelf (salvaged flooring or other reclaimed wood)
- Screws and fasteners
- Glass top (optional, for added protection and display purposes)
Required Tools for the Project
- Drill and drill bits
- Screwdriver
- Circular saw (if cutting the shelf to size)
- Measuring tape
- Pencil for marking
- Sandpaper
- Cat’s paw or pry bar (for removing nails)
- Clamps
Preparing Your Salvaged Cabinet Door
The first step in creating your display coffee table is to prepare the salvaged cabinet door. This process involves cleaning, repairing, and removing any unnecessary hardware.
Cleaning and Repairing the Door
Start by thoroughly cleaning the door to remove any dirt, grime, or old finishes. Use a mild soap and water solution, being careful not to saturate the wood. Once clean, assess the door for any damage. Fill small cracks or holes with wood filler and sand smooth once dry.
Taking the time to clean and repair the door properly will leave you with a solid foundation for your table. Addressing imperfections at this stage will save you time and effort later on.
Removing Hardware and Astragals
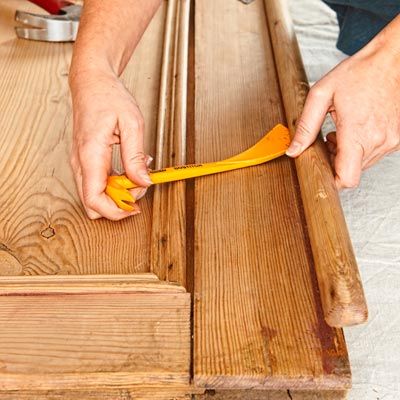
Next, remove any existing hardware, such as hinges or handles. If your door has an astragal (a trim piece that covers the gap between a pair of cabinet doors), you’ll need to remove it to create a level surface. Use a cat’s paw to gently remove any protruding nails. This preparation step is key for achieving a smooth, professional-looking final product.
Designing Your Display Coffee Table
With your cabinet door ready, it’s time to consider the overall design of your coffee table. This step allows you to personalize the piece to fit your style and needs. Your choices here will set the tone for the finished project.
Choosing a Style: Rustic vs. Modern
Decide whether you want to embrace the rustic charm of the salvaged door or give it a more modern twist. For a rustic look, you might choose to keep the original finish and pair it with wrought iron legs. For a modern approach, consider painting the door and opting for sleek, minimalist legs.
Both styles have their unique appeal. Rustic designs highlight the history of the materials, while modern designs can make old materials feel fresh and contemporary. Think about the decor of the room where the table will be placed and choose a style that complements it.
Adding Glass Elements
To embellish the display aspect of your coffee table, consider adding a glass top. This not only protects the wood surface, but also creates a showcase for items placed on it. Measure the door carefully and have a piece of tempered glass cut to size, leaving a small overhang of about 1/4 inch on all sides.
Adding a glass element elevates the functionality and style of your table. It allows for creative displays and protects the surface, making it both practical and beautiful.
Selecting and Attaching Coffee Table Legs
Choose legs that are appropriate for the height of a coffee table, typically 16-18 inches tall. The leg style can transform the table’s look and should align with your overall design vision.
There are various options for table legs, including:
- Prefab steel legs for a rustic look
- Wooden hairpin legs for a mid-century modern look
- Turned wood legs for a more traditional style
- Industrial pipe legs for an urban vibe
Step-by-Step Guide to Secure Legs
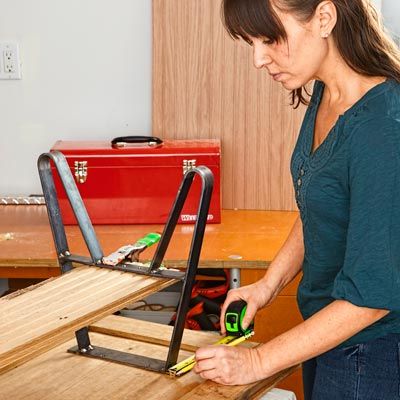
Follow these steps to attach your chosen legs, and double-check your measurements and marks before drilling to prevent mistakes:
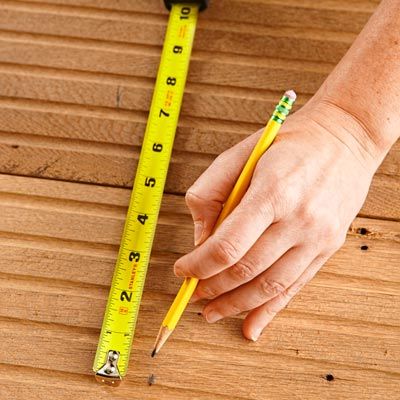
- Flip the door facedown and measure where the legs will go, typically 6 to 8 inches in from the ends.
- With the legs in place, mark the screw holes.
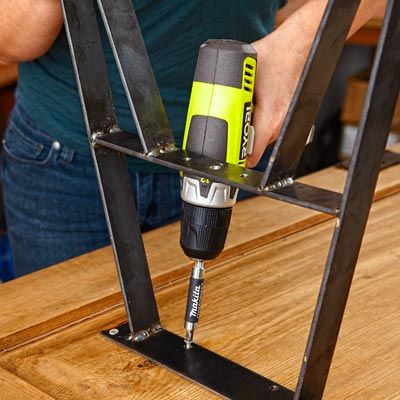
- Drill pilot holes for the screws, being careful not to drill through the door. The screw length should be slightly shallower than the door’s thickness. To keep from drilling all the way through the wood, wrap tape around the drill bit to serve as a depth gauge.
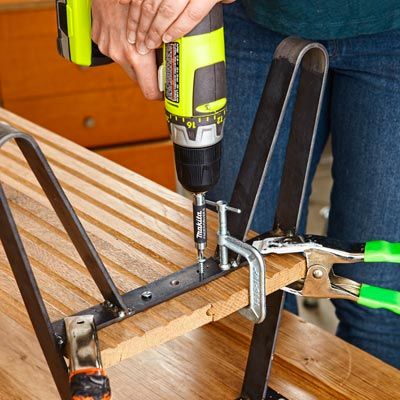
- Secure the legs by driving screws through the mounting plates into the pilot holes

Creating a Lower Shelf for Added Storage
A lower shelf adds both storage and stability to your coffee table. To install one, first measure the space between the legs for the shelf width. For length, make the shelf slightly shorter than the tabletop for a recessed look. If you’re able to use salvaged flooring as I did, follow these steps:
- Fit together two tongue-and-groove floorboards.
- Measure and mark the width of the shelf bracket (typically 12 inches) on the backs.
- Use a circular saw to remove the exposed tongue or groove and rip the boards to the correct width.
- Cut the boards to the desired length.
- Fit the cut boards together.
- Clamp them to the shelf brackets attached to the legs.
- Drill pilot holes and fasten the boards in place with ½-inch wood screws.

Make sure the shelf is level and secure before moving on to the next step. This addition not only increases storage space but also reinforces the structure of your table.
Adding Personal Touches to Your Coffee Table
Now that the basic structure is complete, it’s time to add personal touches that will make your coffee table unique. These final details allow you to infuse your personality into the piece and tailor it to your tastes.
Customizing with Paint or Stain
Decide whether you want to preserve the natural wood look or add color. For a natural finish, apply a clear wood sealer or wax. If painting, choose a color that complements your decor and apply primer before painting for better adhesion. Whether you choose paint or stain, ensure the application is even and smooth for a professional result.
Using Decorative Hardware
Consider adding decorative elements such as vintage drawer pulls as handles, or install small hooks underneath the tabletop for additional storage. These custom touches can enhance both the functionality and style of your table, making it truly one-of-a-kind. Don’t be afraid to get creative and experiment with different embellishments.
Protecting Your New Coffee Table
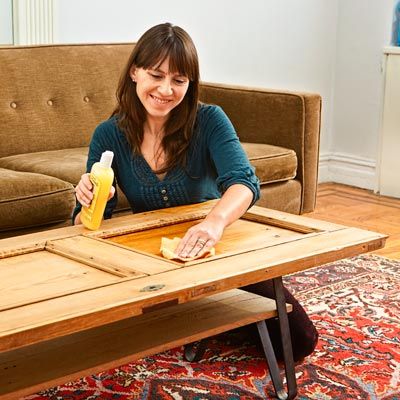
Applying a protective finish will seal the wood and give it a professional look. To help seal the wood and create a soft matte sheen, rub on a natural wax-based conditioner. Reapply periodically to prevent drying and keep the table looking its best. Reapply wax or sealant annually or as needed.
Troubleshooting Common Issues Building a Coffee Table
Even with careful planning and execution, you may encounter issues as you make your coffee table. Anticipating these allows you to troubleshoot effectively and maintain the quality of your table. Here’s how to address common problems.
Dealing with Uneven Surfaces
- Use wood shims under the legs to level the table
- Sand down high spots if the unevenness is minor
- Consider adding a glass top to create a level surface
Fixing Wobbling and Instability
- Tighten all screws and fasteners
- Add corner braces between the legs and tabletop
- Check that the lower shelf is securely attached to provide additional support
Our Conclusion
A display coffee table made from salvaged materials combines creativity, sustainability, and functionality. In your build, remember that the beauty of upcycled furniture lies in its imperfections and history. Embrace the quirks of your salvaged materials and enjoy the satisfaction of creating a one-of-a-kind piece that’s both eco-friendly and stylish.