Project details
Skill
Cost
Estimated Time
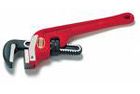
 Pipe wrench
- Miter saw
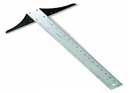
- T-square
- Pencil
- Clamps
- Circular saw
- Drill/driver
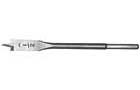
- Spade bit
- Ratchet wrench and sockets
- Dust mask
- Safety glasses
- Random orbit sander
- Paint brush
- Lint free cloth


Building a table from salvaged beams is a rewarding project that combines craftsmanship with sustainability. This unique approach to furniture making allows you to create a one-of-a-kind piece with character and history. In this guide, we’ll walk you through the process of transforming reclaimed wood into a stunning dining table, from sourcing materials to applying the final finish. This project gives you a chance to work with high-quality, vintage wood and create a conversation piece for your home.
Understanding Salvaged Wood for Table Construction
Salvaged wood brings a unique charm and history to your furniture projects. Before diving into the construction process, it helps to understand the benefits of using reclaimed wood and where to find these materials.
Benefits of Using Reclaimed Wood
Reclaimed wood offers several advantages over new lumber. It’s often more durable and stable due to its age and slow growth in natural forests. This wood typically has tighter growth rings, making it harder and more dense than wood from modern tree farms. Additionally, using salvaged wood is an environmentally friendly choice, as it reduces the demand for new timber and keeps old wood out of landfills.
Reclaimed wood also brings character to your project. Each piece tells a story through its patina, nail holes, and other marks of its previous life. You can’t replicate this unique appearance with new wood, making your table truly one-of-a-kind.
Where To Source Salvaged Beams
Finding salvaged beams for your table project can be an adventure in itself. Here are some places to look:
- Architectural salvage yards
- Demolition sites (with permission)
- Reuse centers
- Specialized reclaimed wood dealers
- Online marketplaces
Prices for reclaimed wood can vary widely, ranging from free to $200, depending on the type, size, and condition of the wood. Reuse centers often offer lower prices but may require more work to prepare the wood for use. Specialized dealers typically charge more but provide a wider selection and wood that’s ready to use. You can sometimes score free “scrap” wood from estate sales, garage sales, and online marketplaces.
Essential Tools and Materials to Build a Table from Salvaged Beams
To build a table from salvaged beams, you’ll need a combination of hand tools, power tools, and building materials. Here’s what you need:
Hand Tools:
- T-square
- Pencil
- Clamps
- Ratchet wrench and sockets
- Paintbrush
Power Tools:
- Miter saw
- Circular saw
- Drill/driver
- Random orbit sander
Building Materials:
- 2×8 wood straps
- 5/16-by-3½-inch lag screws
- ¾-inch gas pipe and fittings (elbows, tees, and flanges)
- ¼-by-2½-inch wood screws
- Shellac and beeswax polish
Preparing Your Salvaged Beams
Before you can start building your table, you need to prepare your salvaged beams. This process involves cleaning, inspecting, and shaping the wood to get them ready for construction.
Start by thoroughly cleaning your salvaged beams. Remove any dirt, grime, or loose material using a stiff brush. Inspect the wood for any nails, screws, or metal fragments that could damage your tools. Remove these carefully using a pry bar or pliers.
Next, examine the beams for any signs of rot, insect damage, or structural weakness. While some imperfections add character, check that the wood is still strong enough for use as a table.
Building a Table From Salvaged Beams Steps
Here is the step-by-step process for constructing a salvaged beam table:
Step 1: Overview for Building a Table from Salvaged Beams
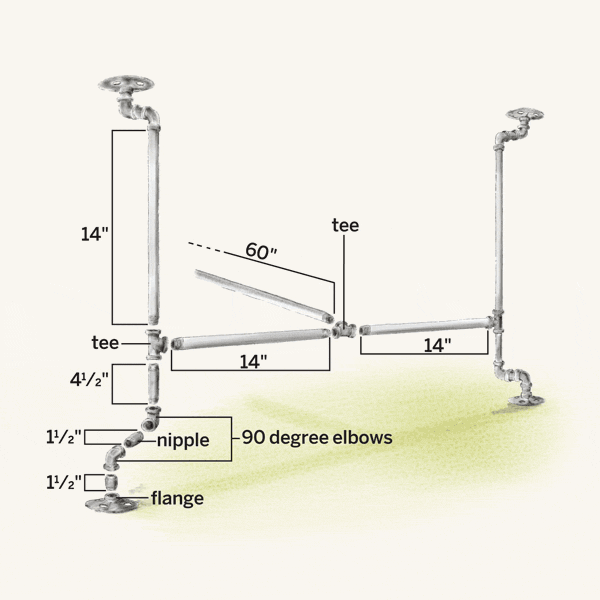
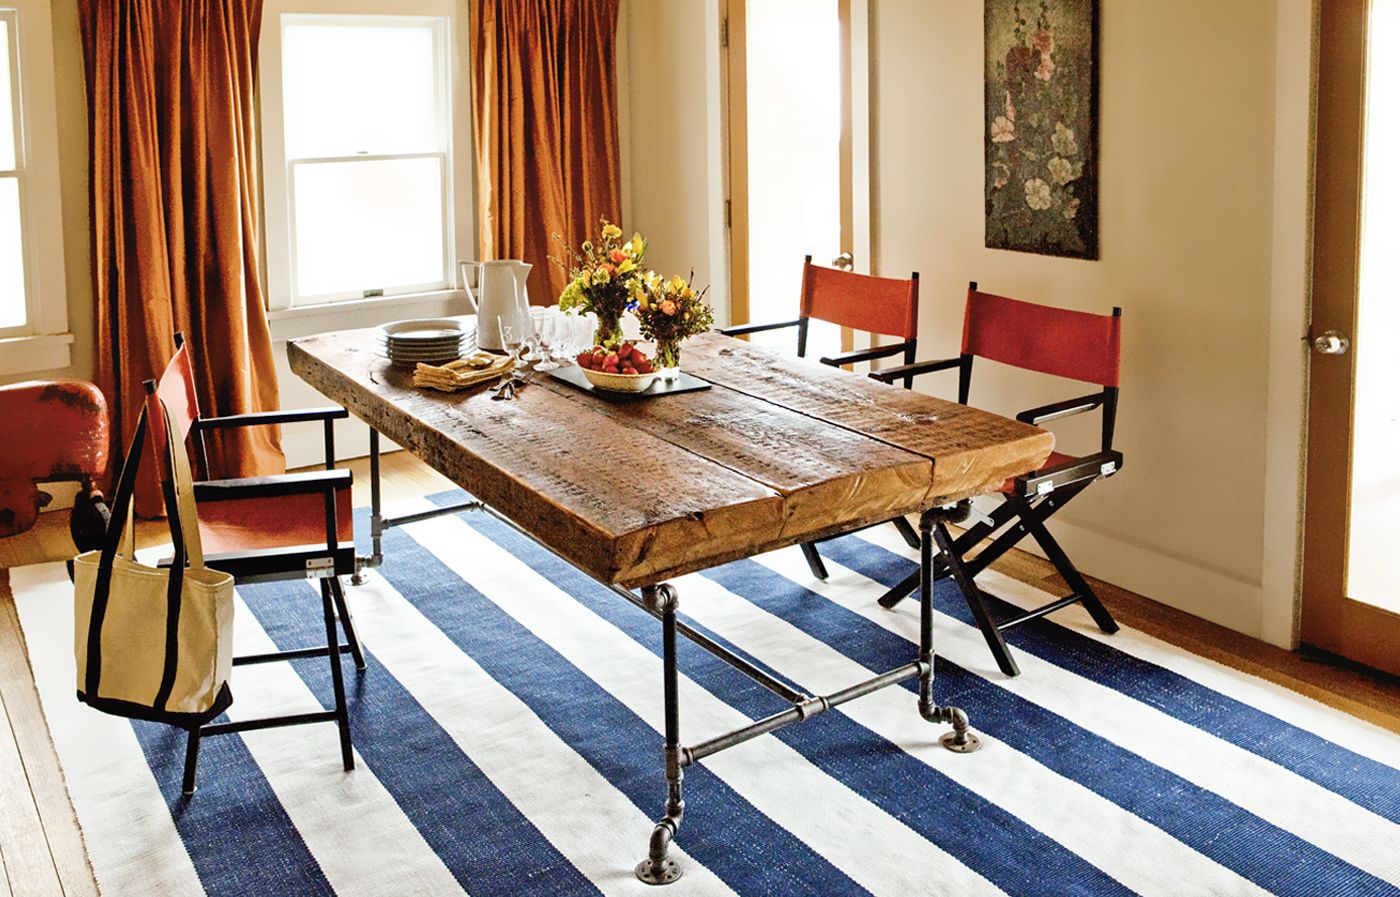
Much the way a picnic-table top is constructed, I joined three reclaimed beams from below using 2×8 wood straps secured with 5/16-by-3½-inch lag screws. The industrial-look base is made from ¾-inch gas pipe and coordinating elbows, tees, and flanges, all from the home center. Download a blueprint for the base.
Step 2: Assemble the Pipe Base
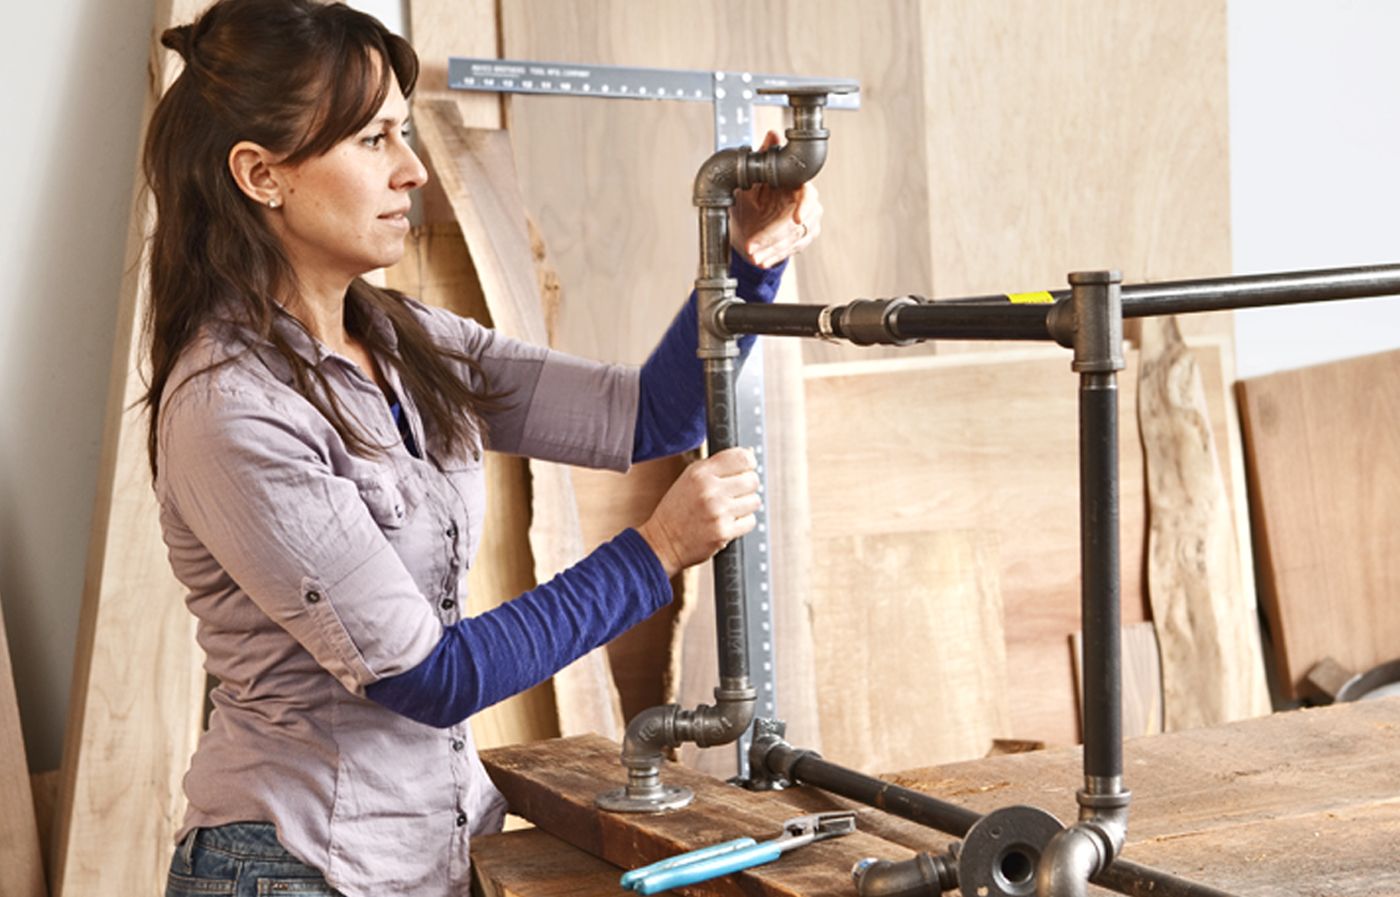
By doing a dry fit with the base resting on the beams and straps, you can ensure proper alignment by loosening or tightening the fittings. Length and width can vary, but table height is typically 28 to 30 inches.
Step 3: Cut the Two Wood Straps
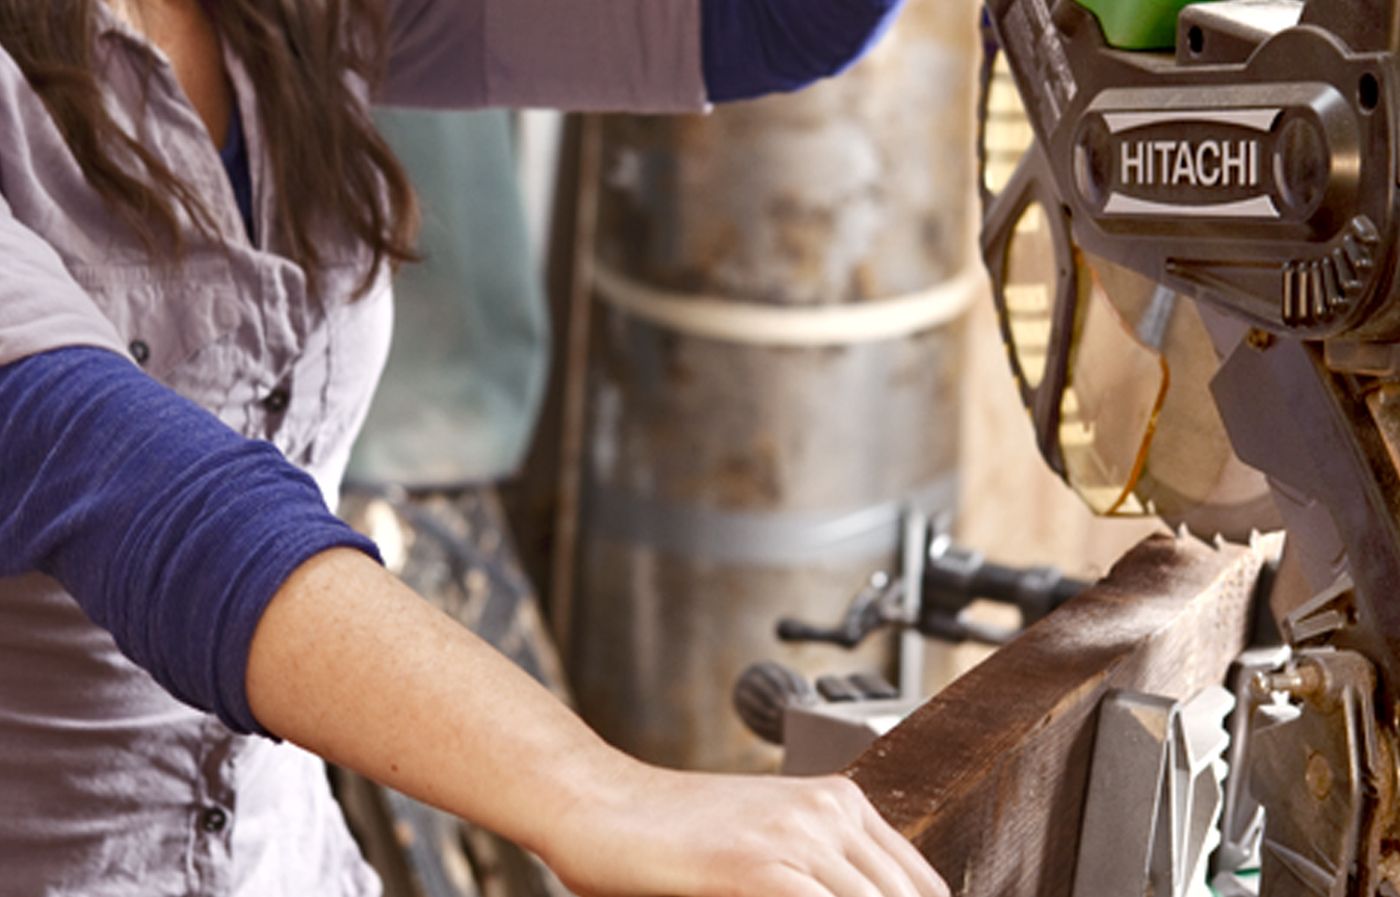
Cut the two wood straps, and bevel the ends using a compound miter saw. The straps should be a few inches shorter than the width of the three beams clamped edge to edge.
Step 4: How Long is Too Long
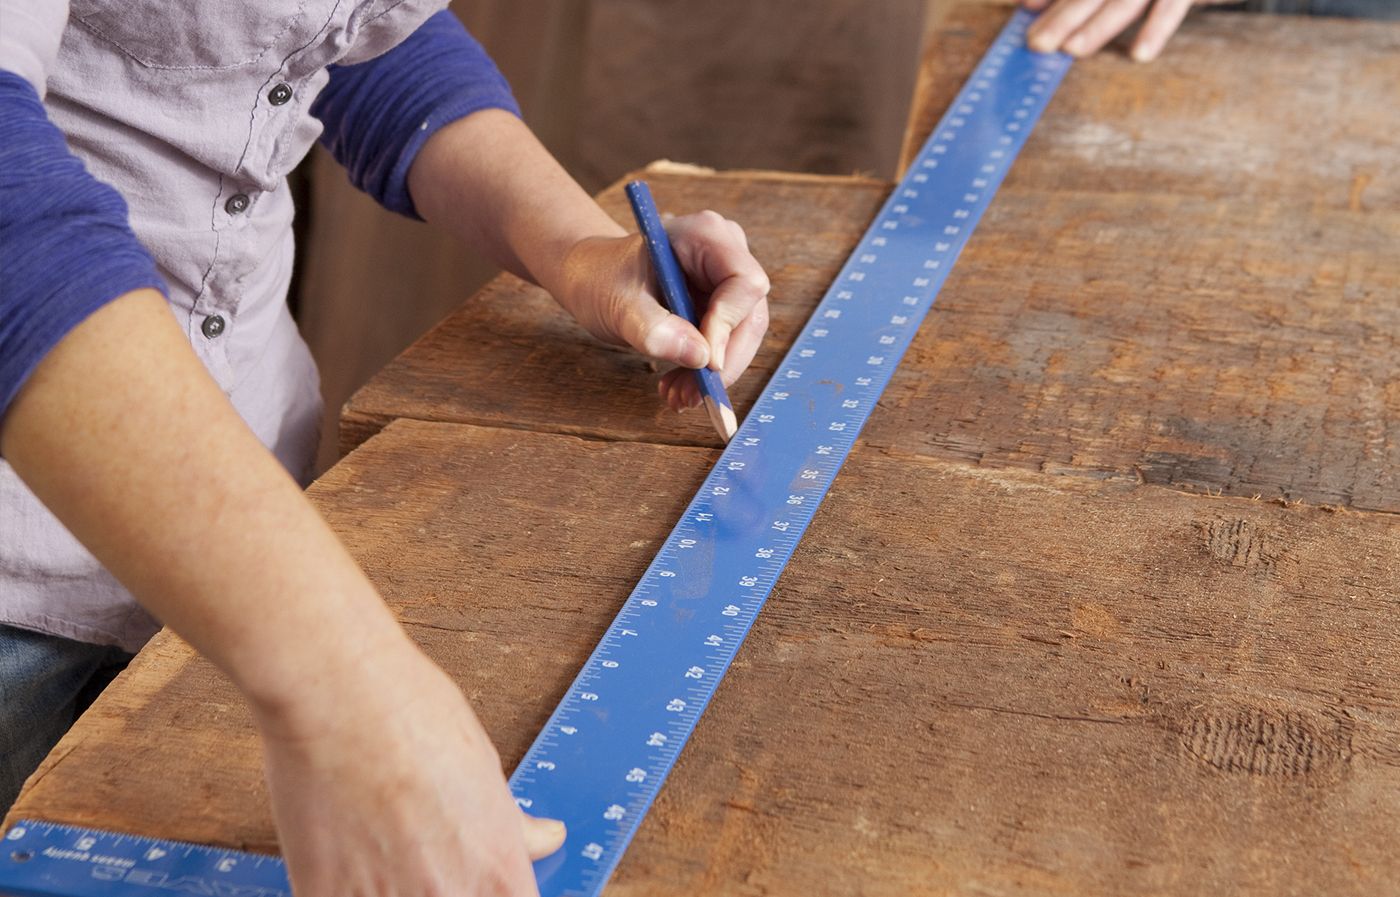
Determine the length of the top, and use a T-square and pencil to mark cutlines across the face of the beams on both ends.
Step 5: Cut the Beams
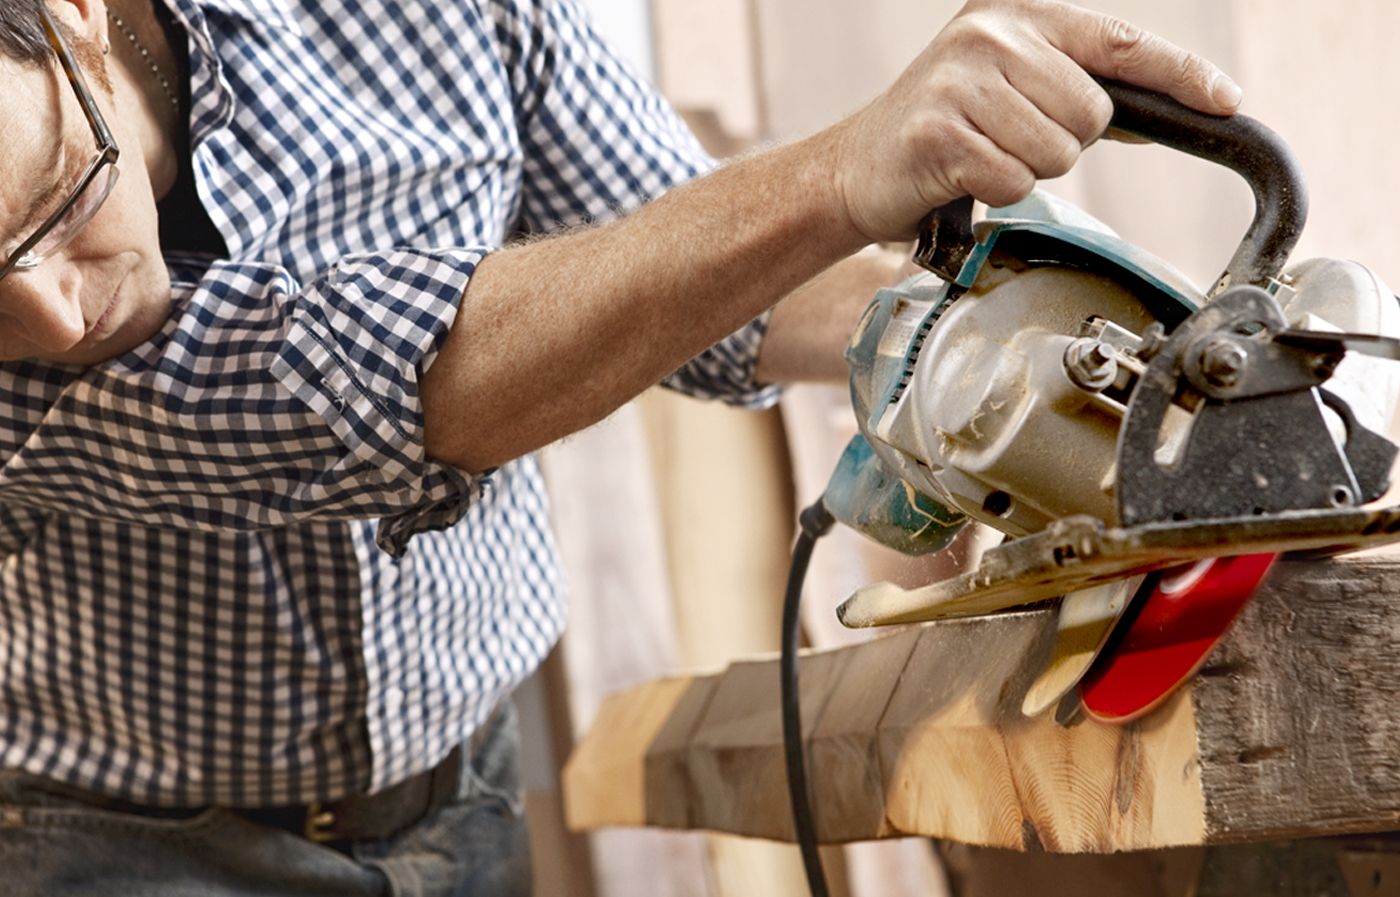
With the beams face up and clamped edge to edge, use a circular saw to make a straight 90-degree cut along your pencil line on each end. Flip the beams facedown, and bevel the bottom edges by adjusting the blade on your circular saw to a 45-degree angle (shown). The bevel gives a beefy top a lighter, more finished look.
Step 6: Secure the Straps

Clamp the straps to the beams, and drill pilot holes for the lag screws, staggering them every 4 inches. Use a spade bit to bore recesses for the screwheads, and twist in the fasteners with a socket wrench.
Step 7: Attach the Base
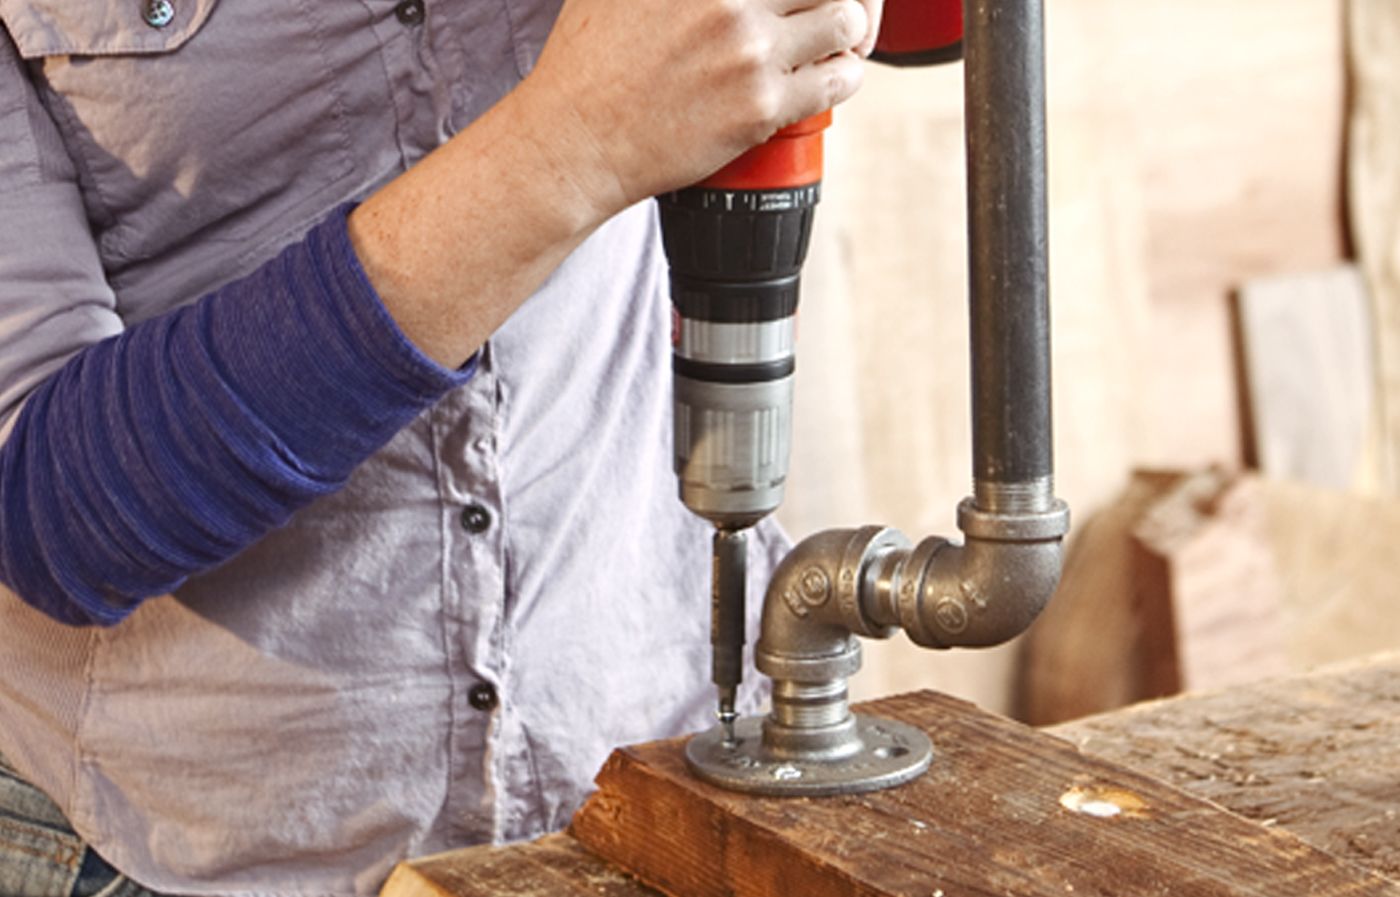
Position the connecting flange for each of the four legs on top of the straps, and mark the screw holes. Remove the base, and drill pilot holes at the marks for ¼-by-2½-inch wood screws. Replace the base and drive in the screws.
Step 8: Sand the Top
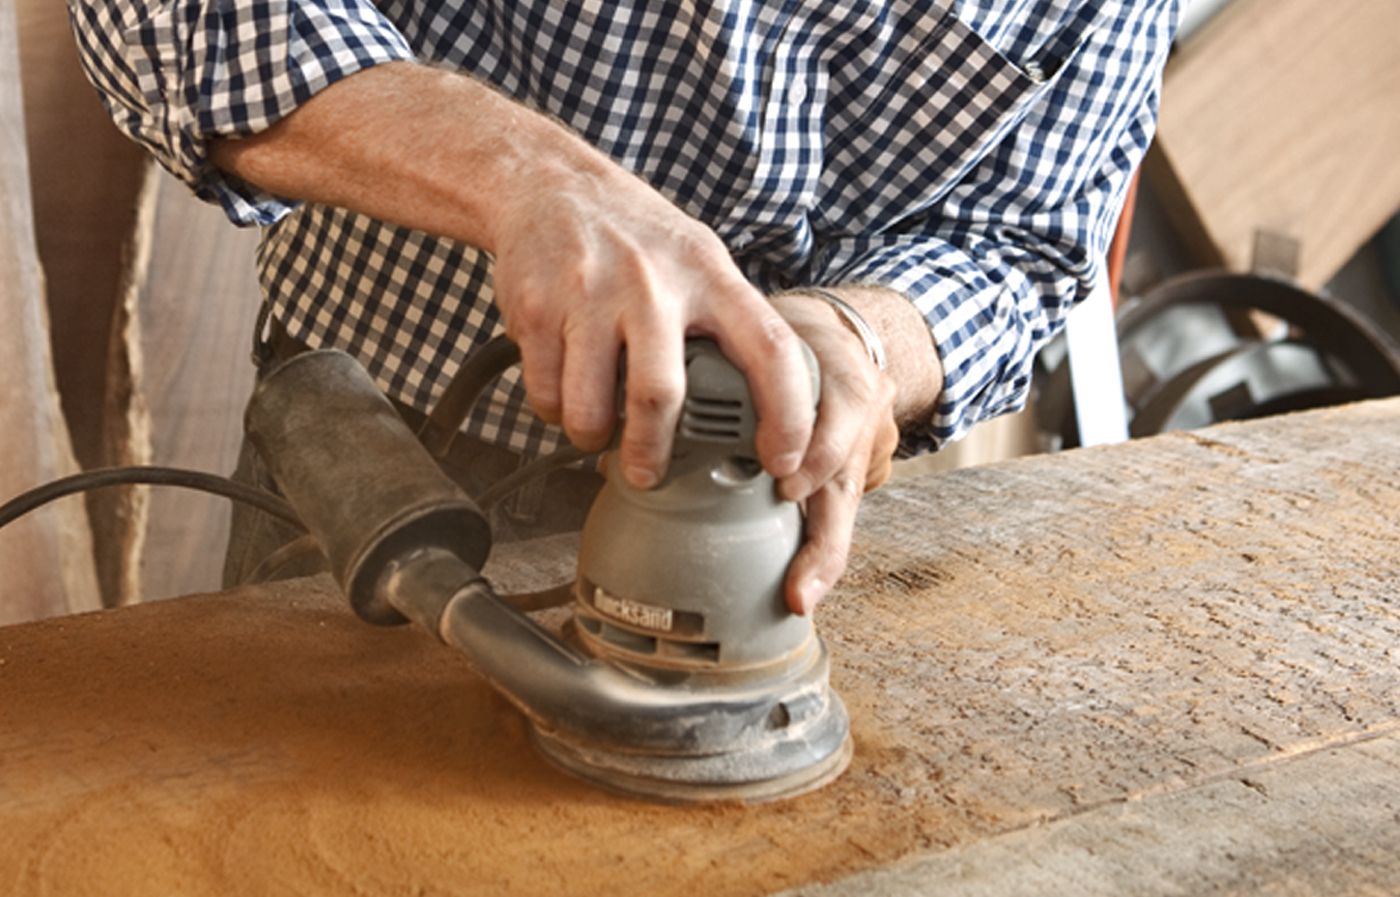
Turn the table right-side up and, wearing a dust mask and protective glasses, use a random-orbit sander fitted with 60- or 80-grit paper to remove the rough top layer. Follow with a finer grit to smooth it.
Step 9: Complete the Table
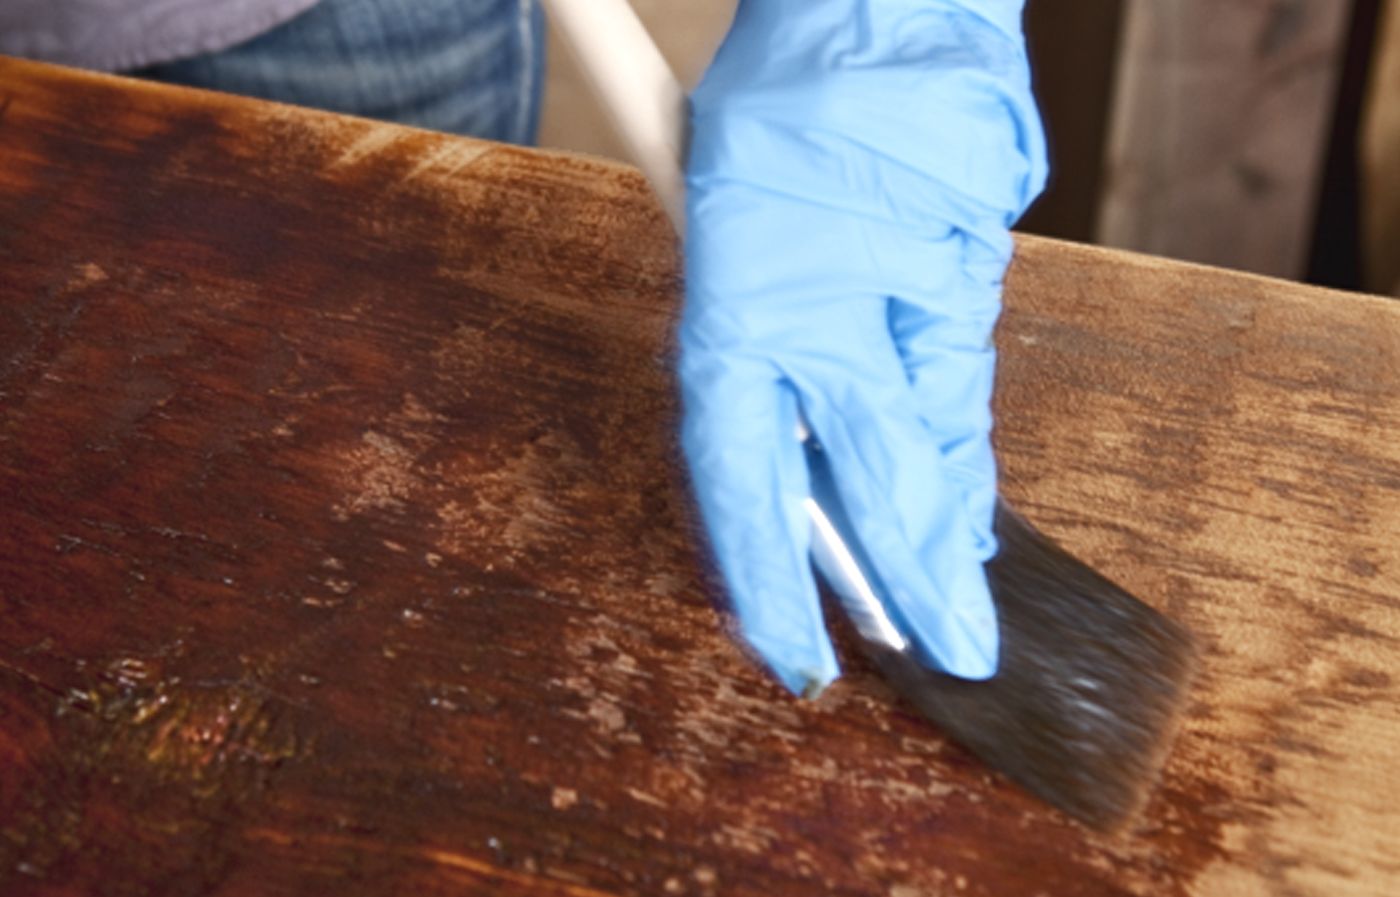
Complete the table by applying shellac to darken the wood and seal it. Let dry, and follow with a coat of beeswax polish to fill surface cracks. Now gather your friends for a celebratory potluck to christen your new table.
Maintenance and Care for a Salvaged Beam Table
Proper maintenance will keep your salvaged beam table looking beautiful. Here’s how to maintain your reclaimed wood table.
Indoor Table Maintenance
For indoor tables, regular dusting with a soft, dry cloth is usually enough. Every few months, clean the table with a damp cloth and mild soap, then dry thoroughly. Reapply beeswax polish annually to maintain the protective finish.
Avoid placing hot items directly on the table surface, and use coasters under drinks to prevent water rings. If spills occur, wipe them up quickly to prevent staining.
Outdoor Table Care
If you choose to use your salvaged beam table outdoors, it will require more frequent maintenance. Apply a water-resistant sealant annually to protect the wood from moisture. During winter or periods of heavy rain, cover the table or store it indoors if possible.
Clean outdoor tables more often, using a mild soap solution and soft brush to remove dirt and debris. Allow the table to dry completely before applying any new finishes or sealants.
Our Conclusion
Building a table from salvaged beams is a rewarding project that results in a unique, character-filled piece of furniture. By following our steps, you can transform reclaimed wood into a stunning dining table that will become the centerpiece of your home.
Remember that working with salvaged wood requires patience and flexibility. Each piece of wood is unique, and you may need to adapt your plans as you go. Embrace the imperfections and history of the wood — they’re what make your table truly special.