We may be compensated if you purchase through links on our website. Our team is committed to delivering honest, objective, and independent reviews on home products and services.
The Westport chair, the predecessor to the iconic Adirondack chair, offers a rustic yet comfortable seating option for your outdoor space. With its deeply pitched seat, slanted back, and wide arms, this chair practically demands relaxation. In this guide, we’ll walk you through the process of building your own piece of history. In the video above, This Old House Senior Technical Editor Mark Powers demonstrates the construction of this timeless design.
Understanding the Westport Chair
The Westport chair, first designed in 1903 by Thomas Lee, was created with comfort in mind. Its unique features include:
- Sturdy construction that tightens when someone sits in it
- A deeply angled seat and back for optimal relaxation
- Wide arms to accommodate drinks, books, or resting limbs

Materials and Tools Needed for Your Westport Chair Project
Before beginning your Westport chair project, gather the following materials and tools:
Materials:
- Four 5/4 x 10 cedar boards, 8 feet long
- 1⅝-inch stainless-steel trim-head screws
- Teak oil for finishing
Tools:
- Sliding compound miter saw
- Circular saw
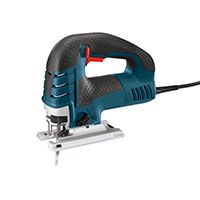
- Jigsaw
- Drill/driver
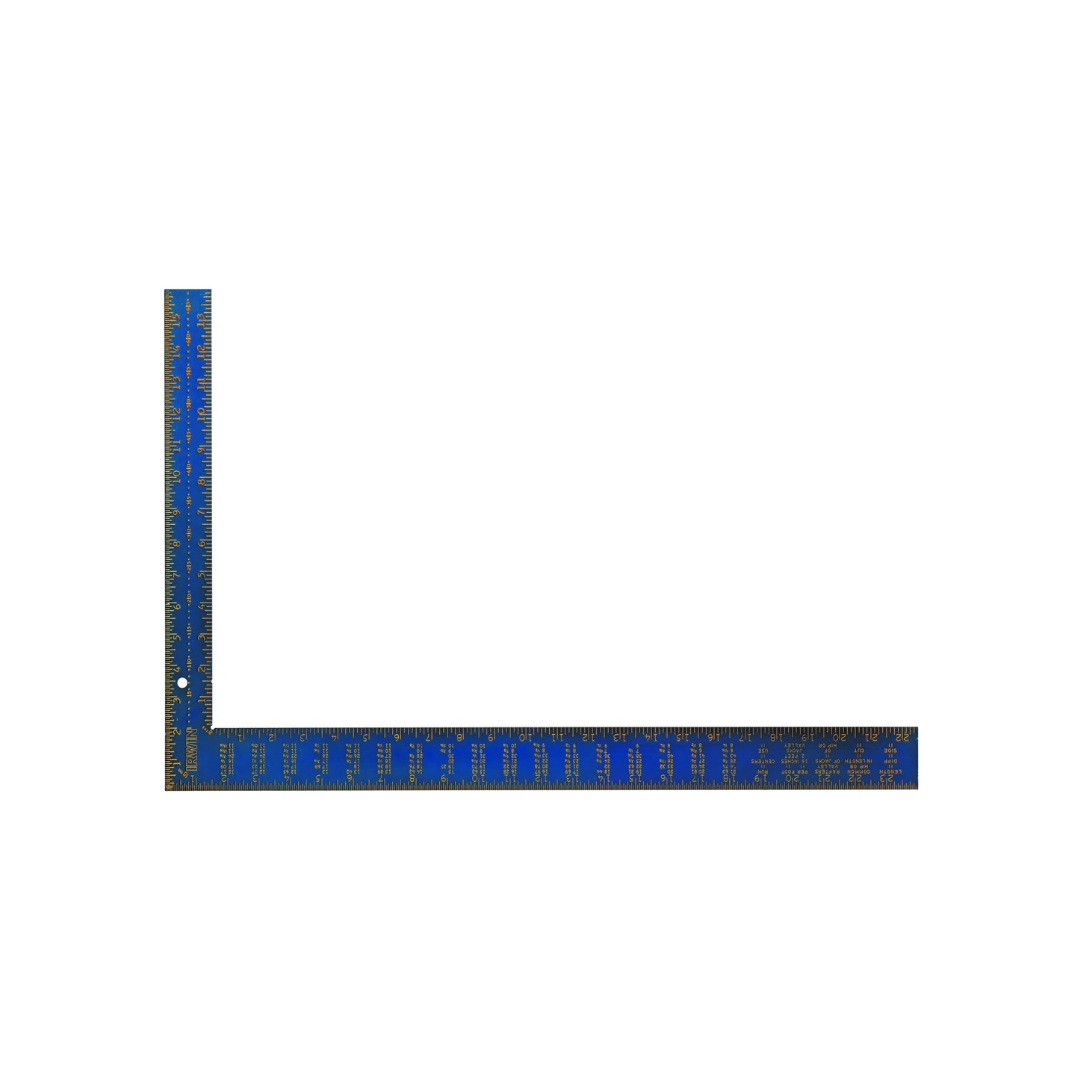
- Framing square
- Combination square
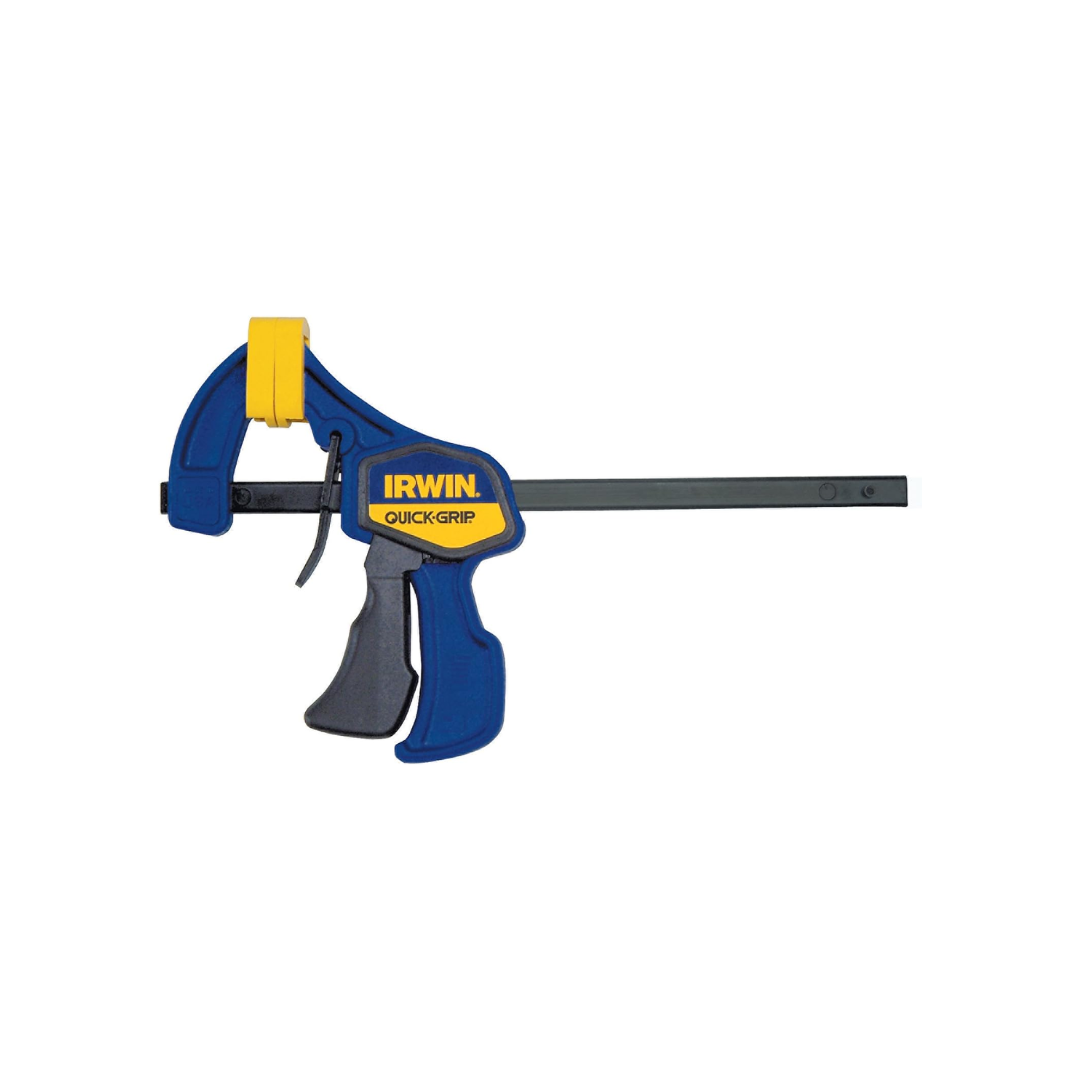
- Bar clamps
- Sandpaper (120-grit)
- Pencil compass
- Straightedge
- Torpedo level
Steps for Creating a Westport Chair
Step 1: Rip a Board to Width
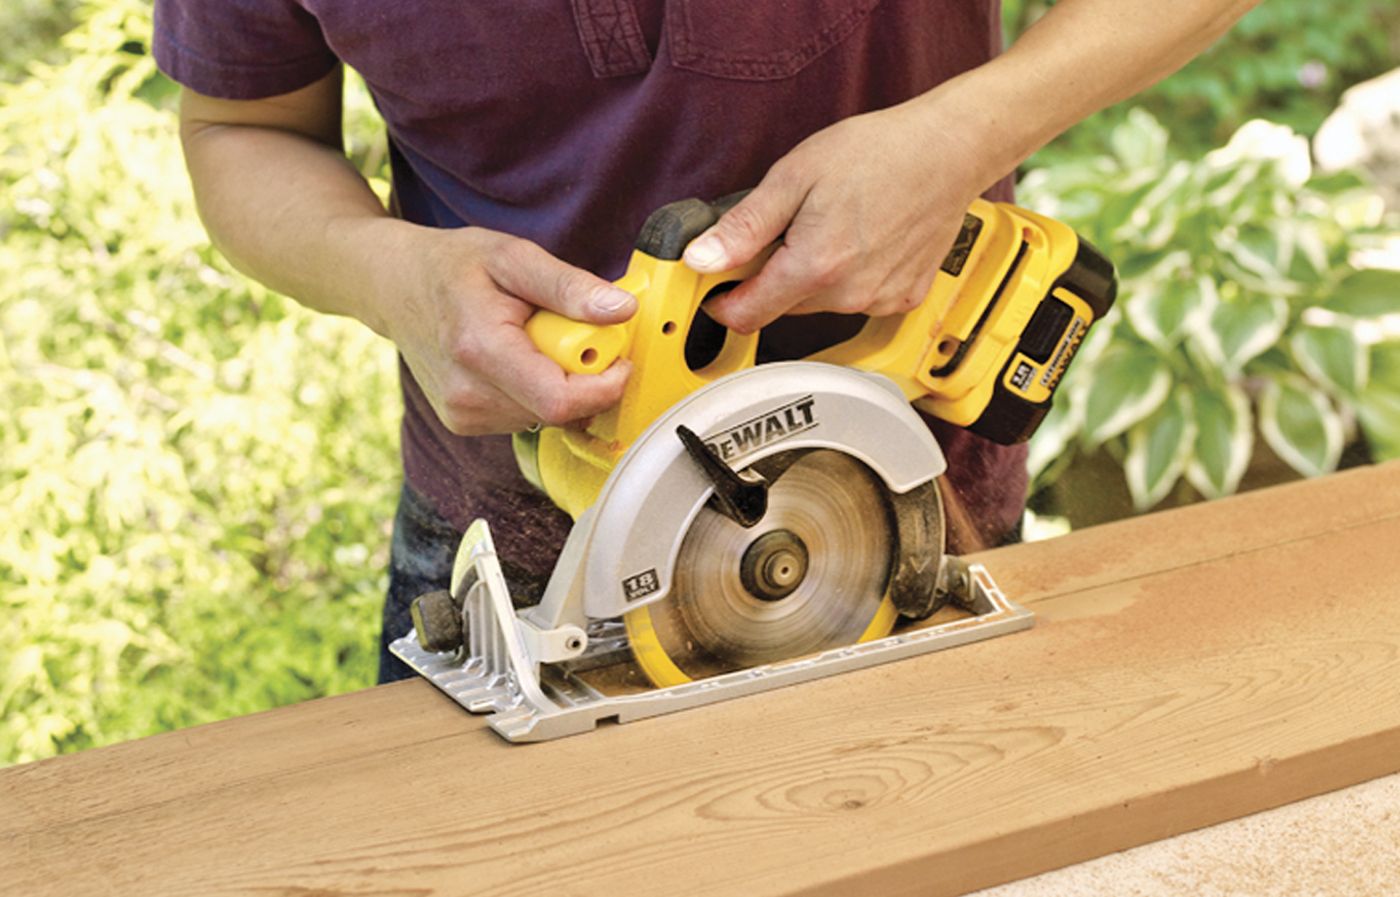
To make the blank for the front legs, use a sliding compound miter saw to cut a 5/4 cedar board to length per the cut list. Switch to a circular saw, attach a fence, and rip this blank down to 8⅛ inches wide.
Step 2: Bevel-Rip the Legs
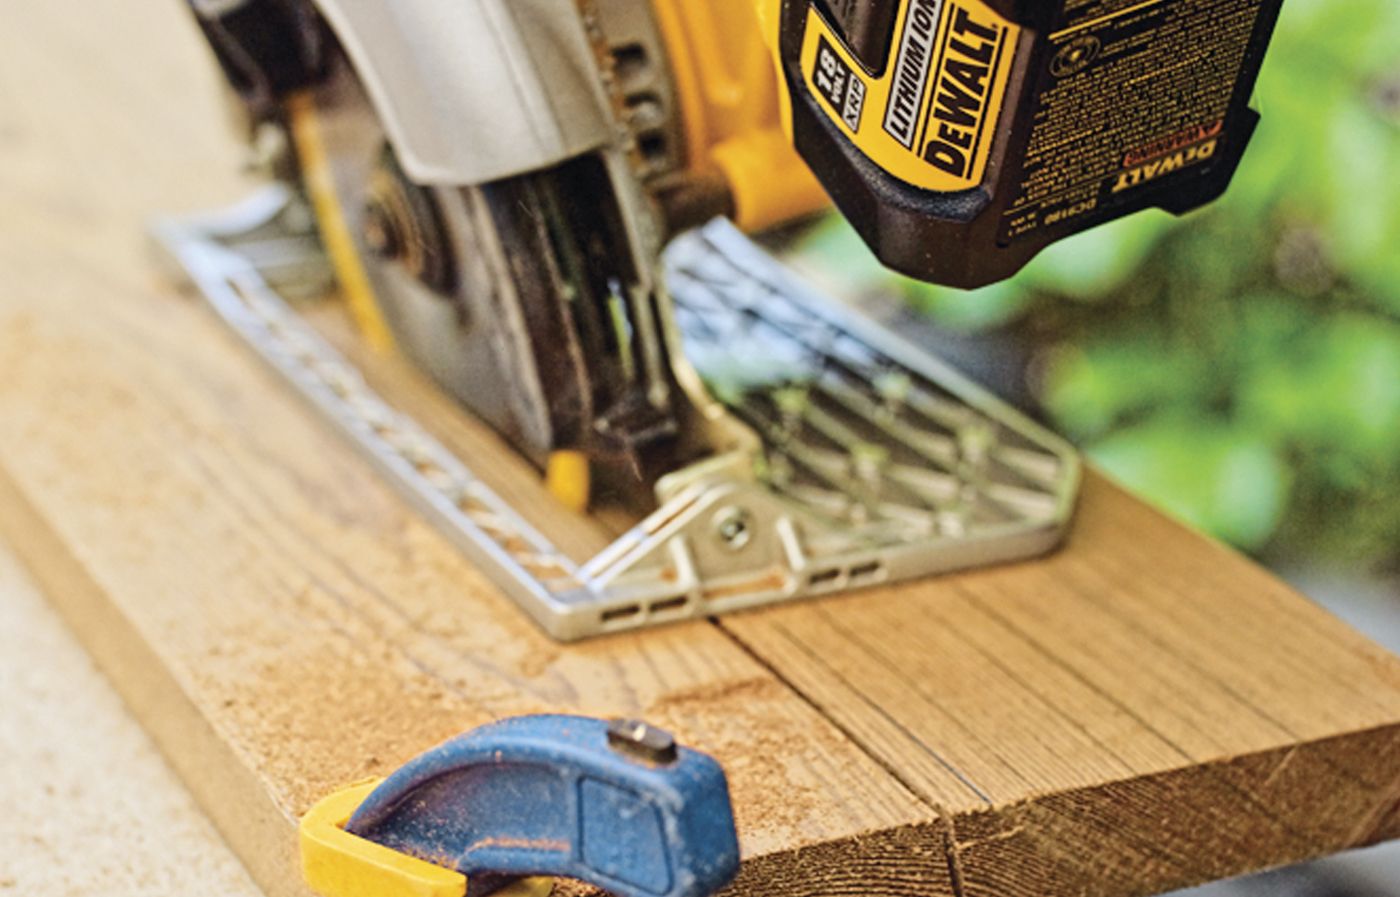
Clamp the blank to sawhorses or a workbench with its long edge overhanging. Adjust the bevel angle on the circular saw to 12 degrees and attach a fence. Bevel-rip the blank down the middle, as shown, to create two identical front legs. The easiest way to do this is to mark the center on one end of the board and line up the angled blade to bisect it when starting the cut.
Next, following the online cut list, use a sliding compound miter saw and a circular saw to cut blanks for the remaining parts.
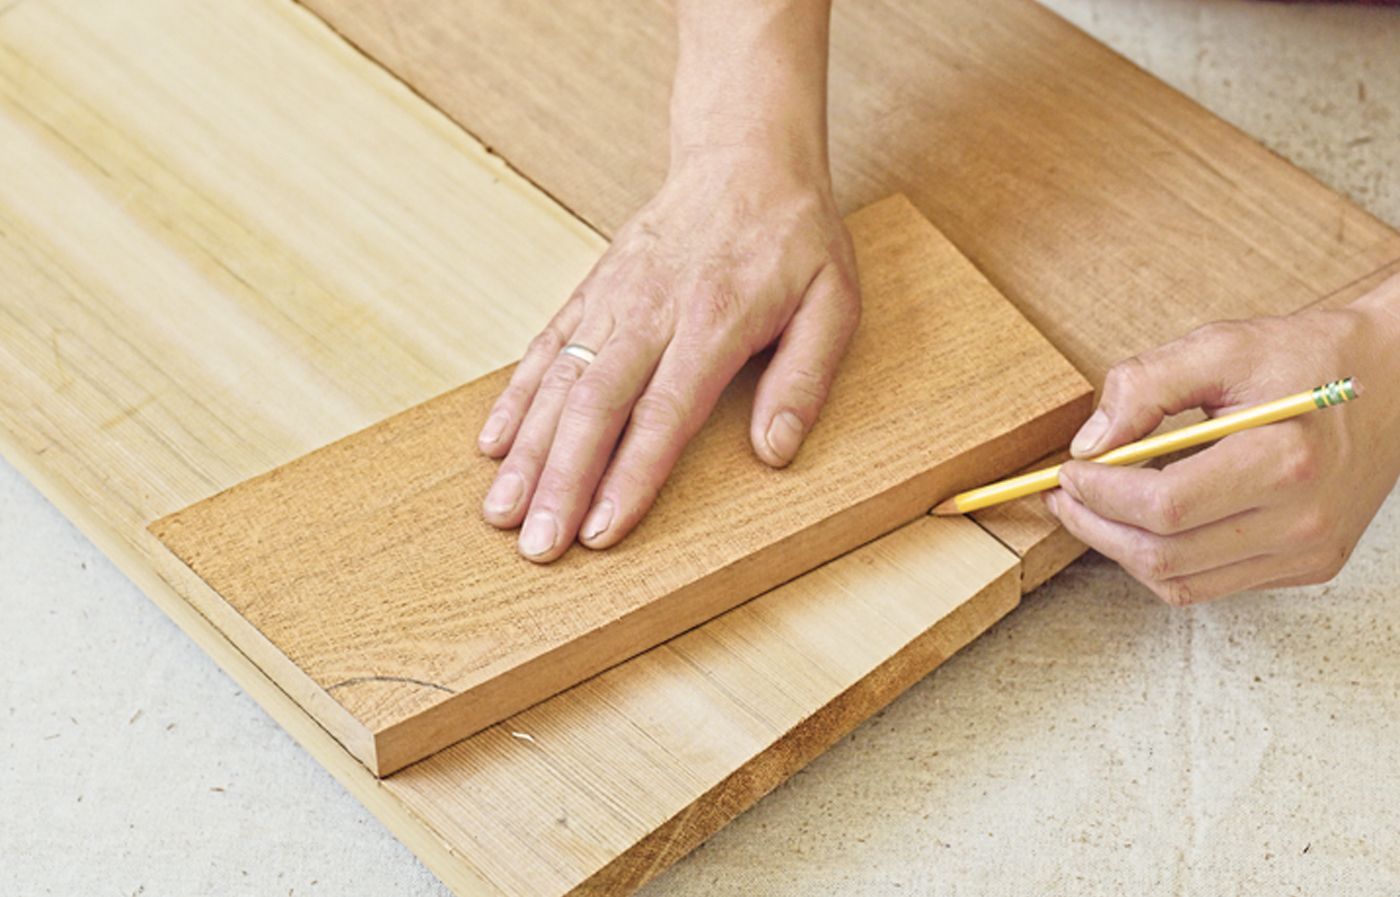
Step 3: Mark a Notch
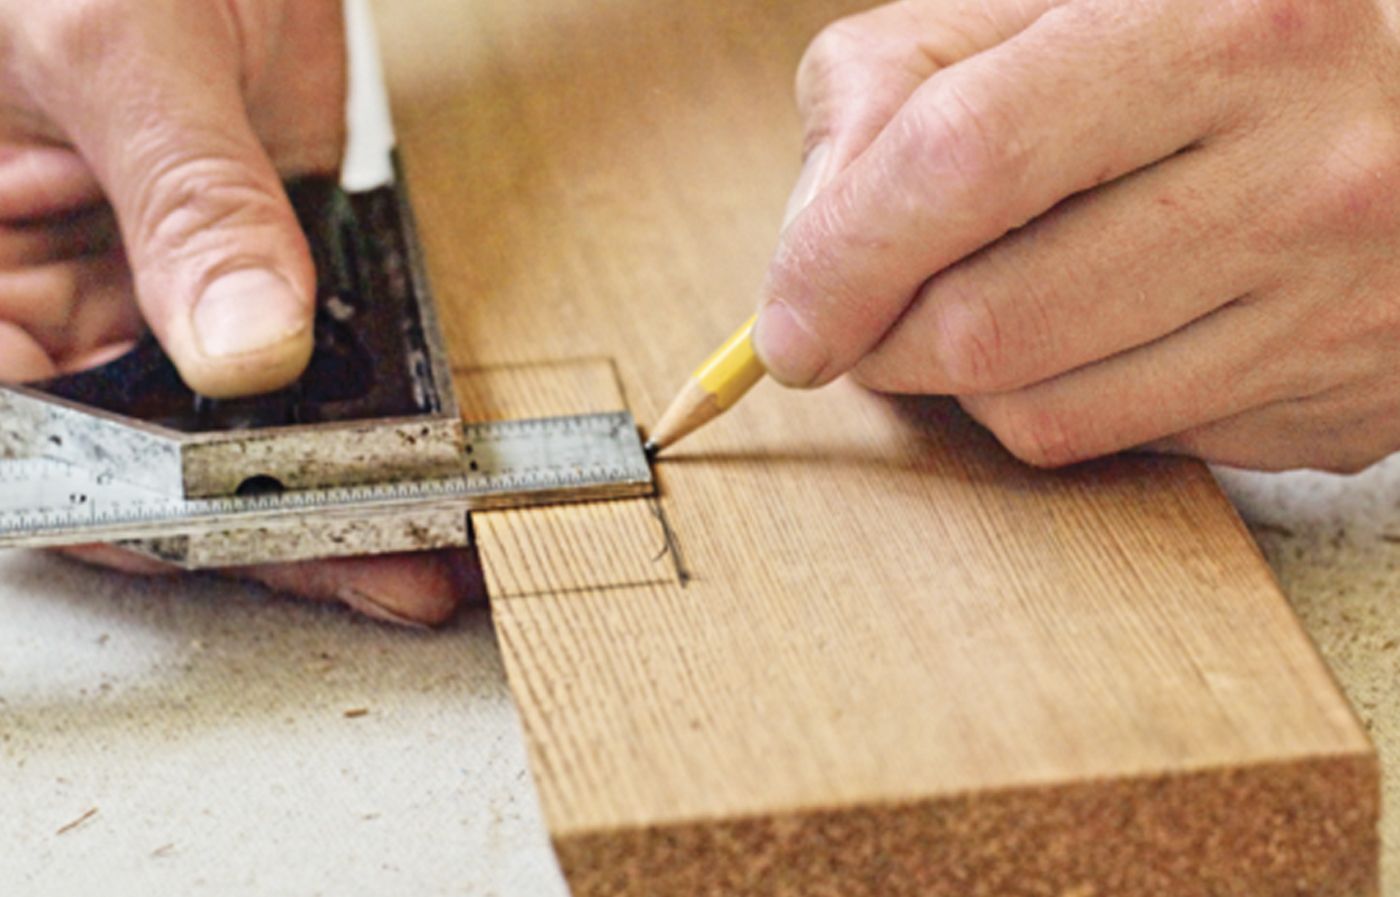
Adjust a combination square so that its steel rule protrudes past the head by ⅞ inch—just thinner than a 5/4 board. Use the square to mark a 3-inch-long notch on the beveled front edge of the leg, as shown, 2½ inches from the bottom. The notches will later accept the horizontal front rail.
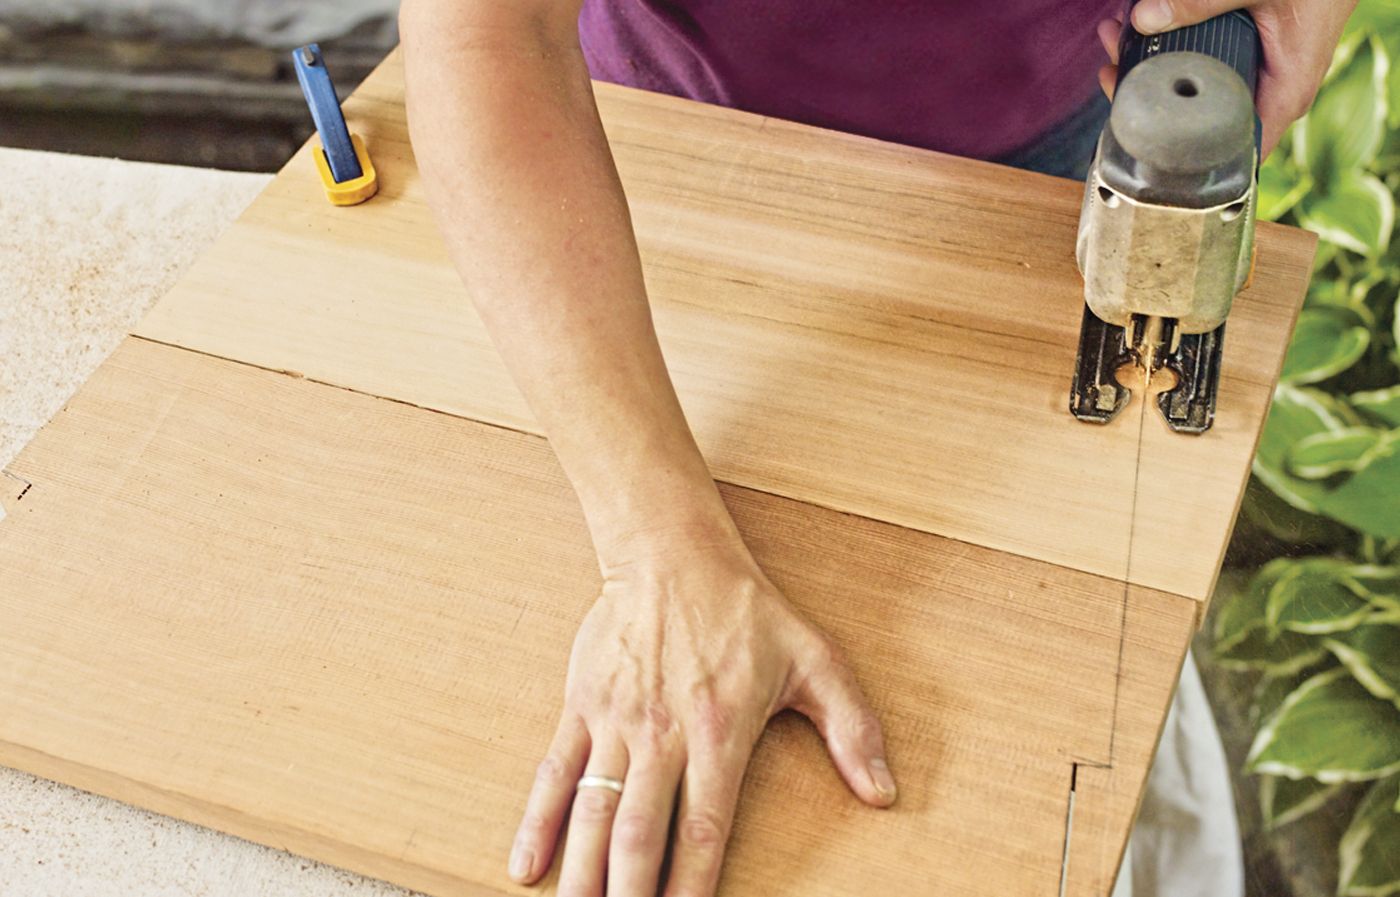
Step 4: Cut the Notches
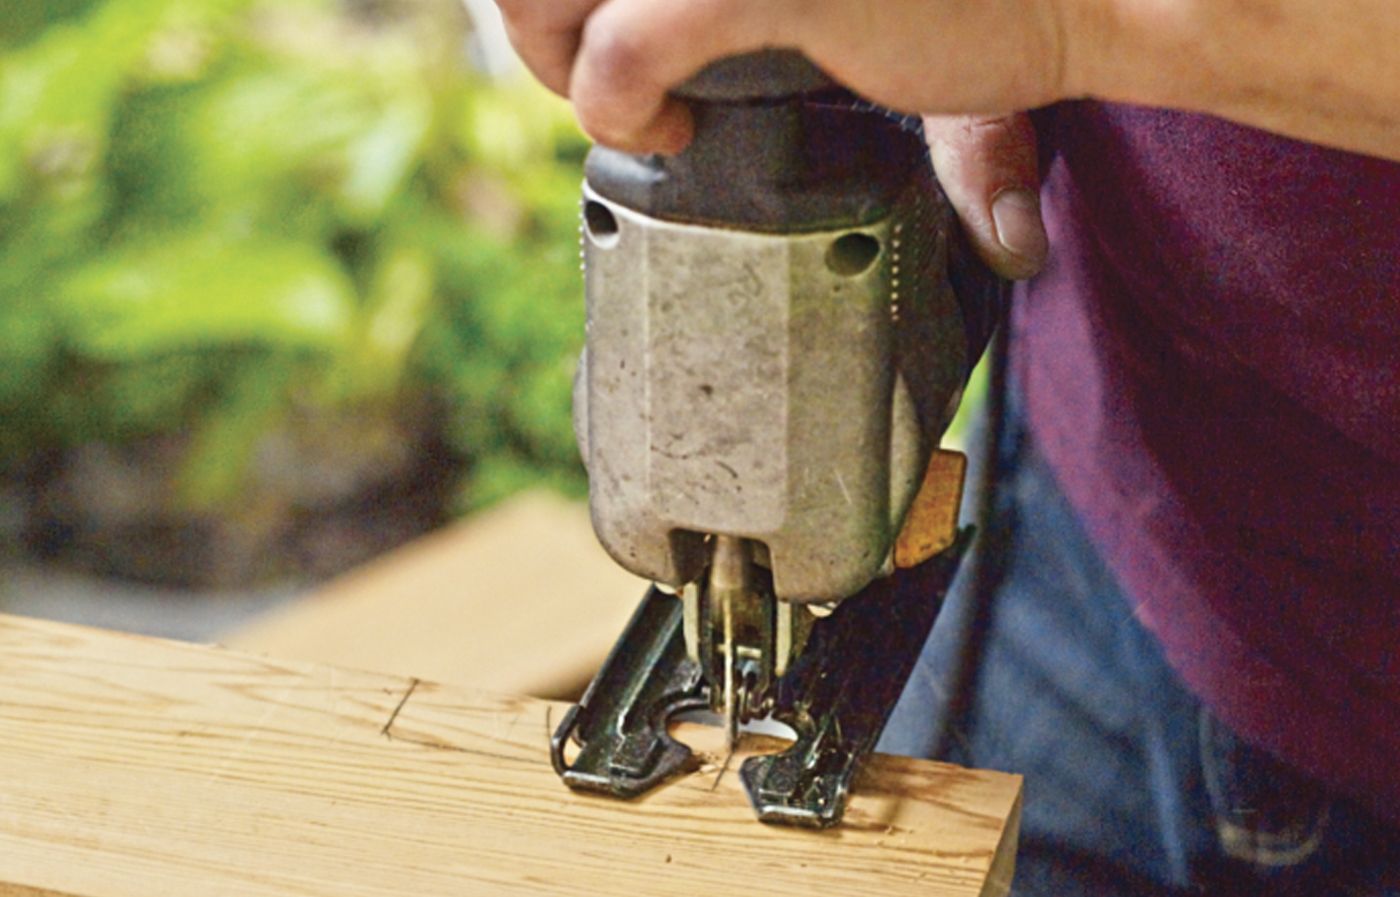
Use a jigsaw to cut the short lines straight into the board, as shown, but don’t saw past the longer cutline parallel to the board’s edge. Use a drill/driver to bore a ⅜-inch hole through the board’s face in a corner of the notch’s waste area. Tilt the jigsaw’s shoe to 12 degrees, and insert the blade into the hole with its angle matching that of the beveled edge. Complete the notch by bevel-cutting along the long line. Mark and notch the other front leg to mirror the first.
Step 5: Attach the Battens
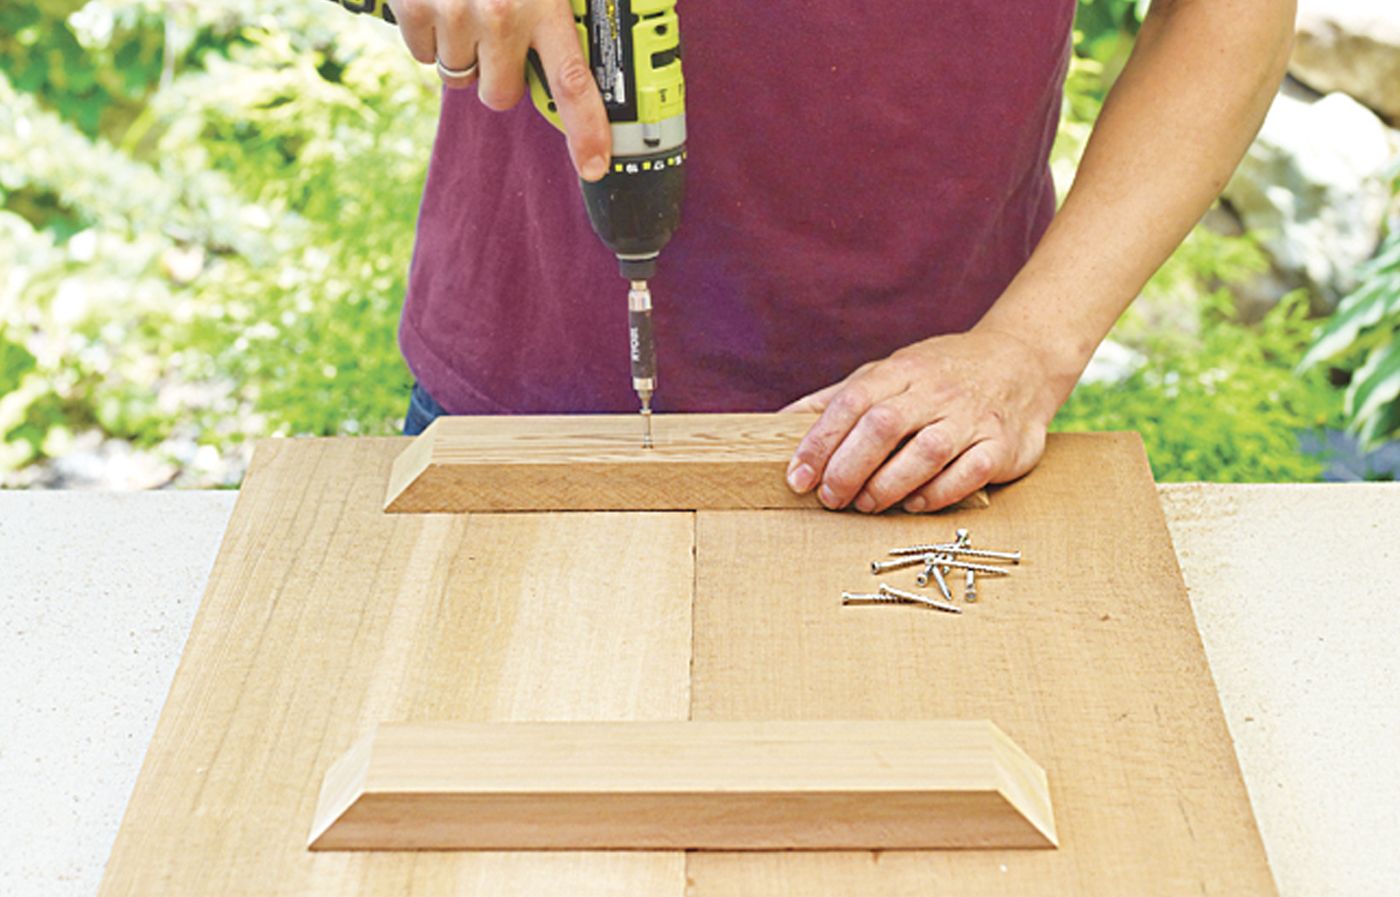
Clamp together the two boards for the seat blank. If the edges don’t mate evenly, flatten them with a hand plane. Center two battens across the boards, inset several inches from the boards’ ends. Drill ⅛-inch pilot holes through the battens and attach them with 1⅝-inch stainless-steel trim-head screws, as shown. Do not use glue between the boards or under the battens.
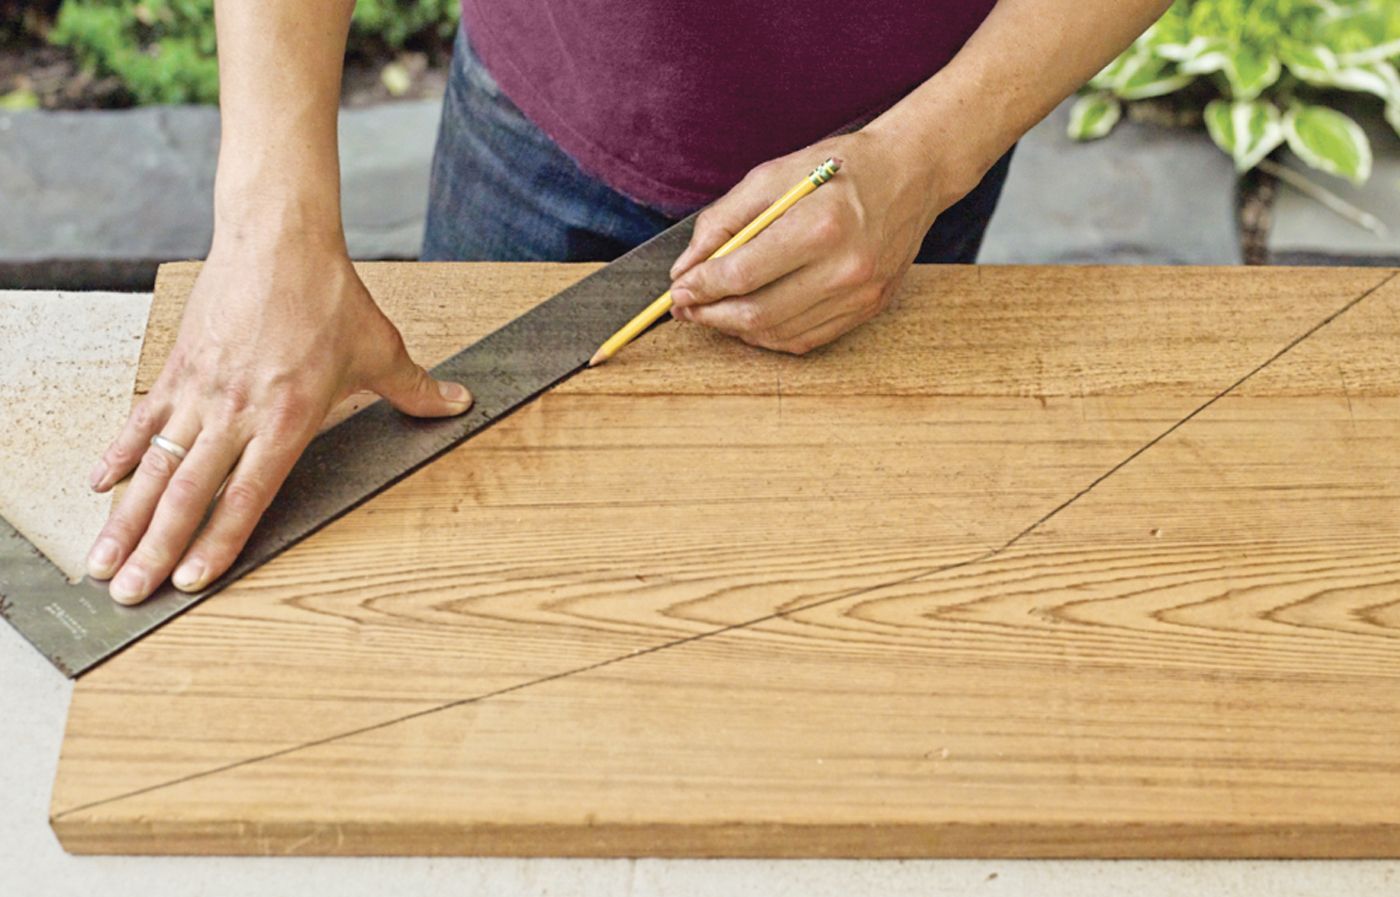
Step 6: Mark the Cutlines on the Seat Blank
Use a straightedge to mark the cutlines on the seat blank per the parts plan. These odd-shaped cuts allow the seat to fit precisely into the tapered space between the front and back legs.
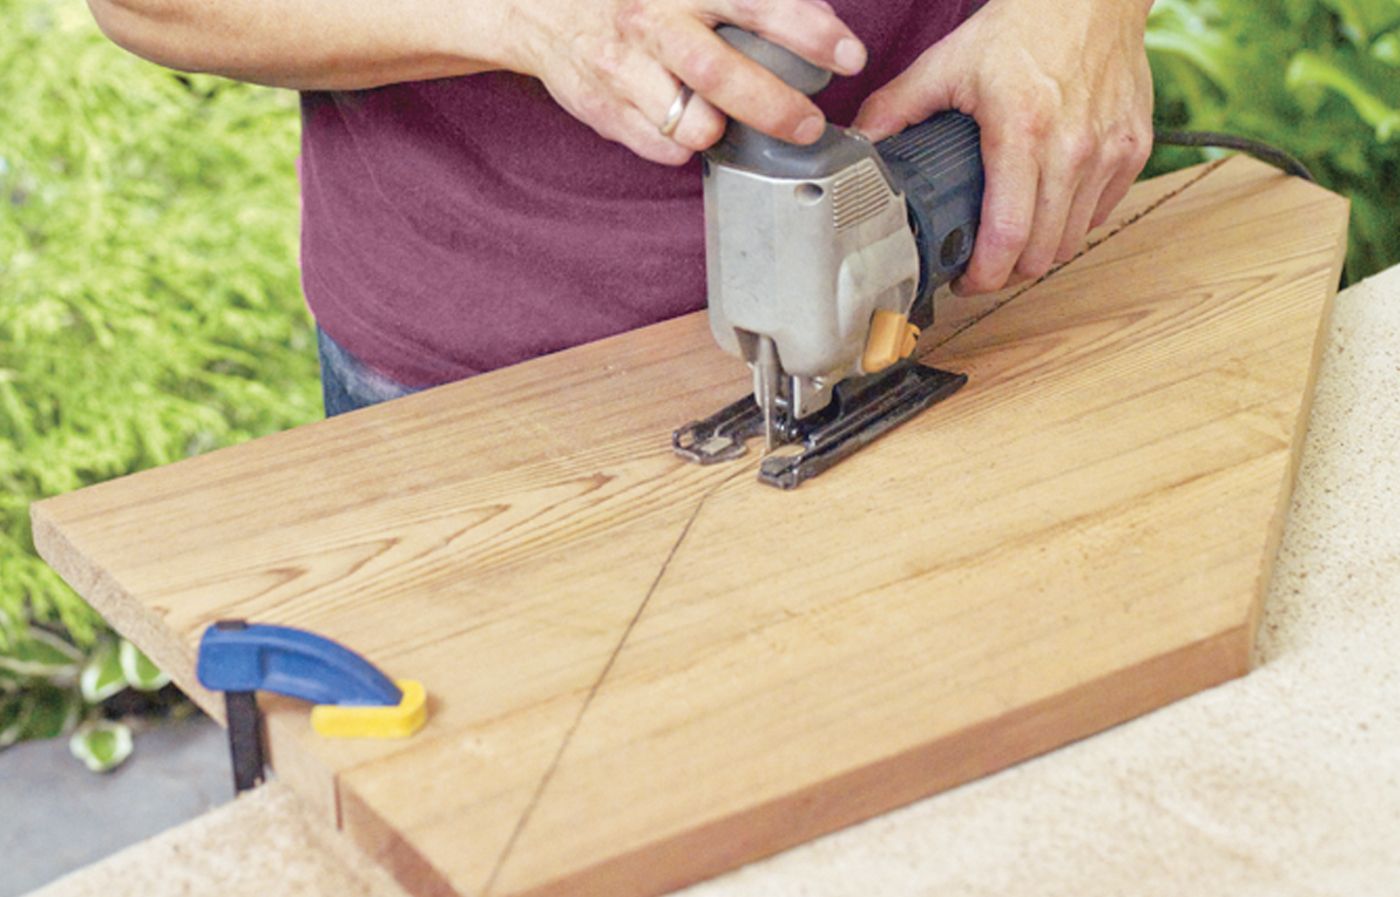
Step 7: Cut Out the Seat and Backrest
Trim the seat blank using a jigsaw. Cut the four long lines with the blade at 90 degrees, but bevel-cut the two short connecting lines with the saw set to 12 degrees, angled toward the back legs. Make the backrest the same way: Join the two boards with battens, mark the cutlines, and cut the piece to shape. Note that the long edge of each notch must be beveled at 12 degrees, angling in toward the rear of the chair, for the back legs to sit flat against the backrest.
Step 8: Mark the Cutlines
Following the online parts plan, mark the angled cutlines on each leg blank. The unusual shape produces legs that support the seat at a 21-degree angle to the ground.
Step 9: Cut the Back Legs to Shape
Use a jigsaw with the blade set at 90 degrees to cut along the three long lines. Tilt the shoe to 12 degrees to trim the short line at the front edge of each leg. Cut the bevels so that the legs mirror each other and you can orient them correctly during assembly, flush with the beveled edges of the front legs.
Step 10: Trace the Arm Curve
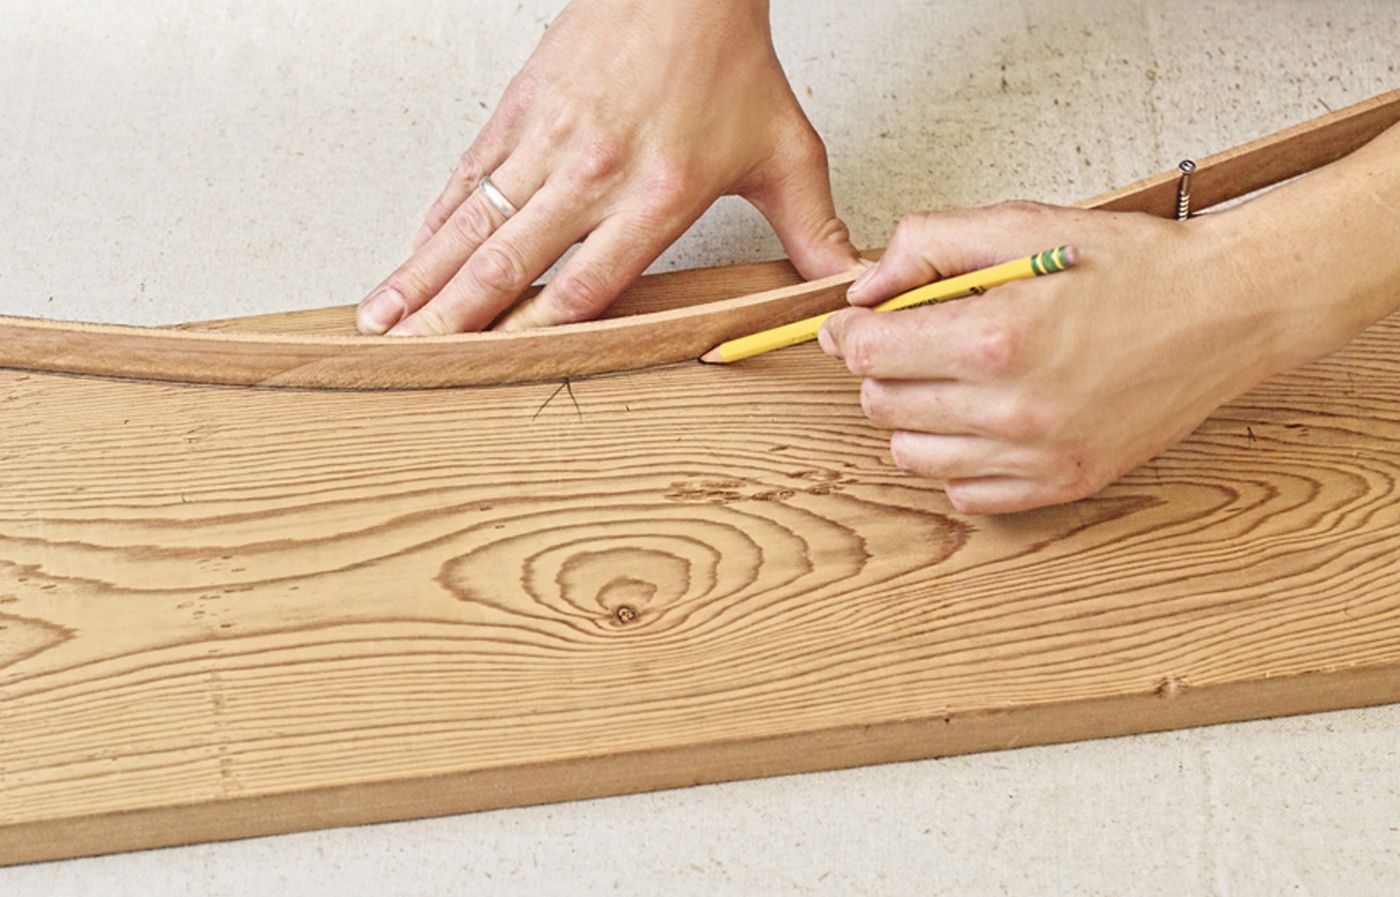
Each arm has a curved cutout along its inner edge to provide a generous seating area. To draw the curve, start by driving two screws partway into an arm blank, about ¼ inch from the edge: Place one screw 2¾ inches from the rear end and the other 12 inches from the front end. Find the center point between the screws, measure in two inches, and make a mark. Press a thin wood strip against the two screws, bending it until it meets the two-inch mark. Hold it in place as you trace a line along the strip’s outer edge, as shown.
Step 11: Cut the Curve
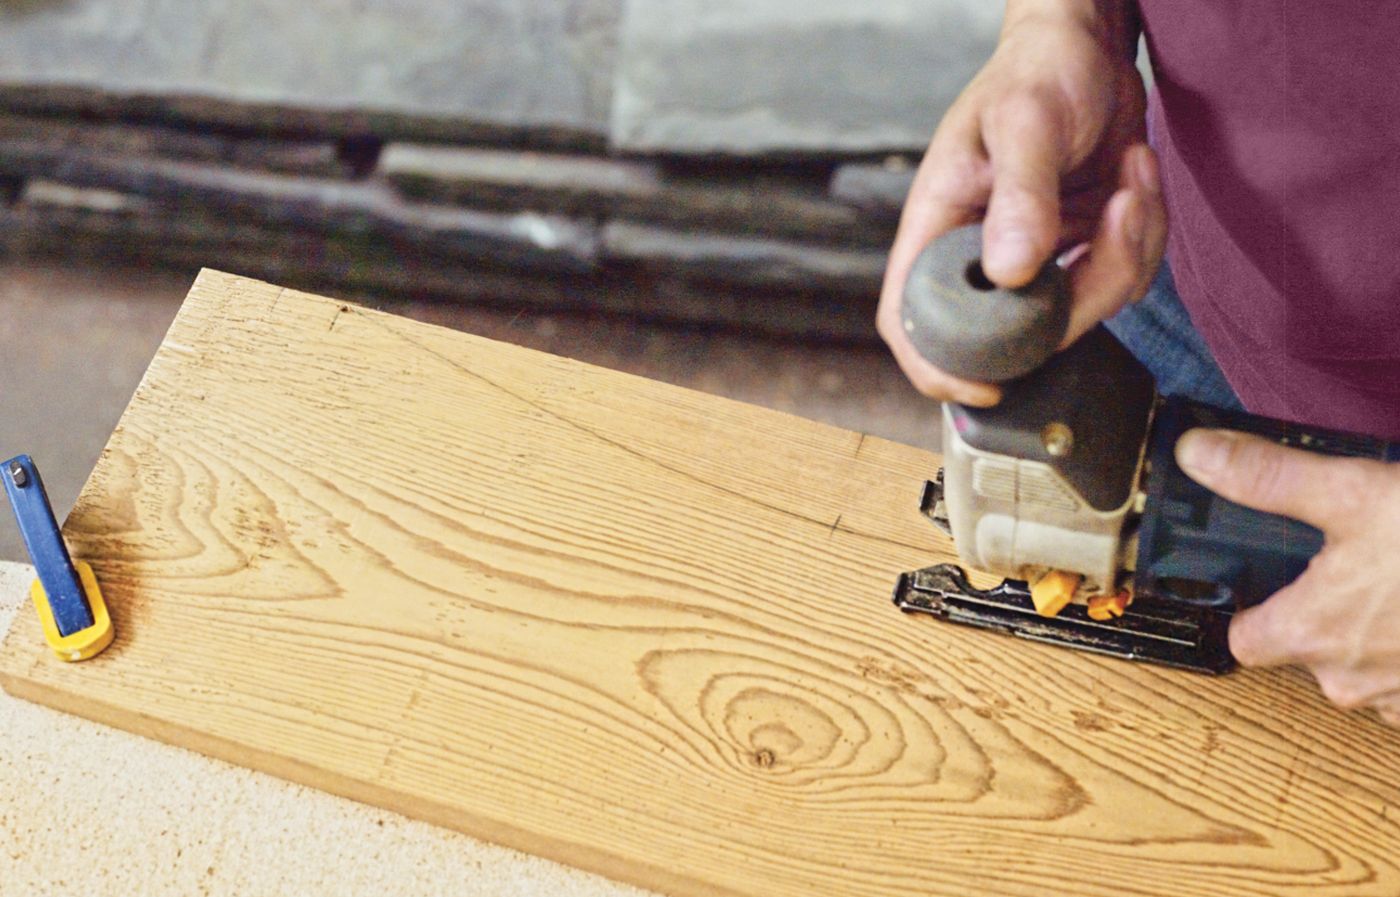
Use a jigsaw to cut the gentle curve into the arm, then smooth the edges with 120-grit sandpaper.
Step 12: Round the Arm End
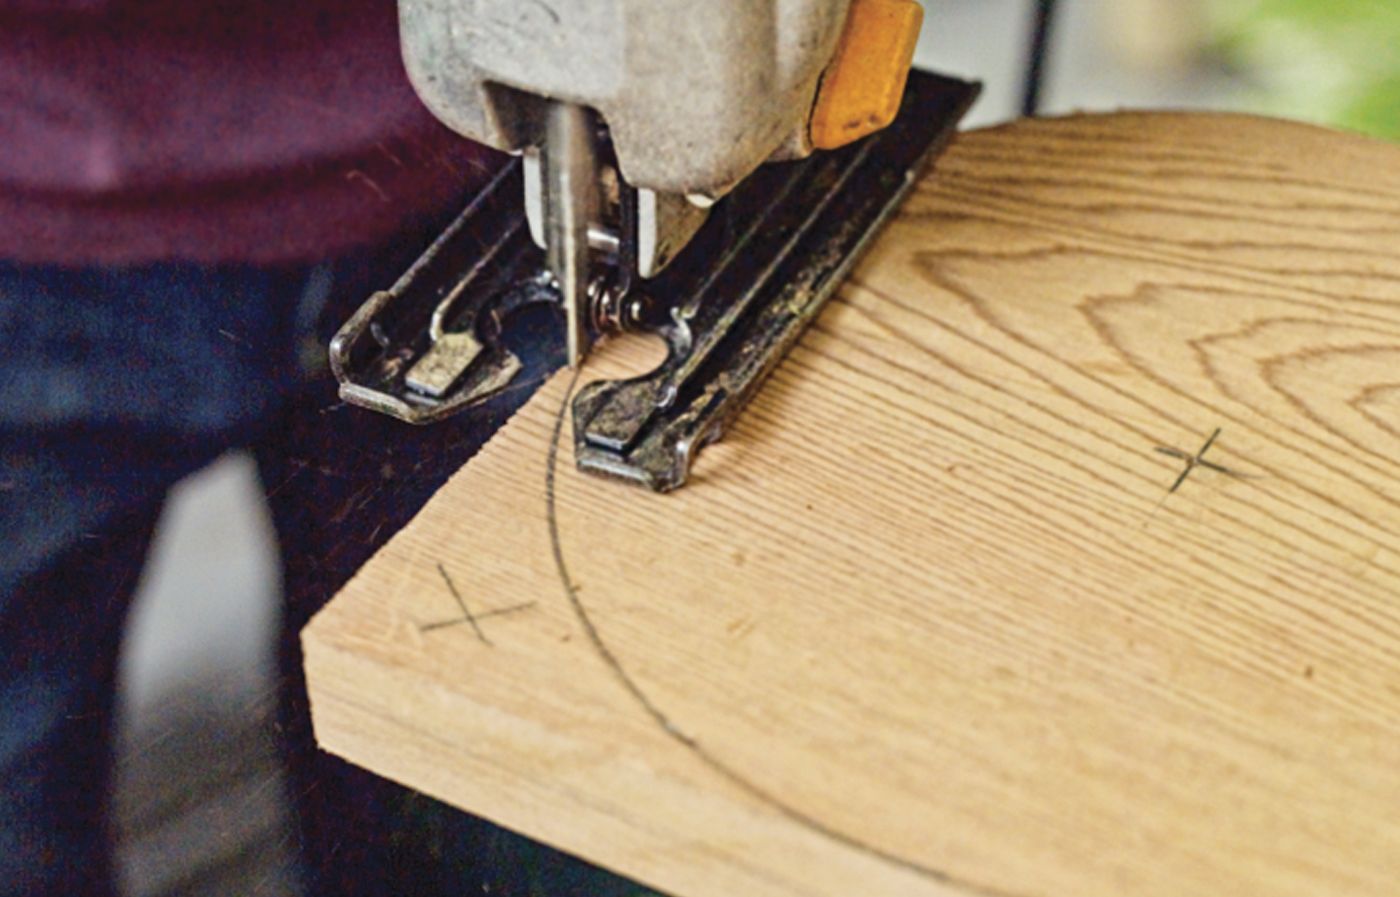
Take a pencil compass and strike a 4⅛-inch radius onto the front end of the chair arm. Use a jigsaw to cut along the half-circle line, and hand-sand the cut end smooth. Then mark, cut, and sand the second arm blank.
Step 13: Attach the Legs
Set the front rail into the notches of the front legs, toeing in the legs to make their beveled edges flush with the face of the rail. Drill pilot holes to prevent the screws from splitting the wood, and fasten the rail with 1⅝-inch screws. Working on a level surface, clamp and screw the rear legs to the inside of the front legs, as shown.
Step 14: Install the Seat
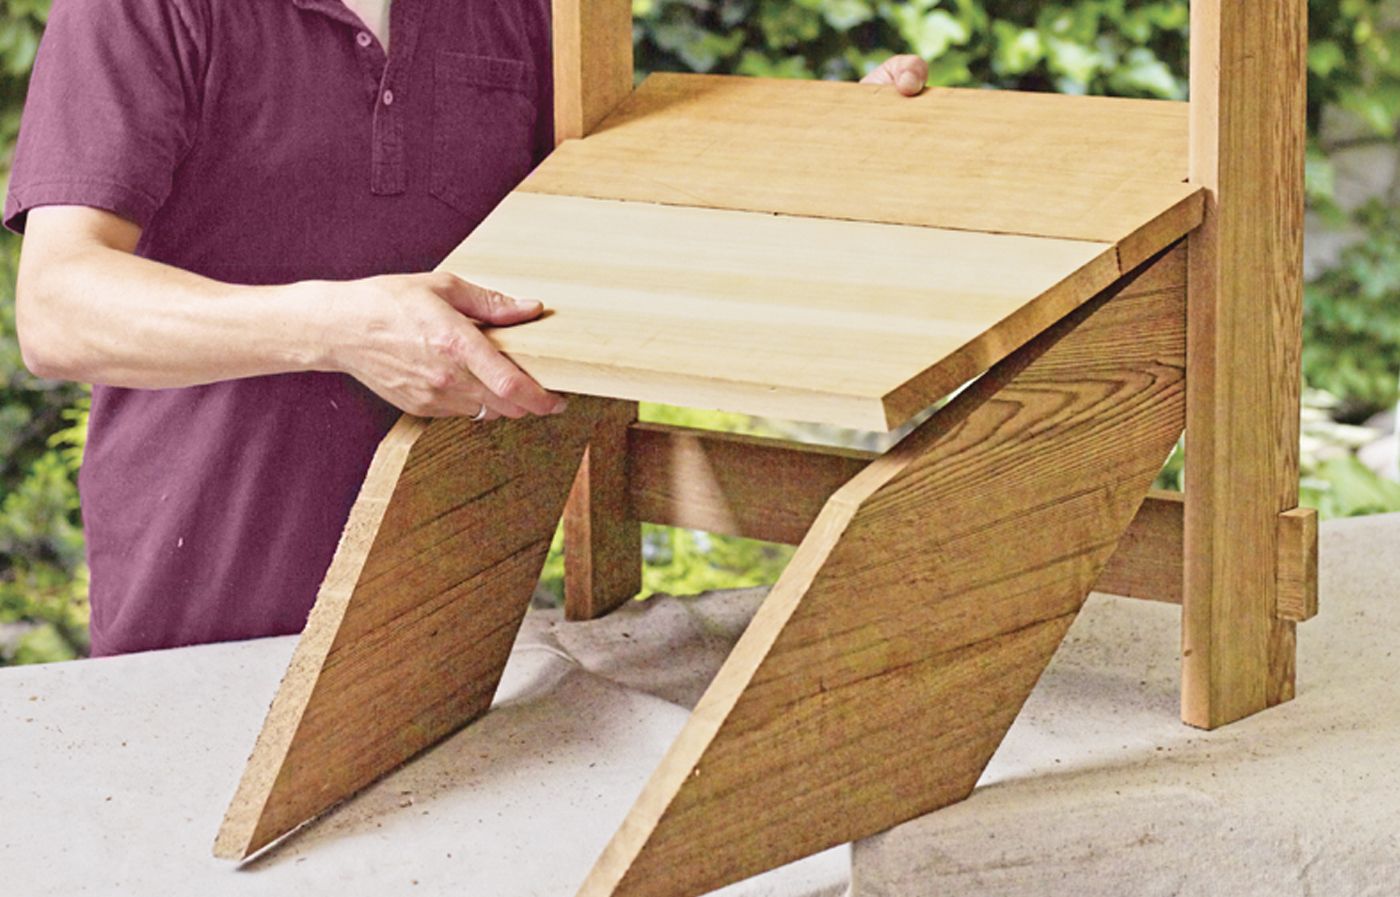
Slip the completed seat between the front legs and press it down onto the back legs. Do not screw it in place yet.
Step 15: Fasten the Backrest

Stand the completed backrest between the back legs, and hold it in position with a long bar clamp. Check that the seat, backrest, and back legs fit together snugly. Once you’re sure they do, drill pilot holes and use screws to attach the seat to the top edges of the back legs and attach the back legs to the lower edges of the backrest.
Tip: Before fastening the horizontal front rail to the front-leg notches, set the seat between the legs to act as a perfect-size spacer.
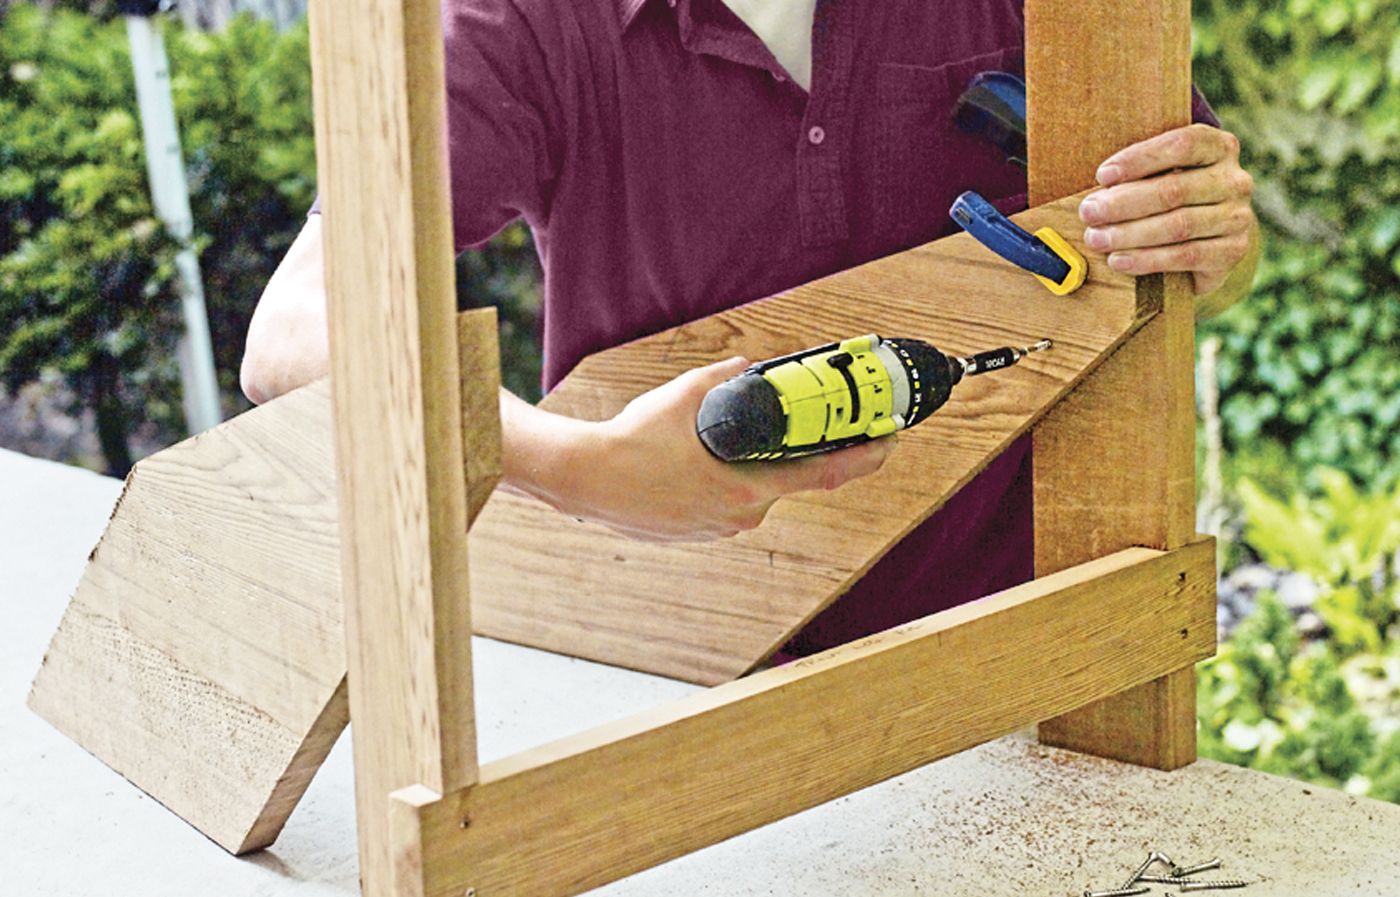
Step 16: Mount the Arm Brackets
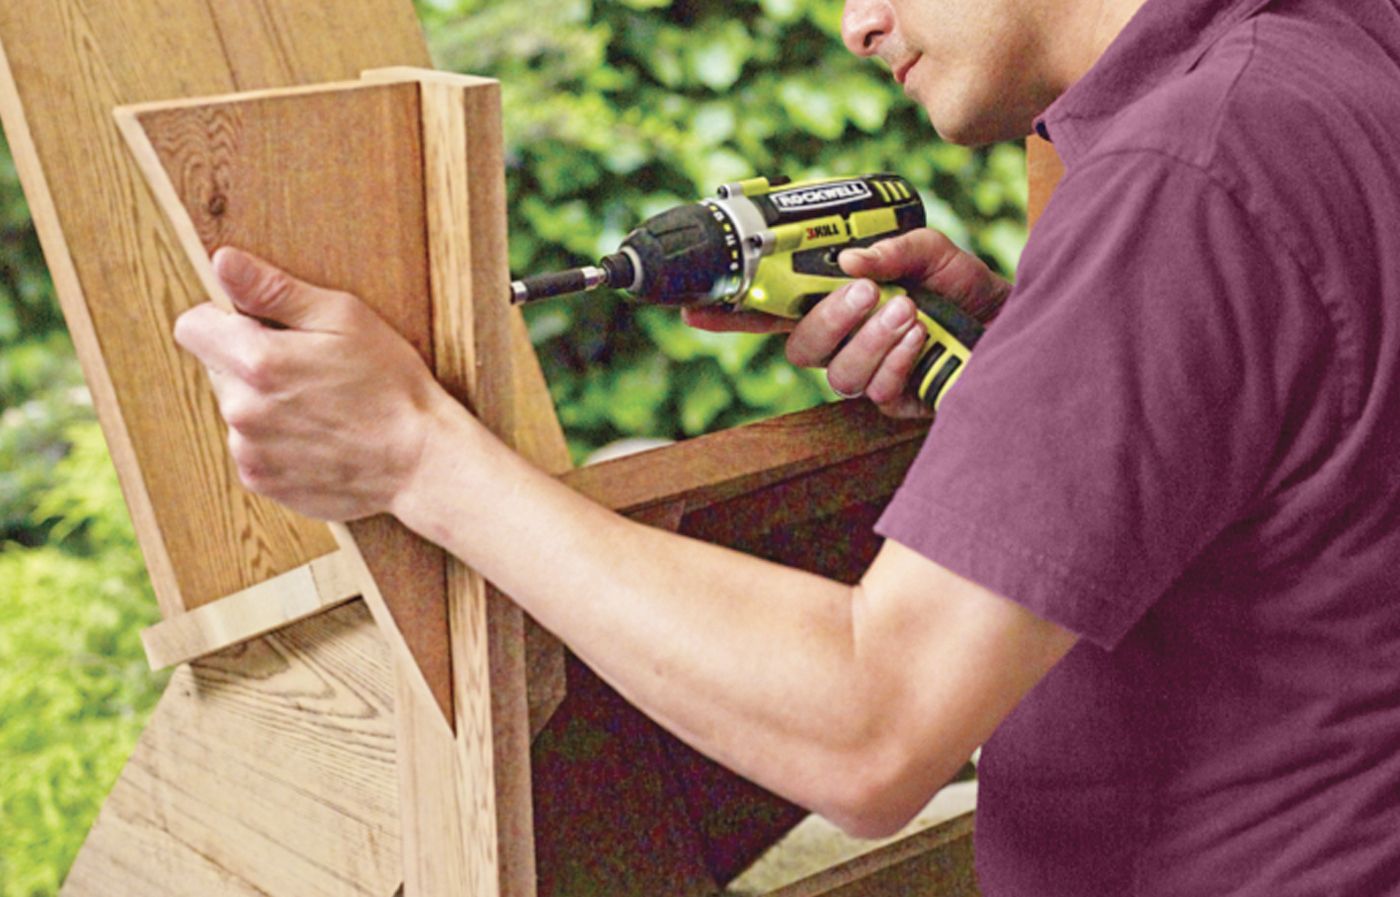
Hold one triangular arm bracket in position, as shown, centered on the front leg’s width and flush at the top. Drill pilot holes and screw the bracket to the leg. Repeat to install the other arm bracket.
Step 17: Mark the Arms’ Positions
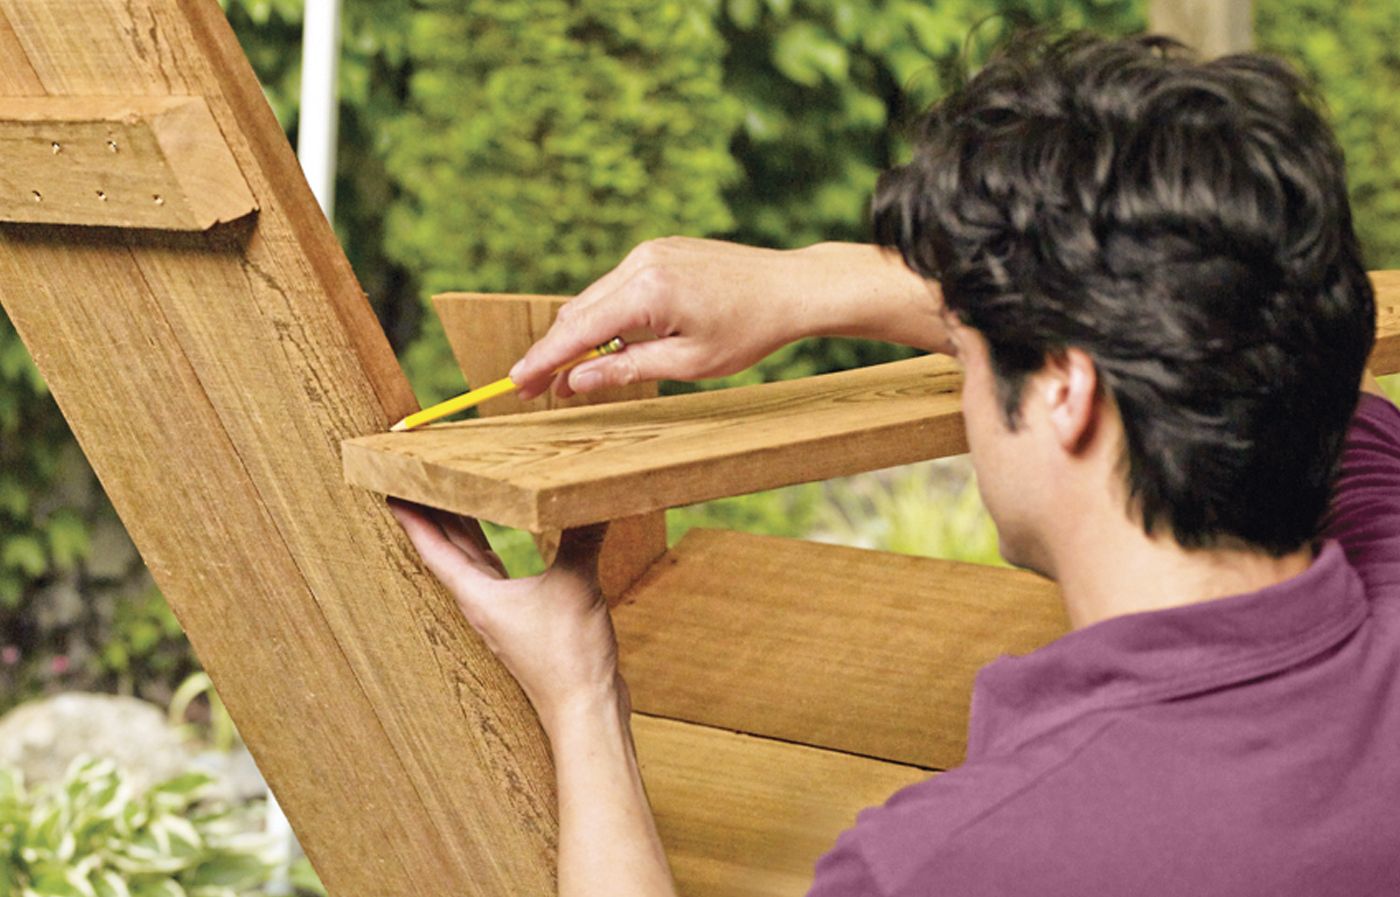
Place an arm on top of a front leg, set a torpedo level on the arm, then raise or lower the arm until it’s level. Mark the arm’s position on the edge of the backrest, as shown. Repeat for the other arm.
Step 18: Fasten the Rear Brace
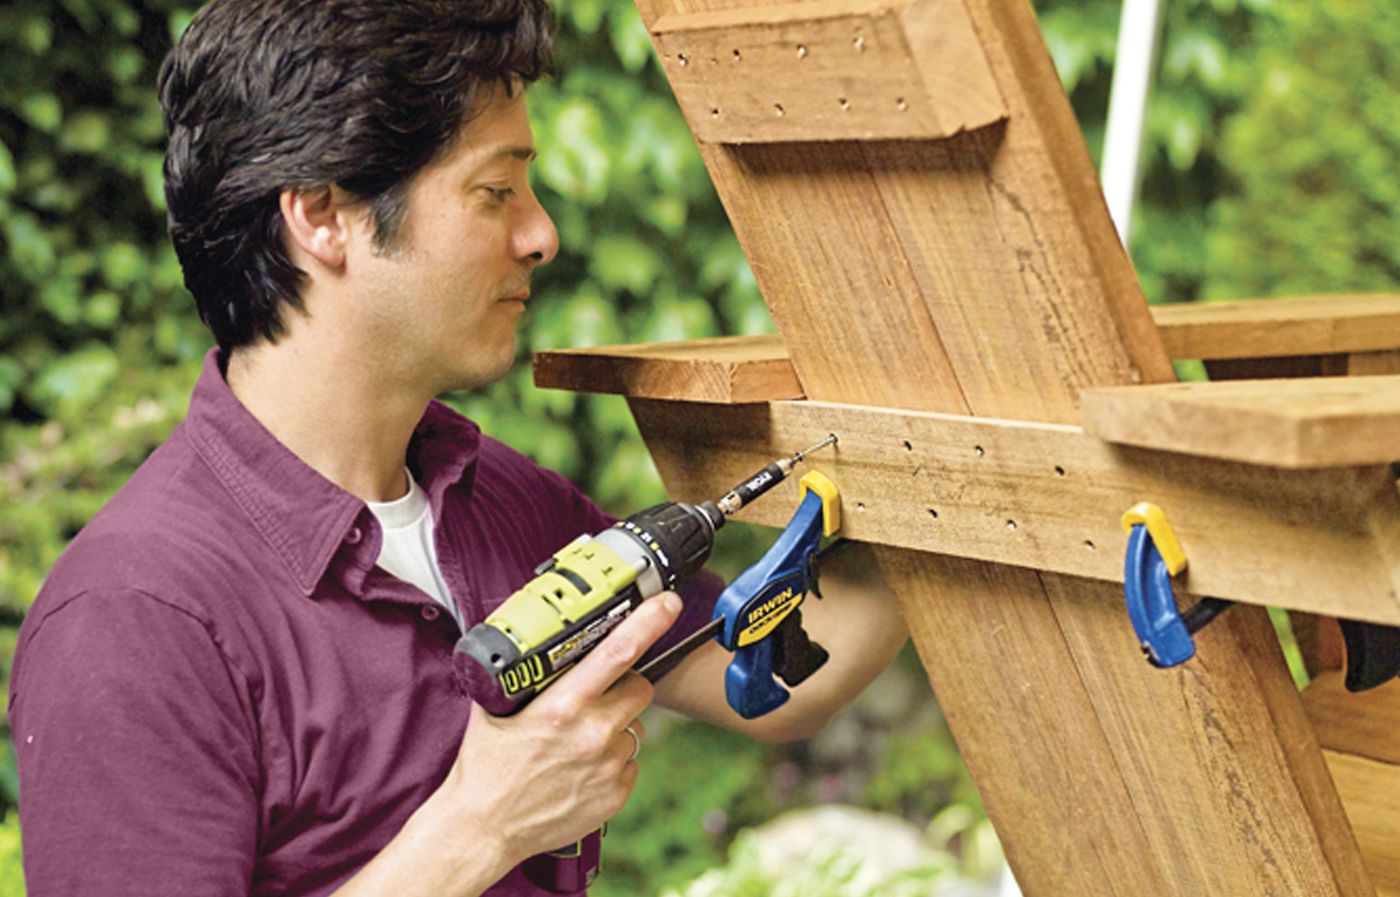
Bevel-rip the top edge of the horizontal rear brace at 21 degrees, and clamp it to the backrest so that it holds the arms level. Screw the rear brace to the backrest, as shown; then drill pilot holes and screw the arms into the rear brace and front supports. Smooth all surfaces with 120-grit sandpaper. Wipe off the dust, then brush teak oil onto the chair. Wait 30 minutes and apply a second coat. After 15 minutes, wipe away any unabsorbed oil. Now the hard part: Wait at least 10 hours before you sit down, lean back, and enjoy the fruits of your labor.
Westport Chair Maintenance Tips
To maintain your Westport chair over time, it’s important to perform regular maintenance, such as:
- Regular Oiling: Reapply teak oil every few months to maintain the wood’s luster.
- Cleaning: Wipe down with a damp cloth to remove dirt and debris.
- Storage: Store in a dry place during harsh weather to extend lifespan.