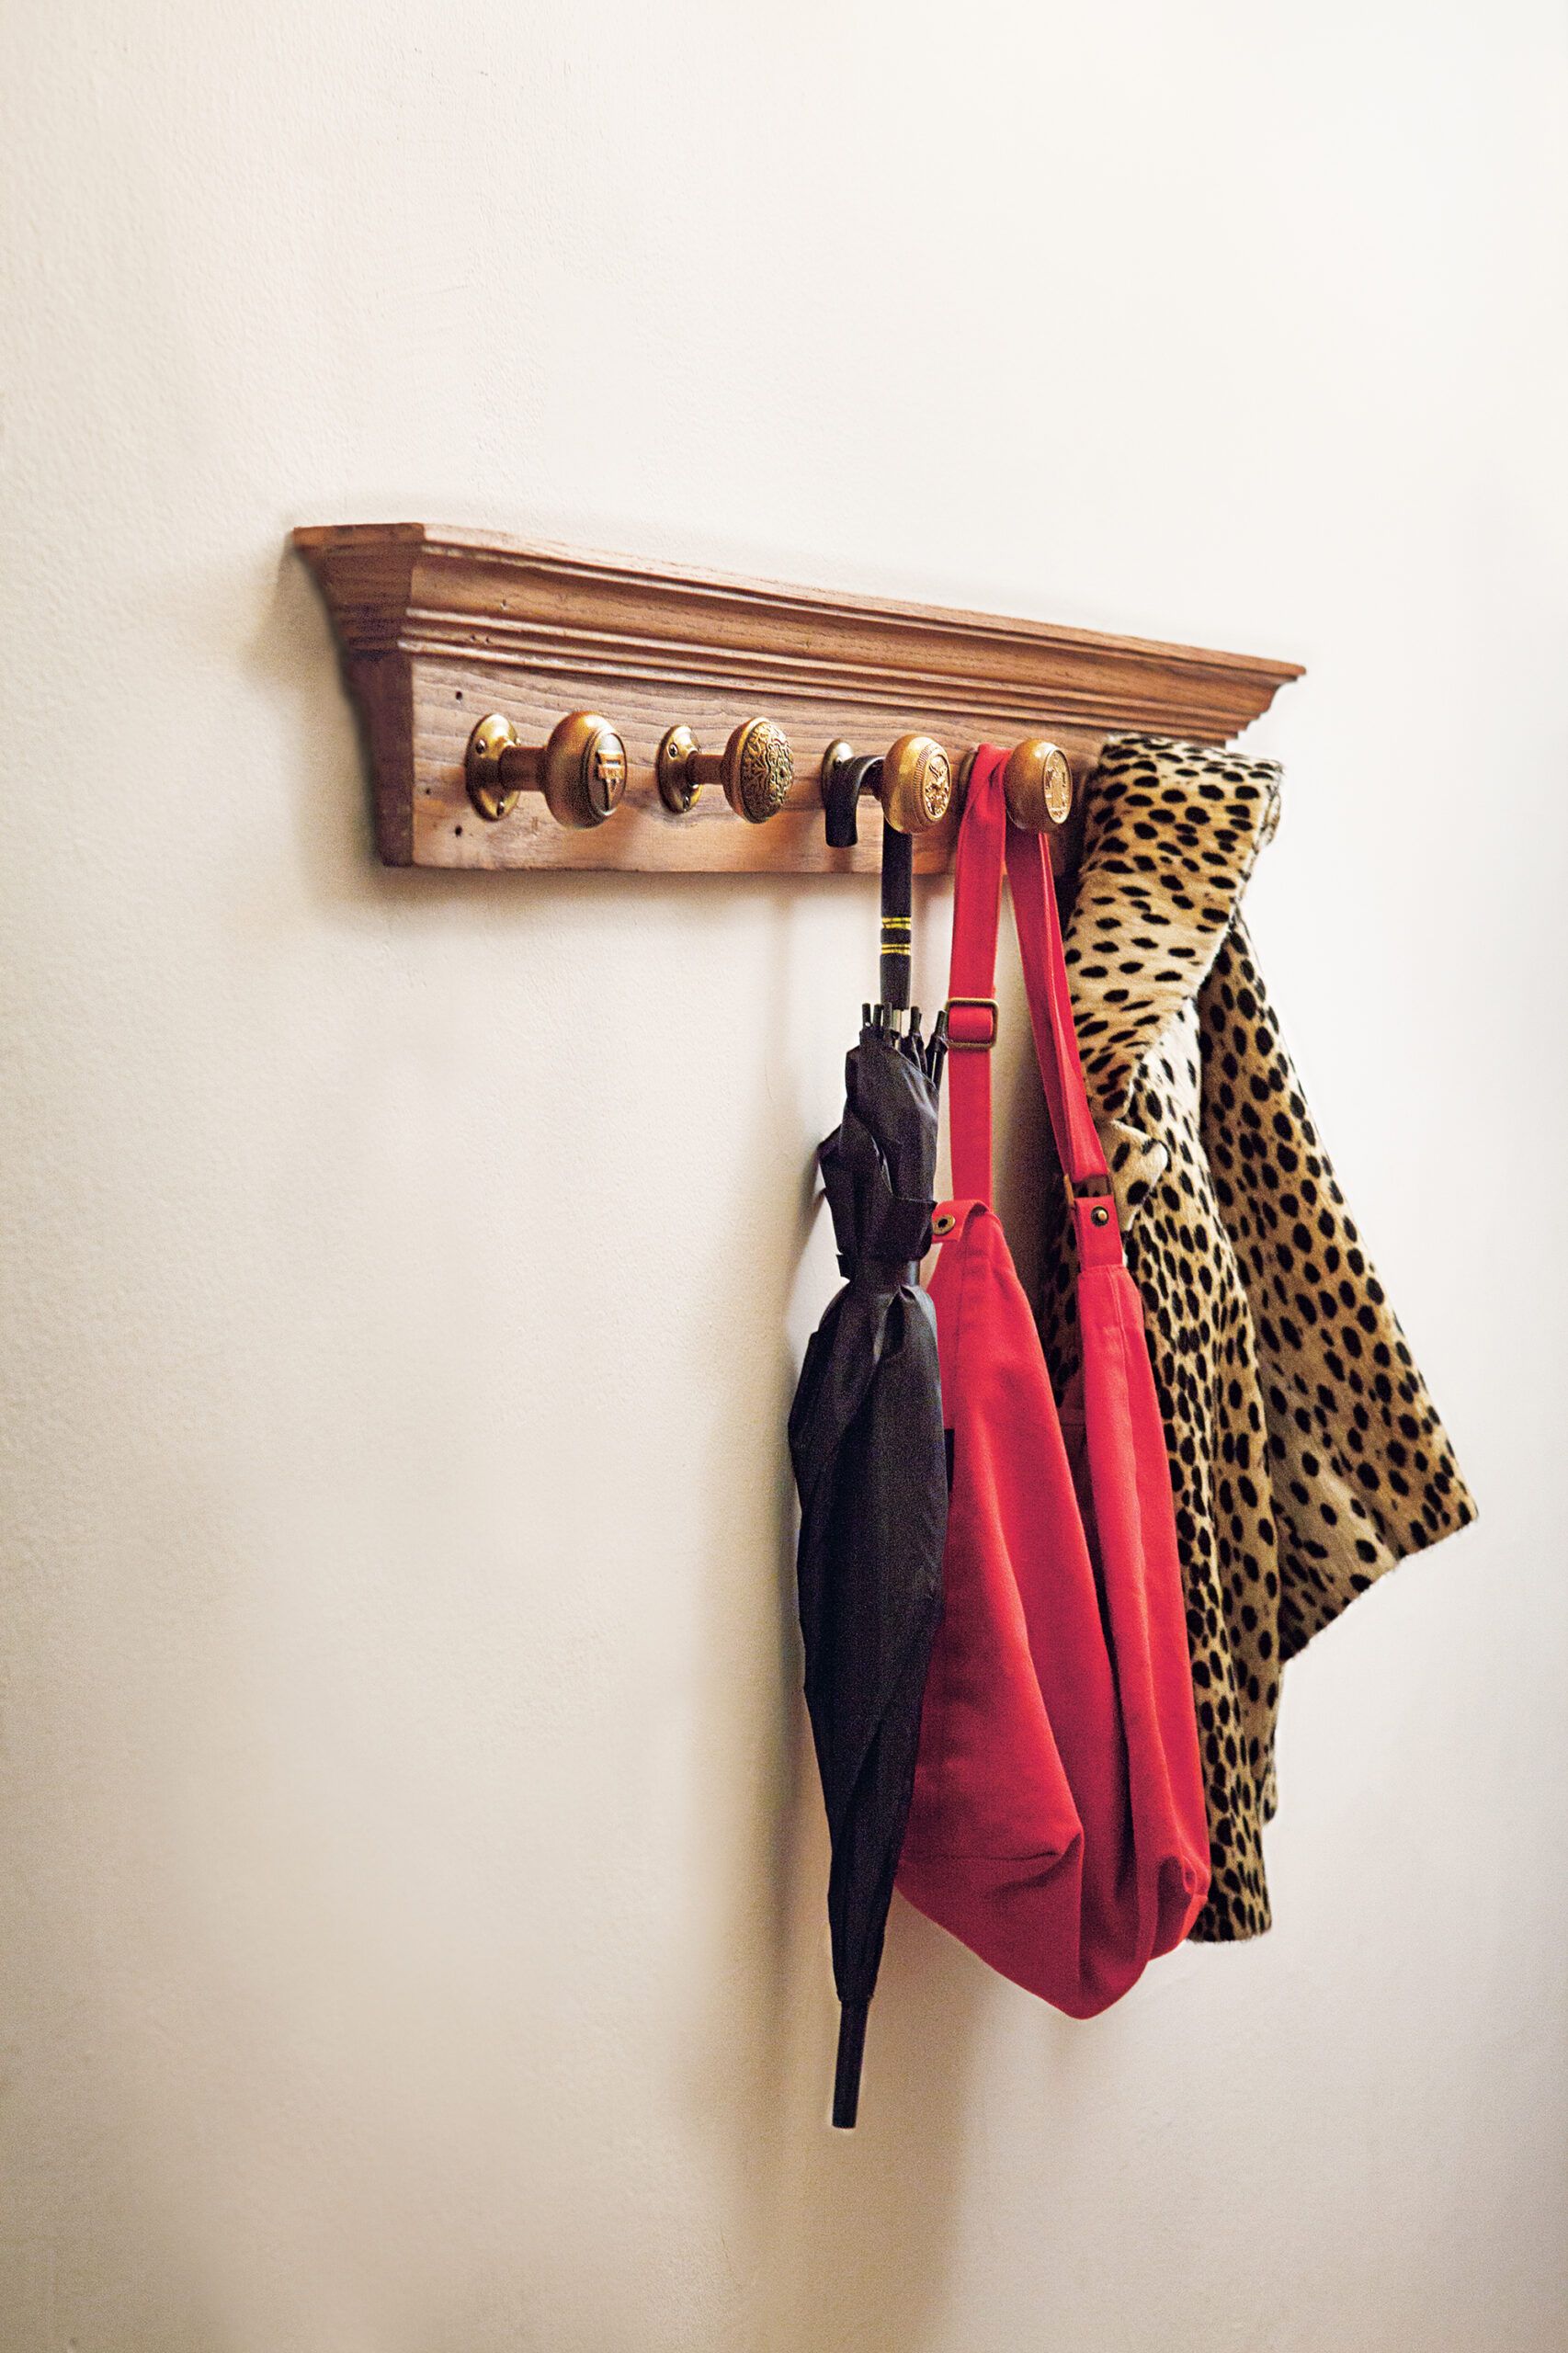
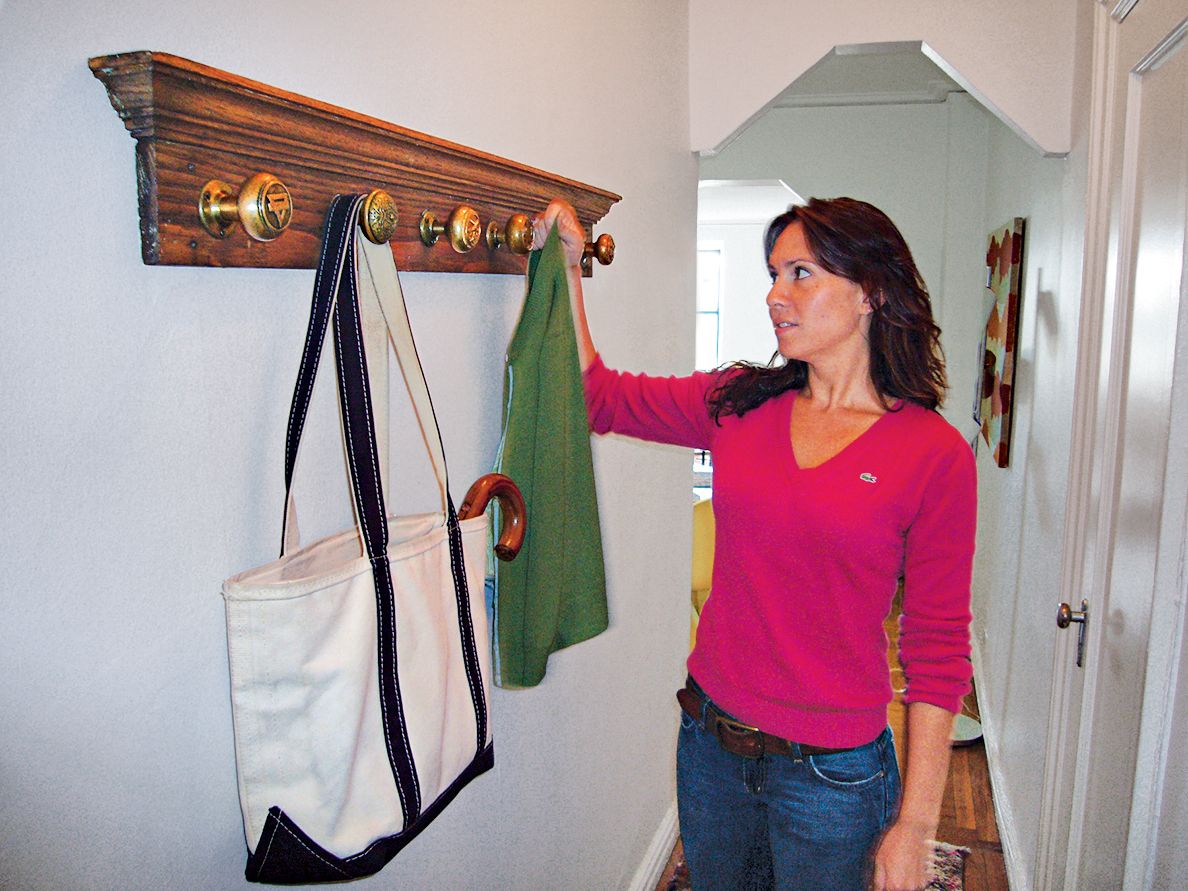
Creating a unique coat rack using vintage door knobs is a fun and practical do-it-yourself (DIY) project that adds character to your home while solving storage issues. This project transforms ordinary items into a functional piece of decor, perfect for those who want a quick and stylish solution for hanging coats, bags, and accessories. In this guide, This Old House editor Amy Hughes walks us through how to make your own door knob coat rack, from selecting materials to mounting the finished product.
Gathering Materials for Your Coat Rack
Let’s first explore the key components you’ll need to create your door knob coat rack.
Selecting Vintage Door Knobs
The heart of this project lies in the door knobs you choose. Vintage door knobs come in various styles, materials, and finishes, allowing you to customize your coat rack to match your home’s decor. Look for knobs at antique stores, flea markets, or online marketplaces. Aim for a cohesive look by selecting knobs with similar finishes or complementary designs.
Choosing the Right Board
The board serves as the foundation for your coat rack. Opt for a sturdy piece of wood that complements your chosen door knobs. Salvaged wood, such as old trim or reclaimed boards, can add extra character to your project. If using new wood, consider pine, oak, or cedar for their durability and aesthetic appeal. The length of the board will depend on the number of knobs you plan to use and the available wall space.
Gathering Tools and Supplies
To complete this project, you’ll need the following:
- Combination square
- Dummy spindles
- Hot glue gun
- Lint-free rag
- Pencil
- Sandpaper
- Screwdriver
- Tape measure
- Wall anchors appropriate for your wall type
- Wood preserving and conditioning oil
Preparing Your Workspace and Materials for a Doorknob Coatrack Project
This stage involves readying your materials and setting up a suitable workspace for the project.
Sanding and Conditioning the Board
Begin by creating a smooth surface for your coat rack. Use sandpaper to gently sand the board, removing any rough spots or splinters. This step not only improves the appearance but also ensures safer handling. After sanding, wipe the board clean with a damp cloth and allow it to dry completely.
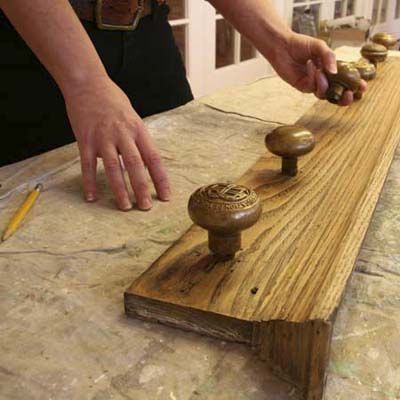
Arranging the Door Knobs
Before attaching anything permanently, experiment with different arrangements on the board. Consider factors such as spacing, color distribution, and overall balance. Take a step back and view your arrangement from different angles to ensure it looks good from various perspectives.
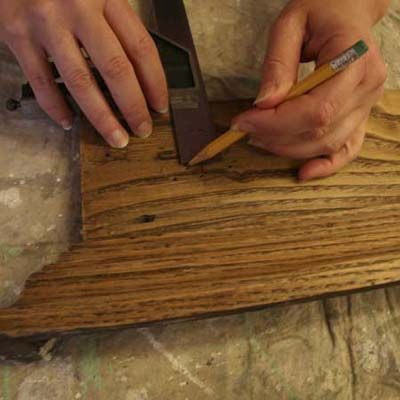
Measuring and Marking for Precise Placement
A combination square is an invaluable tool for this project. Use it to draw a light horizontal line across the center of your board. This line will serve as a guide for placing your door knobs, ensuring they’re all at the same height. The straightedge of the combination square helps maintain a perfectly straight line across the board’s length.
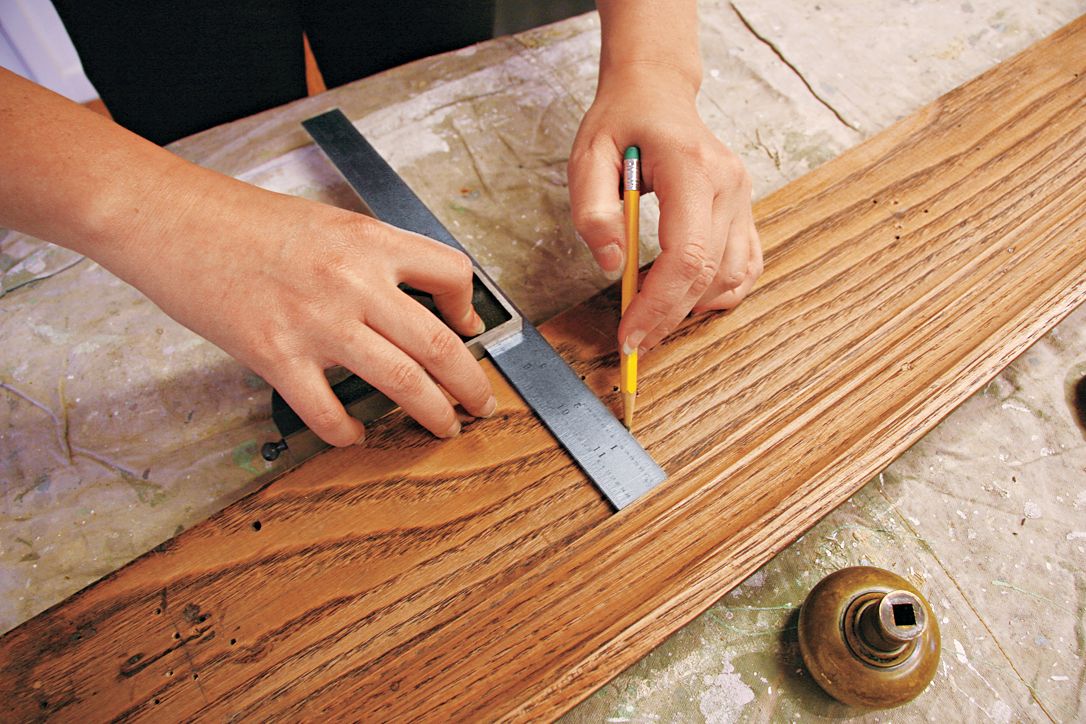
Calculating Even Spacing
To achieve a balanced look, calculate the distance between each knob:
- Measure the total length of your board.
- Decide how many knobs you’ll be using.
- Divide the board length by the number of knobs, plus one to account for equal spaces at the ends.
- Use this measurement to mark vertical lines intersecting your horizontal center line, indicating where each knob will be placed.
This method ensures your knobs are evenly spaced and centered on the board.
Installing Hardware Components
With your board marked, start attaching the hardware that will support your door knobs. This step requires precision to ensure your coat rack is sturdy and functional.
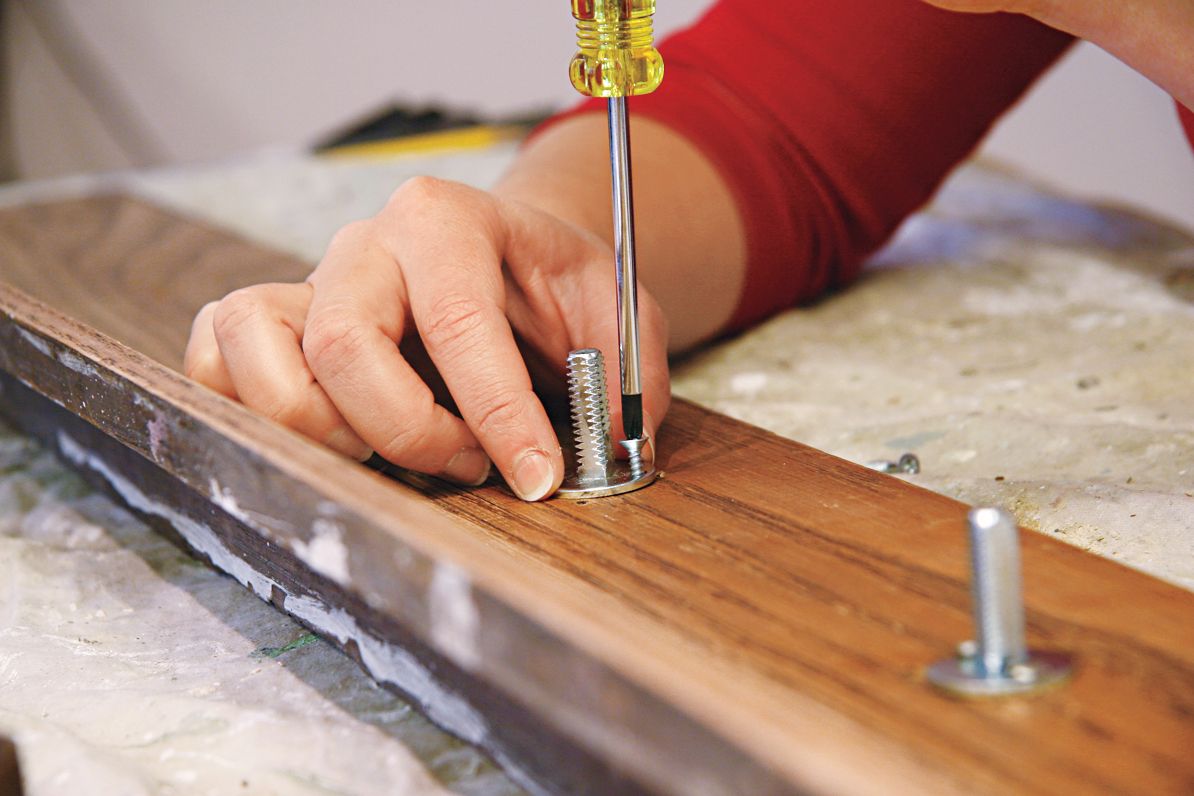
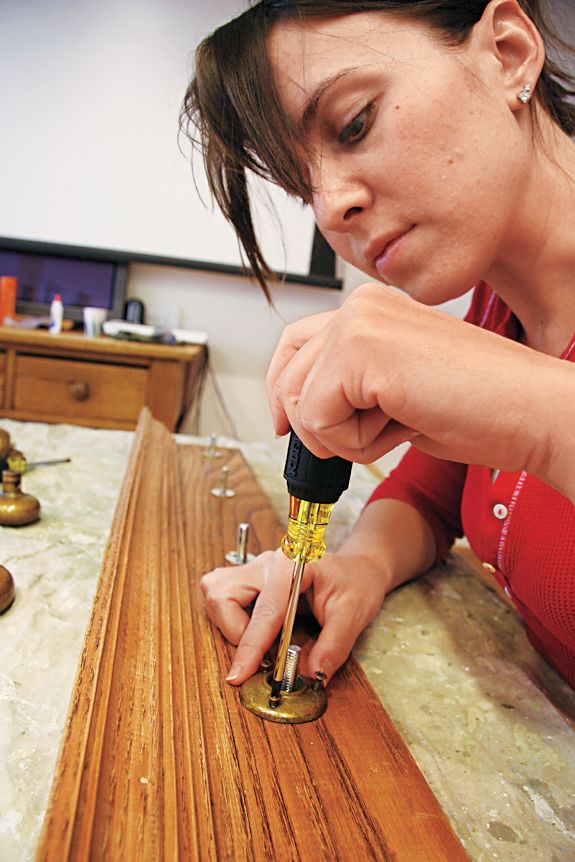
Attaching Dummy Spindles
Dummy spindles provide a secure base for your door knobs. Follow these steps:
- Position a dummy spindle over each cross-hatch marking on your board.
- Use a screwdriver to attach each spindle securely to the board.
- For knobs with insignias or letters, you may need to position the spindles diagonally to ensure proper viewing of the patterns.
Securing Decorative Rosettes
Rosettes add a finishing touch and conceal the spindle bases.
- Place a decorative rosette over each spindle.
- Carefully drive screws through the rosettes and into the board.
- Ensure the rosettes are level and flush against the board surface.
Assembling Your Doorknob Coat Rack
With the hardware in place, you’re ready to attach the door knobs, bringing your coat rack to life. This step requires careful handling to ensure a strong bond between the knobs and spindles.
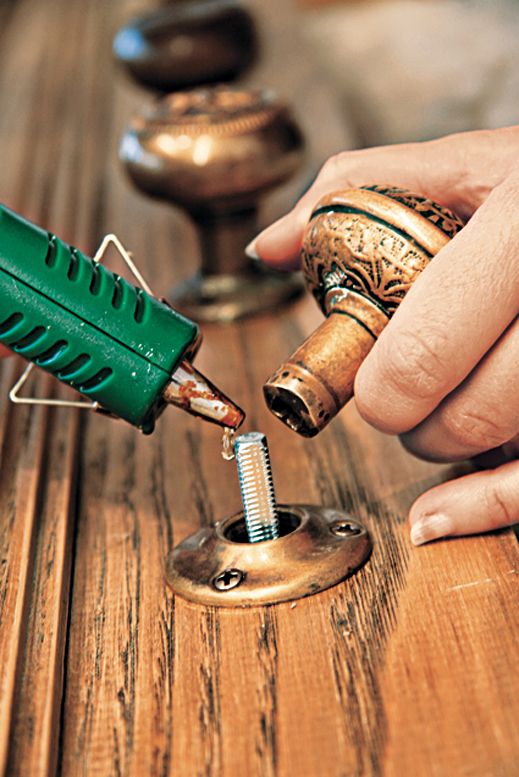
Applying Adhesive to Knobs
Use a hot glue gun to secure the knobs.
- Apply a generous amount of silicone adhesive to the base of each door knob.
- Carefully press each knob onto its corresponding spindle.
- Hold the knob in place for a few seconds to ensure a strong initial bond.
Allowing Proper Drying Time
Allow the adhesive to dry completely according to the manufacturer’s instructions. Avoid touching or applying pressure to the knobs during this time. Consider leaving the board flat overnight to ensure the strongest possible bond.
Finishing Touches for a Professional Look of Your Doorknob Coatrack
The final steps in creating your door knob coat rack involve enhancing its appearance and durability. These finishing touches will elevate your project from a simple DIY to a polished piece of functional decor.
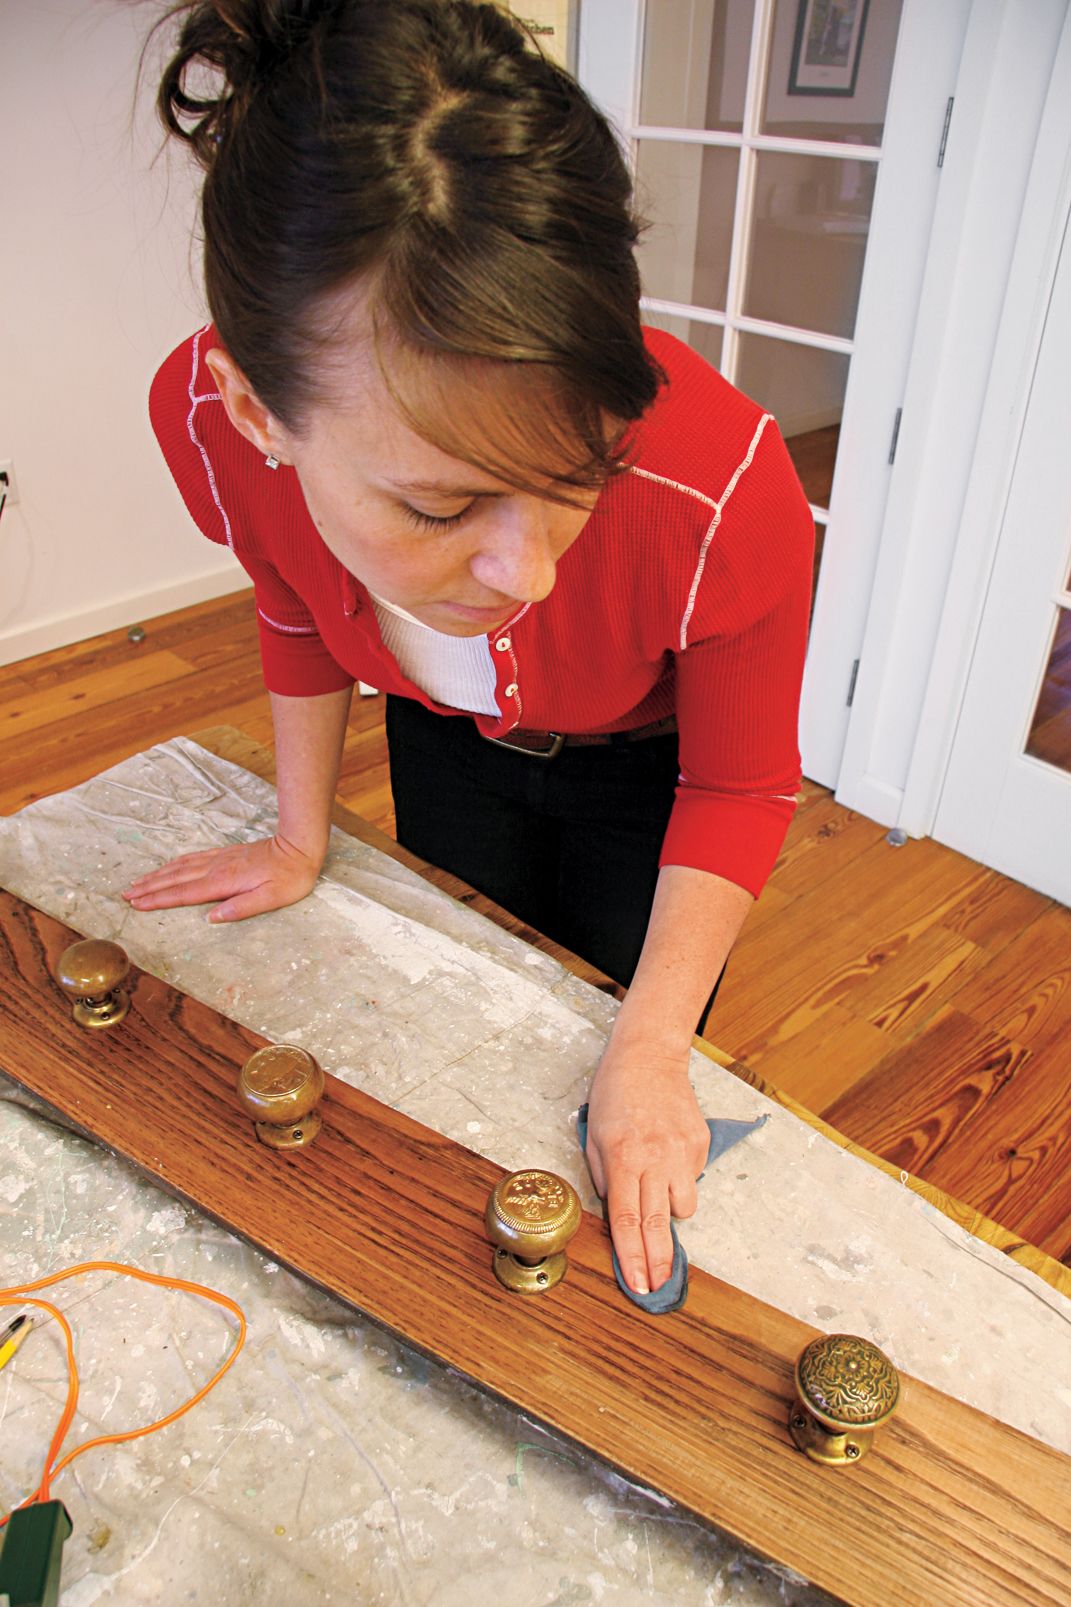
Applying Wood Preserving Oil
To protect and beautify your wooden board:
- Choose a wood preserving and conditioning oil suitable for your board type.
- Apply the oil using a lint-free rag, working it into the wood grain.
- Allow the oil to penetrate the wood, following the product’s recommended application time.
- Wipe off any excess oil to prevent a sticky surface.
This treatment not only enhances the wood’s natural beauty but also helps protect it from moisture and wear.
Polishing Metal Components
If your door knobs or rosettes are metal:
- Use a metal polish appropriate for the material (brass, copper, etc.).
- Apply a small amount of polish with a soft cloth, rubbing in circular motions.
- Buff the metal to a shine with a clean section of the cloth.
- Be careful not to get polish on the wooden parts of your coat rack.
This step will restore shine to vintage knobs and protect them from tarnishing.
Mounting Your New Coat Rack
The final step is hanging your coat rack securely on the wall. Proper mounting ensures it can withstand the weight of coats and accessories without damaging your wall.
Choosing the Right Wall Anchors
Select anchors based on your wall type and the expected weight load. For drywall, use toggle bolts or molly bolts for added strength. For masonry walls, use masonry anchors or concrete screws. If you can locate a stud, wood screws driven directly into the stud provide excellent support.
Ensuring Proper Weight Distribution
To hang your coat rack securely:
- Use a level to mark where you want the top of your coat rack to sit.
- Mark the positions for your anchors, ensuring they align with the board’s mounting points.
- Install the anchors according to their specific instructions.
- With help from another person, lift the coat rack into position and secure it to the wall.
- Double-check that the rack is level and adjust if necessary.