Project details
Skill
Cost
Estimated Time
We may be compensated if you purchase through links on our website. Our team is committed to delivering honest, objective, and independent reviews on home products and services.
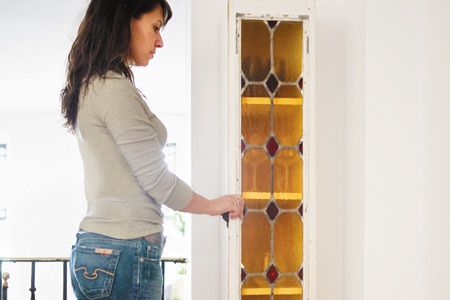
Whether you want a dedicated space for entertaining or just need to organize your barware, a custom-built cabinet may be the perfect solution. This guide will help you design a unique bar cabinet complete with a stunning stained-glass door that’s sure to become a conversation piece.
Planning Your Bar Cabinet Project
Start by measuring the area where you intend to place your bar cabinet. Consider the height, width, and depth of the space, as well as any architectural features that might impact the design. Think about how you’ll use the cabinet and what items you’ll need to store. This will help you determine the ideal size and configuration for your bar cabinet.
Then, you’ll need to decide on your design style. The design of your bar cabinet should complement your existing decor while also reflecting your style. Consider the overall aesthetic of your home and choose materials and finishes to enhance the space. For this project, we’ll incorporate a stained glass panel into the door to add a touch of elegance and visual interest to the cabinet.
Tools and Materials for Building a Bar Cabinet
Have everything on hand before you begin to help streamline the build. You’ll need the following tools:
- Chisel
- Clamps
- Combination square
- Cordless drill/driver
- Hammer
- Paintbrush
- Pencil
- Screwdriver
- Table saw
- Tape measure
You’ll also need these materials:
- Finish screws
- Hinges and doorhandle
- Paint or stain
- Plywood for the back panel (1/2-inch thickness)
- Pre-primed pine boards for the cabinet frame
- Stained glass panel for the door
- Steel tacks
- Wood glue
The stained glass panel is a key feature of your bar cabinet, so choose a design that complements your style. Expect to spend around $225 for a quality stained glass panel.*
*Cost information is based on 2024 product catalogs from Wayfair and The Home Depot.


Preparing the Bar Cabinet Frame
This step sets the foundation for the entire project, so be as accurate as possible.
Cutting the Wood to Size
Using your table saw, cut the pre-primed pine boards to the appropriate dimensions for your cabinet. Cut the sides to match the length of your glass door. The top, bottom, and shelf pieces should be 1 1/2 inches shorter than the width of the window.
If you’re not comfortable using a table saw, many lumber yards offer cutting services.

Assembling the Frame
Once you cut your pieces, it’s time to assemble the frame. Begin by gluing the top and bottom panels between the side walls. Then, glue them on the shelves at your predetermined locations. Use clamps to hold the pieces in place while the glue sets. For added strength, reinforce the joints with finish screws.
Creating and Installing Bar Cabinet Shelves
Here’s how to find your ideal shelf layout and secure the shelves in place.
Determining Shelf Placement
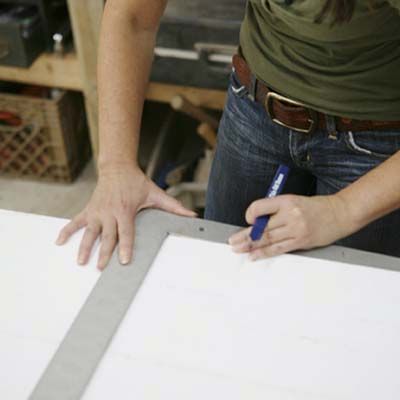
Before permanently attaching the shelves, consider the items you’ll be storing in your cabinet. Mark the desired shelf locations on the cabinet sides using a pencil and framing square. This step will help you visualize the layout and make adjustments before committing to the final design.
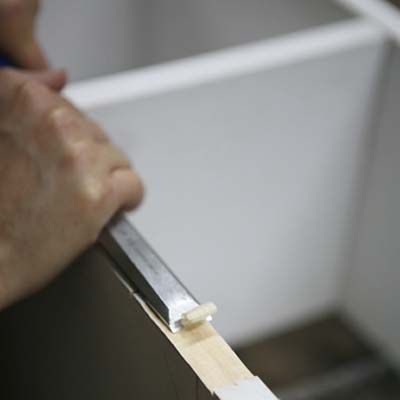
Securing Shelves in Place
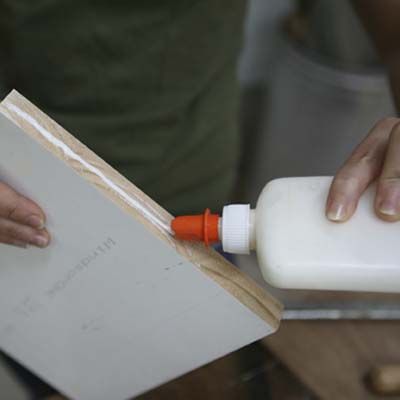
Once you’re satisfied with the shelf placement, apply wood glue to the shelf ends and press them into place against your marked lines.
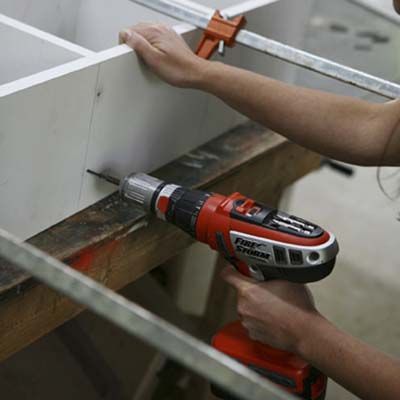
Use clamps to hold the shelves while the glue dries. For added stability, you can drive finish screws through the cabinet sides into the shelf ends.
Bar Cabinet Painting and Construction
The final steps in creating your bar cabinet involve adding details that will elevate its appearance and function.
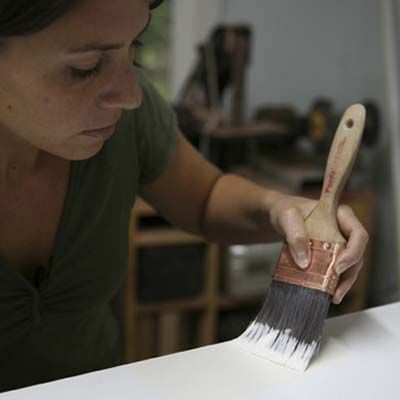
Painting and Staining
Before attaching the back panel, paint or stain your cabinet to achieve the desired finish. Choose a color or stain that complements both the stained glass panel and your home’s decor. Apply the finish evenly, allowing adequate drying time between coats for the best results. We recommend always using a drop cloth to protect your floor and other surfaces while painting or staining.
Consider using a primer before painting to have a smooth application and prolong the life of your paint job. If you decide to stain, choose a sealant to finish the piece. Sealants protect the wood from moisture and wear, especially if you plan to place glasses or bottles inside the cabinet.
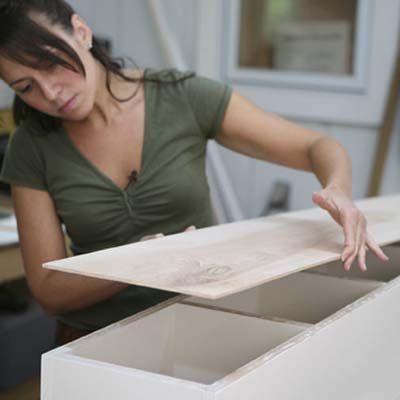
Adding a Back Panel
Cut a piece of 1/2-inch plywood to fit the back of your cabinet. Secure it in place using wood glue and steel tacks around the perimeter. This step gives the cabinet a finished look and makes it structurally stable. Depending on your style, consider adding a decorative back panel. Options include beadboard, shiplap, or even wallpaper that coordinates with your stained glass panel.
Crafting the Stylish Bar Cabinet Door
With its stained glass panel, the door of your bar cabinet will be a focal point for this project.
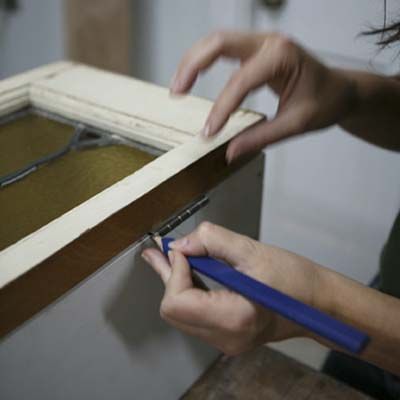
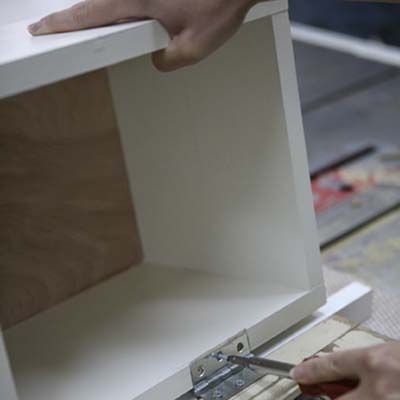
Installing Hinges and Hardware
Create mortises for the hinges by carefully chiseling out recesses in the cabinet frame. Place the closed hinges in these mortises and align the glass door on top to mark where the hinges will attach to the door frame. Predrill holes for the hinge screws, then securely attach the hinges to both the cabinet and the door.
When choosing hardware for your bar cabinet, consider the style you’re aiming for. Vintage brass or sleek stainless steel handles can add a personalized touch. Also, consider installing soft-close hinges to prevent the door from slamming shut and help preserve the integrity of your stained glass panel.
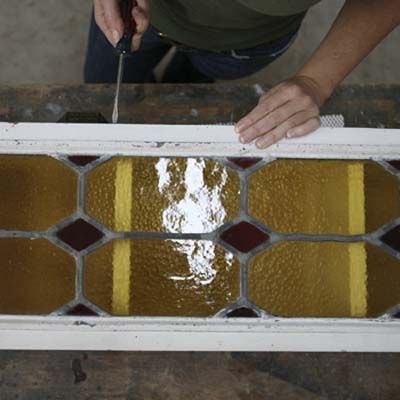
Incorporating a Stained Glass Panel
Carefully measure the opening of your cabinet and select a stained glass panel that fits these dimensions. If you’re handy with glasswork, you can create your own panel. Otherwise, many craft stores and glass specialists sell custom-sized panels.
If you’re making your own stained glass panel, start by selecting colored glass pieces that complement your home decor. Use a glass cutter to cut each piece to fit your template. Once you have cut all the pieces, fit them together on a flat surface to make sure they align perfectly. Use copper foil to wrap the edges of each glass piece, applying flux to help the solder adhere. Solder the pieces together, creating a bonded and sturdy stained glass panel. Always wear safety glasses and gloves for protection during this process.
Mounting and Securing Your Bar Cabinet
With your bar cabinet assembled and finished, the final step is to mount it on your wall safely.
Choosing the Right Anchoring System
The type of anchoring system you use will depend on your wall construction. For drywall, use sturdy wall anchors or locate studs for the most secure mounting. Special masonry anchors are necessary for masonry walls. Consider the weight of your fully stocked cabinet when selecting your anchors since they’ll have to support the load.
Check the manufacturer’s specifications for load capacity before choosing the anchor. Always use a level to check that your mounting points are even. Consider using a French cleat system for heavyweight support and easy adjustment if the cabinet needs to be relocated.
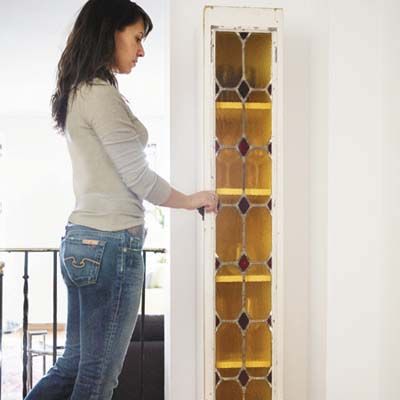
Hanging the Cabinet Safely
To hang your cabinet, mark the desired location on the wall, ensuring it’s level. If possible, locate wall studs and align your mounting points with these for maximum stability. Have a helper hold the cabinet in place while you secure it to the wall using your anchoring system. Double-check that the cabinet is leveled and securely fastened before loading it with your bar items.
If your bar cabinet is large or heavy, we advise consulting with a structural engineer to evaluate the supporting walls. Safety should be your primary concern to prevent any accidents or damage down the line.