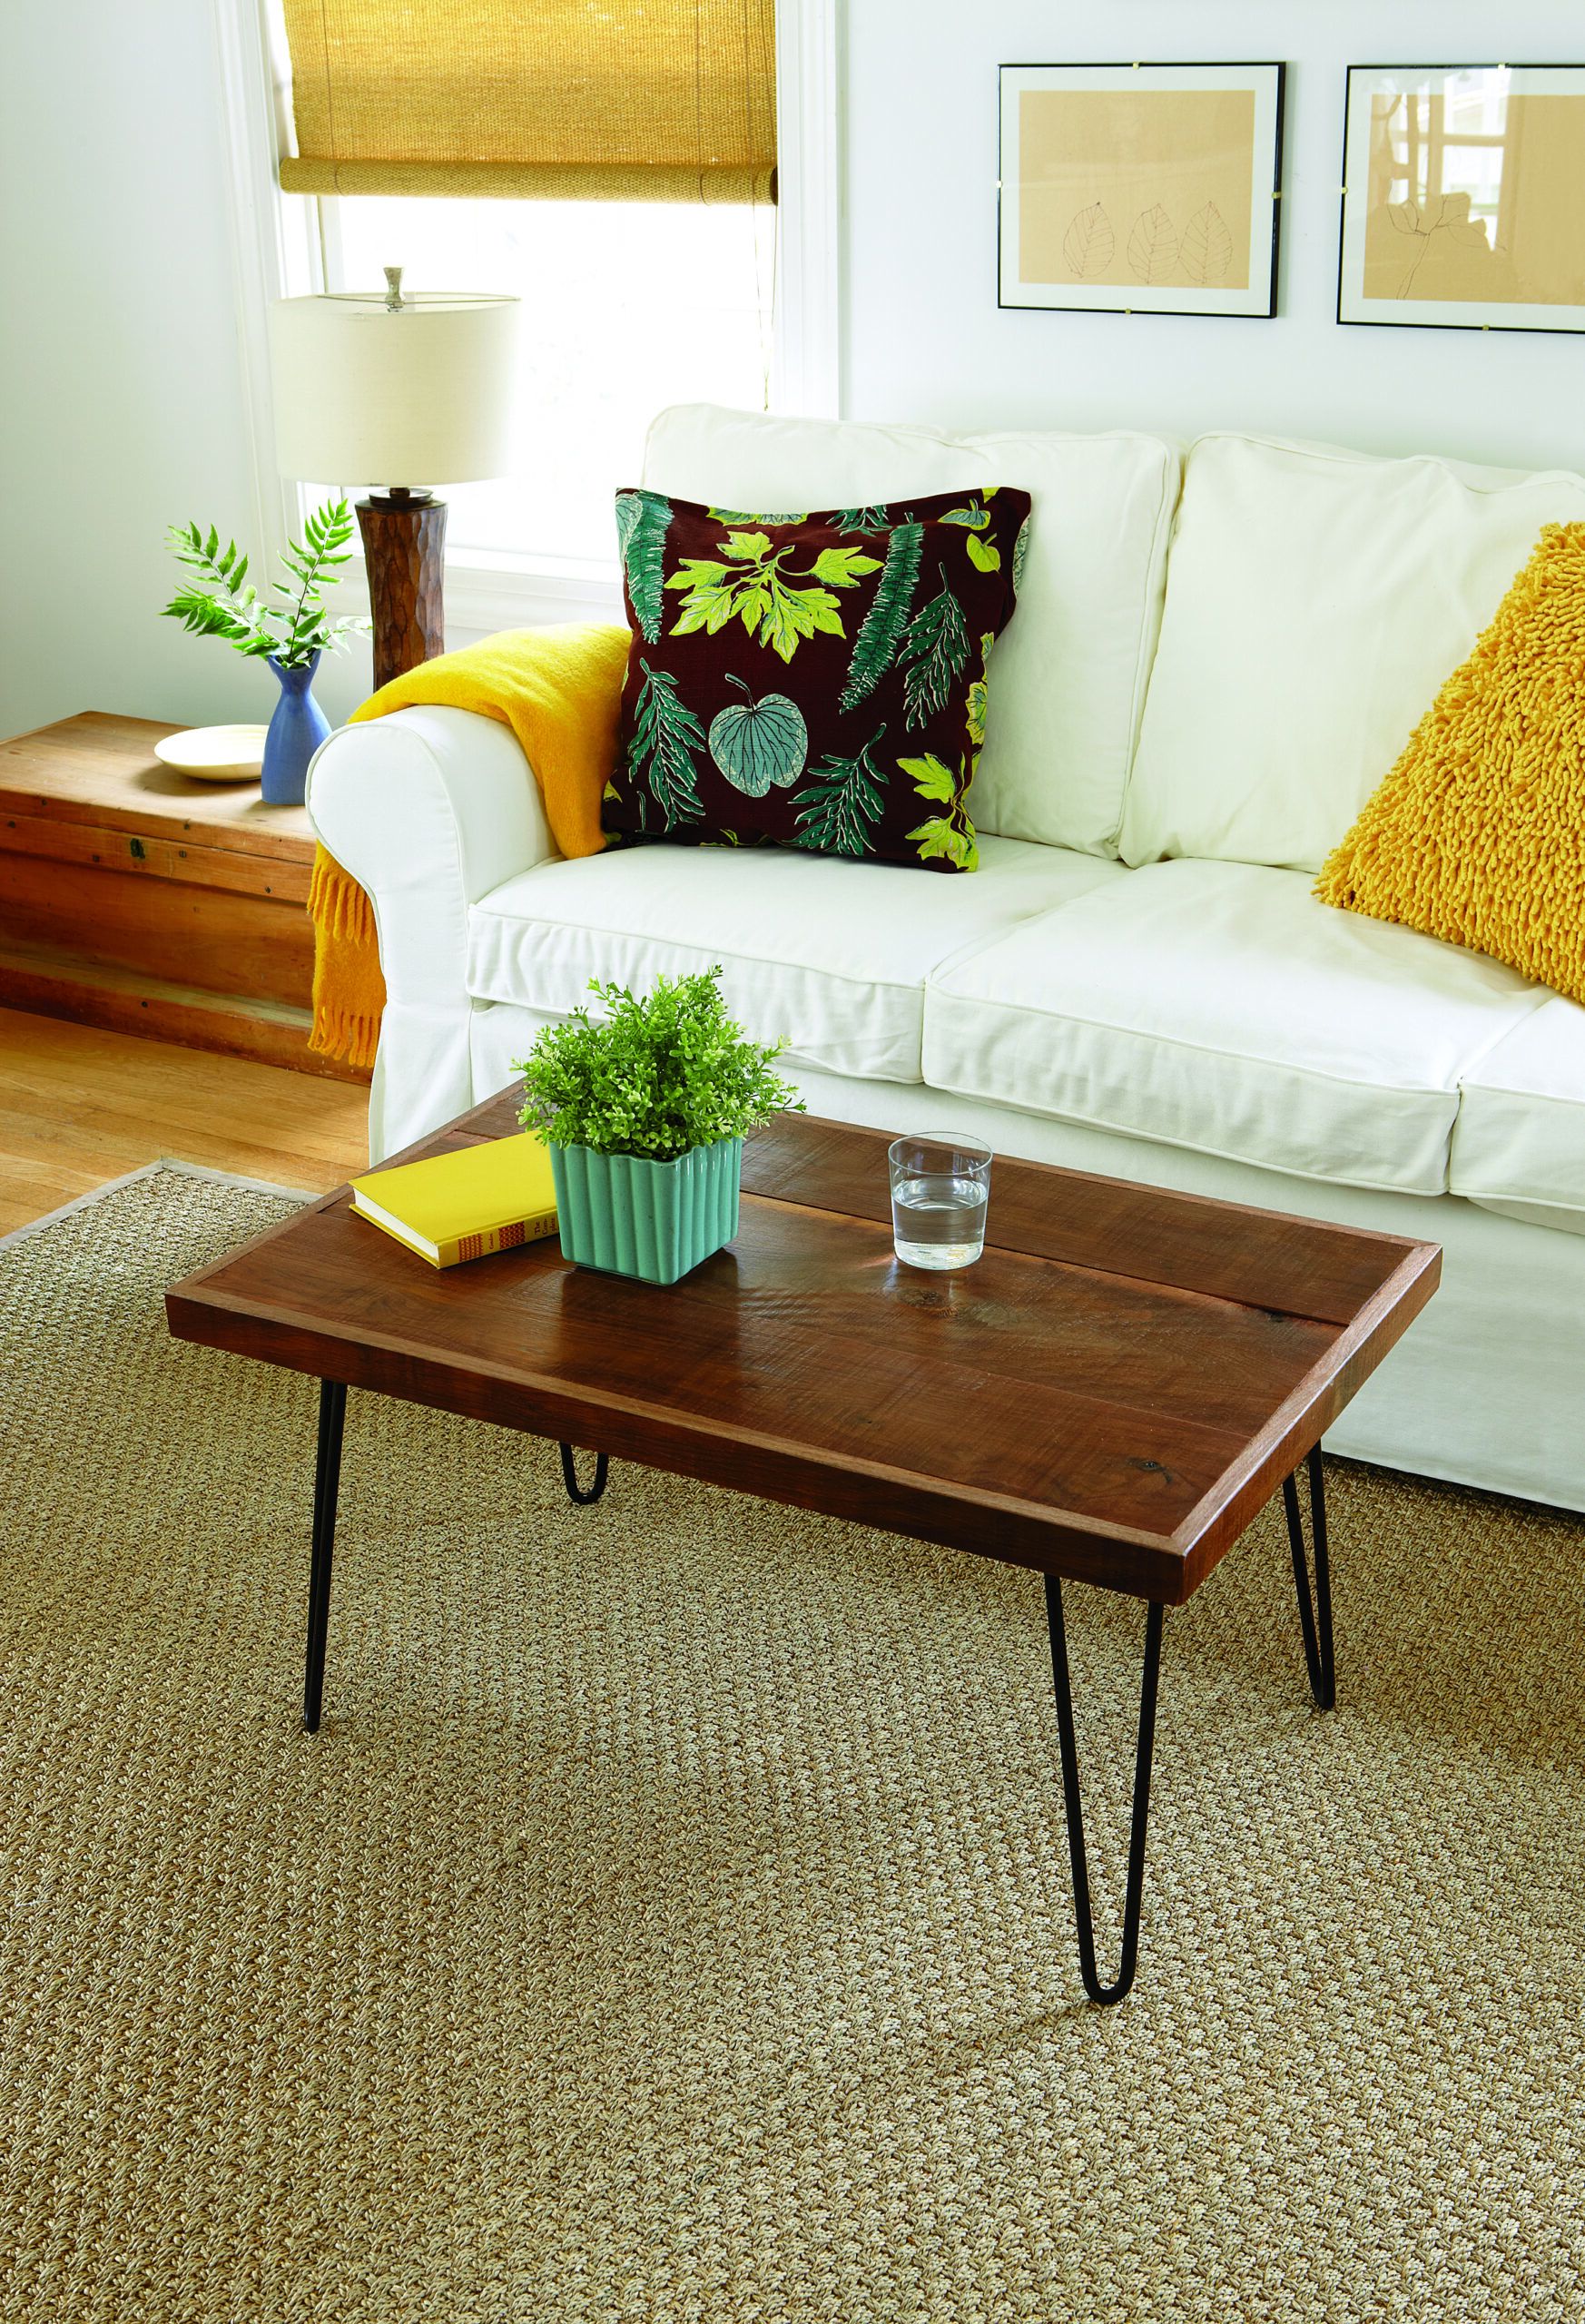
This do-it-yourself (DIY) project combines woods’ warmth with the sleek lines of metal hairpin legs, creating a unique piece of furniture that’s functional and attractive. In this guide, we walk you through crafting your own hairpin-leg coffee table, from selecting materials to adding the finishing touches. Whether you’re a seasoned DIYer or a beginner looking to tackle your first furniture project, this step-by-step tutorial will help you create a stunning centerpiece for your home.
Hairpin Legs: A Modern Design Element
Hairpin legs have become increasingly popular in contemporary furniture design, offering a minimalist and industrial aesthetic. These slender, V-shaped metal legs get their name from their resemblance to the classic hairpin. Originating in the mid-20th century, hairpin legs have made a strong comeback in recent years, particularly in DIY furniture projects.
The appeal of hairpin legs lies in their simplicity and versatility. They can transform a simple wooden top into a stylish coffee table, side table, or even a desk.
Materials and Tools Needed to Build a Coffee Table
Before diving into the construction process, gather all the necessary materials and tools.
Essential Materials
- Four hairpin legs (16–18 inches tall)
- Paste wax (optional)
- Sandpaper (various grits)
- Three 1-by-8 pine boards (8 feet long)
- Wood glue
- Wood screws (1 1/4-inch and 2-inch)
- Wood stain or paint (optional)
Required Tools
- Brad nail gun (18-gauge)
- Circular saw
- Clamps
- Drill/driver
- Dust mask
- Measuring tape
- Pencil
- Safety glasses
Preparing Your Hairpin-Leg Tabletop
The first step in creating your coffee table is preparing the wood for the tabletop. For this project, we recommend using pine boards due to their affordability and ease of working with. However, you can choose other wood types based on your preference and budget. Hardwoods, such as oak or maple, can provide a more durable surface but may be more challenging to work with and more expensive.
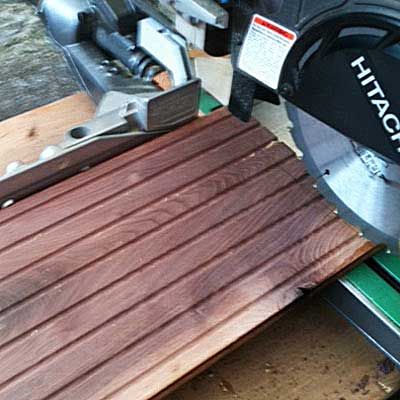
Cutting and Trimming the Boards
Using a circular saw, follow these steps to prepare your tabletop boards:
- Measure and mark three 1-by-8 pine boards to your desired table length.
- Cut the boards to size using the circular saw.
- Rip four 1 1/2-inch strips from one of the boards to create edge trim. Two strips should measure the length of the table, and two should measure the width.
- For the remaining two boards, cut 1 1/2 inches off their length. This adjustment allows the edge trim to wrap around the corners if you choose to miter the edges.
Remember to wear safety glasses and a dust mask when cutting wood to protect yourself from debris.
Assembling the Hairpin-Leg Coffee Tabletop
With your boards cut to size, you can assemble the tabletop. This process involves connecting the main boards and adding support to ensure stability.
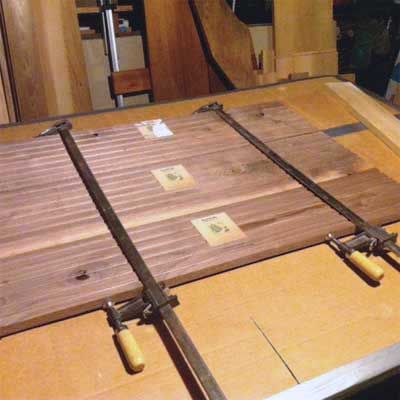
Connecting the Boards
- Lay the three main boards face down on a flat surface.
- Apply wood glue along the edges where the boards will join.
- Clamp the boards together tightly, ensuring they remain flush and even.
- Allow the glue to dry completely according to the manufacturer’s instructions.
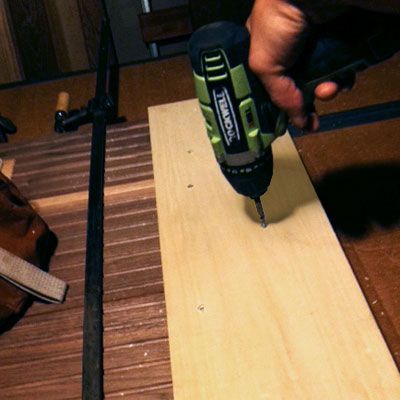
Adding Support With Battens
Battens are support pieces that run perpendicular to the main boards, adding strength and stability to the tabletop. Here’s how to add them:
- Cut two battens from 1-by boards wide enough to accommodate the hairpin leg bases.
- Position one batten at each end of the table’s underside.
- Secure each batten to the tabletop using six wood screws, two for each tabletop board.
- If desired, add a third, thinner batten in the center for additional support.
These battens not only reinforce the tabletop but also provide a solid base for attaching the hairpin legs later.
Creating a Finished Edge for your Hairpin-Leg Coffee Table
A finished edge gives your coffee table a polished look and protects the wood from damage. This step involves attaching the edge trim and applying finishing touches.
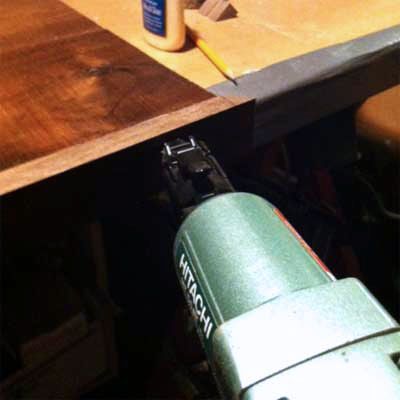
Cutting and Attaching Edge Trim
- Take the 1 1/2-inch strips you cut earlier for the edge trim.
- Apply wood glue to the edges of the tabletop.
- Attach the trim pieces so they sit flush with the tabletop when it’s right side up.
- Secure the trim using a brad nail gun, spacing nails every few inches.
- If desired, miter the corners of the trim for a more professional look.
Applying Finishing Touches
Once the edge trim is attached, you can further refine the tabletop.
- Sand the entire surface and edges of the tabletop, starting with coarse-grit sandpaper and progressing to finer grits for a smooth finish.
- Wipe away any dust with a tack cloth.
- If desired, apply wood stain or paint to achieve your preferred color and finish.
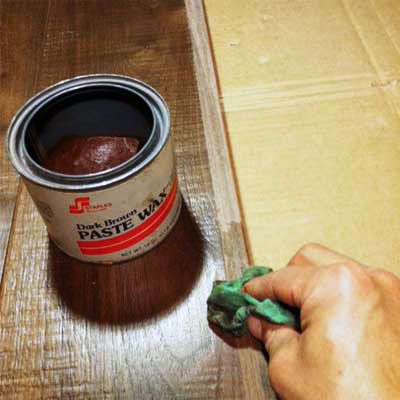
- For added protection, apply a coat of paste wax to the edge trim, matching it to the finish of your tabletop.
Attaching Hairpin-Legs to Your Coffee Table
With the tabletop complete, it’s time to attach the hairpin legs, transforming your project into a functional coffee table.
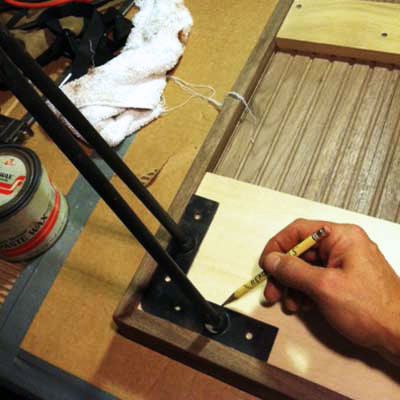
Positioning the Legs
Proper leg placement is crucial for both aesthetics and stability.
- Flip the tabletop over so you can see the underside.
- Position a hairpin leg in each corner of the table.
- Use a pencil to trace the inner angle of each leg, marking their position.
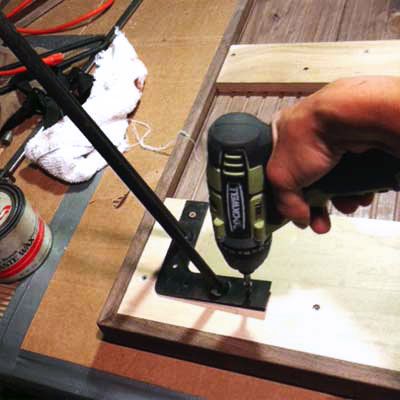
Securing Legs to the Tabletop
Once you’ve marked the leg positions, follow these steps to attach them:
- Use the pencil lines as a guide to determine how far to space the legs from the table’s edge.
- Predrill holes for the leg screws to prevent the wood from splitting.
- Align each leg with its marked position and screw it securely into the batten using the appropriate screws (typically provided with the legs).
- Double-check that all legs are firmly attached and level.
Ensuring Stability and Durability for Your Coffee Table
A well-built coffee table should be stable and long-lasting. Here are some tips to enhance your hairpin-leg coffee table’s stability and durability:
- Use wood glue in addition to screws when assembling the tabletop for added strength.
- Ensure all screws are tightened properly, but be careful not to over-tighten and strip the wood.
- Add a center support batten if your table is particularly long.
- Use high-quality hairpin legs rated for your tabletop’s weight.
Troubleshooting Common Hairpin-Leg Coffee Table Issues
Even with careful planning and execution, you may encounter some challenges.
If your table wobbles:
- Check that all legs are securely attached and tightened.
- Ensure the tabletop is perfectly flat. Sand down any high spots if necessary.
- Use adjustable footpads on the legs to compensate for uneven floors.
For an uneven tabletop:
- Sand the surface thoroughly, focusing on high spots.
- Apply wood filler to low spots and sand again once dry.
- Use a hand plane for more significant unevenness.