Project details
Skill
Cost
Estimated Time
We may be compensated if you purchase through links on our website. Our team is committed to delivering honest, objective, and independent reviews on home products and services.
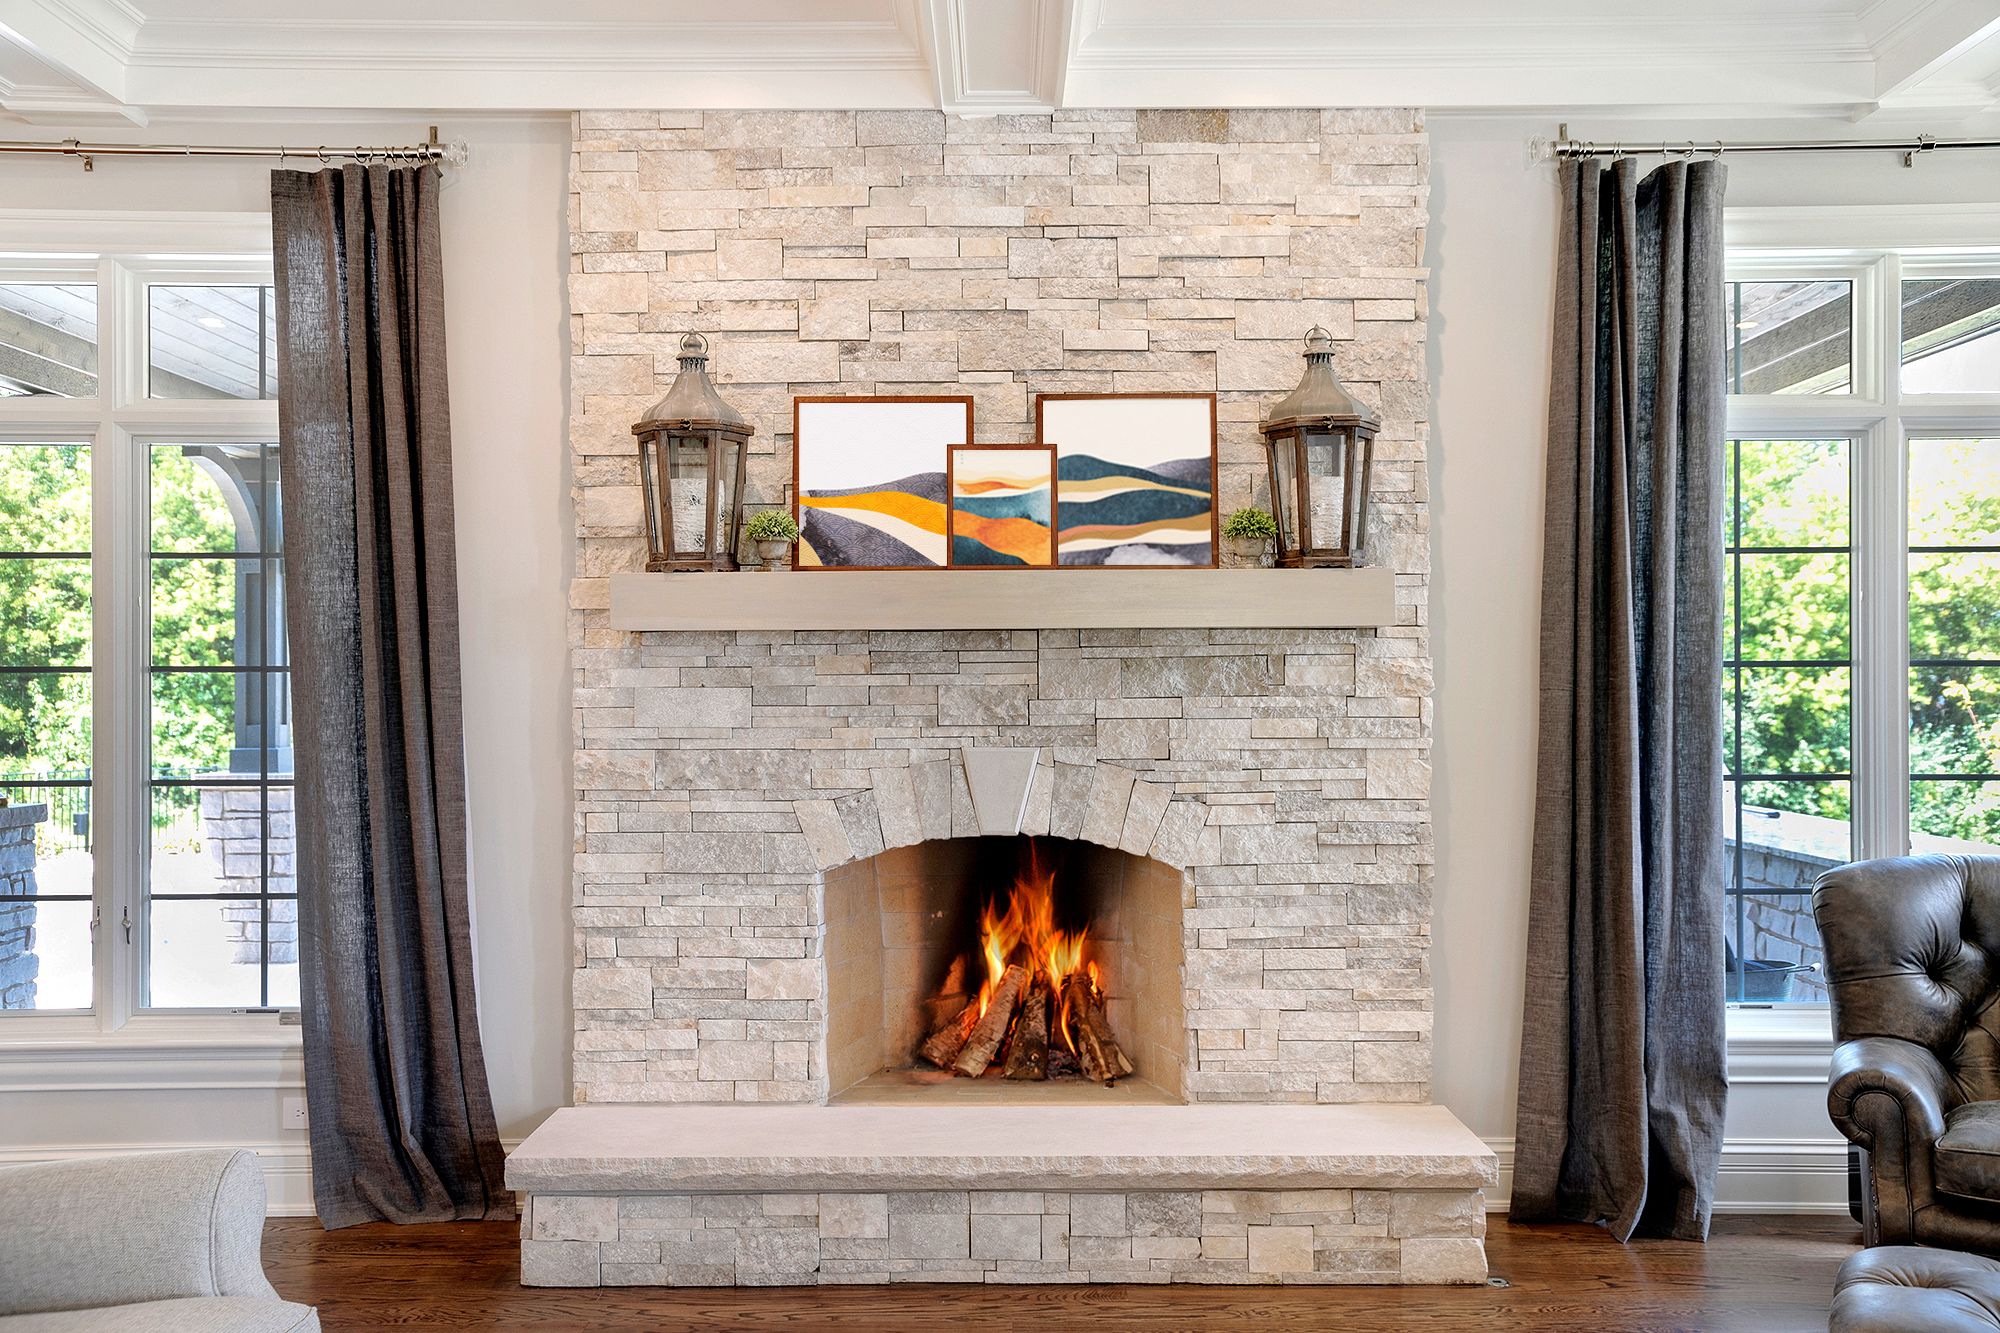
Many living rooms have a fireplace that serves as the focal point of the space, but over time, it can deteriorate due to chipped bricks, stained hearths, and accumulated soot. Refacing your fireplace surround and hearth can dramatically improve its appearance and enhance your home’s overall style. This guide will walk you through the process of transforming your outdated fireplace into a stunning centerpiece.
Getting Ready for Your Fireplace Refacing Project
To determine if this is a DIY project that you’re ready for, start by thoroughly examining your existing fireplace surround and hearth. Look for signs of damage, such as cracked tiles, loose bricks, or deteriorating mortar. Take note of any areas that may require repair before refacing can begin. This assessment will help you determine the scope of the project and identify potential challenges you might face during the renovation process.
Deciding whether to tackle the project yourself or hire a professional depends on several factors, including your skill level, available time, and the complexity of the refacing job. If you’re comfortable with basic home improvement tasks and have the necessary tools, a DIY approach can save you money. However, for more intricate designs or if you’re working with heavy materials like stone slabs, it may be wise to enlist the help of a professional to ensure proper installation and safety.
In the video below, general contractor Tom Silva explains how to upgrade a fireplace surround and hearth.
Planning Your Fireplace Makeover
Once you’ve decided to handle the project yourself, it’s time to start planning. This involves setting a realistic budget and carefully selecting the materials that will best suit your home’s style and your personal preferences.
Determine how much you’re willing to spend on your fireplace makeover. Consider the costs of materials, tools, and labor if you’re hiring professionals. Remember to factor in unexpected expenses that may arise during the renovation process. According to Angi, refacing your fireplace can cost anywhere between $650 and $4,000.
Selecting Materials for the Surround and Hearth
Choose materials that complement your home’s decor and meet your functional needs. Options for the surround and hearth include:
- Natural stone (granite, marble, slate)
- Ceramic or porcelain tiles
- Brick or stone veneer
- Concrete
- Wood (for the mantel)
Consider factors such as durability, heat resistance, and maintenance requirements when making your selection. For example, granite is highly durable and heat-resistant, making it an excellent choice for both the surround and hearth.
Steps for Refacing a Fireplace Sound and Hearth
Step 1: Pry off the mantel
- If the mantel is to be reused, mark its outline on the wall and floor.
- Use prybars to gently remove the mantel from the wall.
- Make sure all wood framing and lath are at least 2 inches away from the firebox opening, as required by code.
Tip: This is a good time to consider building or buying a new mantel.
Step 2: Remove the old hearth
- Tape thin plywood or cardboard to the floor around the hearth to protect the floor from scratches and debris.
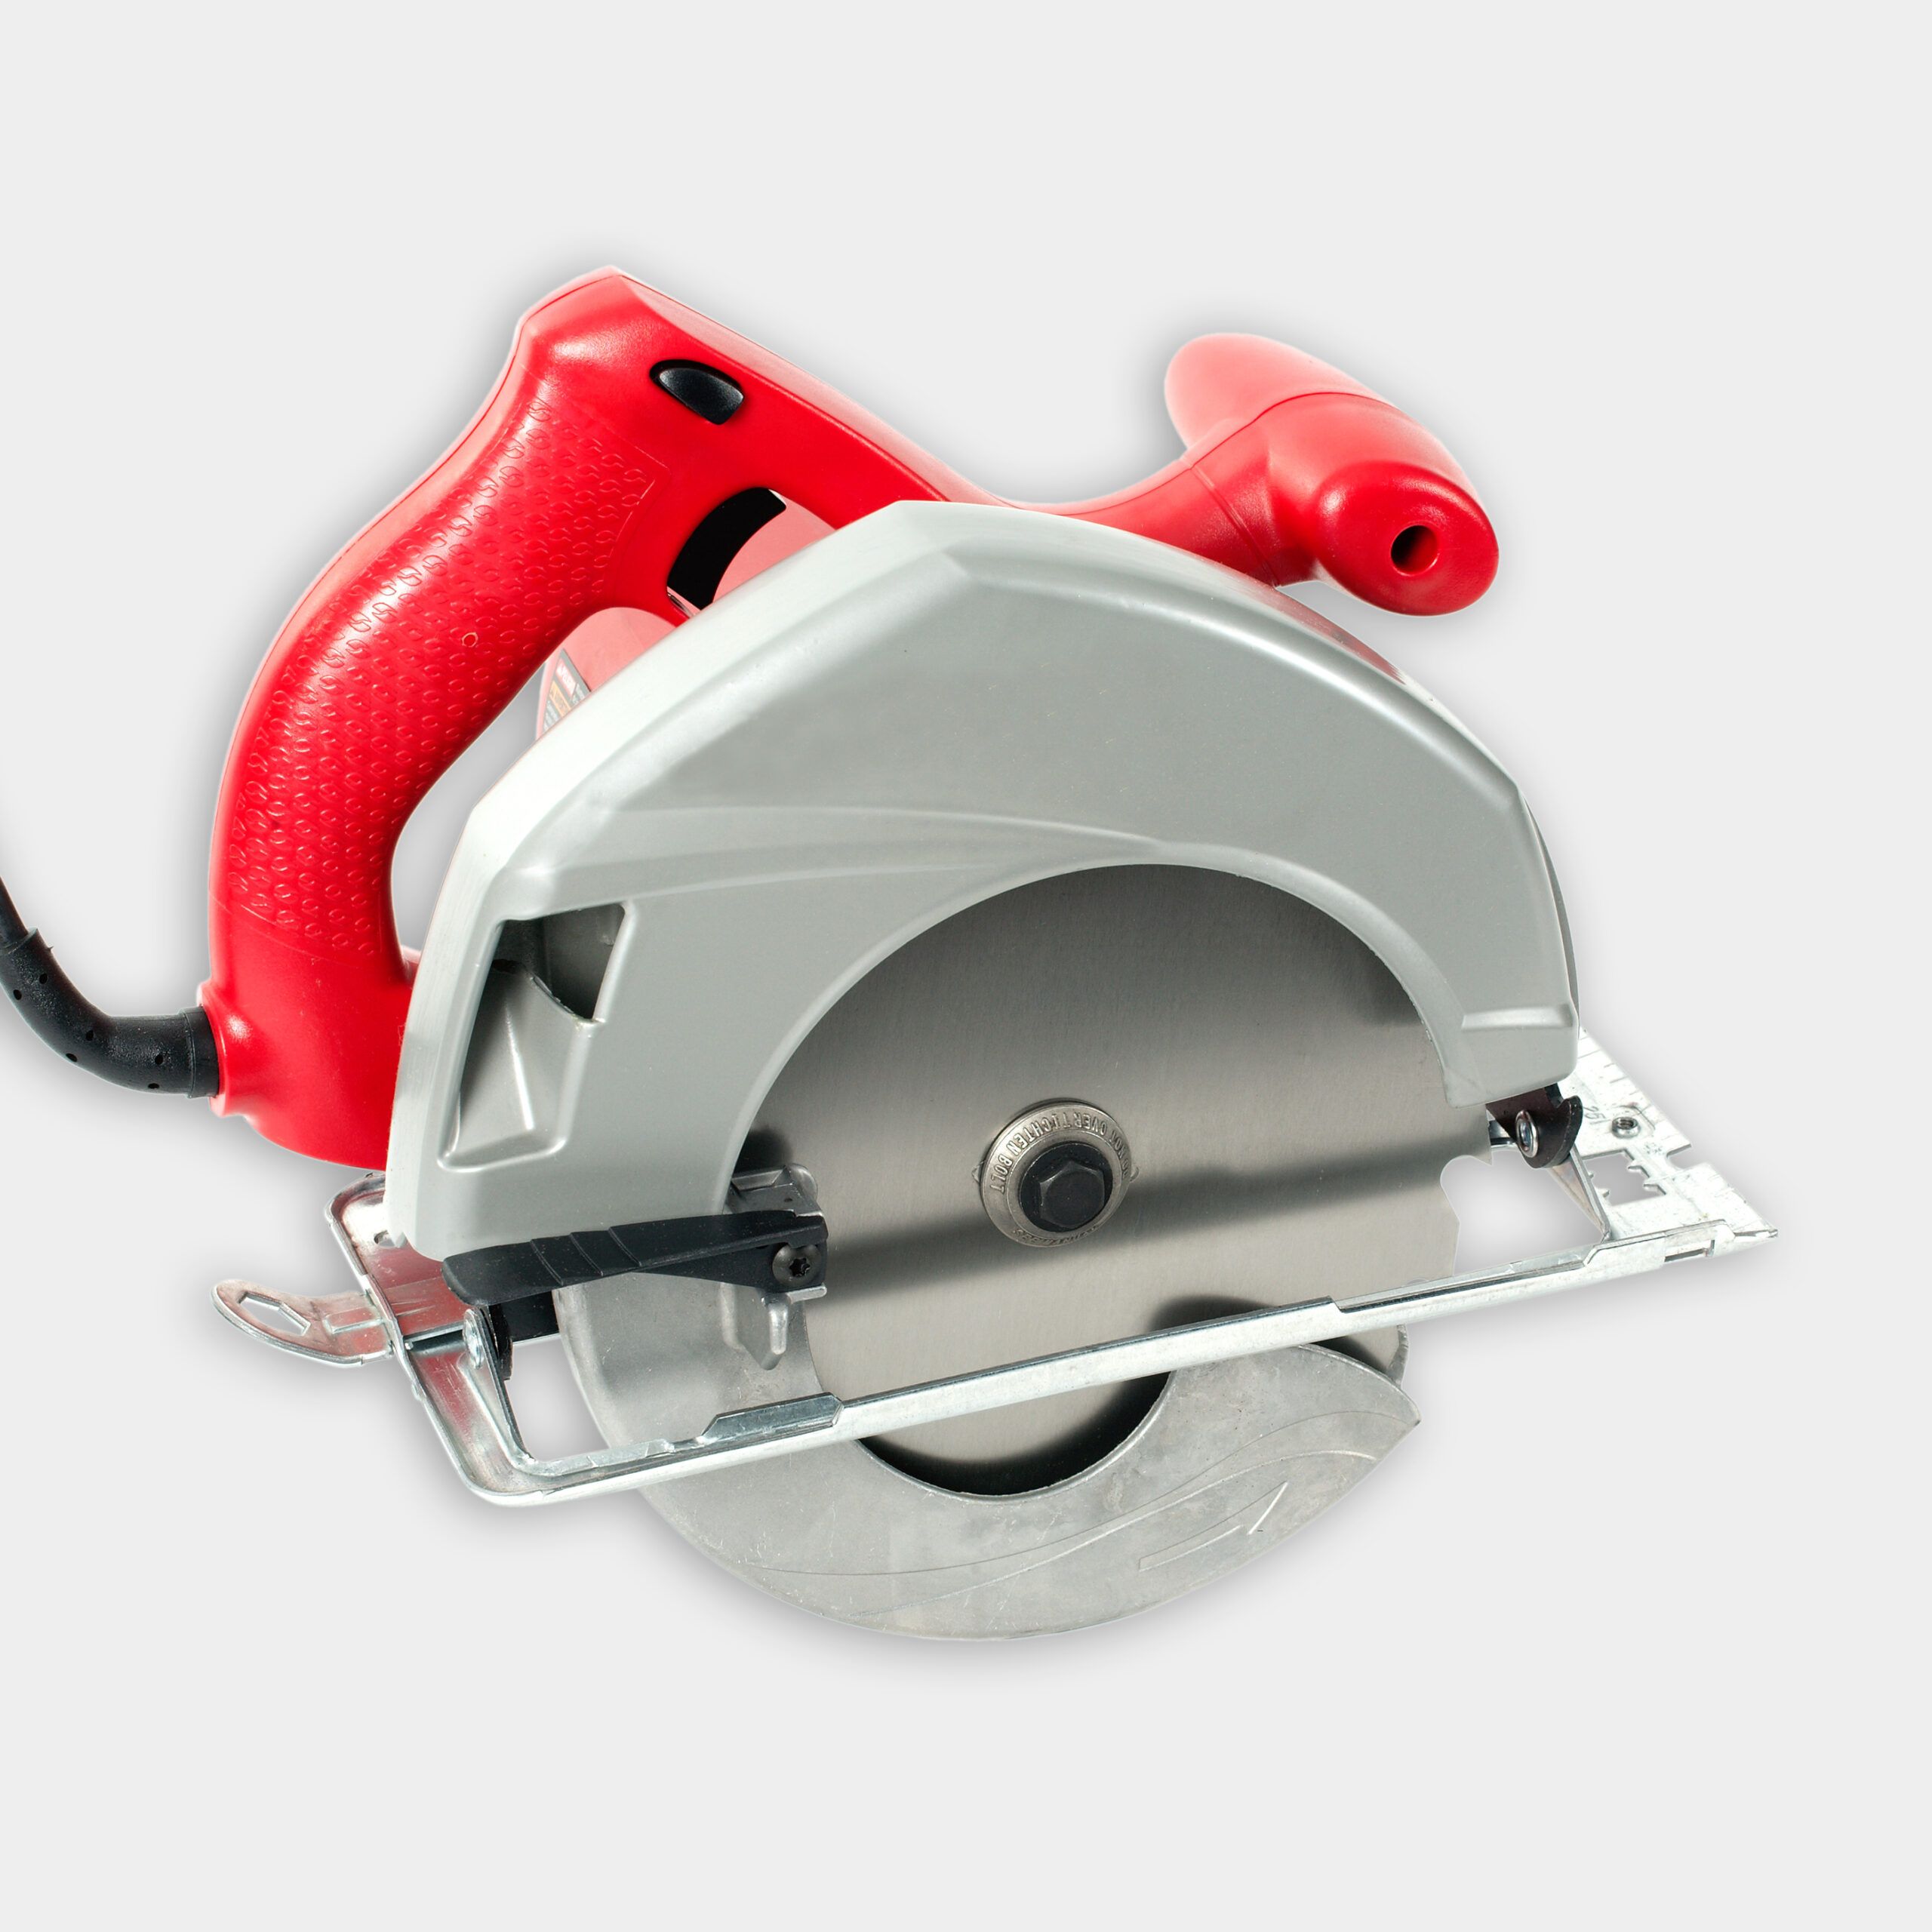
- Use a demolition hammer with a chisel bit to chip away the old hearth and the mortar underneath (as shown). Leave the concrete hearth base and firebox floor intact.
- Brush and vacuum debris and dust from the hearth base.
Tip: Wear eye and ear protection and a dust mask when using a demolition hammer.
Step 3: Prepare the hearth base
- Notch the ends of a 2×4 to make a screed that’s a foot longer than the hearth; its bottom should fit easily in the excavated area. For the flush hearth, cut the notch depth equal to the thickness of the new hearthstone, plus 3/8 inch (for thinset).
- Wet the hearth base. Mix and pour concrete topping.
- Set ends of screed on the floor, notch down. Pull it across the hearth while moving it quickly from side to side (as shown).
- Add or remove the topping mix and continue to pull the screed across it until the base is flat. Smooth with a trowel.
- Let the mix set overnight.
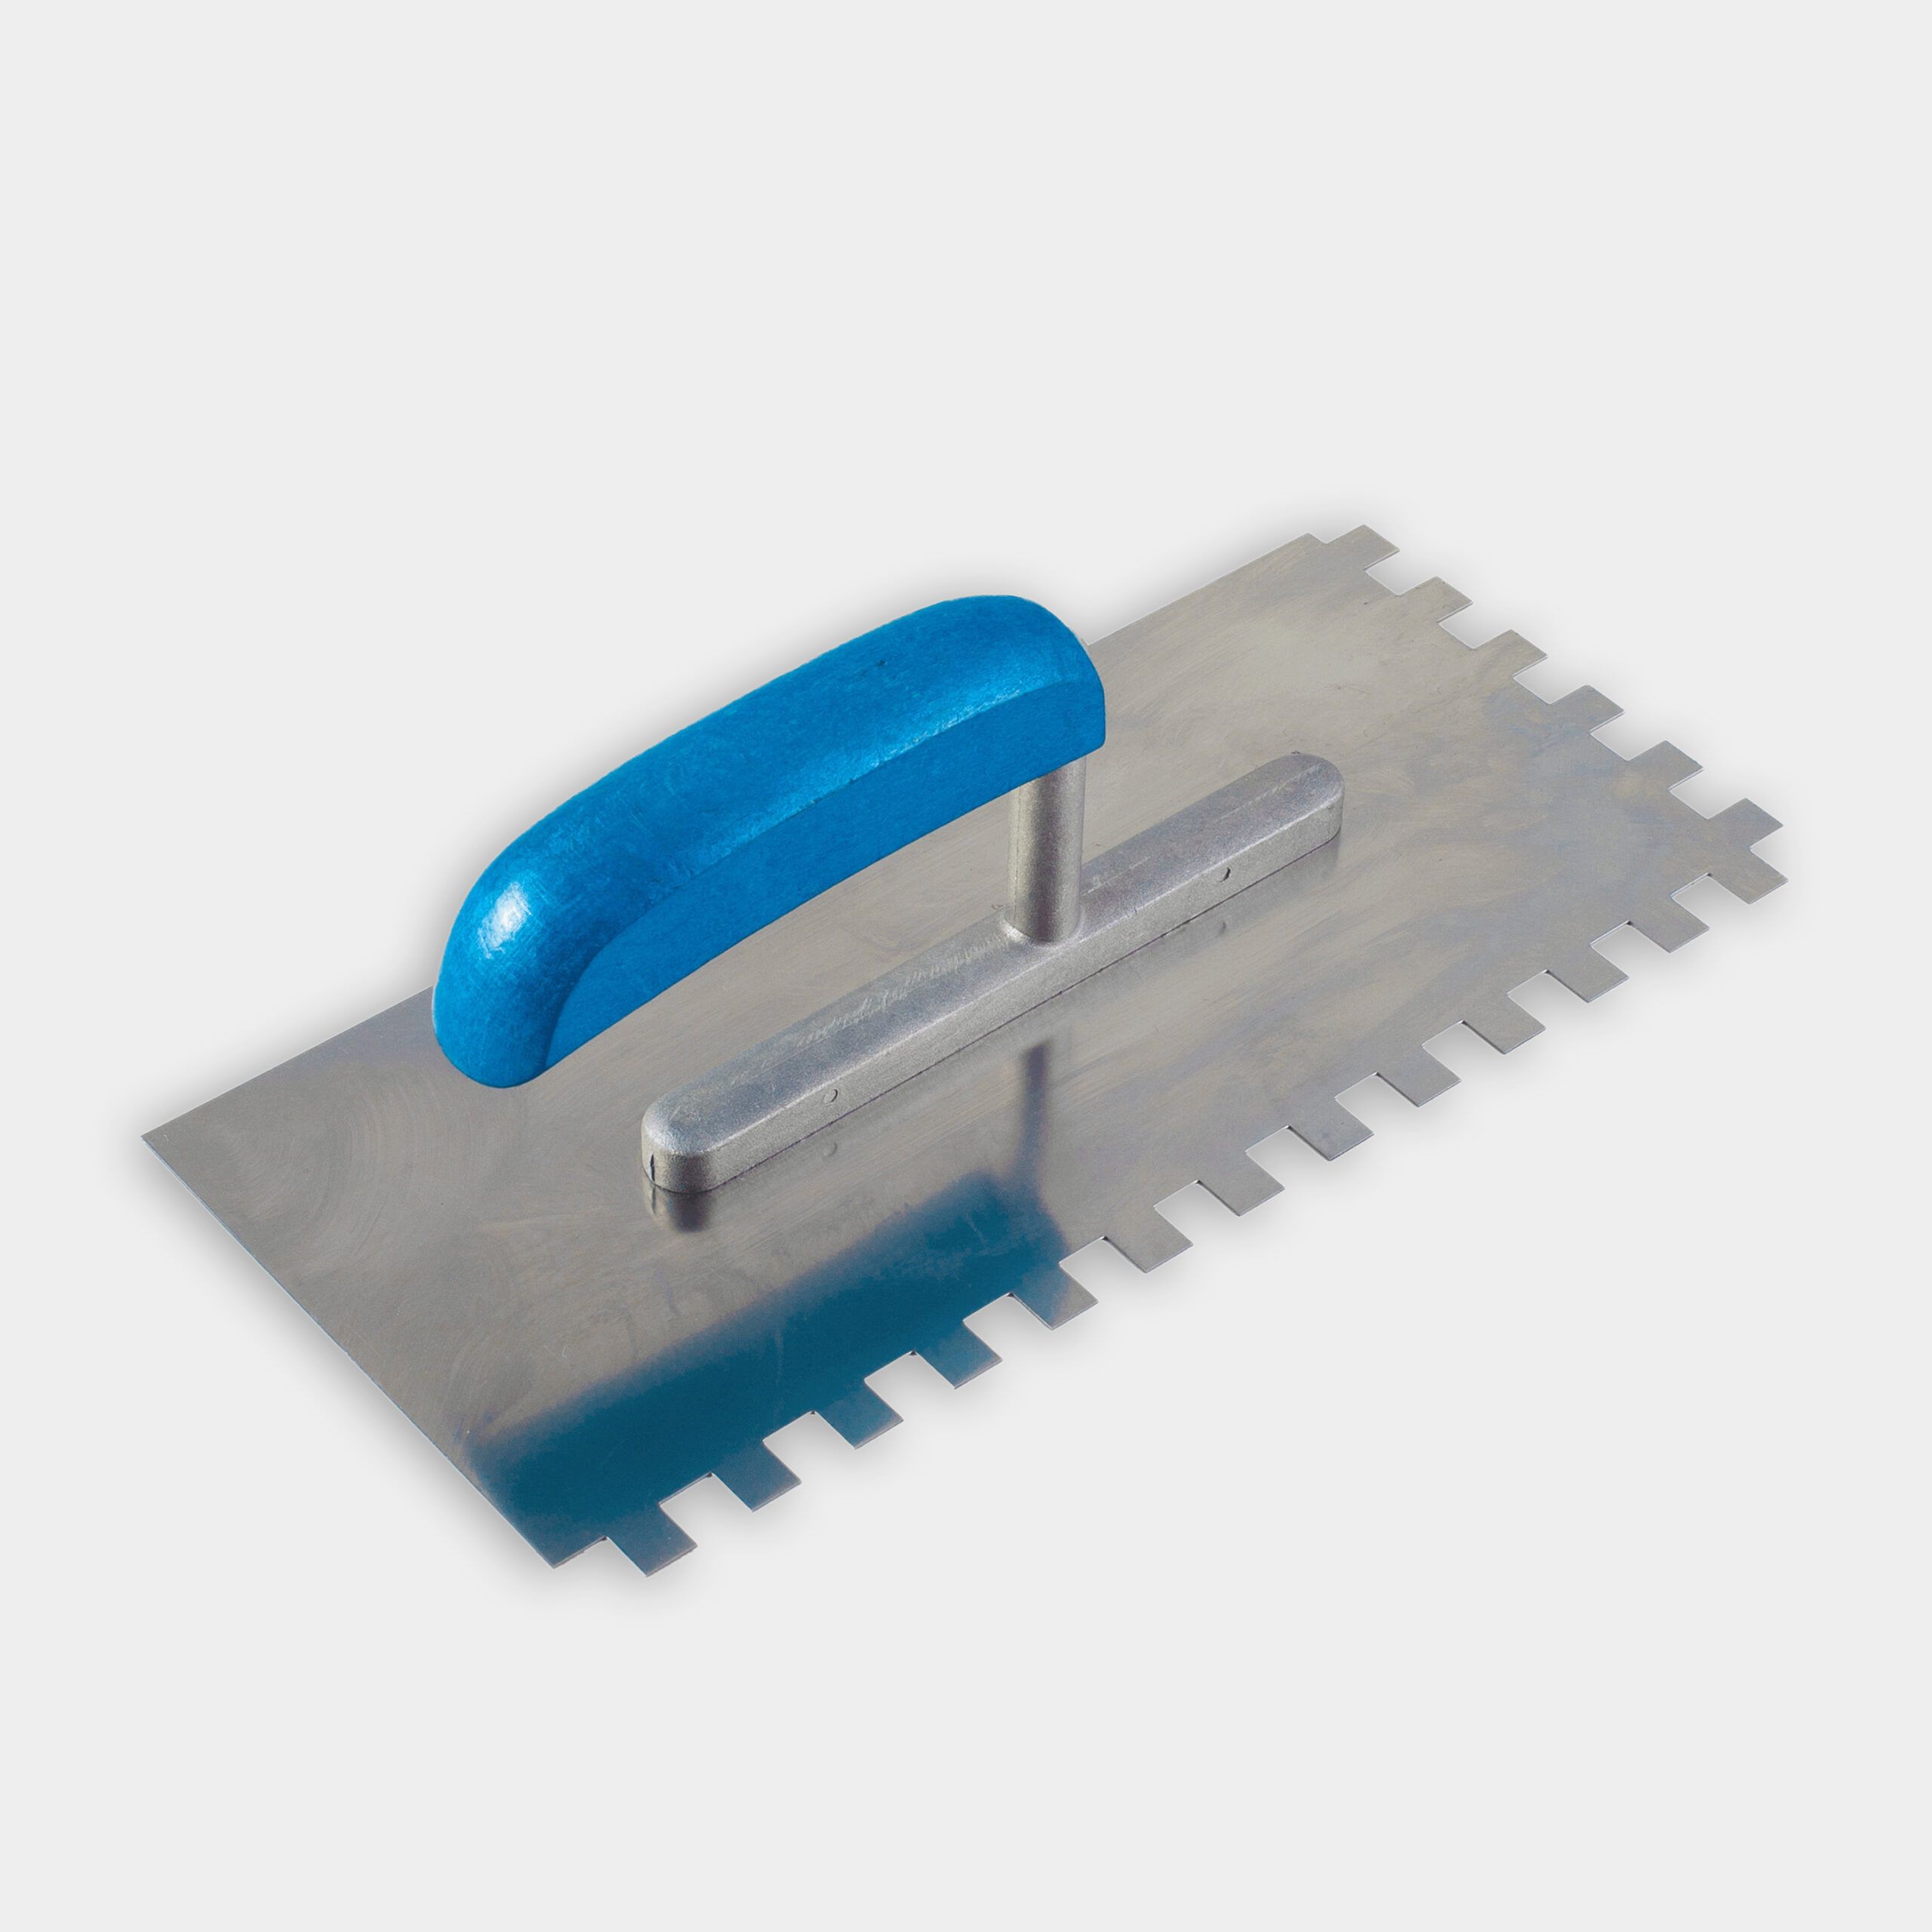
Step 4: Spread the thinset for the hearth
- Stick suction cups to the new hearth slab and test fit on the hearth base.
- Mix enough thinset mortar to cover the hearth base.
- Pour the thinset onto the base.
- Comb the toothed trowel through the thinset to raise evenly spaced furrows across the entire surface.
- Save the leftover thinset for the next step.
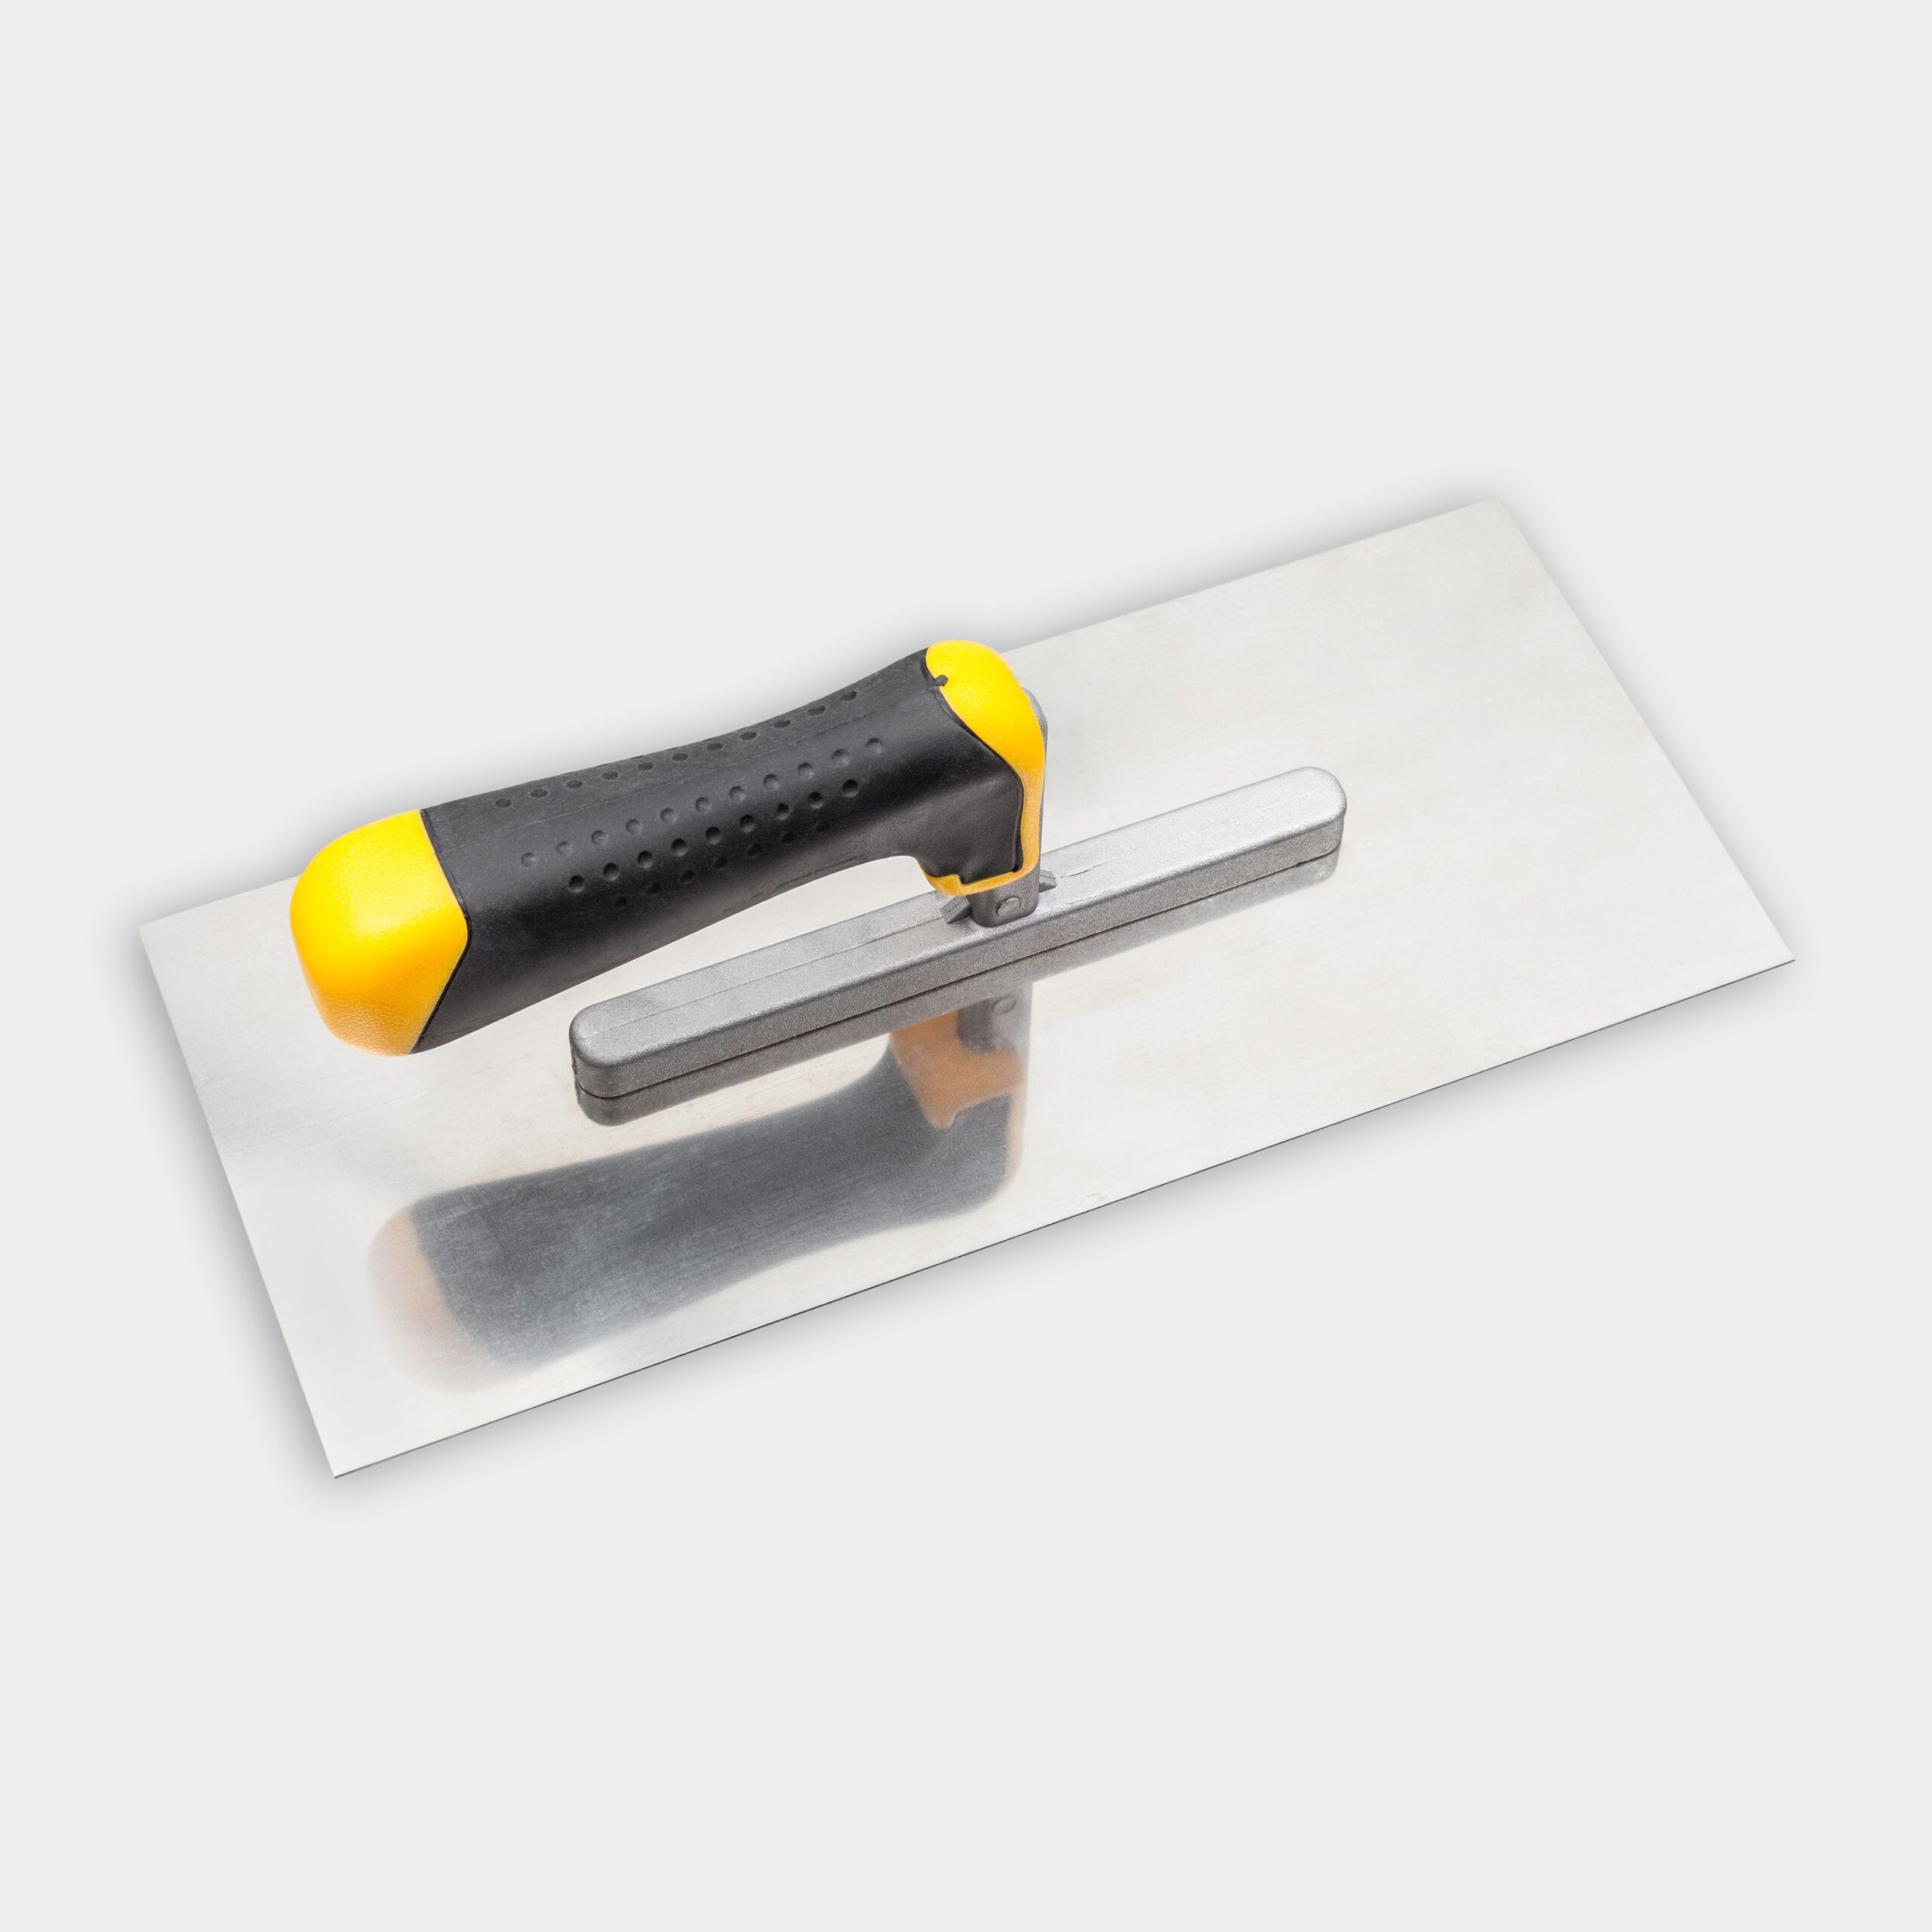
Step 5: Set the hearth in place
- Use suction cups to lift and set the slab (as shown).
- Press down firmly on the hearth to adhere the stone to thinset.
- Check that the hearth does not rock. If it does, lift the hearth and add more thinset.
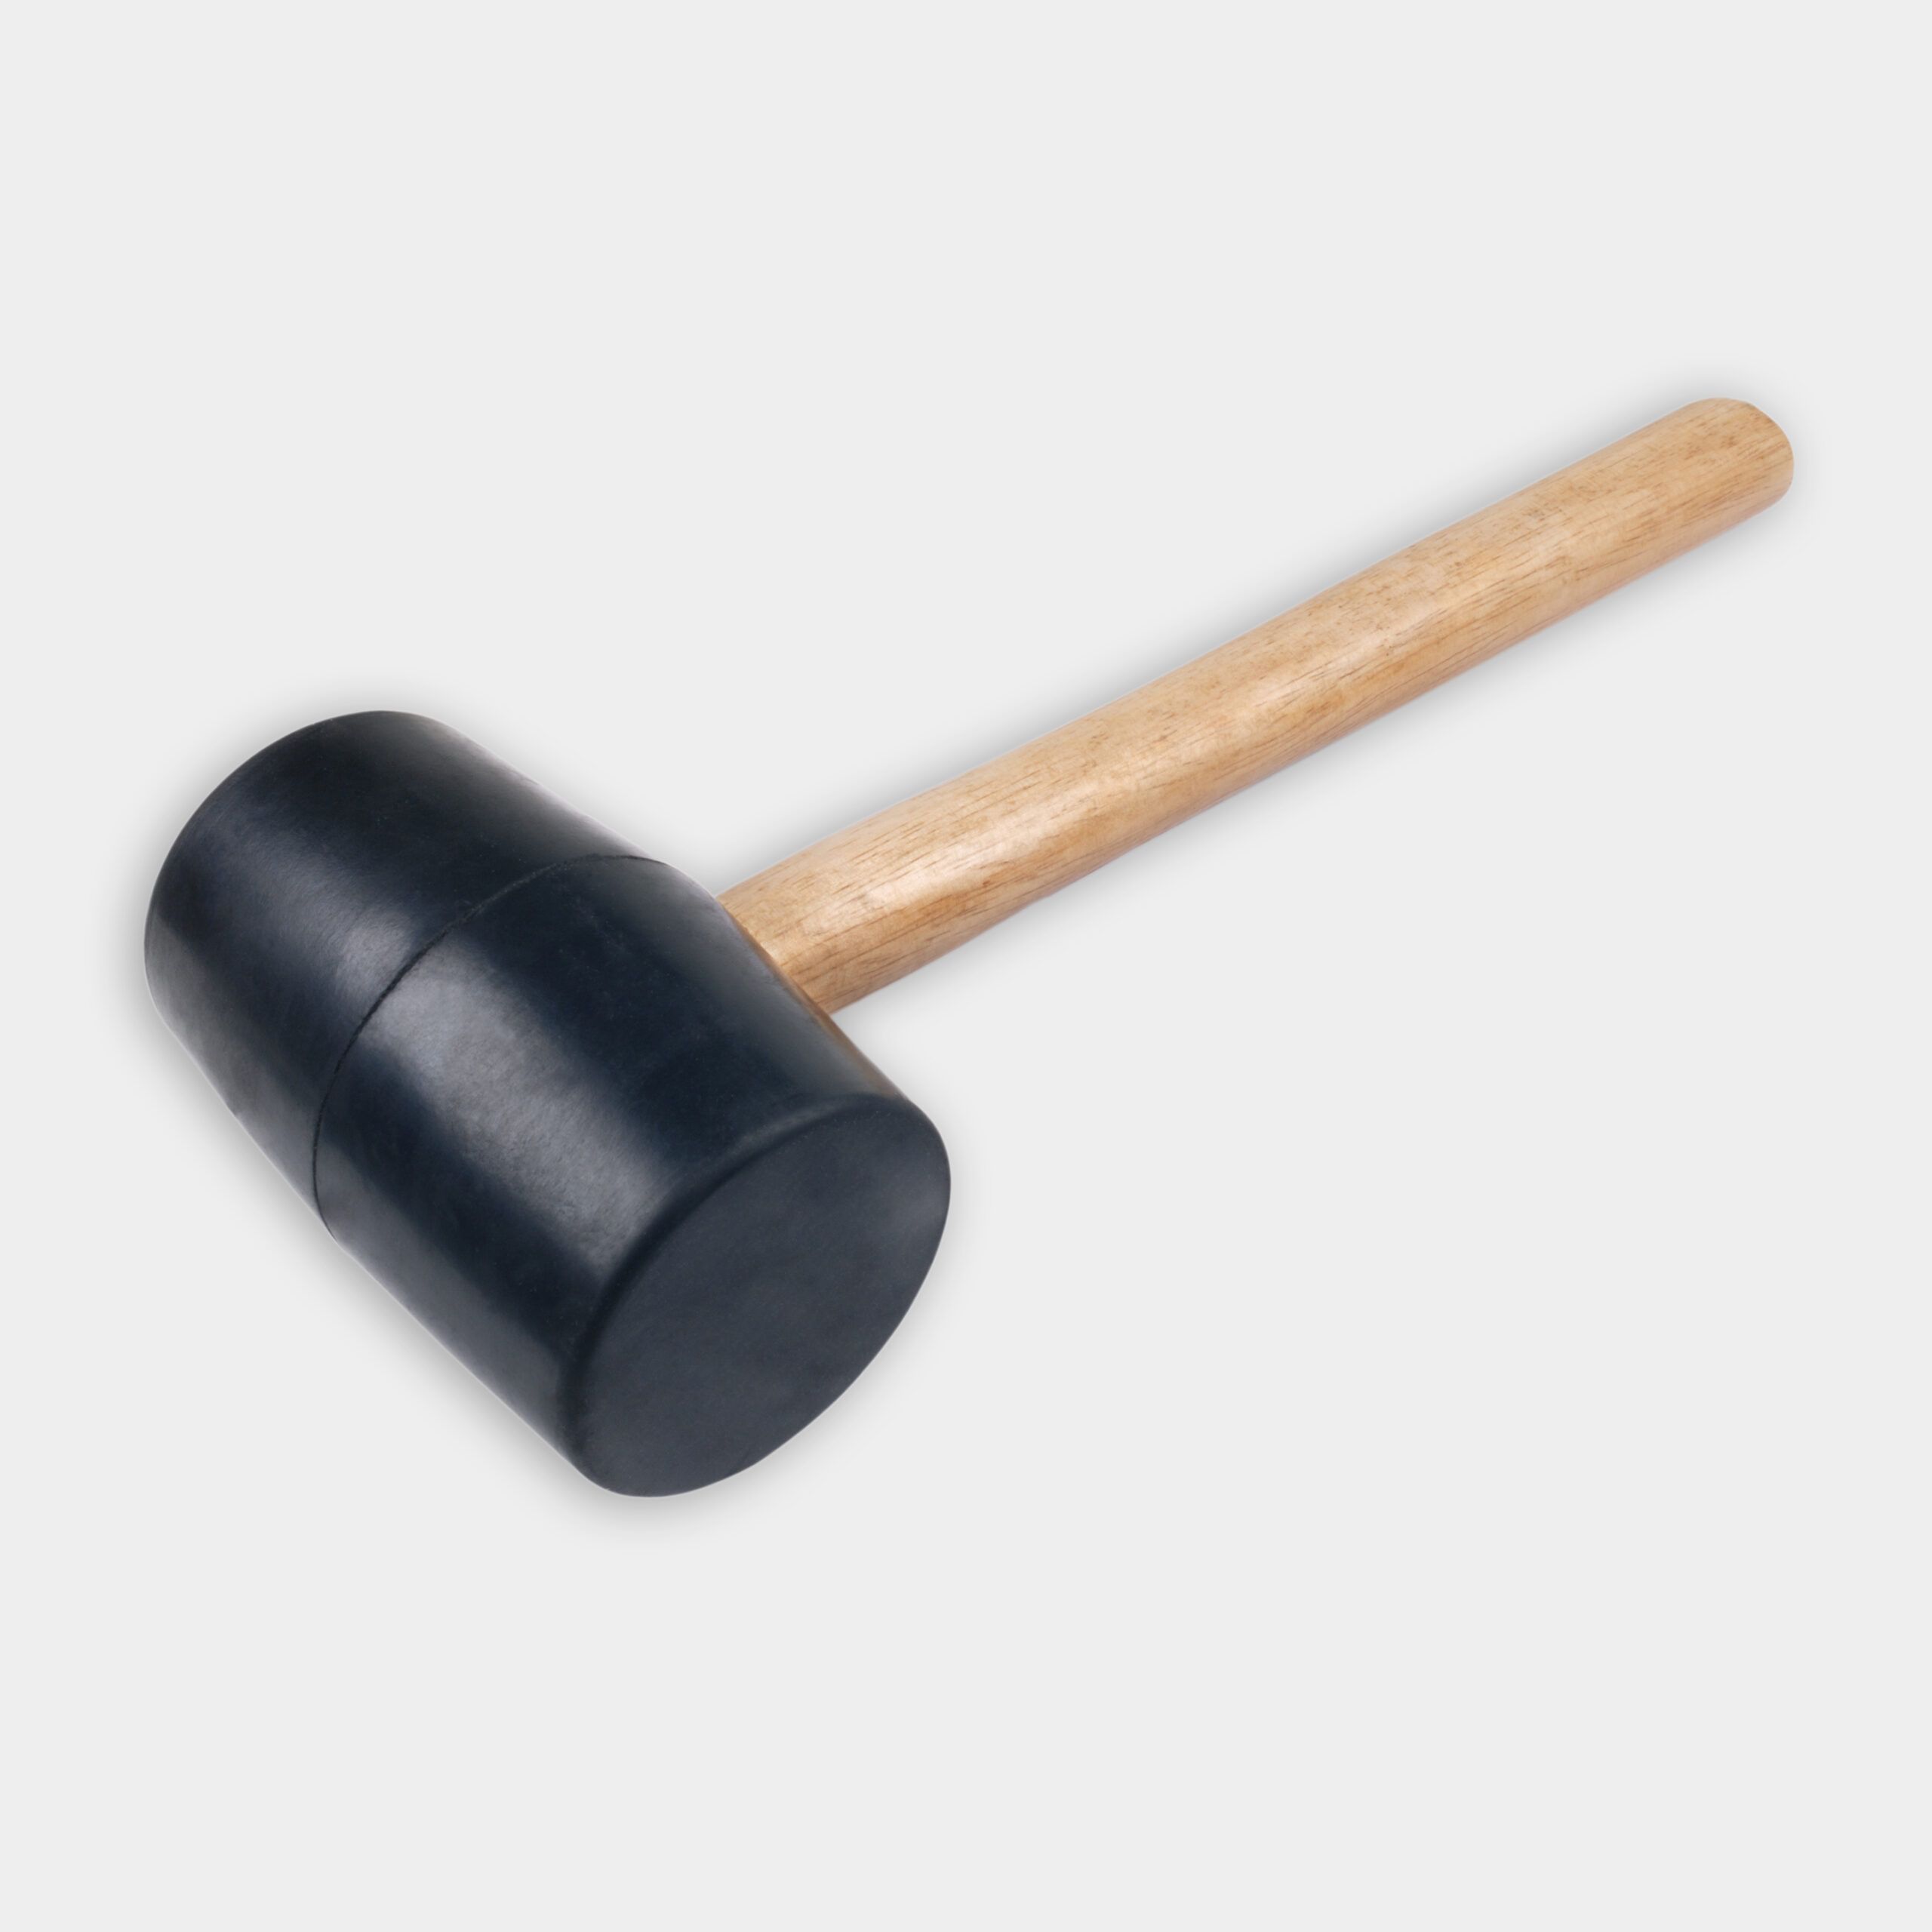
- If the hearth is meant to be flush with the floor but is too high, tap on the stone with the rubber mallet; if the hearth is too low, lift it and add thinset.
- Fill the joint between the firebox and hearth with thinset. Scrape off the excess and tool smoothly.
Step 6: Set the surround pieces
- With a trowel, comb the thinset onto the backs of side pieces.
- Set each piece in place on top of the hearth and press against the brick. Make sure the inside edges slightly overlap the sides of the firebox.
- Lay straightedge across tops of side pieces. Check that they align. If not, pivot slightly.
- Butter the thinset on the top of the piece. Set it on the side pieces. Press tight to the brick. Check that the joints are flush.
- Allow the thinset to harden overnight.
Step 7: Fit wood mantel
- Set the mantel on the hearth, tight against the new surround. Align it with the outline on the wall.
- Measure from the back of the mantel to the wall. Cut wood filler strips to that thickness.
- Glue and nail the filler strips to the back of the mantel, flush with its edges. Glue and nail molding extensions to strips.
- Using a compass, scribe the strips where they touch the wall (as shown). Then, cut along the scribe lines with a jigsaw.
Step 8: Fasten the mantel to the wall
- Mark the locations of the wall framing.
- Set the mantel so it’s centered on the surround.
- Push the mantel tight to the wall and the surround.
- Toenail the mantel into the framing with 8d finish nails.
Fireplace Refacing Finishing Touches and Safety Considerations
As you complete your fireplace refacing project, pay attention to the final details to ensure your renovation meets all safety standards.
Sealing and Grouting
If you’ve used natural stone or porous tiles, apply a sealer to protect against stains and moisture. For tiled surfaces, carefully grout the joints, wiping away excess with a damp sponge. Allow the grout to cure according to the manufacturer’s instructions before using the fireplace.
Ensuring Proper Clearances for Fire Safety
You’ll also need to be sure you’re maintaining proper clearances between combustible materials and the firebox. Ensure all wood framing and lath are at least two inches away from the firebox opening, as required by code. If you’re unsure about safety requirements, consult a professional or your local building department.