Project details
Skill
Cost
Estimated Time
A sturdy, attractive mailbox post is an easy and affordable way to upgrade your home’s exterior, and it’s an easy project to complete on your own. In the video above, This Old House landscape contractor Roger Cook shows how to install a double-wall plastic mailbox. We’ll walk through the process in more detail below, from selecting materials to the final installation.
Choosing the Right Mailbox and Post
Before diving into the project, select the appropriate mailbox and post for your needs. Consider the following factors when making your choice.
Mailbox Materials
When selecting a mailbox, durability should be a top priority. Some popular options include the following:
- Metal: Sturdy and long-lasting but may require occasional maintenance to prevent rust
- Plastic: Lightweight, affordable, and resistant to rust and corrosion
- Wood: Offers a classic look but may need more frequent upkeep to protect against weathering
Cook opted for a double-wall plastic mailbox, which is incredibly durable and resistant to rot and rust.
Post Options
The post you choose impacts both the stability and appearance of your mailbox. These are some common post materials:
- Metal: Durable, low-maintenance, and available in various designs
- Wood: Traditional and customizable, but requires regular maintenance
- Plastic: Resistant to rot and insects, and often designed to complement plastic mailboxes
For this project, Cook used a pressure-treated 4-by-4-inch wooden post as the core support and a decorative plastic post sleeve.
Design Considerations
When selecting your mailbox and post, keep these design elements in mind:
- Color: Select a color that coordinates with your home’s trim or exterior paint.
- Size: Make sure the mailbox is large enough to accommodate your typical mail volume.
- Style: Choose a design that complements your home’s exterior.
Preparing for Installation
Before you begin the installation process, take some preparatory steps for a smooth and safe project.
Gather Tools and Materials
To complete this project, you’ll need the following tools and materials:
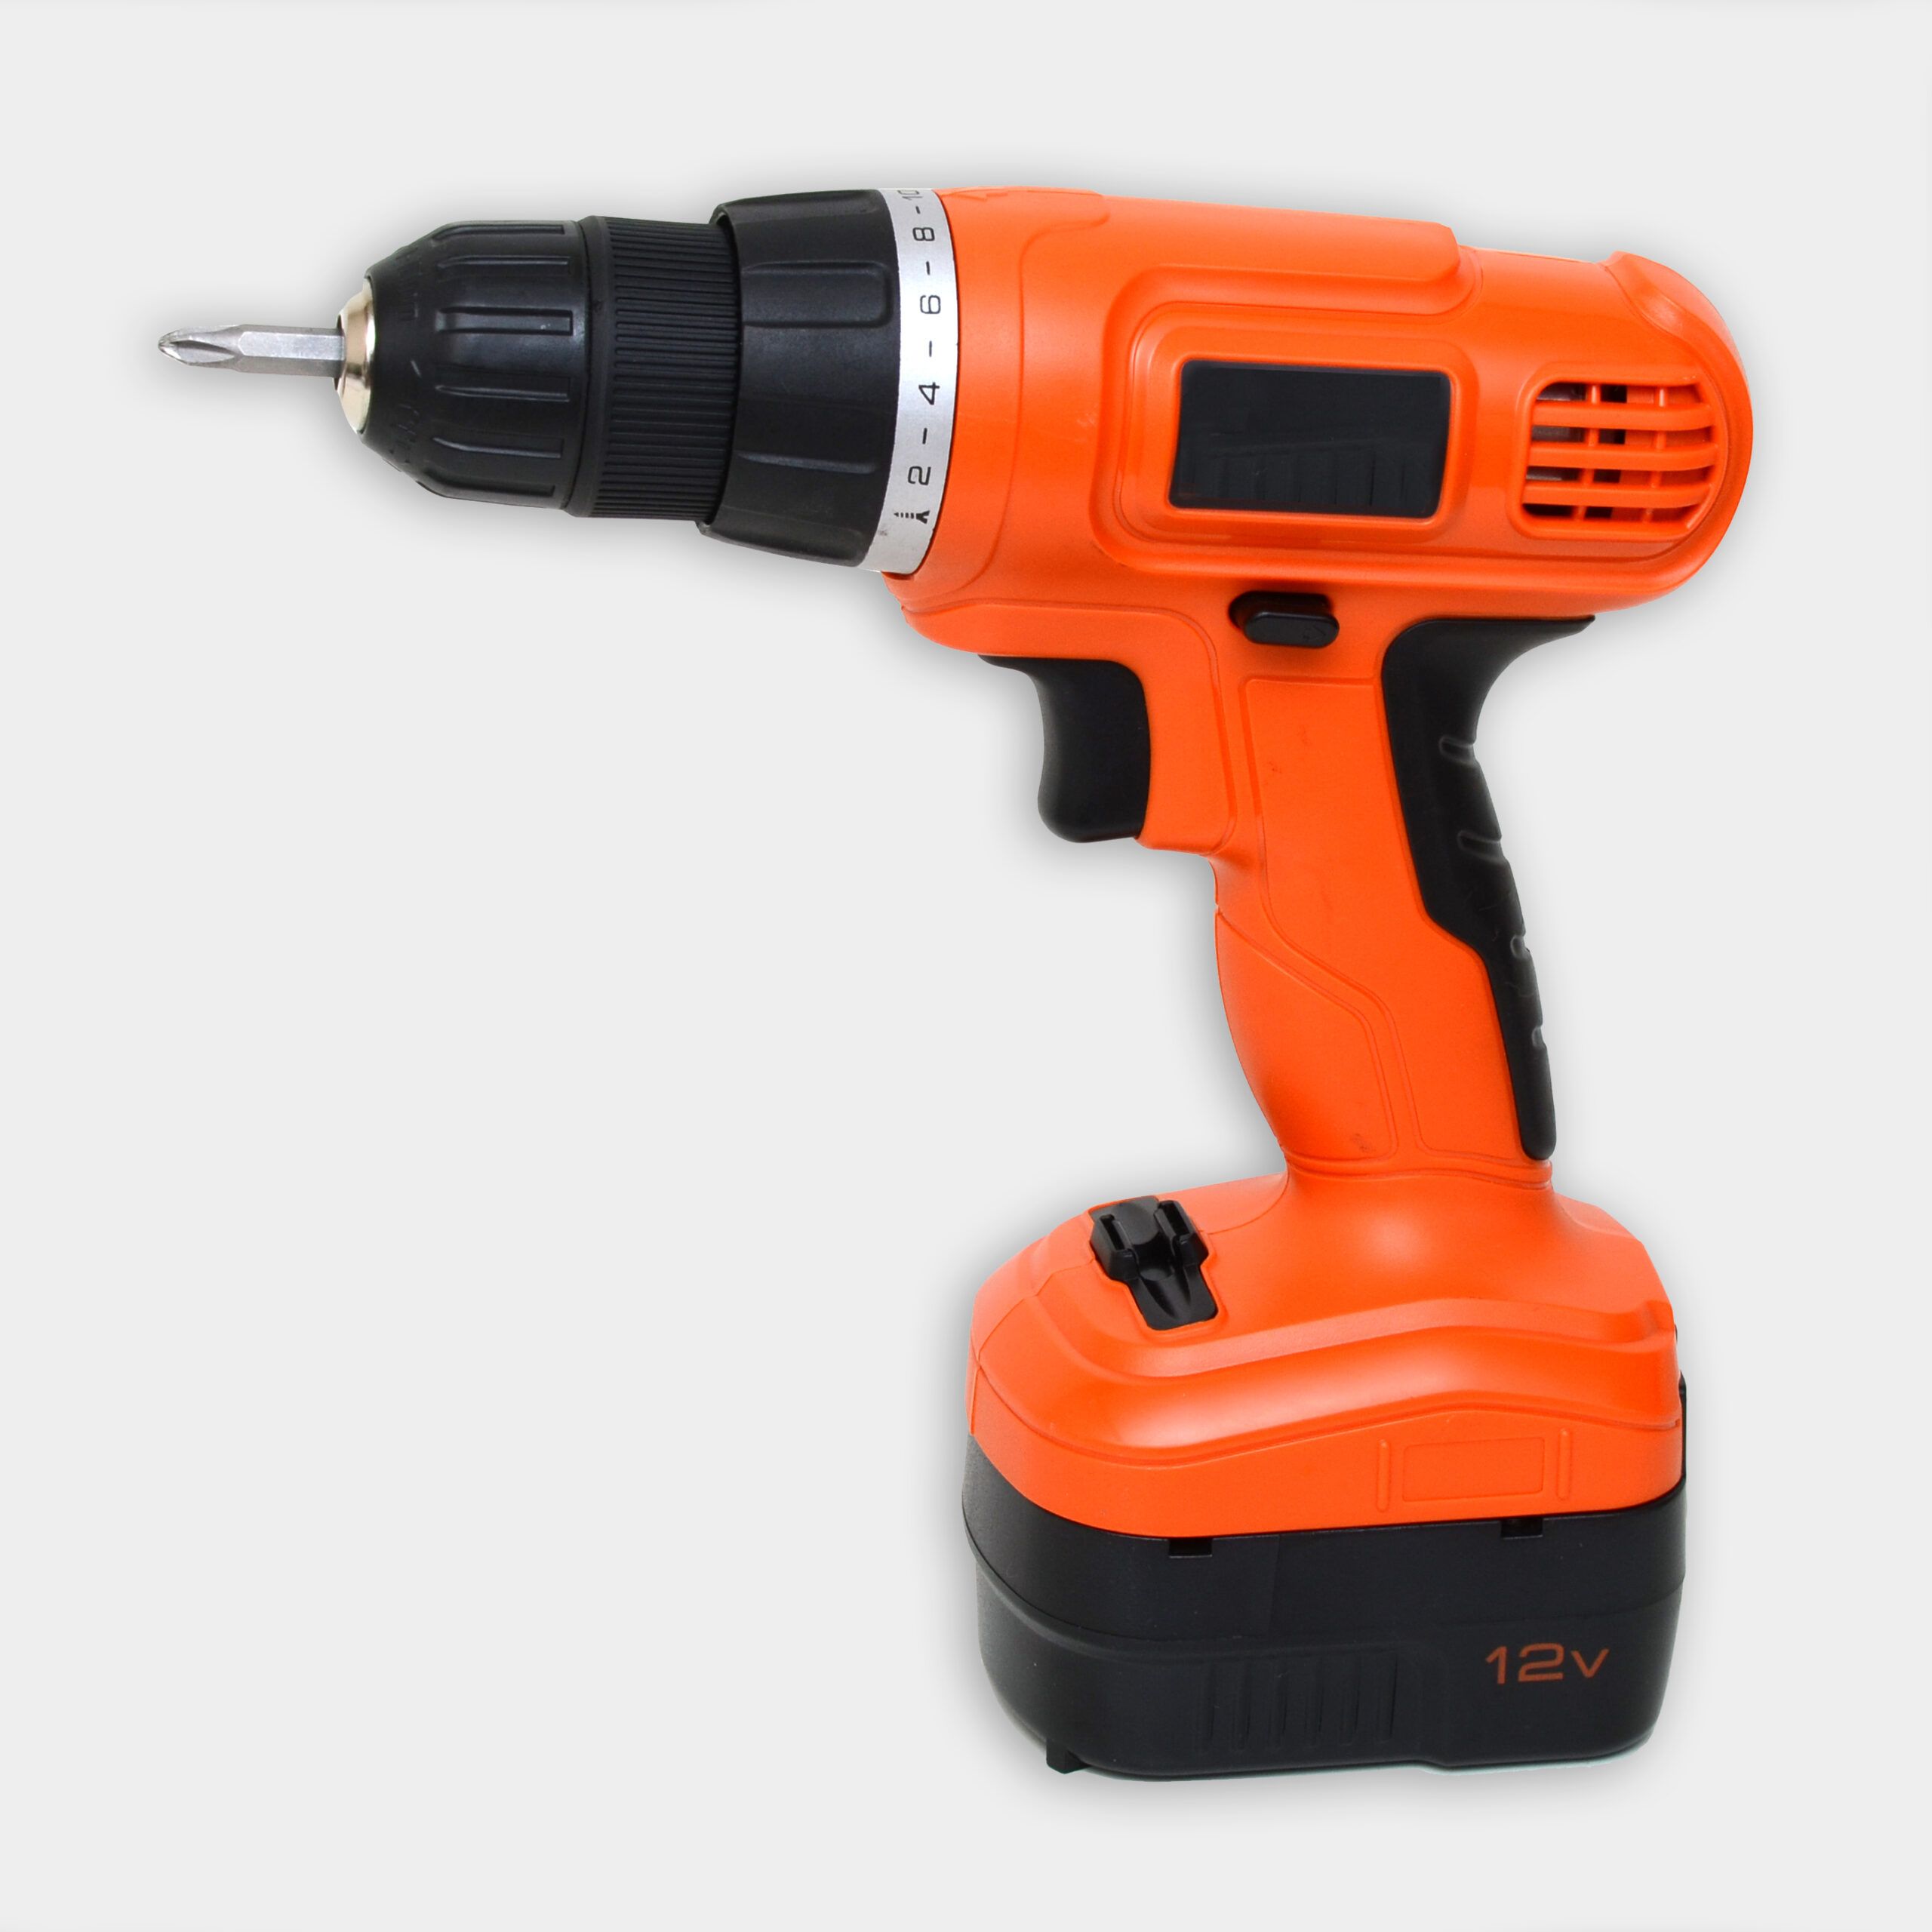
- Cordless drill/driver
- Fast-setting concrete mix
- Level
- Mailbox and post kit
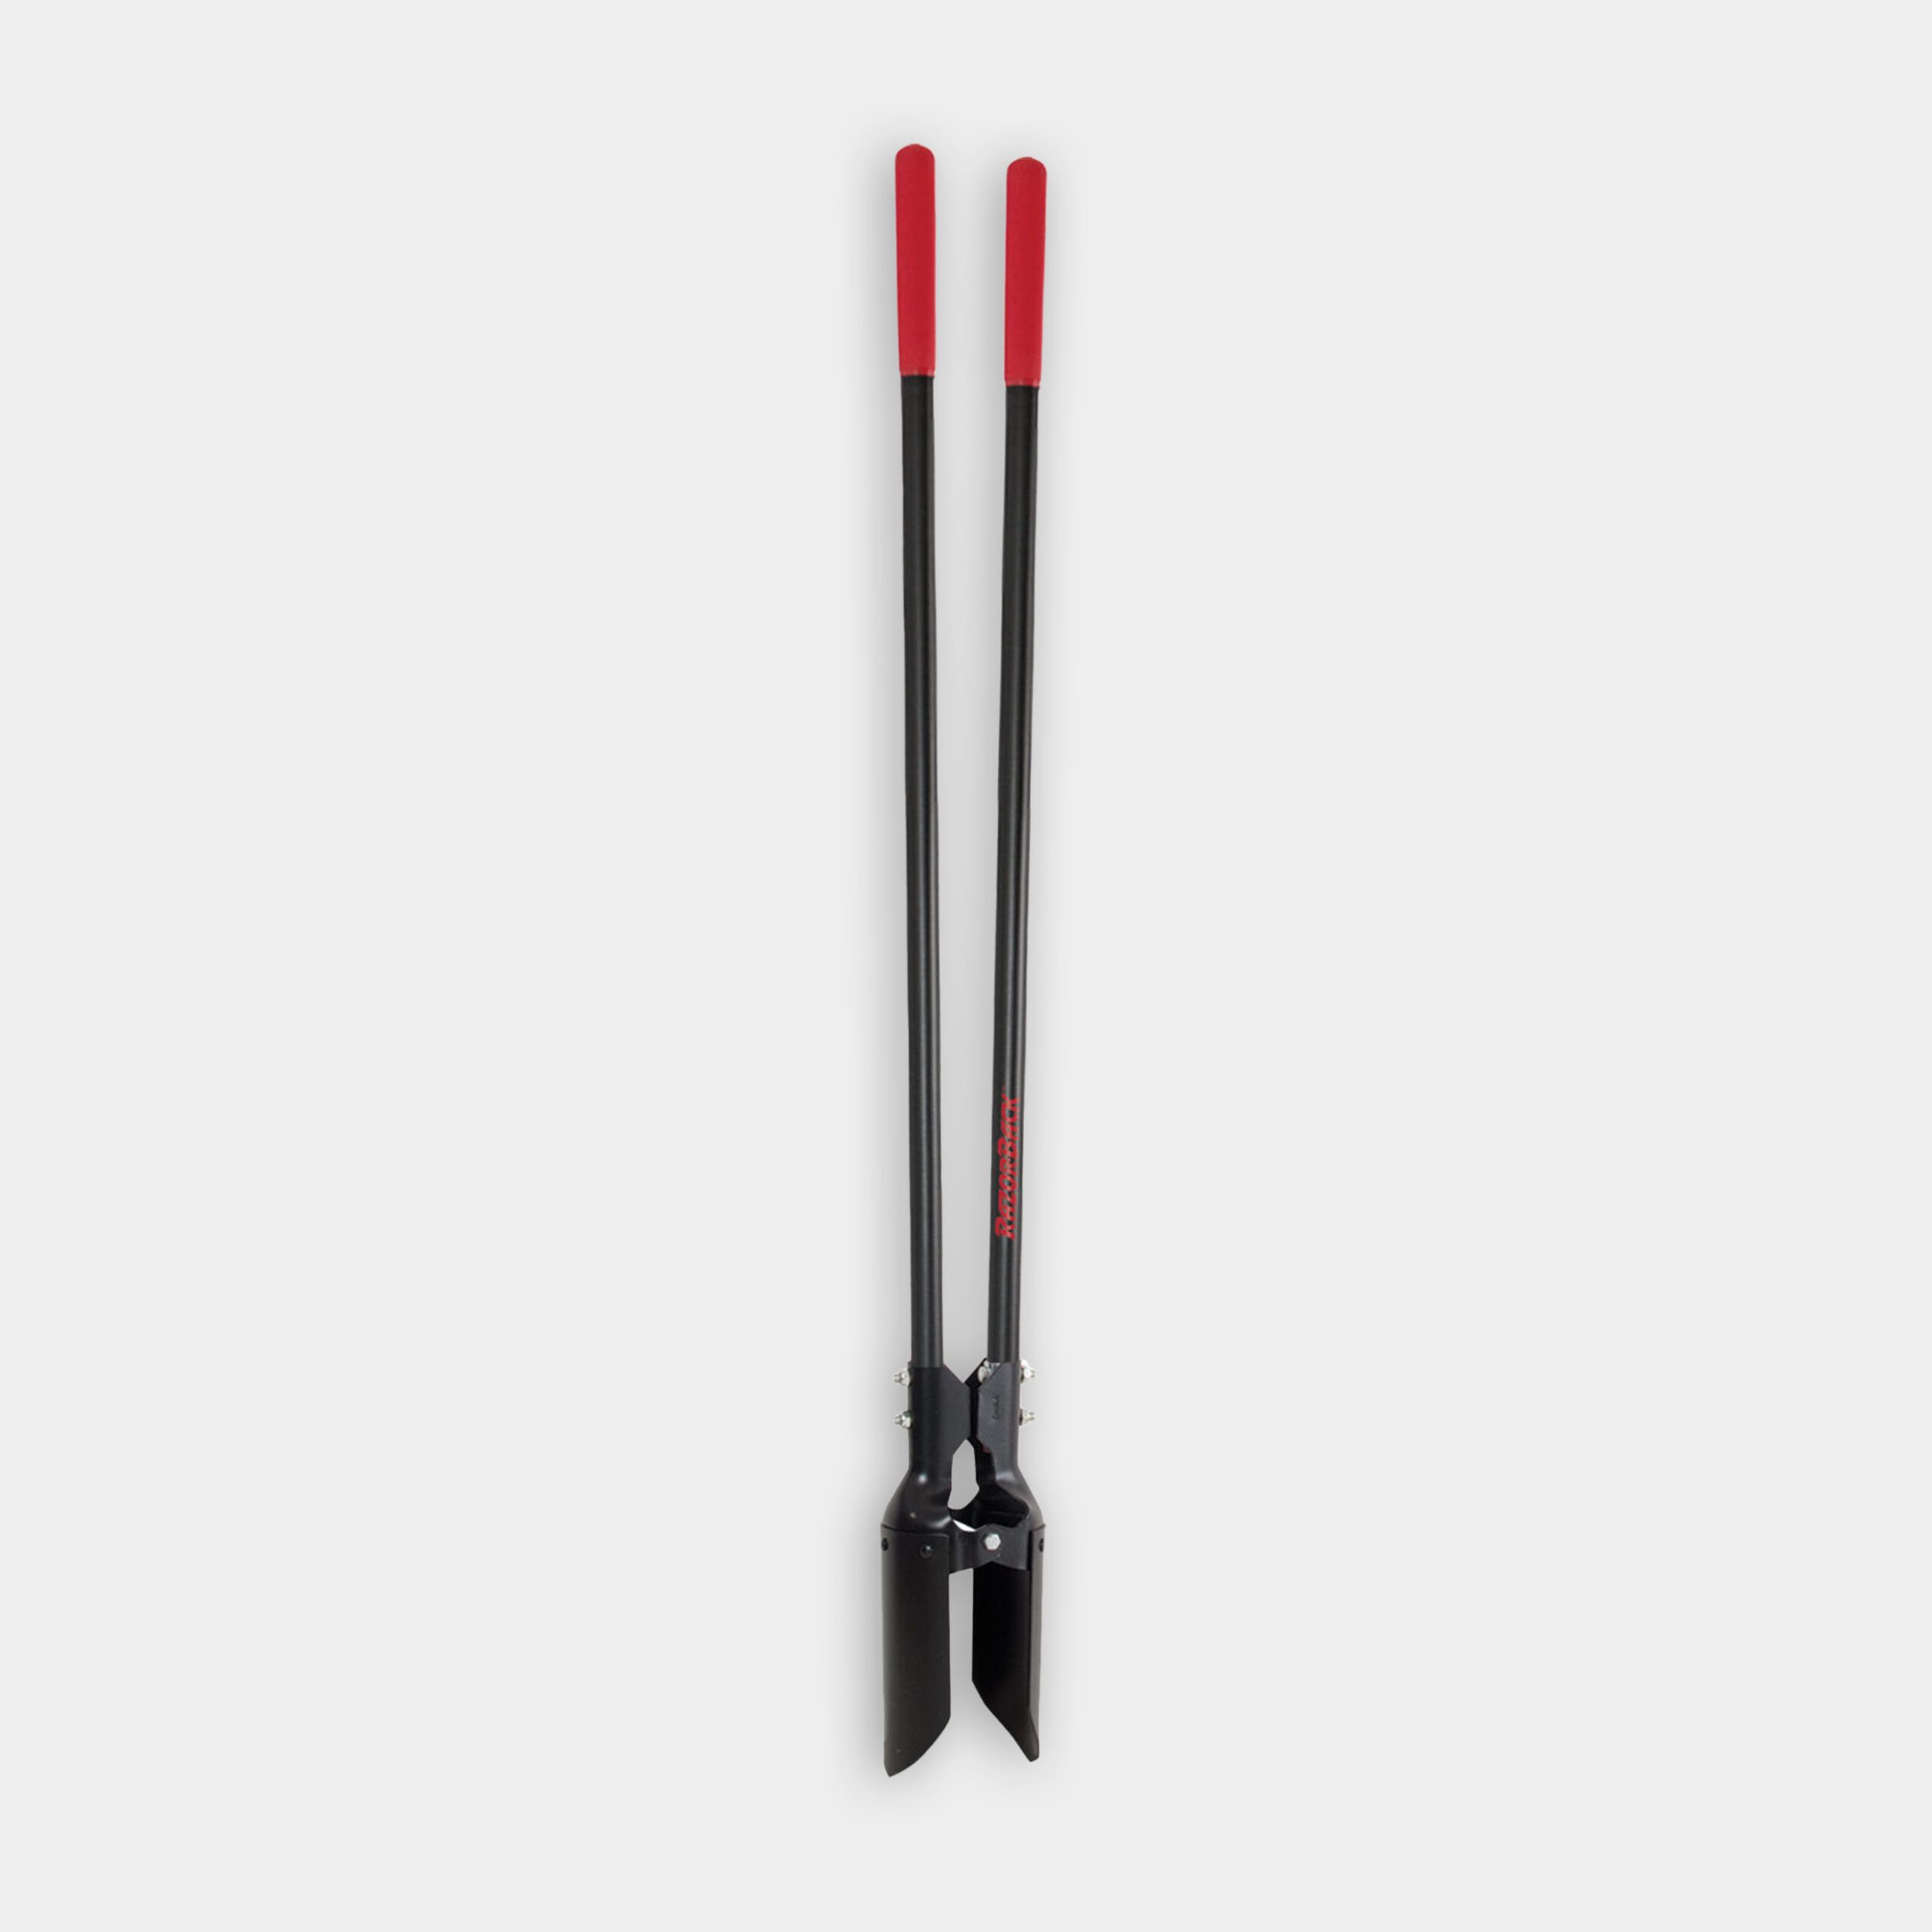
- Post hole digger
- Pressure-treated 4×4 post
- Safety glasses and work gloves
- Screws and lag bolts (typically included with the mailbox kit)
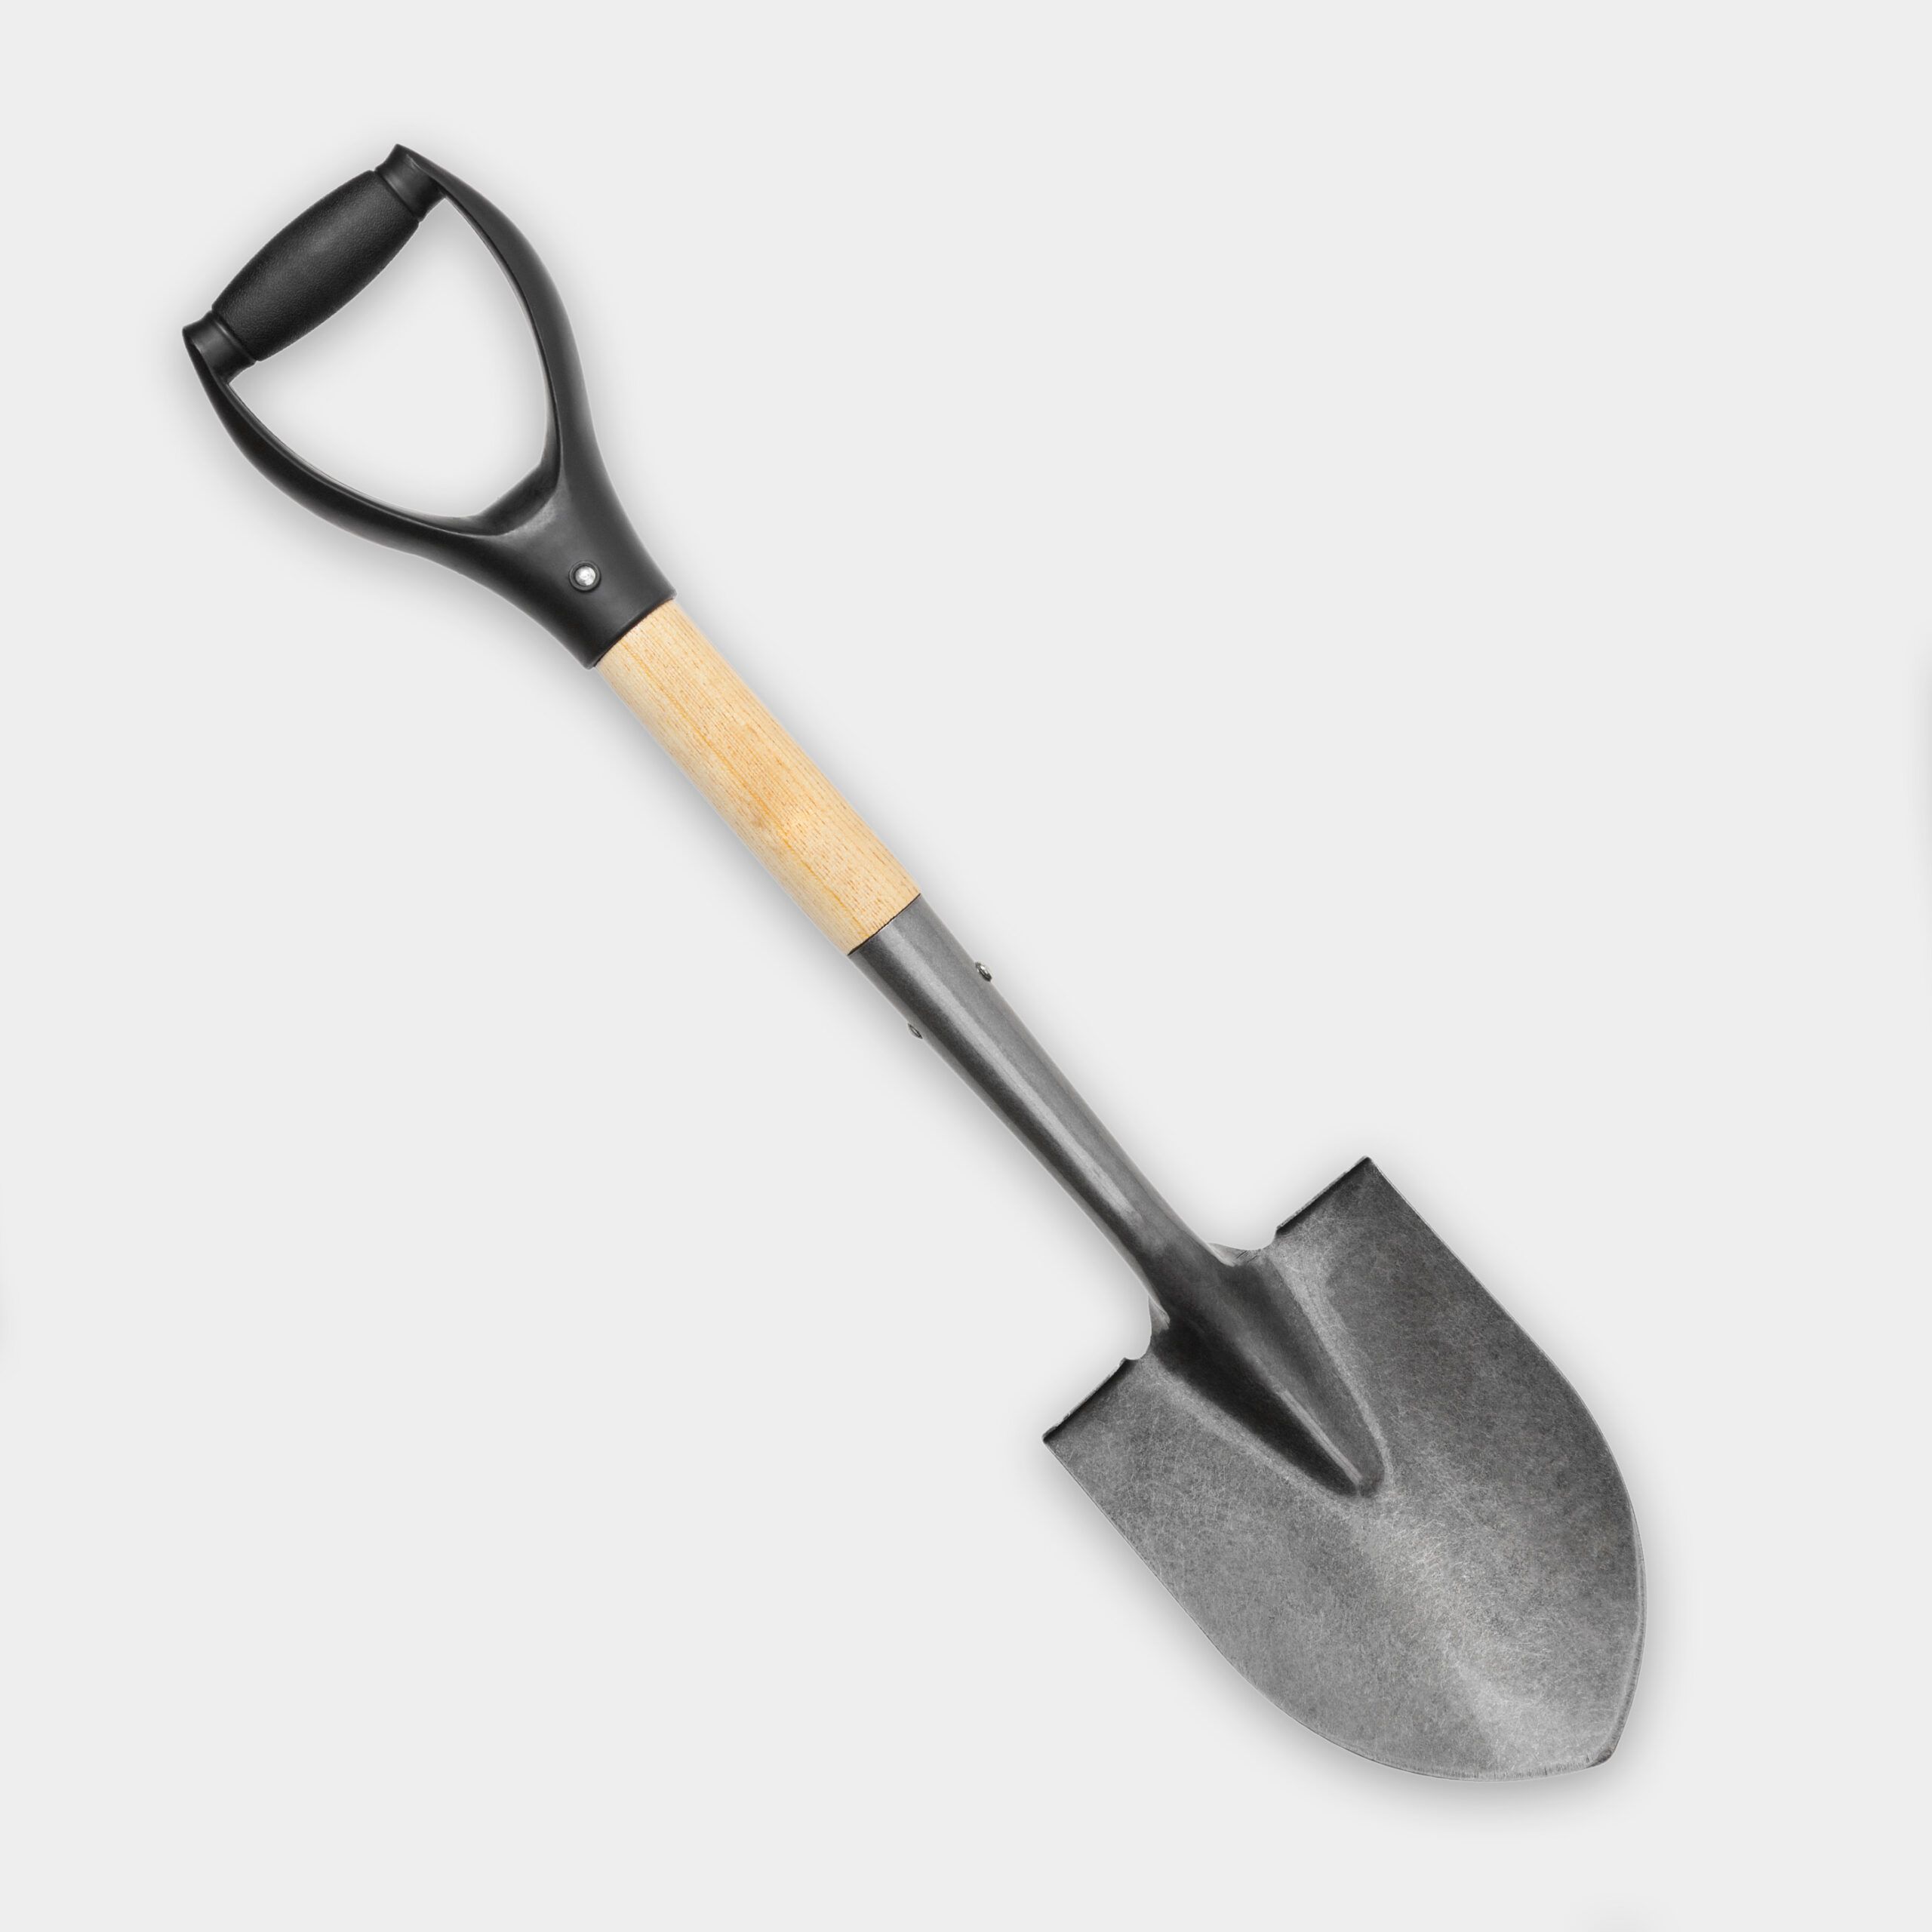
- Shovel
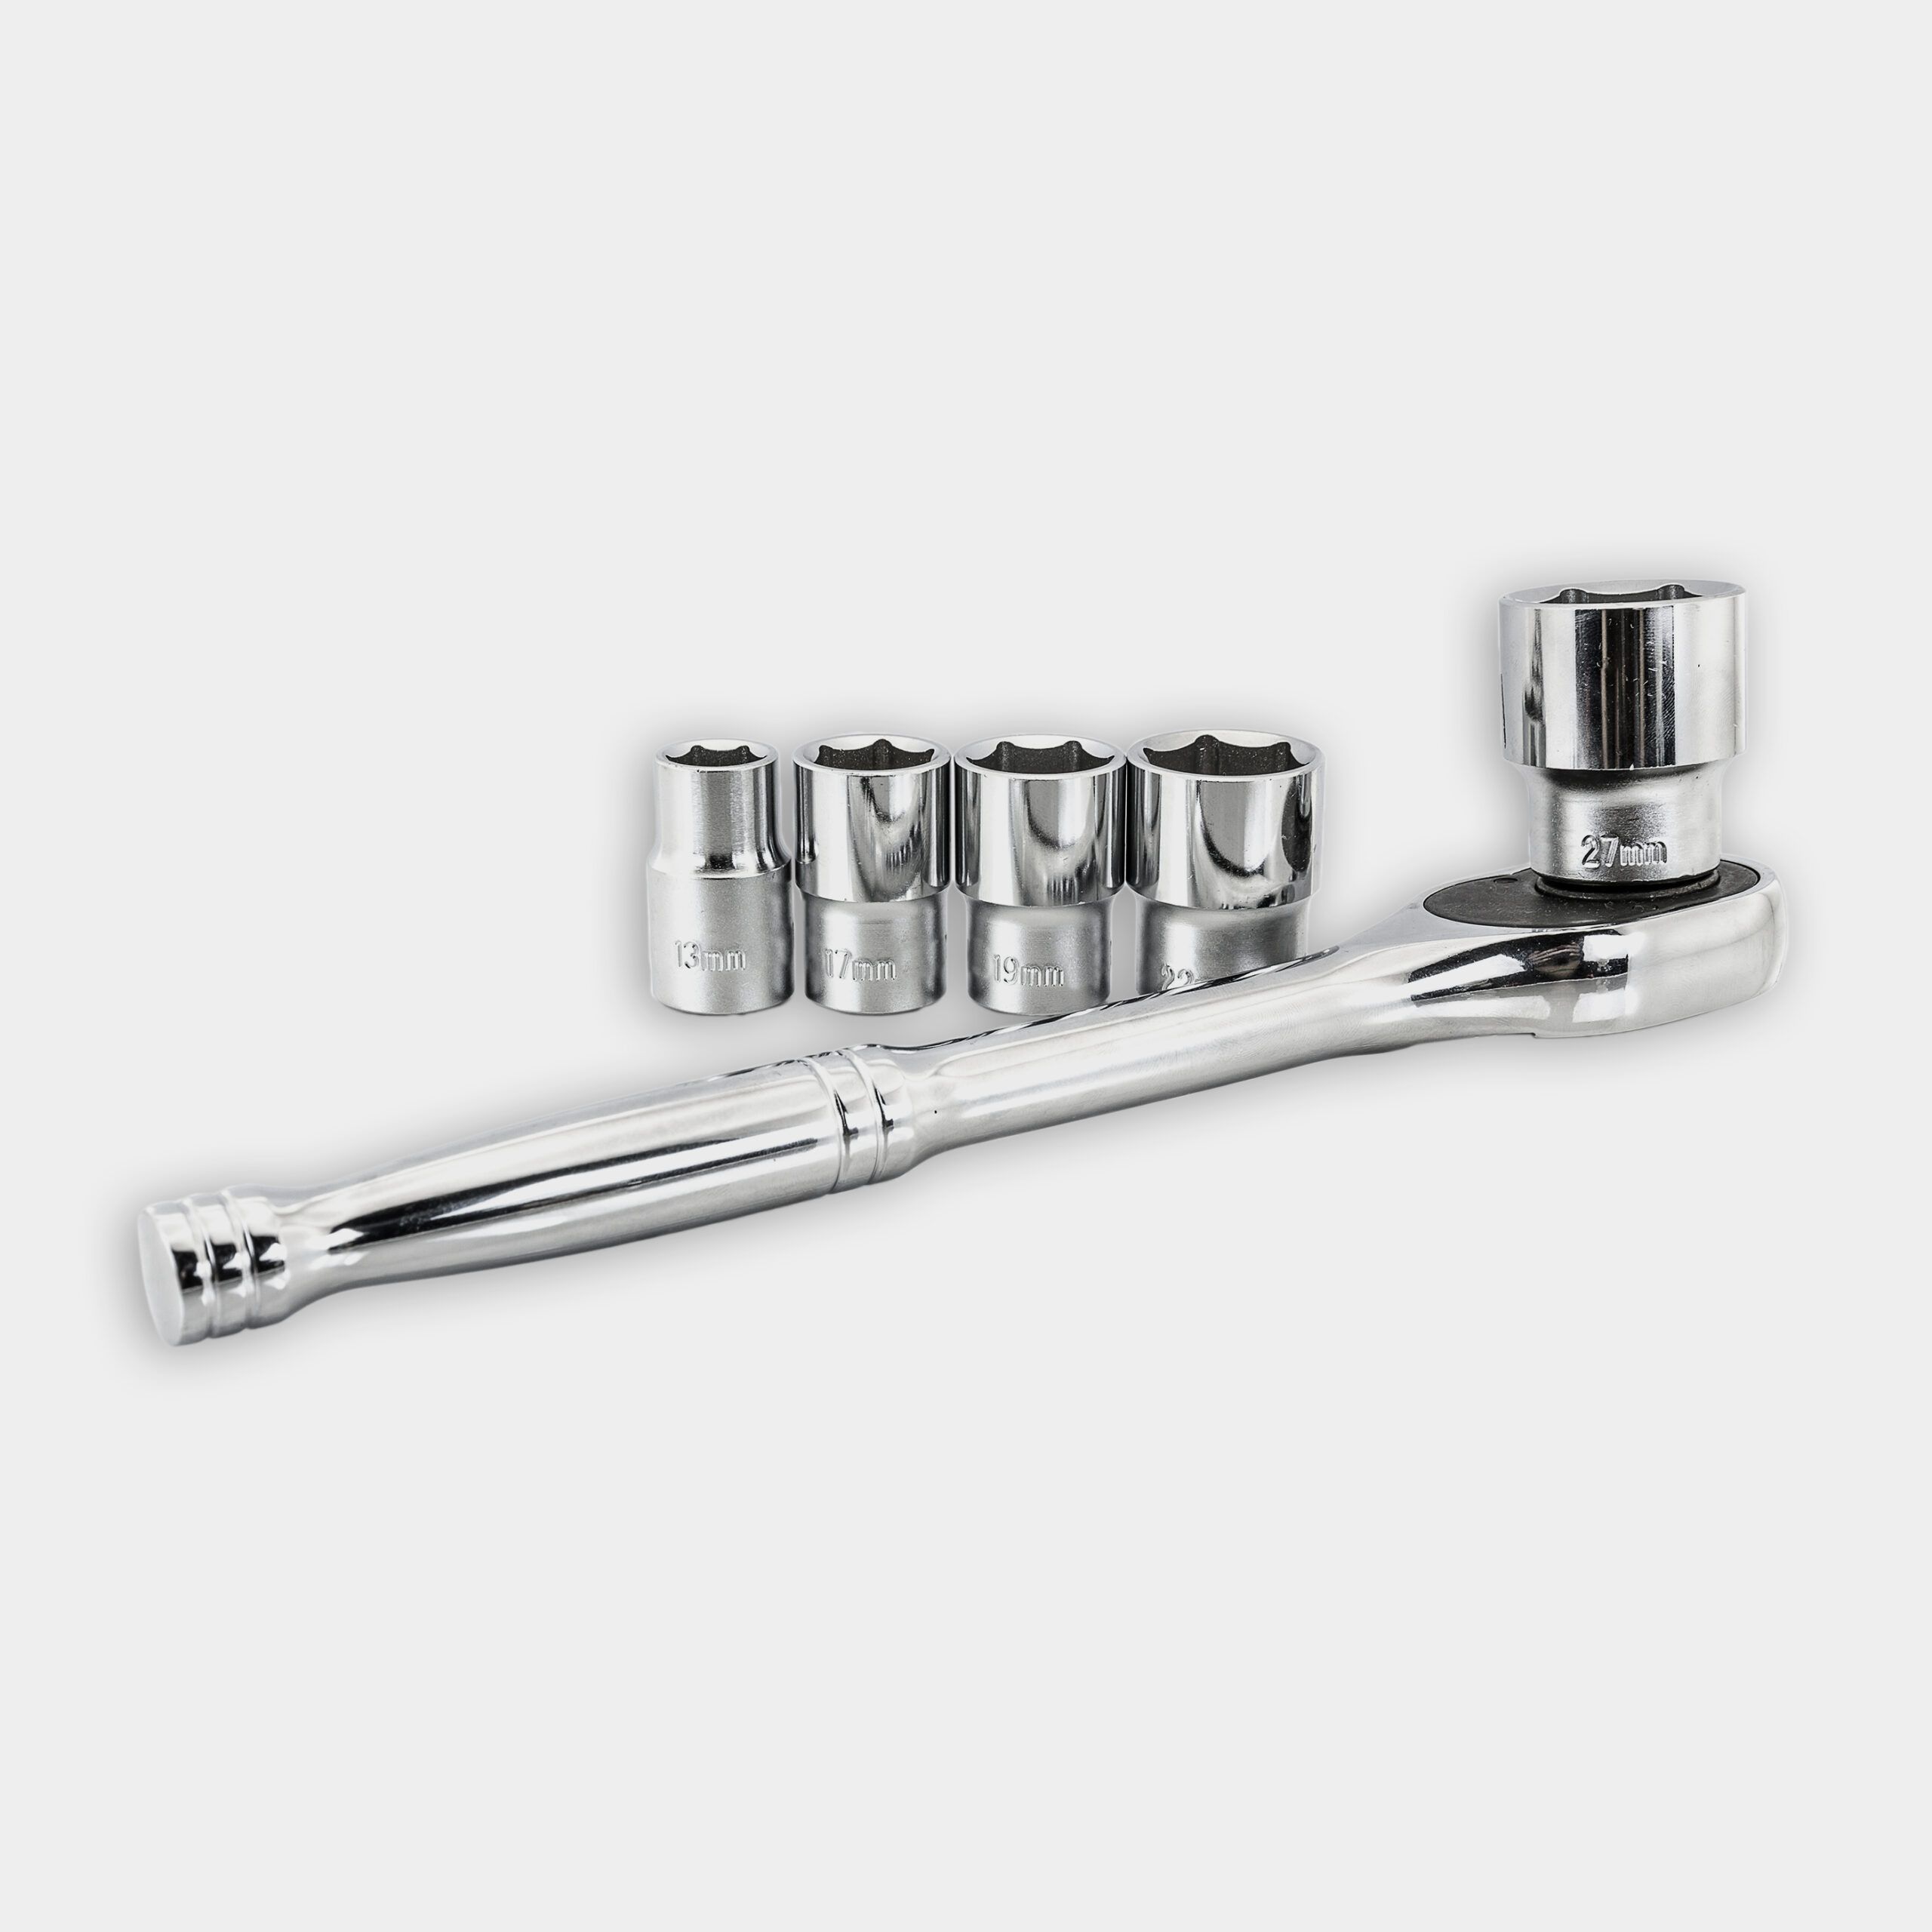
- Socket wrench
- Tape measure
- Wheelbarrow
Check for Underground Utilities
Contact your local utility locating service before starting excavation to avoid hitting underground wires or pipes. Here’s how to check:
- Call 811 or visit your local utility company’s website.
- Provide them with your address and project details.
- Wait for them to mark any underground utilities in the area.
- Proceed with digging only after receiving clearance.
Planning Your Installation
The placement of your mailbox must adhere to local postal service regulations. Typically, the face of the mailbox should be 6–8 inches from the edge of the road, and the bottom should be 41–45 inches above the road surface. Verify the specific requirements in your area before starting the installation.
Installing the Mailbox Post
With your preparations complete, you’re ready to begin installation. Follow these steps to secure and properly position the mailbox post:
Digging the Post Hole
First, dig your post hole as follows:
- Measure and mark the location of your mailbox post, ensuring it meets local regulations for placement relative to the road.
- Use a post-hole digger to excavate a hole approximately 2 feet deep.
- Remove any loose soil from the bottom of the hole.
Assembling the Mailbox and Post
Once you have the post hole dug, assemble the new mailbox to its post with these steps:
- Cut the 4-by-4-inch pressure-treated post to a length of 4 feet.
- Attach the decorative mailbox post to the 4-by-4 using the supplied lag screws and a socket wrench.
- Secure the mailbox to the post using the provided screws and your cordless drill/driver.
Setting the Post
Here’s how to set the post:
- Place the assembled mailbox and post into the hole, ensuring the face of the mailbox is 6–8 inches from the edge of the road.
- Use a level to check that the post is plumb (perfectly vertical) in all directions.
- Adjust the height so that the bottom of the mailbox is 41–45 inches above the road surface, as per postal service requirements.
- Have a helper hold the post in position while you prepare the concrete.
Securing with Concrete
Concrete makes the mailbox more secure. Follow these steps to add the concrete:
- In a wheelbarrow, mix the fast-setting concrete according to the manufacturer’s instructions.
- Pour the concrete around the post, filling the hole to within 4 inches of the surface.
- Use a level to check the post’s position and make any necessary adjustments.
- Allow the concrete to set according to the product instructions.
Finishing Touches
You can now add these finishing touches:
- Once the concrete has set, fill the remainder of the hole with topsoil.
- Tamp down the soil to prevent settling.
- If your mailbox kit includes a decorative panel to cover the post base, install it now.
Enhancing Your Mailbox
You can take additional steps to boost your mailbox’s visual appeal and make it complement your property. Consider these enhancements:
- Custom house numbers: Personalized house numbers on the mailbox or post makes your home more identifiable while adding a unique touch.
- Landscaping: Planting flowers or bushes around the mailbox’s base can improve its appearance. Choose low-maintenance plants suited to your climate.
- Lighting: Adding a solar or battery-operated light near your mailbox makes getting your mail easier at night.
Mailbox Maintenance and Care
Periodically inspect the post for any signs of wear or damage, particularly if you’ve used a wooden post, as it requires more frequent maintenance. To keep your new mailbox looking great and functioning properly, follow these maintenance tips:
- Clean the mailbox regularly with mild soap and water.
- Clear away any vegetation that may obstruct access to the mailbox.
- Check for loose screws or bolts and tighten them as needed.
- Touch up any scratches or chips in the finish to prevent rust or deterioration.
Seasonal Care
Different seasons present unique challenges for maintaining your mailbox, such as the following:
- Spring: After the winter thaw, check for any frost heave that may have shifted your post. Replant or refresh any surrounding landscaping as needed.
- Summer: Watch out for insect activity, particularly if your post is wooden. Address any infestations promptly.
- Fall: Clear leaves and debris from around the post, and check for any signs of rot or weathering before winter sets in.
- Winter: Keep the mailbox accessible by regularly shoveling snow and breaking up ice. Avoid using harsh chemicals on the driveway or sidewalk near the mailbox, as they can damage the post and surrounding areas.