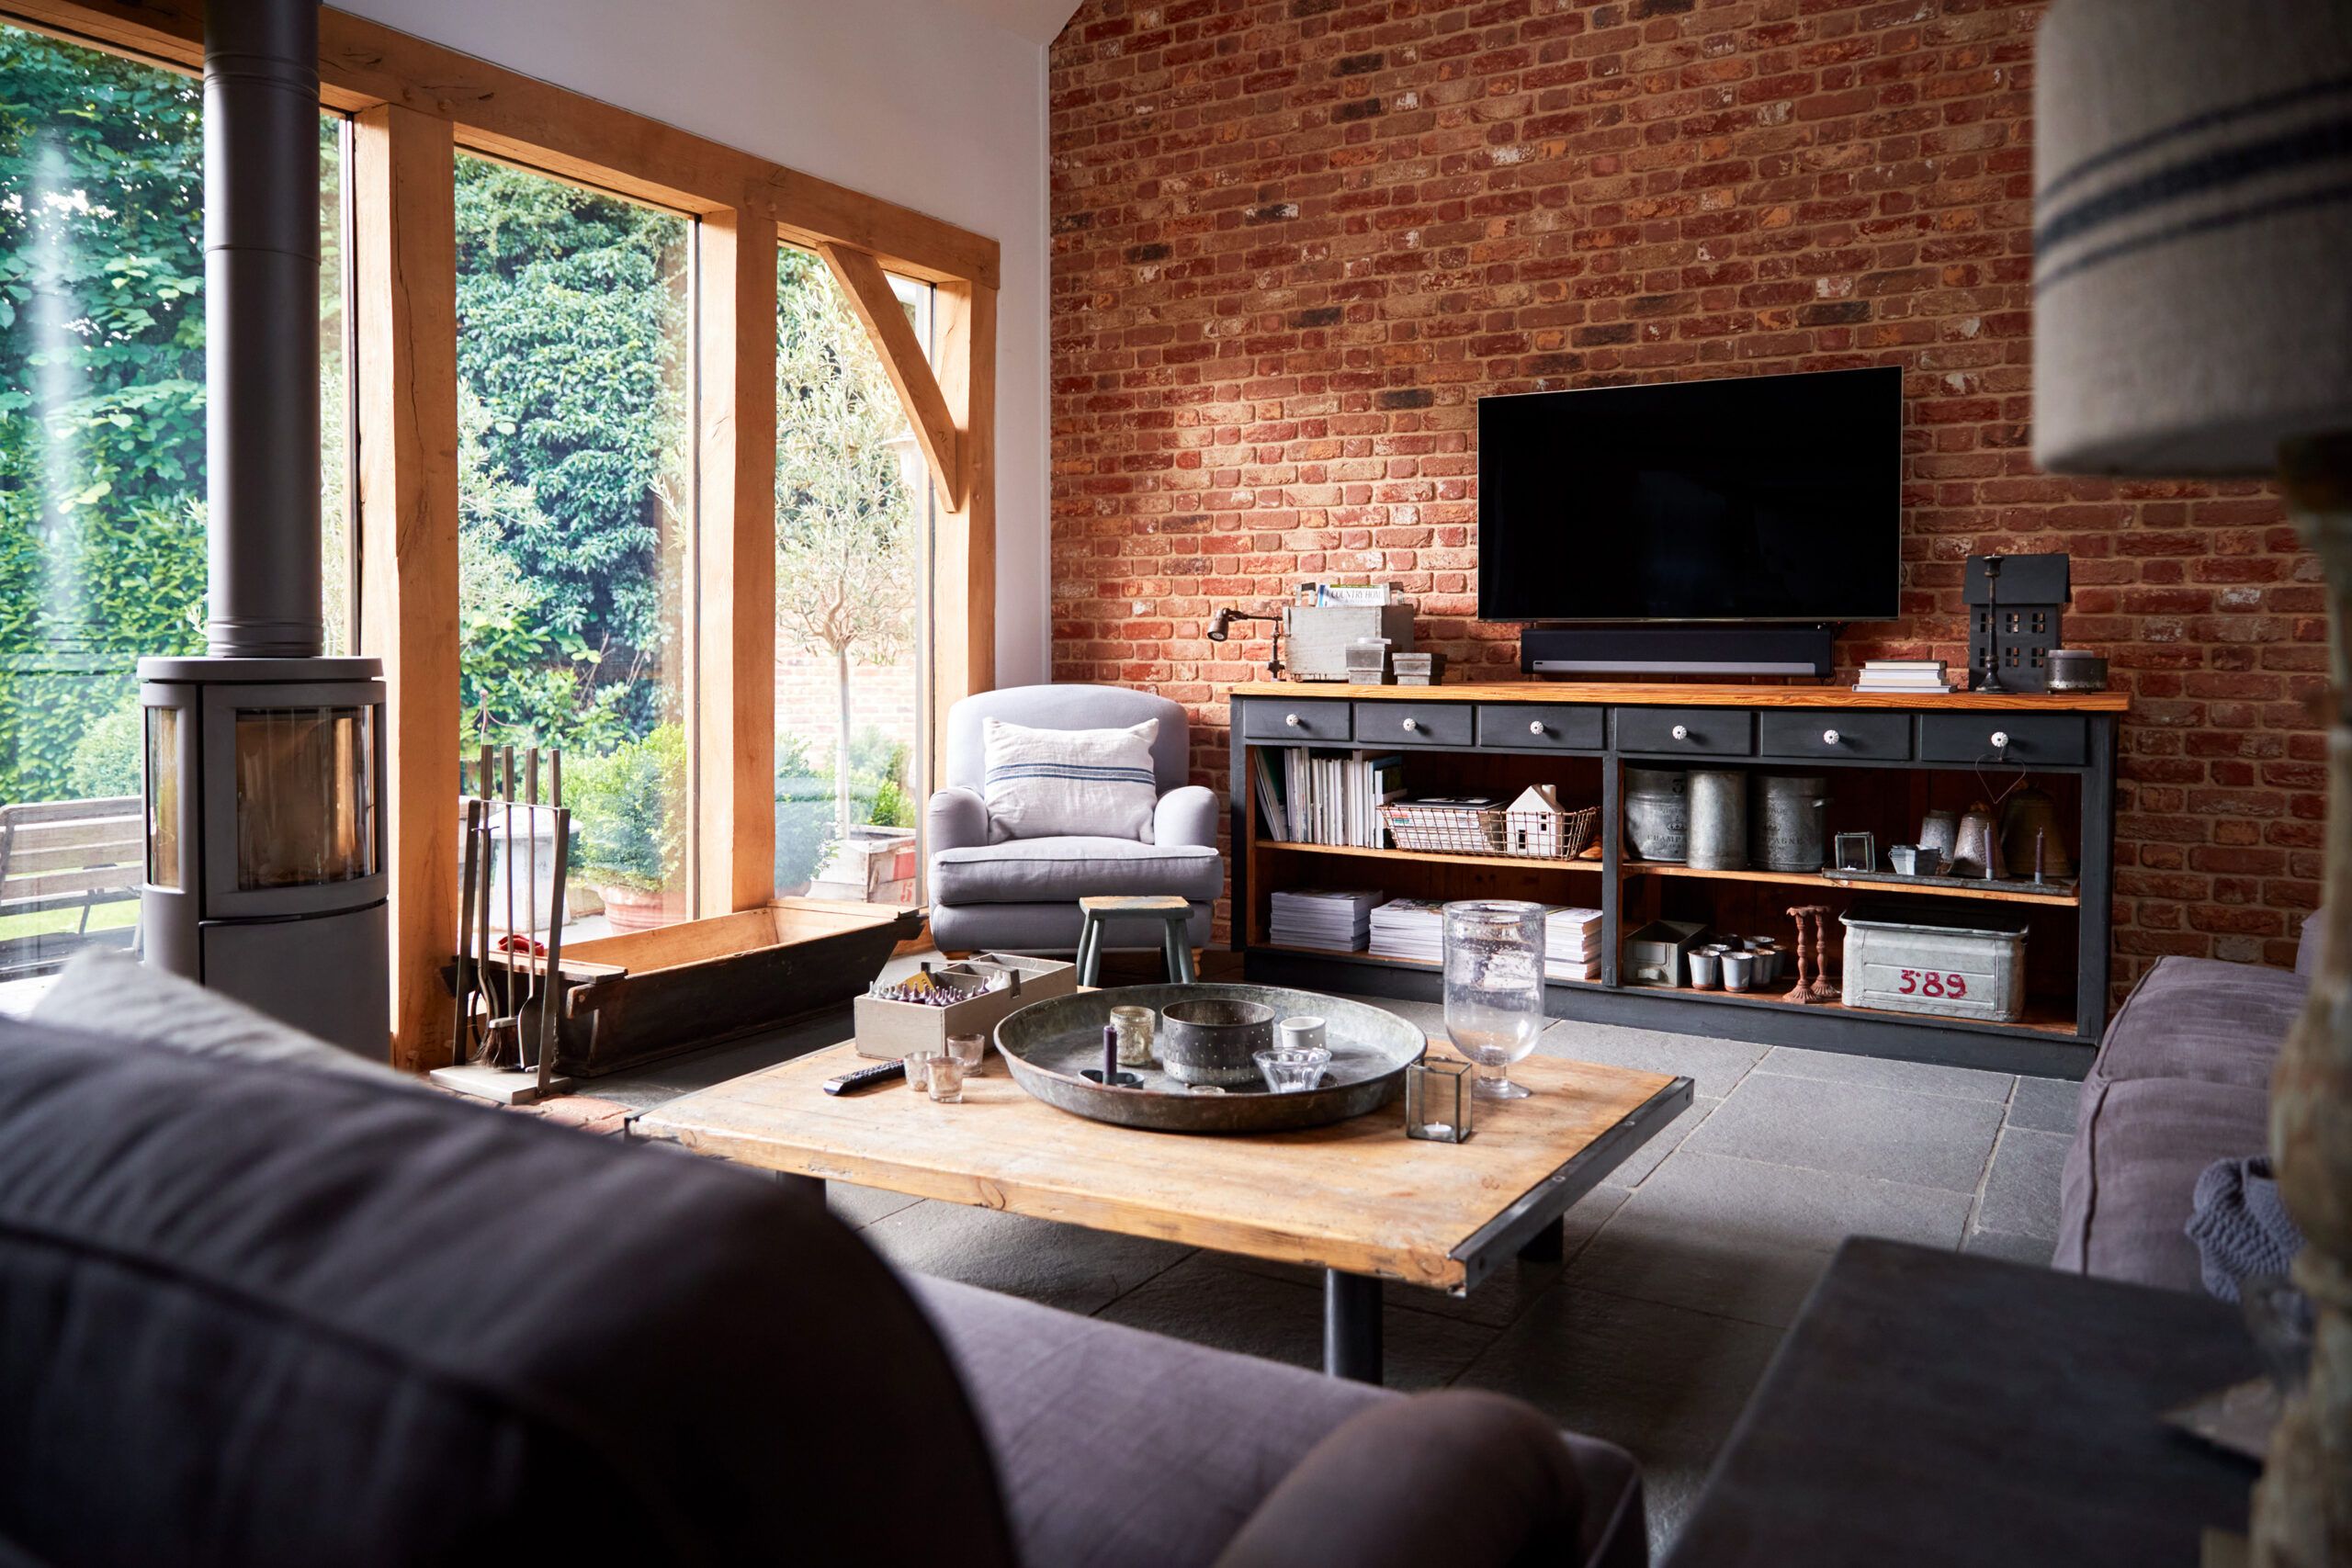
Unlike old, bulky TVs that required an entire living room corner or entertainment center, you can mount modern, slim TVs directly on your wall. You may think this isn’t possible on a thick, bulky brick wall, but it is with the right tools and know-how. We’ll go over everything you need to know to mount your TV on a brick wall securely.
What Supplies Do You Need for Mounting a TV on a Brick Wall?
Hanging a TV on a brick wall is well within the capabilities of a do-it-yourselfer (DIYer). You’ll just need the following tools and supplies:
- TV wall bracket: Wall brackets come in a range of sizes geared to the size of the TV they can support.
- Power drill: Any power drill can do the job, but a cordless drill with a hammer function is best. Don’t use an impact driver, as they can easily over-tighten screws.
- Masonry drill bits: Masonry bits are an absolute must. They have chisel-like tips and wings designed to drill into heavy-duty concrete and brick surfaces. Keep in mind that many fastener kits come with a masonry bit.
- Level: A TV bracket usually has enough flexibility to tweak later, but a level helps you get as close as possible while installing.
- Permanent marker: There aren’t many marking tools that show up well on brick, but a permanent marker works very well.
- Anchors or concrete screws: For hanging a TV in brick, both plastic wall anchors and concrete screws will work. For larger, heavier TVs (over 75 pounds), concrete screws are recommended, but for lighter TVs, plastic wall anchor screws installed correctly are more than sufficient.
- Driver bit for your anchor or screws: For plastic anchor screws, a No. 2 Phillips driver bit that you can tighten into your drill driver is usually best. For concrete screws, a No. 3 Phillips or a socket set will do the trick.
- Washers: The slots and holes on the mounting hardware may be too large for a screw head, in which case correctly sized washers will be necessary.
- Tape measure: A tape measure is critical for accurate bracket placement.
- Hammer or rubber mallet: A rubber mallet might be best for tapping anchors into the brick, but a hammer will work too and might be more practical.
- Small shop vac: Drilling into brick creates a lot of dust. A shop vac can help keep the floor clean and remove dust from a drilled hole.
- Safety gear: A pair of safety glasses and a dust mask will keep dust out of your eyes and lungs.
In the video below, carpenter Nathan Gilbert shares tips on how to mount a flat screen TV to a wall.
How To Hang a TV on a Brick Wall
Follow these steps for mounting a TV on a brick wall.
Step 1: Choose a location
- Before you drill any holes, find a location close enough to an electrical outlet and cable jack. The fewer visible cables, the better looking the installation.
Step 2: Find the installation height
- With the TV placed facedown, affix the bracket to the TV according to the bracket manufacturer’s directions. If your bracket is a two-piece, attach both pieces to the back of the TV as if they were mounted on the wall.
- Measure from the bottom of the wall bracket to the bottom of the TV. You’ll add this measurement to the TV’s desired height to find the bracket mount location on the wall. If this measurement is 6 inches and you’d like the bottom of the TV to be 48 inches from the ground, measure 54 inches high.
- Remove the bracket from the TV. For two-piece brackets, remove just the wall bracket.
Step 3: Mark the drill holes
- Hold the wall bracket against the wall so the bracket’s bottom is at the height determined in step 2. Use a level to ensure the bracket is positioned evenly. Then, use the permanent marker to indicate on the brick the location of each screw hole.
- If the marks end up on mortar lines, adjust the bracket to avoid the mortar and make a new mark for the drill hole. Mortar is much softer than brick, and the anchor’s grip will eventually deteriorate. Always drill into the brick, but not within a half-inch of its edges as it can crack.
- Keep in mind that many brackets offer several screw holes to choose from. The bracket’s instructions will explain how many and which you’ll need to use.
Step 4: Drill the holes
- Following the instructions on the concrete anchors or masonry screws you purchased, attach the appropriately sized masonry bit to the drill.
- Mark the drill bit at a length just a bit longer than the anchor or screw by wrapping a small piece of painter’s tape around the bit at that point. If you have a hammer drill, set it to the hammer setting. Otherwise, set the drill to its high speed.
- Placing the tip of the drill bit on one of the marks, squeeze the trigger slowly until the bit begins to dig into the brick. (Lightly tapping your palm on the back of the drill can also set the bit in place.)
- As the bit digs into the brick, increase the drill speed. Occasionally pull the bit out slightly to remove brick dust from the hole. Continue drilling until you’ve reached the desired depth marked by the tape.
Step 5: Install plastic anchors (skip to Step 6 if using concrete screws)
- Use a hammer or rubber mallet to tap the plastic anchors into the freshly drilled holes until they’re flush with the wall.
- Anchors don’t need a lot of force, so if they don’t install all the way, you may need to clean out more of the brick dust. Simply placing the nozzle of the running shop vac over the hole is all that’s necessary. This is also a good time to suck up any dust on the ground and surrounding surfaces.
Step 6: Install the bracket
- Slide washers onto the screws if necessary. Holding the wall bracket in place (making sure it’s right side up), thread the screws through the bracket and into the drilled holes by hand.
- After attaching the driver bit to the drill or fitting the properly sized socket on a ratchet, tighten one screw.
- Check the bracket for level and then tighten the other screws until the bracket is secure.
Step 7: Install the TV
- For two-piece brackets, simply install the TV brackets (already attached to the TV) on the wall bracket. Many also have locking screws or tabs that hold the TV in place—refer to your bracket instructions and do not skip this step.
- For one-piece brackets, have a helper hold the television in place as you thread the screws through the TV bracket and into the back of the TV.
- If cables are hanging below, consider placing a piece of furniture below the TV to hide the cords as much as possible.
Then kick back and enjoy your regularly scheduled programming!