We may be compensated if you purchase through links on our website. Our team is committed to delivering honest, objective, and independent reviews on home products and services.
Project details
Skill
Cost
Estimated Time
A rolling grill table is the perfect companion for any outdoor cooking enthusiast. It provides a convenient workspace for food preparation, storage, and mobility, so you can bring your grilling station wherever you need.
In this article and accompanying video, expert furniture maker Christopher Beidel shows how to build a rolling grill table out of cedar, a food-safe and rot-resistant wood.
*Cost information in this article sourced from Angi.
Project Overview
Once you have all the tools and materials on hand, you can complete this project in just two days.
Timeline
Here’s a breakdown of the timeline:
- Saturday: Make the tabletop (Steps 2–8)
- Sunday: Build and install the base (Steps 9–13)
This schedule allows for a relaxed pace, giving you time to be exact with your woodwork.
Cut List to Build a Rolling Grill Table
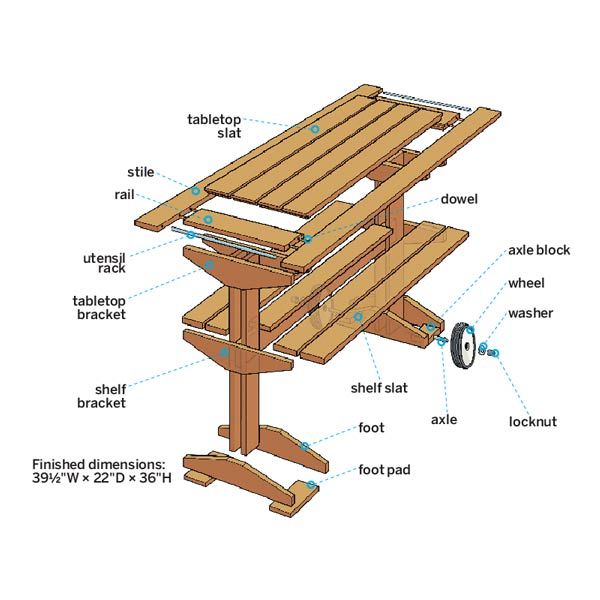
Before you begin, gather all the necessary materials. Here’s a comprehensive list of the pieces you’ll need to cut:
- 1×4 cedar axle block: four @ 3 1/2 inches
- 1×4 cedar feet and brackets: 10 @ 19 1/4 inches
- 1×4 cedar foot pad: two @ 5 inches
- 1×4 cedar legs: two @ 31 3/4 inches
- 1×4 cedar legs: two @ 34 1/2 inches
- 1×4 cedar rails: two @ 15 inches
- 1×4 cedar slats: eight @ 30 inches
- 1×4 cedar stiles: two @ 39 1/2 inches
- 1×4 cedar stretcher slat: one @ 21 1/2 inches
- 1×4 cedar stretcher: one @ 28 1/2 inches
Hardware You Will Need to Build a Rolling Grill Table
Here is the hardware you’ll also need:
- 3/8-inch rod (aluminum or brass): two @ 17 inches
- 1/2-inch threaded galvanized rod: one @ ~36 inches, 13 threads per inch
- Galvanized flat washers: four @ 1/2-inch-diameter center opening
- Galvanized locknut: two @ 1/2 inch, 13 threads per inch
- Maxpower 8-inch wheels: two @ 8×1 3/4 inches
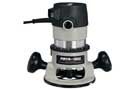
Tools
Lastly, we recommend gathering the following tools:
 Bar clamps
- Bevel gauge
- Circular saw
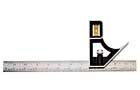
- Combination square
- Countersink drill bit – 1/16-inch
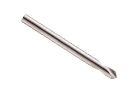
- Doweling jig – 3/8-inch
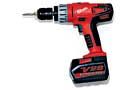
- Drill/driver
- Drill bit – 3/8-inch
- Drill bit – 1/2-inch
- Hacksaw
- Miter saw
- Router with 3/4-inch straight bit
- Straight edge
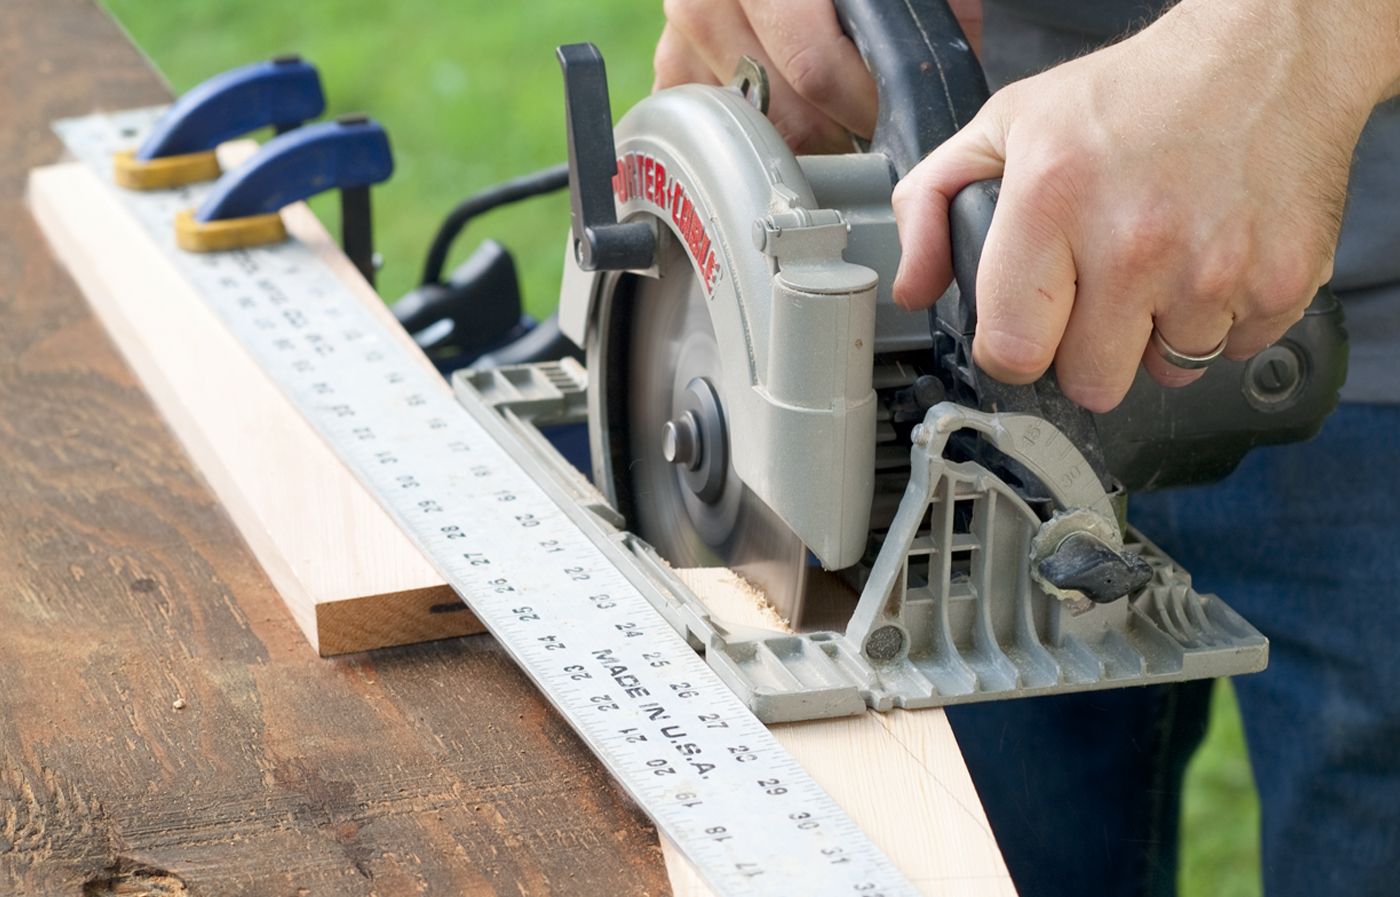
Step 1: Cut the Parts
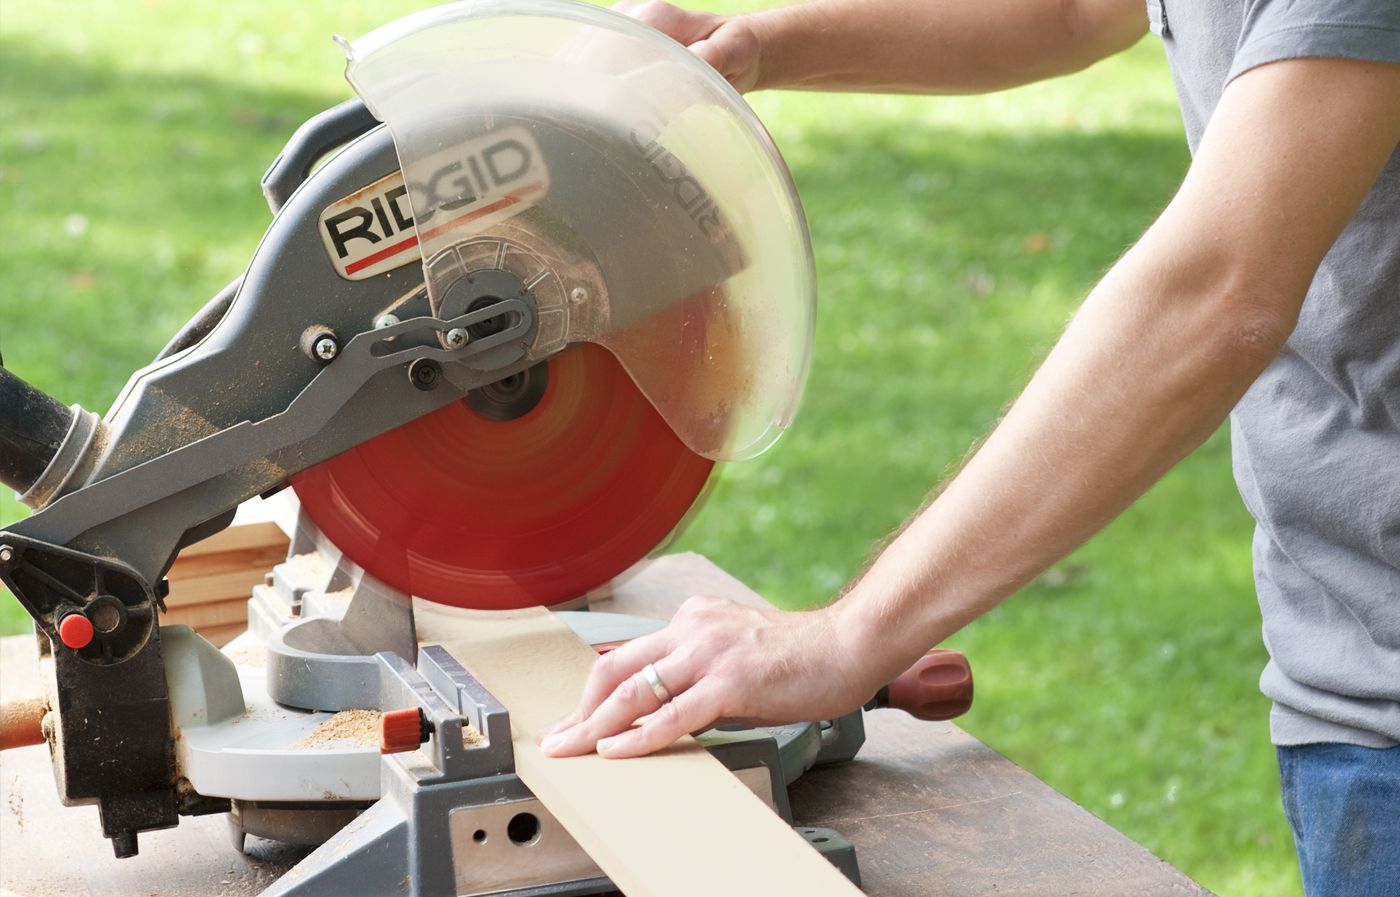
First, set up your miter saw and get to work on that cut list.
For the leg boards, allow one pair to run about 6 inches long; you’ll trim these to the correct length later when leveling the table in Step 5.
Accurate cuts at this stage will provide smoother assembly later on. It’s best to double-check each measurement before cutting, as this will prevent material waste.
Step 2: Rout the Rails
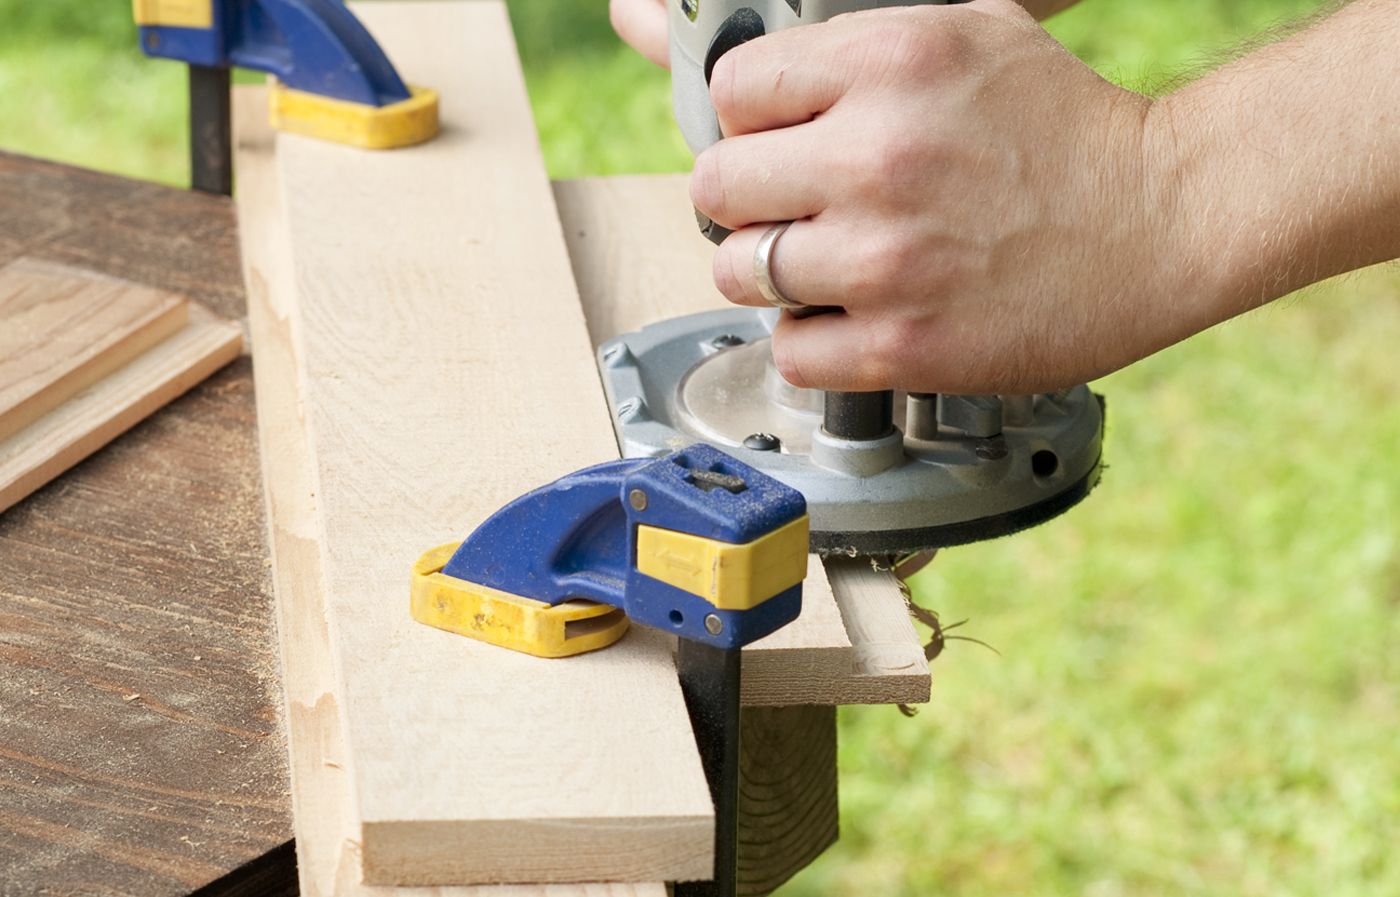
For this step, you need to create channels in the rails to accommodate the tabletop slats. Position a rail diagonally across your work surface, with its back edge against a piece of scrap wood for support. Clamp a straightedge over both pieces to guide your router.
Use a 3/4-inch straight bit in your router, initially setting the depth to 1/8 inch. Make several passes, gradually increasing the depth until you achieve a rabbet that’s 3/4 inch wide and ⅜ inch deep. Repeat this process for both rails. Applying even pressure while routing will help achieve uniform grooves.
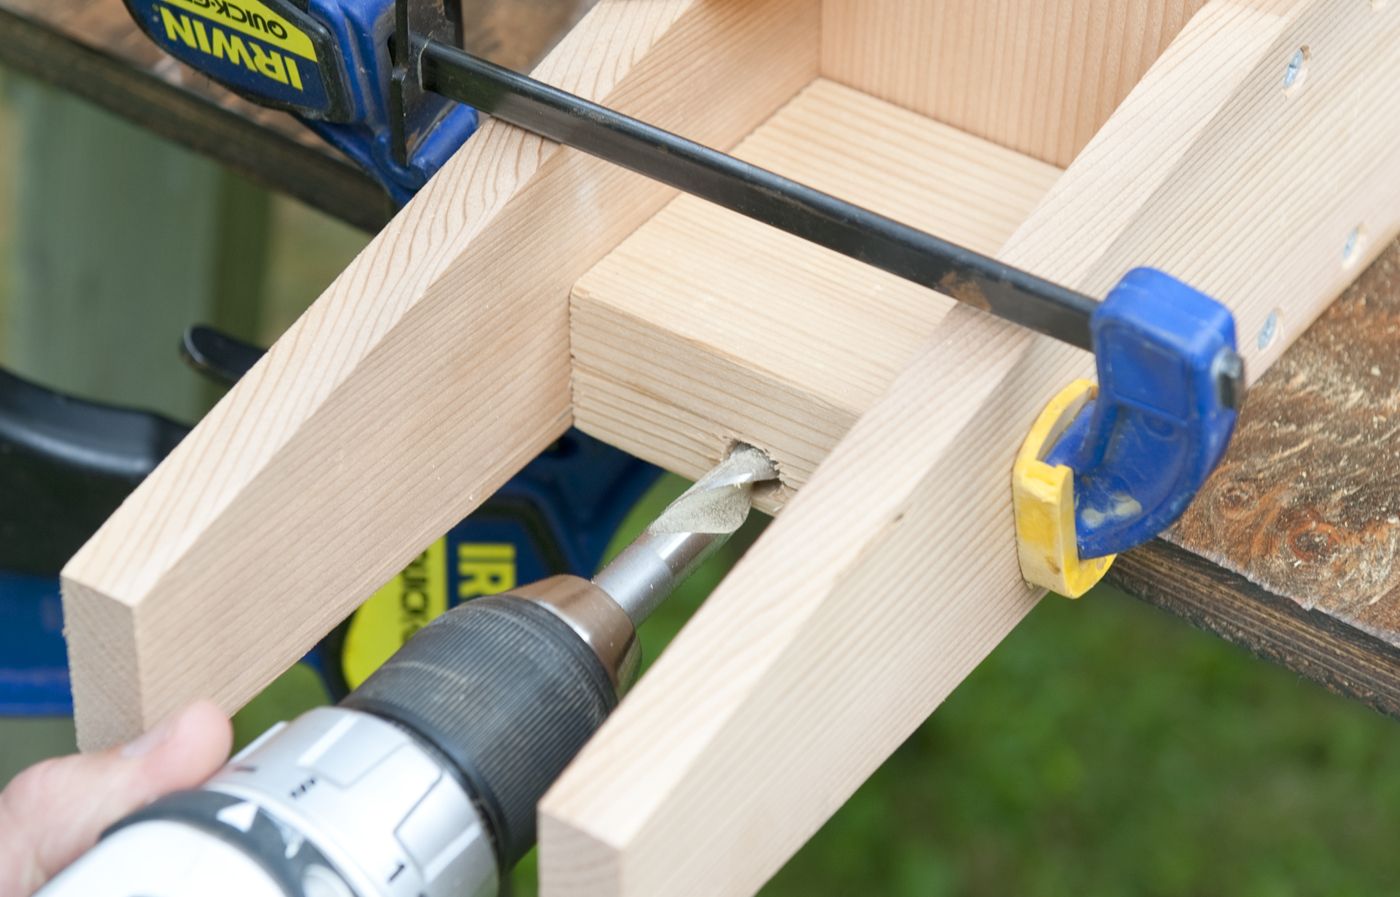
Step 3: Drill the Dowel and Rod Holes
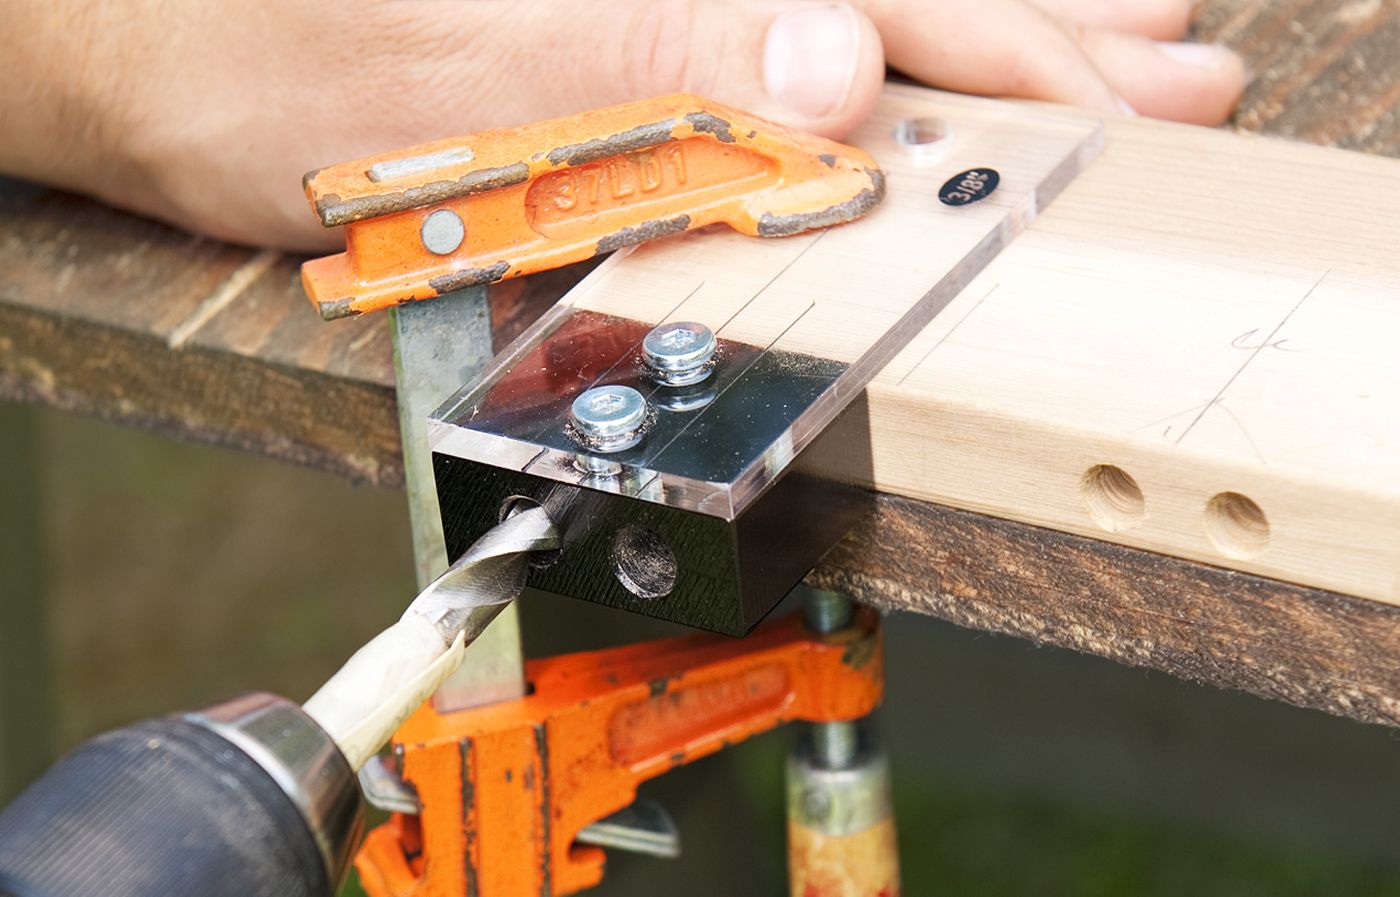
Accurate drilling creates a more sturdy frame. Align the two stiles side by side and mark a perpendicular line across their faces, 3 3/4 inches from each end. On the rails, mark the centerline where they’ll connect with the stiles.
Use a doweling jig to drill two 3/8-inch holes, 1 1/8 inch deep, into each end of both rails. Replicate these holes on the inside edges of the stiles at the marked locations. For the aluminum rod holes, drill a single hole through the outer guide of the jig at each end of the stiles.
Don’t rush this step—properly aligned holes are key to creating a robust and square frame assembly. Wobbling while drilling can compromise the fit, so use a steady hand or a drill press if you have one.
Step 4: Dry-Fit the Frame
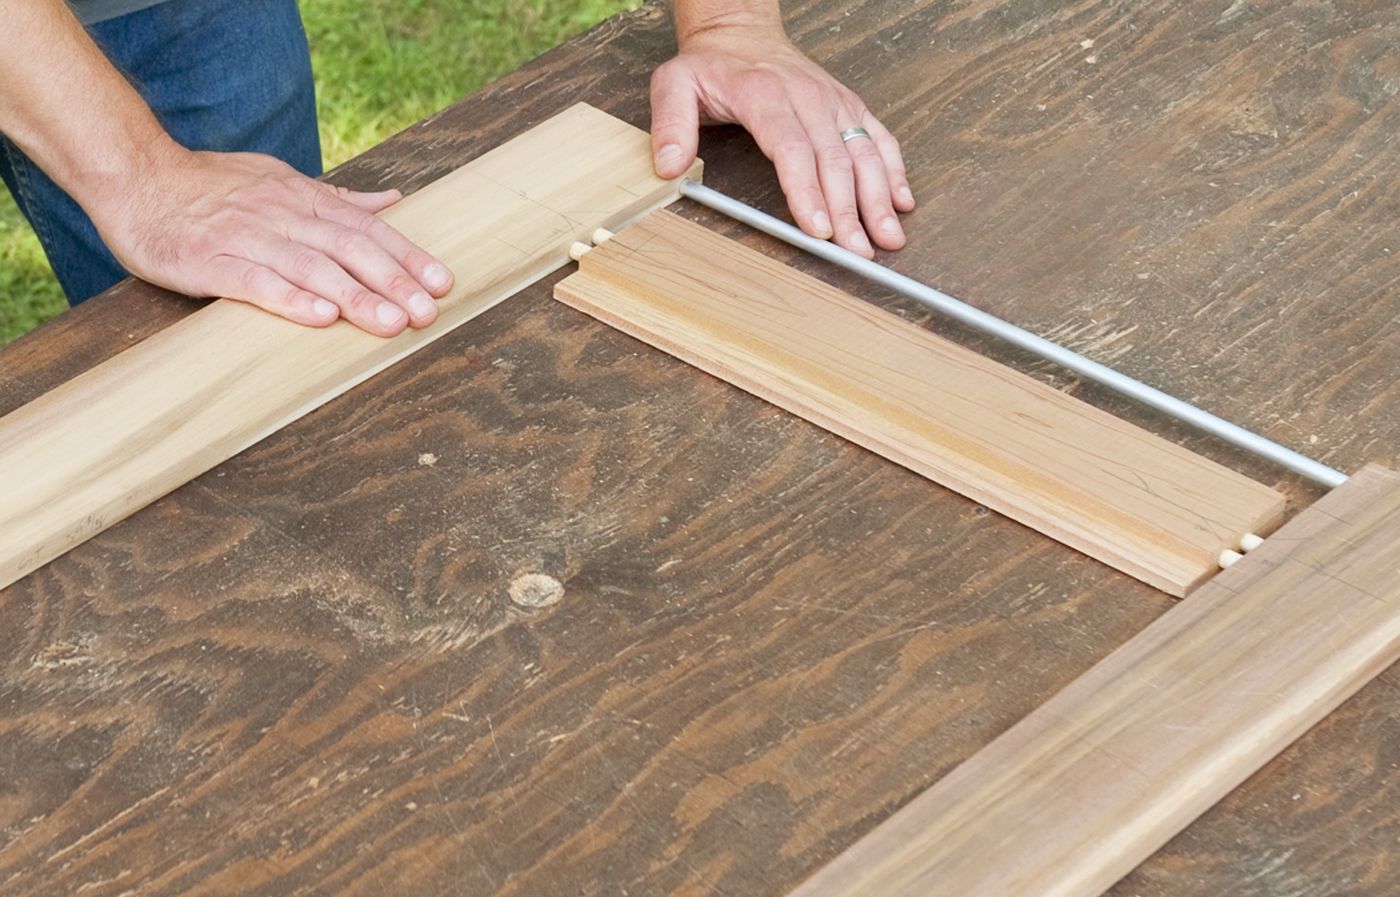
Before applying any glue, dry-fit all the frame pieces.
Using a hacksaw, cut two pieces of aluminum rod to length for the utensil racks. Lay out all the frame components on your work surface and assemble them without glue to confirm that everything fits together correctly.
This dry run will help you identify any potential issues before permanent assembly, saving you time, materials, and a headache or two.
Step 5: Assemble the Frame
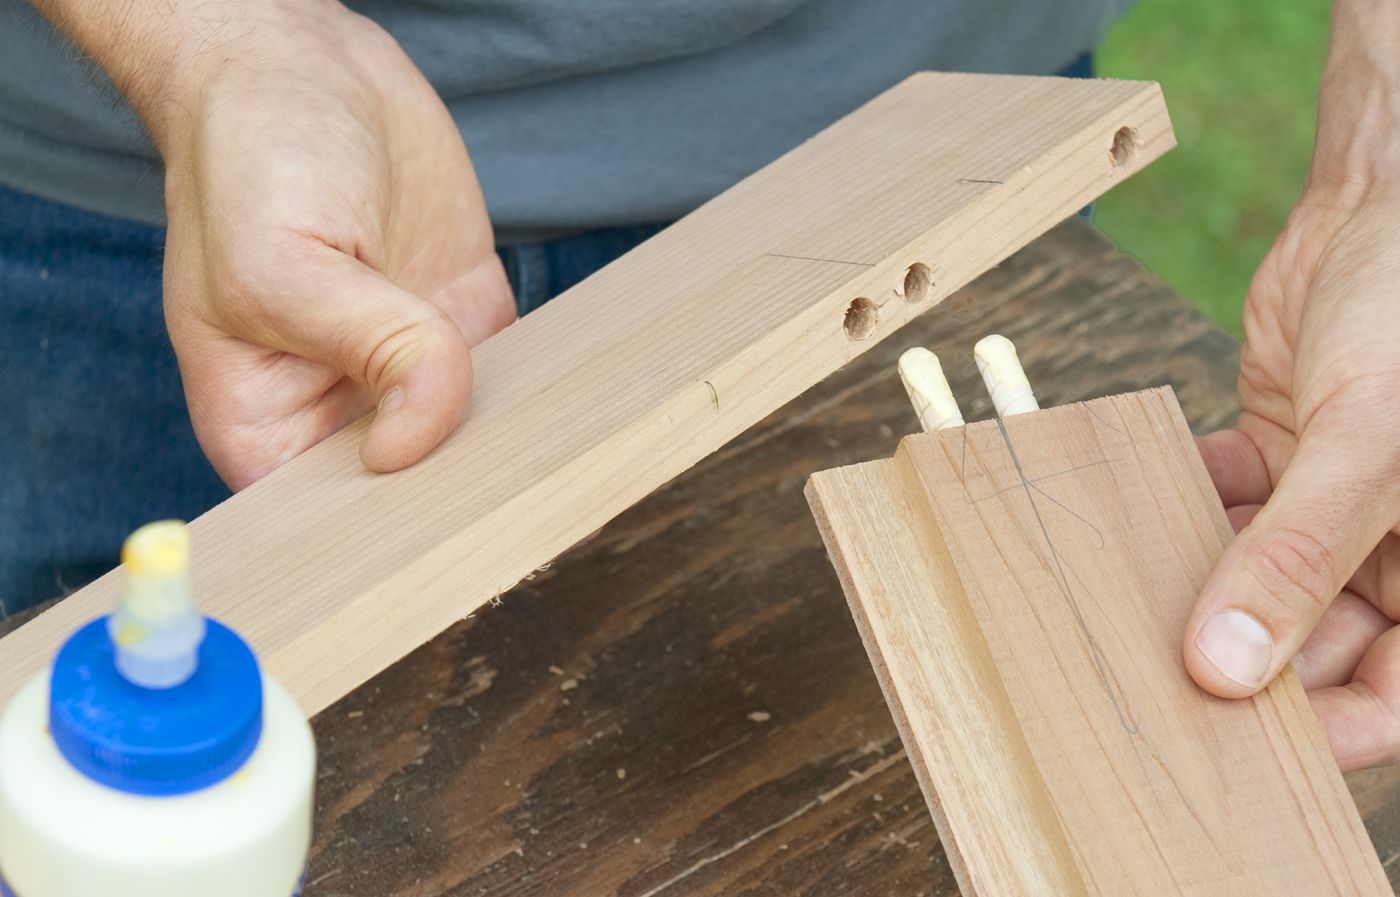
Now it’s time to glue the frame together.
Start by applying wood glue to one end of each wood dowel, then insert that glue-covered ends into the receiving holes in your rails. Next, apply glue to the exposed ends of the dowels, then fit them into the receiving holes in your stile. Finally, slip the aluminum rods into the stile’s open holes on that stile.
Repeat the process for the second stile, applying glue to the dowels and securing it in place. Use bar clamps to hold the entire assembly together while the glue dries.
Make sure the frame remains square during this process, as any misalignment here can compromise the tabletop.
Step 6: Rout the Slats
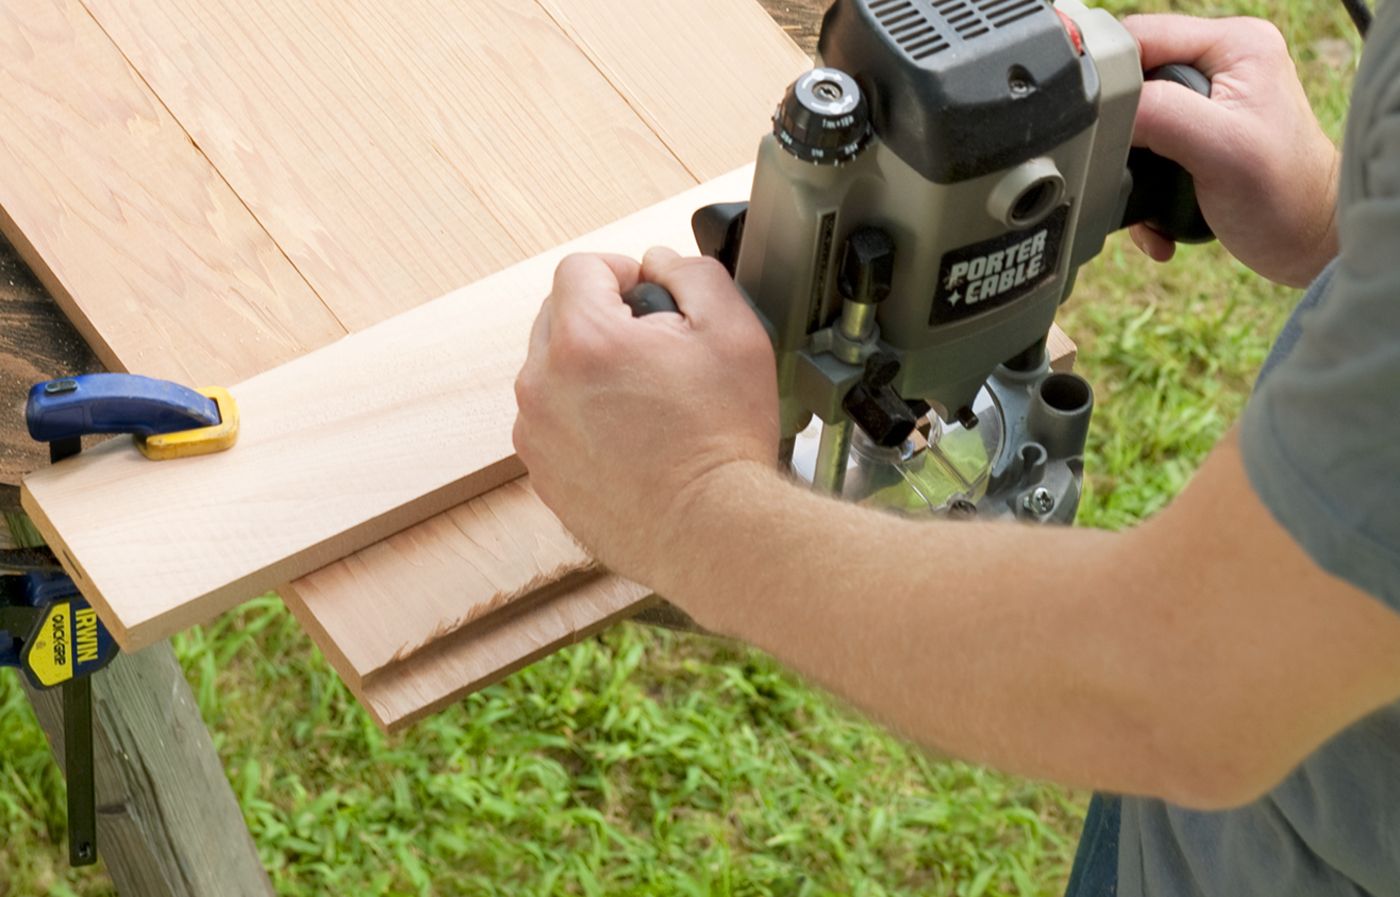
To create a seamless tabletop, you’ll need to rout the ends of the slats. Clamp the four tabletop slats together edge to edge, then secure this assembly to your work surface. Using the same router bit as before, cut a rabbet 3/4-inch wide and 3/8-inch deep across each end of the assembly.
This step creates a lip that will fit into the channels you routed in the rails, resulting in a smooth, integrated tabletop surface. After routing, inspect the table for splinters and remove or lightly sand down any you find.
Step 7: Attach the Slats
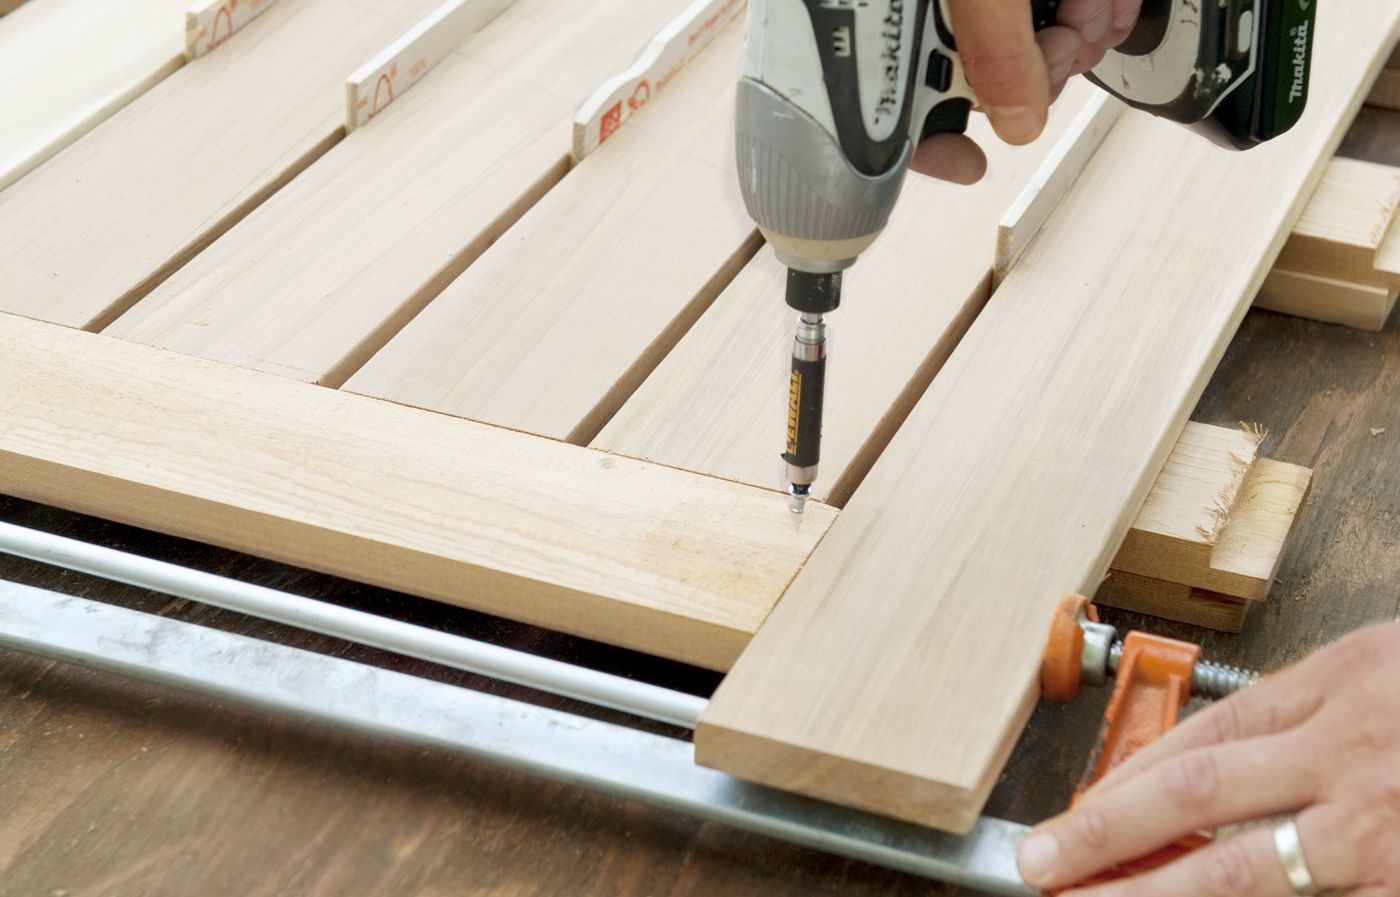
To achieve a professional-looking grill table, we recommend spacing out the slats with precision and concealing the fasteners.
First, lay out the slats with the rabbeted side facing up. Place your frame over the slats. To space the slats out evenly and uniformly, wedge thin spacers (we like paint stirrers) between each slat.
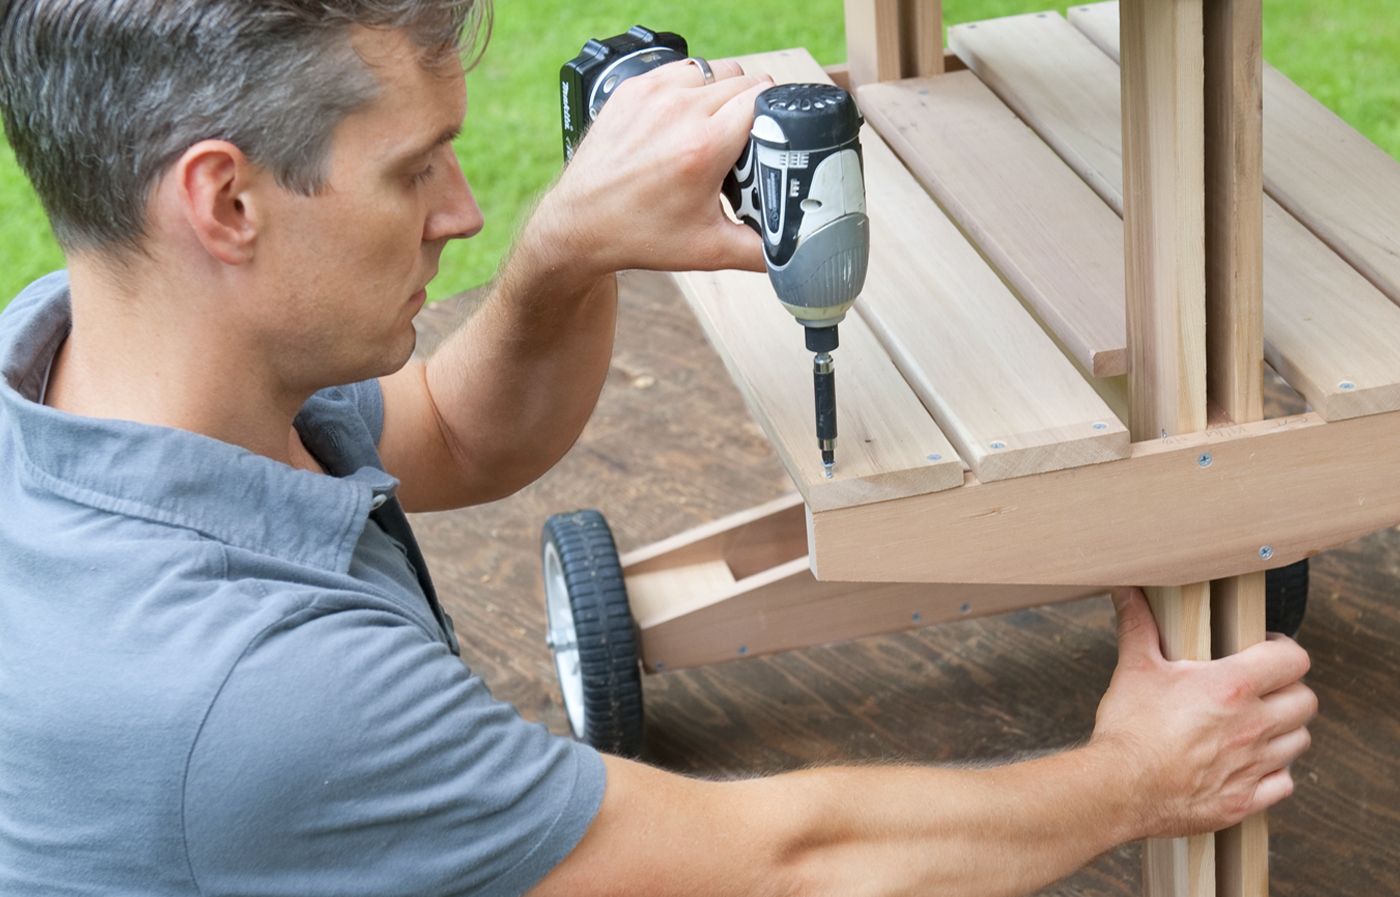
Then, countersink two 1/16-inch pilot holes through the rail and into the joint at the ends of each slat. Secure the slats using 5/8-inch brass woodscrews.
This method establishes a strong connection while keeping the fasteners out of sight and protecting them from the elements.
Step 8: Create the Feet and Brackets
The feet and brackets give your grill table stability and a finished look. Start with a blank piece of cedar. Find the center point along the top edge, then measure and mark 1 1/4 inches out to each side. Set a bevel gauge to 12 degrees and draw diagonal cut lines from these marks to the edge.
Use a straightedge as a guide to make precise cuts along these lines, creating your first foot. This piece will serve as a template for the remaining nine feet and brackets. Aim to replicate each cut with great precision.
Step 9: Assemble the Legs
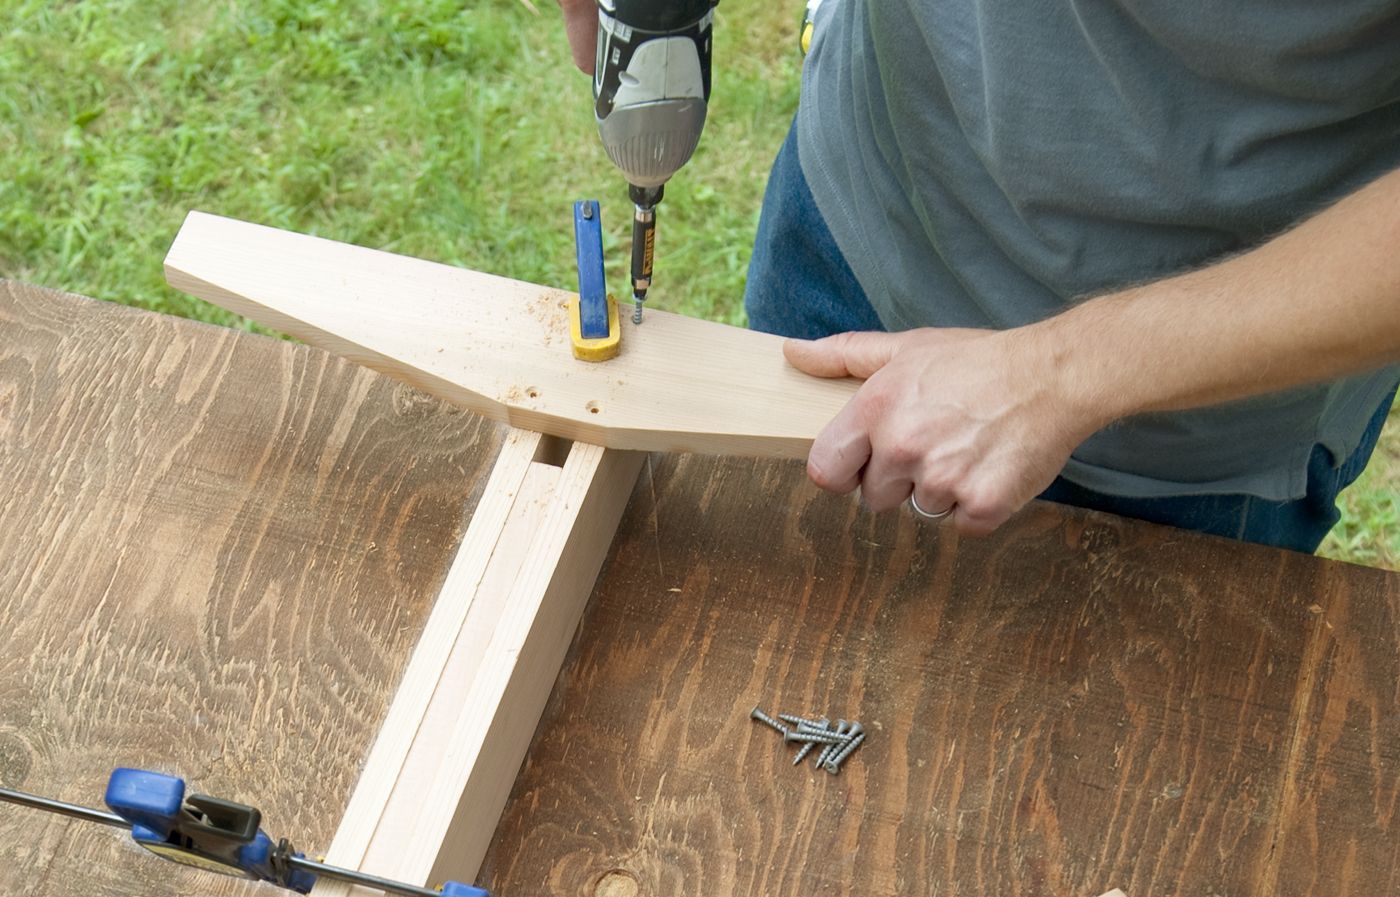
The legs provide the structural support for your grill table. For the stationary leg, clamp two boards around a scrap piece of the same material. Attach a foot to this assembly using 1 1/4-inch deck screws, making sure you countersink the holes for a smooth finish. Repeat for the other side of the leg.
At the top of the stationary leg, attach opposing brackets for the tabletop. For the wheeled leg, only attach the foot pieces at this stage. This differentiation allows for the later addition of wheels to one end of the table. Confirm that the legs are level.
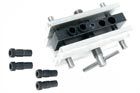
Step 10: Make the Axle Blocks
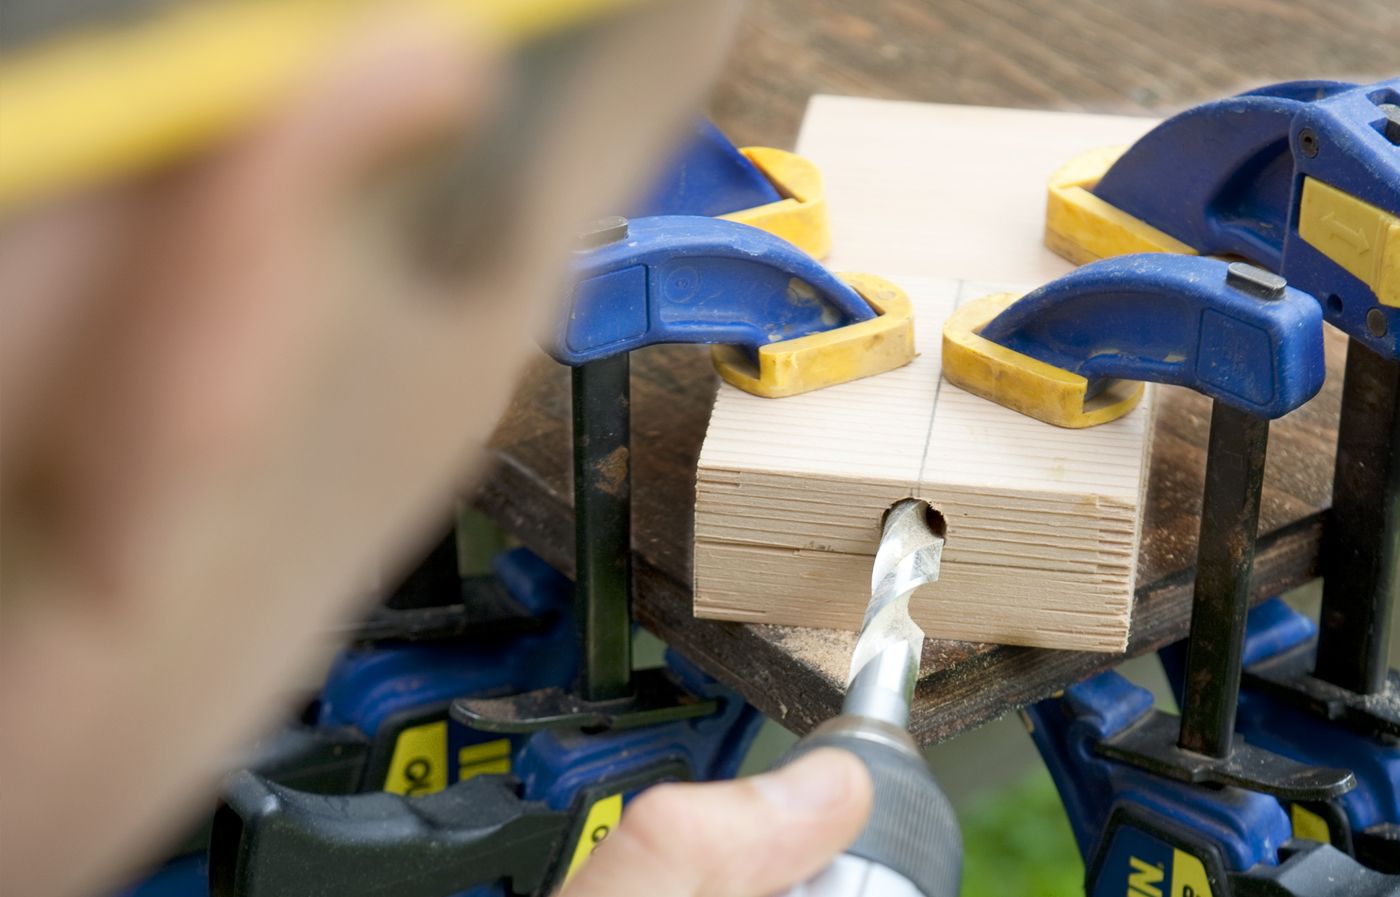
The axle blocks attach the wheels securely. Glue two pieces together that match the width of the leg. Draw a reference line down the center of the block and clamp it to your work surface. Using a 1/2-inch bit, drill a hole straight through the top piece, keeping the drill level and following the centerline.
Using the same process, create a matching block. These blocks will house the axle for your wheels and dictate their alignment, so uniform drilling is key here.
Step 11: Bore the Axle Holes
To complete the wheel assembly, you need to create a passage for the axle through the bottom of the leg. Stand the leg upright and temporarily clamp the axle block between the feet. Use the block as a guide to drill through one side of the leg, then repeat on the other side.
This step requires precision to ensure the axle runs straight through the leg, allowing the wheels to turn freely. Any misalignment may make rolling the table difficult or choppy.
Step 12: Install the Wheels and Foot Pads

Now, it’s time to add your wheels.
Position both axle blocks between the feet and use the threaded rod to align them properly. Secure each block with countersunk screws through the foot.
To install the wheels, slide a 1/2-inch washer onto the rod, followed by a wheel and another washer. Secure each wheel with a 1/2-inch locknut. Trim any excess rod with a hacksaw. For the stationary leg, attach foot pads to the underside of the feet for stability and floor protection.
Step 13: Measure and Cut the Legs
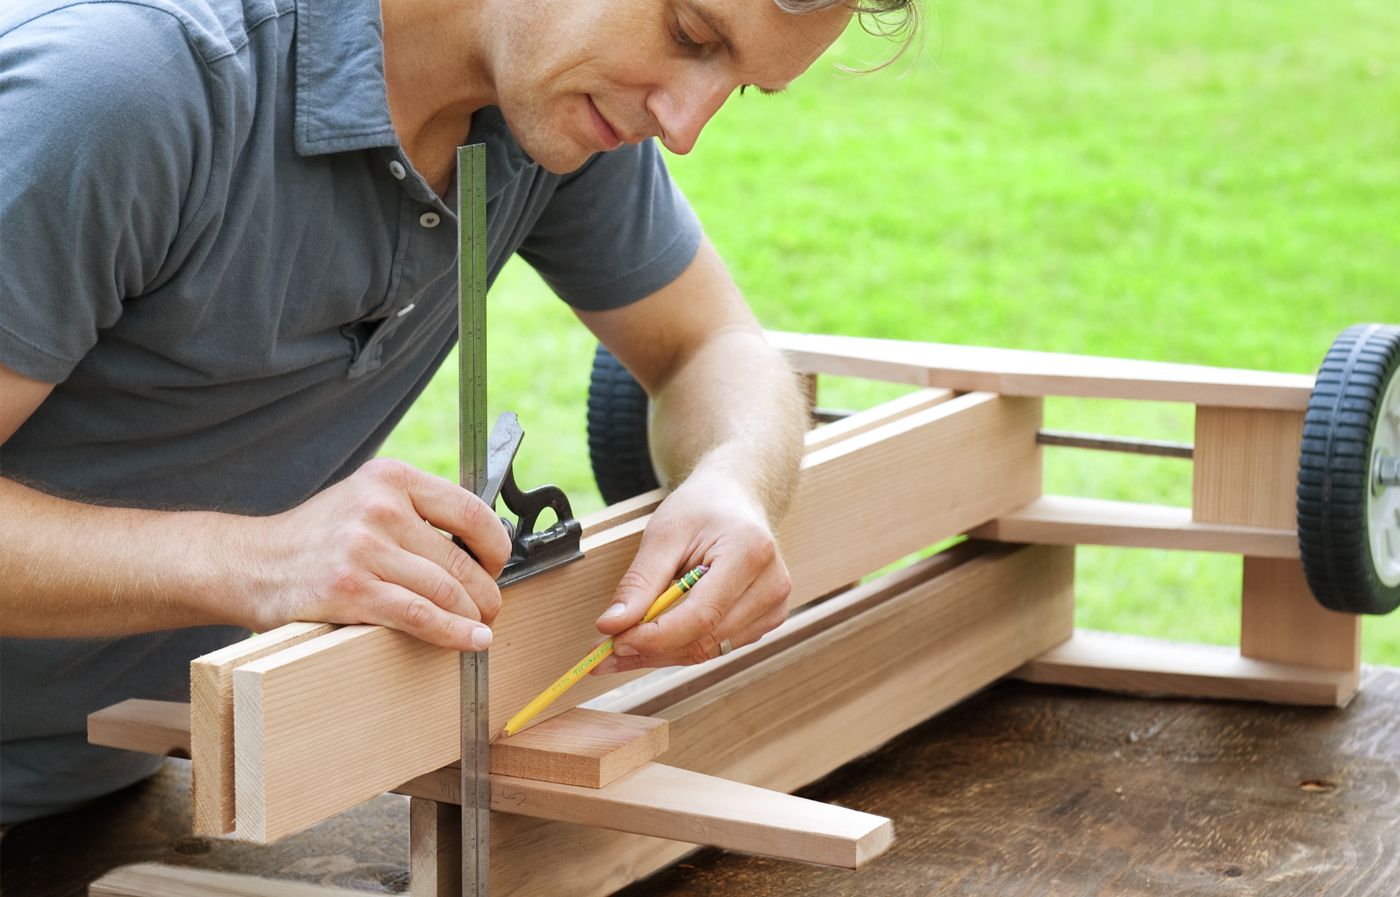
Place the stationary leg on your work surface and lay the wheeled leg on top, aligning the bottom of the wheels with the foot pads. Use a combination square to mark the length of the stationary leg against the wheeled leg.
Using a circular saw, cut the wheeled leg to this marked length.
Finally, install the brackets on the wheeled leg, mirroring the assembly on the stationary leg.
Step 14: Attach the Stretcher

The stretcher stabilizes your grill table and provides a base for the lower shelf.
Mark both legs 13 3/4 inches from the top and stand them upside down. Clamp the stretcher between the legs just above these marks. Secure it in place with countersunk deck screws.
Step 15: Attach the Legs to the Tabletop
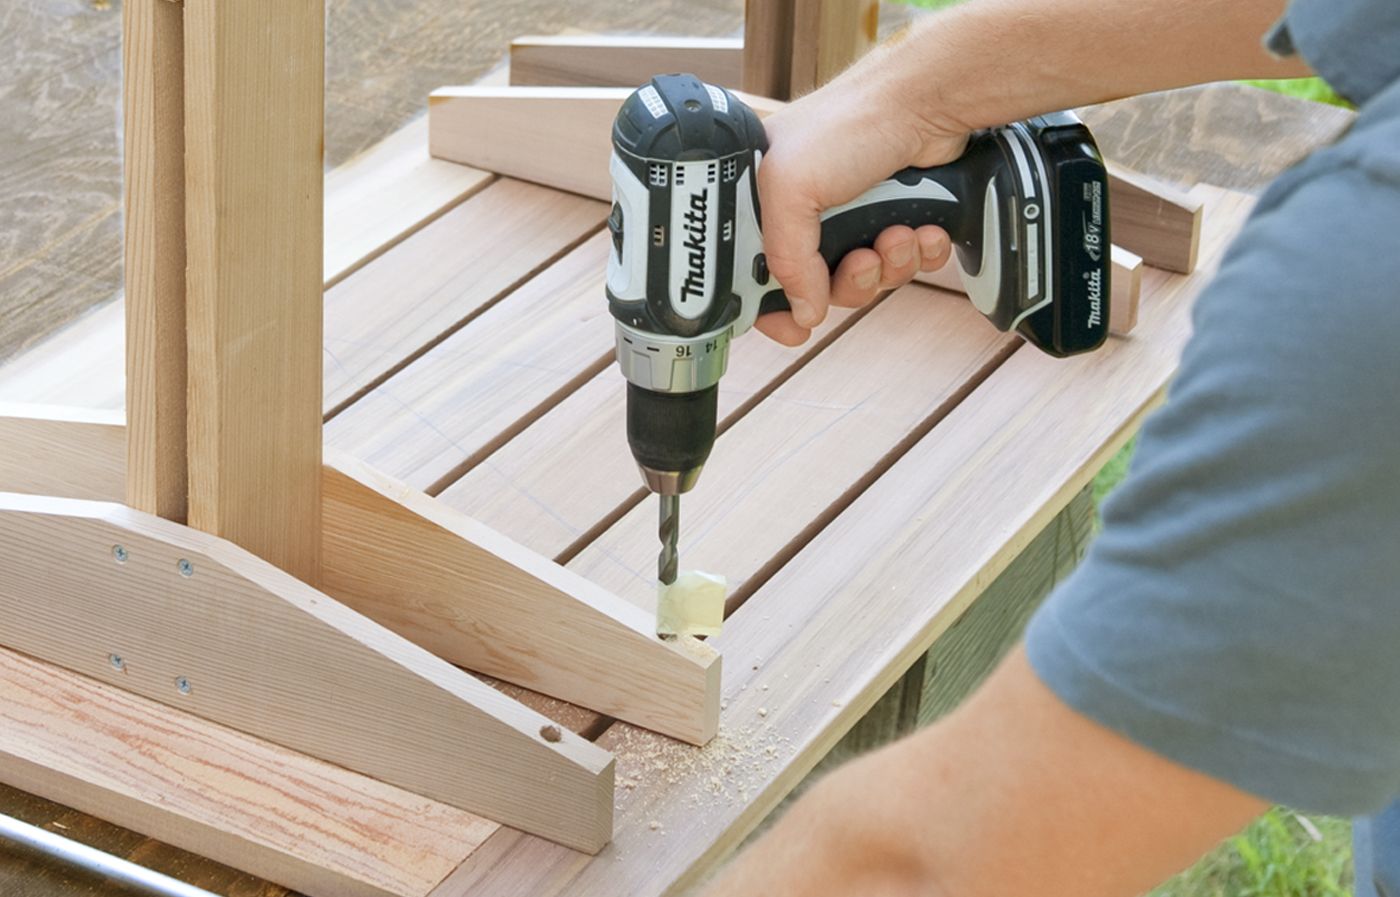
With the leg assembly complete, it’s time to join it to the tabletop.
Place the tabletop upside down and center the leg assembly on it. Mark the brackets 1 1/4 inch from each end, over the stiles. Using a 3/8-inch bit, drill 1-inch deep holes at these marks. Secure the brackets to the table stiles with 1 1/4-inch deck screws.
This connection determines how sturdy your grill table will be, so fully tighten each screw.
Step 16: Attach the Shelf Brackets
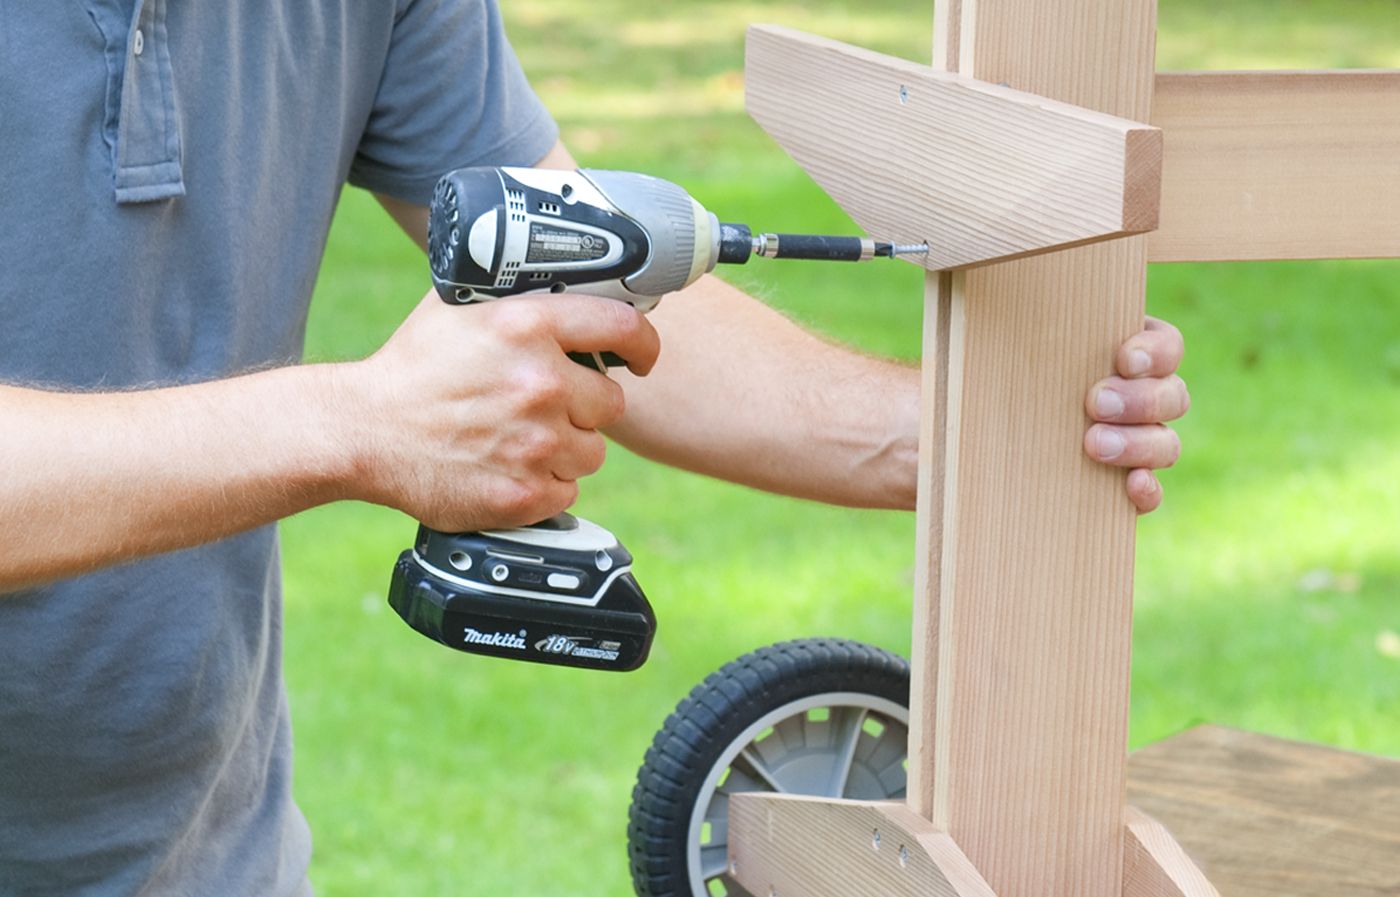
A lower shelf adds valuable storage space to your grill table.
To build it out, stand the table upright and attach the shelf brackets to the legs, making sure they’re level with the top of the stretcher. Use countersunk screws for a clean finish and strong hold.
These brackets will support the shelf slats, providing a sturdy surface for storing grilling accessories or supplies.
Step 17: Secure the Shelf Slats
Installing the shelf slats is the final step in constructing your rolling grill table.
First, lay out the slats, using spacers to maintain even gaps between them. Start by securing the center slat with countersunk screws into the top edge of the stretcher.
For the remaining slats, countersink two holes at each end and drive screws into the top edge of the brackets.
Finishing Touches
With the construction complete, weatherize your table using a food-safe wood sealer.
We recommend installing a few practical components, including hooks to hold your grilling tools and a leg-mounted bottle opener.
If you want your grill table to last, give it a tuneup every six to 12 months. Your maintenance checklist should include reapplying the wood sealer, checking for rust, and periodically tightening its screws. Cover it with a waterproof grill cover, or store it in the shed when you’re not using it.