We may be compensated if you purchase through links on our website. Our team is committed to delivering honest, objective, and independent reviews on home products and services.
Moving a toilet to a new location to remedy cramped space or improve your bathroom’s layout can be a challenging task, but homeowners can handle it with the right approach. The process involves more than just turning the fixture, though. Read a step-by-step guide on how to rotate a toilet below, and watch the video above for tips from This Old House plumbing and heating expert Richard Trethewey.
Understanding Toilet Rough-In Dimensions
Take note of your toilet’s rough-in dimension, which is the distance from the finished wall behind the toilet to the center of the waste pipe or flange bolts, before you begin the rotating process. This measurement will help you to fit your toilet properly in the new space.
Standard Rough-In Measurements
The standard rough-in dimension for most toilets is 12 inches. This isn’t the only available option, though.
Alternative Options
If a 12-inch rough-in doesn’t work for your space, look for nonstandard toilet models. These are frequently available in 10-inch or 14-inch sizes. If your bathroom layout is very unique, you may need to invest in a custom toilet with the appropriate rough-in dimensions.
Toilet Upgrades
Consider upgrading your toilet to a more comfortable or efficient model once you decide to move your toilet.
Comfort Height Toilets
Below are some common toilet heights from which you can choose:
- ADA-compliant height: Minimum of 17 inches from floor to seat
- Comfort height: 17 to 19 inches from floor to seat
- Standard toilet height: About 15 inches from floor to seat
Water-Efficient Models
Toilets must use no more than 1.6 gallons of water per flush, according to the current federal standard as dictated by the United States Environmental Protection Agency. High-efficiency toilets offer the same performance but use only 1.28 gallons per flushing. A toilet that is high-efficiency will bear a WaterSense-certified label.
Upgrading to a water-efficient model during your rotation project can lead to significant water savings over time. The EPA estimates an average family can save about $170 a year on water bills. You may be able to save even more by choosing a dual-flush model that offers a reduced flush for liquid waste.
Step-by-Step Toilet Rotation Guide
Follow the steps below to turn your toilet in a new direction:
Step 1: Shutting Off the Water Supply
Locate the shut-off valve near the base of the toilet. Turn the valve clockwise to completely stop water flow, and flush the toilet to drain the tank and bowl.
Step 2: Removing the Old Toilet
Follow the steps below once you’ve drained the toilet:
- Disconnect the water supply line from the tank.
- Remove the nuts that secure the toilet to the floor.
- Place drop cloth or newspaper on the floor somewhere outside the bathroom.
- Carefully lift and remove the old toilet, and place it on the drop cloth or newspaper.
Step 3: Cleaning the Work Area
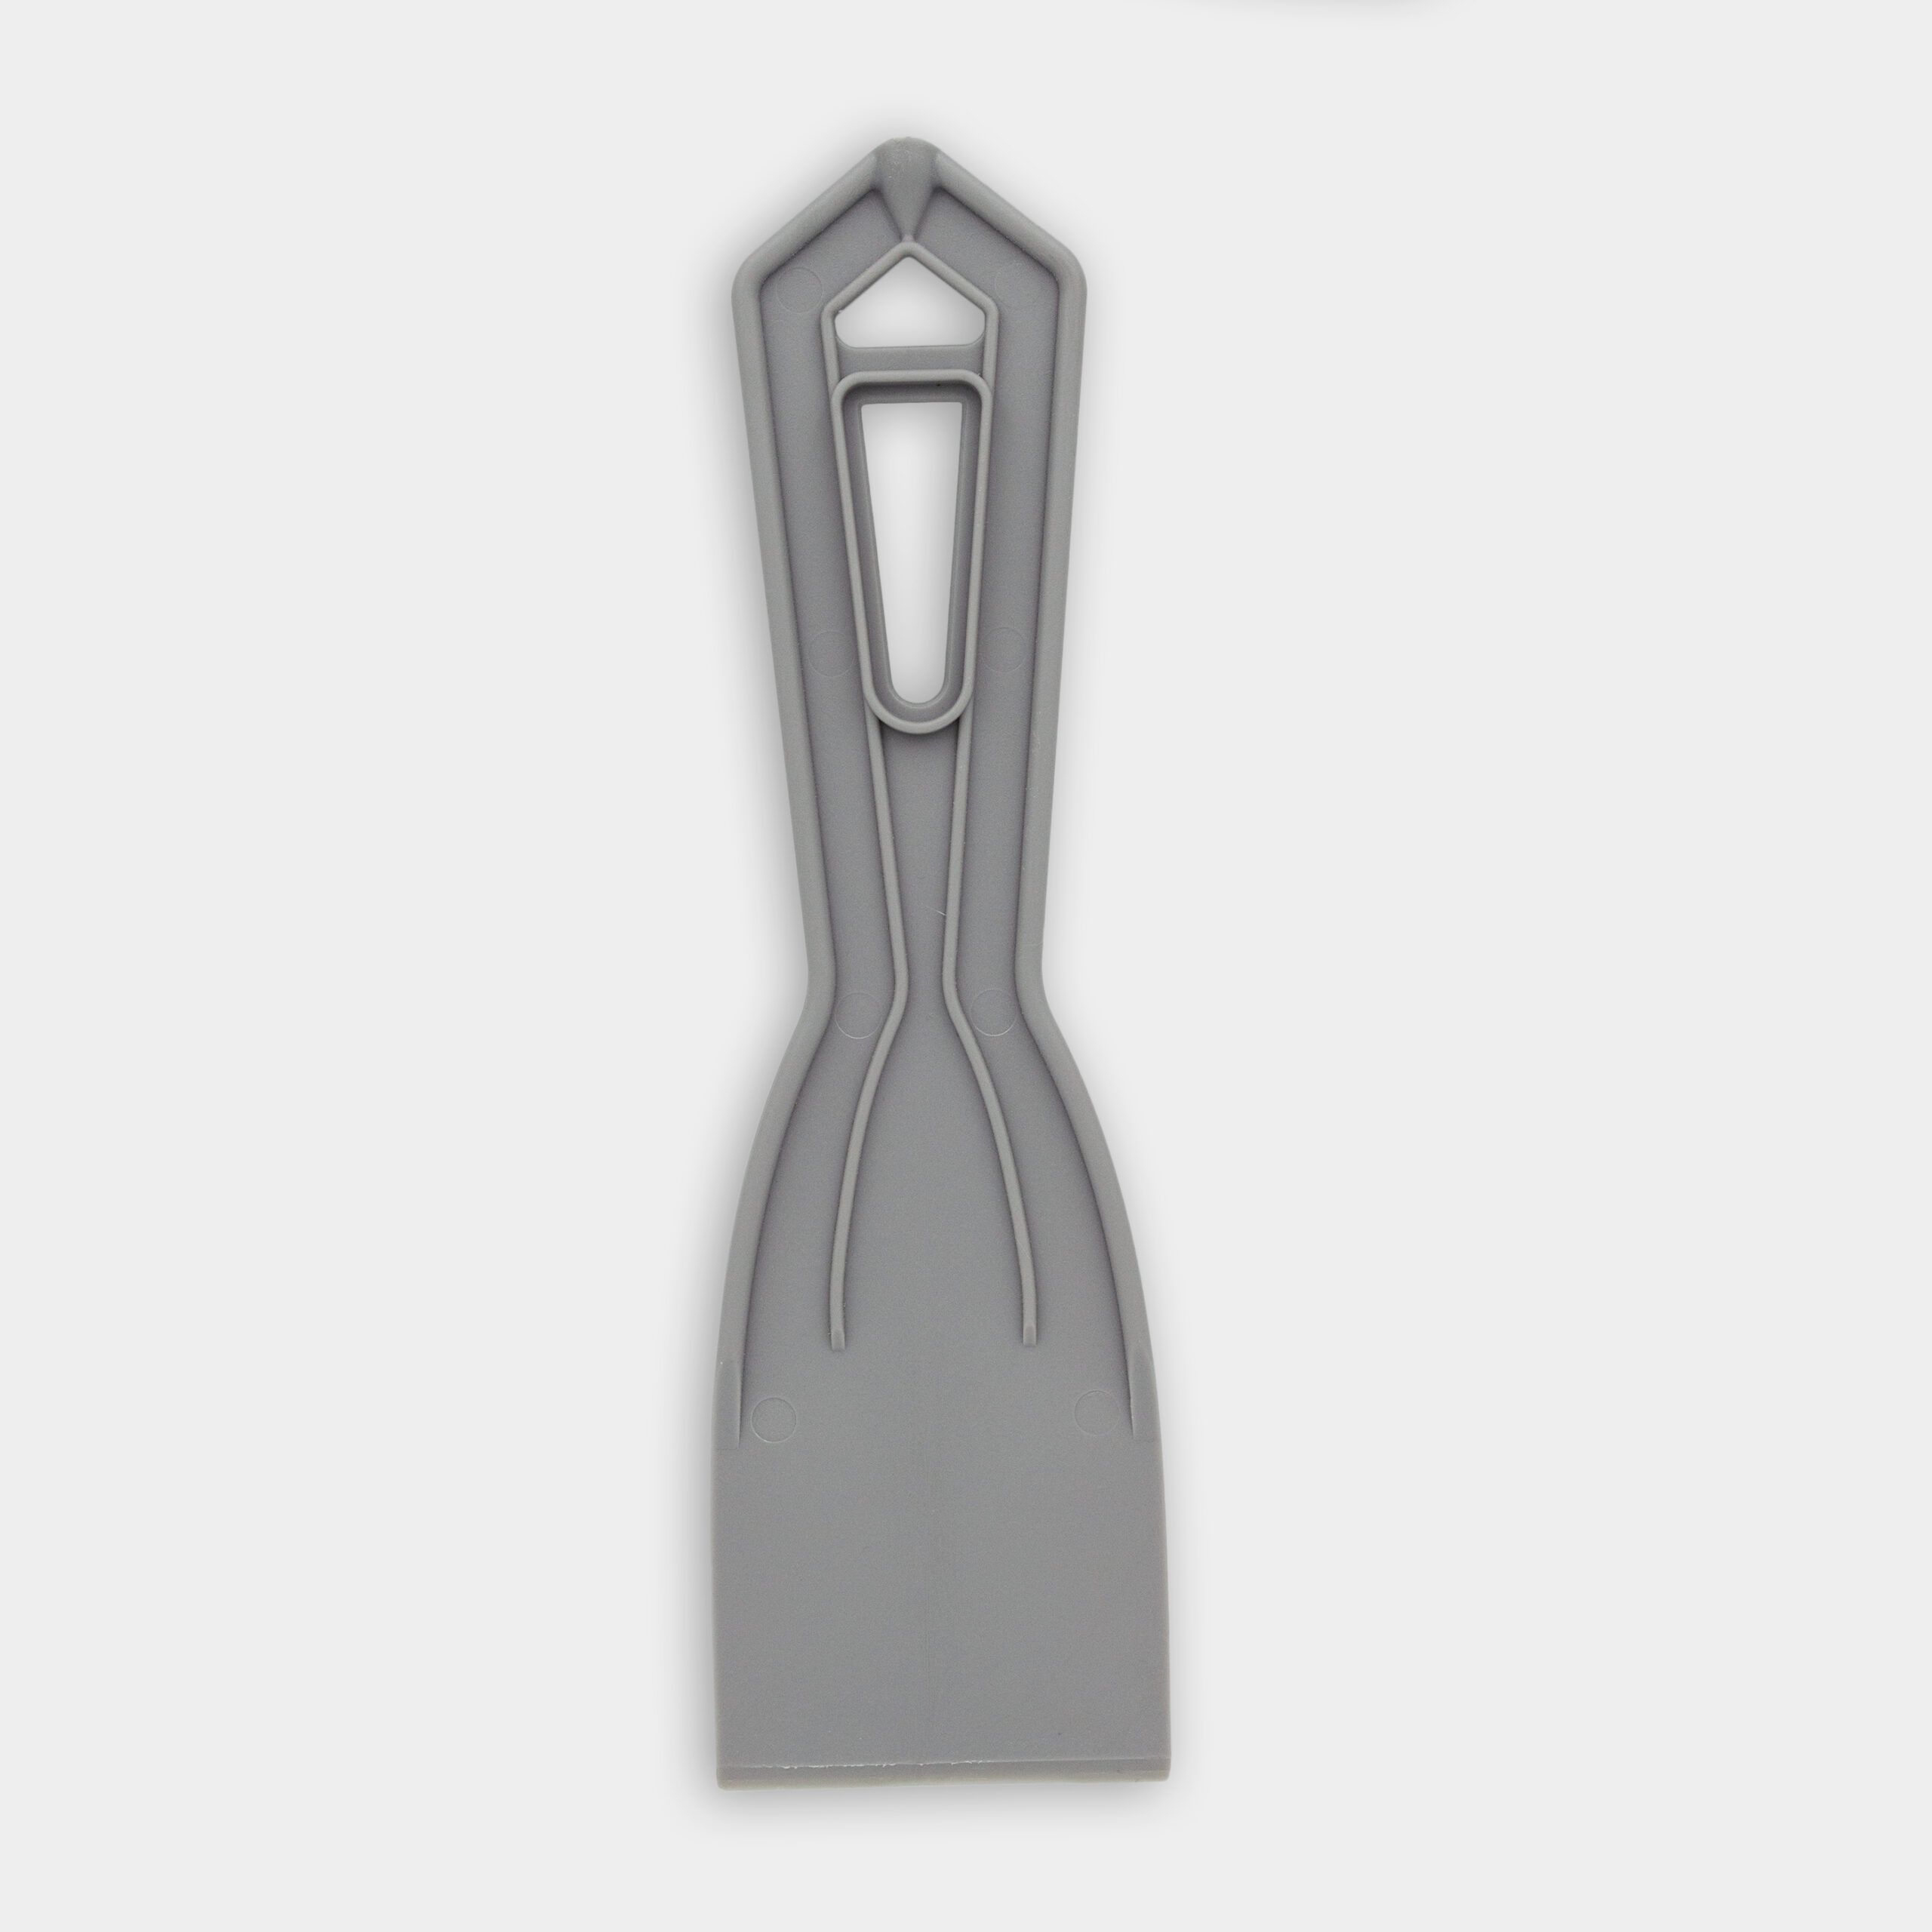
Once you’ve removed the old toilet, scrape off the old wax ring from the flange using a putty knife. Clean the area thoroughly, and confirm that the old flange has space for the new bolts.
Step 4: Adapting the Flange
The existing flange may not always accommodate the new toilet orientation. If this is the case, get a flange repair kit and follow the steps below.
- Apply a new wax ring to the existing flange.
- Place the flange repair kit over the wax ring.
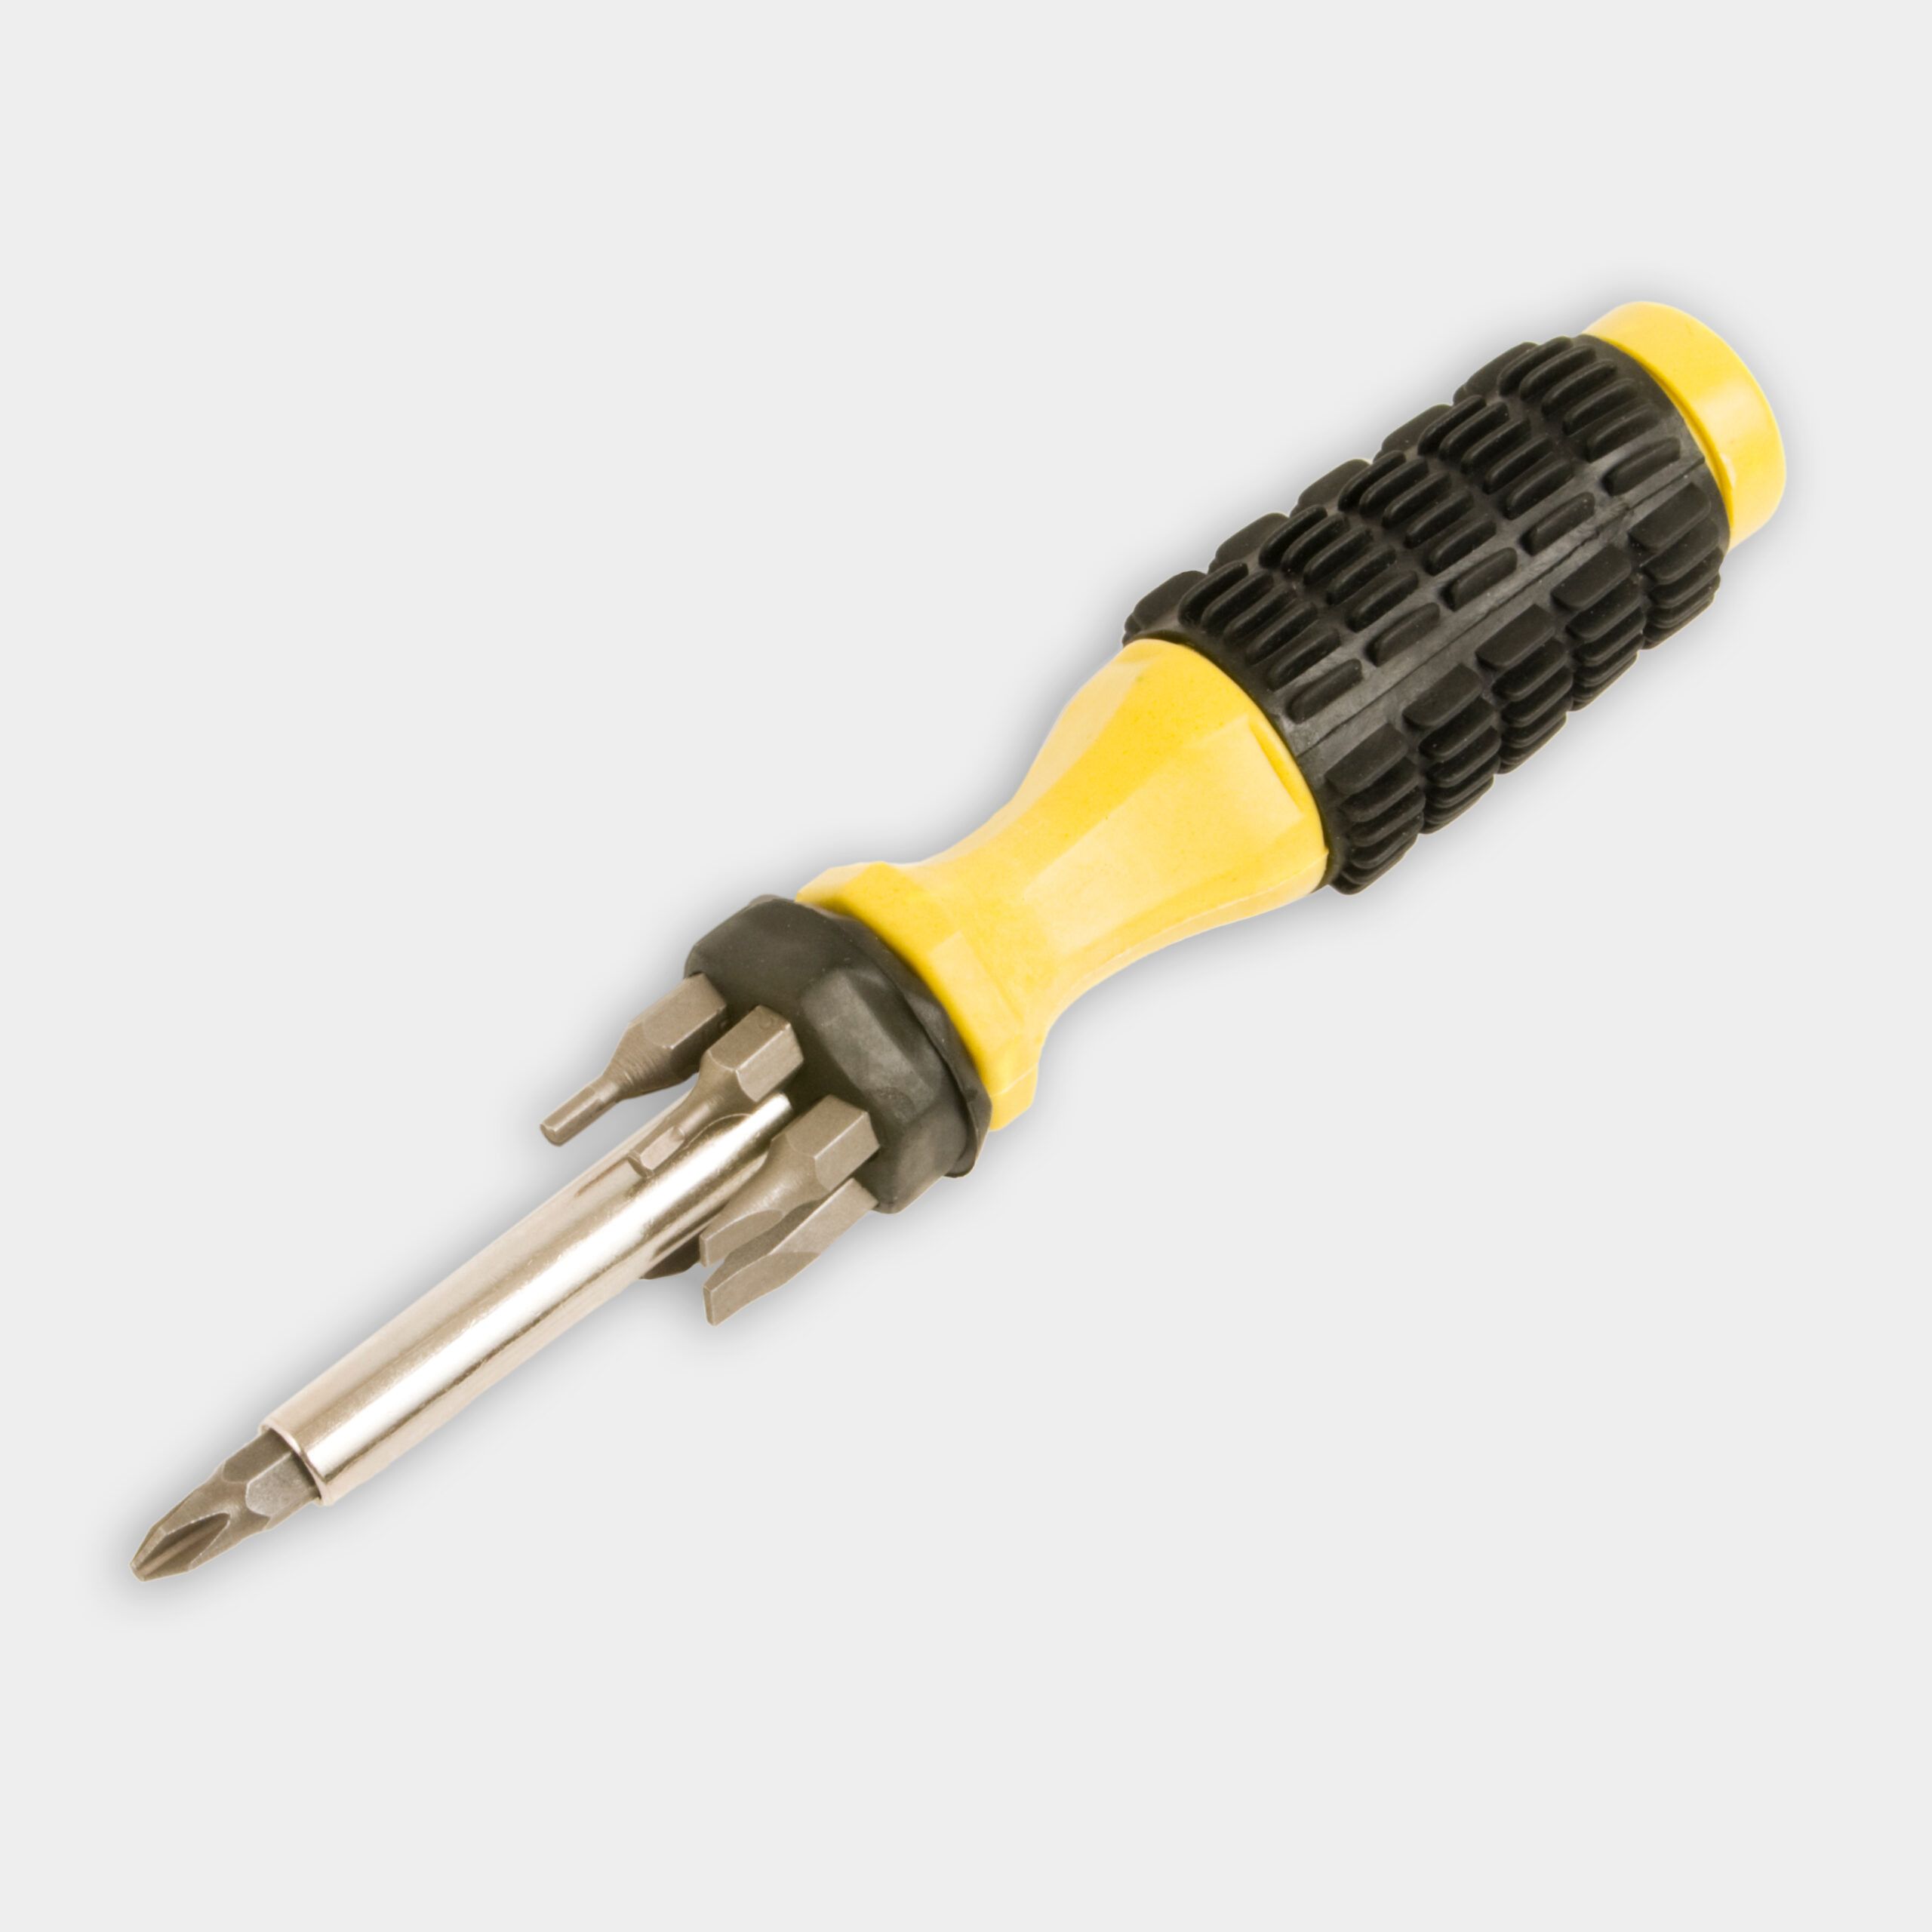
- Secure the kit to the floor with masonry screws and a hand screwdriver.
This adaptation allows you to place bolts so that they align with the new toilet position.
Step 5: Positioning the New Toilet
Once you’ve adapted the flange, follow the steps below.
- Attach a longer flexible supply line to the water valve.
- Carefully lower the new toilet onto the bolts.
- Make sure the toilet is level and that you’ve properly aligned it.
- Secure the toilet with washers and nuts. Be careful not to over-tighten.
- If the new bolts are too tall for the bolt caps, cut them to fit.
Step 6: Connecting the Water Supply
To complete the installation, connect the supply line to the toilet tank. Slowly turn on the water and check for any leaks.
Potential Challenges and Solutions When Rotating a Toilet
Rotating a toilet can present some unexpected challenges. Below are some issues you may encounter and directions on how to fix them.
Adapting Existing Plumbing
The existing plumbing may not always align perfectly with the new toilet orientation. Try fixing this with one of the methods below.
- Extend the water supply line with a longer flexible hose.
- Relocate the shut-off valve so you can more easily access it.
- Use an offset flange to adjust the waste pipe position.
Remember that a licensed plumber should handle any substantial changes to the plumbing. This will help you to make sure the new installation is up to code.
Addressing Floor Damage
Removing the old toilet might reveal floor damage or unevenness. Use a floor repair kit to address minor damage, and apply a thin layer of floor-leveling compound to uneven flooring. If the damage or unevenness is severe, you may need to perform more significant repairs.
Managing Tight Spaces
Rotating the toilet in small bathrooms might require creative solutions such as those below.
- Choose a corner toilet to maximize space.
- Consider investing in a wall-mounted toilet to free up floor space.
- Use a small tank or a tankless toilet design.
Costs Associated with Rotating a Toilet
If you simply rotate your existing toilet yourself, you may not have to spend more than $30. This includes a new wax ring, a flange repair kit, and a longer water supply line. A new toilet, on the other hand, can cost anywhere from $100 to $3,000, depending on its features. A high-efficiency dual-flush model will be around $500.
Plumbers charge between $70 and $120 per hour. Even if you plan to complete the job yourself, you may need to call a professional if the pipes turn out to be in poor condition.
*Cost data in this article sourced from Angi.