Tiling over a brick fireplace can change the look of your living area, giving it a new, modern appearance. This project allows you to update your fireplace without needing extensive reconstruction. With the right tools, materials, and techniques, you can easily tile over your brick fireplace with the help of our guide. You’ll learn everything about this process, from preparation to finishing touches, making it a successful DIY home improvement project.
Understanding the Process of Tiling Over Brick
Tiling over a brick fireplace involves many steps to achieve a professional-looking result. The process starts with preparing the brick surface, followed by applying a thin-set mortar to create a smooth base. This lets you work directly on the existing brick structure.
One of the main advantages of tiling over brick is it preserves the existing structure while providing a new look. The thin-set mortar fills in grout lines and any unevenness along the brick surface. This technique is efficient and keeps a strong bond between the new tiles and the underlying brick.
Essential Tools and Materials for Tiling Over Brick
Before starting your fireplace tiling project, get all the necessary tools and materials. Having everything on hand will help this process go smoothly and prevent any delays.
Necessary Tools
- Bucket
- Drill with mixing paddle (for thinset and grout)
- Flat trowel
- Grout float
- Level
- Notched trowel
- Safety goggles and dust mask
- Sponge
- Tile cutter or wet saw
- Wire brush
Required Materials
- 1x board (for temporary support)
- Drop cloth
- Grout
- Painter’s tape
- Tile spacers
- Tiles of your choice
- White vinegar
- White, latex-modified thin-set cement
Preparing Your Brick Fireplace for Tiling
Proper preparation will help your new tiles adhere correctly and look their best. This stage involves removing any obstacles that could obstruct the surface you need to work on. You’ll also need to clean the brick surface thoroughly so the mortar adheres well.
Removing Existing Fixtures
Start by removing the mantel and any other decorative elements attached to the brick. This will give you a clear, unobstructed surface to work on. Cover the hearth and surrounding floor area with a drop cloth to protect it from debris and mortar.
Cleaning and Prepping the Brick Surface
Thoroughly cleaning your brick surface helps the thin-set mortar adhere properly to the brick surface, creating a strong foundation for your tiles. To prepare the brick for tiling, follow these steps:
- Use a wire brush to scrub the entire brick surface, removing any loose mortar or debris.
- Clean the bricks with a rag soaked in white vinegar to remove soot and grime.
- Allow the brick to dry completely for 24 to 48 hours before proceeding.
Applying Thinset: The Foundation for Your Tiles
The thin-set layer creates a smooth, even surface for your tiles. This step requires careful mixing and application to get the best results.
Mixing the Thinset
Mix the white, latex-modified thin-set cement according to the manufacturer’s instructions. Aim for a consistency similar to mayonnaise. This type of thin-set is specific for fireplace applications because it can withstand heat better than many other adhesives.
Techniques for Applying Thinset to Brick
When applying thin-set to brick, you want to end up with a thin, flat surface without any seams. You can apply the thinset by following the steps we’ve provided below.
- Use a flat, straight trowel to spread the thin-set over the brick surface.
- Work the thin-set into all grout joints and crevices for complete coverage.
- If needed, apply a second coat after the first has cured to fill any remaining gaps.
- Allow the thin-set to cure completely, typically 24 hours before starting the tile installation.
Choosing the Right Tiles for Your Fireplace
Selecting the appropriate tiles for your fireplace matters for design and practicality. The right choice will complement your home’s decor while withstanding the heat from the fireplace.
Considering Heat-Resistant Options
When tiling a fireplace, you should choose tiles that can withstand high temperatures. Ceramic, porcelain, and natural stone tiles are great choices for fireplaces. These materials can handle the heat without cracking or discoloring over time.
Selecting Tiles
Choose tiles that complement your home’s overall design. Consider factors such as color, texture, and pattern. Large format tiles can create a sleek, modern look, while mosaic tiles have more intricate details.
The Tiling Process: From Start To Finish
With your surface prepared and tiles chosen, you’re ready to begin the tiling process. This stage requires patience and precision for a professional-looking result.
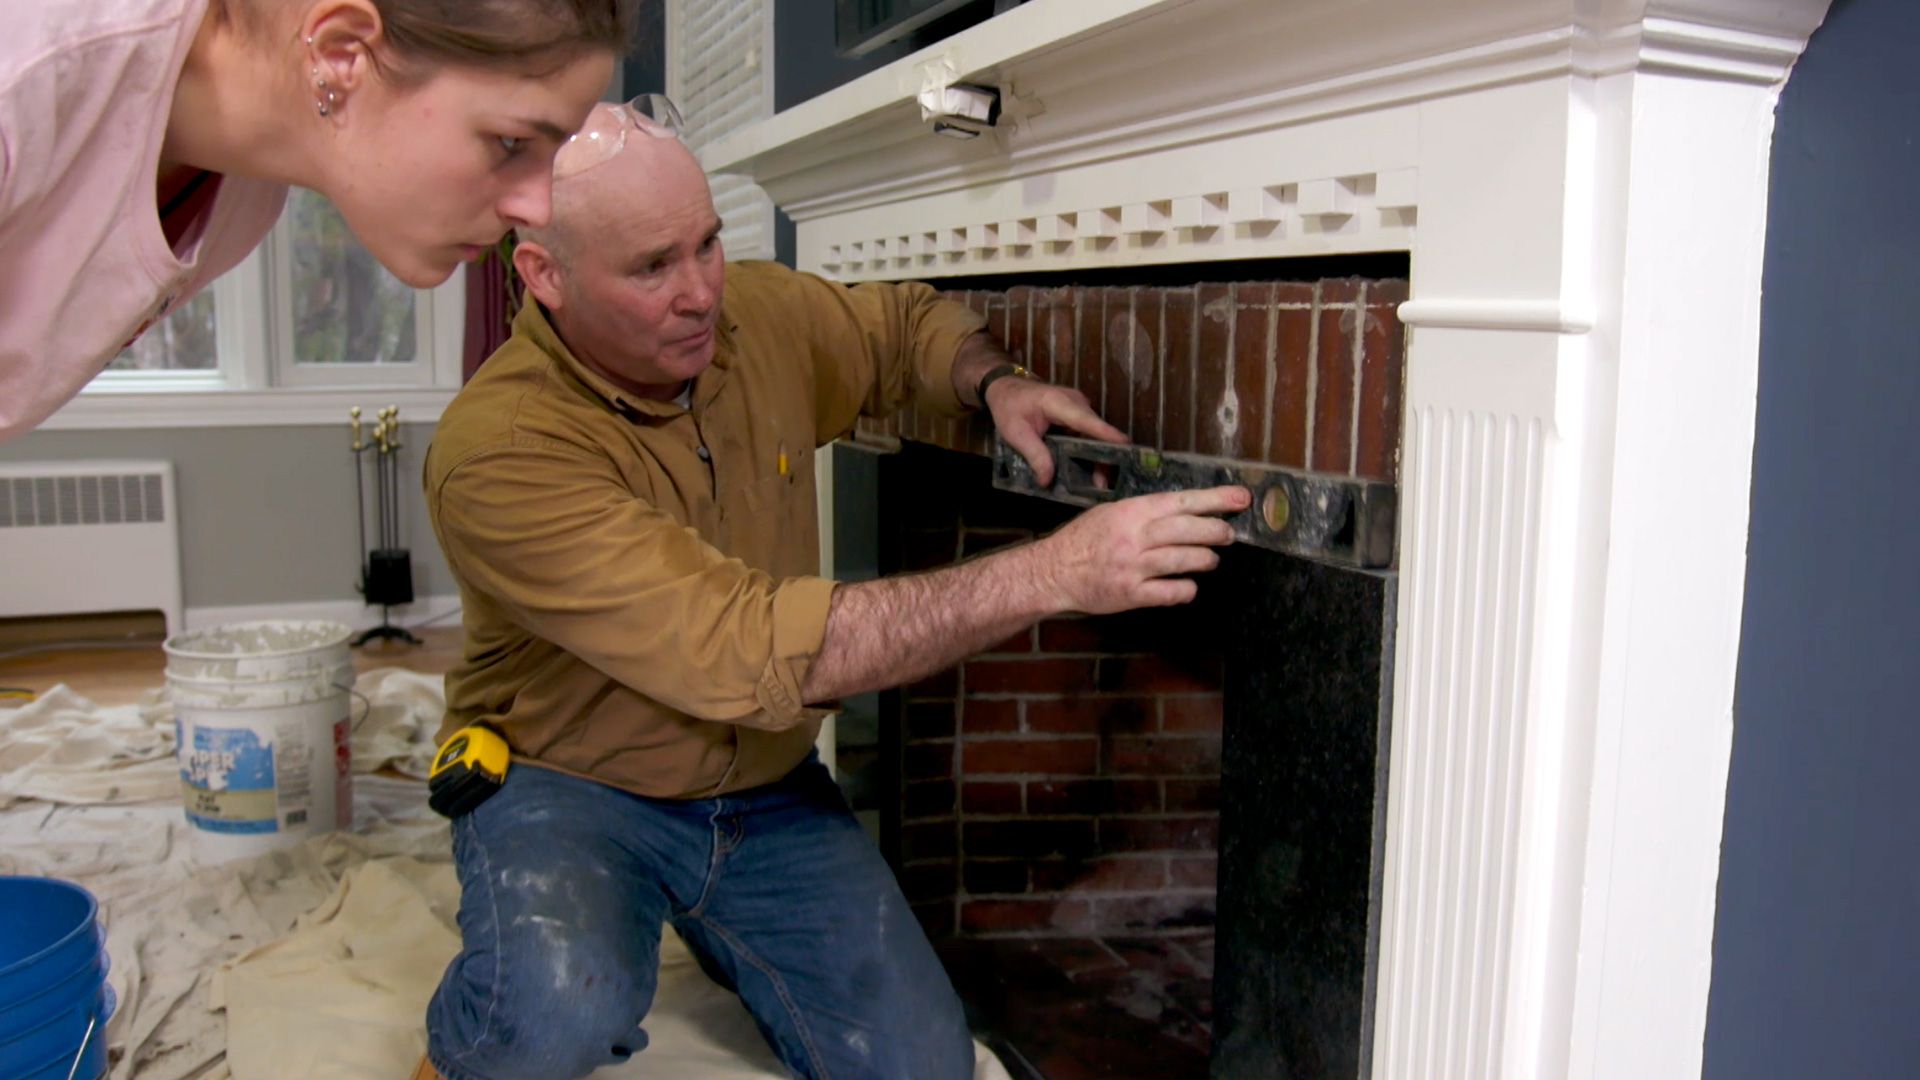
Setting the First Row of Tiles
Joe Ferrante shares a valuable tip for starting your tile installation: “The row of tiles directly above the firebox is visually the most important, so it should be absolutely straight.” To achieve this, do the following:
- Nail a straight 1x board horizontally across the fireplace, aligning it with the top of the firebox.
- Use the board’s top edge as a guide for setting your first row of tiles.
- This board also prevents tiles from slipping before the adhesive cures.
Working Your Way Up the Fireplace
After setting the first row:
- Apply a new layer of thinset using a notched trowel.
- Place tiles above the starter row, using tile spacers to maintain even gaps.
- Work in small sections, checking for proper leveling as you go.
- Cut tiles as needed to fit around the edges and corners of the fireplace.
Tiling Around the Firebox
Tiling around the firebox requires extra care:
- Measure and mark tiles for precise cuts around the firebox opening.
- Use a wet saw for clean, accurate cuts on tiles that need to fit around the firebox.
- Check that all tiles around the firebox are secure and properly spaced.
Grouting and Tiling Finishing Touches
Grouting is the final step in the tiling process, giving your fireplace a polished, complete look. Selecting a grout that complements your tiles is the first step, be sure to purchase a heat-resistant grout. After you’ve found the right grout, you can apply, clean, and seal your new tiled fireplace.
Selecting and Applying Grout
Applying the grout requires some attention to detail and patience. To apply:
- Mix the grout according to the manufacturer’s instructions.
- Use a rubber float to spread the grout over the tiles, working it into the joints.
- Wipe away excess grout with a damp sponge, being careful not to remove grout from the joints.
- Allow the grout to cure for the recommended time.
Cleaning and Sealing the Tiled Surface
After the grout has cured:
- Clean any remaining haze from the tile surface with a soft cloth.
- Apply a grout sealer to protect against stains and moisture.
- If you’re using natural stone tiles, apply a stone sealer to protect the tiles.
Common Tilin Challenges and How To Overcome Them
While tiling over a brick fireplace is a manageable DIY project, you may encounter some challenges, including an uneven brick surface, having to cut tiles, and dealing with old mortar.
For uneven surfaces, apply multiple thin coats of thin-set to level the surface as opposed to one thick coat. To cut tiles around obstacles, use a tile nipper for small cute around outlets or other elements. If you have old mortar, remove any loose or crumbling mortar before applying it to your brick surface.
Improve Your Fireplace’s Surroundings
After you’ve successfully tiled your fireplace, you might consider elevating its look by redesigning the space surrounding it. Mantels, shelving, and accent lighting can all improve your home’s interior.
Adding a Mantel
A mantel can be a beautiful addition, providing a place to display decorative items in your living area. Mantels come in a variety of materials, such as wood, metal, or stone. Choose a style and material that complements your tiled fireplace and the room’s decor.
Placing Built-in Shelves
Constructing built-in shelves on either side of your fireplace can add functionality and provide a unique design. Shelves provide space for books, family photos, or decorative items, making your home a more comfortable and inviting space.
Accent Lighting
Consider adding accent lighting above or around the fireplace to highlight your newly completed project. Recessed lighting, sconces, or even LED light strips can draw attention to the area and create a nice ambiance in your living space.
Our Conclusion
Tiling over a brick fireplace is a great way to update your home’s interior without requiring extensive renovation. By following this step-by-step guide, you can transform your outdated brick fireplace into a modern, stylish focal point that enhances your living space.
Remember that while this project is achievable for many DIY enthusiasts, it requires patience, attention to detail, and some specialized tools. If you’re unsure about any aspect of the process or don’t have the time to dedicate to the project, consider hiring a professional tile installer.