We may be compensated if you purchase through links on our website. Our team is committed to delivering honest, objective, and independent reviews on home products and services.
Project details
Skill
Cost
Estimated Time
I recently spotted a pair of elegant, tall resin planters with a combed finish that was marked down from $100 each to $60 each, but the price still seemed really high—especially for two. So I got to sketching and figured out that I could make each planter from just two 2 x 6 boards for under $30 per planter. And to create the faux resin finish, I’m trying a new method of skim-coating and combing the surface with a flexible spackling. Follow this guide to learn how to create your own planters on a budget using simple tools.
Materials Needed To Make a Tapered Planter
Before starting, check that all your tools are in good working condition, and don’t forget to use safety equipment such as a dust mask, safety glasses, and work gloves.
- (2) 2 x 6 x 10 Boards per planter (I used regular lumber since my planters will set on a covered porch)
- 2-inch Pocket Hole Screws
- 2 ½-inch Deck Screws
- Wood Glue
- DAP Alex Flex Spackling
- Flat Black Spray Paint (I used black, but you can choose any color you like)
- Landscaping fabric (optional, for lining the planter)
- Rocks or gravel for drainage (optional)
Steps for Making a Tall, Tapered Planter
Step 1: Cut the boards
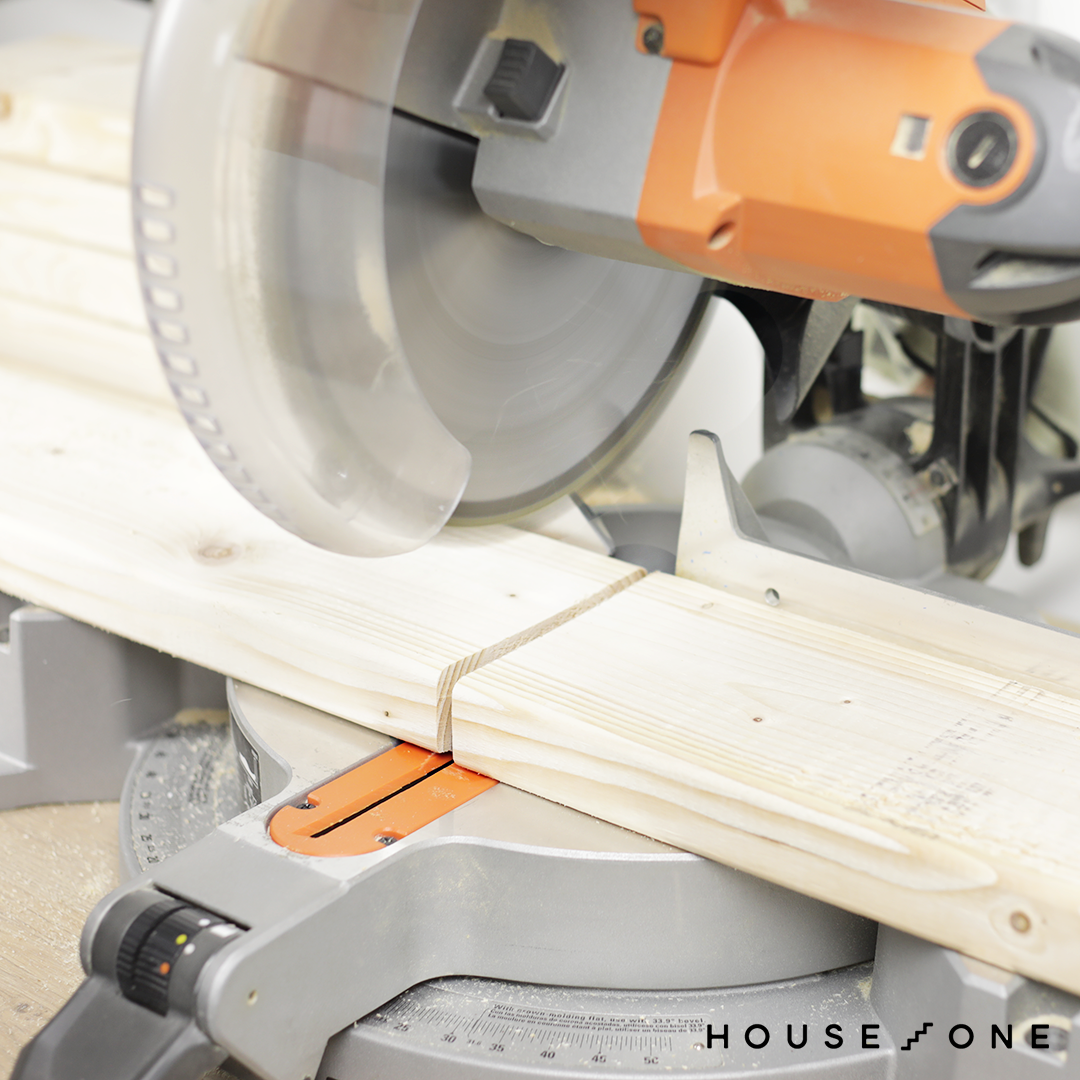
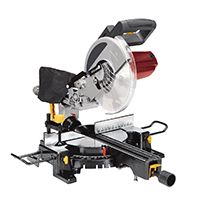
Using the cut list provided at the beginning of this article, measure and mark your 2×6 boards. Use a miter saw or circular saw to make accurate cuts, and make sure each piece is the correct length for your planter design. Remember to wear safety glasses and follow proper safety procedures when operating power tools.
Step 2: Prep the boards
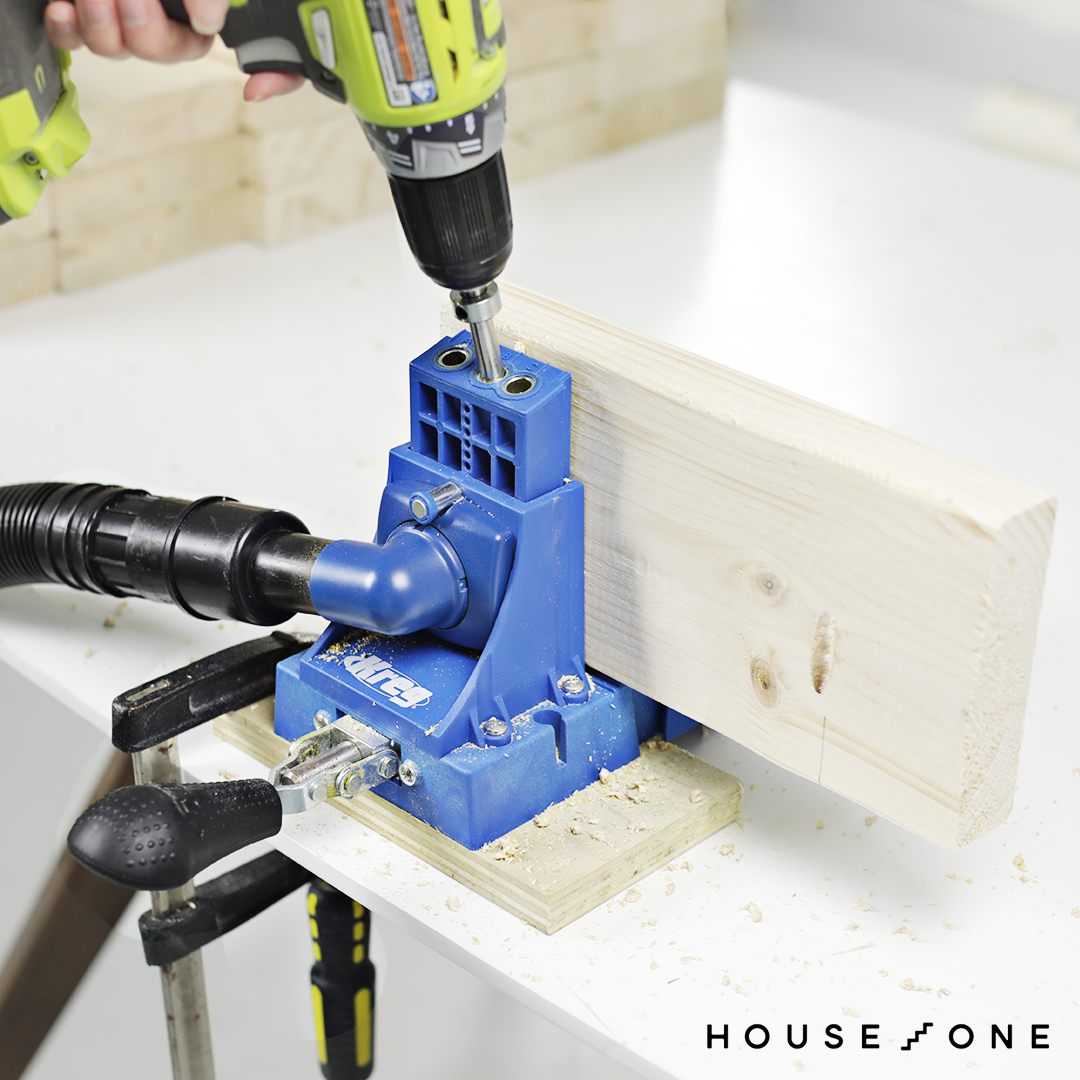
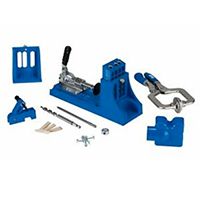
Use a drill/driver and a pocket hole jig to drill two pocket holes into one edge of 4 of the 5 boards for each wall. Position the pocket holes consistently on each board so the pieces fit properly during the assembly.
Step 3: Assemble the boards

Apply wood glue to the adjoining edges of the boards, covering the edges evenly for a strong bond. Center the boards and align them flush with each other. Using your drill/driver and 2-inch pocket hole screws, assemble the boards to create four walls, each consisting of five boards. Check often to make sure your corners are square.
Step 4: Mark the cut lines
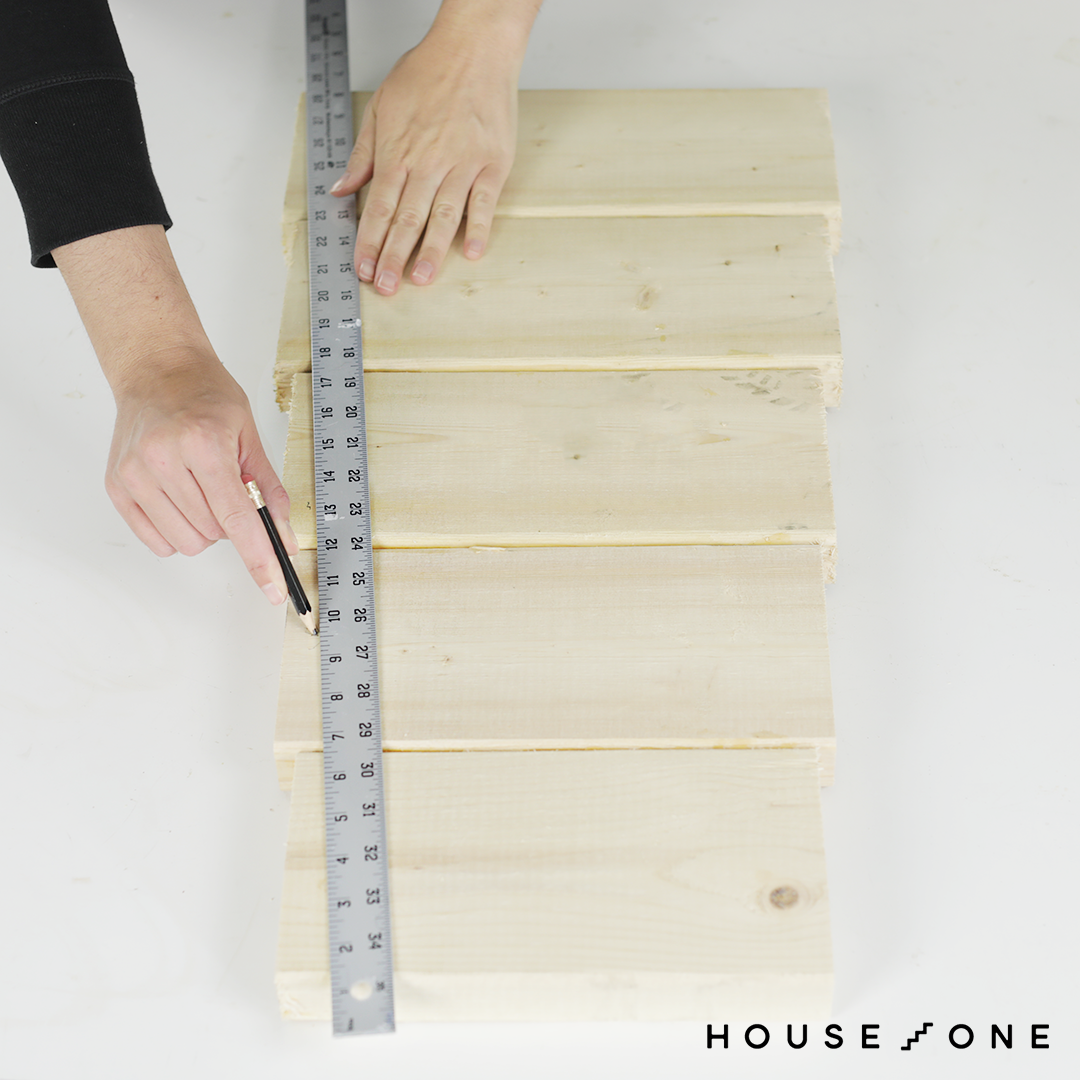
Start by marking the width of the bottom of each wall, centering it on the width of the bottom board. For a rectangular planter, keep all four sides the same size. For a more dynamic look, consider making the side walls slightly narrower than the front and back. Use a straight edge and pencil to draw a line from the top corner of each side to the mark along the bottom edge, creating the taper that will define your planter’s final shape.
I marked the base of my front and back walls at 9 inches, while the sides that will set between them only measure 7 inches. Mark a line from the top corner of each side to the mark along the bottom edge. (or two inches in at the top if you’re opting for skinner side walls like mine).
Step 5: Trim the edges
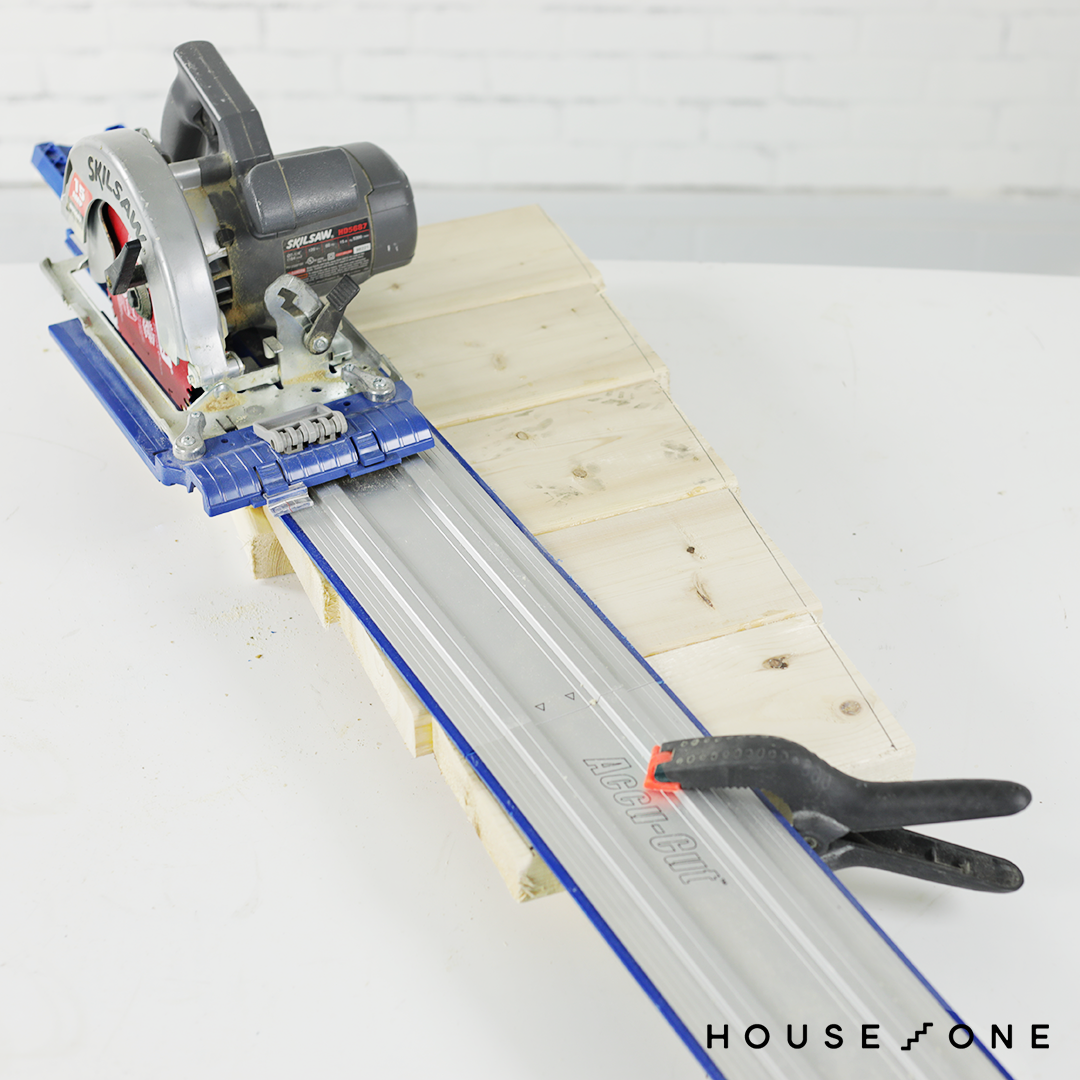
Use a circular saw to cut along the marked lines on each wall. I’m using a Kreg AccuCut to create a straight cut, but you can also clamp a scrap board to the wall to create a fence for the circular saw to ride along.
Step 6: Assemble the walls
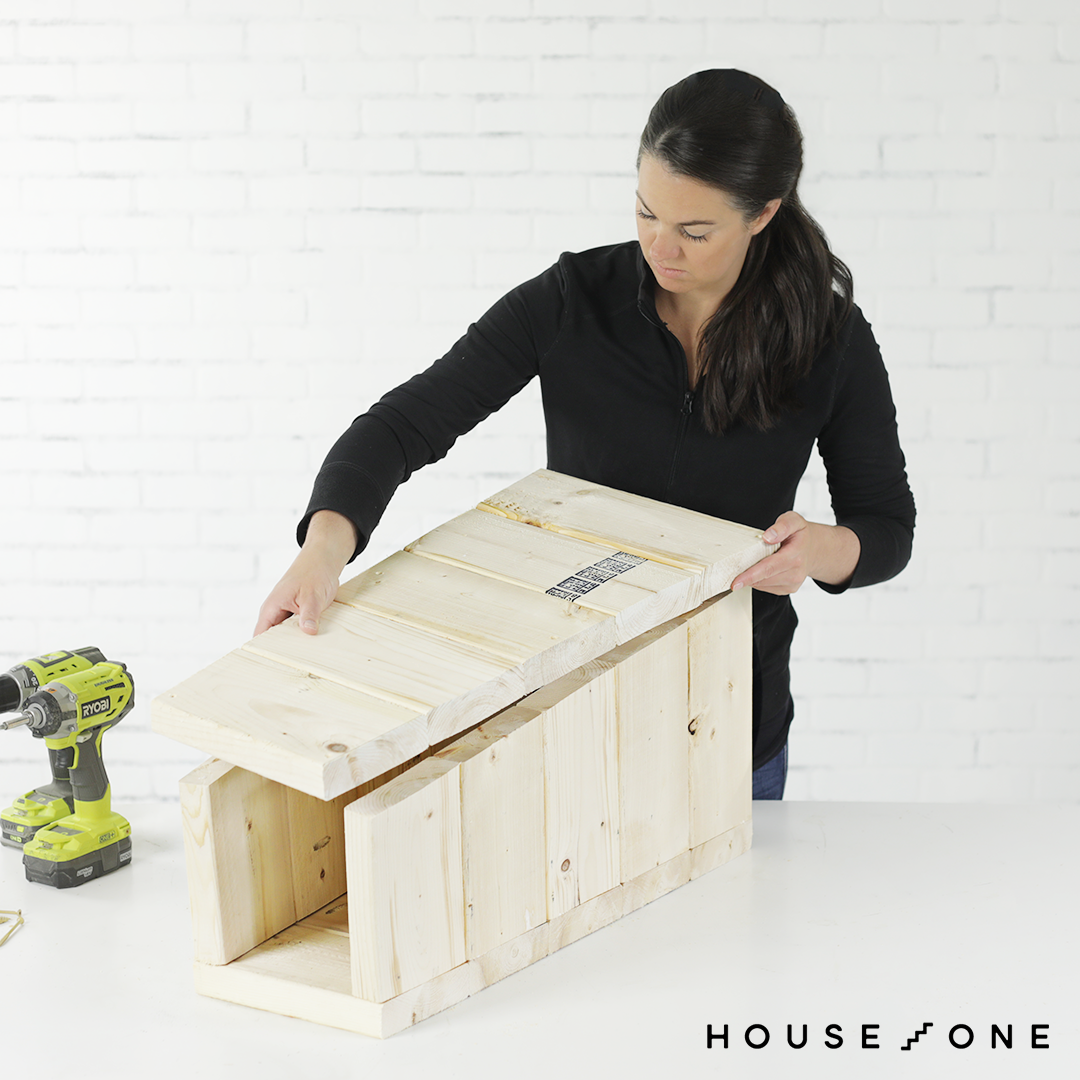
Apply an even layer of wood glue to the edges of the side walls and stand them on edge. Next, apply glue to the edge of each side wall where it will meet the front and back pieces. Carefully place the front wall onto the side walls and align the pieces. Drill three pilot holes, then sink 2 ½-inch screws through the front wall and into the edges of the side walls. Repeat this process to attach the back wall.
Step 7: Add the blocking
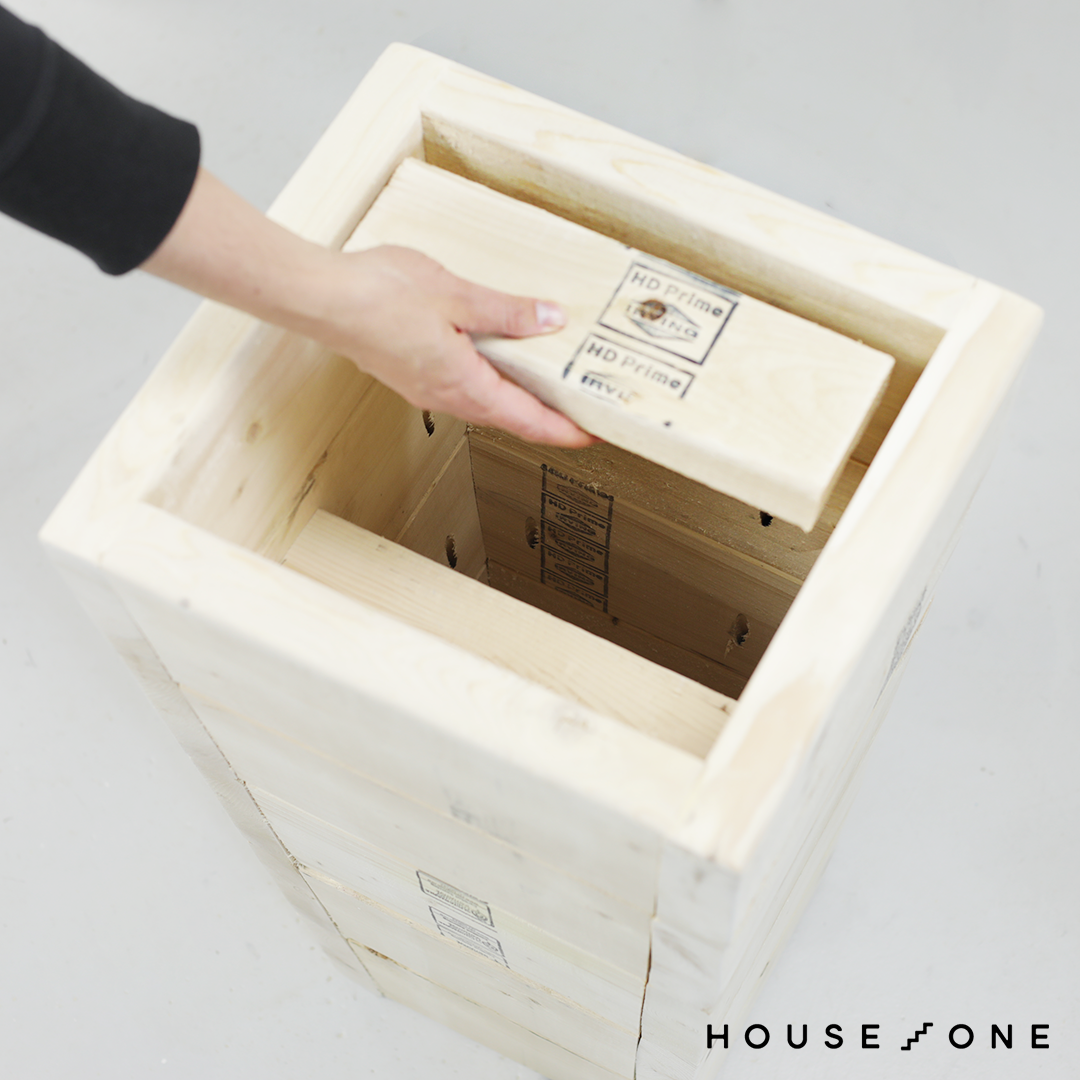
Using leftover pieces from your original boards or scrap wood, create a ledge near the top of the planter for the plant to rest on. This ledge should be sturdy enough to support the weight of soil and your chosen plants. If you’re concerned about the planter tipping, consider adding a base that can be filled with rocks or sand for stability.
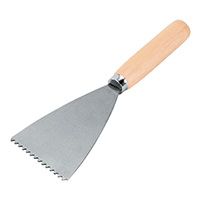
Step 8: Add the coating
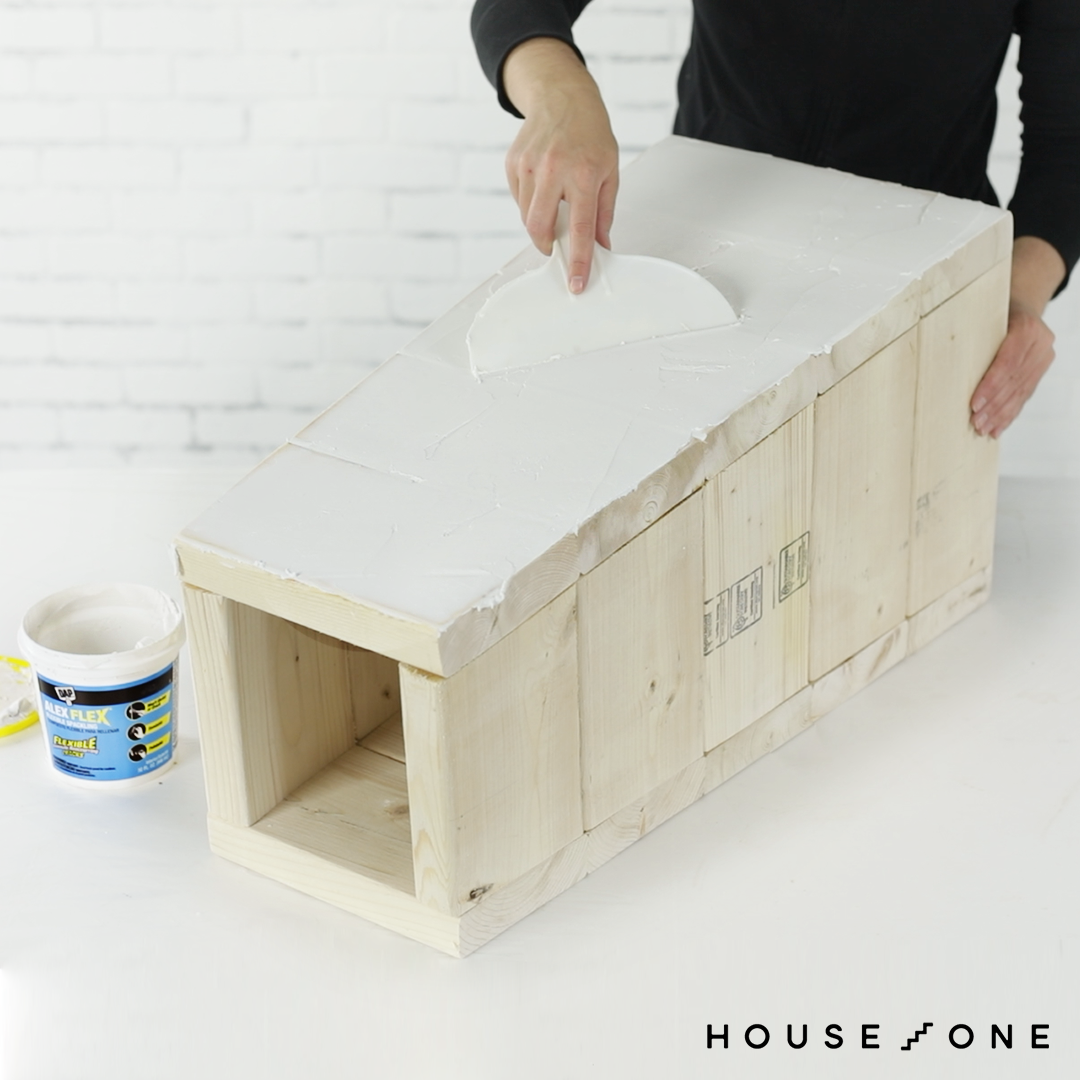
Apply a layer of flexible spackling to the entire surface of the planter with a large putty or taping knife. Work in small sections for even coverage and smooth out any imperfections as you go. This coating will help protect the wood from moisture and weathering and keep your planter looking nice.
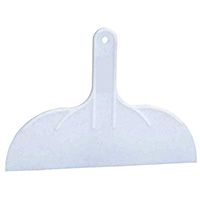
Step 9: Comb the coating
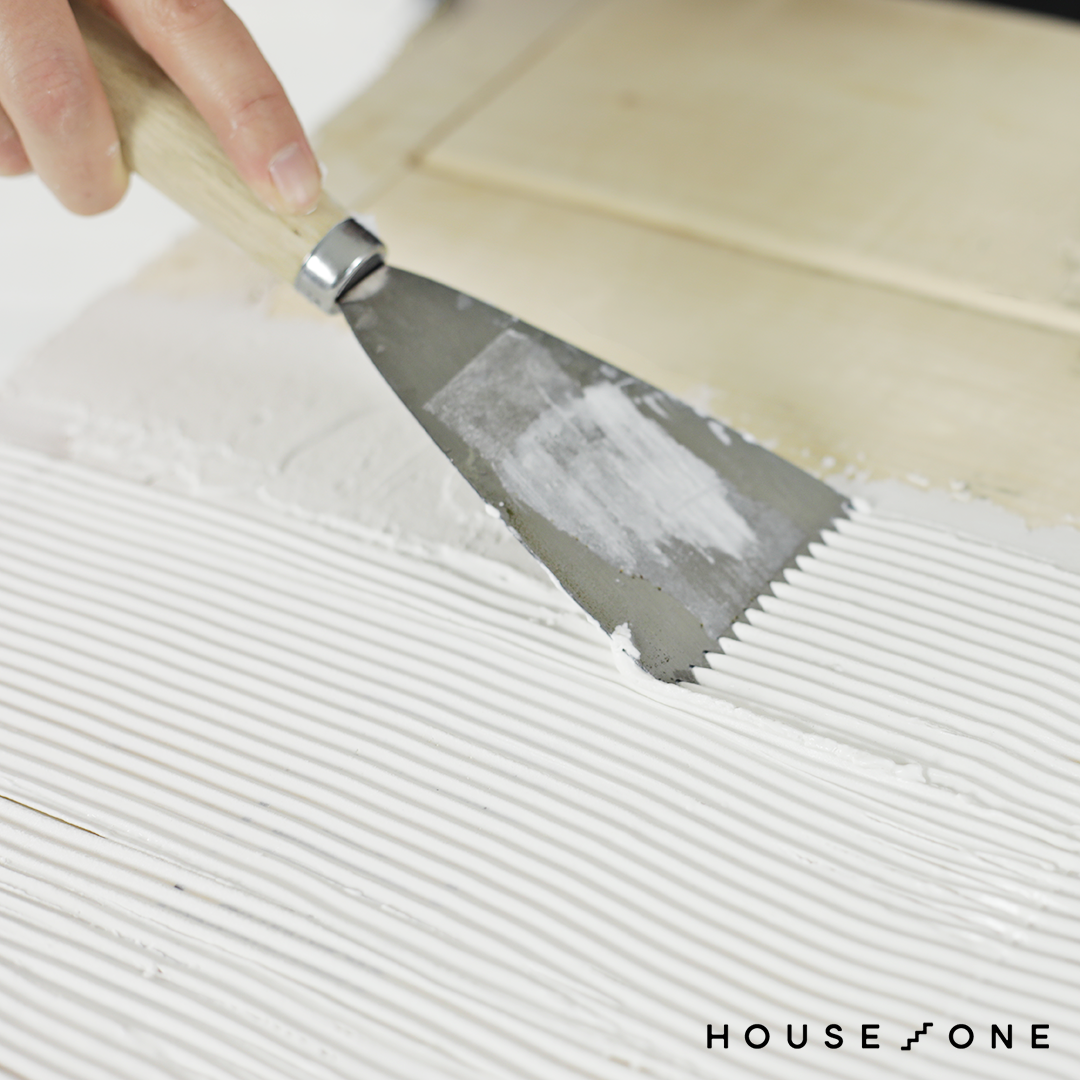
Pull a notched trowel or cove base adhesive spreader across the surface of the wet spackling to create a ribbed pattern. Start at one edge or corner and carry the pass across the entire wall in one smooth motion. Experiment with the angle of the tool to achieve different depths and patterns. Remember to clean the tool between passes and dip it in water to prevent buildup. If there is excess, you can simply pass over the section again, while small imperfections can be repaired with sanding later. Allow the coating to dry completely.
Step 10: Paint the coating
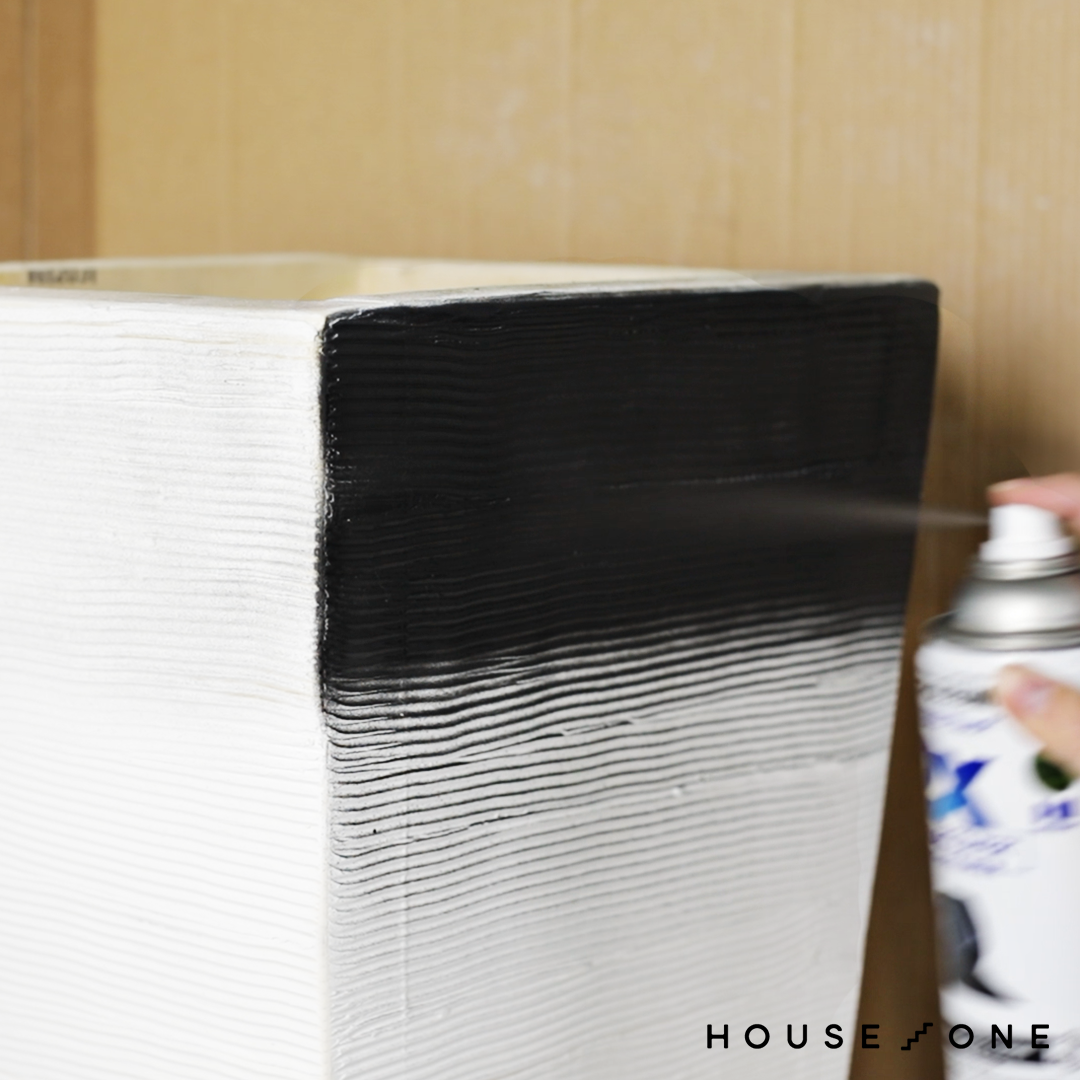
Choose a spray paint that is rated for outdoor use and compatible with your spackling. Apply several light coats of paint, frequently changing the angle and direction to cover the edges and grooves completely. Pick a flexible coating designed for plastic that can expand and contract. This helps prevent cracking as the wood and spackling respond to temperature changes and weather conditions.
Additional Tips for Building Your Tapered Planter
Once you’ve built your planter, you have a variety of options to customize it to meet your potting needs. Here are some fun ways to turn your plain wood pot into a work of art, along with a few considerations to help you get the most out of your project.
- Choose your wood: Use cedar or redwood instead of pressure-treated lumber for a more modern look. These naturally rot-resistant woods will weather nicely and develop a classic silver-gray patina if you leave it unfinished. In this video, I used heat-treated whitewood.
- Decorate the surface: Skip the spackling step. Instead, sand the wood smooth and apply a vibrant exterior stain or paint. Try using reclaimed barn wood or pallet board and leave the weathered patina intact for a rustic feel. Add decorative elements such as rope wrapping, mosaic tile accents, or even copper sheeting for an upscale industrial vibe.
- Make it shine: Tuck solar-power LED strips under the rim or around the outside of the planter to add both warmth and sparkle to your planter.
- Play with dimensions: Build an extra-tall planter for your entryway, or create multiple planters of varying heights for an interesting look. Install casters on the bottom to create a mobile garden perfect for small spaces or renters.