Project details
Skill
Cost
Estimated Time
Making a solar lantern is a great way to add ambiance to your outdoor space without complex wiring or electricity. In the video above, Jenn Largesse from House One shows how to build your own solar lantern using readily available materials and simple tools.
Materials and Tools Needed
Before beginning your DIY solar lantern project, gather the following materials and tools:
Materials
- 1 1/4-inch finish nails
- 1×5 board (or scrap)
- 1×6 board (or scrap)
- 3/8-inch staples
- Eight 2-inch wood screws
- Lint-free cloth
- Rust-Oleum Painter’s Touch 2x Spray Paint in flat black
- Solar light bulb
- Two 3/4-inch x 3/4-inch x 36-inch square dowels
- Varathane Premium Fast Dry Wood Stain in weathered gray
- Varathane Spar Urethane in satin
- Wire hardware cloth
- Wood glue
Tools
- Brad nailer
- Drill/driver
- Miter saw
- Hole saw
- Sanding sponge
- Staple gun
- Synthetic bristle brush


Cutting and Assembling the Lantern Frame
The first step in creating your DIY solar lantern is to cut and assemble the wooden frame. This involves precise measurements and careful assembly to create a sturdy and attractive structure. Follow along with Largesse for a visual representation.
Cutting the Wood Pieces
Cut the wood as follows:
- Download the cut list provided in the project plans.
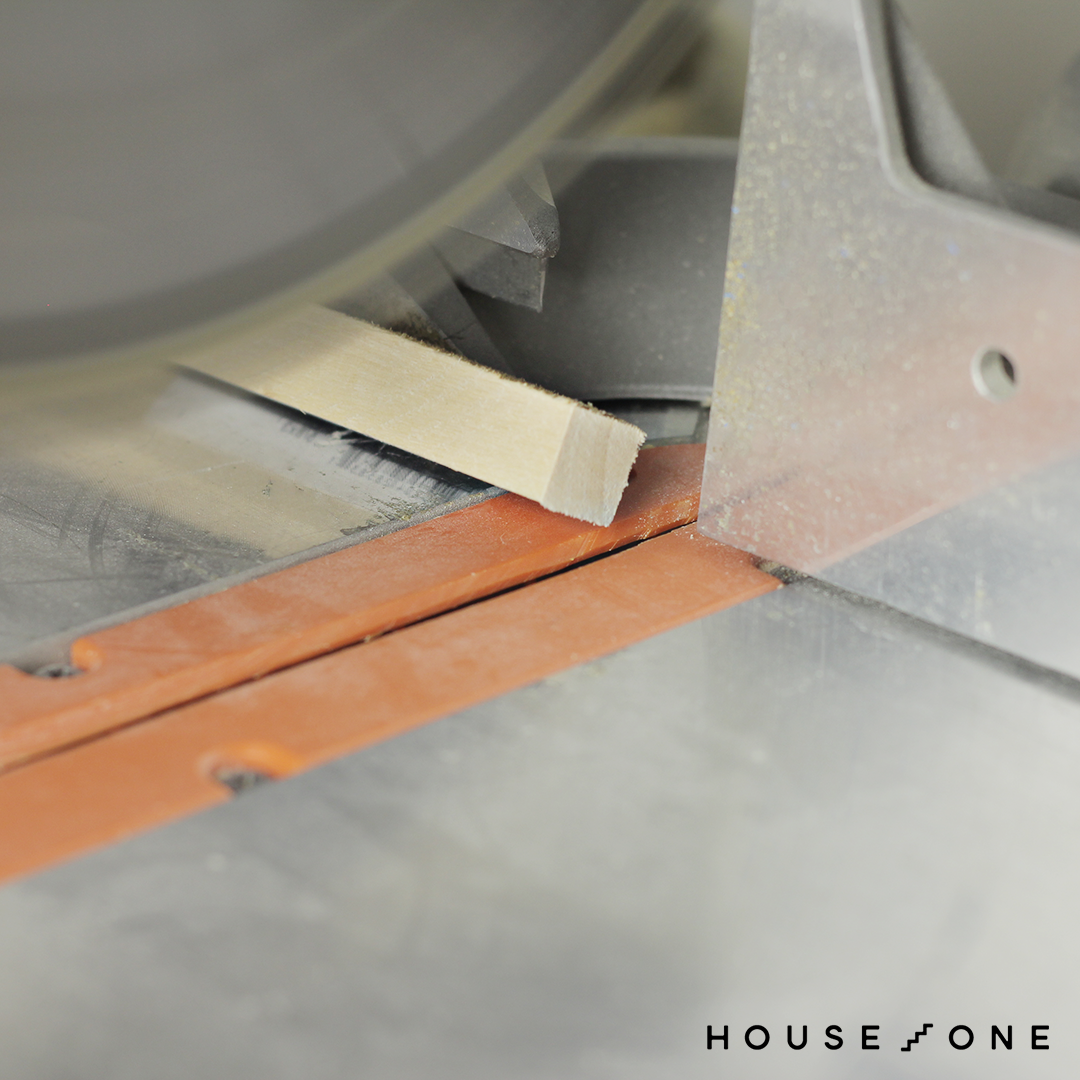
- Use a miter saw to cut the boards and square dowels according to the specifications.
- For the dowels, set the saw to 2.5 degrees and tip the dowel on the edge during the cut to create a splayed effect.
- Make sure all cuts are accurate to make sure the frame fits together neatly.
Drill the Top and Pilot Holes
Using a hole saw, drill a hole in the center of the lantern top for the solar light bulb. Then, drill pilot holes through the top and bottom boards and into the square dowels.

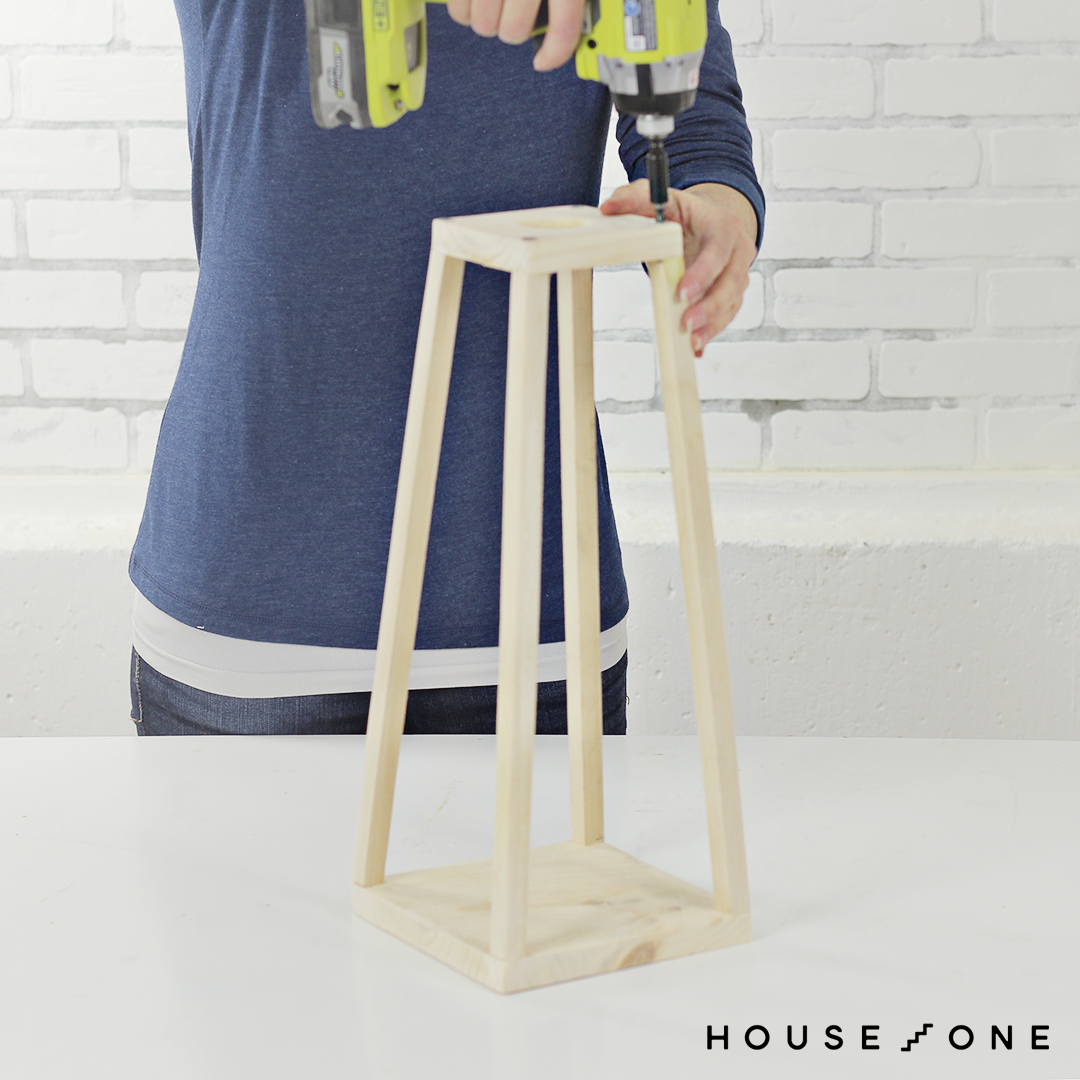
Assembling the Frame
With your pieces cut, you can now assemble the frame as follows:
- Apply wood glue to the joints and secure the pieces with 2-inch wood screws.
- Check that the frame is square.
- Let the glue dry completely.
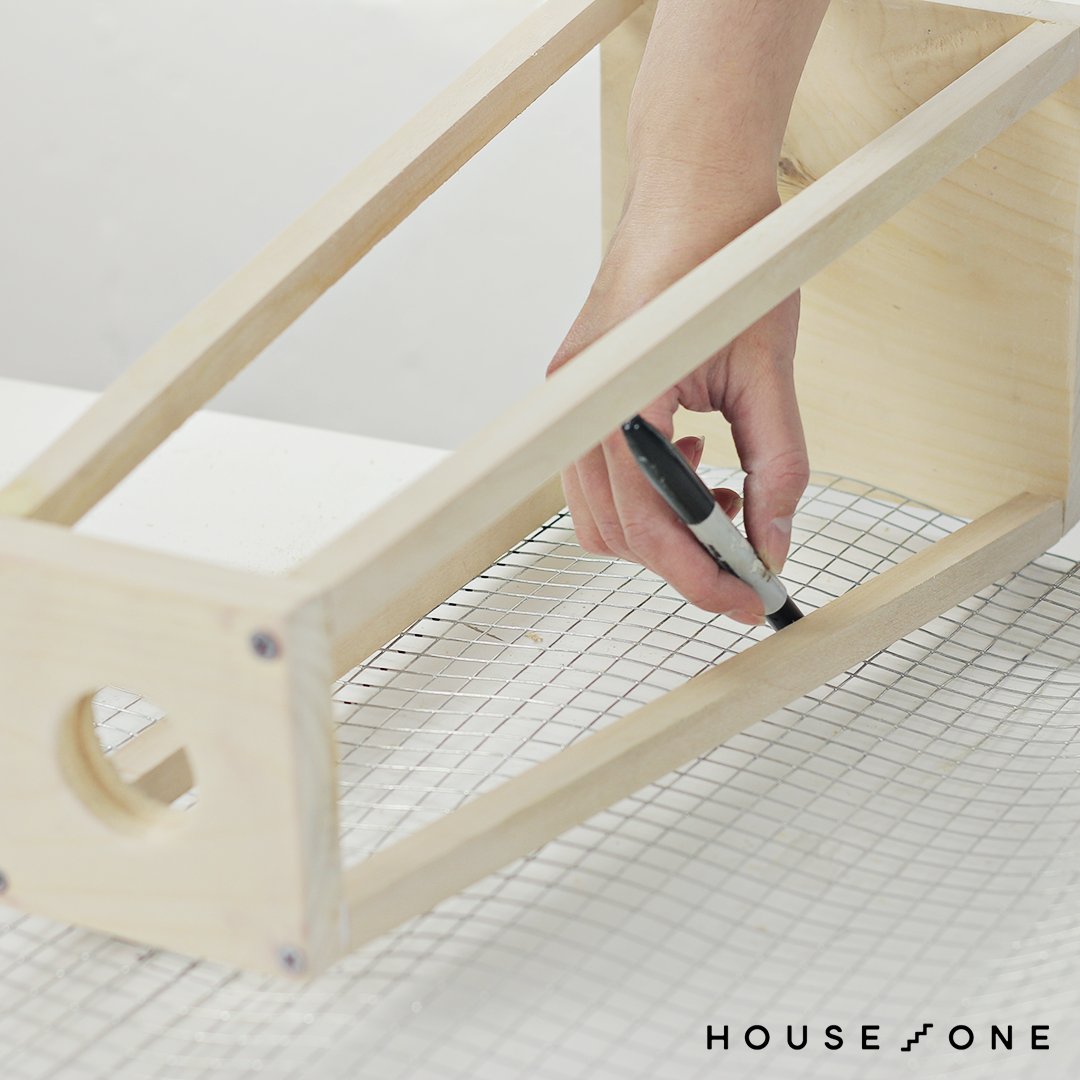
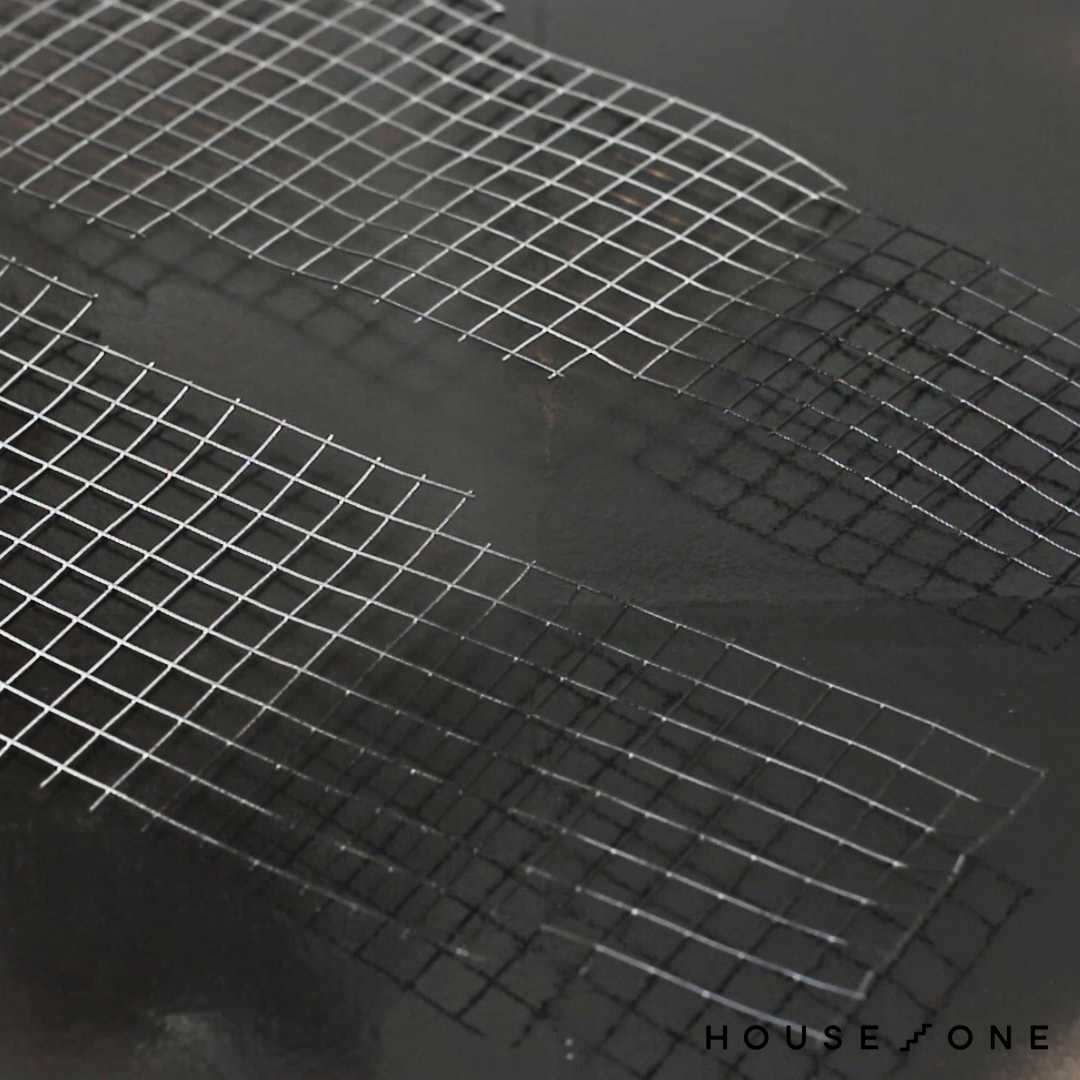
Preparing and Installing the Hardware Cloth
The hardware cloth serves as the lantern’s sides, allowing light to shine through while providing a decorative element. First, trace the inside opening of the assembled frame onto the hardware cloth.
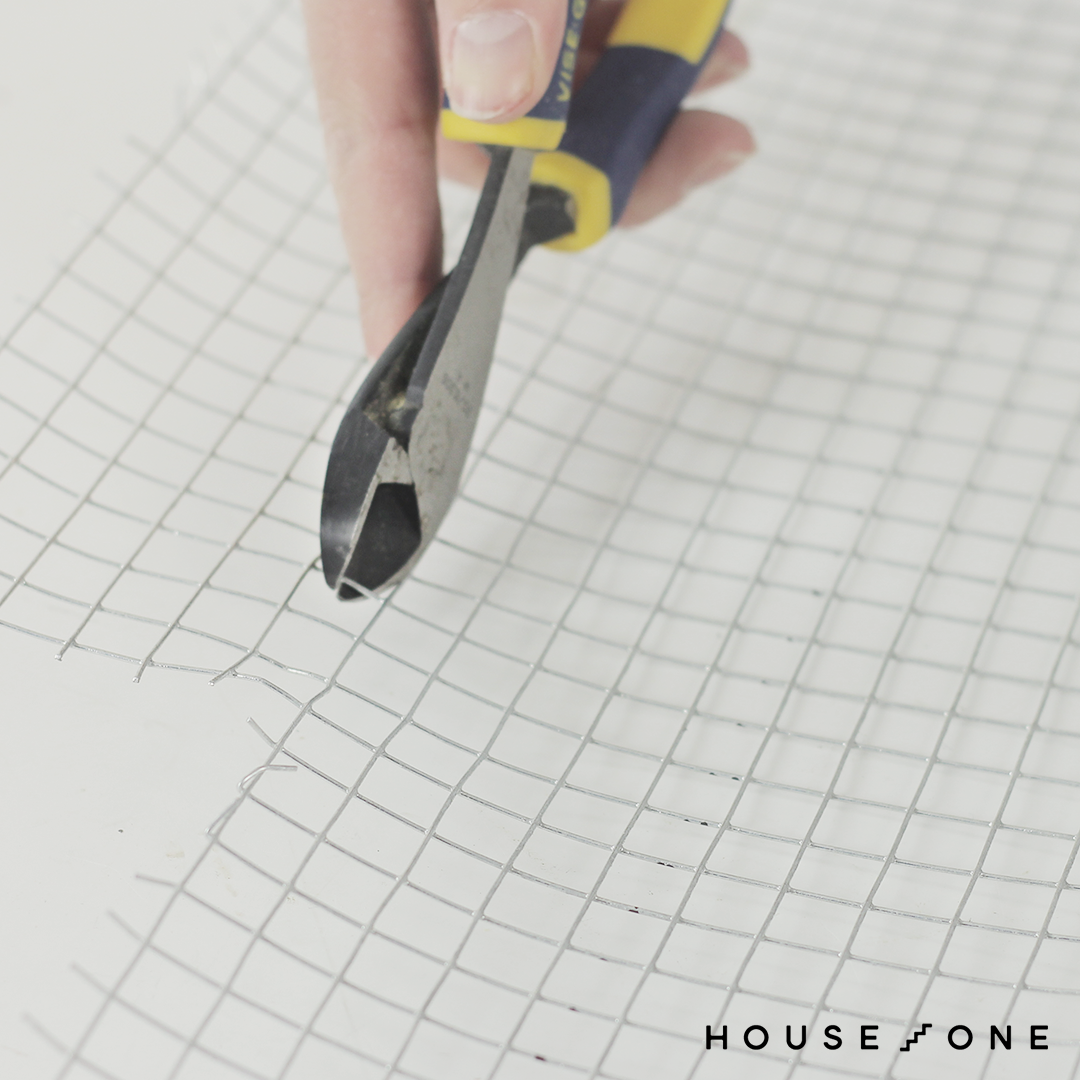
Cut the Hardware Cloth and Add the Stain
Follow these steps to cut the hardware cloth and add the stain:
- Cut three panels from the hardware cloth to fit the frame openings.
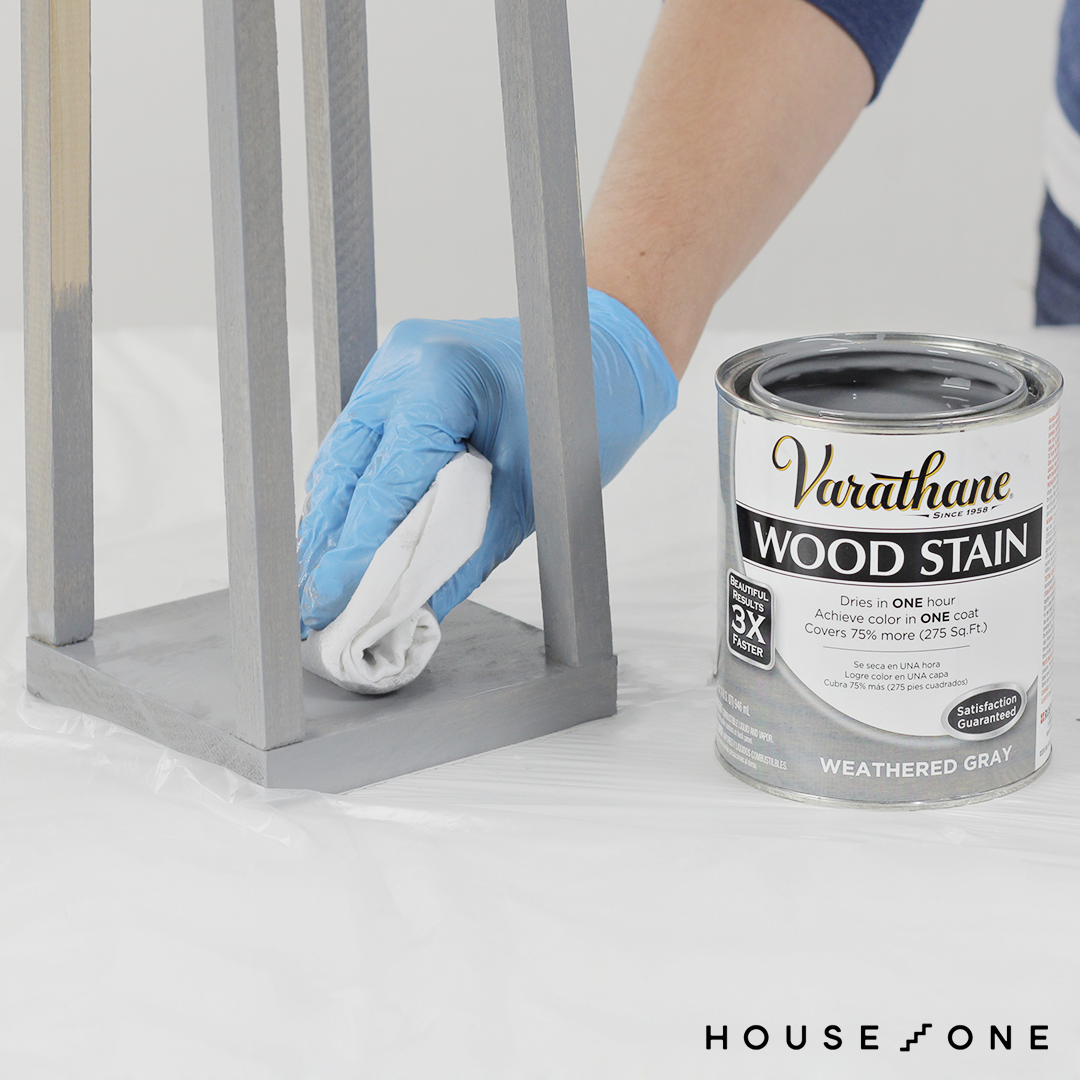
- Sand the parts and wipe away any dust with a lint-free cloth.
- Using a lint-free cloth, wipe on a coat of stain in the direction of the grain. Largesse uses a Varathane color called Weathered Gray.
- Let the stain set for two to three minutes.
- Wipe away the excess stain with a lint-free cloth, and let dry for at least an hour.
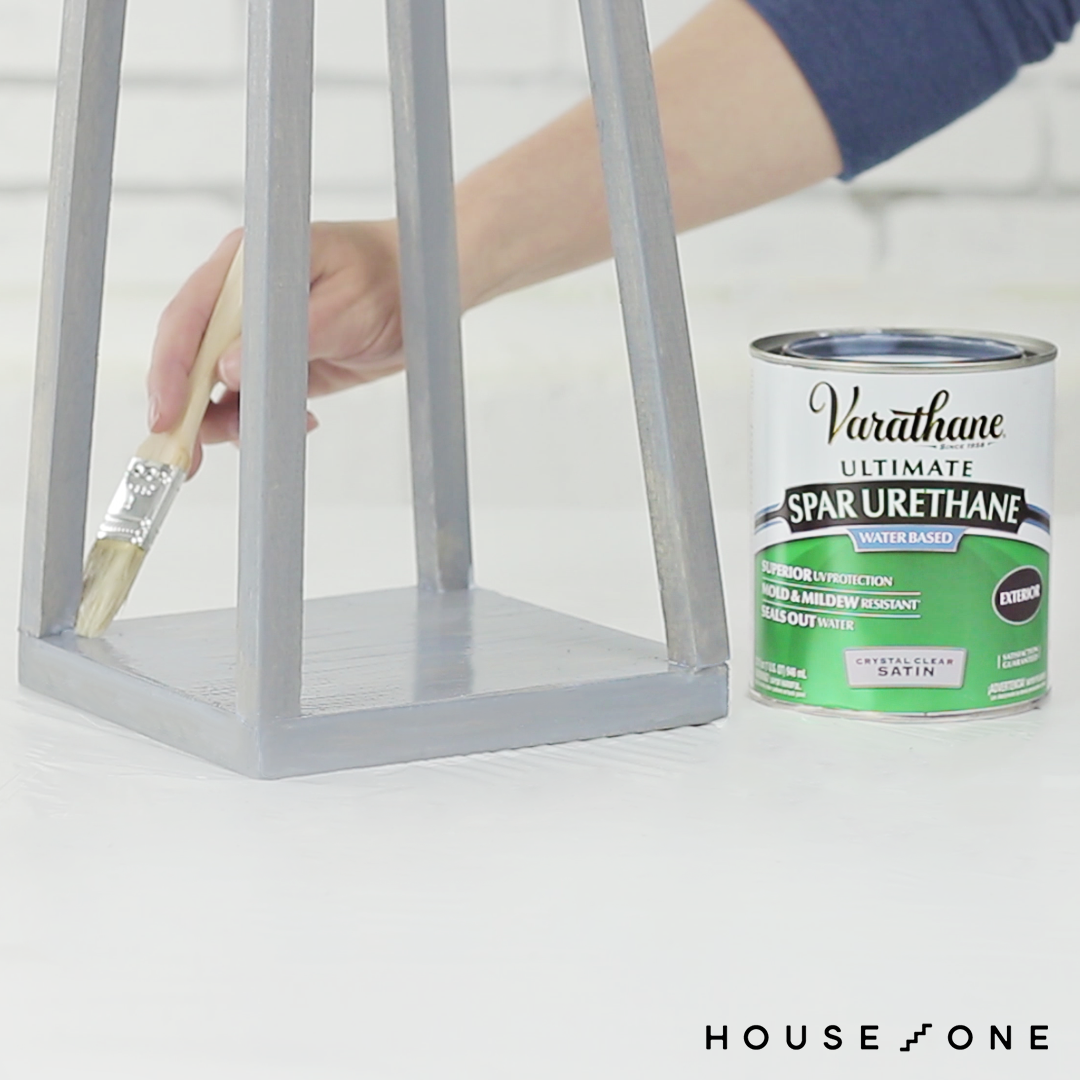
Apply the Top Coat and Coat the Hardware Cloth
Brush on a coat of Spar Urethane with a synthetic bristle brush. Let dry for an hour. Then, spray the hardware cloth panels with two coats of flat black spray paint, allowing each coat to dry completely.
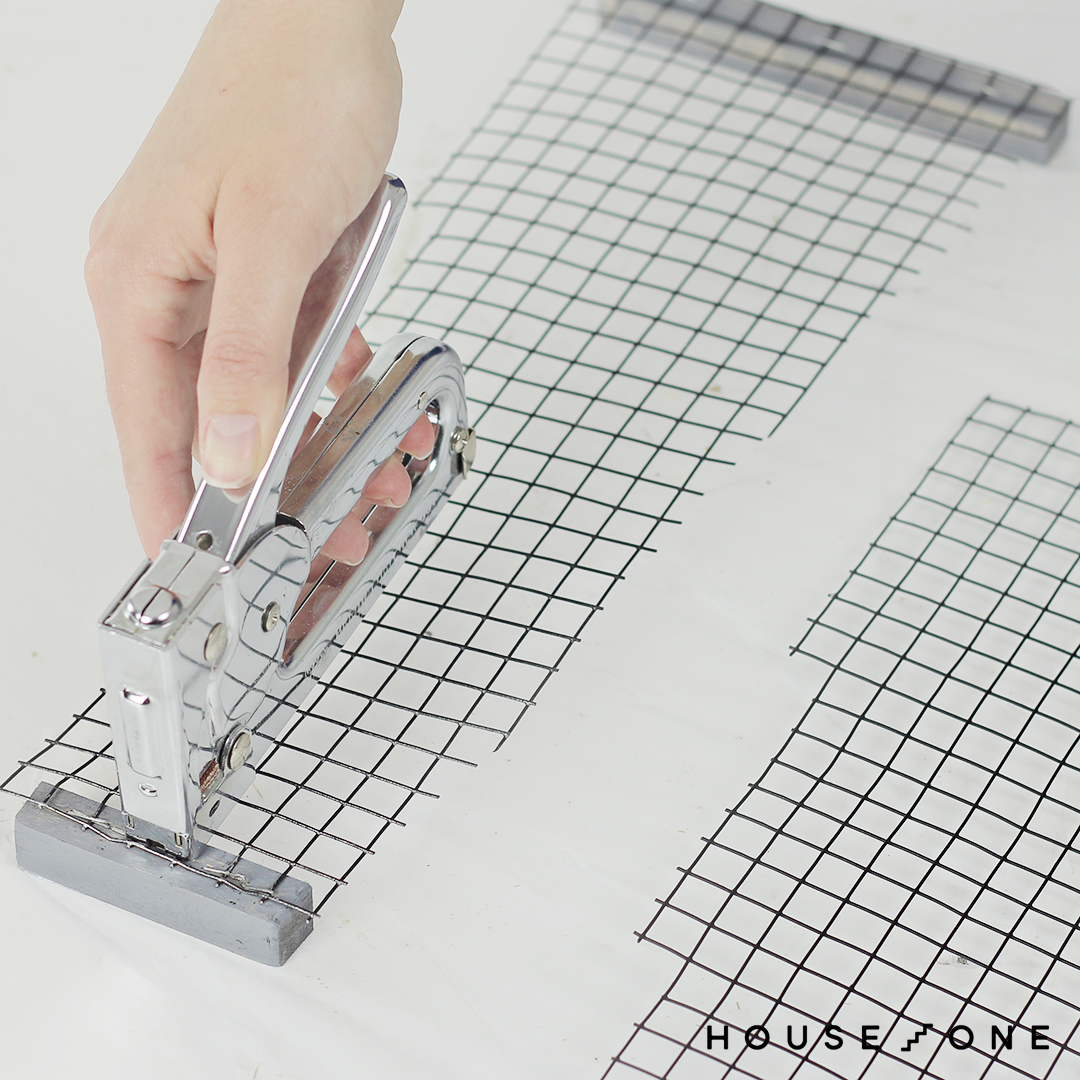
Attach the Hardware Cloth
To attach the hardware cloth, staple the painted hardware cloth panels to the filler strips. Secure the assembled hardware cloth and filler strips inside the lantern frame using finish nails and a brad nailer. Double-check that the hardware cloth is securely attached and has no loose edges.

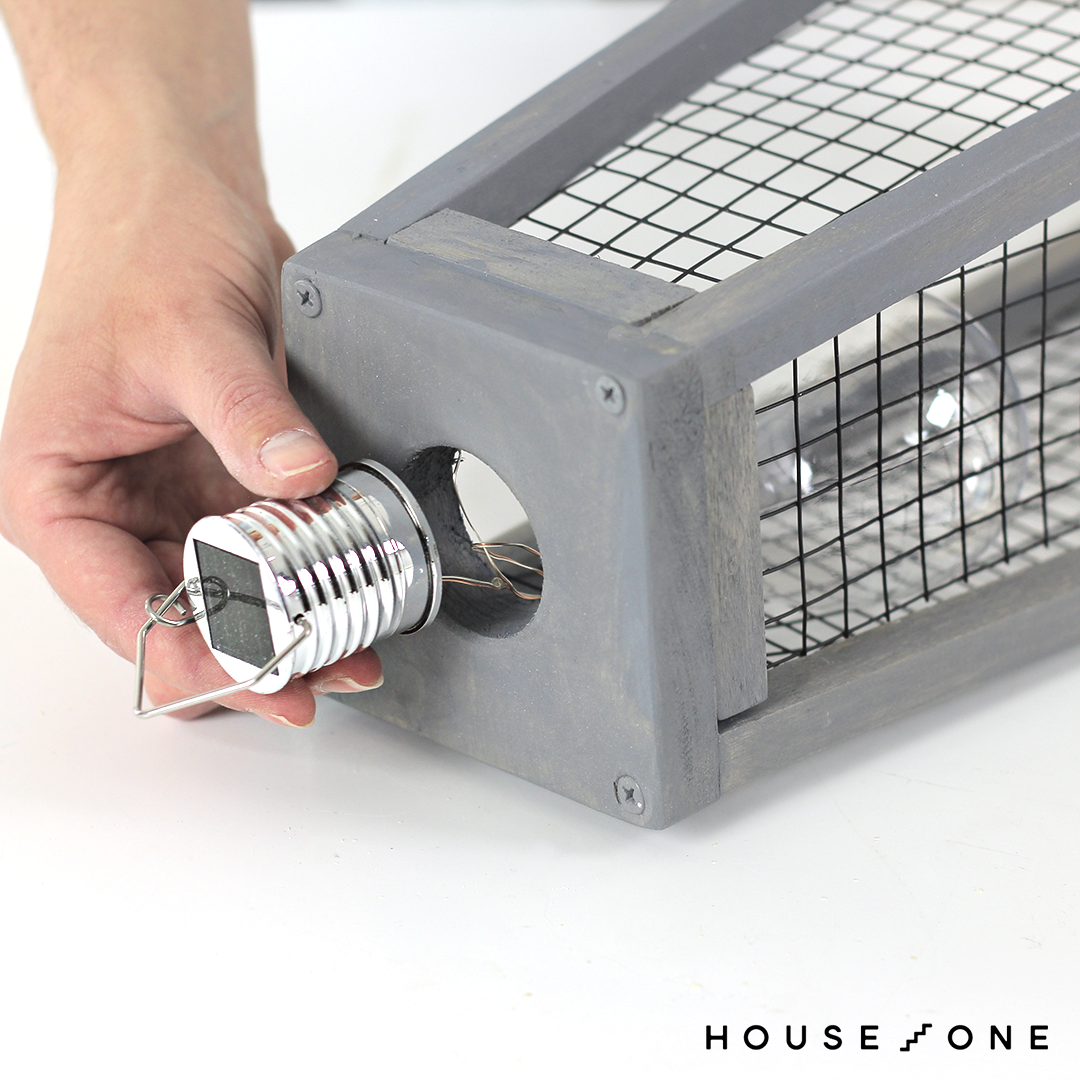
Installing the Solar Light
The final step in creating your DIY solar lantern is to install the solar light bulb. Here’s how:
- Make sure the hole in the lantern top is the correct size for your solar light bulb.
- Apply a small amount of glue around the base of the solar light bulb.
- Insert the light bulb into the pre-drilled hole in the lantern top.
- Allow the glue to dry completely before handling or moving the lantern.
- Test the solar light.
Tips for Using Your Solar Lantern
To get the most out of your new DIY solar lantern, consider the following tips:
- Clean the solar panel periodically to maintain its efficiency.
- Consider building multiple lanterns of varying sizes to create an attractive grouping on your patio or along a garden path.
- During winter months or extended periods of cloudy weather, you may need to supplement the solar charging with batteries.
- Enhance the lantern’s decor by changing the light bulb color based on the season or event theme.
- Place the lantern in a location that receives direct sunlight during the day to help charge the solar battery.
Safety Considerations
Safety should be a priority when working on any DIY project. Here are some safety tips to keep in mind while constructing your solar lantern:
- Follow tool instructions: Read and follow the manufacturer’s instructions for any tools and materials used.
- Keep a clean workspace: A tidy workspace can prevent accidents and make the project more enjoyable.
- Wear safety gear: Use safety goggles, gloves, and a dust mask when cutting, sanding, and staining wood.
- Work in a well-ventilated area: When using stains and finishes, work in an area with good ventilation to avoid inhaling fumes.