Project details
Skill
Cost
Estimated Time
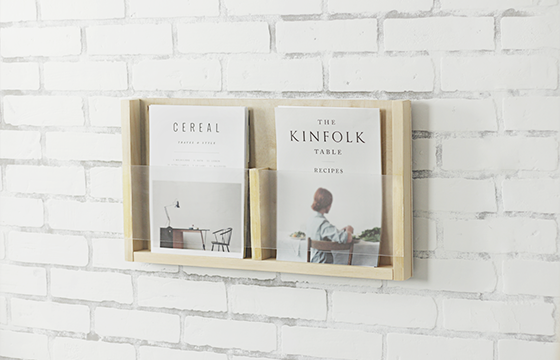
Magazine racks are a stylish spot to store your magazines, photos, and artwork. Making one is an easy do-it-yourself (DIY) project that most homeowners can take on if they’re comfortable using a saw. In this article, we’ll tell you how to build a DIY magazine rack. We’ve also included a video featuring Jenn Largesse from House One, who demonstrates how to construct this versatile storage solution.
*Costs in this article reflect an average of prices that our team found from hardware stores like Lowes and Home Depot, and on Amazon.com.
Materials and Tools You’ll Need for a Magazine Rack
You’ll have an easier time building your magazine rack if you collect all the tools and items you’ll need before you start. We’ve added a button below so you can download our free guide and cut list, but here’s a list of everything else you’ll need:
Materials
- Clear Gorilla Glue
- 1/4-inch by 2-feet by 2-feet sanded plywood (sometimes called a “project panel” at home centers)
- 1-inch by 2-inch by 8-feet board
- .093-inch by 11-inch by 14-inch acrylic sheet
- Nitrile gloves
- Rag
- Sanding sponge
- Painter’s tape
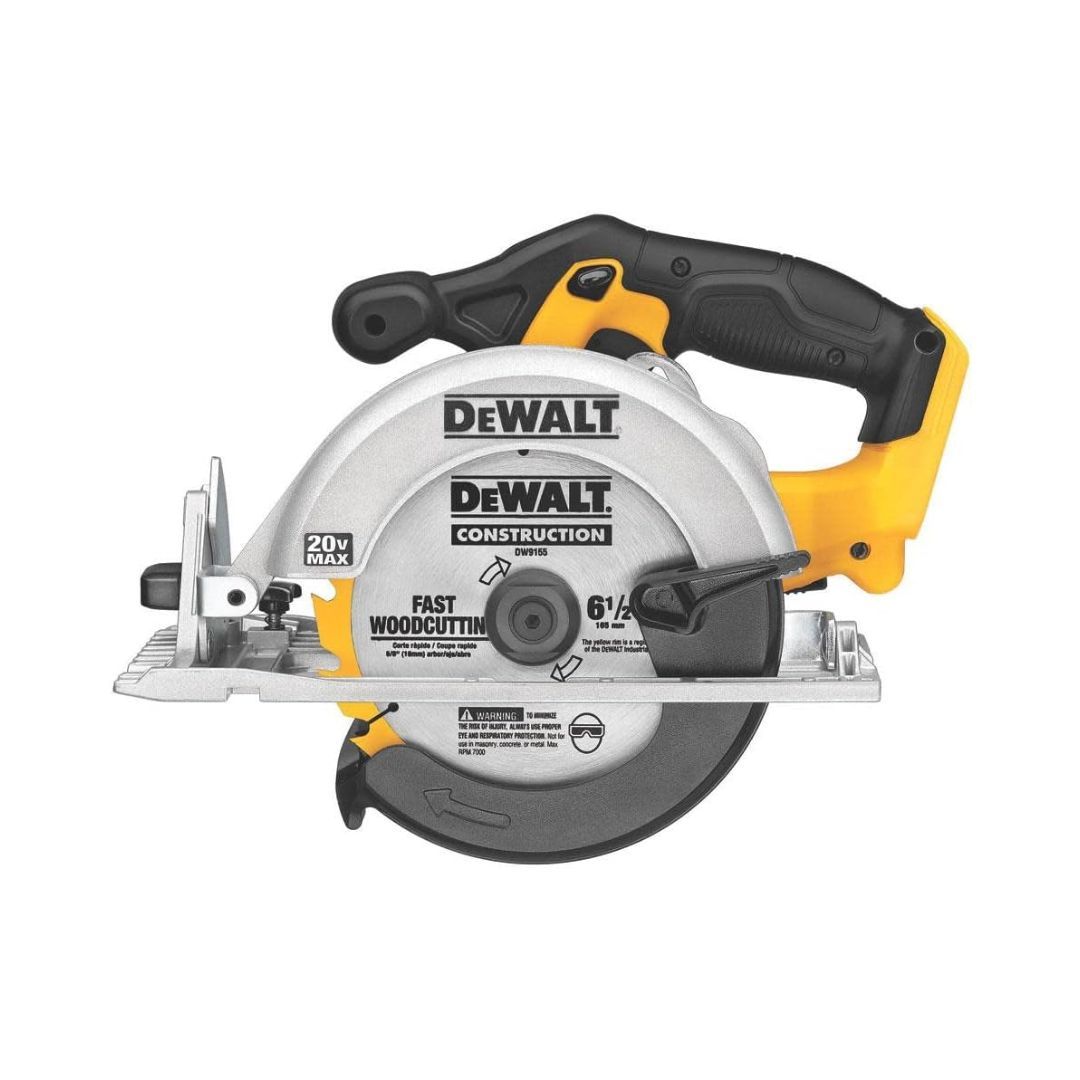
Tools
Preparing the Materials for Your Magazine Rack
Once you’ve gathered all the things you need to get started, you’ll need to prep the materials. Follow the steps below to make precise cuts:

- Mark cut lines on the plywood using the measurements from the cut list. You can use a yardstick to get straight lines.
- Place the plywood on blocks or with the cut line overhanging the edge of your work surface to prevent the saw from binding.
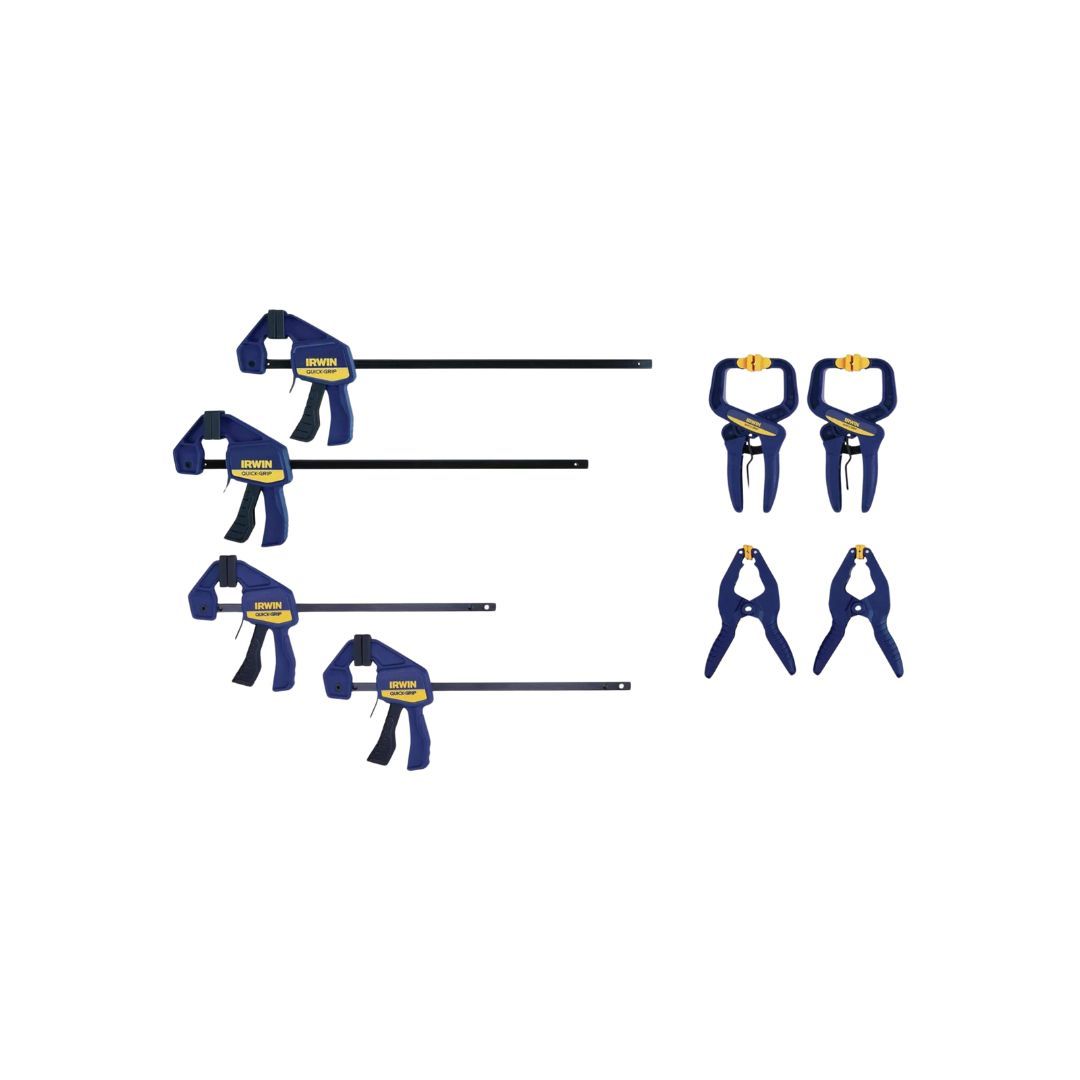
- Clamp the plywood in place so it doesn’t move while you’re cutting. This will help you make an accurate cut and stay safe while using a saw.
- Apply painter’s tape inside each cut line to prevent edge chipping and create clean cuts.
Cutting the Magazine Rack Components
After you’ve done some prep work, it’s time to cut the pieces for your magazine rack. Here’s how:
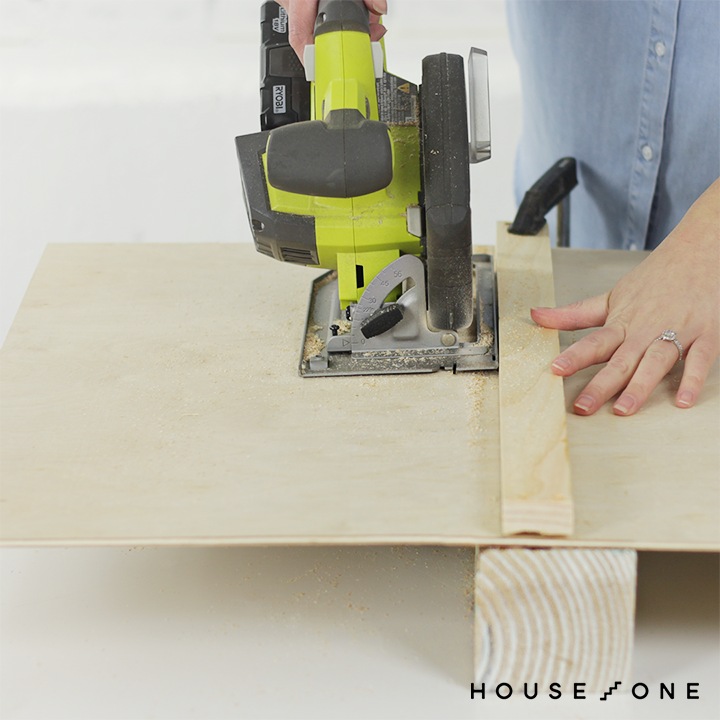
- Use a circular saw to cut along the marked lines on the plywood while you follow the lines closely.
- Reposition and reclamp the plywood as you need to.
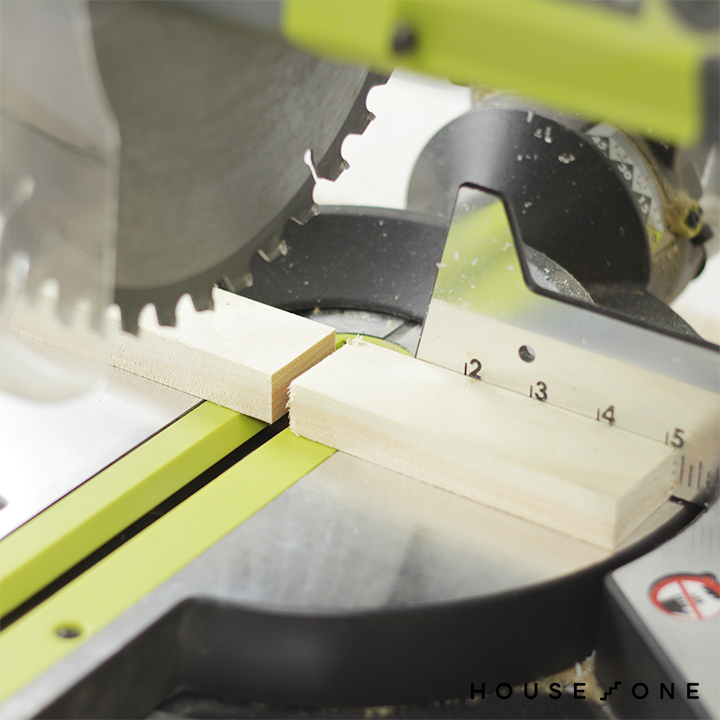
- Cut the 1-inch by 2-foot wood pieces to length using a miter saw for the sides, bottom, and divider. Measure twice to confirm.
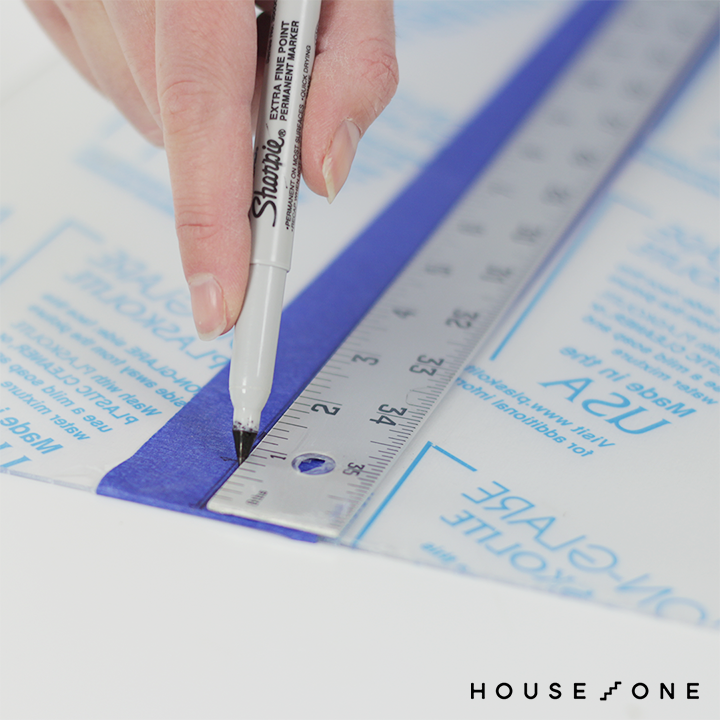
- For the acrylic sheet, apply painter’s tape along the center and mark a centerline with a permanent marker. This will guide your cut.
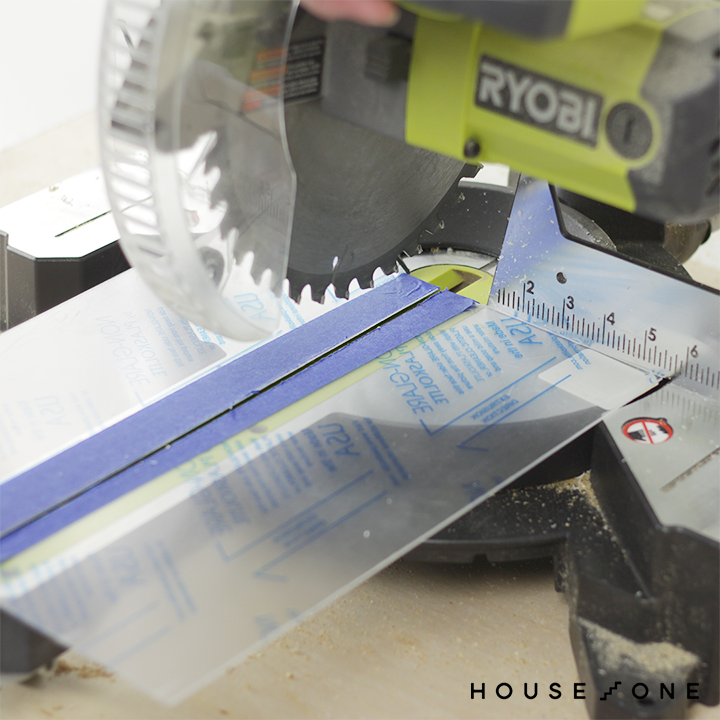
- Cut the acrylic to size using a miter saw or circular saw. You can also score it with a utility knife and snap along the line for a clean break if you prefer.
Sanding and Finishing
Smooth edges are essential for both safety and aesthetics. Proper sanding will help in achieving a polished look and make assembly easier.
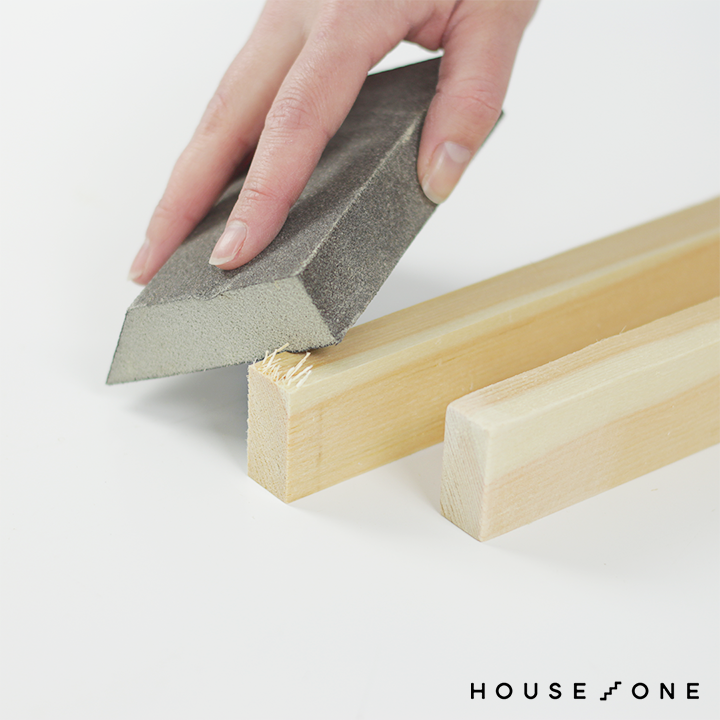
- Take your sanding sponge and sand the edges and faces of the plywood pieces to remove splinters or rough spots.
- Sand the cut ends and faces of the 1-inch by 2-inch pieces to ensure all edges are smooth.
- Wipe any dust or debris with a rag or clean cloth.
Assembling the Magazine Rack
Now that your pieces are cut and sanded, it’s time to assemble your magazine rack.
- Lay out the pieces with the 1-inch by 2-inch boards resting on the plywood to visualize the final structure.
- Position the bottom 1-inch by 2-inch board between the sides to build the base frame.
- Center the divider on the plywood panel to create compartments for magazine storage.
- Place the acrylic pieces across the sides and divider, about two inches from the bottom edge to form the front of the rack.
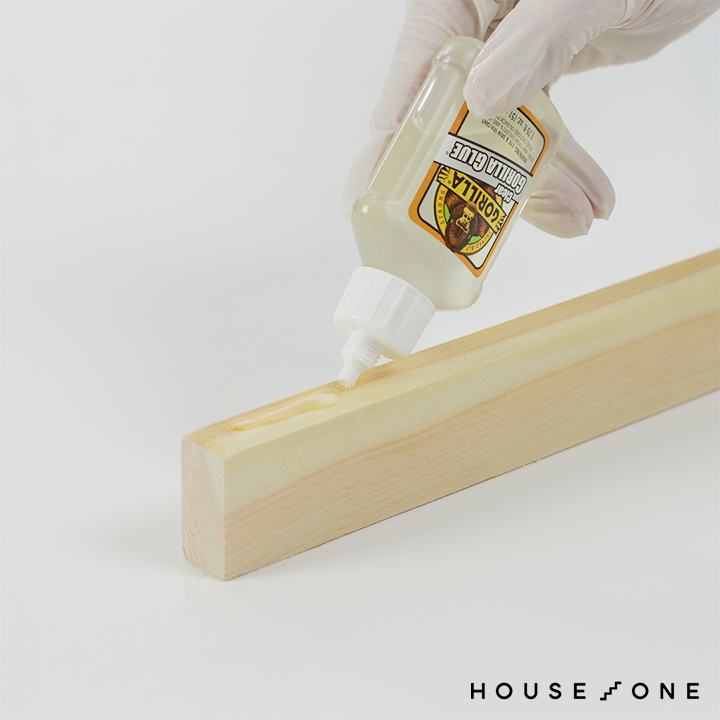
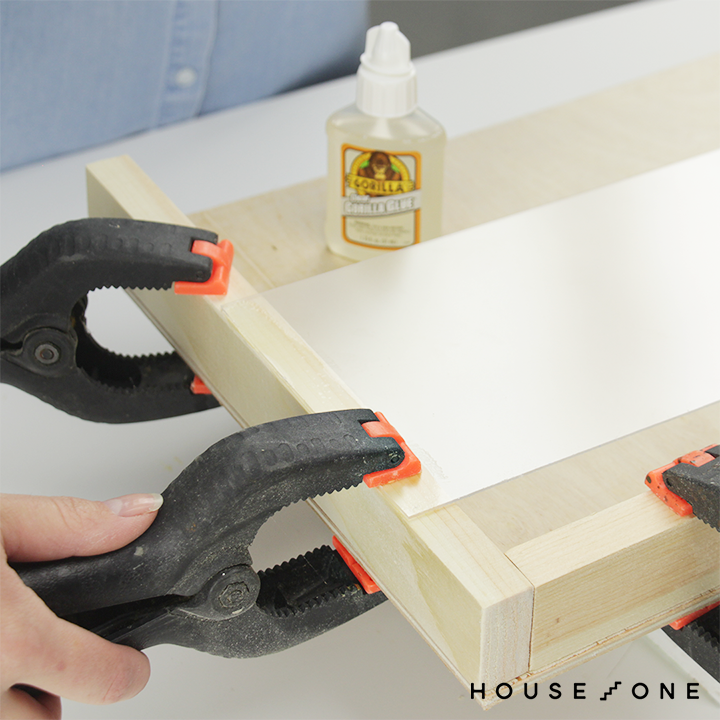
Gluing the Components
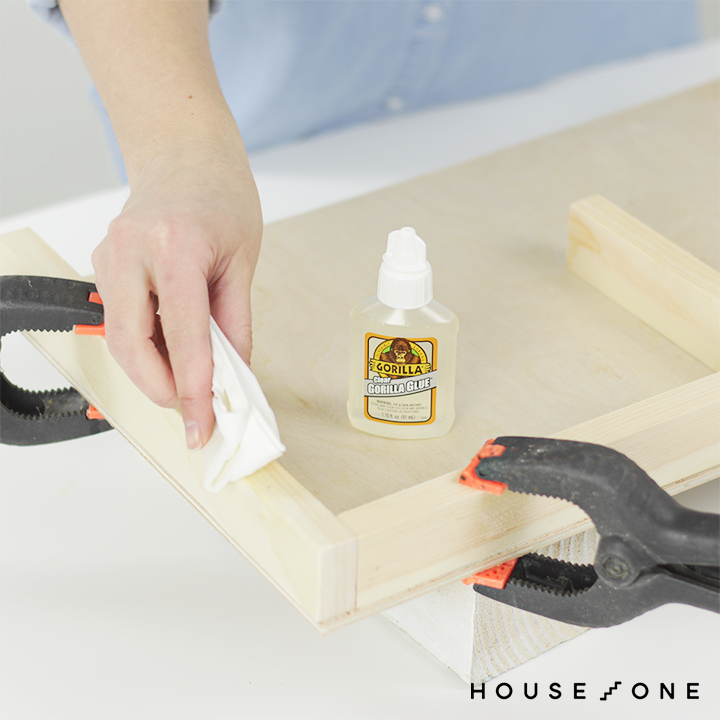
Clear Gorilla Glue provides a strong, invisible bond for a clean look. Assembling with glue instead of nails or screws will maintain a sleek design.
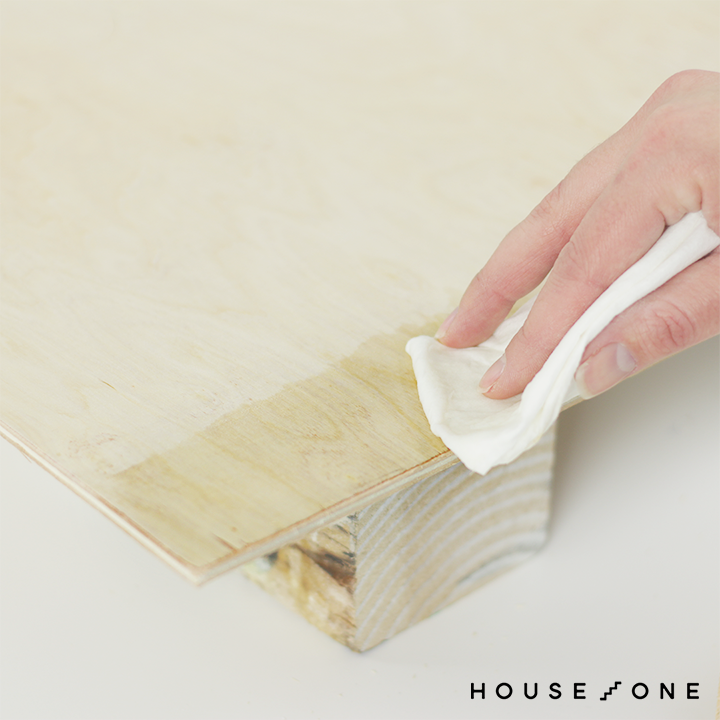
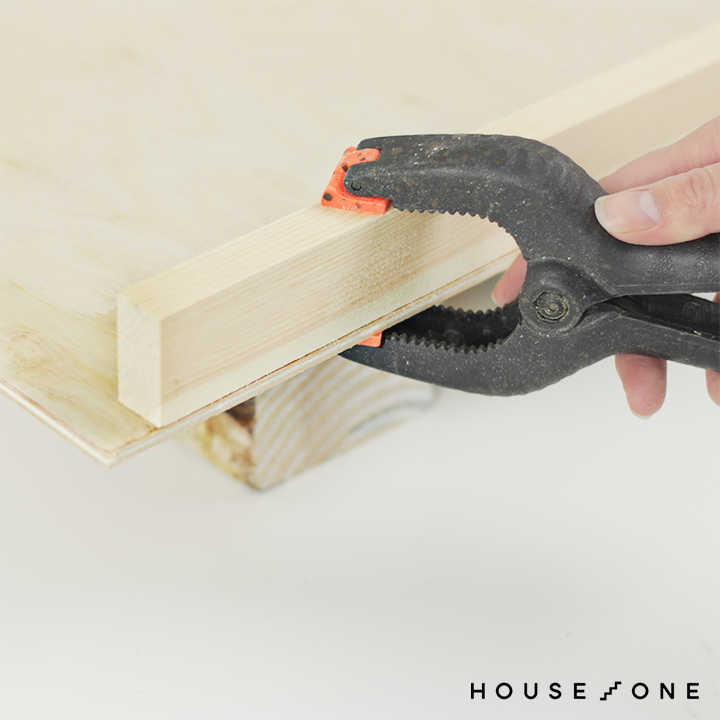
- Dampen the plywood beneath the bottom 1-inch by 2-inch board with a damp cloth. This activates the glue.
- Apply a thin bead of glue to the underside of the bottom board, covering it evenly.
- Place the board onto the plywood and secure with hand clamps to hold it in place while it’s drying.
- Repeat the process for the remaining 1-inch by 2-inch boards, using a damp cloth and glue for each connection to maintain consistency.
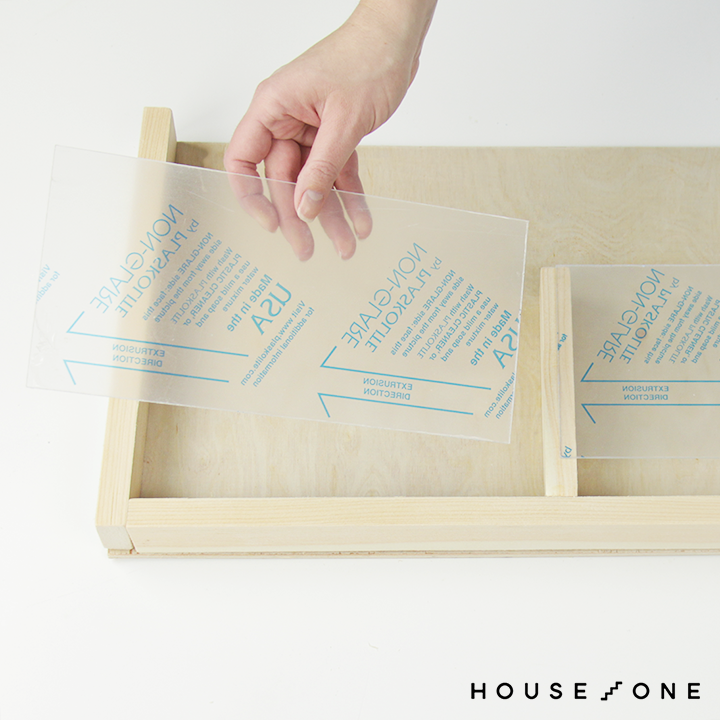
Attaching the Acrylic
The acrylic front adds a modern touch, and it also makes it easy to see the items you’ve stored in the rack.
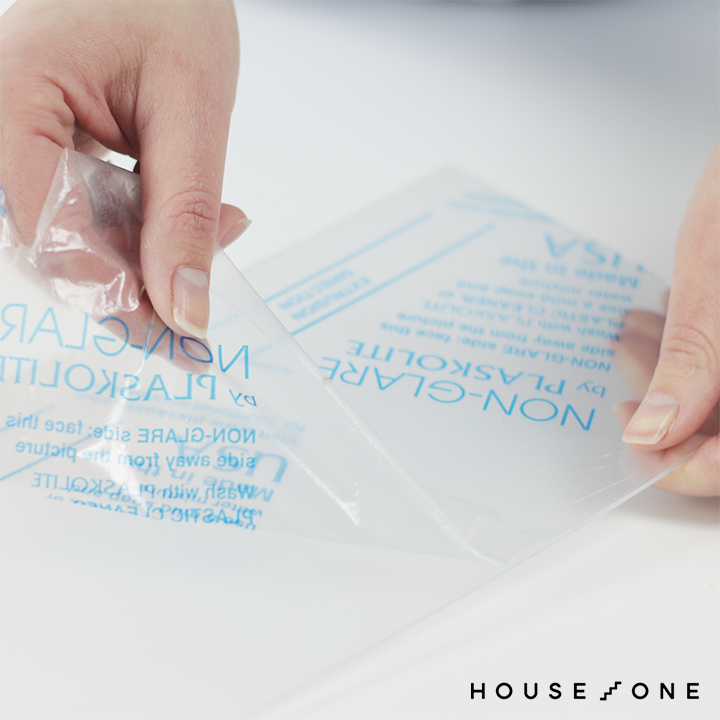
- Remove the protective coating from both sides of the acrylic sheets.
- Wet the 1-inch by 2-inch sides and divider where the acrylic will rest so the glue sticks to it.
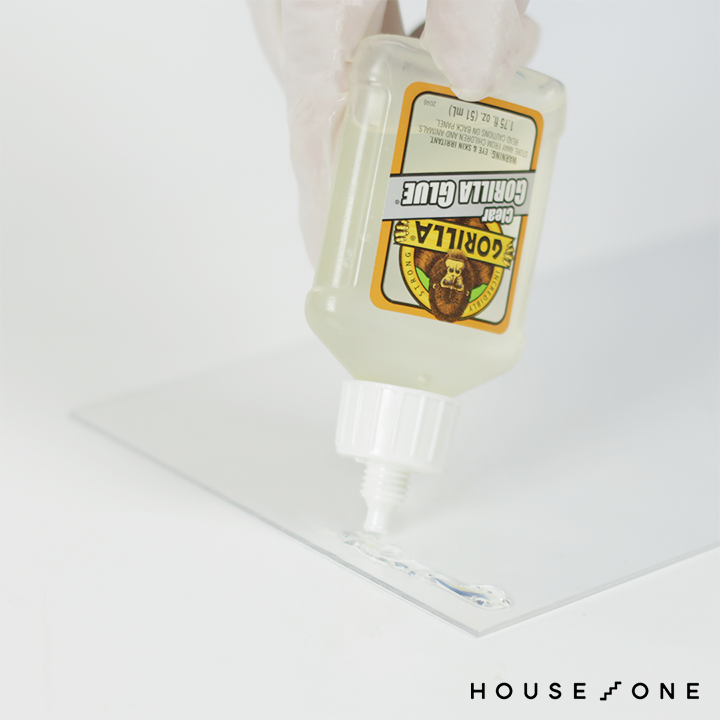
- Apply a thin bead of glue along each edge of the acrylic pieces.
- Position the acrylic onto the assembly, about 2 inches from the bottom edge. Check that it’s level.
- Clamp the pieces in place for two hours to allow the glue to set.
- Allow the entire assembly to cure for 24 hours before use or mounting to ensure maximum strength.
Mounting Your Magazine Rack
Now that you’ve built your magazine rack, you can mount it to the wall.
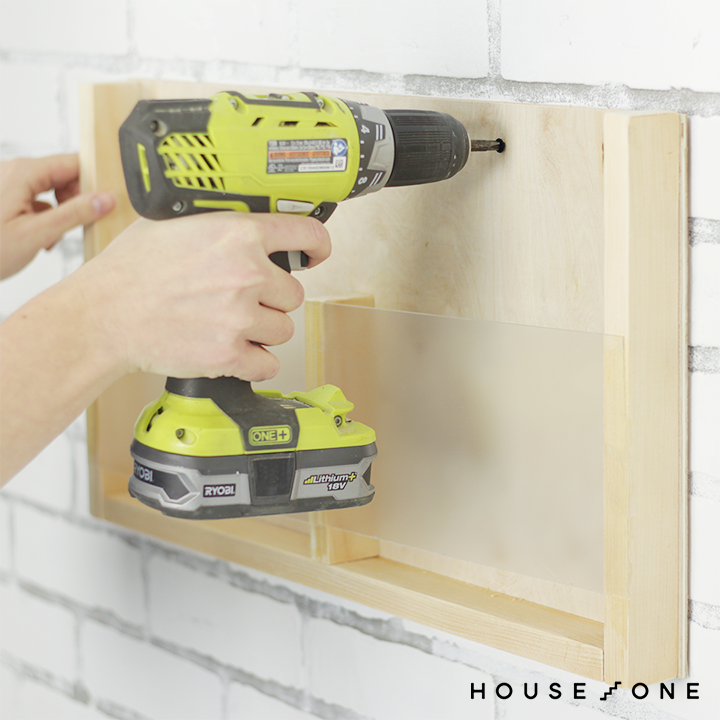
- Use a stud finder to locate wall studs so that you can mount it properly and avoid wall damage.
- Mark the mounting points on the wall and align it with the structure for balanced support.
- Drive two nails or screws through the magazine rack and into the wall at the marked points.
- Install at least one fastener into a wall stud for stability.
Creative Uses for Your Magazine Rack
You don’t have to store just magazines in your magazine rack. A few creative ways to use it include:
- Display vinyl records for a retro vibe—the clear acrylic front makes it easy to see the covers
- Hang it in the kitchen and organize your cookbooks for easy recipe reference while cooking
- Keep tablets or e-readers in it when you aren’t using them
- Show off your child’s artwork or family photos
- Store and organize important documents or mail
No matter how you use it, a DIY magazine rack is an inexpensive, fast, and easy project most homeowners can make by using basic tools and clear instructions.