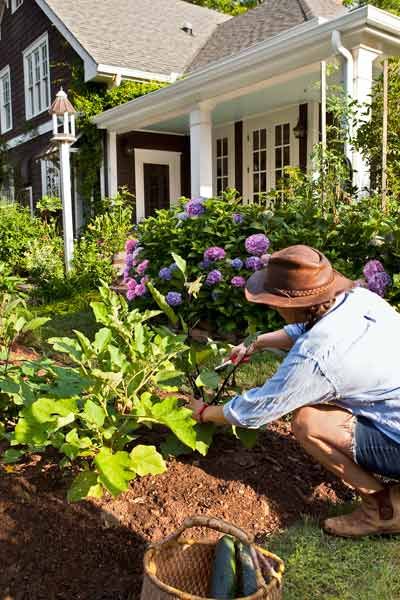
Growing your own vegetables can be incredibly rewarding, but it often comes with challenges. From pests and diseases to weather-related issues, gardeners face numerous obstacles. This guide will help you identify common problems in your vegetable garden and provide practical solutions to ensure a bountiful harvest. Whether you’re a novice or an experienced gardener, these tips will help you overcome setbacks and cultivate a thriving garden.
Common Vegetable Garden Problems and Solutions
Vegetable gardens can encounter various issues throughout the growing season. Understanding these common problems and their solutions is essential for maintaining a healthy and productive garden. Let’s explore some of the most frequent challenges gardeners face and how to address them effectively.
No-Show Seedlings: Why Your Seeds Aren’t Sprouting
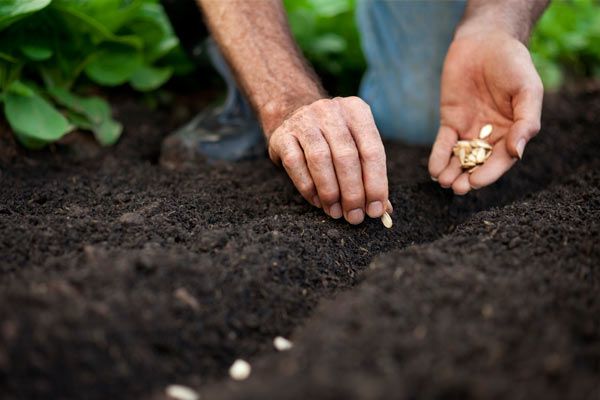
One of the most frustrating experiences for gardeners is planting seeds that never sprout. Several factors can contribute to this issue. Seeds may dry out after planting, be planted too deep, or be sown when the soil is still too cold. To improve germination rates, wait until the soil temperature reaches about 60 degrees Fahrenheit before planting. Use a fine spray of water to keep the soil consistently moist but not waterlogged.
For delicate seeds like carrots, rake the soil, sow the seeds on the surface, and mist with water. Cover the rows with boards or cardboard to prevent drying. Check daily and mist as needed. Once seeds sprout, remove the cover. If warm weather arrives quickly, provide temporary shade for tender seedlings.
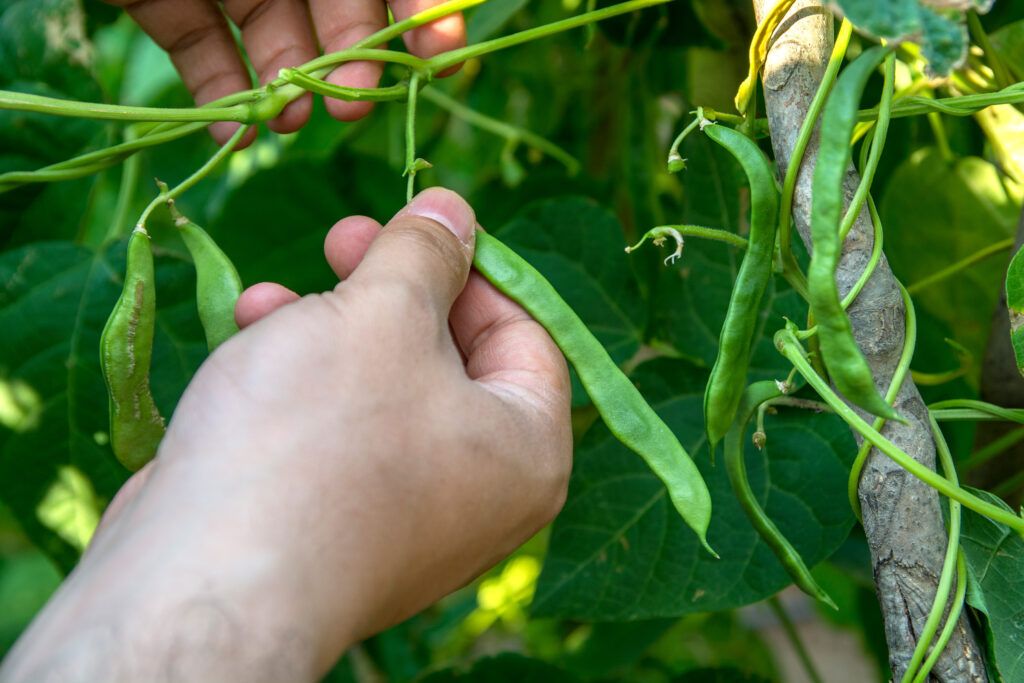
Dealing With Pests in Your Vegetable Garden
Pests can wreak havoc on your vegetable garden, causing damage to leaves, stems, and fruits. Common culprits include flea beetles, cutworms, and voles. For flea beetles, which often target plants in the mustard and nightshade families, start with hardier transplants instead of seeds. Interplanting vulnerable crops with hairy-leaved plants like radishes can deter these pests.
To combat cutworms, which cut young plants at soil level, use protective collars around seedlings. For voles, remove nearby grass, weeds, and mulch piles to eliminate their habitat. You can also install a hardware cloth fence, burying it 6 to 10 inches deep to block their access.
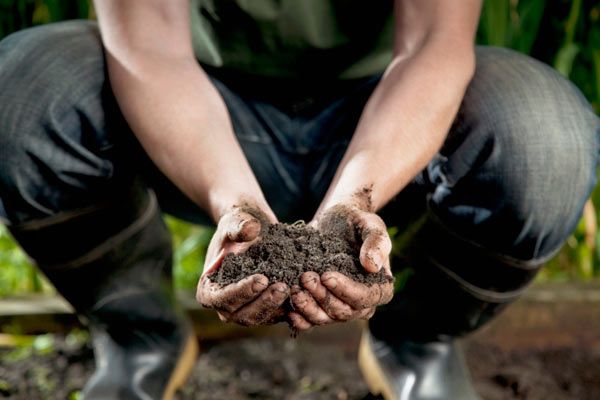
Addressing Soil and Nutrient Issues
Soil quality and nutrient balance play vital roles in plant health and productivity. Excessive nitrogen can lead to lush foliage but poor fruit production in plants like tomatoes. Use a balanced fertilizer with a lower first number (such as 4-12-4 or 5-20-5) to promote fruit development.
Crop rotation is essential for maintaining soil health. Wait three to four years before growing members of the same botanical family in the same plot to prevent soil-borne problems. Consider planting cover crops like red clover between growing seasons. As Atlanta, Georgia gardener Christine Mann notes, “It’s like a dose of vitamins and nutrients for the garden. It keeps the good microbes and the earthworms happy.”
Troubleshooting Specific Vegetables
Different vegetables face unique challenges. Understanding these specific issues can help you address problems more effectively and improve your overall garden health.
Tomato Troubles: From Cracked Skin To Blighted Leaves
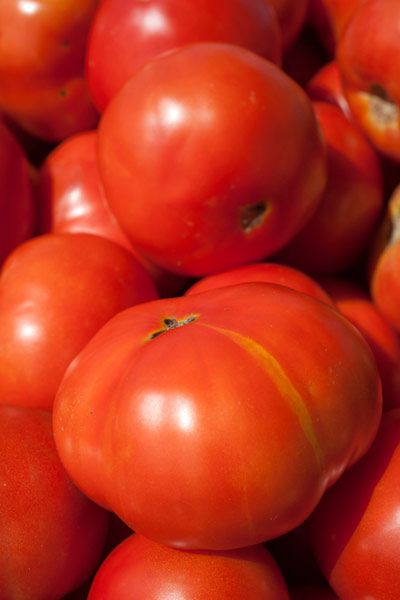
Tomatoes are prone to various issues, including cracked skin, blossom end rot, and fungal diseases. Cracked skin often results from inconsistent watering. Keep soil evenly moist and consider mulching to retain moisture. For disease prevention, space plants for good air circulation and choose resistant varieties like ‘Iron Lady,’ ‘Defiant,’ ‘Mountain Magic,’ ‘Mountain Merit,’ and ‘Legend’ for late blight resistance.
If your tomato plants look healthy but aren’t producing fruit, weather might be the culprit. Many varieties don’t set fruit when night temperatures fall below 55°F or exceed 70°F. Extreme heat can also affect pollen viability. Plant a mix of fast-maturing and longer-season varieties to hedge against unpredictable weather patterns.
Lettuce Dilemmas: Bitter Taste and Bolting

Bitter lettuce can result from heat stress or lack of water. Choose naturally sweeter varieties like butterhead types ‘Adriana’ and ‘Tom Thumb.’ Plant lettuce where taller plants provide shade for midsummer harvests. Keep soil consistently moist and consider harvesting in the early morning when leaves may have higher glucose content.
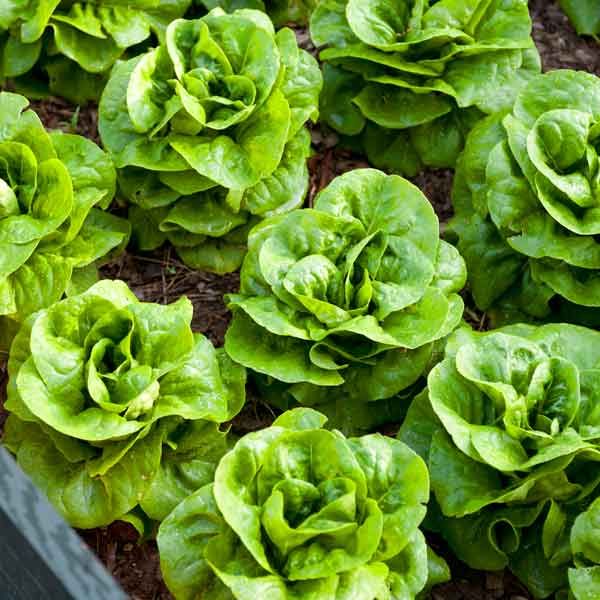
Bolting, or premature flowering, is triggered by changes in temperature or daylight hours. Once lettuce bolts, it can’t be reversed. To extend your salad season, plant seeds every few weeks for successive harvests rather than all at once.
Root Vegetable Woes: Carrots and Beets
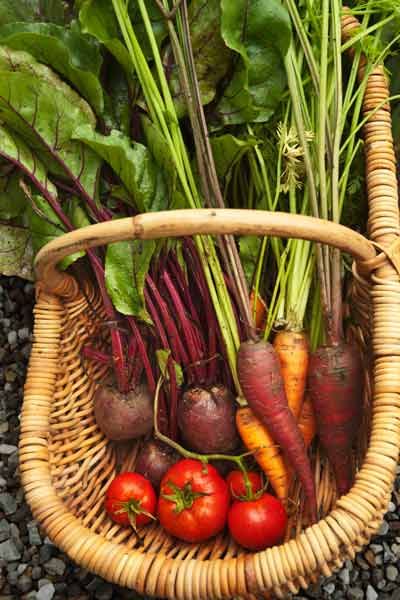
Misshapen carrots often result from soil obstructions or overcrowding. Prepare well-draining, obstruction-free soil to the depth your carrot variety needs at maturity. Thin seedlings as they grow to prevent overcrowding. For beets, watch out for vole damage. These rodents can leave tooth marks about 1/8-inch wide in your crops.
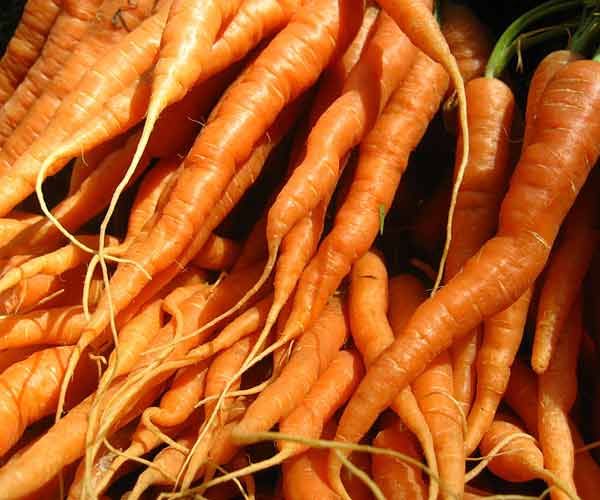
If carrot seeds fail to sprout, they may have dried out or been planted too deep. Sow seeds on the surface, mist them with water, and cover them with boards or cardboard to retain moisture. Check daily and remove the cover once the seeds sprout.
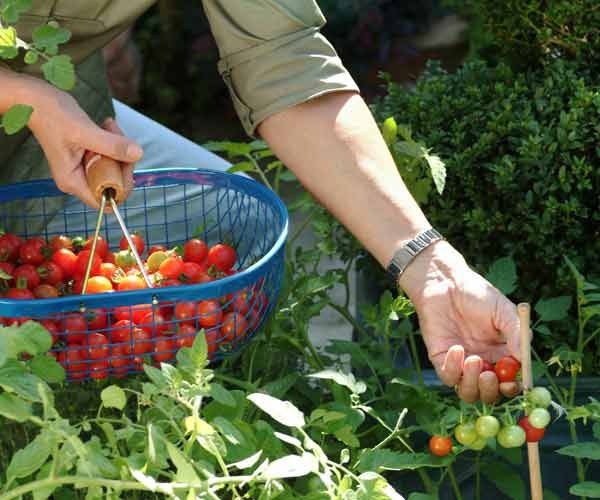
Maximizing Your Vegetable Garden’s Yield
Optimizing your garden’s productivity involves more than just planting and hoping for the best. Proper watering techniques and strategic crop rotation can significantly boost your harvest.
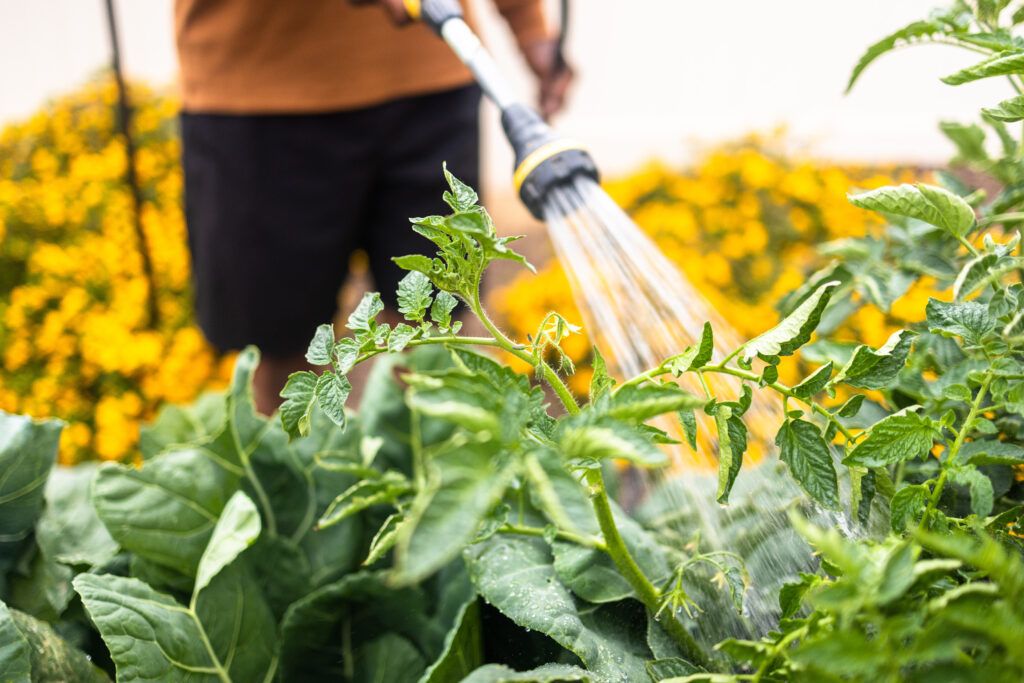
Proper Watering Techniques for Vegetable Gardens
Watering is critical for garden success. Water deeply using drip irrigation or a watering wand with a misting head held close to the soil. Avoid wetting leaves to prevent disease. Check soil moisture by digging your finger into the soil around the plant—it should be moist to the touch around the roots, not just on the surface.
Apply a layer of weed-free, pesticide-free mulch to reduce weeds and preserve moisture. Options include decomposed leaves or mushroom compost, depending on what’s available in your area.
Crop Rotation and Soil Rejuvenation Strategies
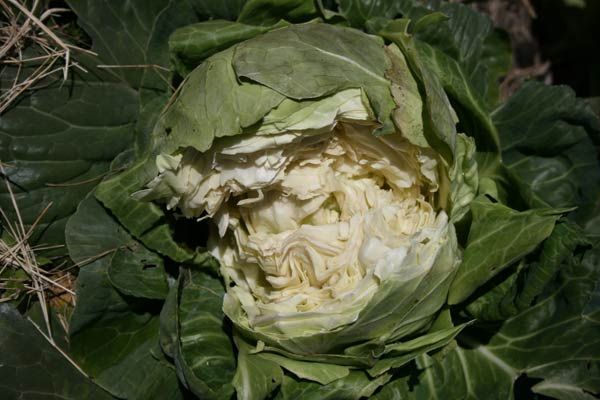
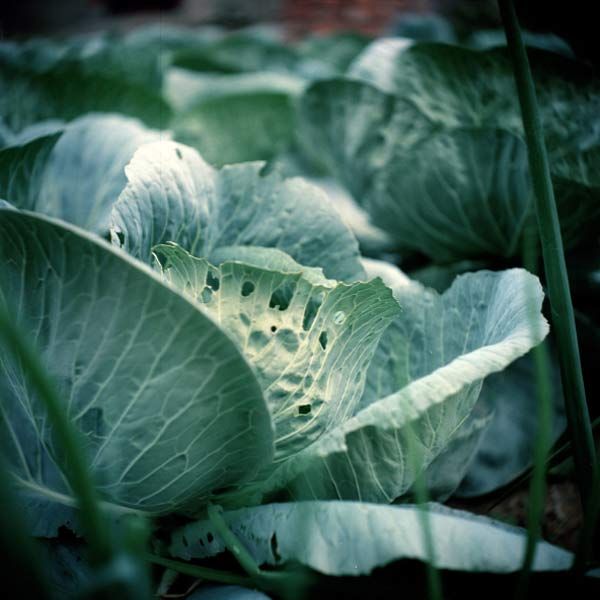
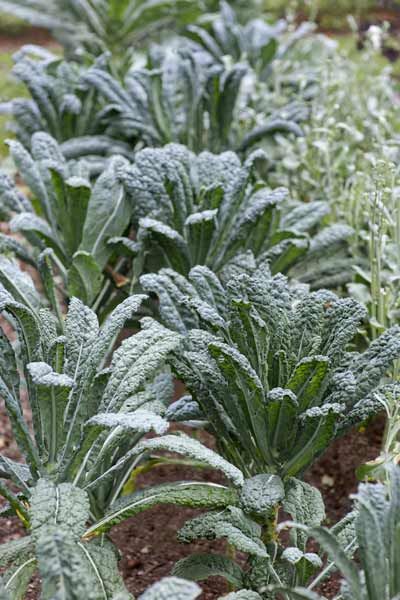
Rotating crops helps prevent soil depletion and reduces the risk of pest and disease buildup. Plan your garden layout to avoid planting members of the same botanical family in the same spot for at least three to four years. This practice is especially important for nightshade family crops (like tomatoes and potatoes), mustard family plants (such as cabbage and kale), and alliums (like onions and garlic).
Consider planting cover crops between growing seasons to rejuvenate the soil. These “green manures” add organic matter and nutrients when tilled into the soil, improving its structure and fertility for future plantings.
Preventing Vegetable Garden Disasters Before They Happen
Proactive measures can save you from many common gardening pitfalls. Smart seed selection, proper storage, and timely planting are key to a successful garden.
Choose seeds suited to your climate and growing conditions. Read seed packets carefully for information on planting times, soil preferences, and spacing requirements. Store leftover seeds properly to maintain their viability. To test old seeds, place a few on a damp paper towel, label, and enclose in plastic. If they don’t sprout, it’s time for fresh seeds.
Use online tools, like the seed calculator from Johnny’s Selected Seeds, to determine how many seeds you need for your desired row length. This prevents overplanting and reduces waste.
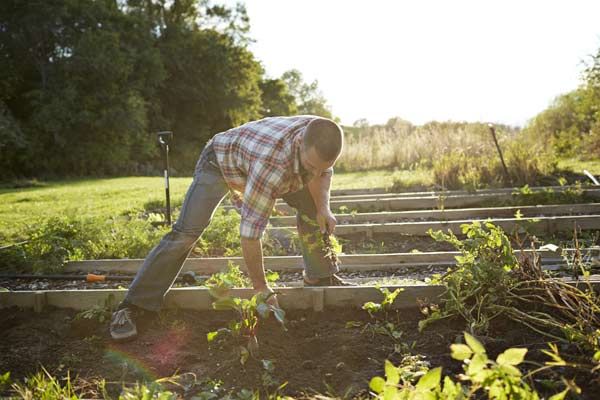
Timing Your Planting for Optimal Growth
Timing is critical in gardening. Many seeds need warmer soil to sprout than they do to grow once established. Use an instant-read thermometer to check soil temperature, aiming for about 60°F for many vegetable seeds. Monitor temperatures for several days to ensure consistent warmth before planting.
For tiny seeds like carrots, use seed tape or make your own using toilet paper and water-soluble glue. This ensures proper spacing and eliminates the need for thinning later. Plant the tape at the correct depth, water, and watch your garden grow.
Advanced Gardening Techniques
As you gain experience, you can implement more sophisticated strategies to enhance your garden’s health and productivity.
Companion Planting for Pest Control
Companion planting involves growing complementary plants together to deter pests or improve growth. For example, planting marigolds near tomatoes can repel certain insects. Basil grown alongside tomatoes may improve their flavor and growth. Research compatible plant combinations for your specific crops to create a more balanced and resilient garden ecosystem.
Using Row Covers and Other Protective Measures

Row covers can protect young plants from pests and harsh weather. These lightweight fabrics allow light and water to penetrate while creating a barrier against insects and frost. For heat-sensitive crops, shade cloth can provide relief during the hottest parts of the day. Experiment with different protective measures to extend your growing season and improve crop quality.
Dealing With Weather-Related Challenges in Your Garden
Weather can make or break a garden. Learning to work with nature and protect your plants from extreme conditions is essential for consistent yields.
Protecting Your Garden from Extreme Heat
During heat waves, provide extra shade for sensitive plants using shade cloth or temporary structures. Water deeply and consistently, preferably in the early morning or evening to reduce evaporation. Mulch heavily to retain soil moisture and keep roots cool. Consider using heat-tolerant varieties in areas prone to high temperatures.
Managing Excess Rainfall and Poor Drainage
In areas with heavy rainfall or poor drainage, raised beds can improve soil conditions. Ensure proper spacing between plants to promote air circulation and reduce fungal diseases. If soil becomes waterlogged, avoid walking on it to prevent compaction. Consider installing French drains or swales to redirect excess water away from your garden beds.
Our Conclusion

Troubleshooting a vegetable garden requires patience, observation, and a willingness to learn. By understanding common problems and implementing preventive measures, you can significantly improve your garden’s health and productivity. Remember, every challenge is an opportunity to gain knowledge and become a better gardener.

Embrace the process of trial and error, and don’t be discouraged by setbacks. With time and experience, you’ll develop a keen eye for potential issues and the skills to address them effectively. Happy gardening, and may your harvests be bountiful!