Can’t find a planter the size—or price—you like? We’ll show you how to make one yourself to fit all your needs. These planters are made from a crack-resistant concrete countertop mix, which quickly cures to a smooth finish and can be customized with translucent stains in various colors. Don’t be put off by having to work with a new material: Building the plywood forms and casting the concrete isn’t all that difficult. The result is a versatile planter that works for flowers and large plantings alike.
Follow along as This Old House contributor Christopher Beidel, owner of Pernt, a handmade furniture company in Brooklyn, New York, leads you through the step-by-step process in the video above.
Materials and Tools Needed To Make a Concrete Planter
Before diving into the project, you should first gather all the necessary materials and tools. Here’s what you’ll need:
Materials
- 3/4-inch plywood (one 4-by-8-foot sheet)
- 1/4-inch fiberboard (one 4-by-4-foot sheet)
- 3/4-inch cove molding (two 8-foot pieces)
- 1-inch-diameter dowel
- 18-gauge 1 1/4-inch pneumatic nails
- 2-inch drywall screws
- 1 1/4-inch drywall screws
- Wood glue
- Latex caulk
- Duct tape
- Vegetable oil
- Sand
- Quikrete Countertop Mix
Tools
 Circular saw
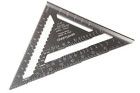
- Rafter square
- Straight edge
- Miter saw
- Pneumatic nailer
- Drill/driver
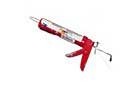
- Caulk gun
- Clamps
- large plastic container
- Shovel
- masonry trowel
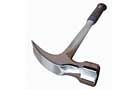
- Hammer
- Chisel


- Circular saw
- Rafter square
- Straightedge
- Miter saw
- Pneumatic nailer
- Drill/driver
- Caulk gun
- Clamps
- Large plastic container
- Shovel
- Masonry trowel
- Hammer
- Chisel
Steps for Making a Concrete Planter
Here’s a quick look at all the parts of the planter you’ll be making. Follow the steps below to bring it to life.

Step 1: Size the Form Panels
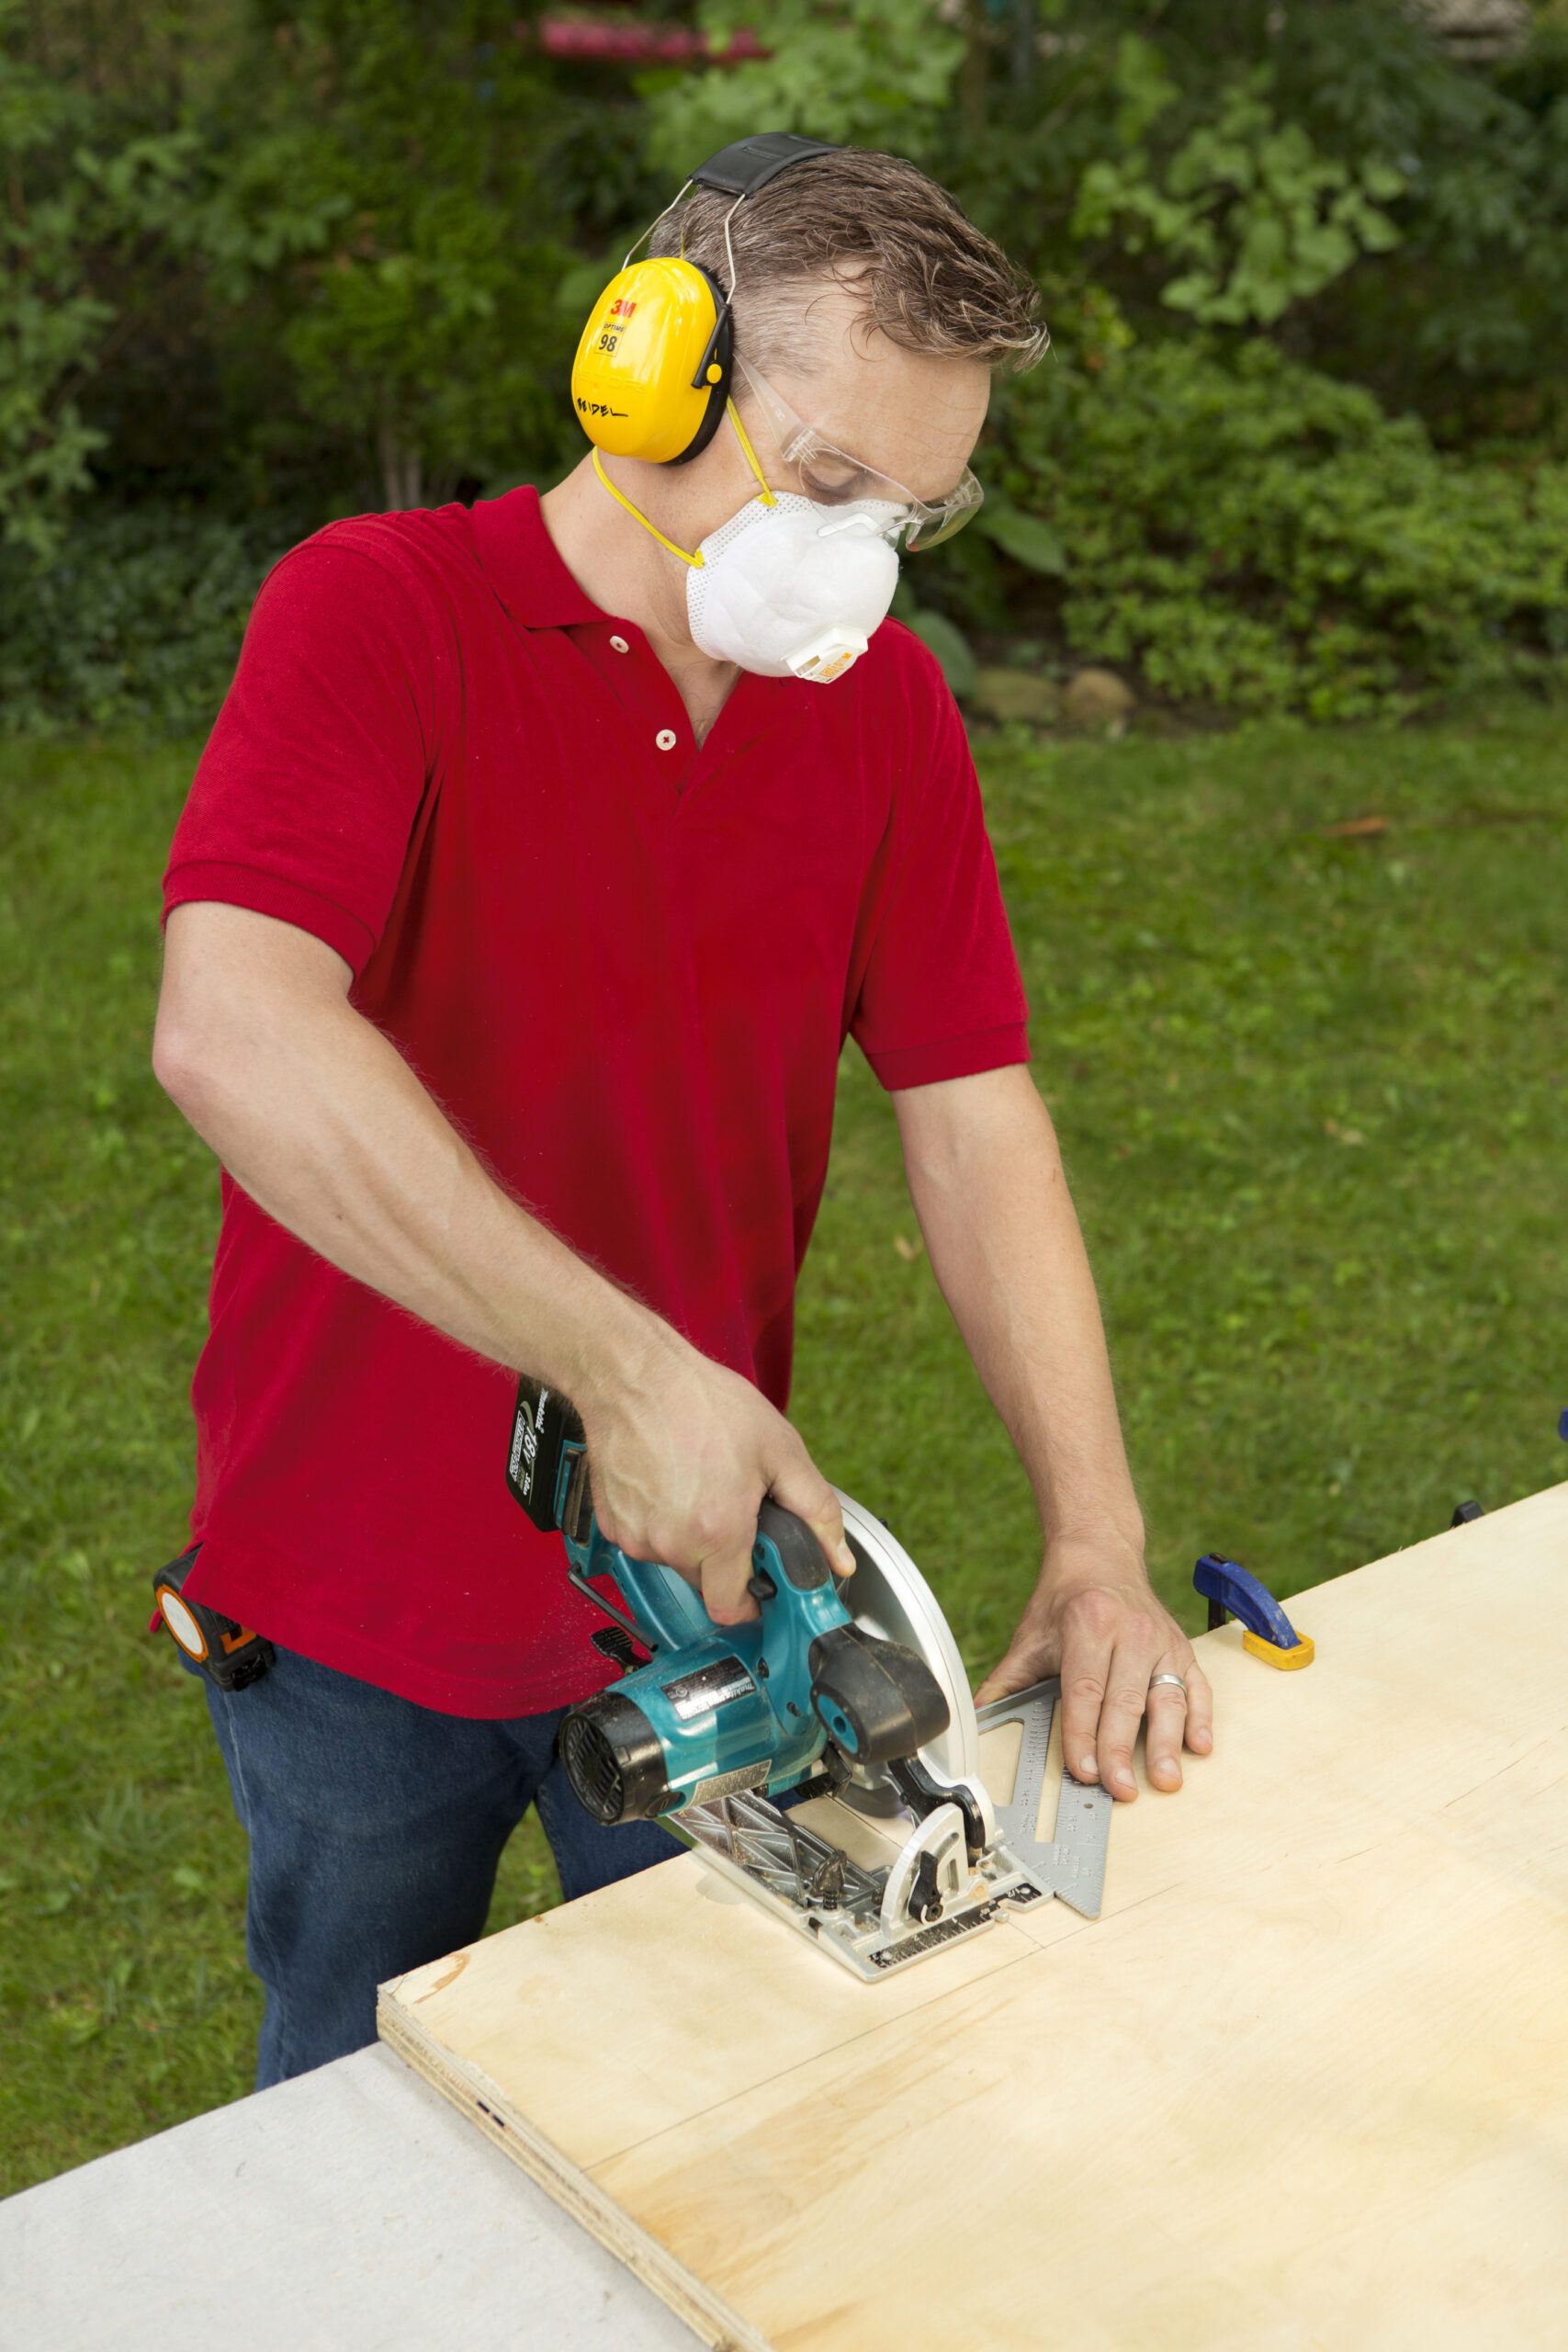
Place the plywood sheet on your work surface, propped up with scrap to allow clearance for the circular-saw blade. Following the cut list, measure and mark the dimensions for the sides, inset panels, base, and cleats of the concrete form. Use a circular saw and a rafter square to make the cuts.
Step 2: Cut the Molding for the Sides of the Forms
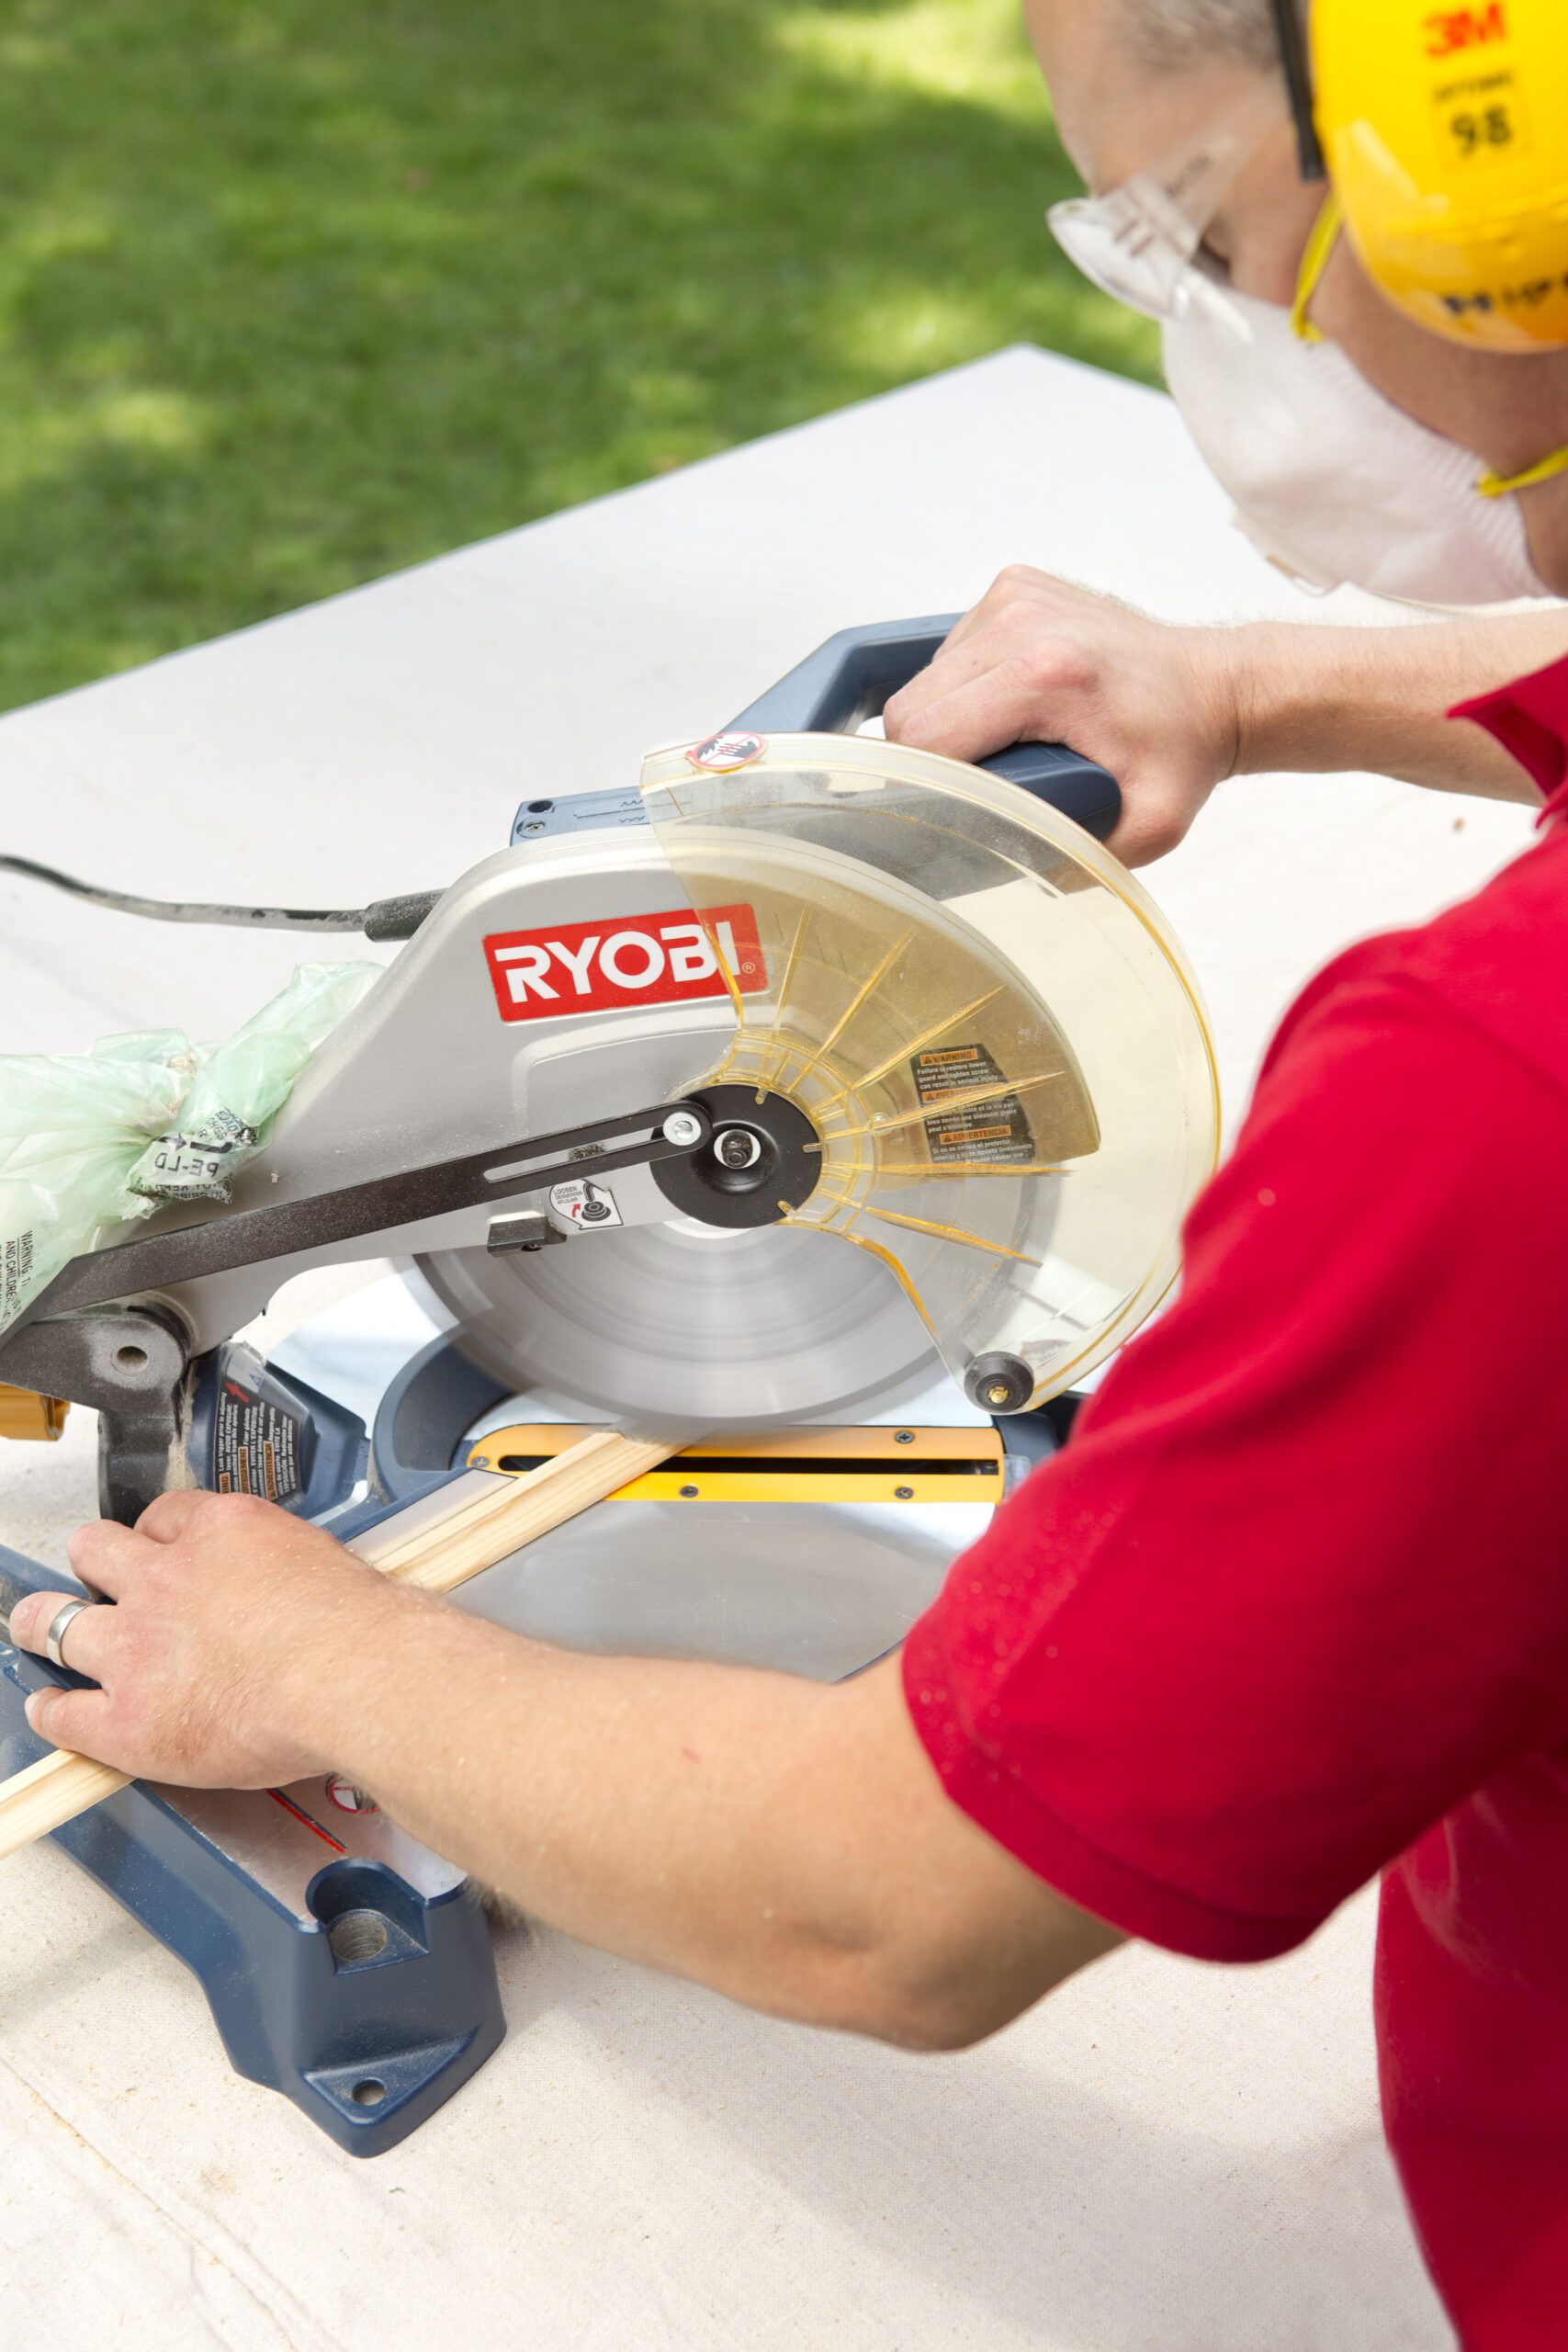
To frame the four inset panels, you’ll need 16 pieces of molding in two lengths. On a miter saw, rough-cut the pieces 1/2 inch too long. Adjust the blade to 45 degrees and make the right-hand miter cut, as shown, to all the pieces. Mark the pieces for the left-hand cut, adjust the blade to the opposite 45-degree angle, and cut them to length.
Tip: Although you can vary the planter’s size according to your needs, the finished walls should be at least 1½ inches thick for adequate strength.
Step 3: Attach the Inset Panels for the Sides of the Forms
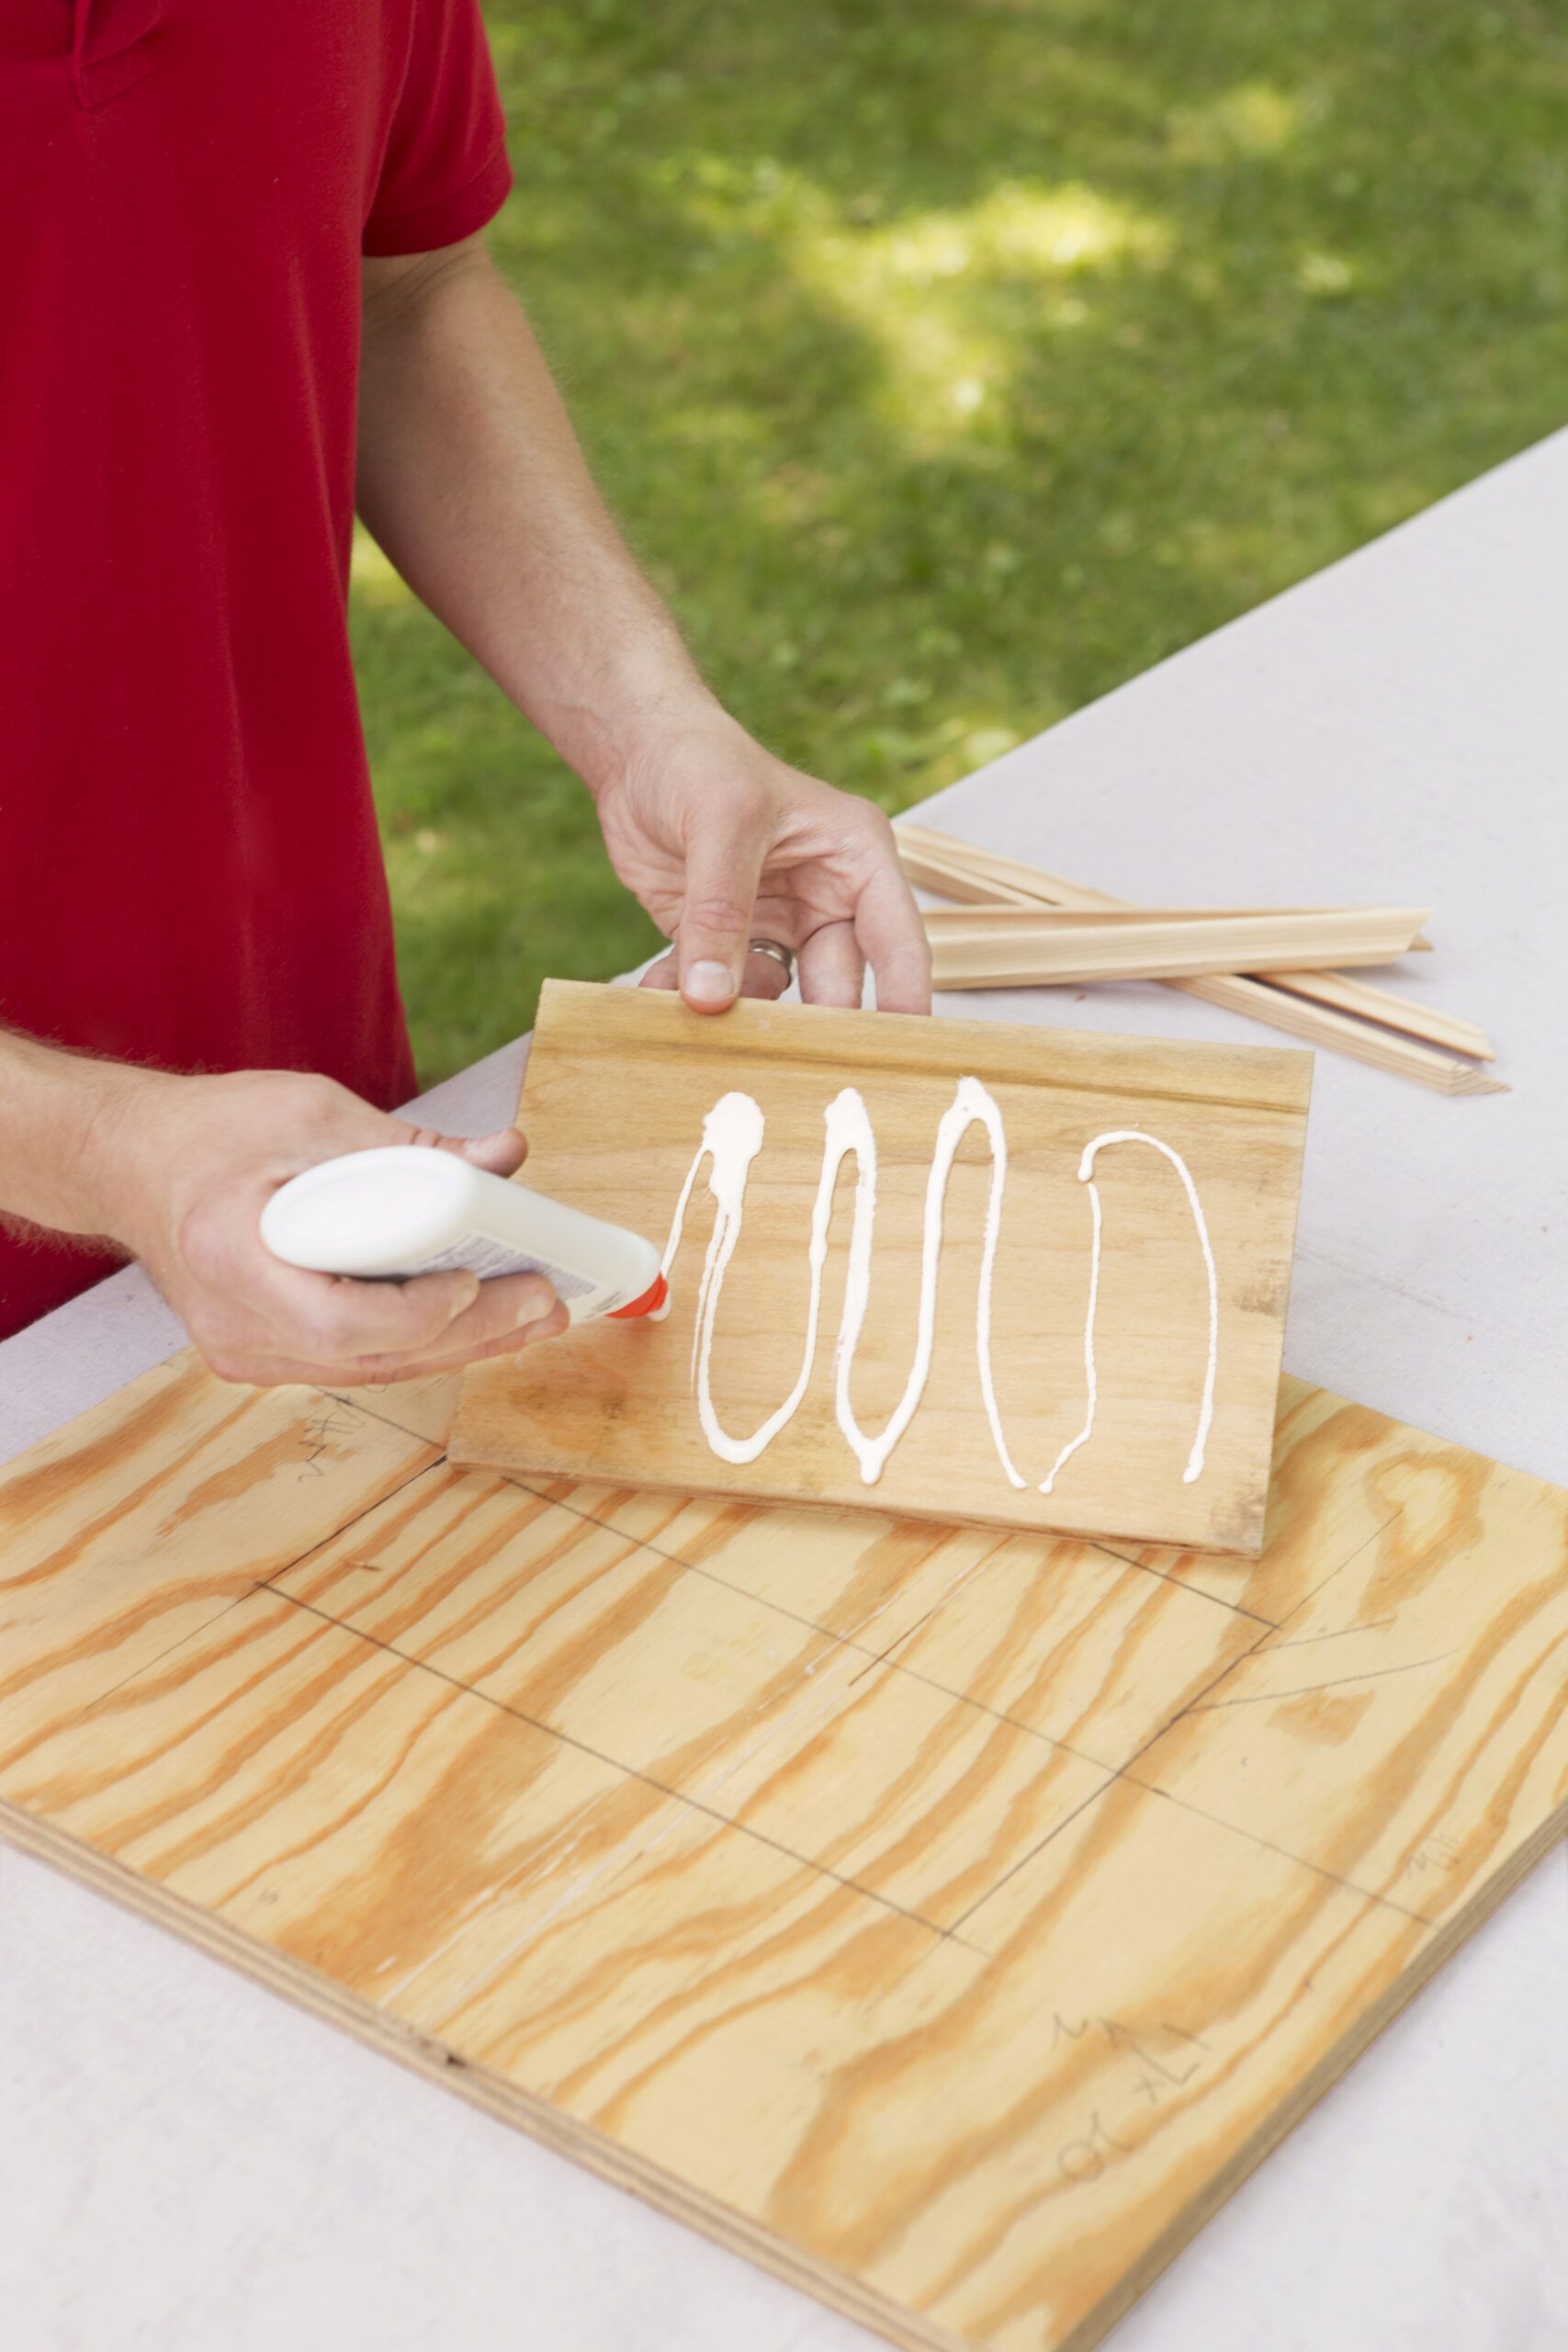
Mark the location of the inset panels on the four sidepieces for the form. Apply wood glue to the panels and set them in place. Use a pneumatic nailer with 18-gauge 1 1/4-inch nails to secure the panels.
Step 4: Attach the Molding for the Sides of the Forms
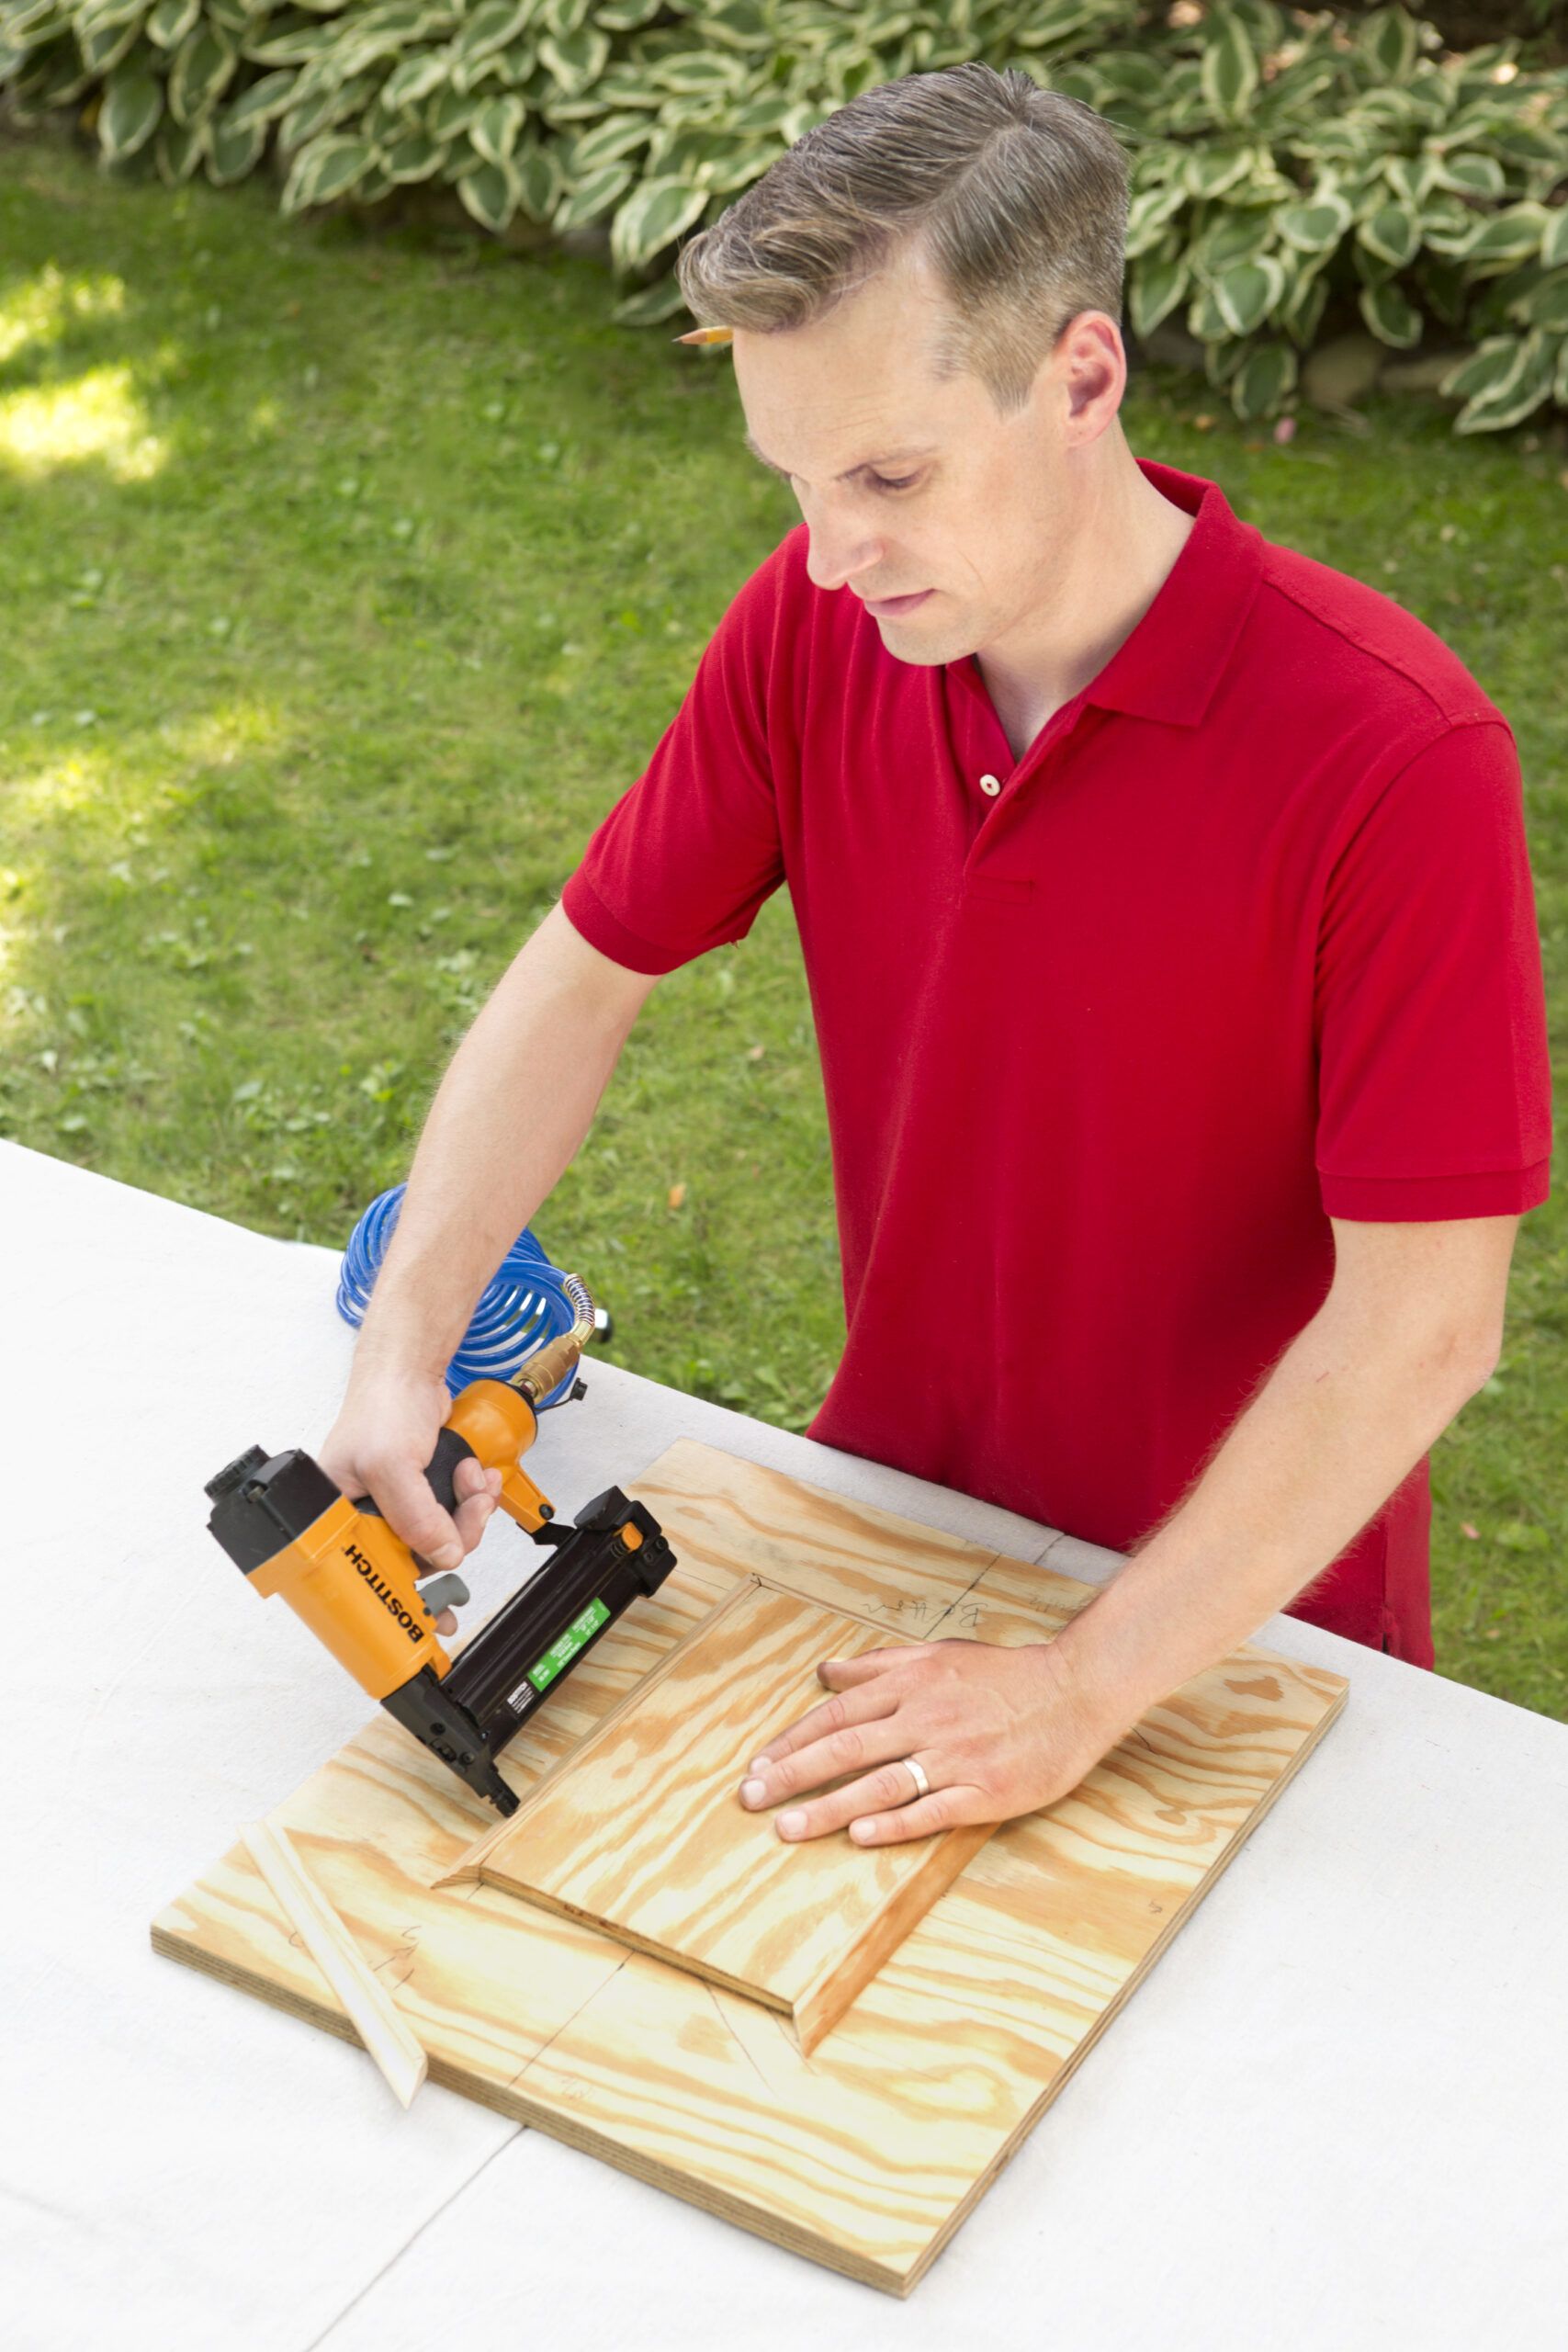
Apply glue around the edges of the inset panels. Place the molding one piece at a time, nailing each one as you make your way around the panel.
Step 5: Join the Form Edges
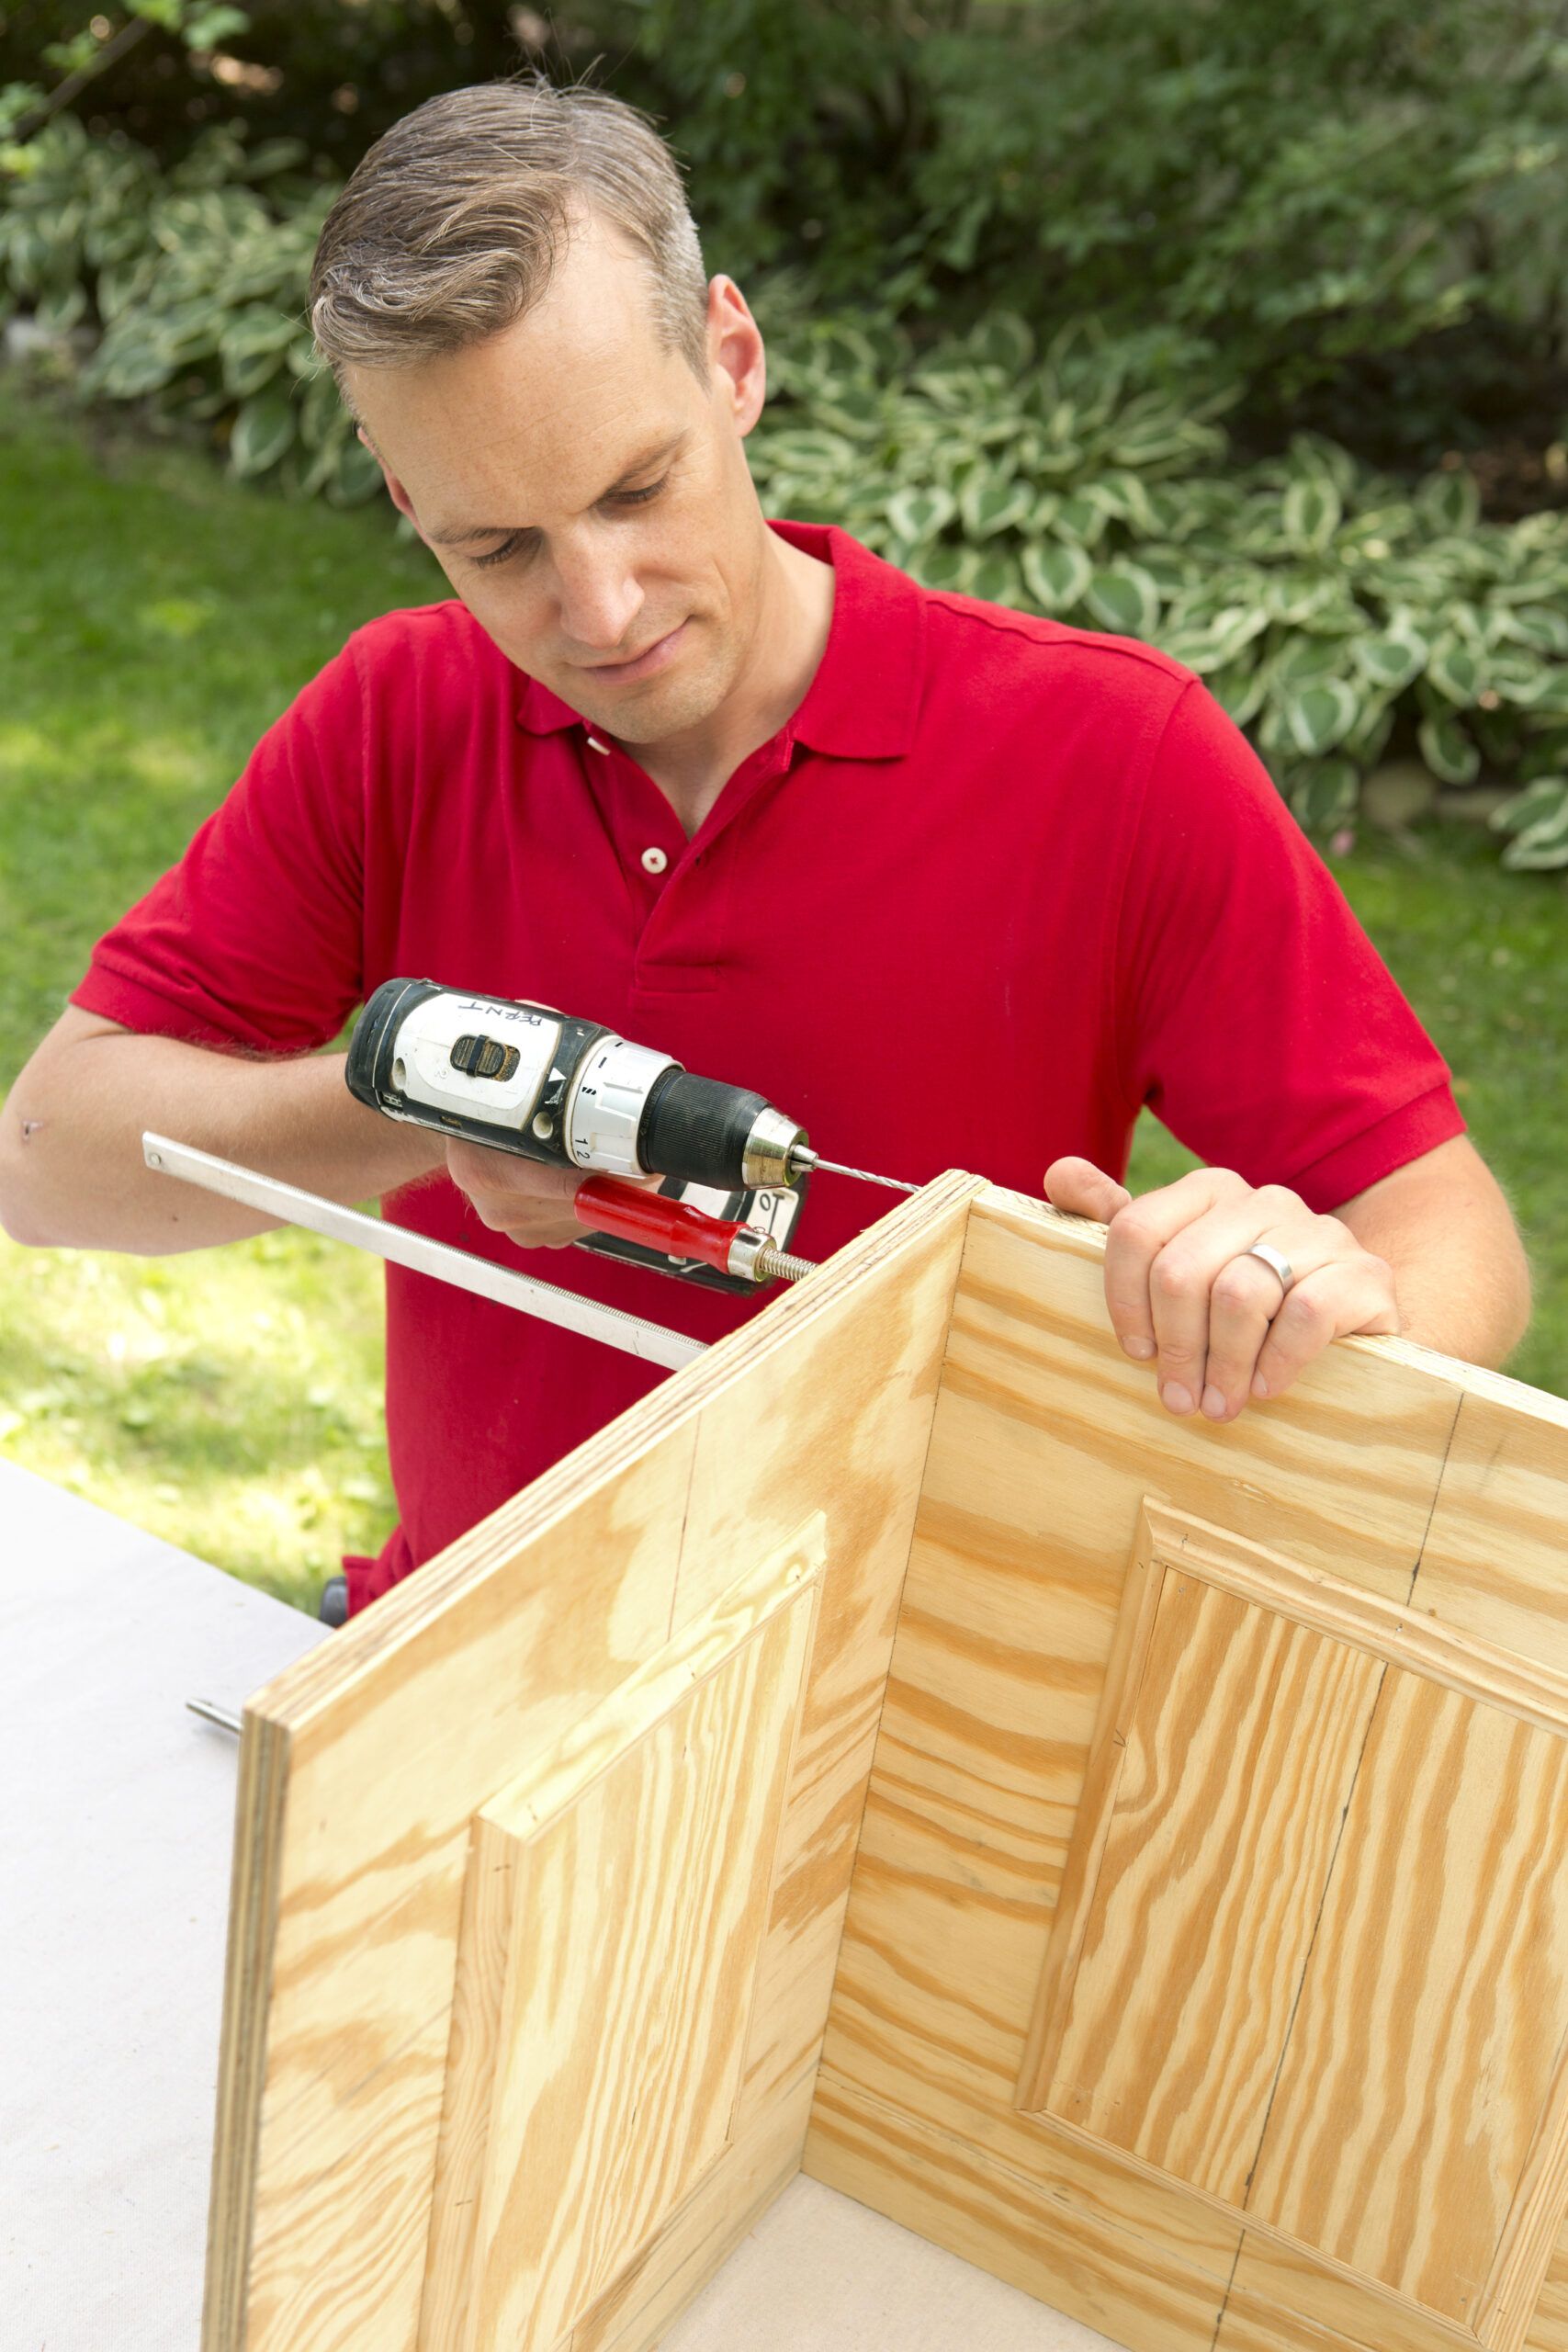
Set the base of the form on your work surface. Stand two of the sides upright to create one corner of the form, with the wider piece overlapping the narrower one. Use a 1/8-inch bit and a drill/driver to make three pilot holes through the face of the overlapping board and into the edge of the other one. Secure the joint with two-inch drywall screws. Repeat the process for three more corners to form a box.
Step 6: Install the Drain Dowel
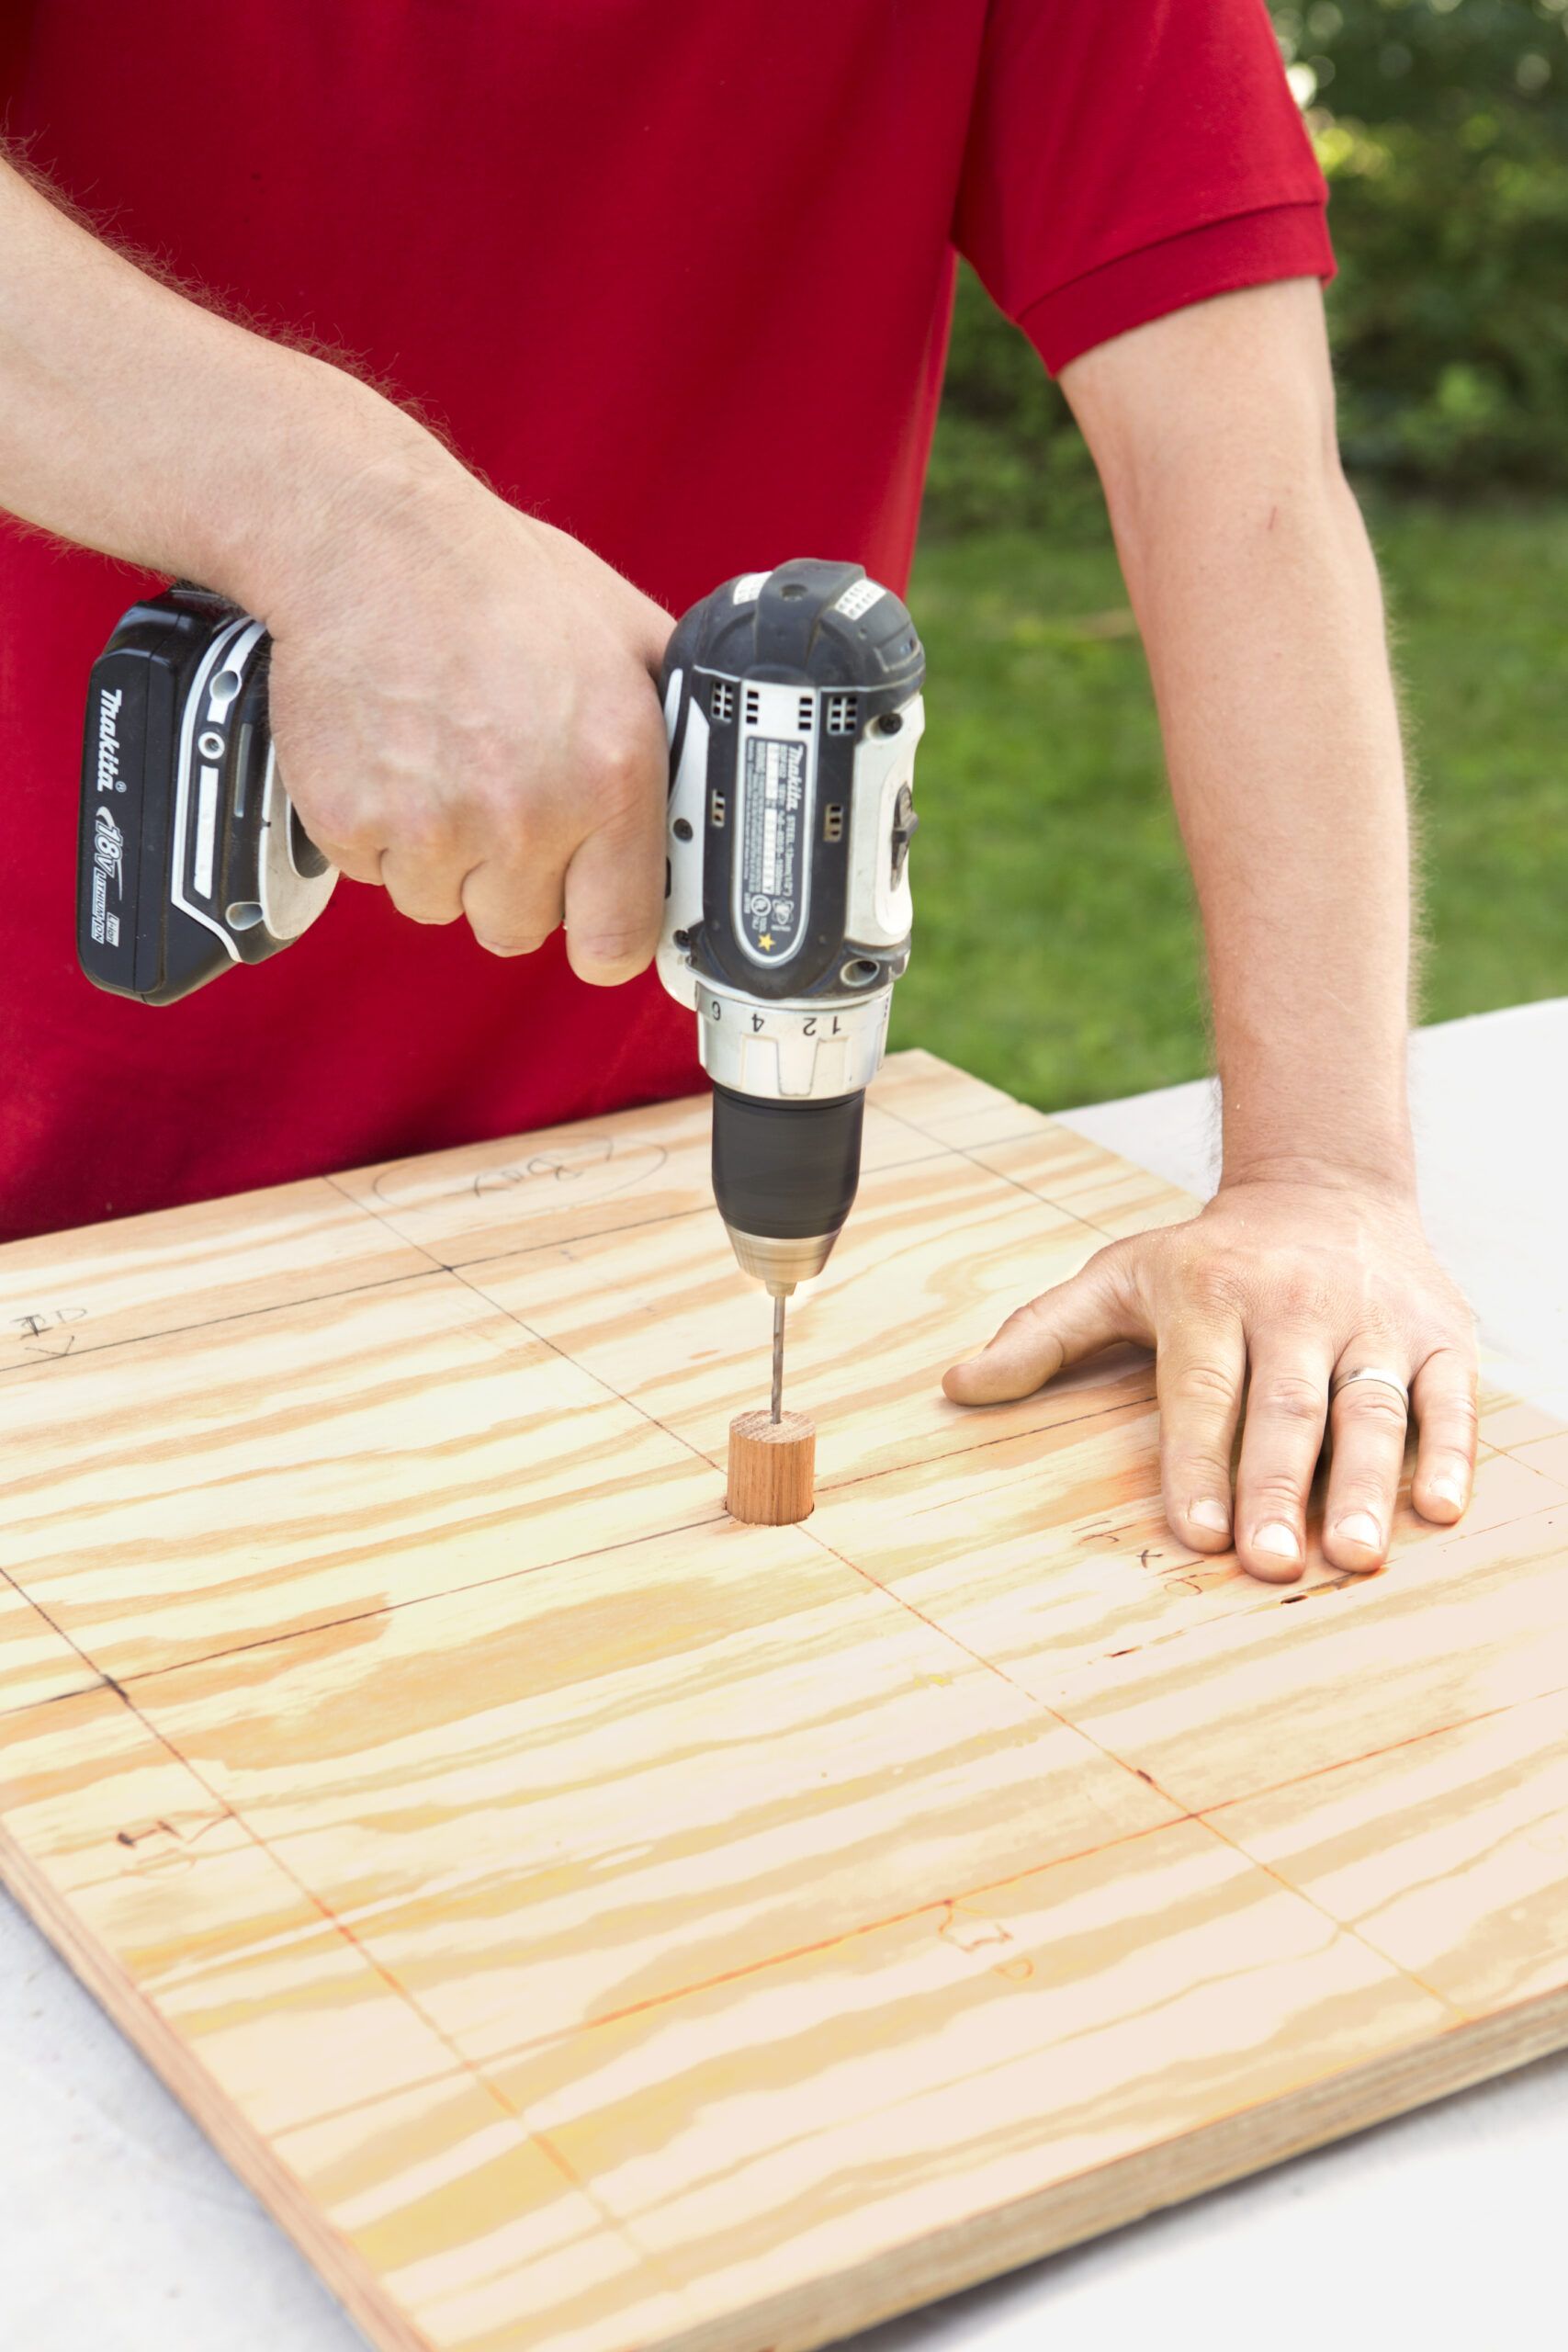
Cut a 1-inch-diameter wood dowel 1 1/2 inches long on your miter saw. It will create a drain hole for the planter. Using a 1/8-inch bit, drill a pilot hole through the dowel. Screw it to the center point of the base with a two-inch screw, as shown.
Step 7: Attach the Cleats
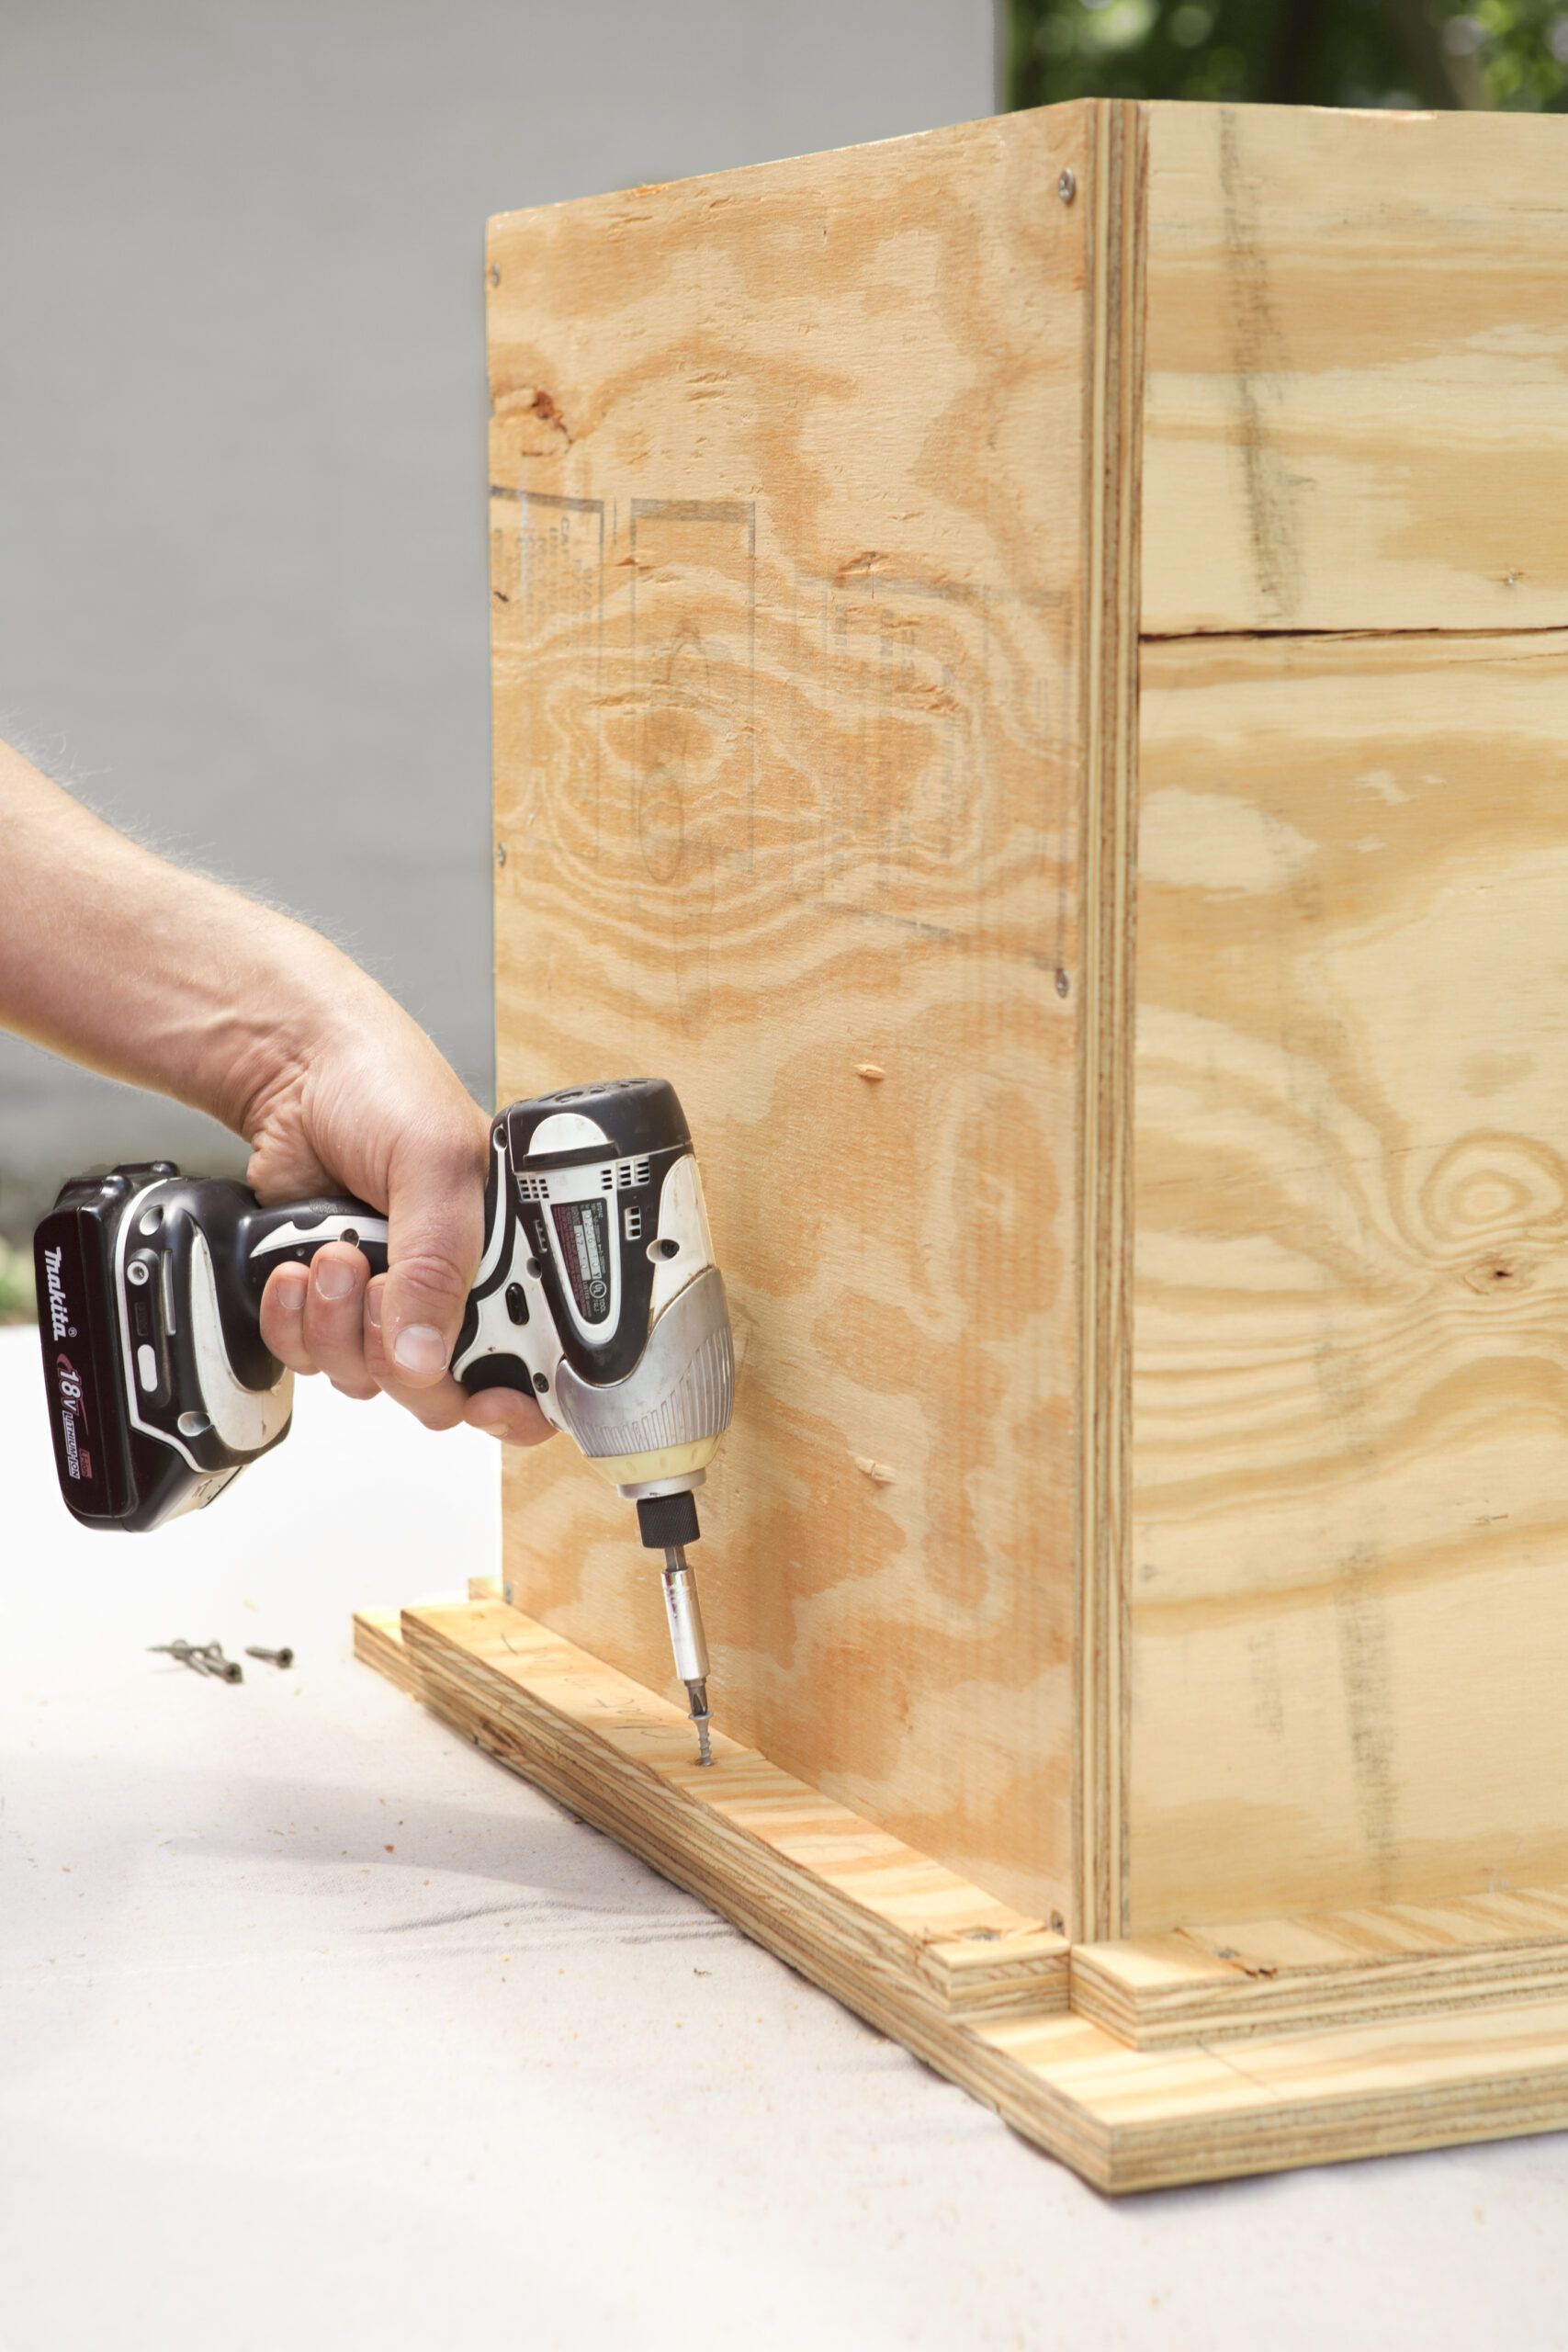
With the form centered on the base, place the cleats around it. Secure the cleats to the base with 1 1/4-inch screws. Use latex caulk to plug all the corners and joints inside the form, to keep the concrete from escaping.
Step 8: Cut the Pieces for the Interior Form

An interior form made from fiberboard sits inside the plywood form to create the walls of the planter. Draw the four sides and the base on a sheet of fiberboard. Use your circular saw and a clamped straightedge to cut the pieces.
Step 9: Assemble the Form
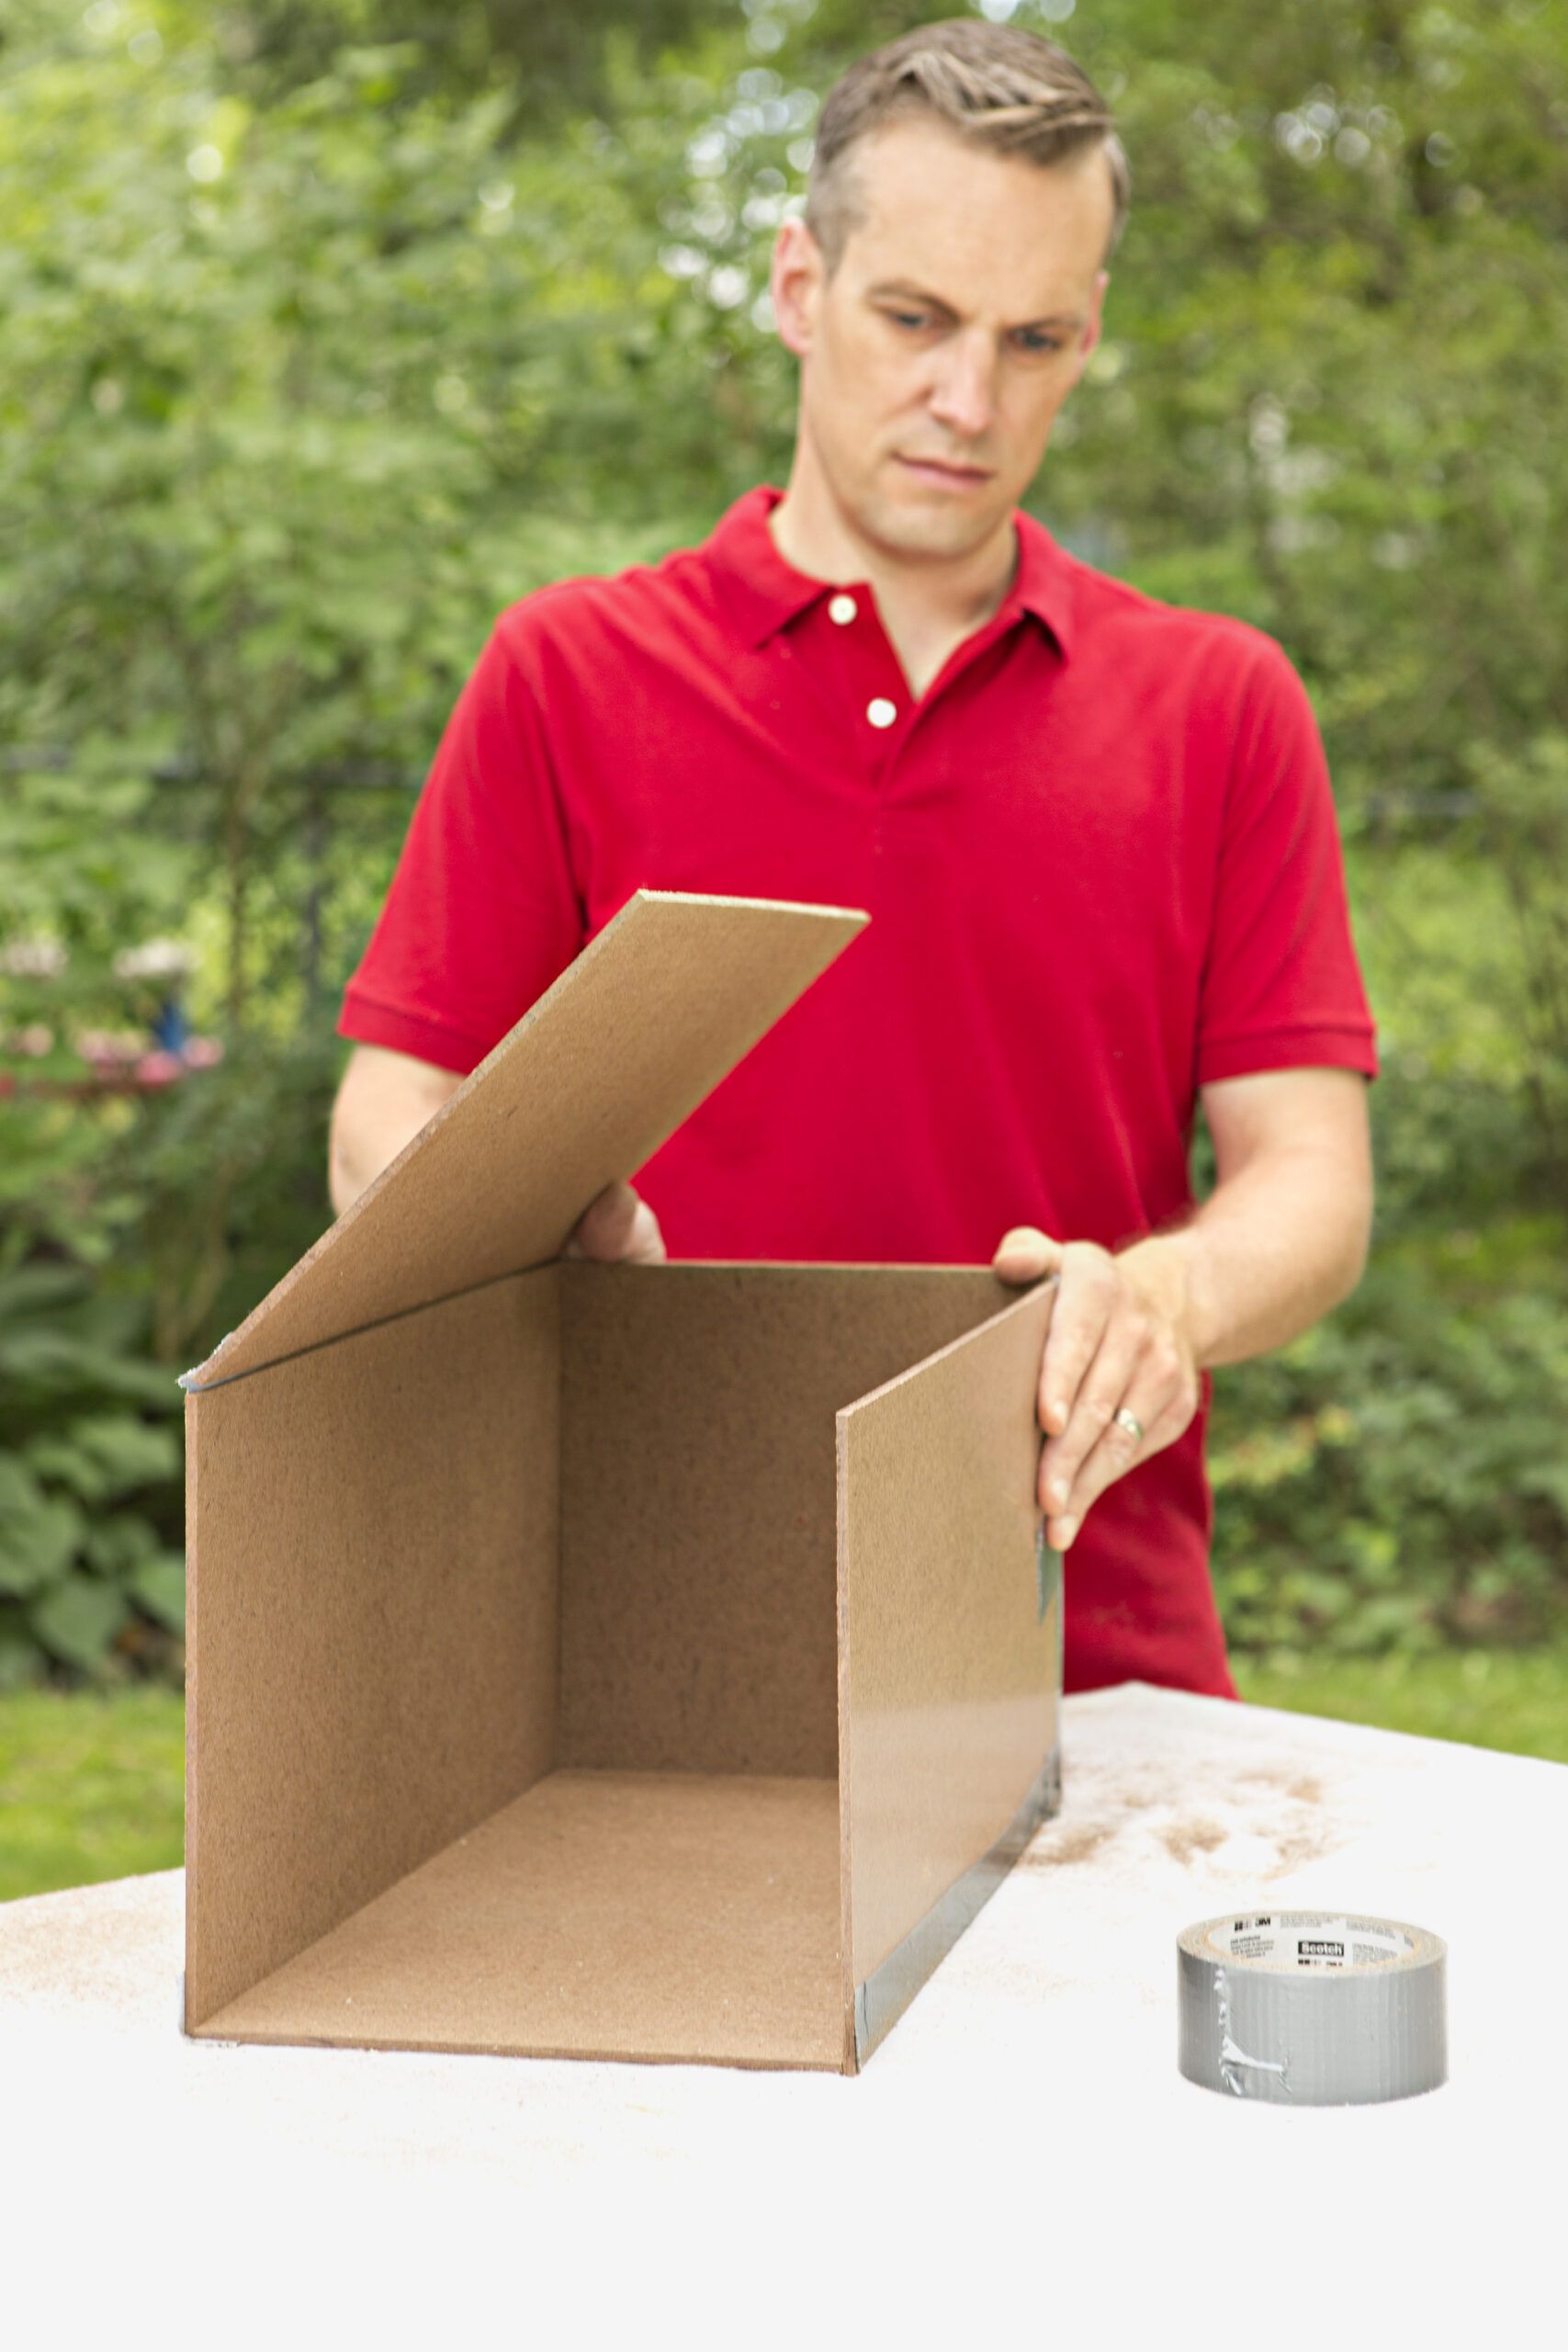
Create a box, as shown, using duct tape at the corners to hold the pieces together. Tape the joints on the outside, then tape them on the inside.
Step 10: Cover the Form

To protect the fiberboard from the water in the countertop mix, cover the interior form in a plastic bag and tape it securely in place.
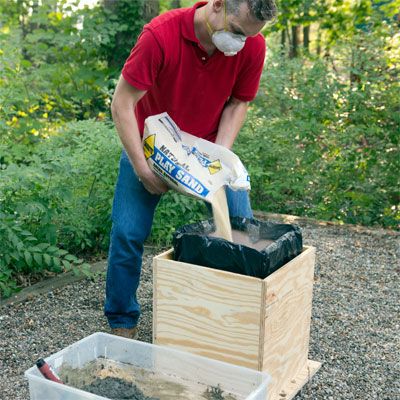
Step 11: Add Water To Mix
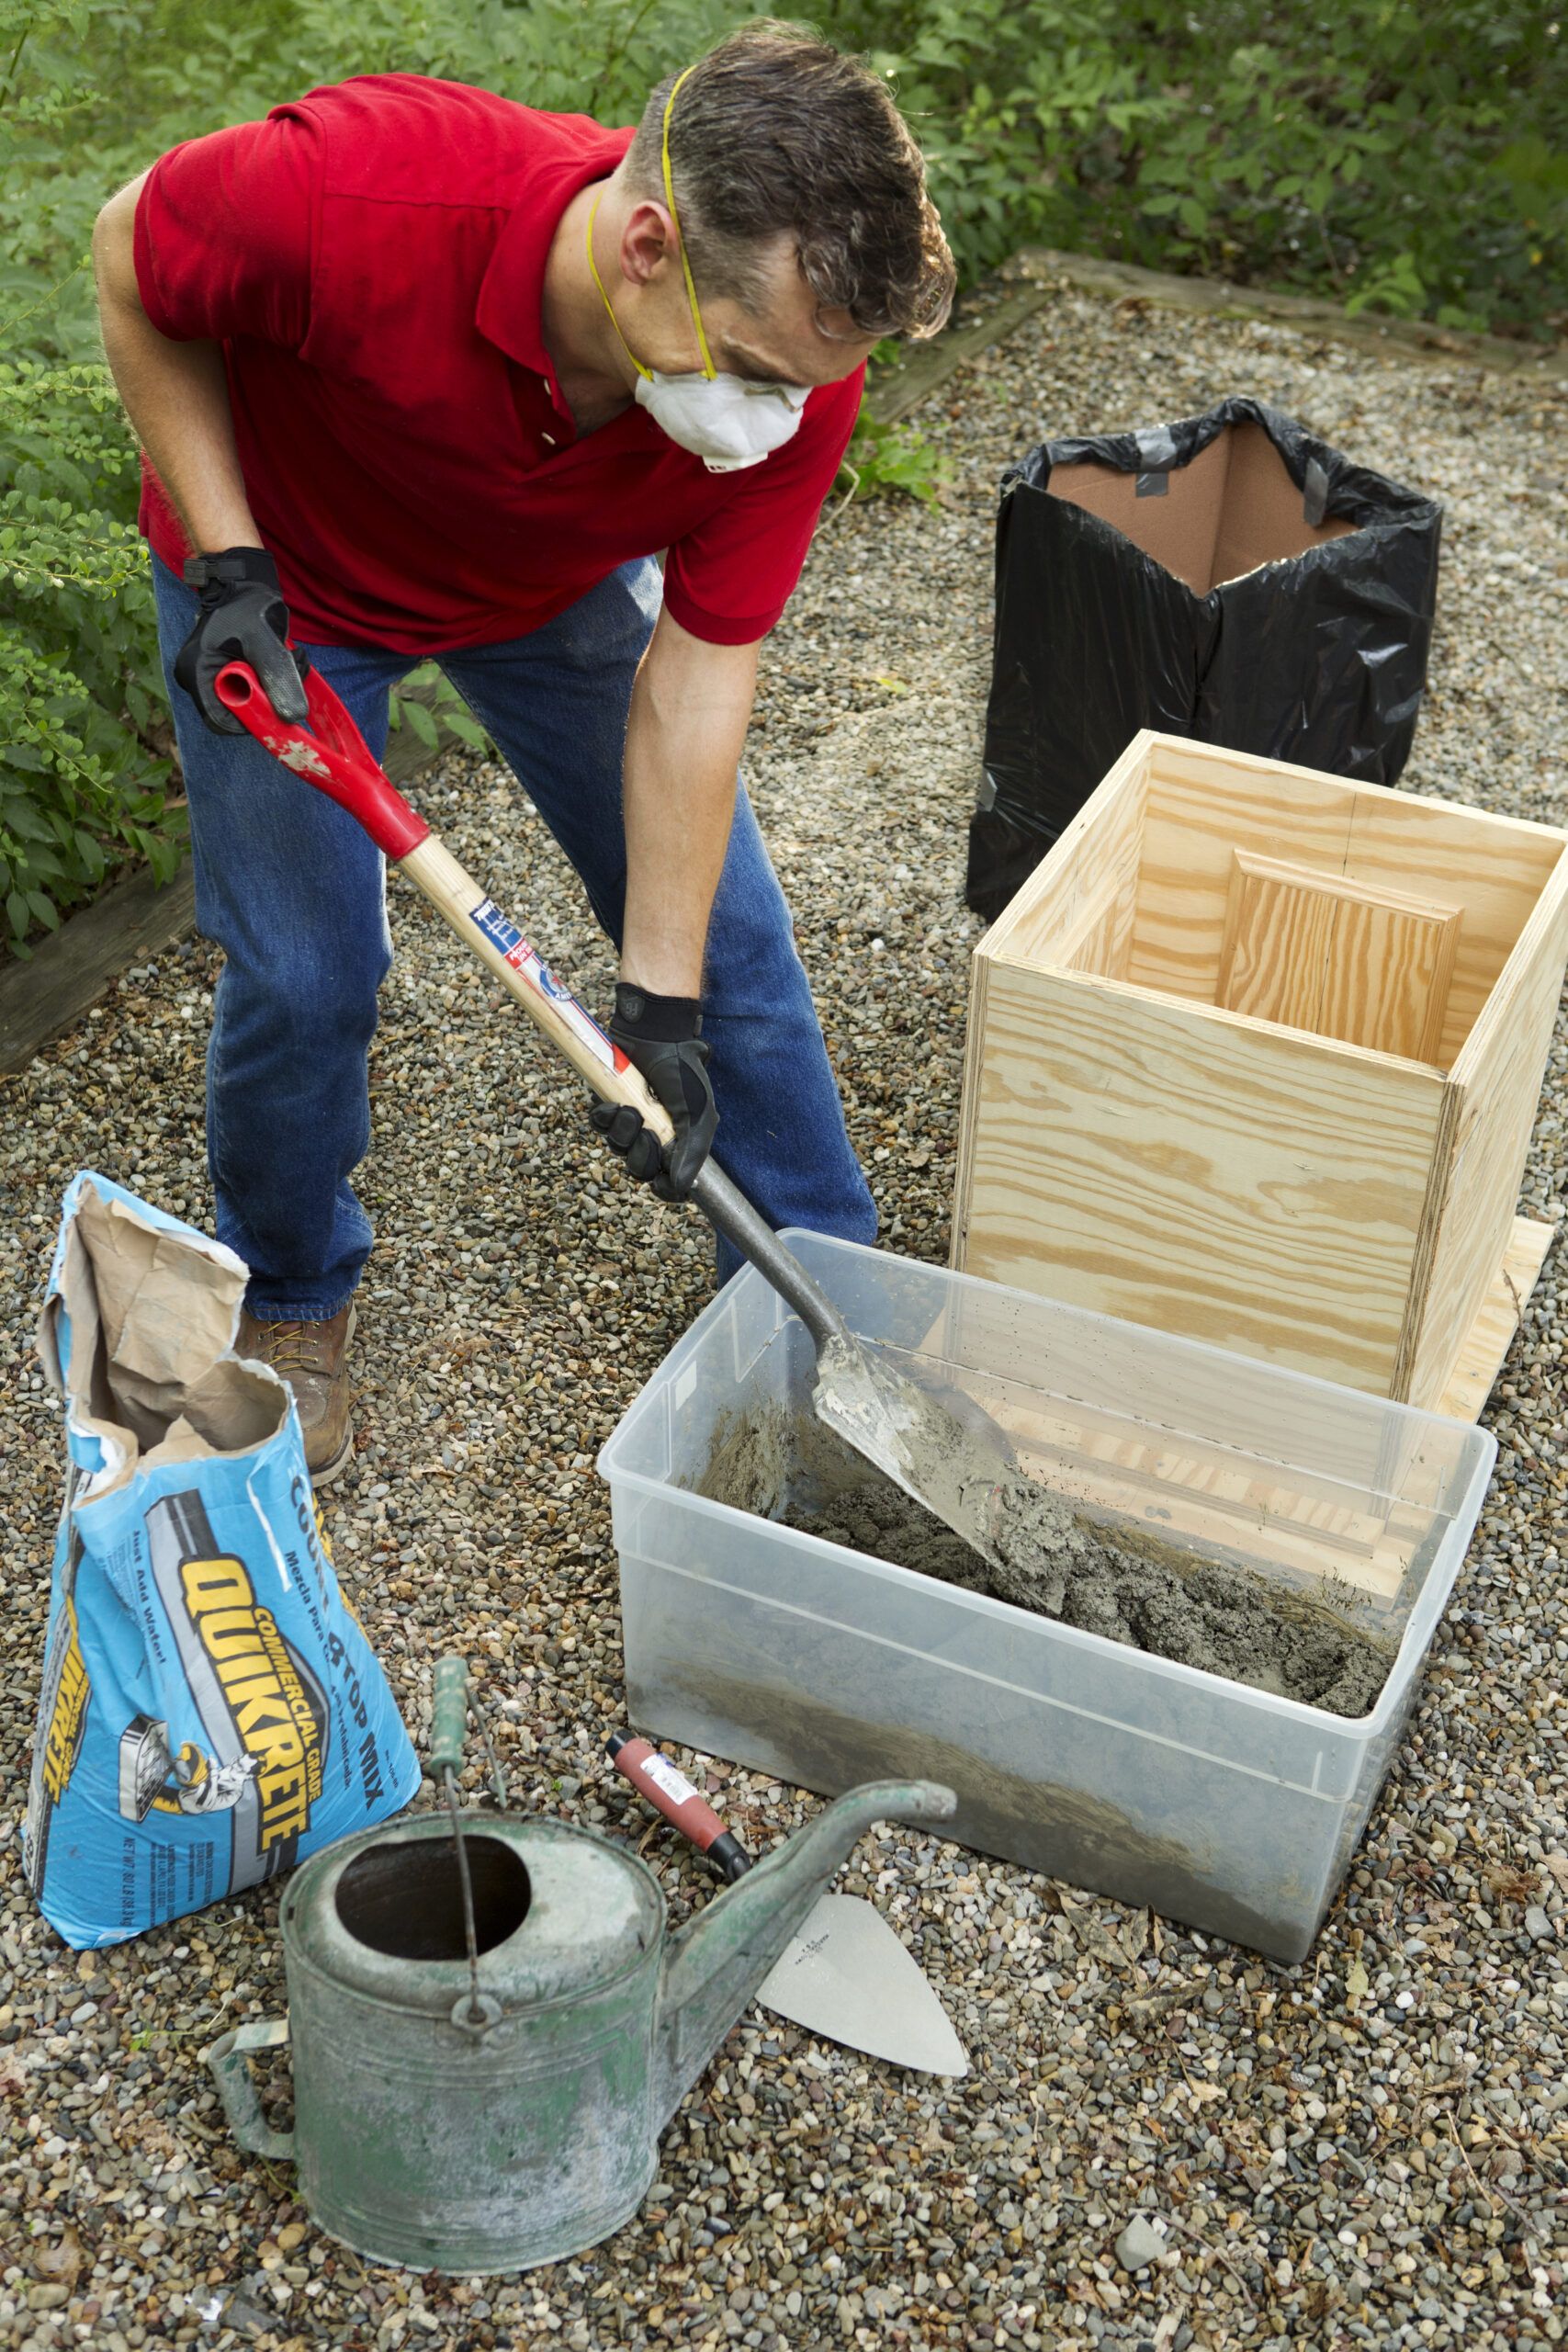
Pour a half bag of countertop mix into a large plastic container. Add a half gallon of water and turn the mix with a shovel until it’s thoroughly combined and has the consistency of cooked oatmeal. Set the mix aside for 10 minutes to allow it to slake. This resting period helps the water interact chemically with the cement.
Step 12: Lube the Form
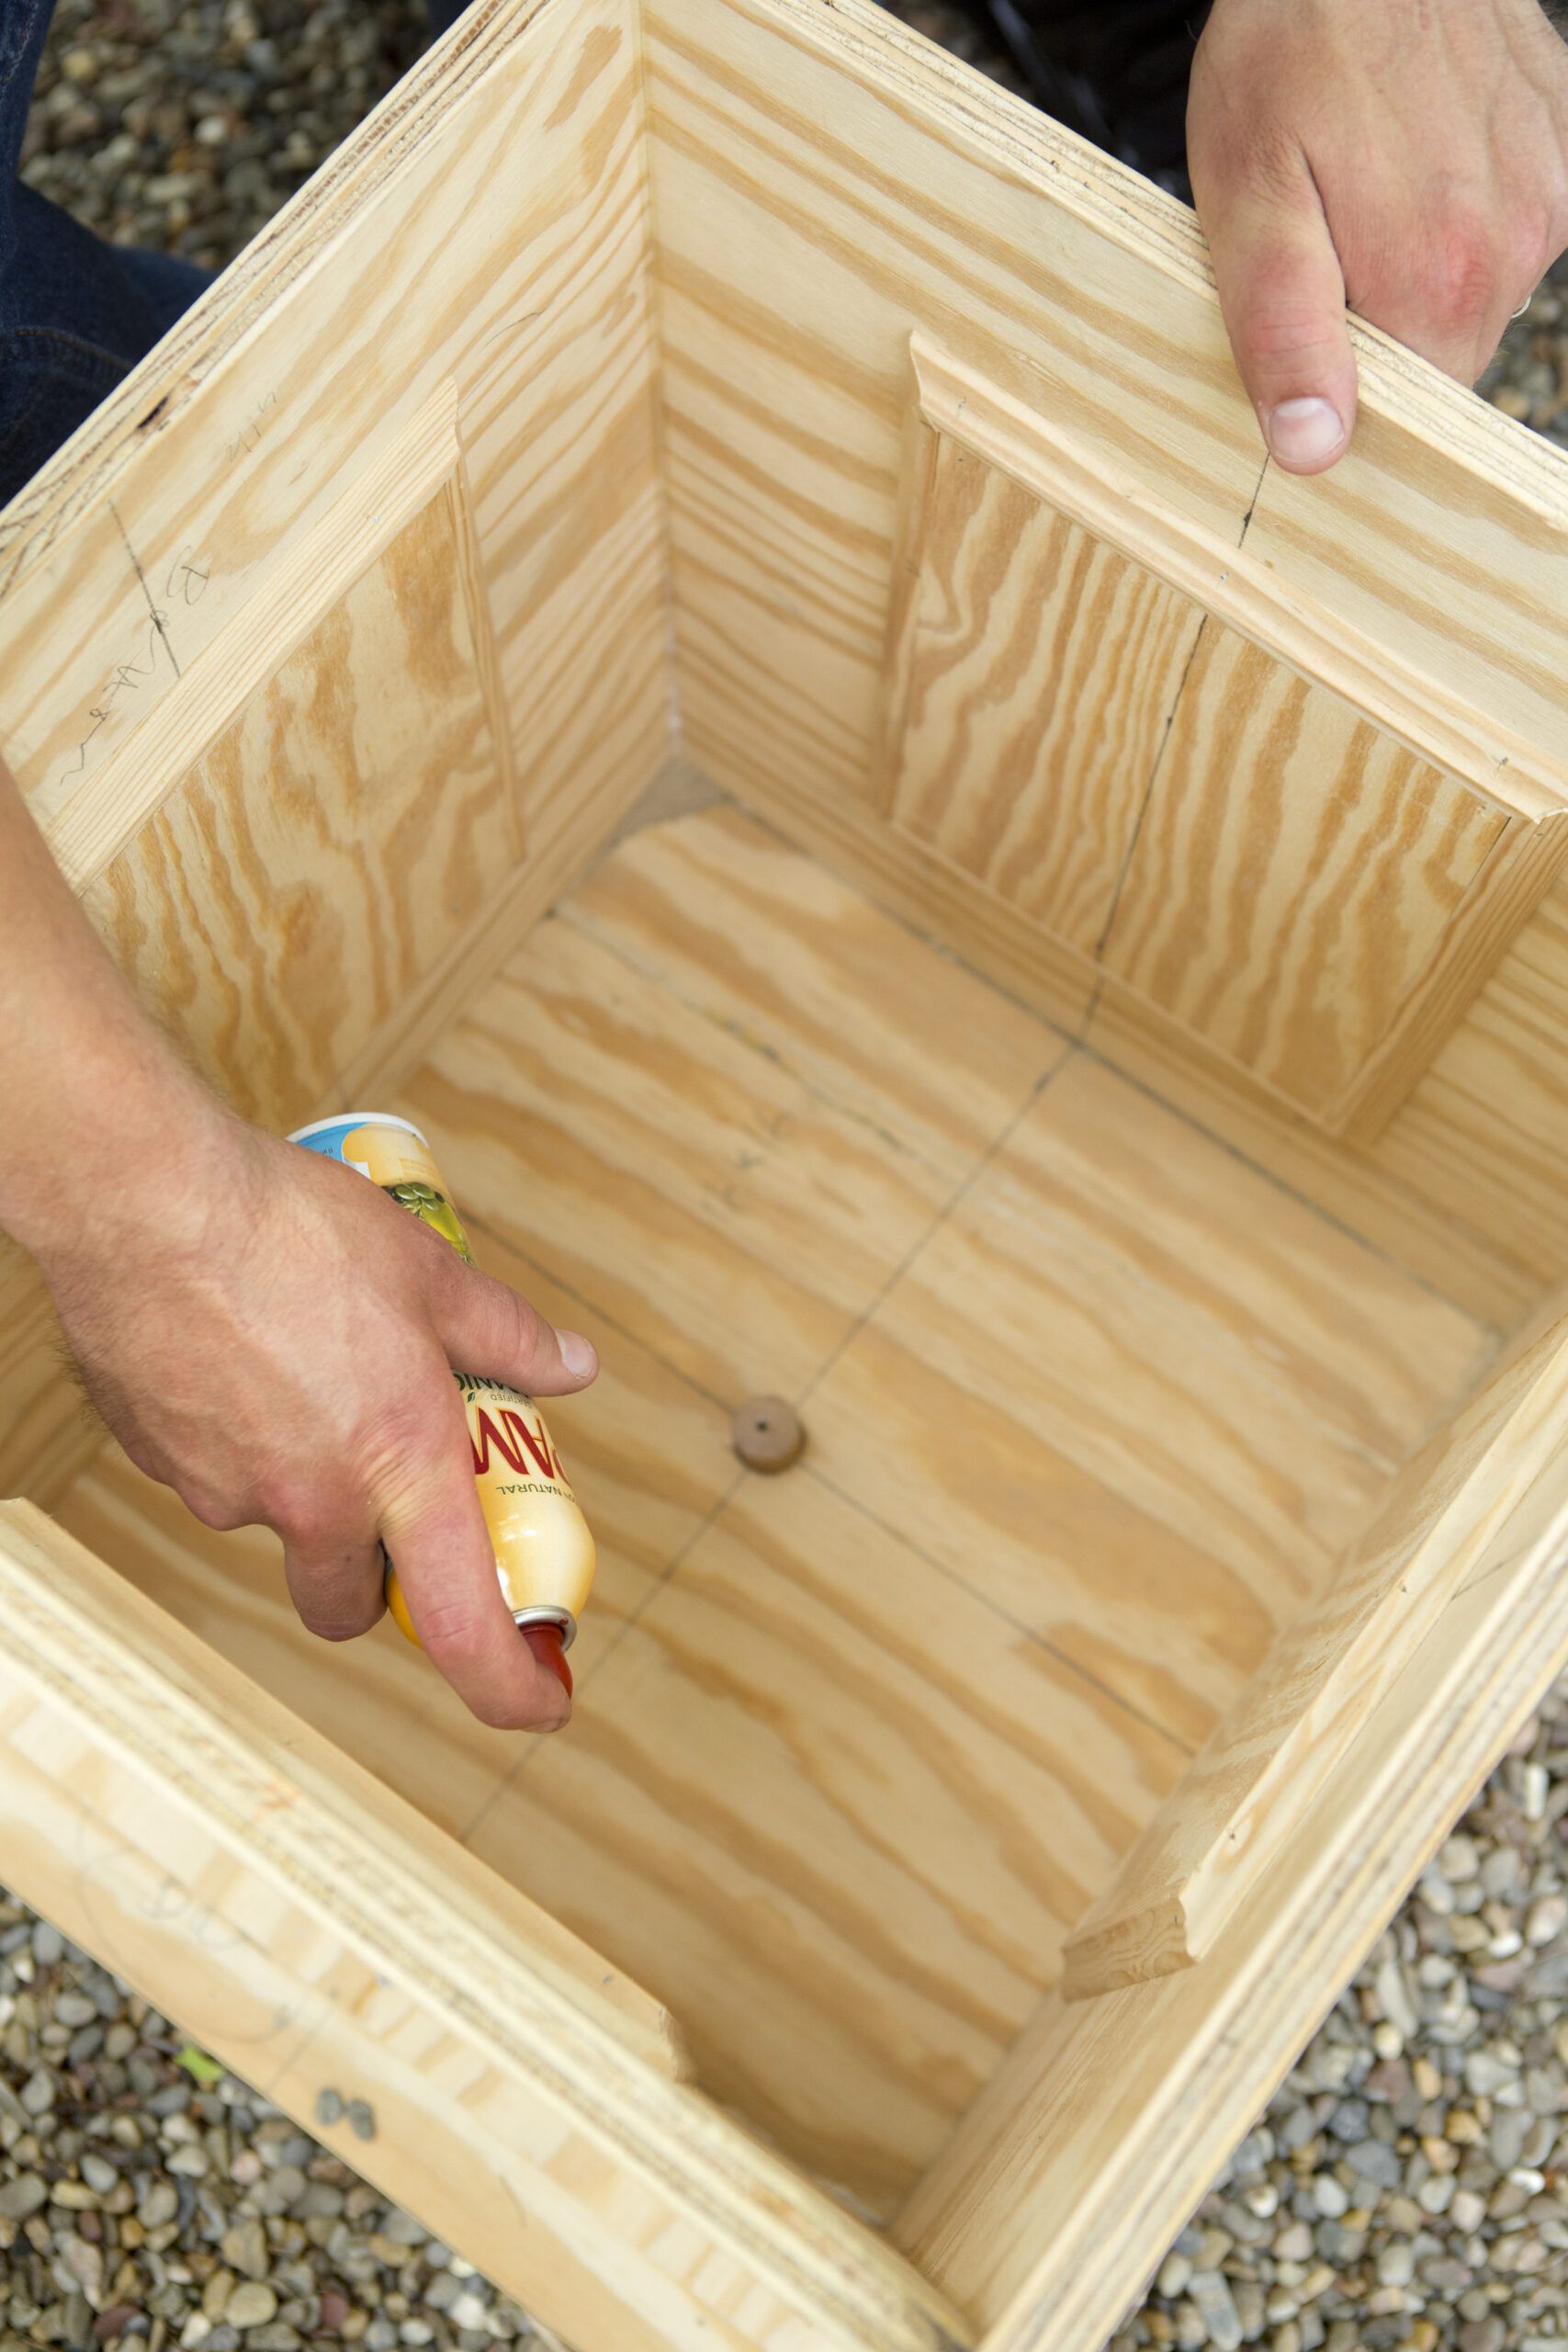
Apply oil to the inside of the form to make it easier to remove the planter from the form in Step 7. Vegetable or mineral oil will work, and a spray-on application makes the task easier.
Step 13: Add the Bottom Layer
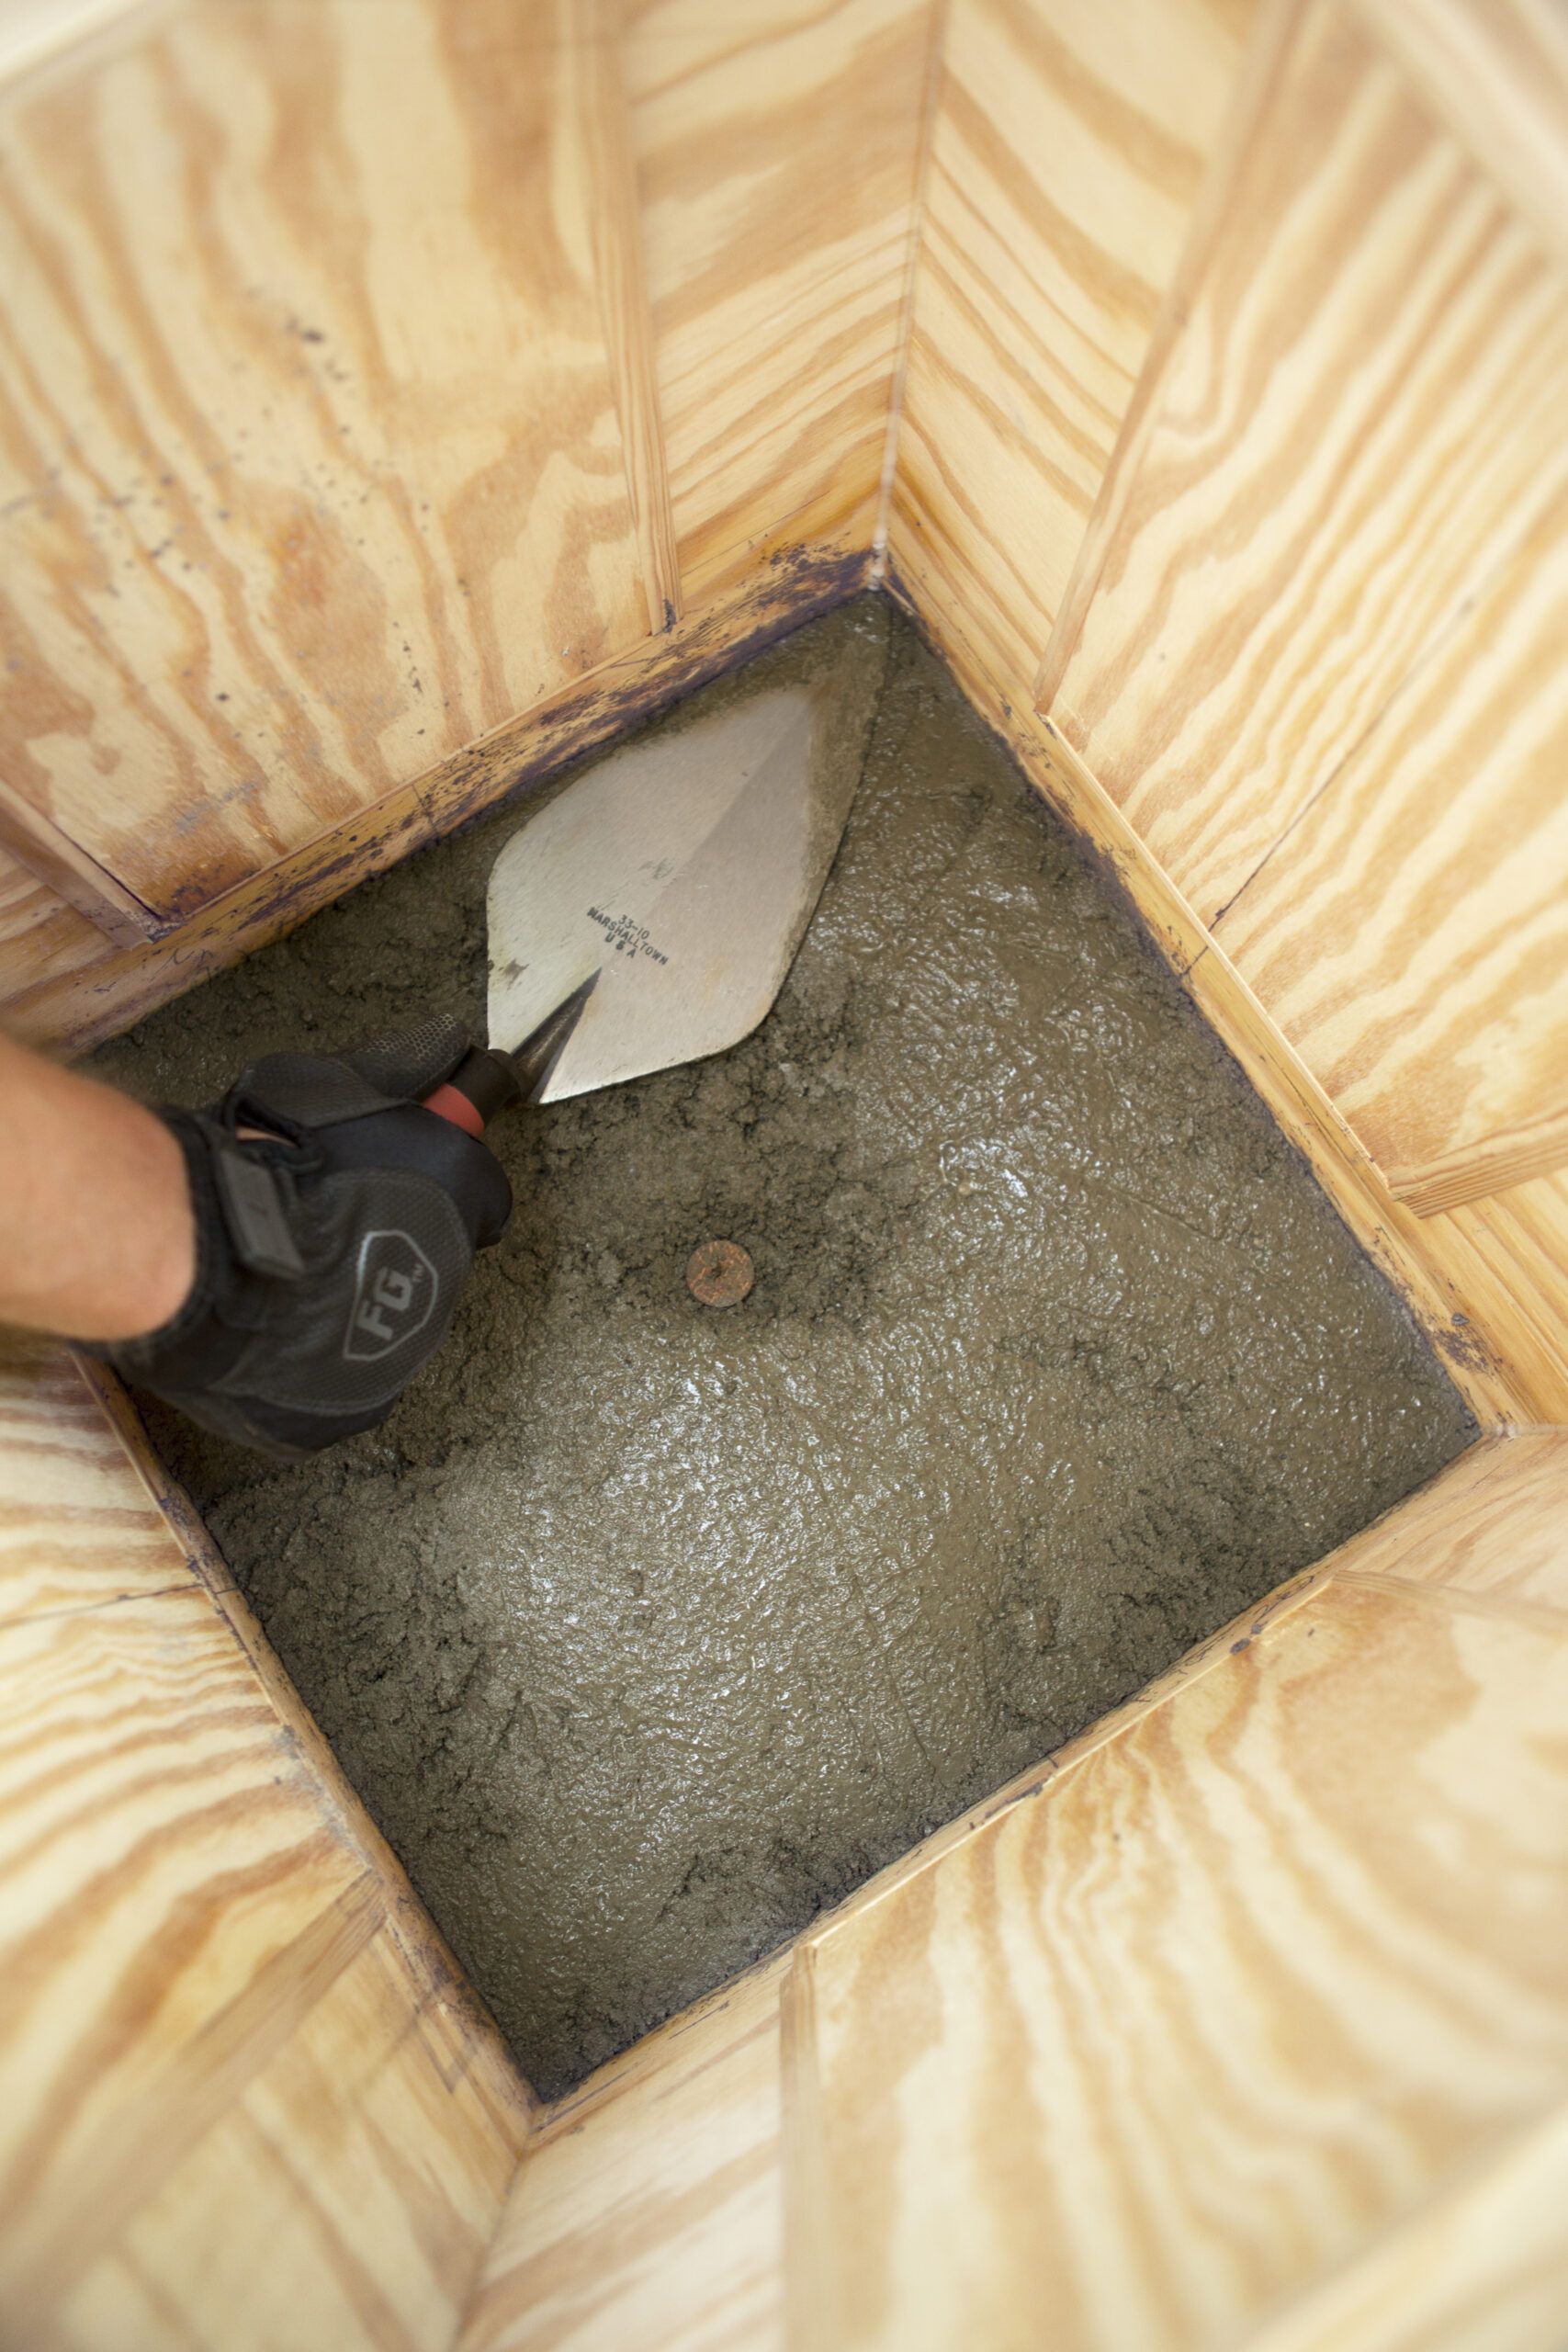
Use a masonry trowel to load the mix into the form, bringing the layer up to the top of the drain dowel. Work the mix into the corners, making sure to fill them completely.
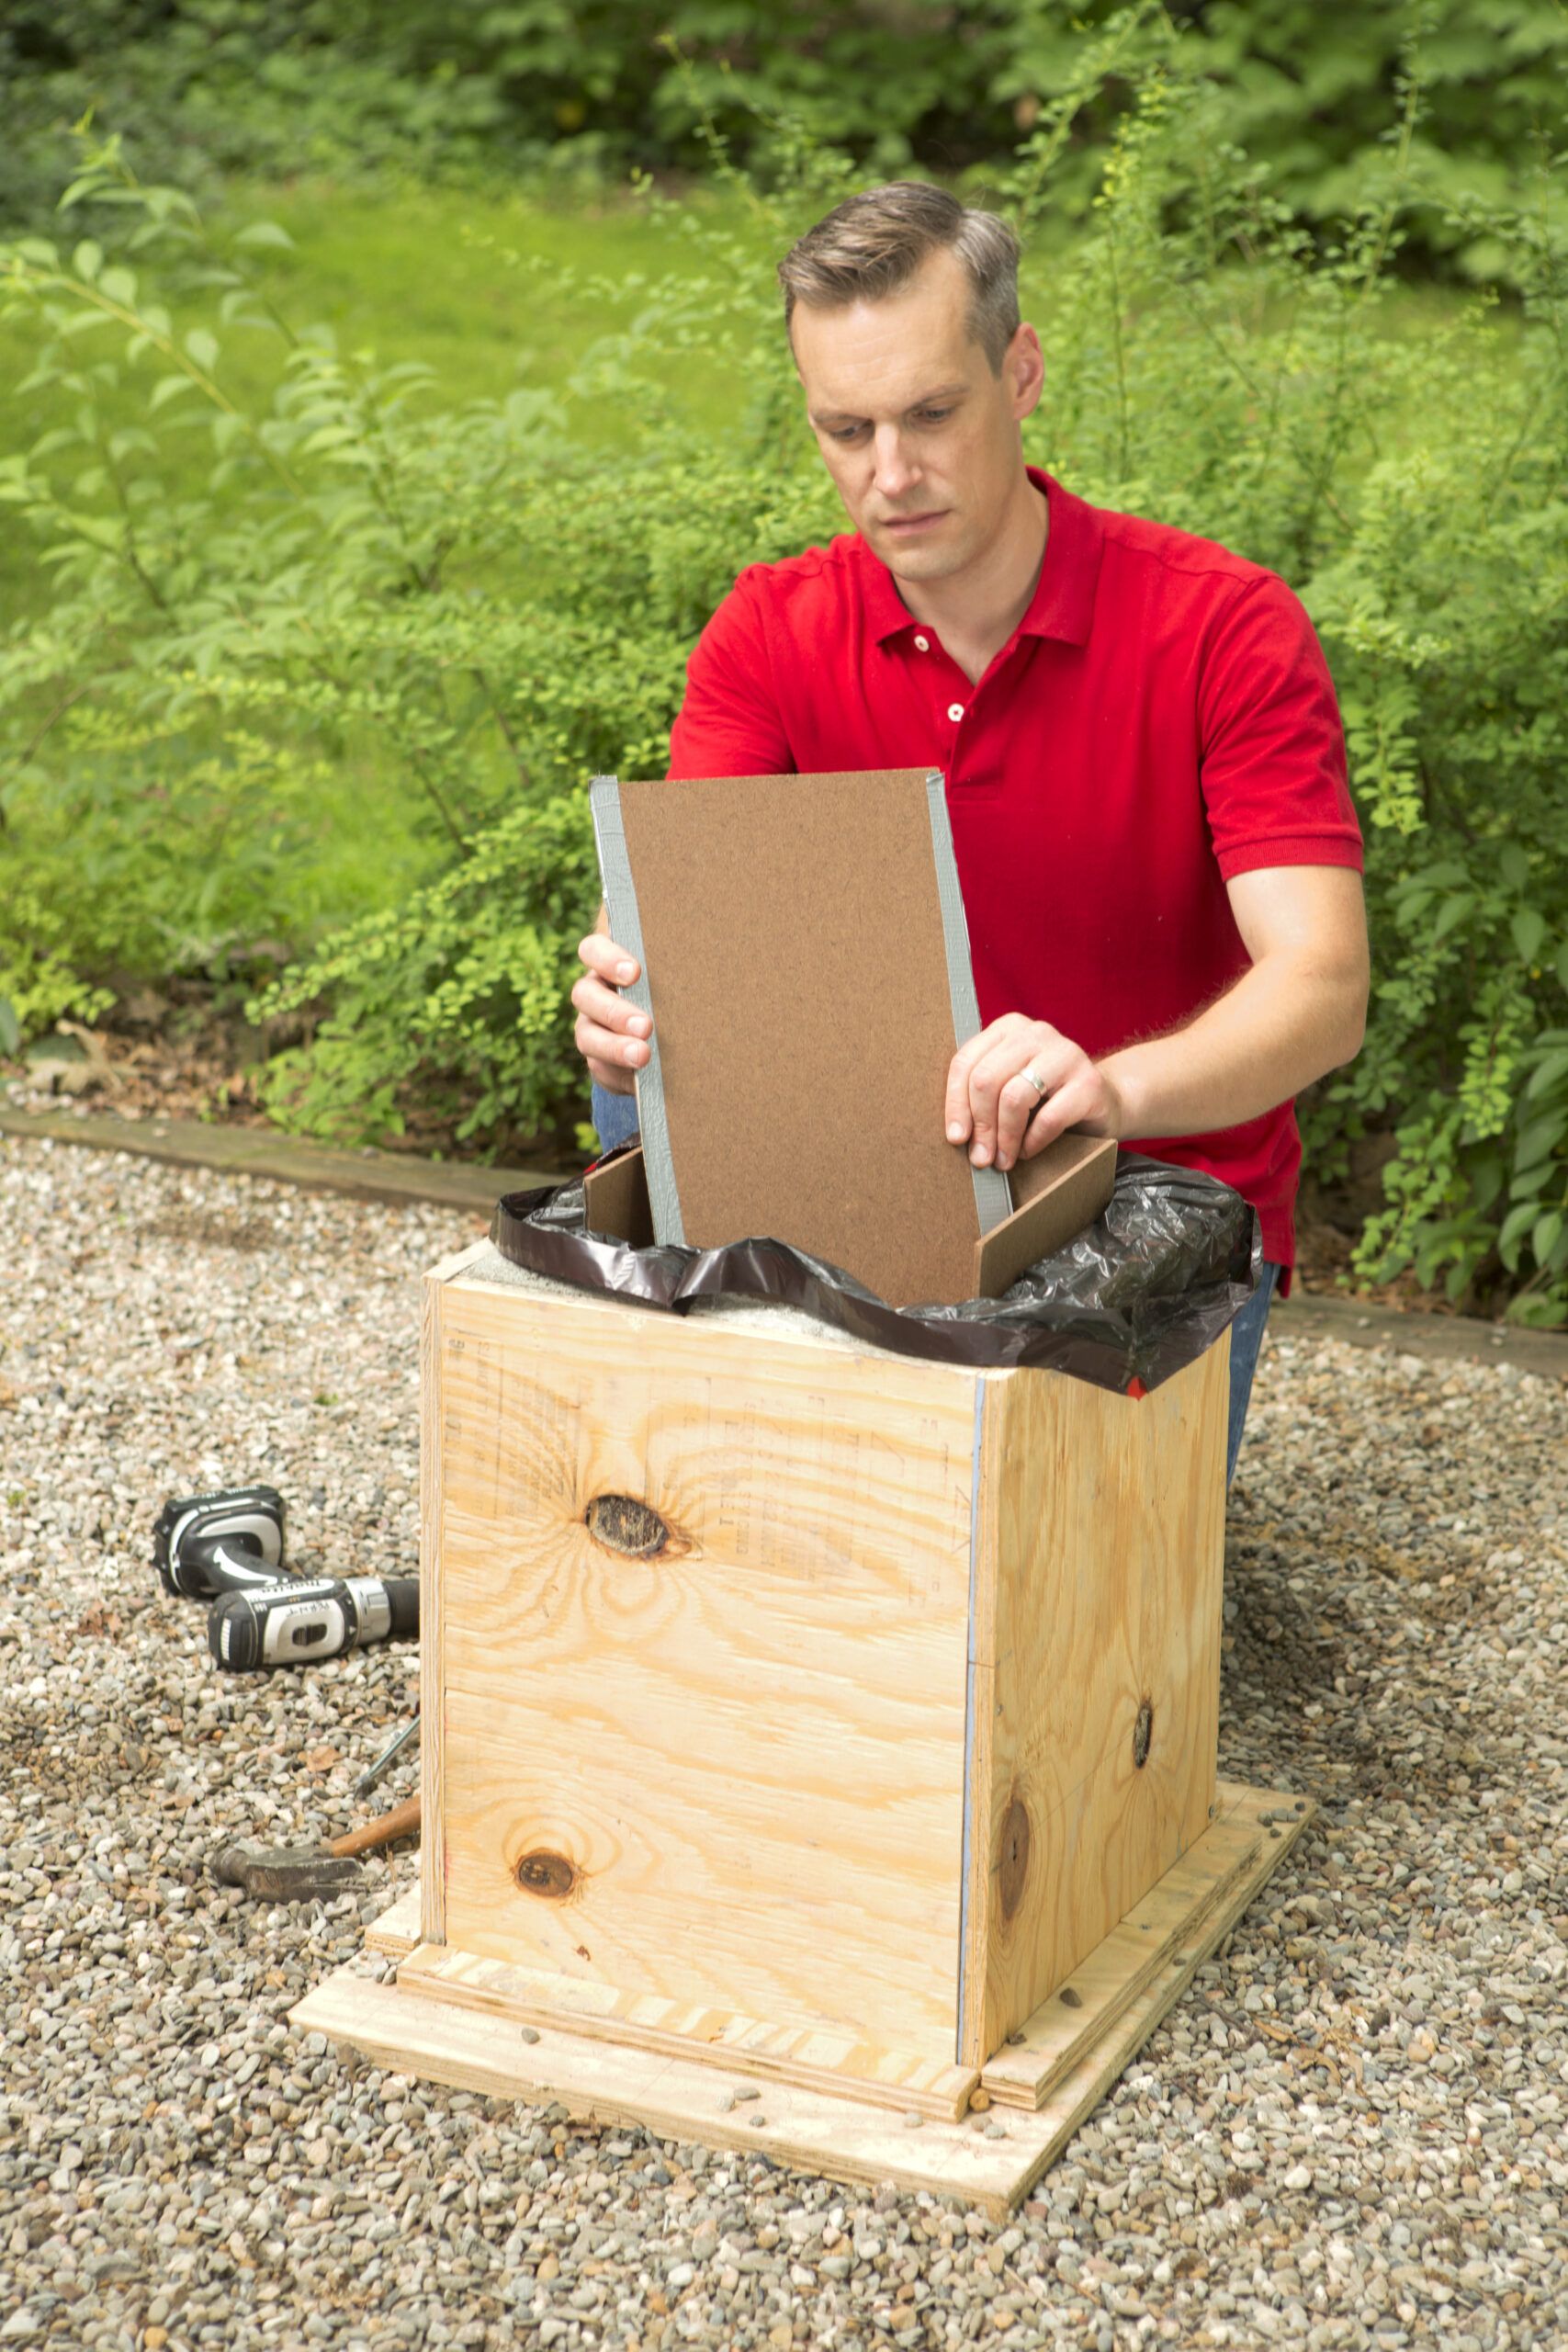
Step 14: Install the Interior Form
Set the interior form inside the plywood form. Fill the form with sand, as shown, to prevent its walls from collapsing or bowing from the pressure of the surrounding mix. Be sure to center the interior form to get an even wall thickness on all sides.
Step 15: Fill the Sides
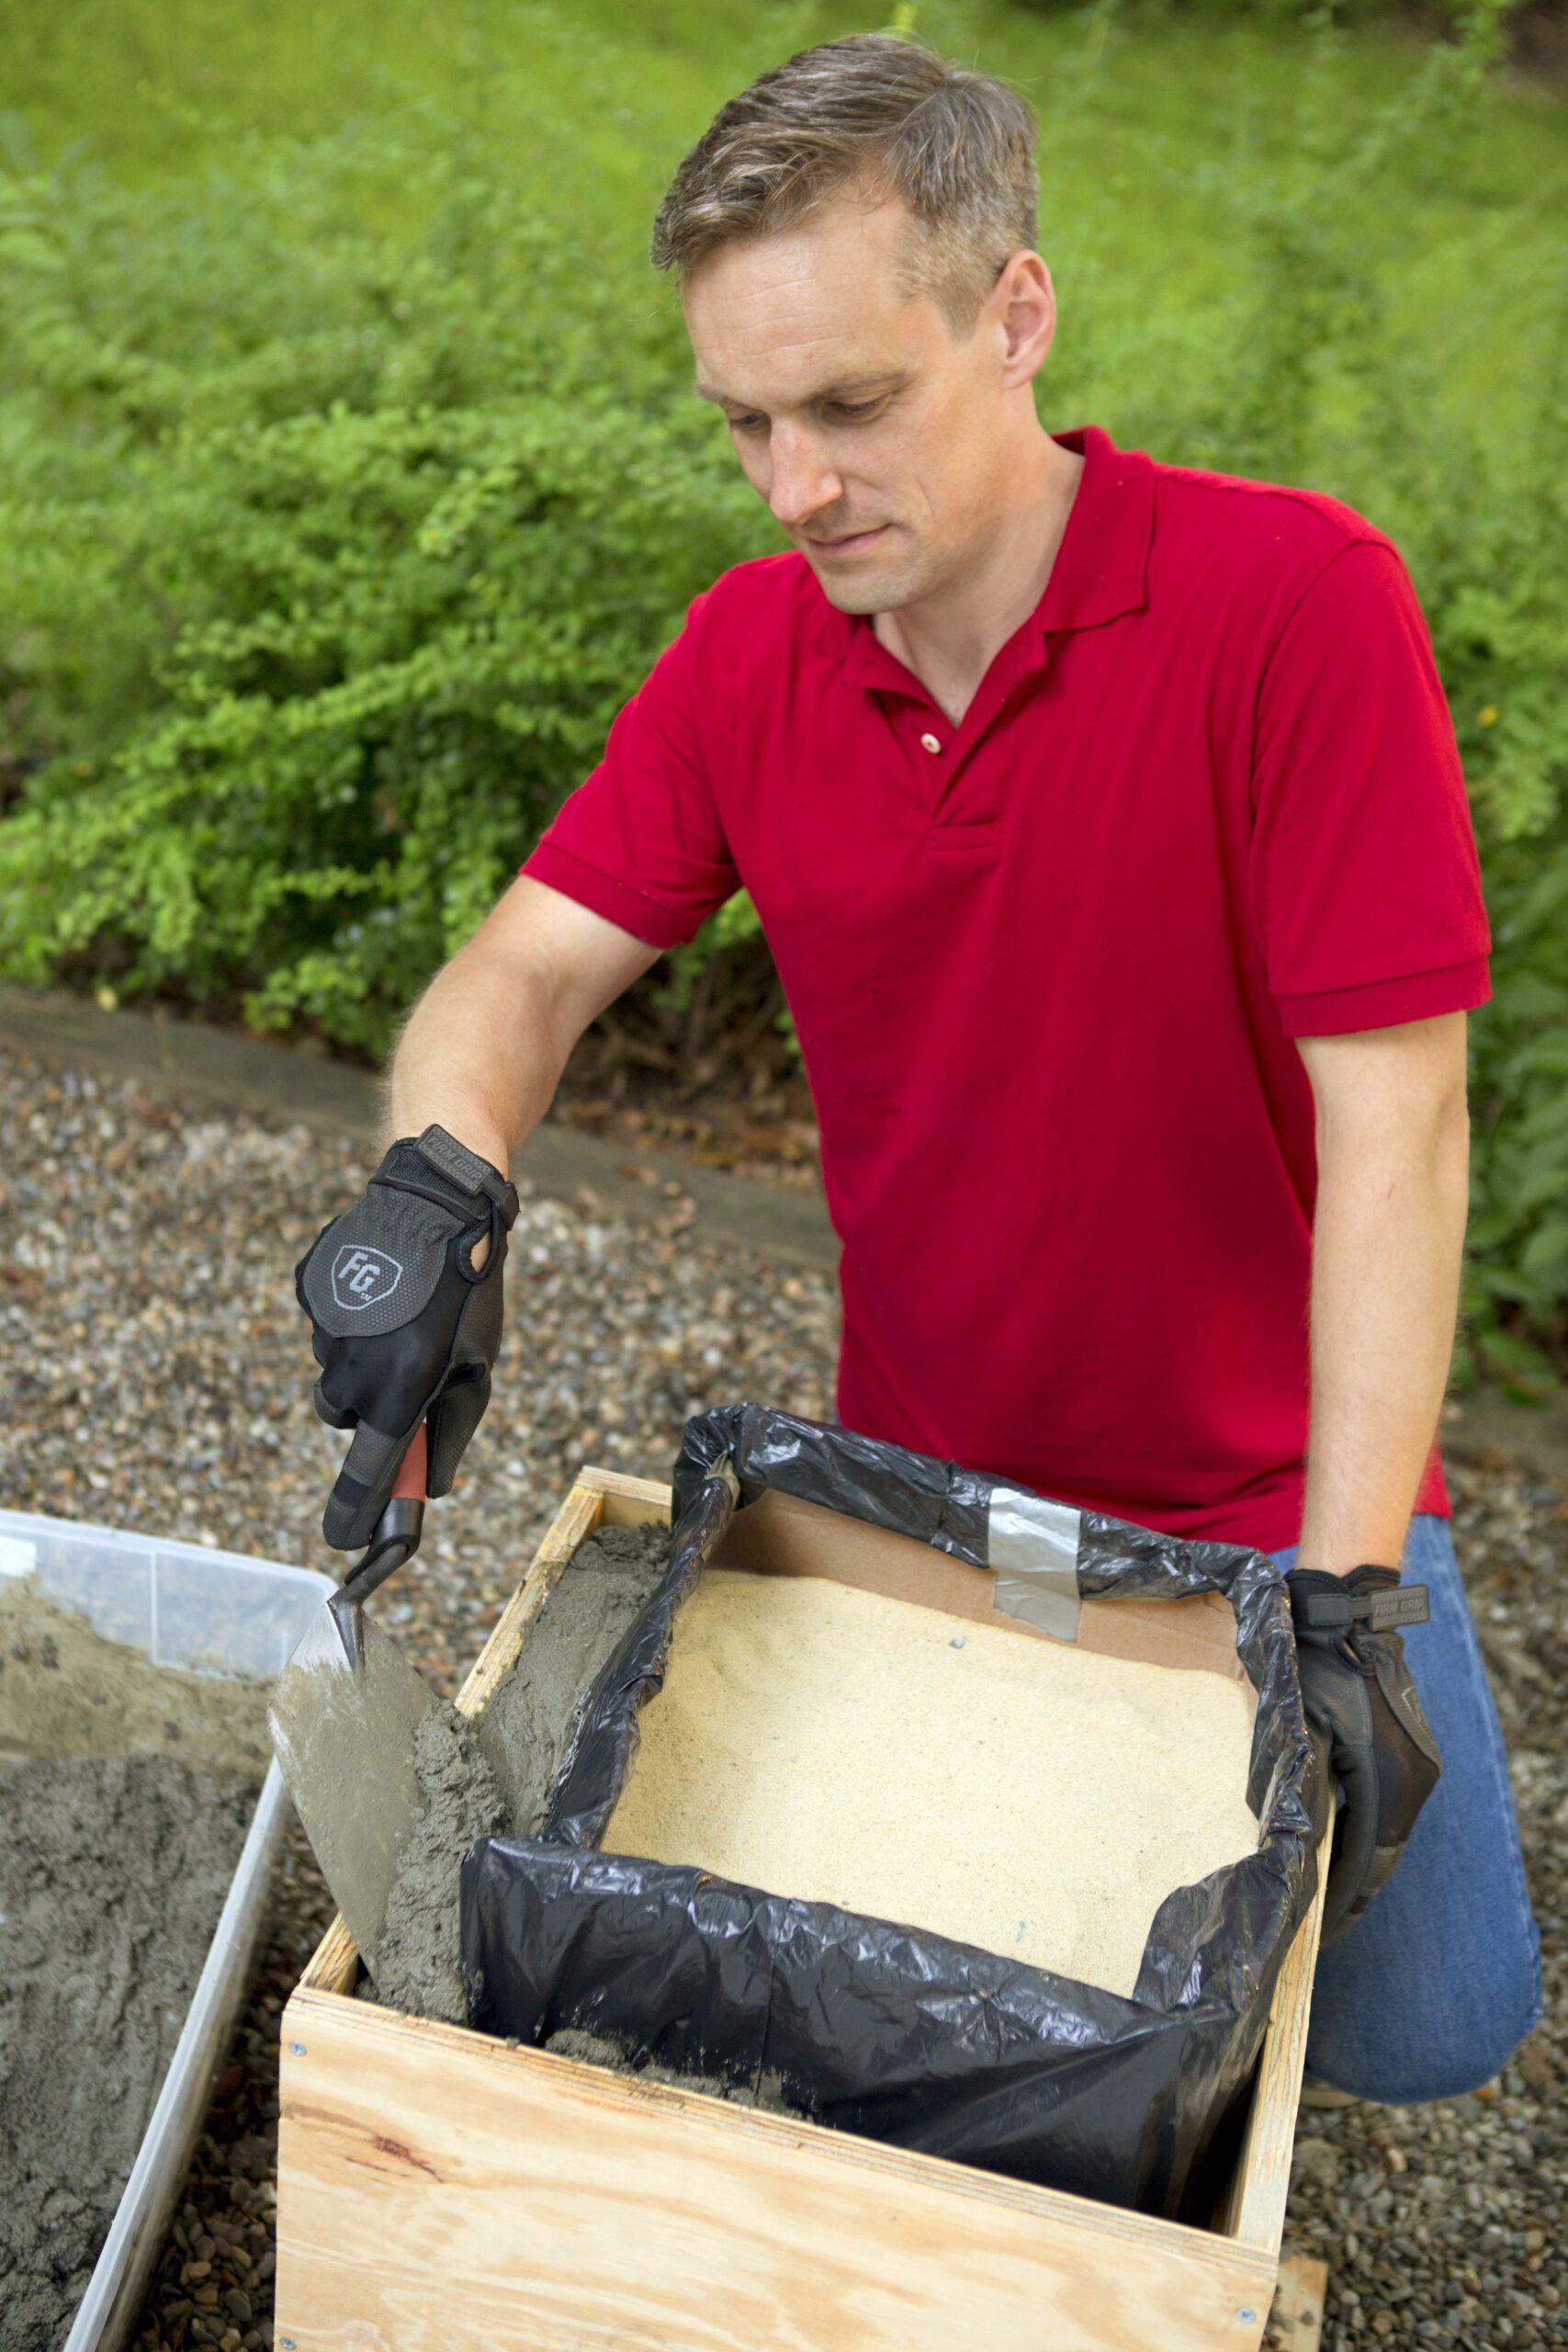
Pour the rest of the dry mix into your container and prepare it as you did in Step 6. Let the new mix slake for 10 minutes, then trowel it into the space between the forms, filling it to the top on all sides. Use the trowel to make the top edges of the walls smooth. Tap the sides of the filled form with a hammer to help remove any air bubbles from the mix. Let the mix cure in the form for at least 18 hours.
Tip: Rinse the completed planter with warm water and dish soap to remove residual vegetable oil.
Step 16: Remove the Interior Form
Tilt the form on its side to pour out the sand. Stand the form back upright and remove the fiberboard walls of the interior form.
Step 17: Pull the Form Apart

Remove the screws from the form and the dowel. Gently peel away the sides, as shown, and tilt the planter onto its side. Use your drill/driver and a ¼-inch bit to loosen the drain dowel, and a hammer and chisel to punch it out.
We finished our planter with a water-based translucent concrete stain from Quikrete. Get a friend to help you haul the planter to its spot, and plant something pretty.
Tips for a Professional Finish on Your Concrete Planter
Here are some additional tips and tricks to elevate your concrete planter:
- Sanding and smoothing: After removing the plywood form, use fine-grit sandpaper to smooth out any rough edges or surfaces on the planter. This will give it a polished and professional appearance.
- Sealing the concrete: To prolong the life of your concrete planter and protect it from weather elements, apply a concrete sealer. This can help enhance the color and provide a protective coating that will ward off moisture and stains.
- Adding decorative elements: Customize your planter by embedding decorative stones or tiles into the wet concrete. You can also carve or press designs into the surface before the concrete sets.
- Creating multiple planters: Consider making planters of varying sizes to create an interesting and cohesive garden display.