Project details
Skill
Cost
Estimated Time
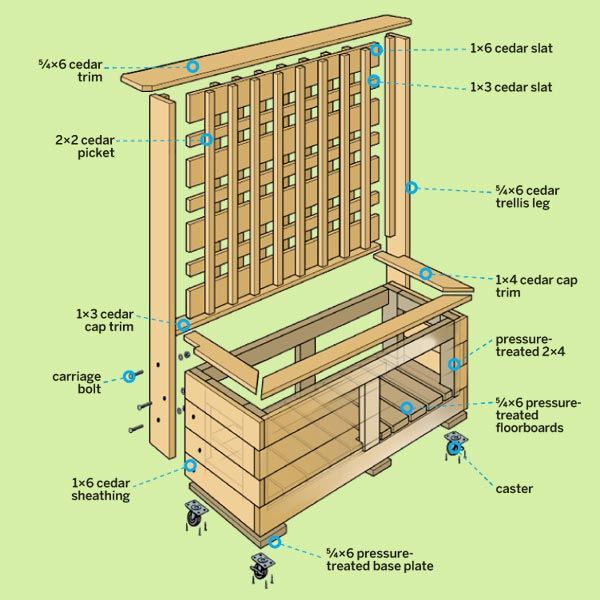
A privacy planter combines a sturdy planter box with an attractive trellis, creating a mobile screen that can beautify your patio, deck, or porch while providing a natural barrier. In this guide, we’ll walk you through how to build a privacy planter, from constructing the frame to adding the finishing touches. You can follow along with the process in the video above.
Materials and Tools Needed To Build a Privacy Planter
Before you begin, gather the following materials and tools:
Lumber
- Cedar 1×3 boards
- Cedar 1×6 boards
- Cedar 2×2 pickets
- Cedar ⁵⁄₄x6 boards
- Pressure-treated 2x4s
- Pressure-treated ⁵⁄₄x6 decking
Hardware and Accessories
- 1⅝-inch stainless-steel trim-head screws
- 2½-inch deck screws
- 2-inch deck screws
- ⅜-inch carriage bolts with washers and nuts
- Crushed stone
- Heavy-duty casters (two locking)
- Landscape fabric
- Potting soil
Tools
- Clamps
- Combination square
- Drill/driver
- Jigsaw
- Miter saw
- Socket wrench
 Miter saw
- Clamps
- Drill/driver
- Jigsaw
- socket wrench
- Combination square


Privacy Planter Cut List
- 2×4 pressure-treated horizontal rail, front and rear: four at 55½ inches
- 2×4 pressure-treated vertical center support, front and rear: four at 13 inches
- 2×4 pressure-treated vertical support, end: four at 20 inches
- 2×4 pressure-treated horizontal rail, end: four at 9 1/2 inches
- 5/4×6 pressure-treated base plates: three at 16 inches
- 5/4×6 pressure-treated floorboards: ten at 16 inches
- 1×6 cedar sheathing, front and rear: eight at 59 1/4inches
- 1×6 cedar sheathing, ends: eight at 17 1/4 inches
- 5/4×6 cedar trellis legs: two at 70 1/4 inches
- 5/4×6 cedar trellis top trim: one at 76 inches
- 1×6 cedar trellis horizontal slat: four at 60 inches
- 1×3 cedar trellis horizontal slat: three at 60 inches
- 2×2 cedar trellis vertical pickets: seventeen at 47 1/2 inches
- 1×3 cedar rear cap trim: one at 60 inches
- 1×4 cedar front cap trim: one at 62 1/2 inches
- 1×4 cedar end cap trim: two at 16 1/2 inches
Building the Planter Frame
Once you’ve gathered your tools and set up your workstation, you’re ready to start building. The foundation of your privacy planter will be a sturdy frame made from pressure-treated lumber. This provides durability and resistance to rot, even when exposed to moisture from watering your plants.
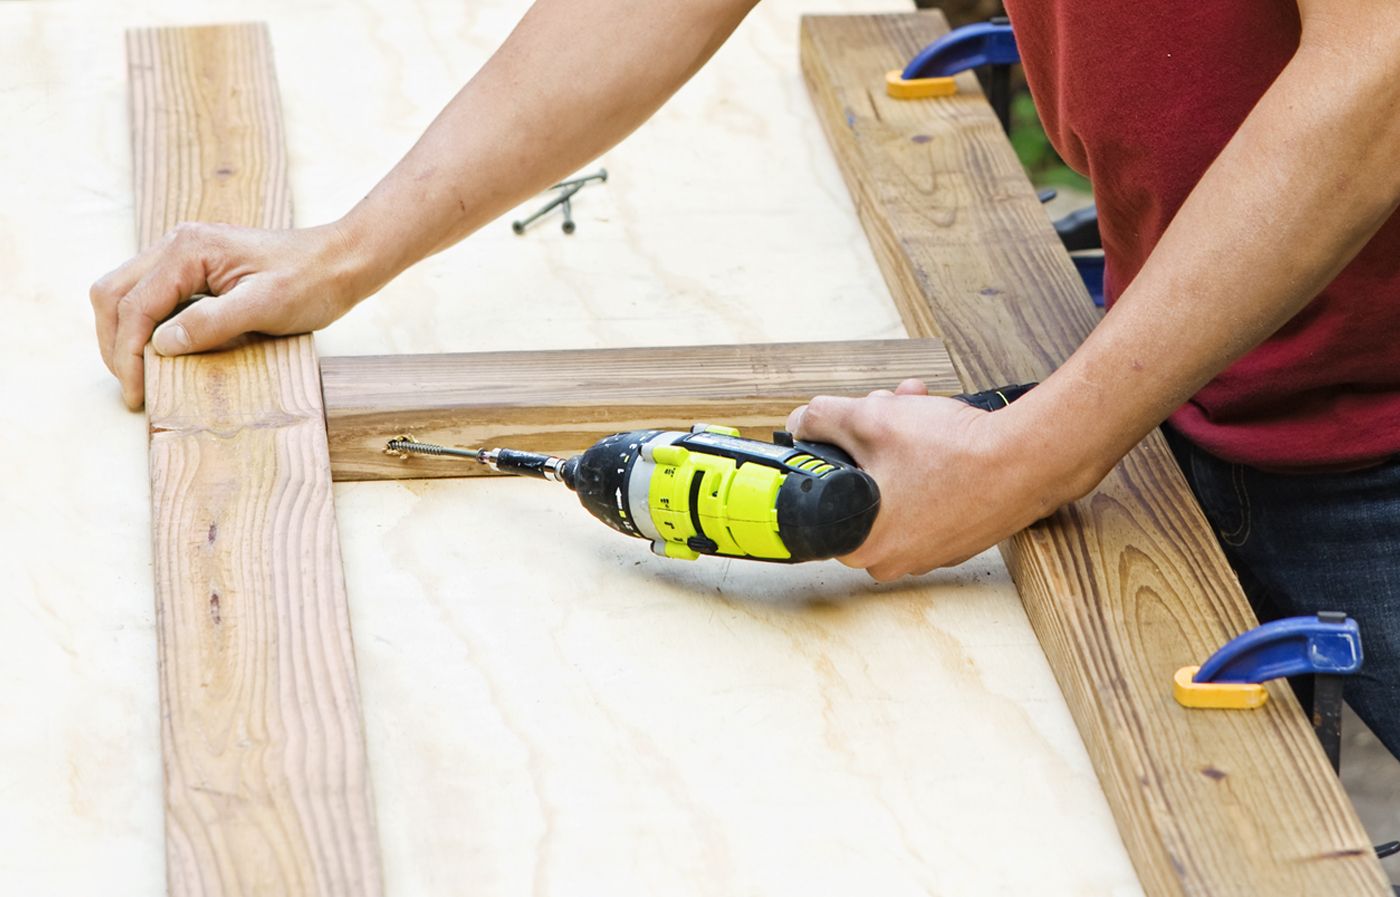
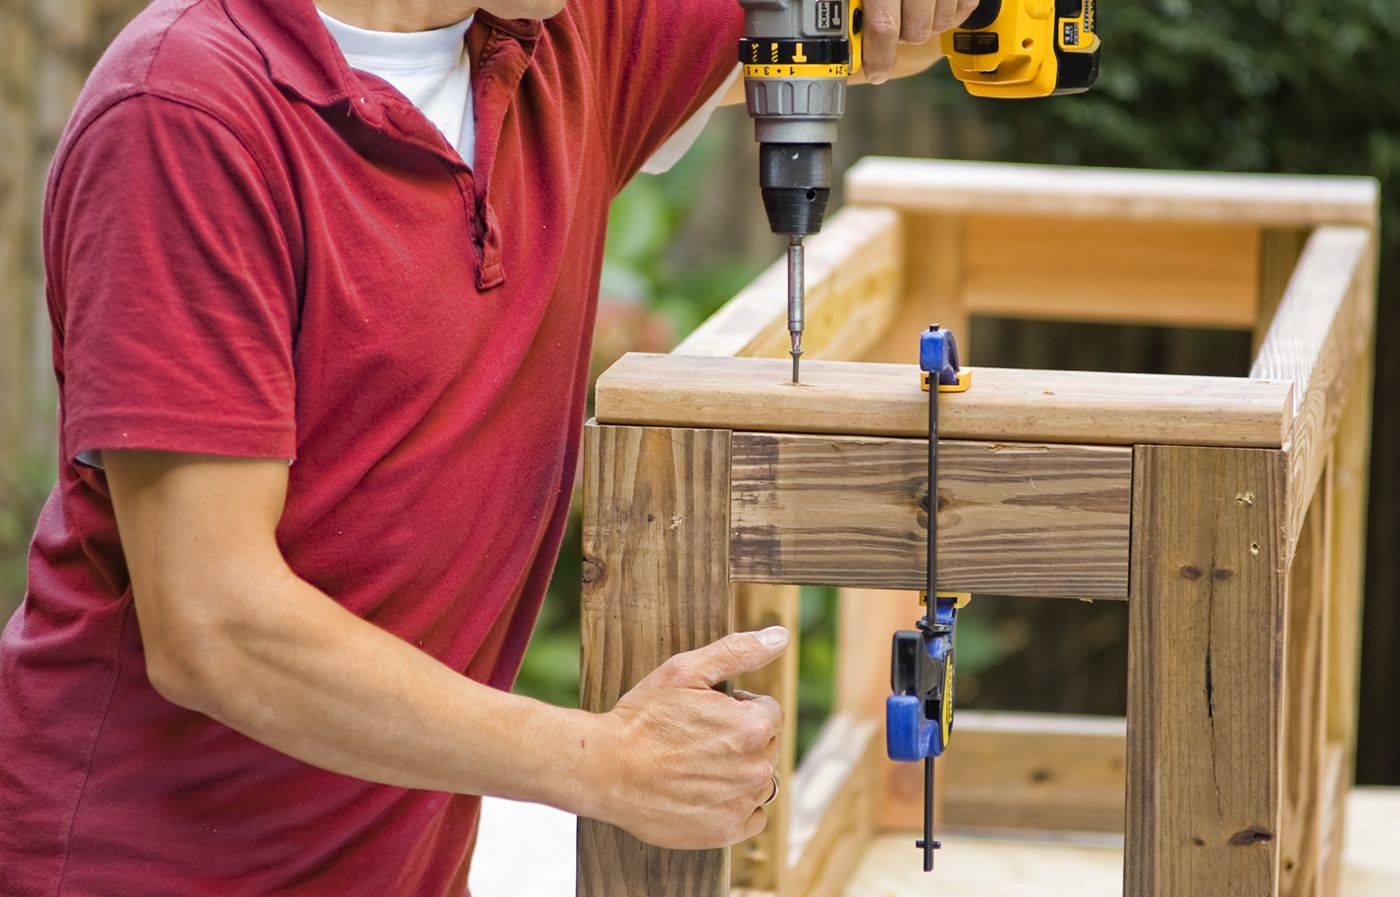
Constructing the Front and Rear Frames
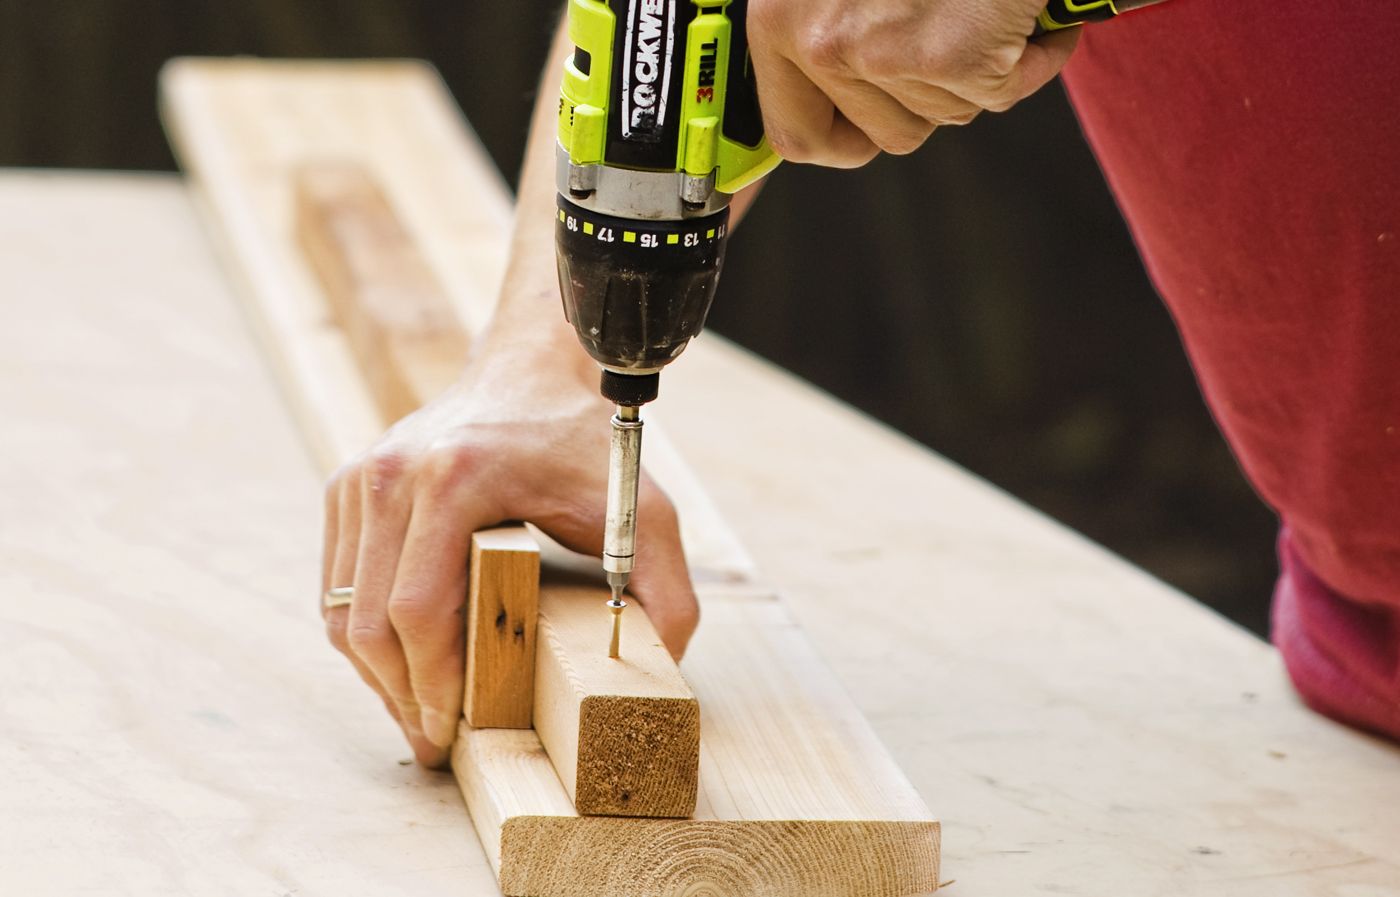
Start by creating your front and rear frames as follows:
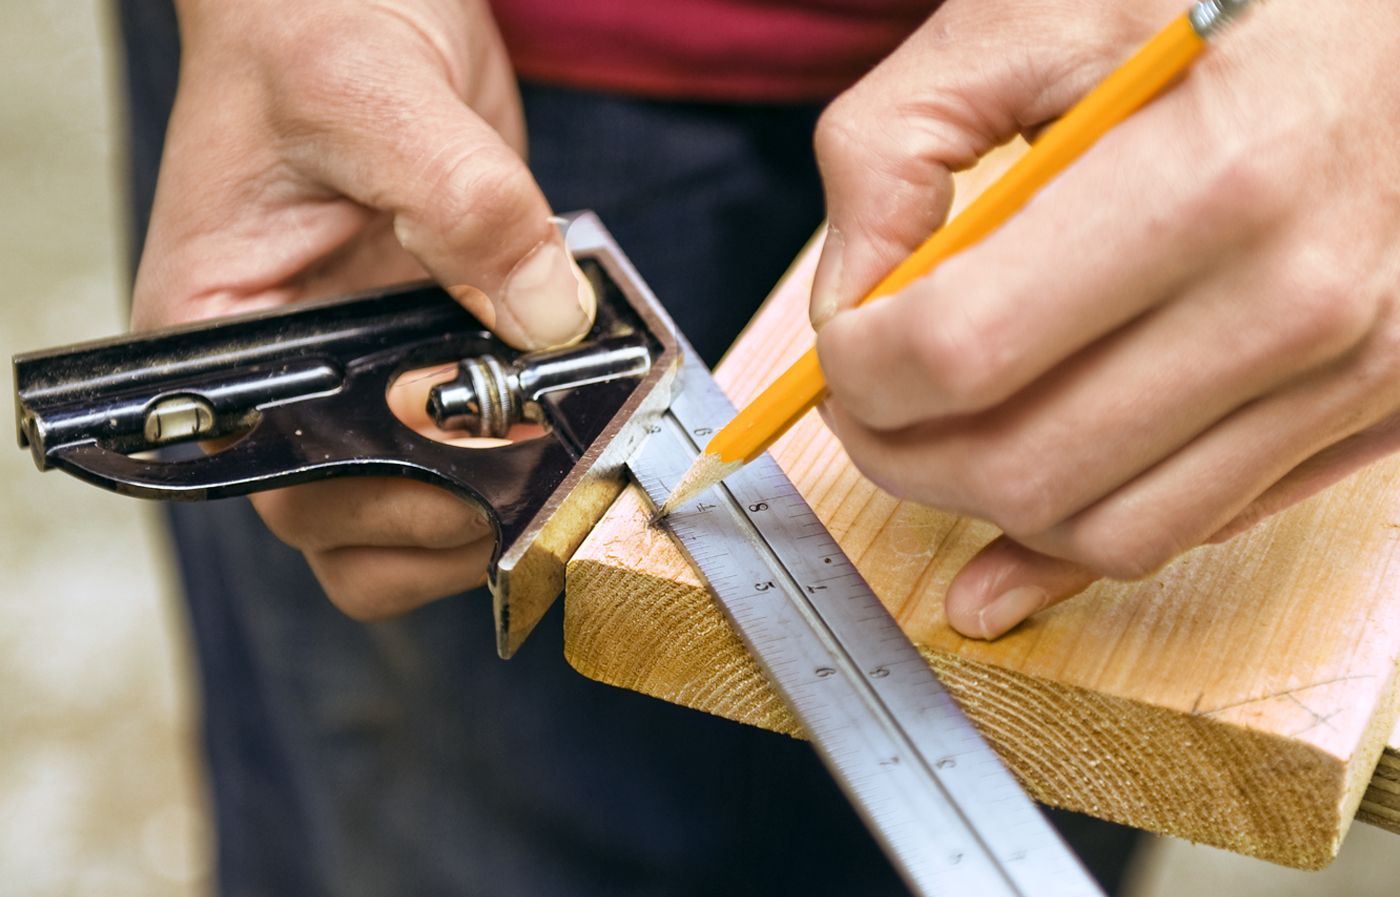
- Cut the pressure-treated two-by-fours to length according to the cut list.
- Assemble the front and rear frames in an H-shape, using three two-by-fours each.
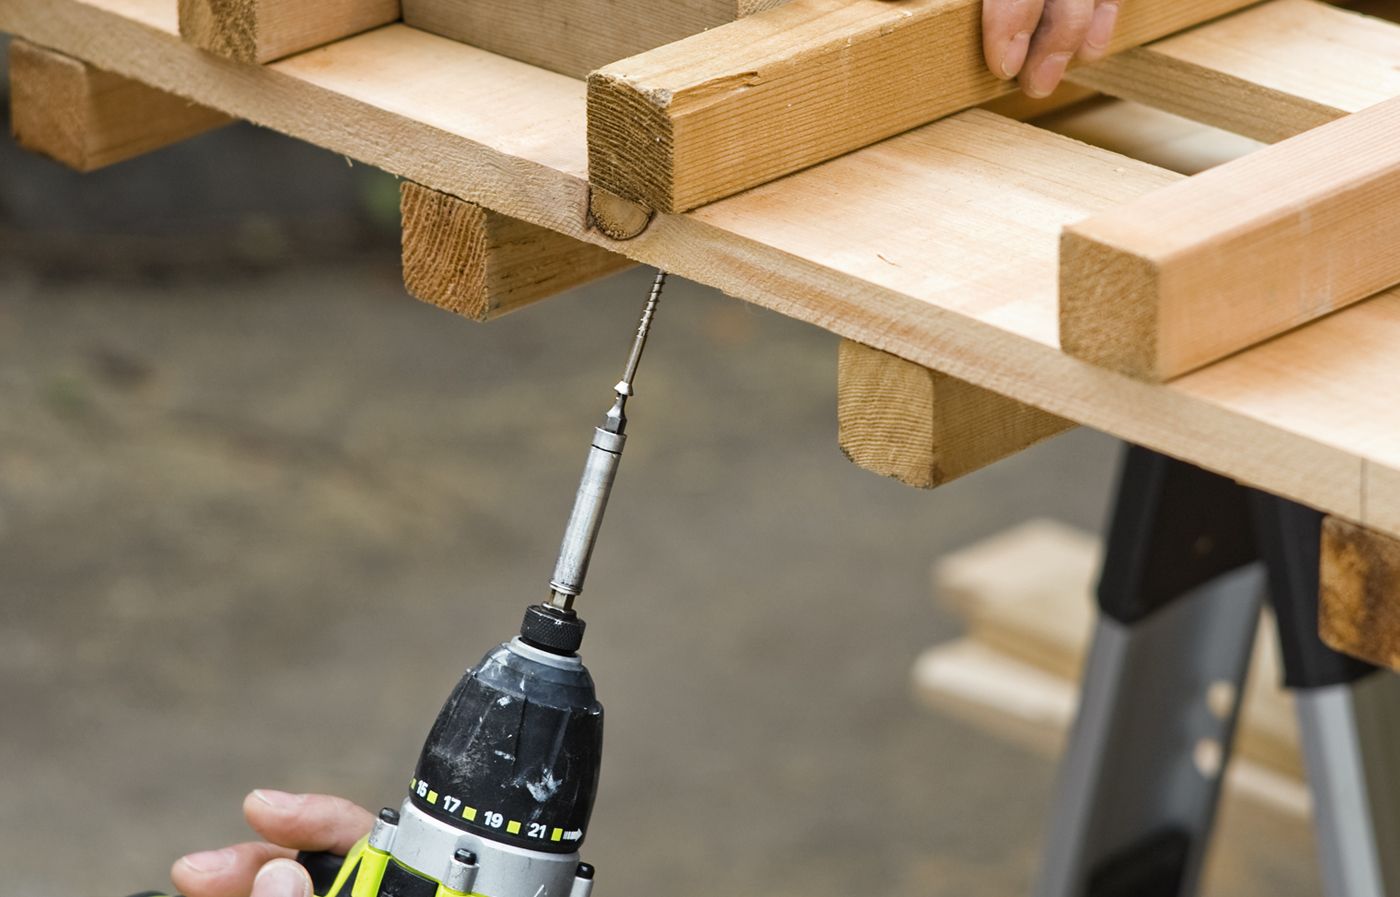
- Clamp the parts to a workbench and drill pilot holes at an angle through the centerboard.
- Fasten the parts with 2 1/2-inch deck screws.
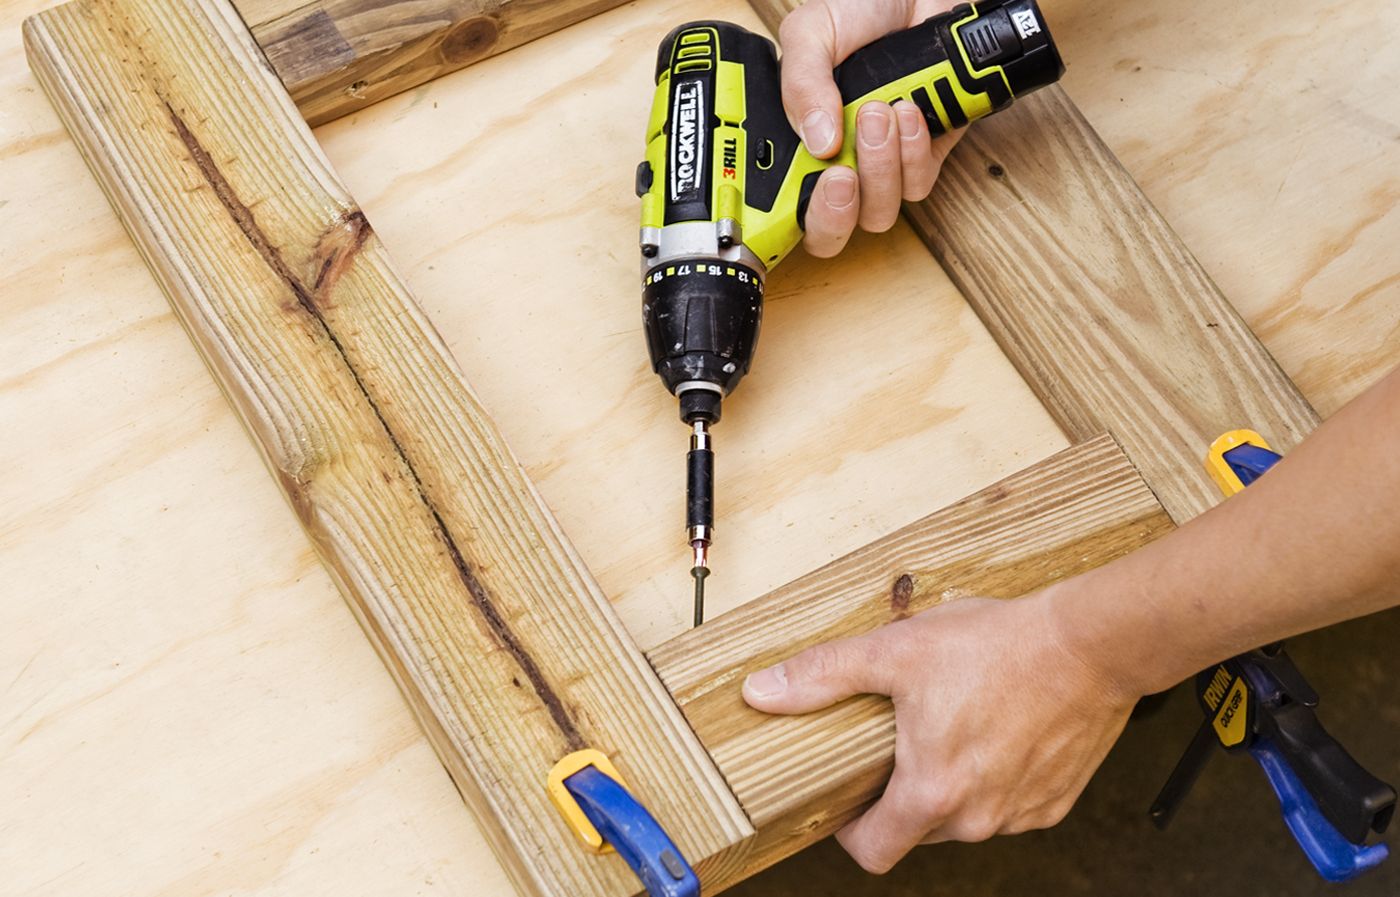
Creating the End Frames
Then, create the end frames by following these steps:
- Cut the two-by-fours for the end frames to length.
- Clamp the parts together, ensuring the short boards are flush with the ends of the long ones.
- Drill pilot holes and secure with 2 1/2-inch deck screws.
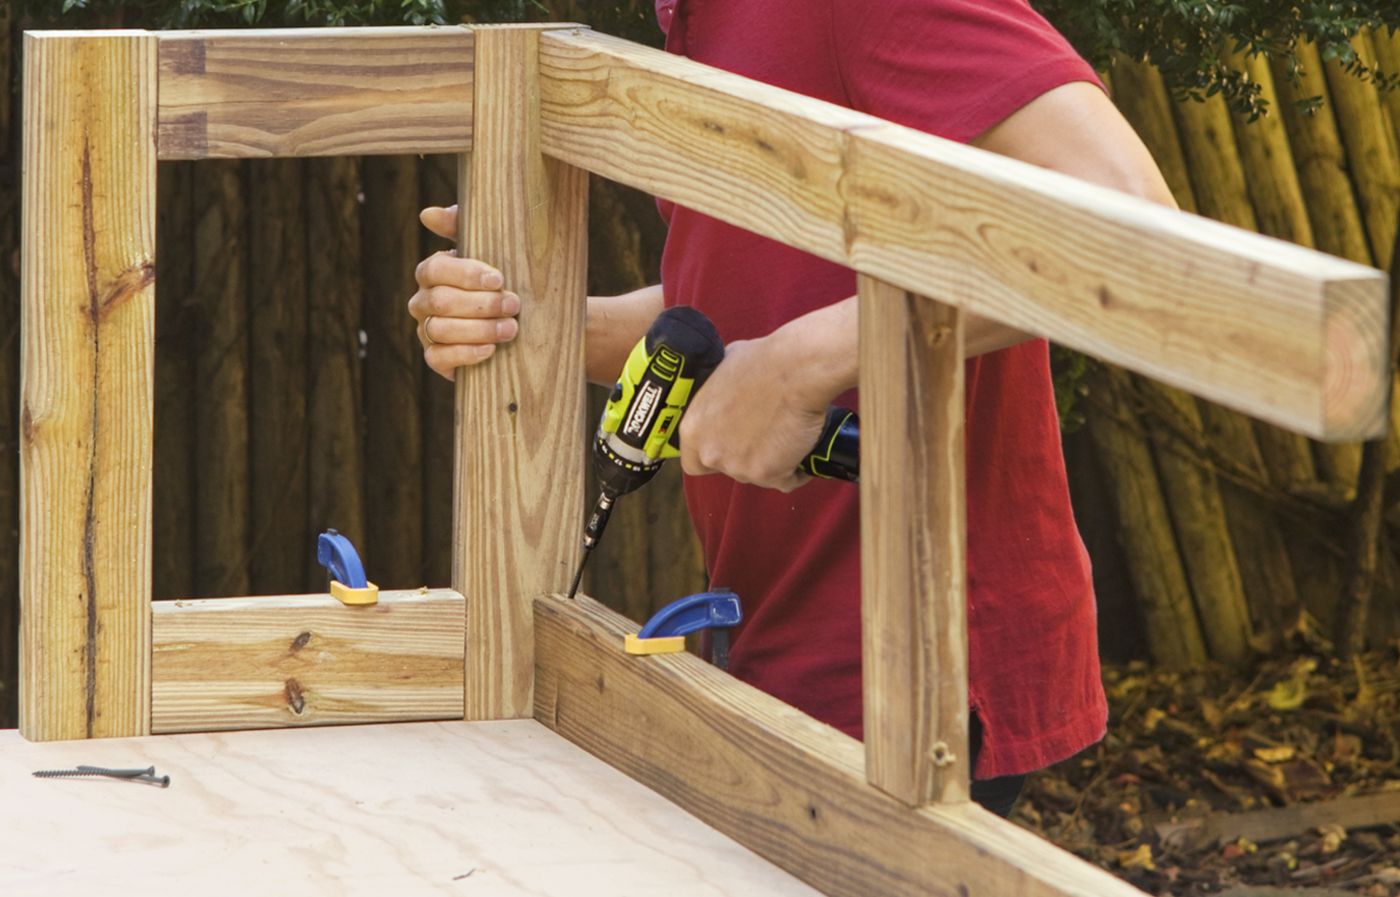
Joining the Frame Assemblies
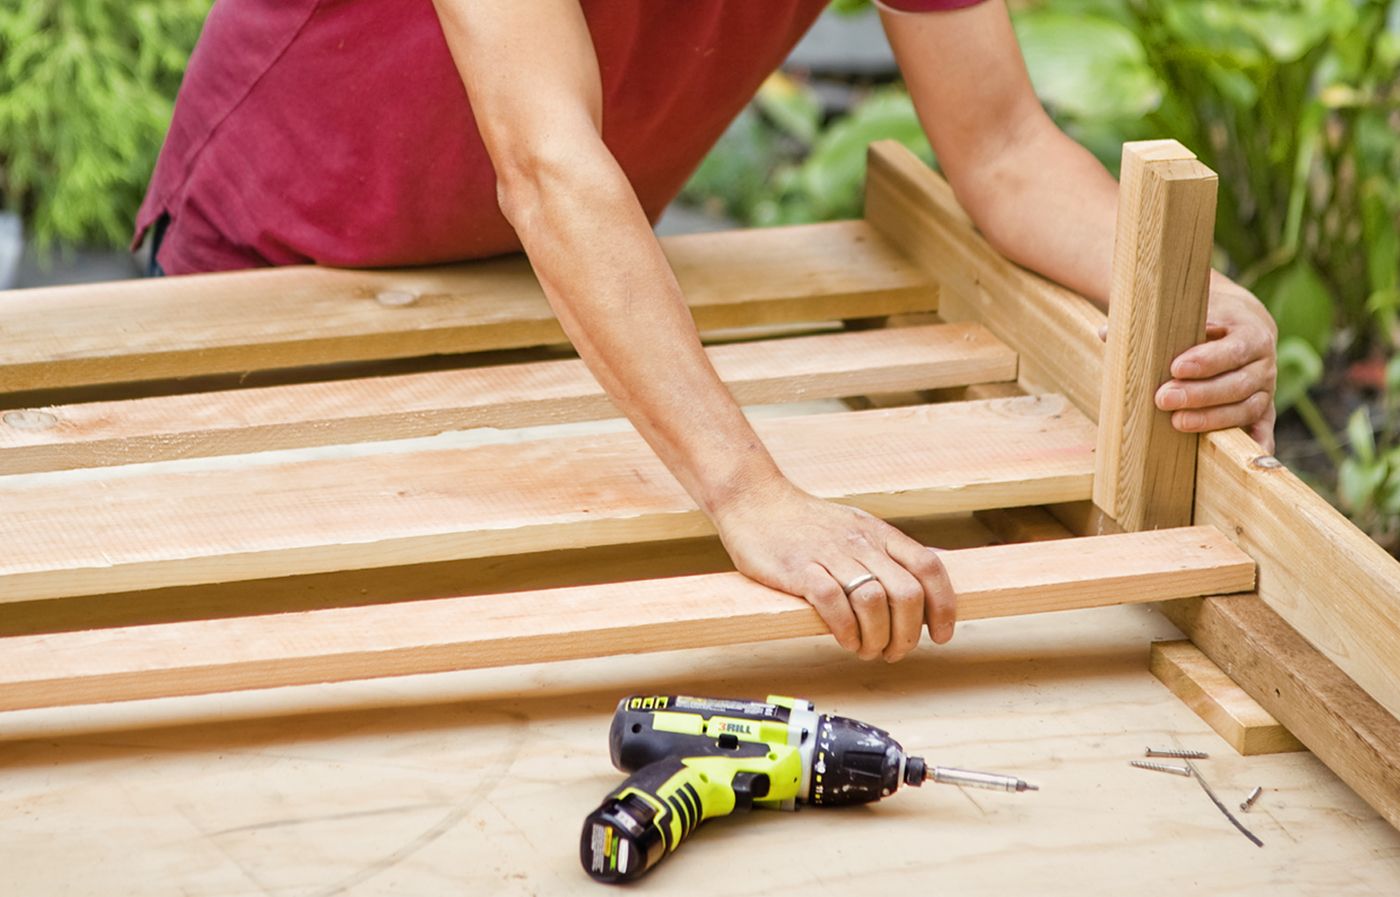
Here’s how to join the frames together:
- Stand one end upright and clamp it to the workbench.
- Attach the front assembly to the end, ensuring it’s square.
- Fasten the assemblies together with 2 1/2-inch deck screws.
- Repeat the process for the opposite end and rear assembly.
Adding the Planter Base and Mobility
To make your privacy planter mobile and achieve proper drainage, you’ll need to add a base and casters.
Installing Base Plates
With your frames made, install the base as follows:
- Cut three pieces of 5/4-by-6-inch pressure-treated decking for base plates.
- Position the base plates on the frame, set back 1/4 inch from the edge.
- Secure the base plates with 21/2-inch deck screws.
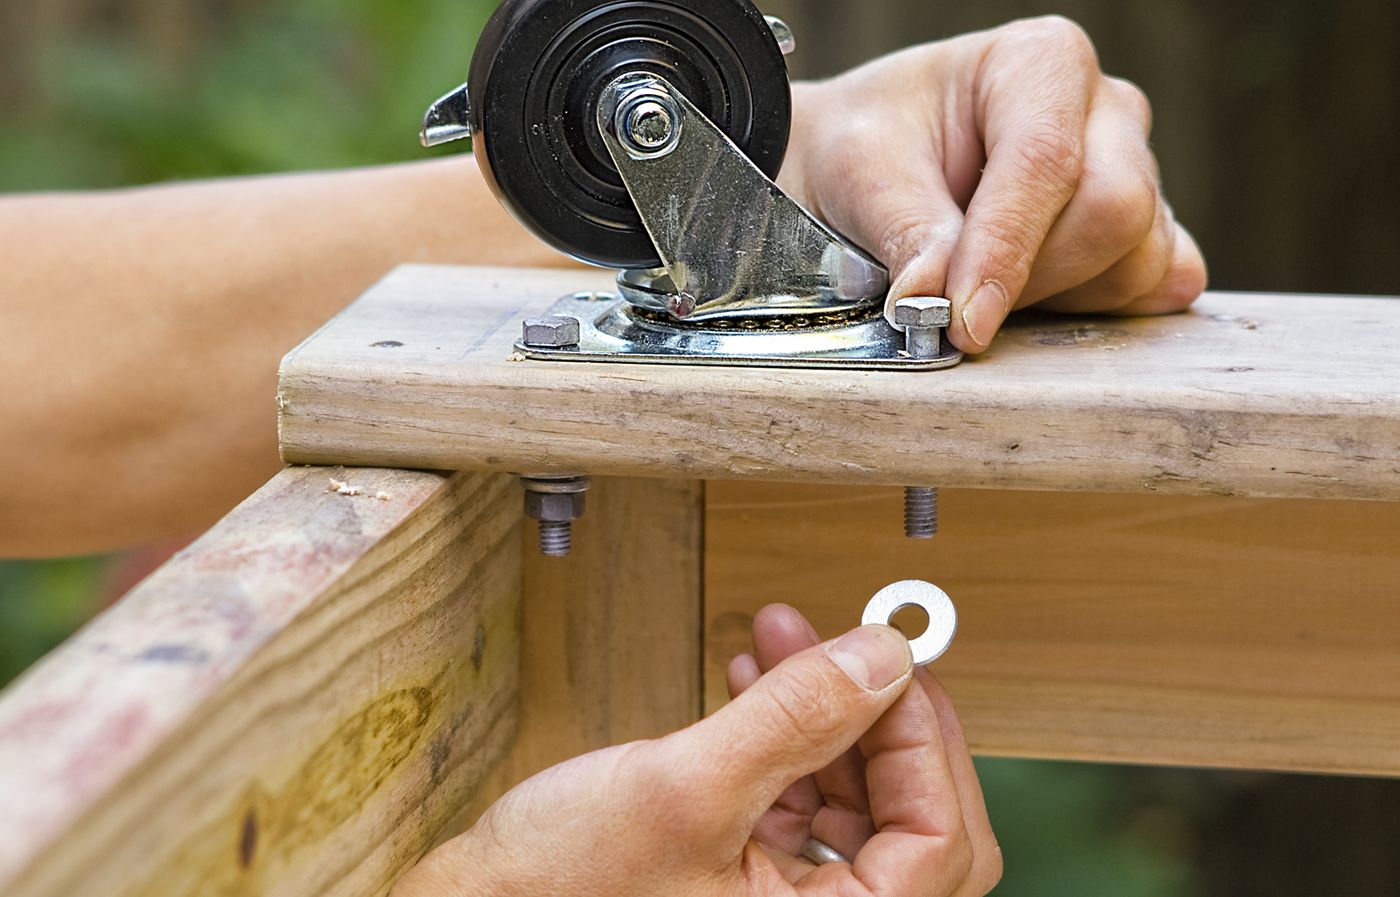
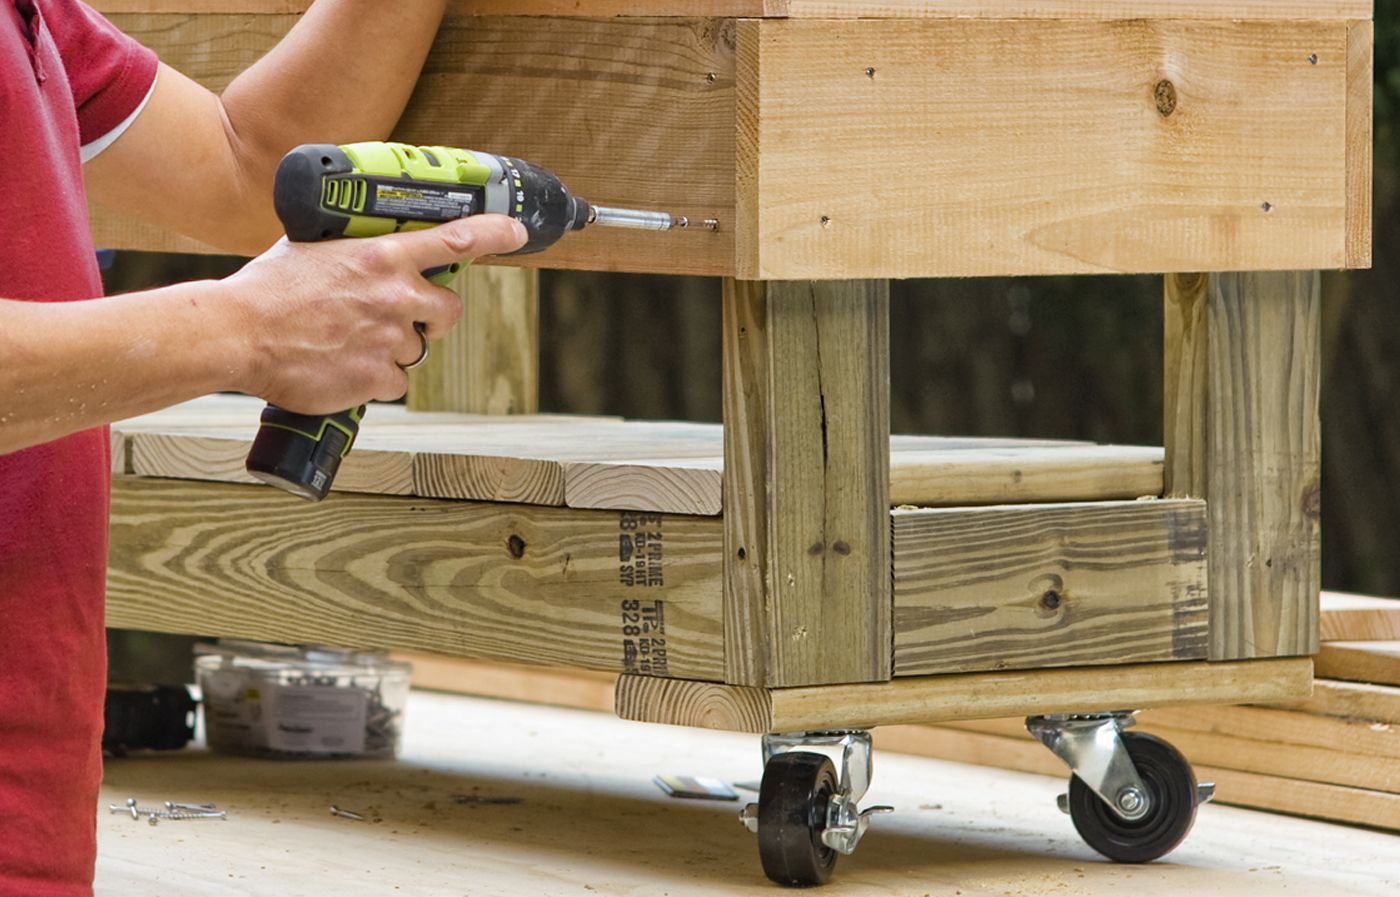
Attaching Casters
Next, attach the casters in this way:
- Mark and drill mounting holes for each caster on the base plates.
- Attach the casters using hex-head machine bolts with washers and nuts.
- Install two locking casters at opposite ends of the planter for stability.
Completing the Planter Box
With the frame and base complete, it’s time to add the flooring and exterior cladding to your planter box.
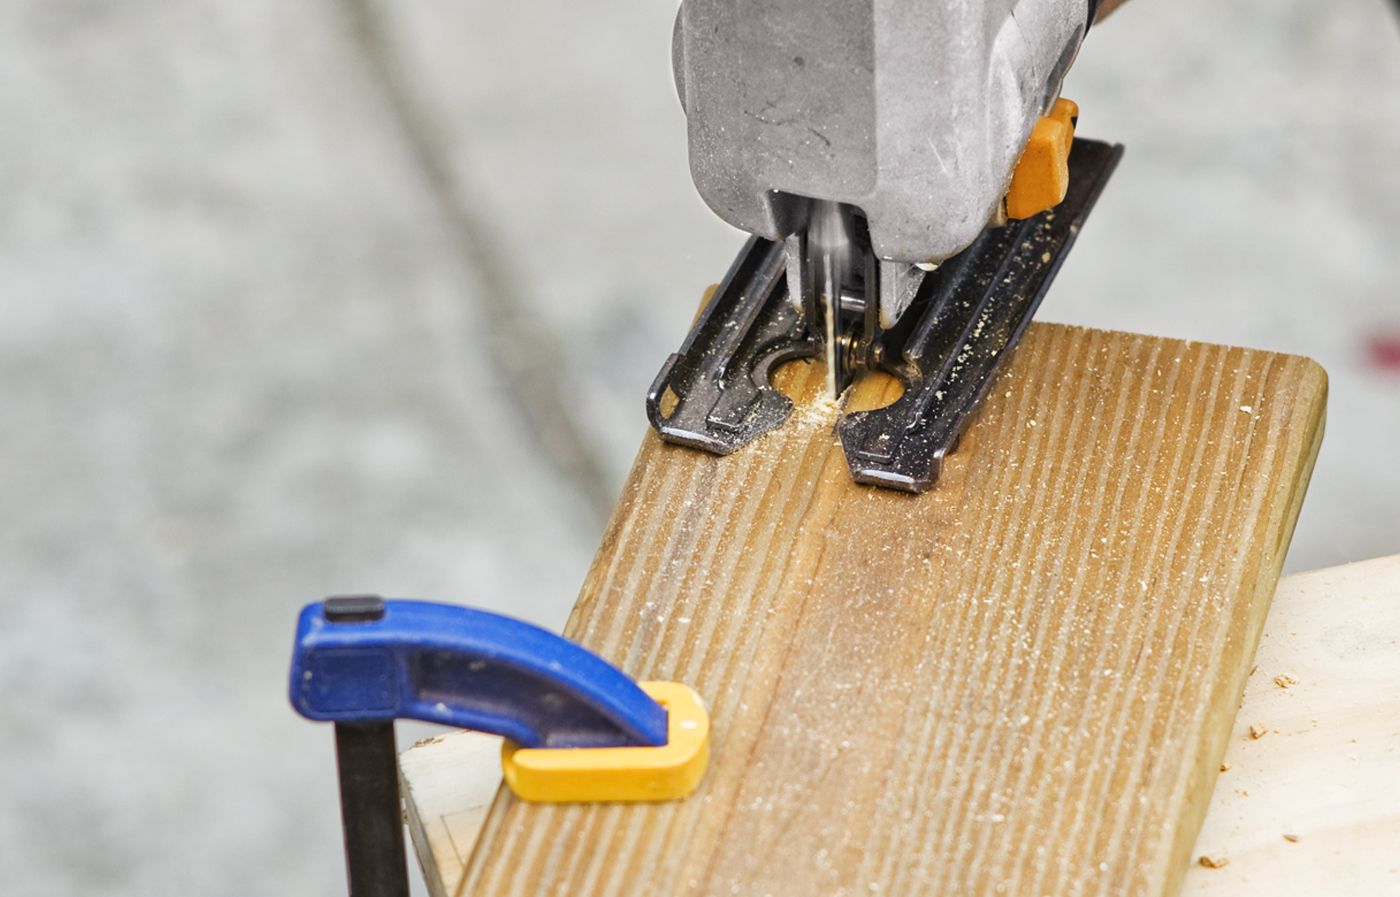
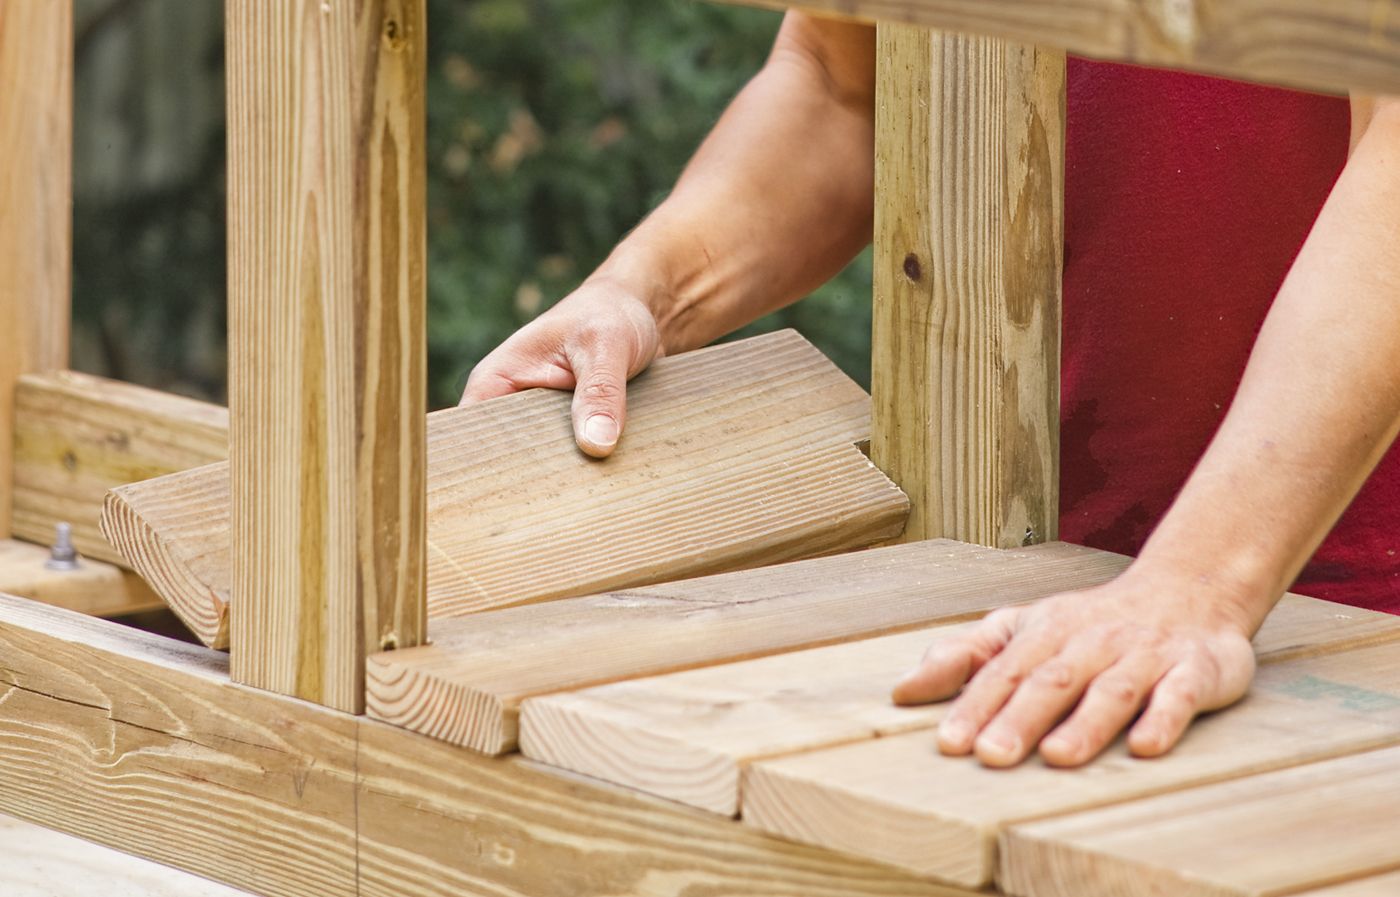
Installing the Floorboards
Here’s how to install floorboards to give more structure to the planter:
- Cut ten pieces of 5/4-by-6-inch pressure-treated decking to line the bottom of the planter.
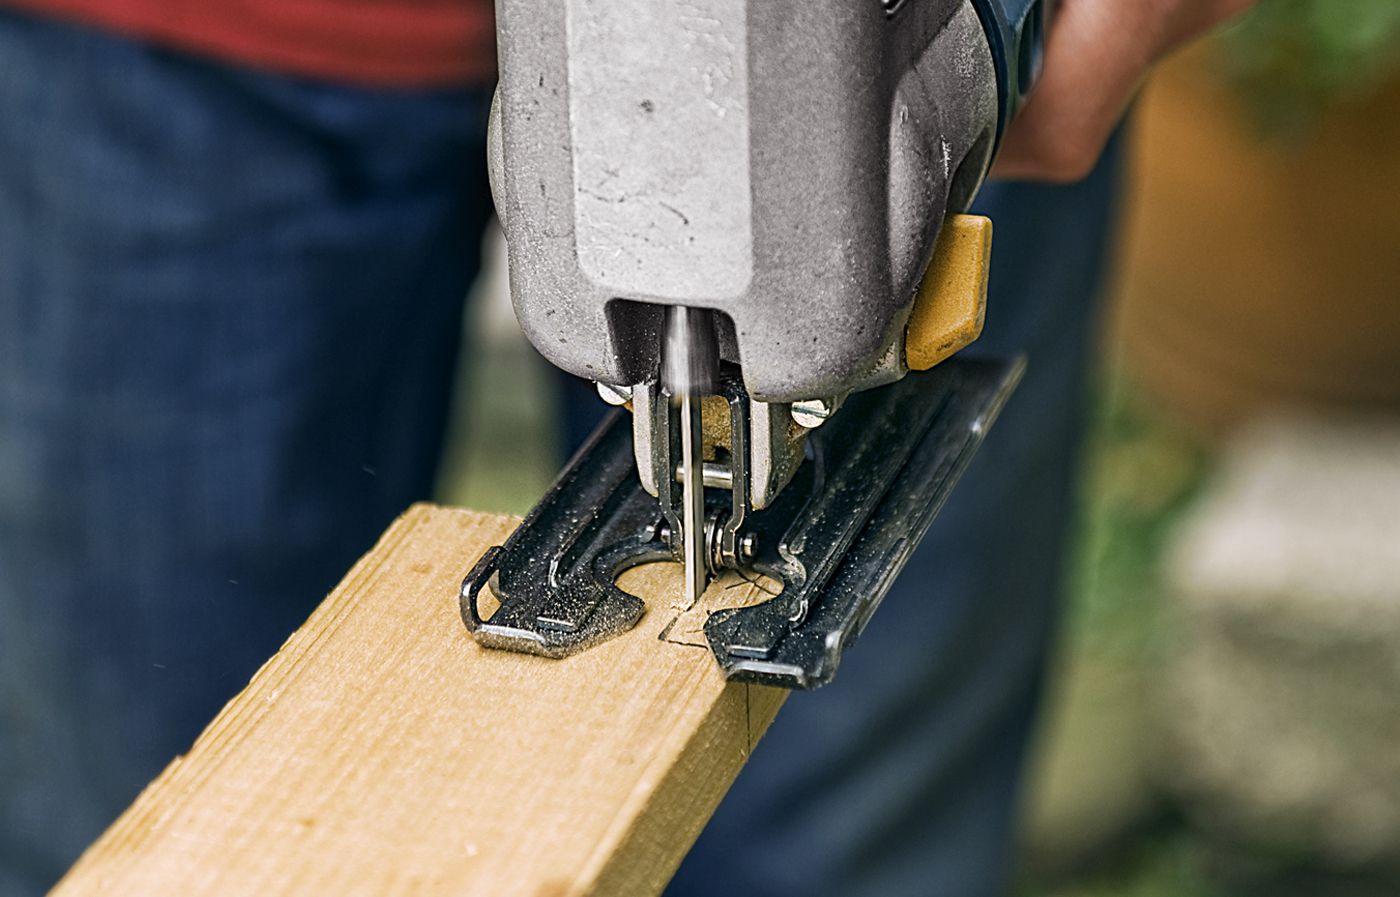
- Use a jigsaw to notch the boards that fit around the vertical supports.
- Space the floorboards about ½ inch apart for drainage and secure with deck screws.
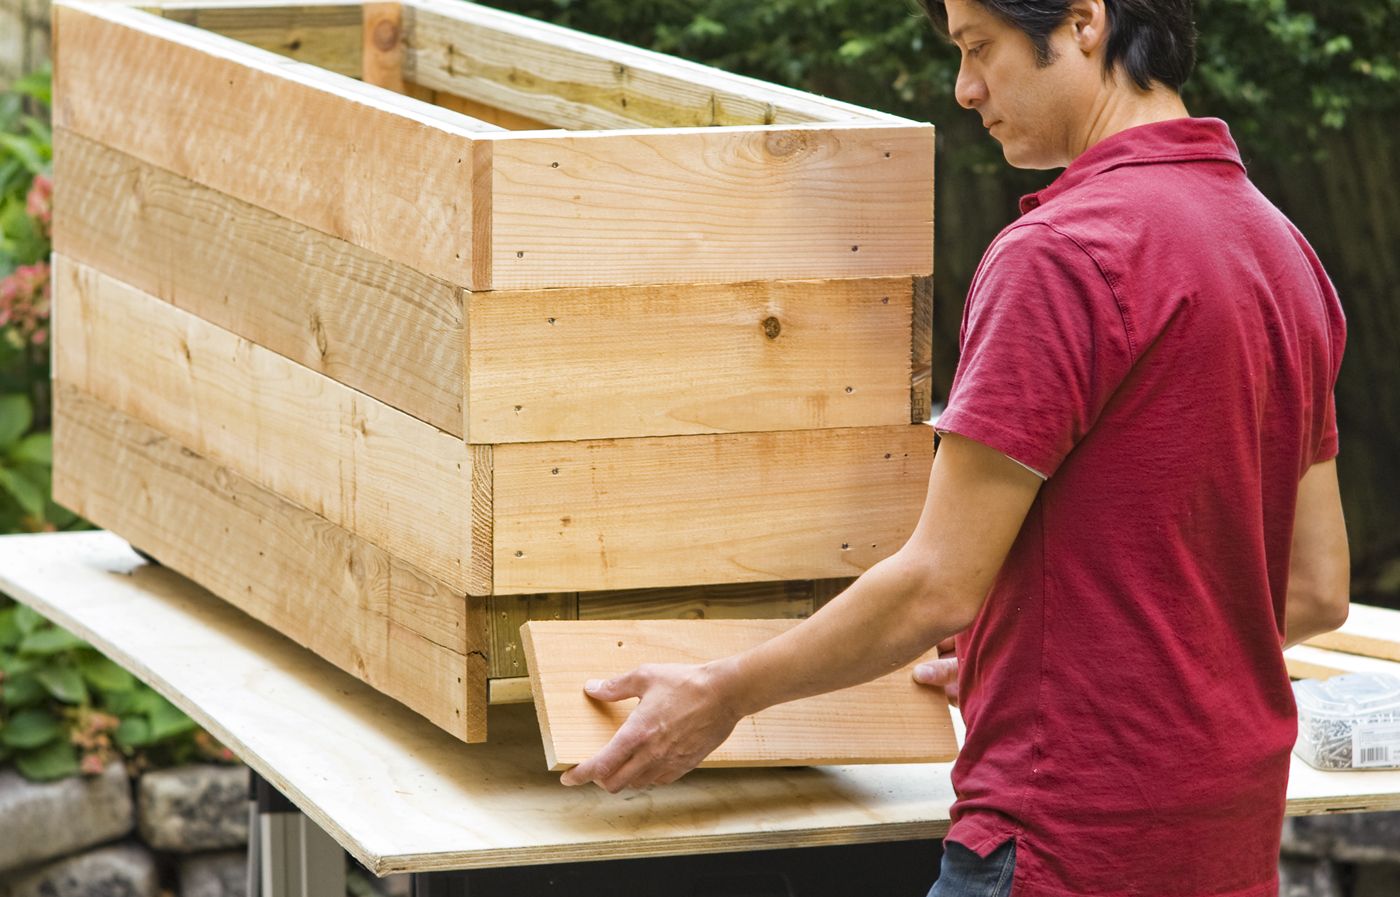
Cladding the Exterior
To improve the appearance and durability of the planter, add cladding to the exterior:
- Cut the 1-by-6-inch cedar boards to length for sheathing the planter.
- Start at the top front and work your way around, overlapping the ends of each board.
- Secure the boards with 1 5/8-inch stainless-steel trim-head screws.
- Continue installing rows, offsetting the overlaps in each course.
Constructing the Privacy Planter Trellis
The trellis adds height to your privacy planter and provides support for climbing plants. Here’s how to build and attach it:
Creating the Trellis Frame
Create the trellis frame with these steps:
- Cut the cedar 5/4-by-6-inch boards for the legs and top trim of the trellis.
- Attach 2-by-2-inch pickets to each leg, setting them ¾ inch from the rear edge.
- Secure the pickets with 2-inch deck screws.
Installing Horizontal Slats
Next, install horizontal slats as follows:
- Lay out 1-by-6-inch and 1-by-3-inch cedar slats between the legs, starting with a 1-by-6-inch at the top.
- Space the slats three inches apart, alternating between the 1-by-6-inch and 1-by-3-inch boards.
- Fasten the slats with 2-inch deck screws.
Adding Vertical Pickets
Here’s how to add the vertical pickets:
- Install 2-by-2-inch pickets on both sides of the slats, alternating their positions.
- Use a spacer block to check for even spacing between pickets.
- Secure the pickets with trim-head screws.
Attaching the Top Trim
Adding top trim gives a more elegant appearance to the planter. Follow these steps:
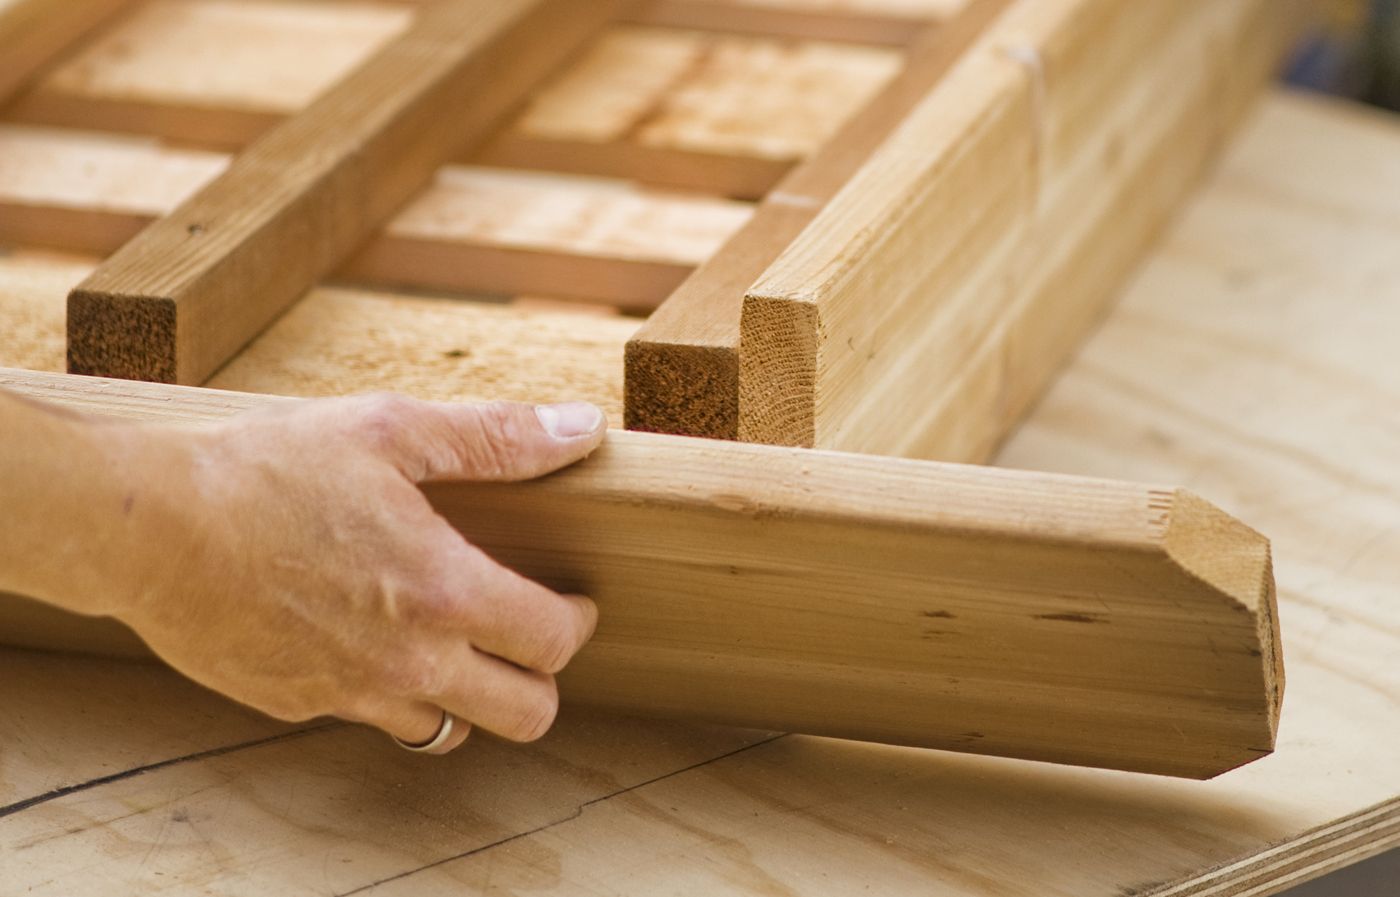
- Cut a 5/4-by-6-inch cedar board for the top trim, mitering the corners at 45 degrees.
- Center the trim piece on top of the trellis panel.
- Fasten it to the top slat and leg ends with trim-head screws.
Assembling the Privacy Planter
Now, it’s time to bring all the components together to create your finished privacy planter.
Attaching the Trellis to the Planter Box
Place an unopened bag or two of gravel inside the planter box to act as ballast while you bolt on the trellis. Attach the trellis to the planter box as follows:
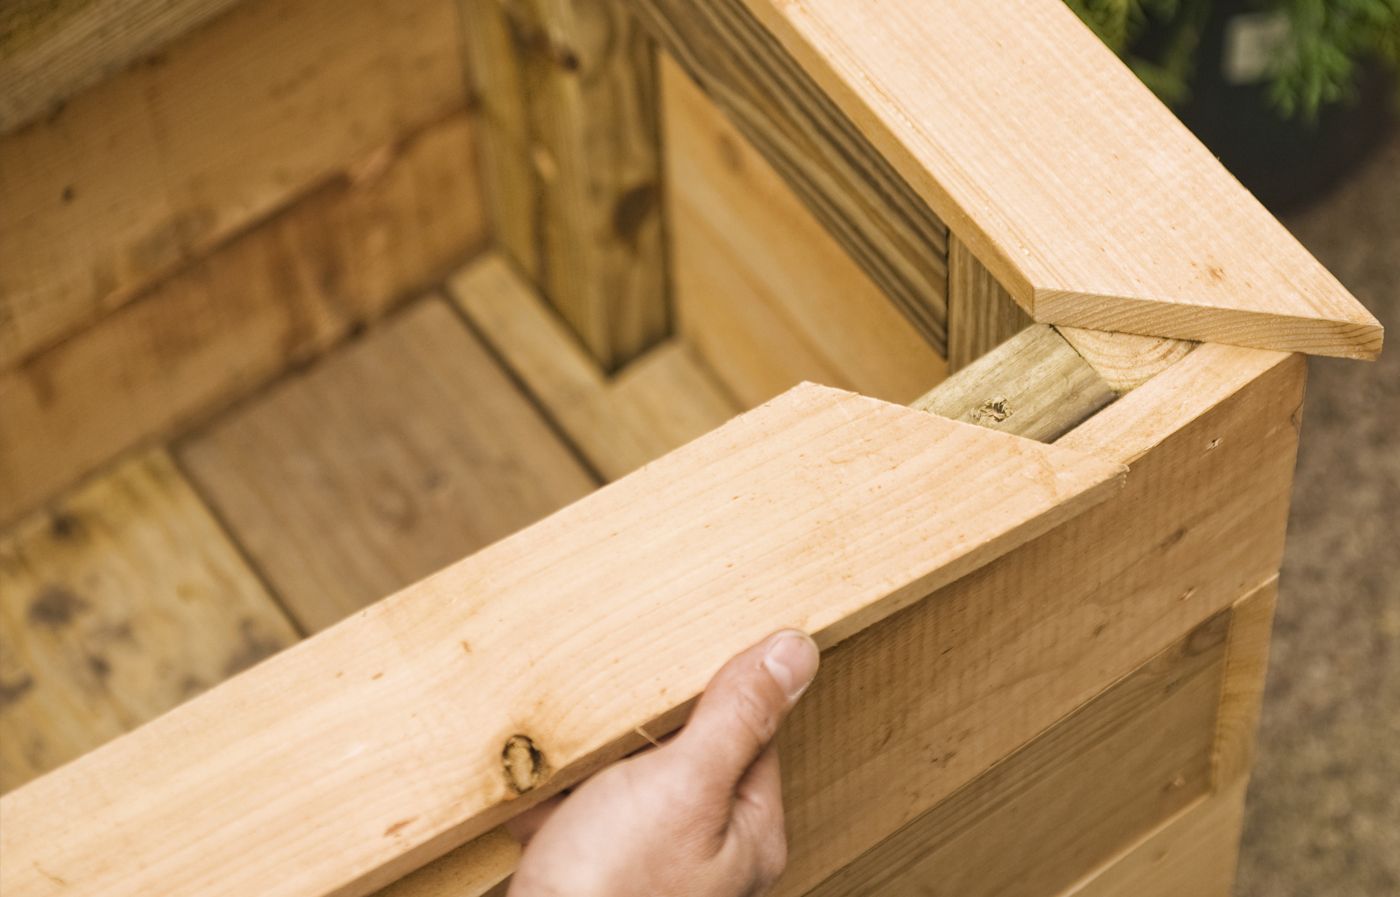
- Install a 1-by-3-inch cedar cap trim along the rear edge of the planter box.
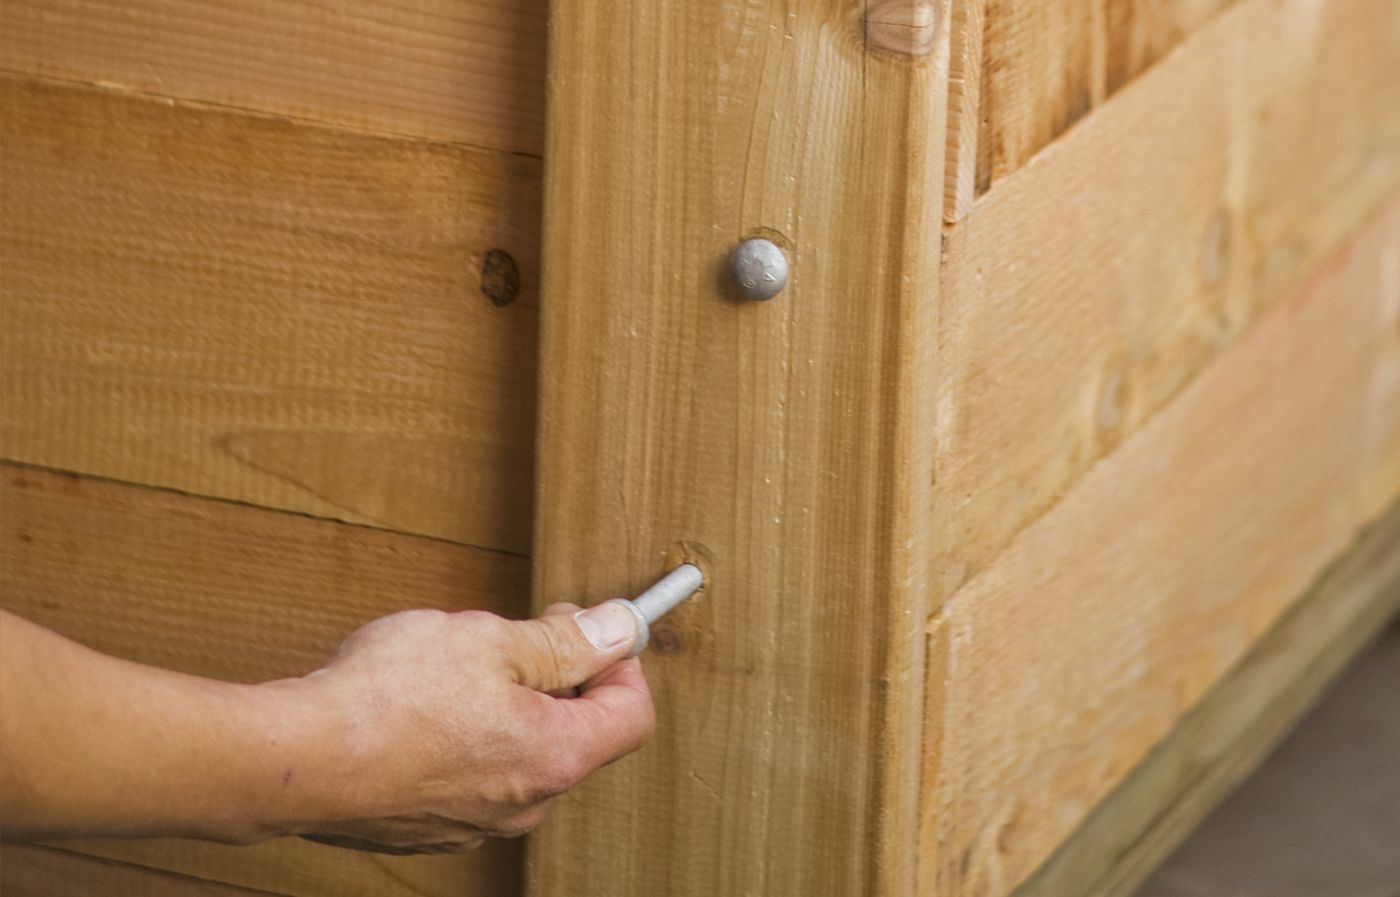
- Position the trellis on top of the planter, aligning it with the rear edge.
- Drill holes through the trellis legs and into the planter box.
- Secure the trellis with carriage bolts, washers, and nuts.
Adding Finishing Touches
You can then add the following finishing touches:
- Cut and notch 1-by-4-inch cedar boards for the end cap trim pieces.
- Install the end cap trim with trim-head screws.
- Measure, cut, and install the front cap trim piece.
- Apply teak oil to all wood surfaces for protection.
Preparing for Planting
With the construction complete, you’re almost ready to add your plants. Follow these final steps:
- Spread a 4-inch layer of crushed stone over the floorboards for drainage.
- Line the planter box with landscape fabric to prevent soil loss.
- Fill the planter with high-quality potting soil.
- Choose and plant your favorite shrubs and climbing plants.
Our Conclusion
This versatile planter provides both beauty and function, creating a mobile green screen that you can reposition as needed. With proper care and maintenance, your privacy planter will provide years of enjoyment and a lush, natural barrier for your outdoor sanctuary.