Project details
Skill
Cost
Estimated Time
This article appeared in the Summer 2021 issue of This Old House Magazine. Click here to learn how to subscribe.
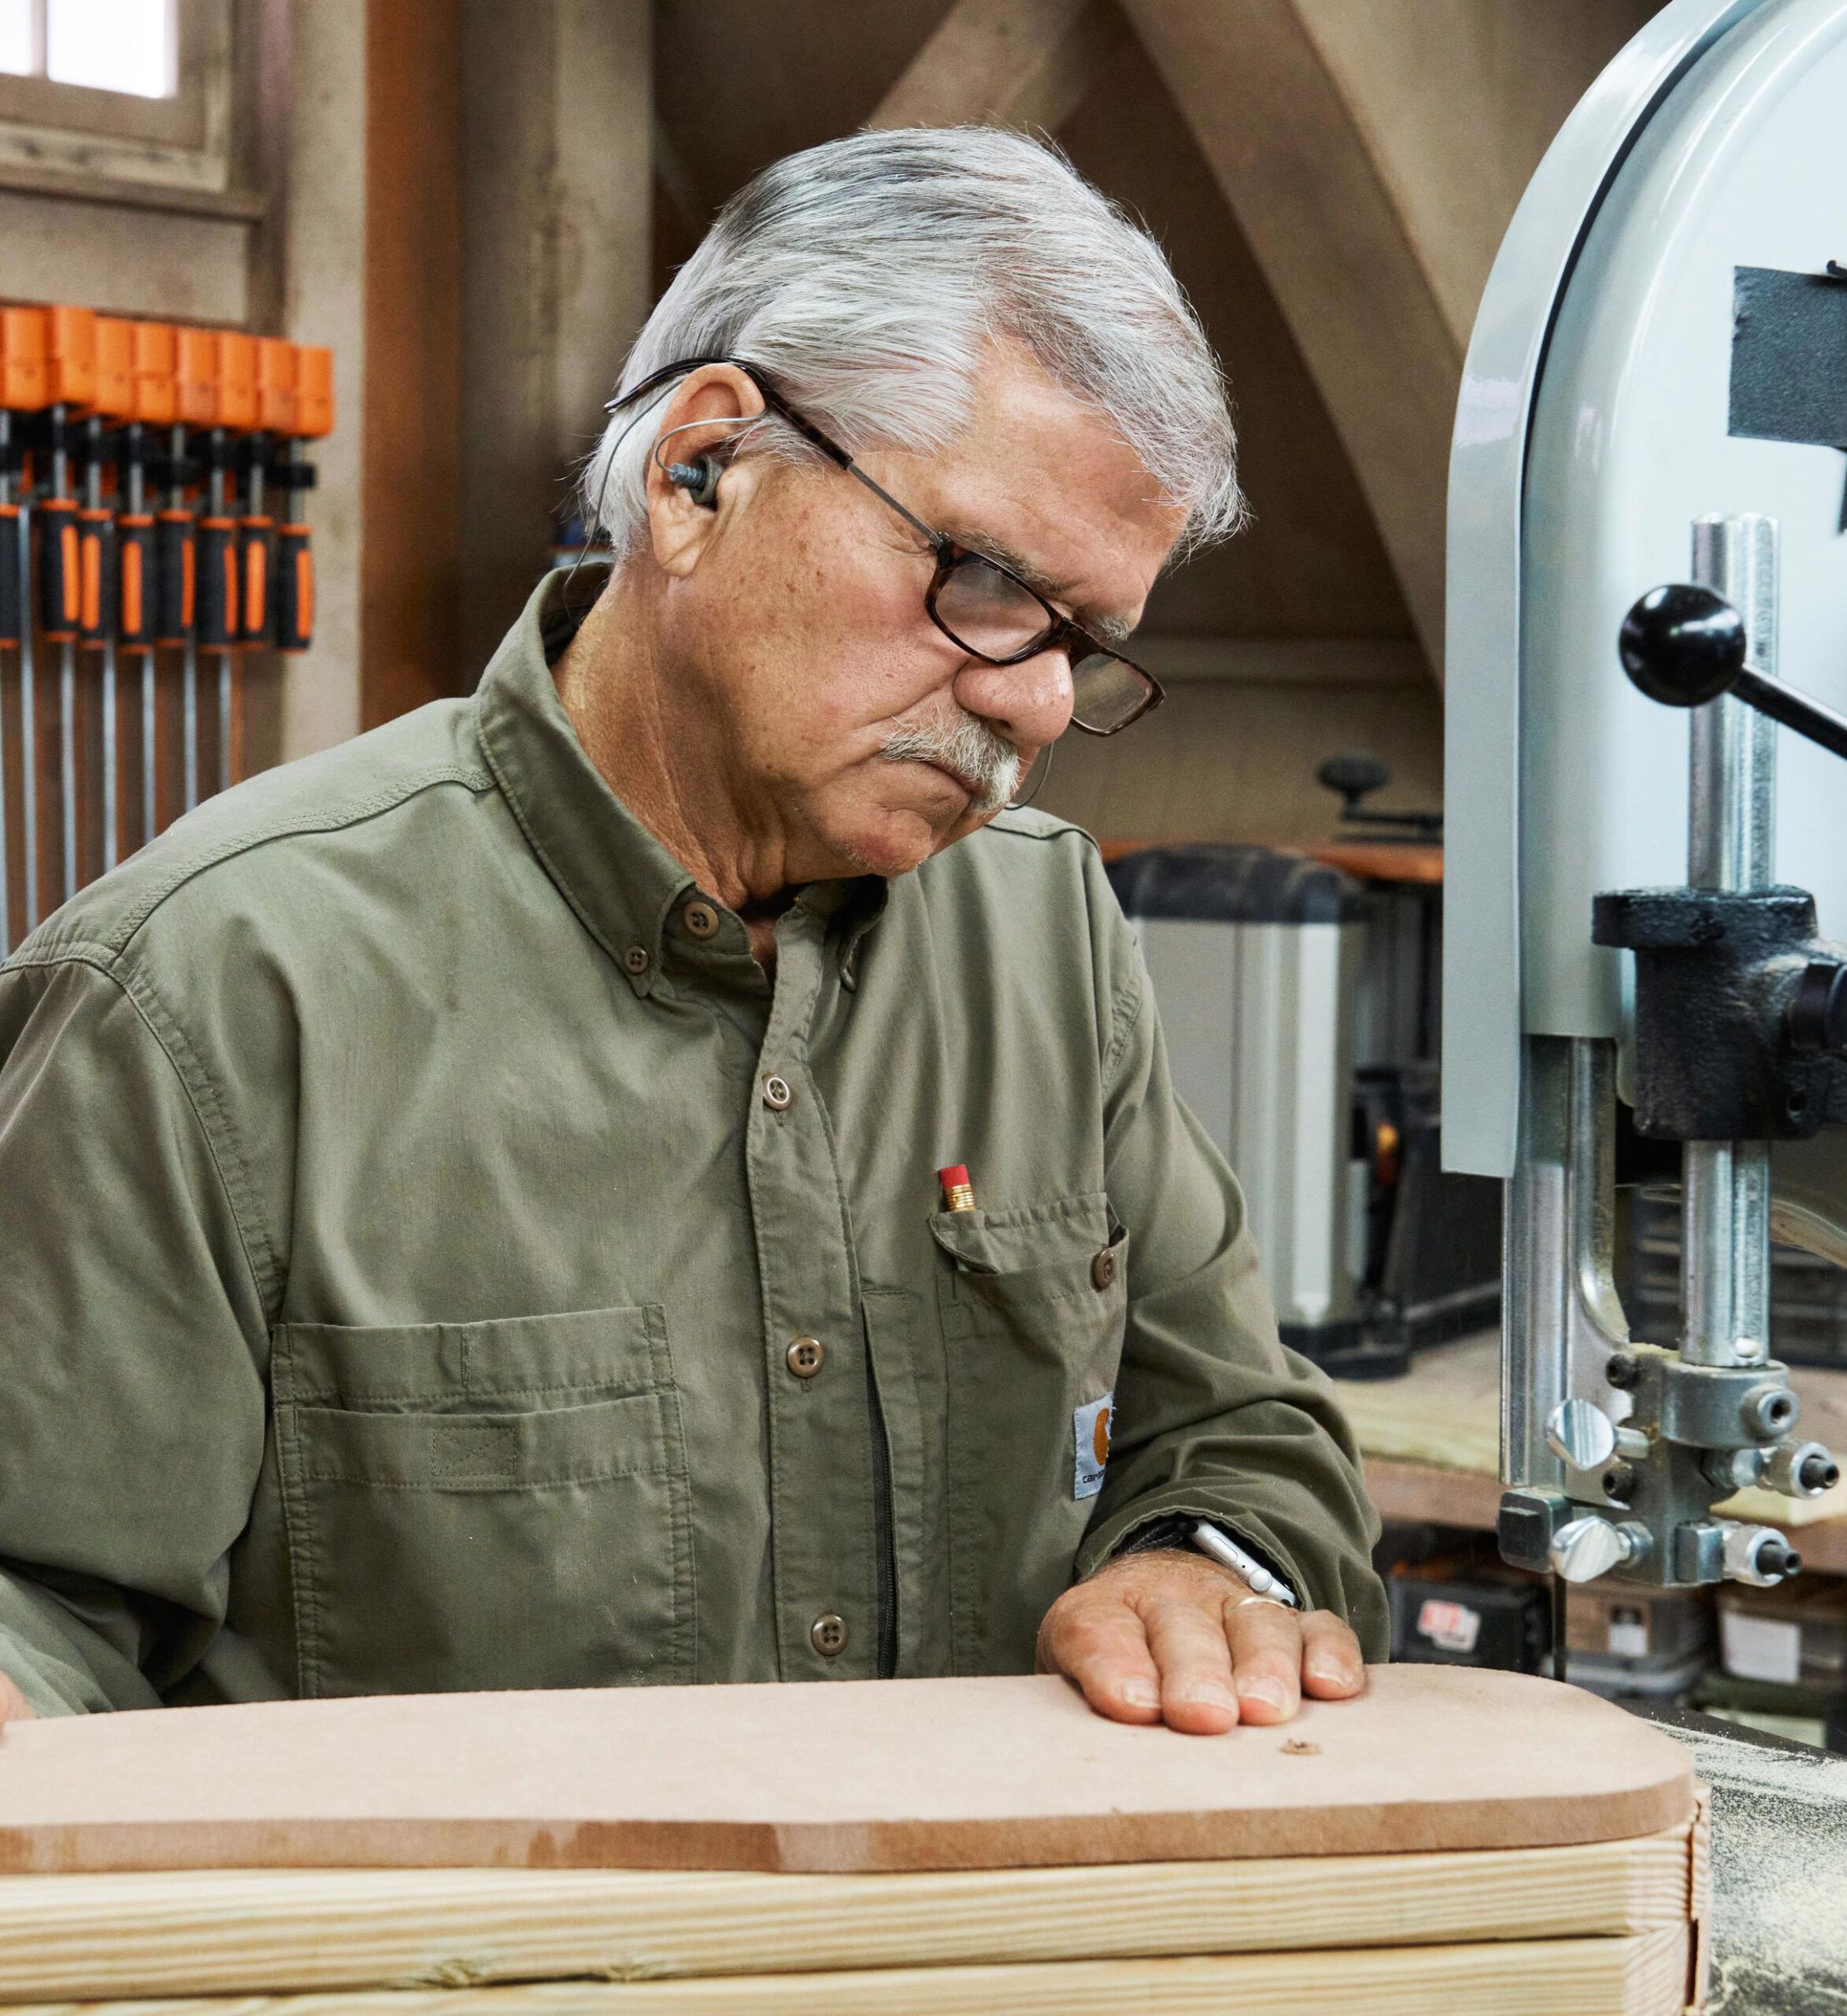
With its deep seat, tall back, and wide armrests, there’s arguably no more restful spot to while away a long summer’s day than an Adirondack chair. Little wonder that these seats are a nearly ubiquitous feature on lawns across the country this time of year.
Adirondack Chair Overview
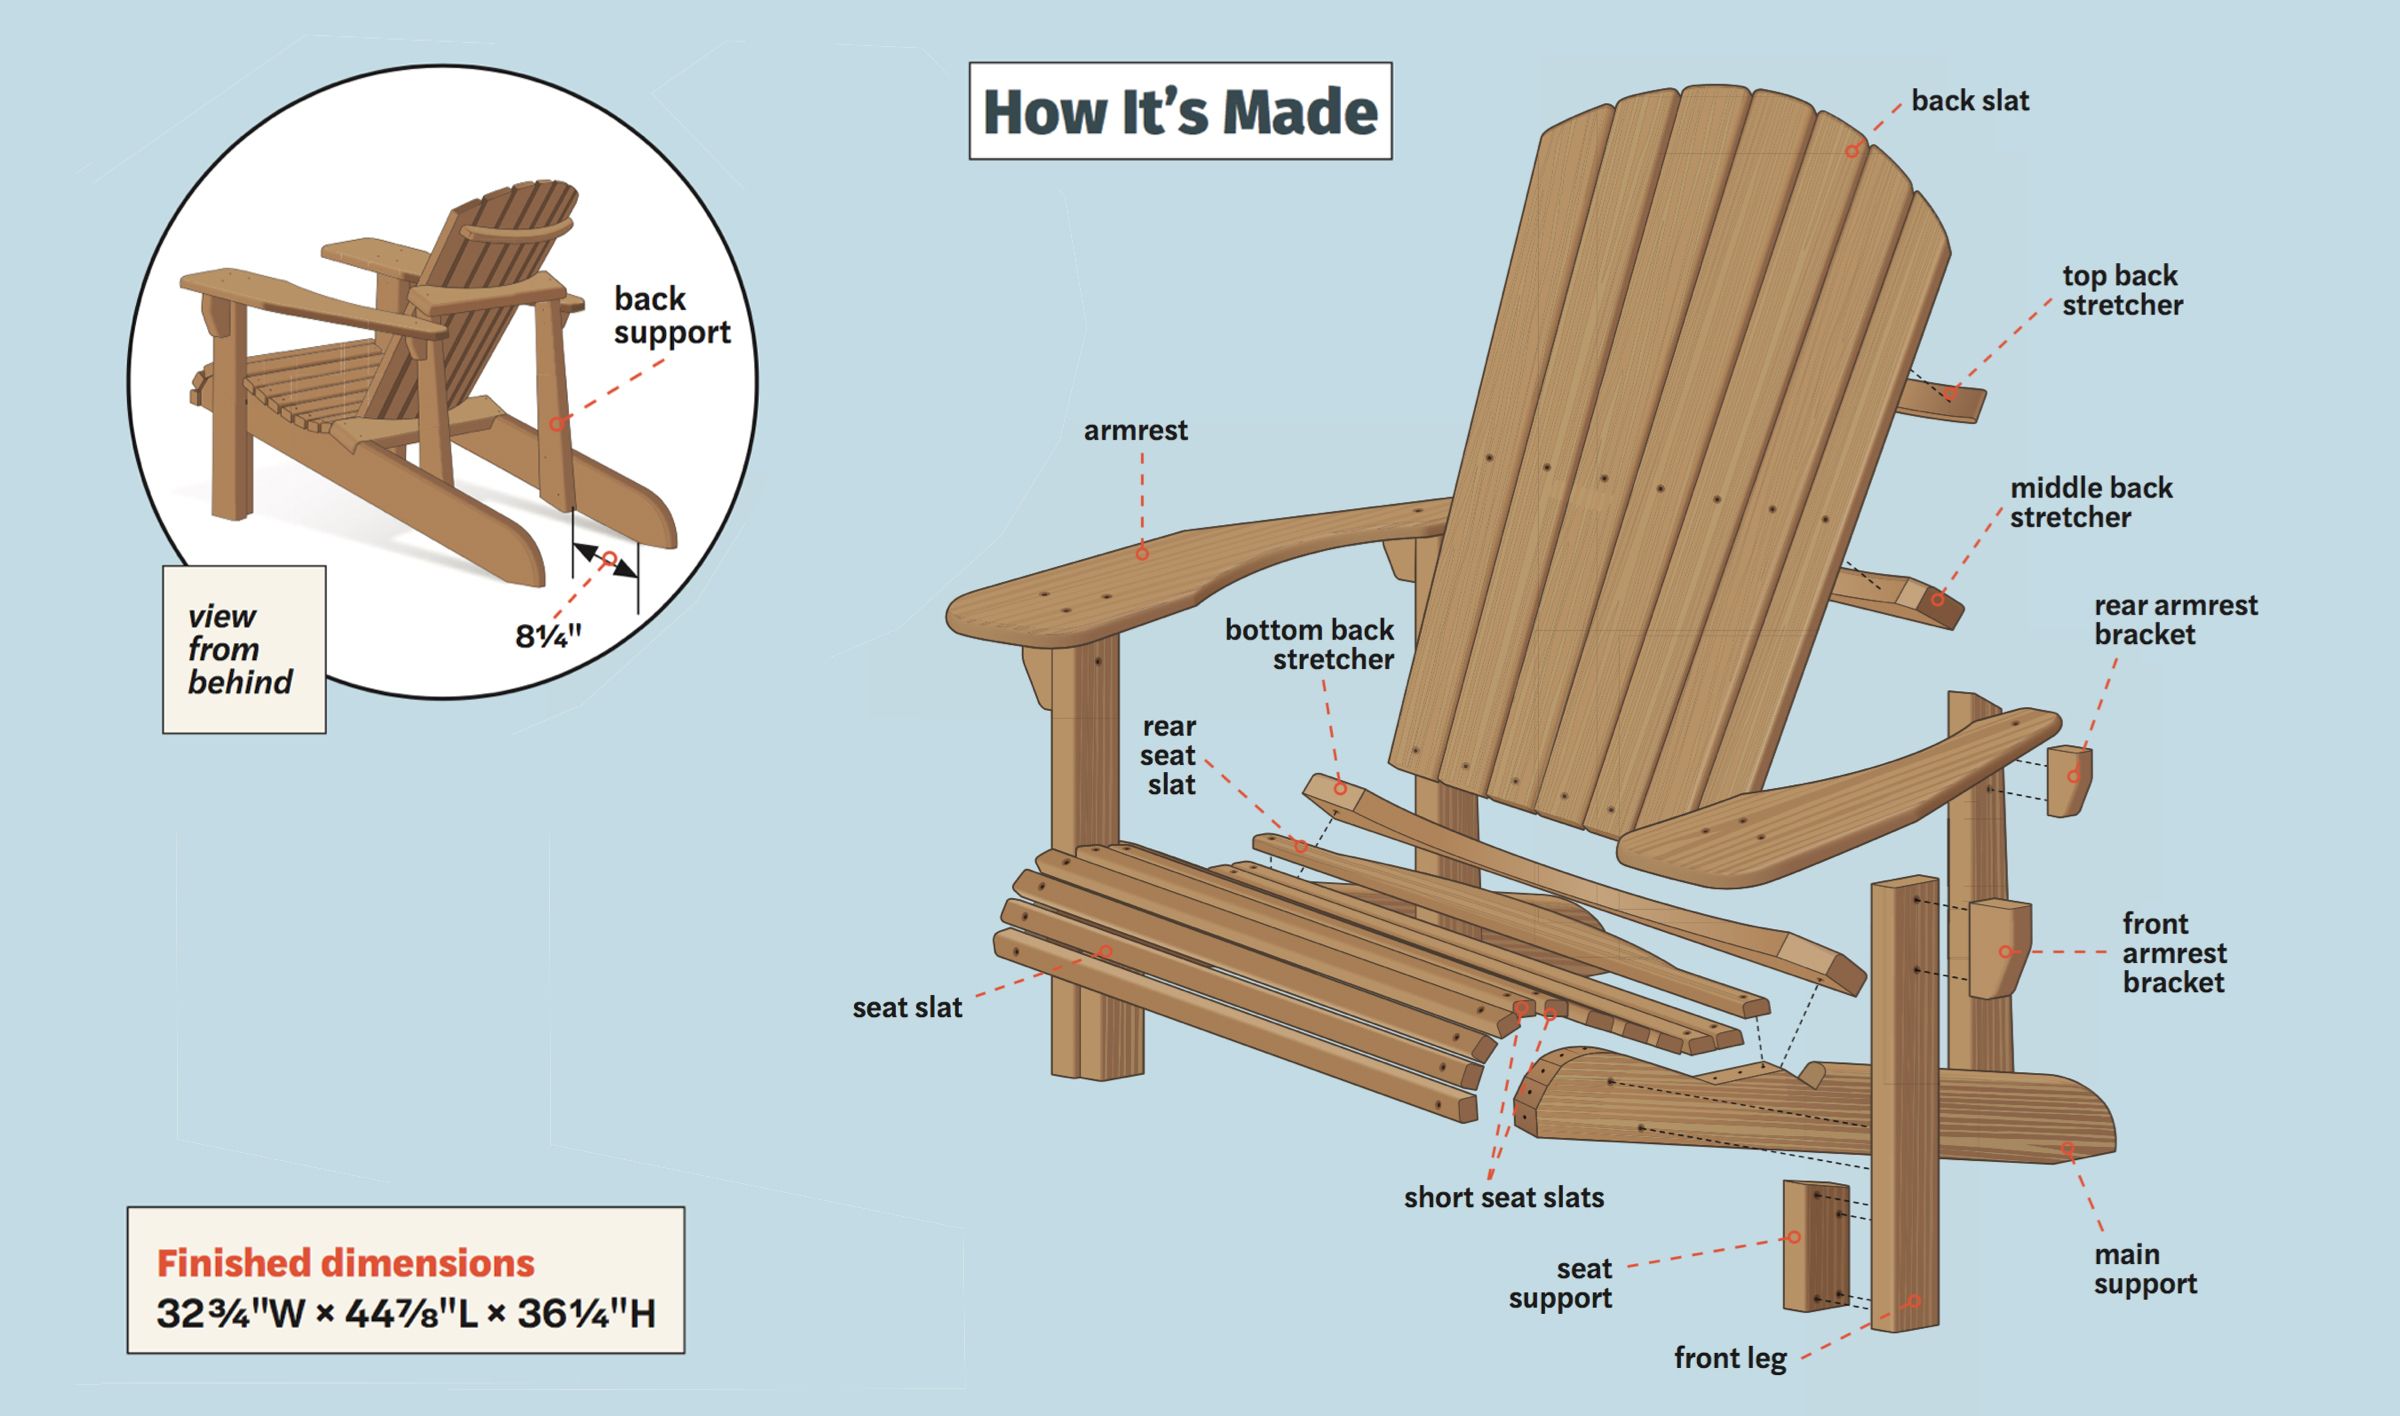
As its name implies, the chair’s early-20th-century design originated in the Adirondack Mountains of New York. Its signature details—the angle of the back, and the slope, depth, and curve of the seat—contribute to its unparalleled comfort. The version Tom chose to build, from a set of woodworking plans readily available online (Rockler.com), has a gently curved back and an arched top.
Before getting started, and knowing that one chair wouldn’t be enough, he added an extra, time-saving step. “I took the cardboard templates that came with the plans and made sturdy MDF templates of all the chair parts to guide my saw and router.”
Cost to Build an Adirondack Chair
With those templates at the ready, Tom can knock out a couple of chairs a day for little more than the cost of the pressure-treated lumber: about $120 each.
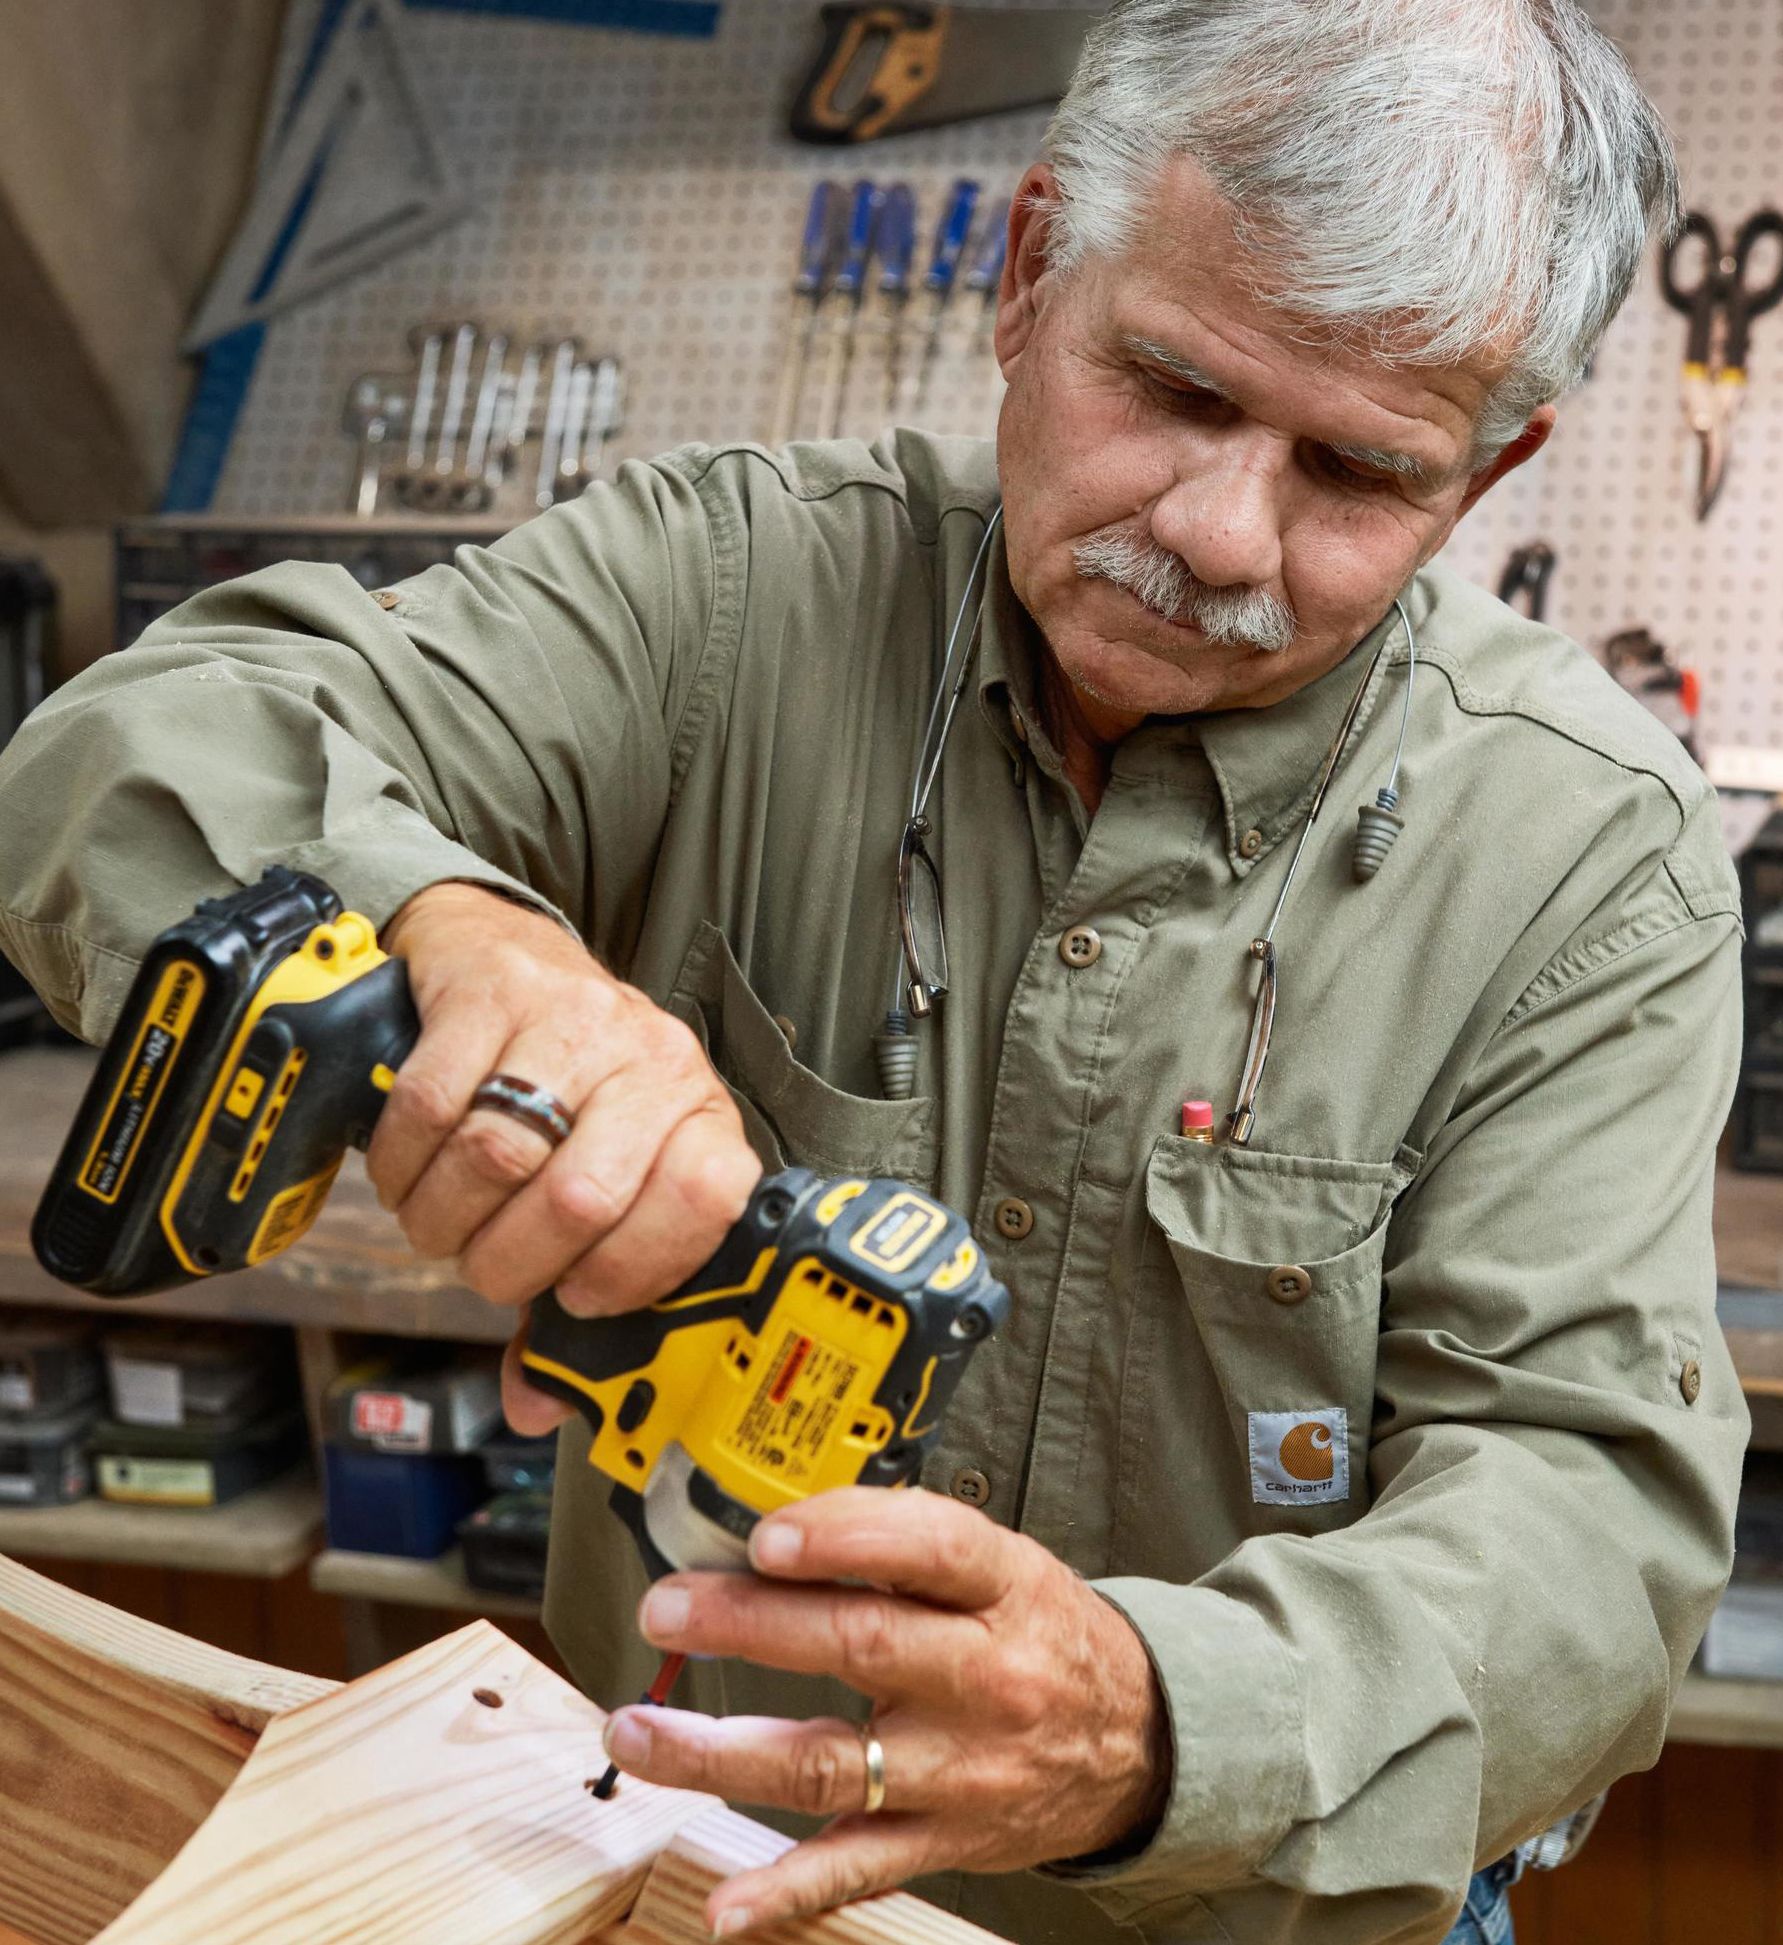
Steps for Building an Adirondack Chair
Step 1: Make the templates
- Place the full-size cardboard templates from the plans on the MDF and cut out each shape with a jigsaw.
- Sand the MDF edges smooth to the edge of the cardboard, and drill 11⁄64-inch pilot holes in the MDF following the marks on the cardboard.
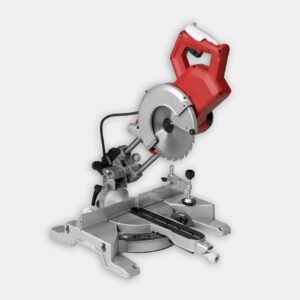
- Next, use a miter saw to cut each piece of lumber to length. Screw the templates to them.
Step 2: Cut the curved pieces
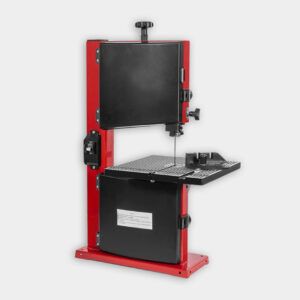
- Using a band saw or jigsaw, cut alongside each cardboard/MDF template, taking care not to let the blade touch it.
- Note: To make the chair’s armrests wide enough for the templates, rip two 1-inch strips and glue them to the edges of the armrest stock.
Step 3: Trim the curved pieces
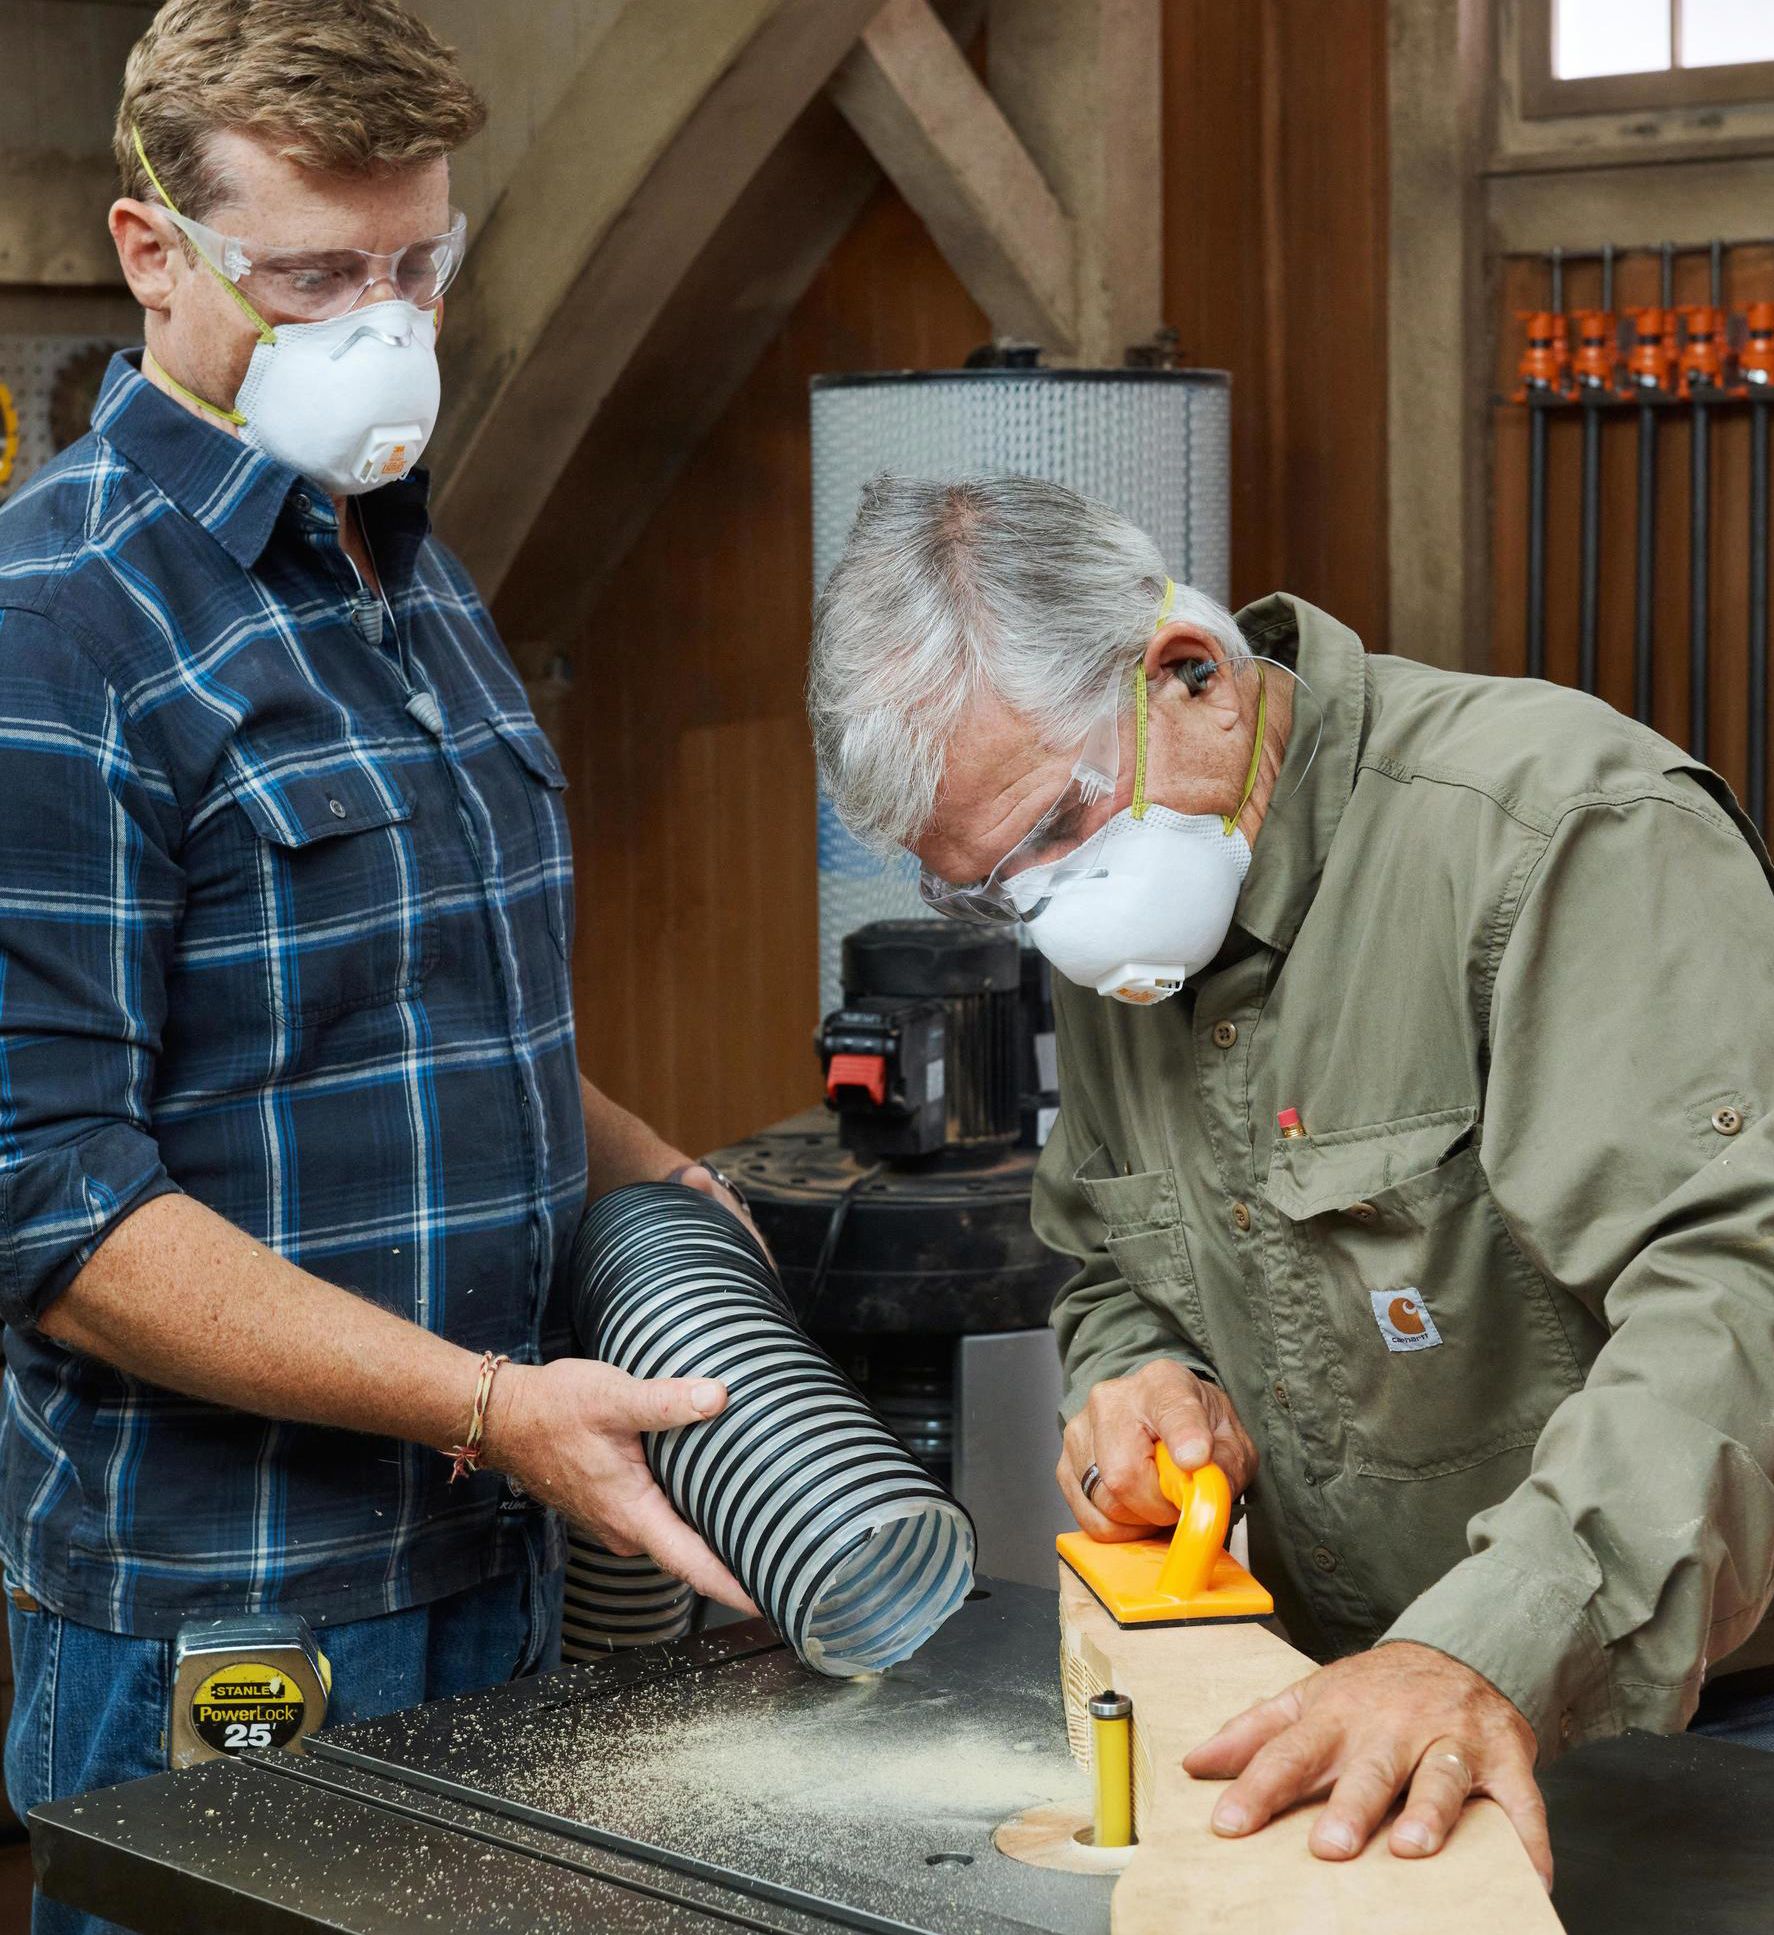
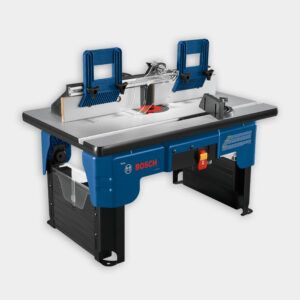
- On a benchtop router table, run the pieces against a spinning straight bit with a bearing. The bearing rides on the template; the bit shaves each piece to match it.
Step 4: Taper the back slats
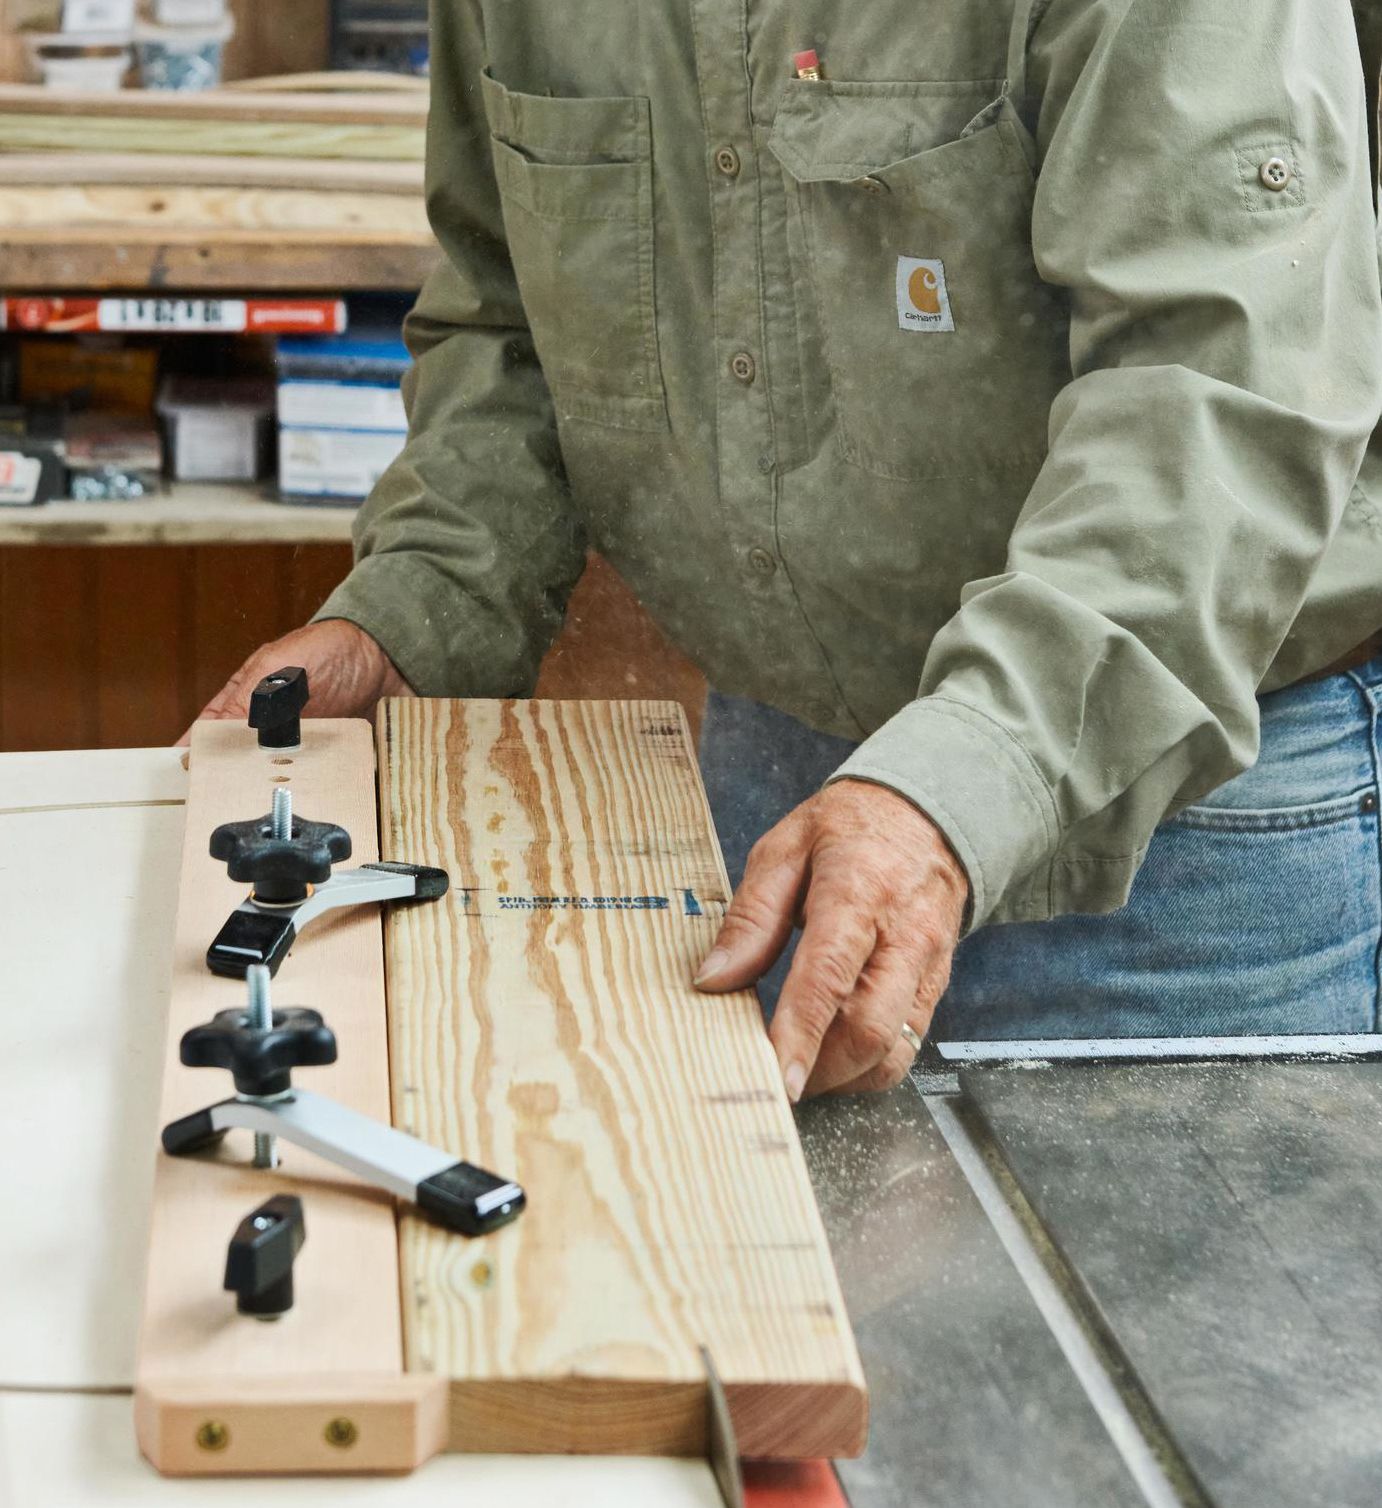
- Set up a tapering jig on a table saw to cut each back slat to match its template angle.
- After all the pieces are cut, rip them down to a ¾-inch thickness.
- Mark the slats’ curved ends and cut them on the band saw.
Step 5: Take off the sharp corners
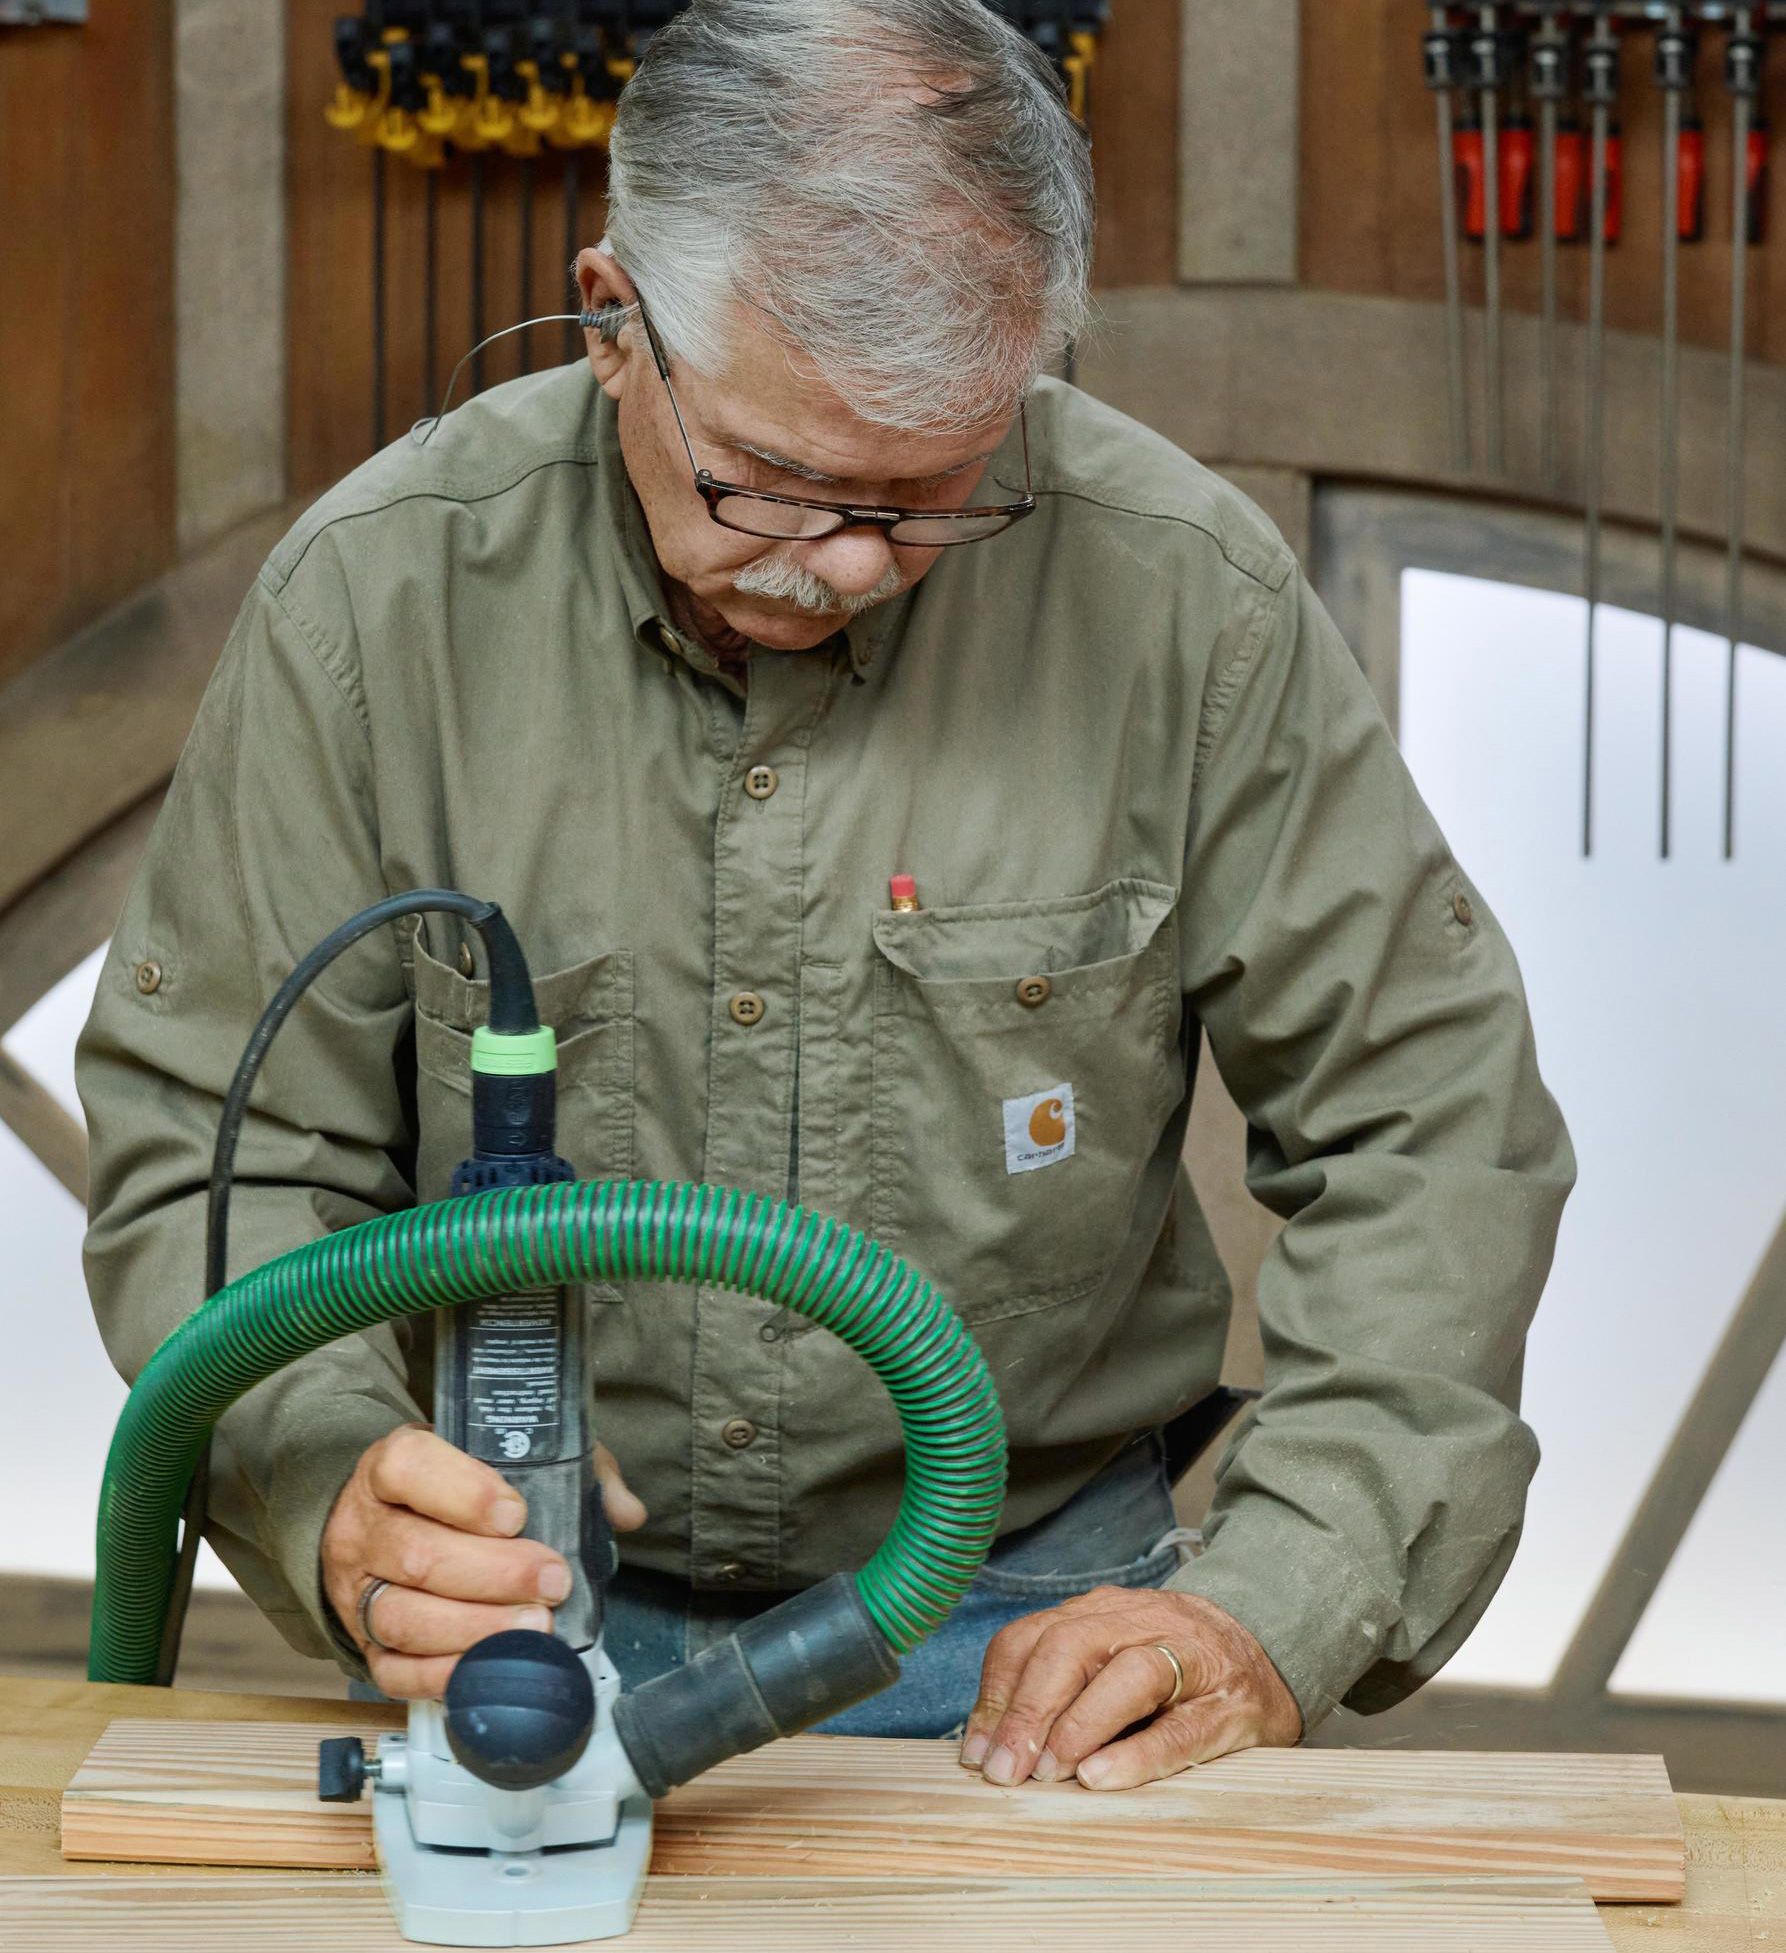
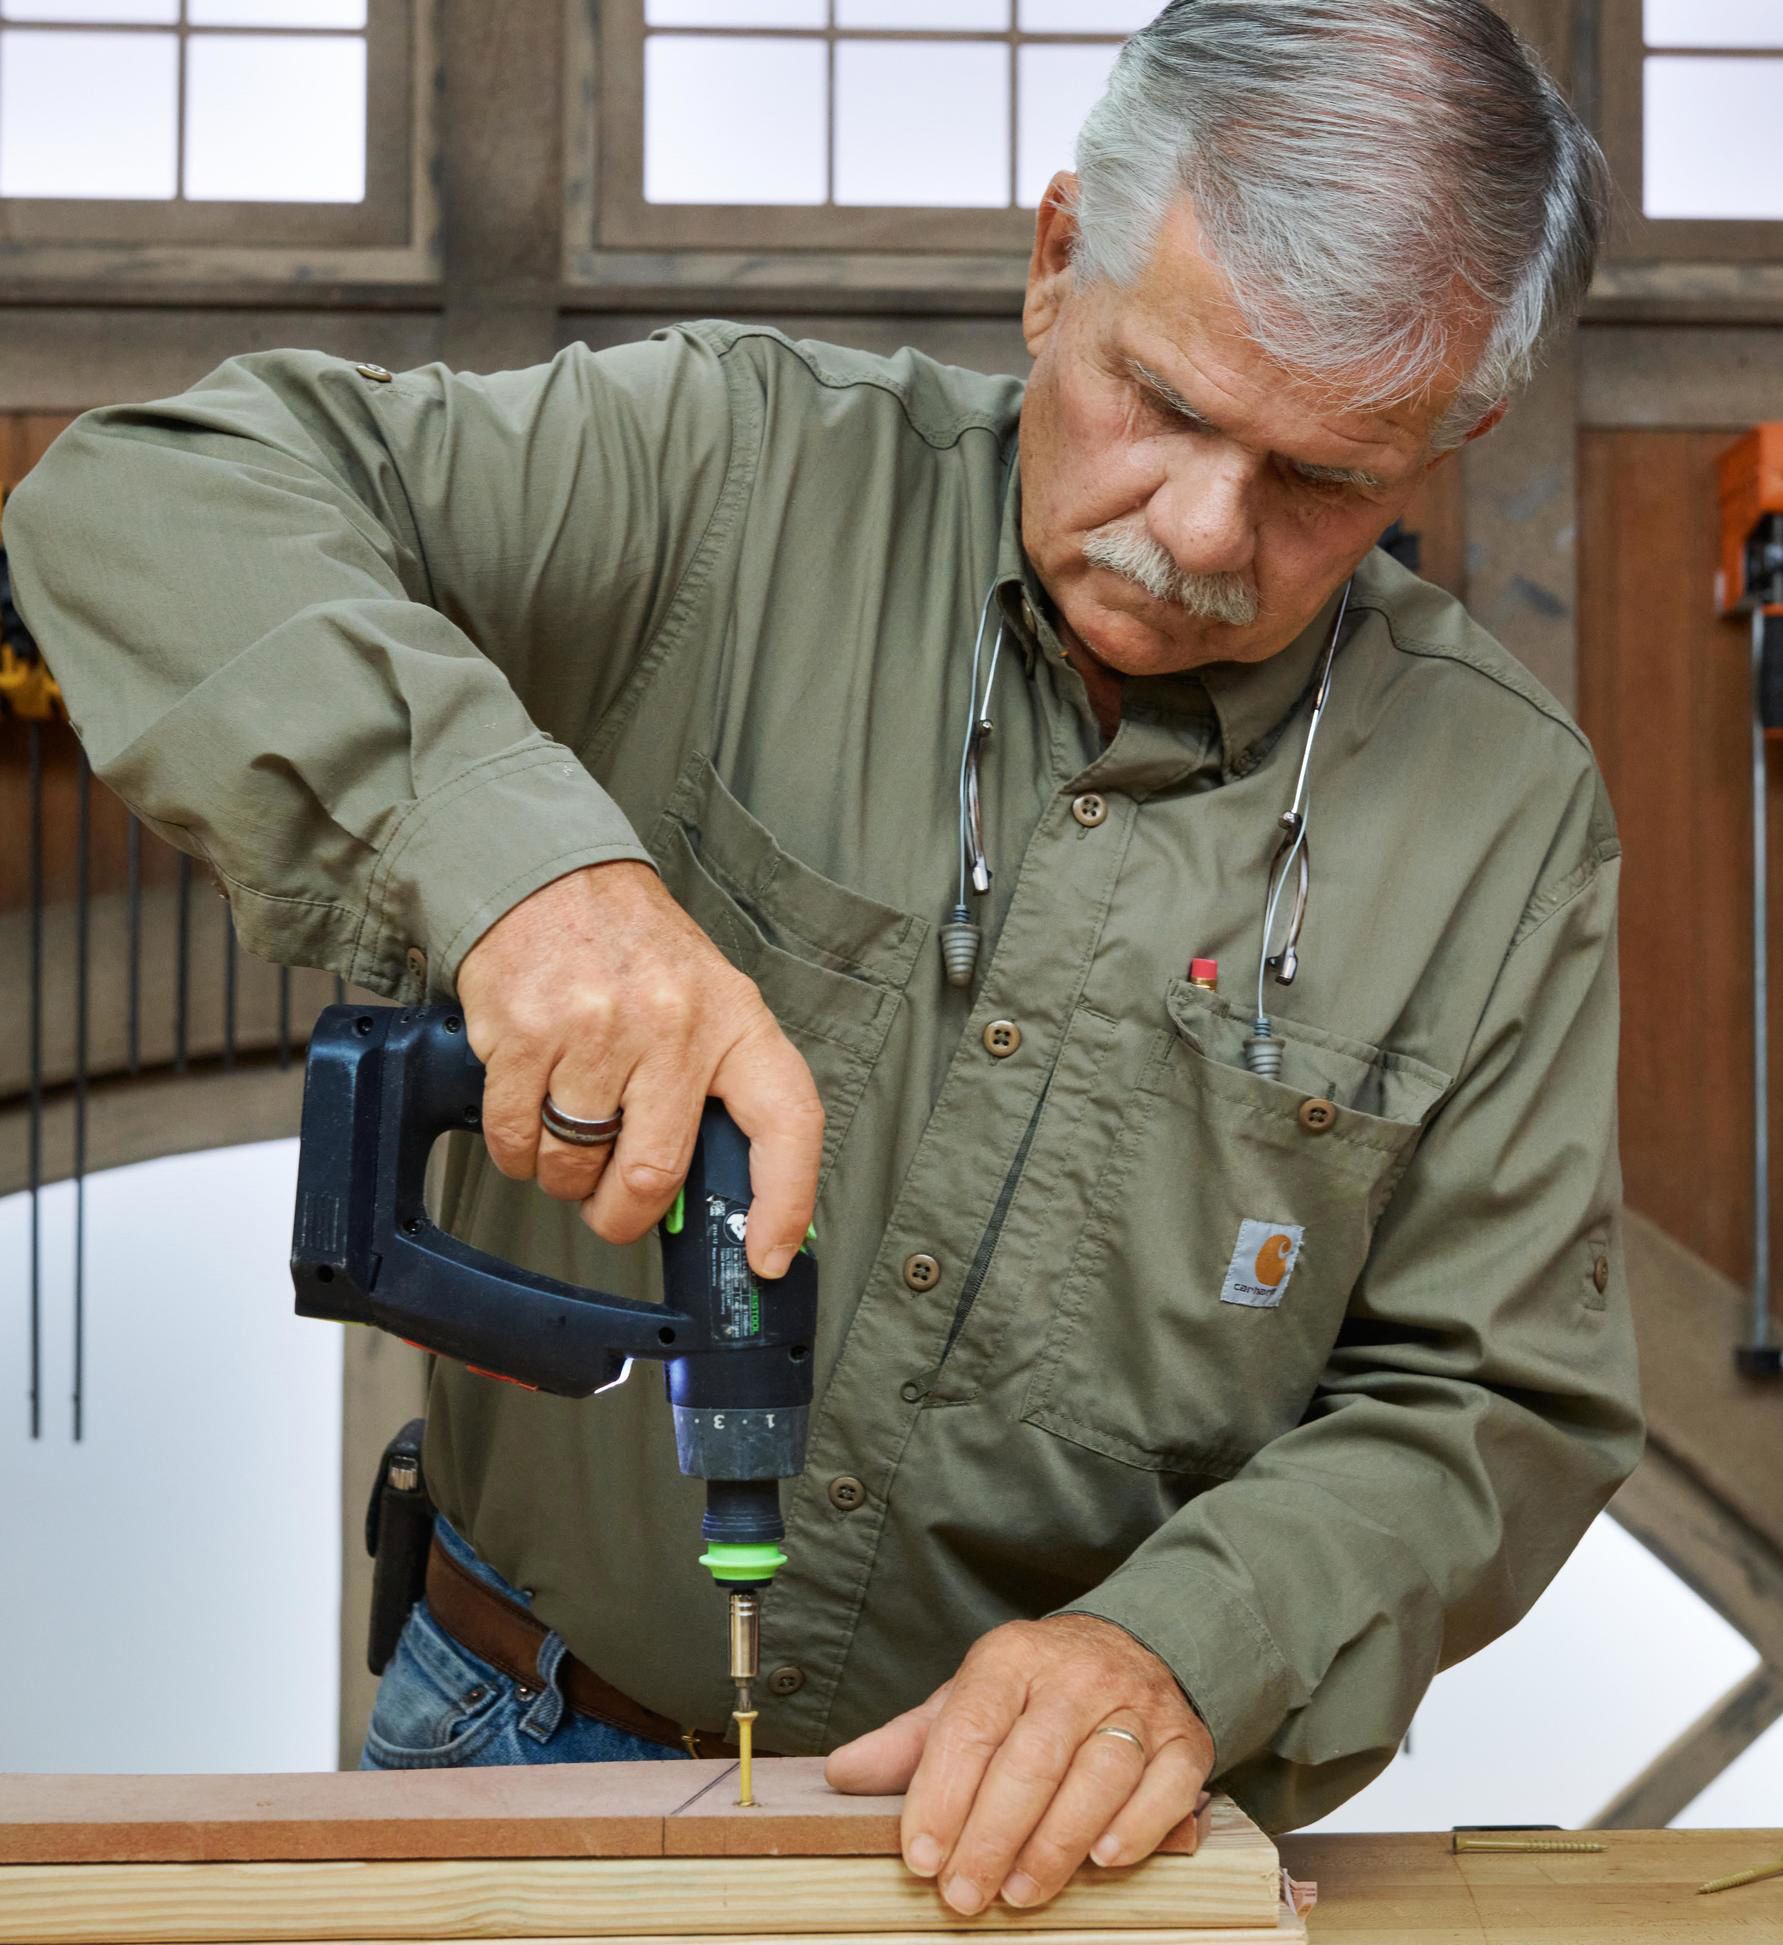
- Using the holes in the MDF as guides, drill 5⁄64-inch pilot holes in the stock; remove the templates.
- Use a router with a ¼-inch roundover bit to ease the top edges where indicated in the plans. Sand the parts with 80-, 120-, and 180-grit paper.
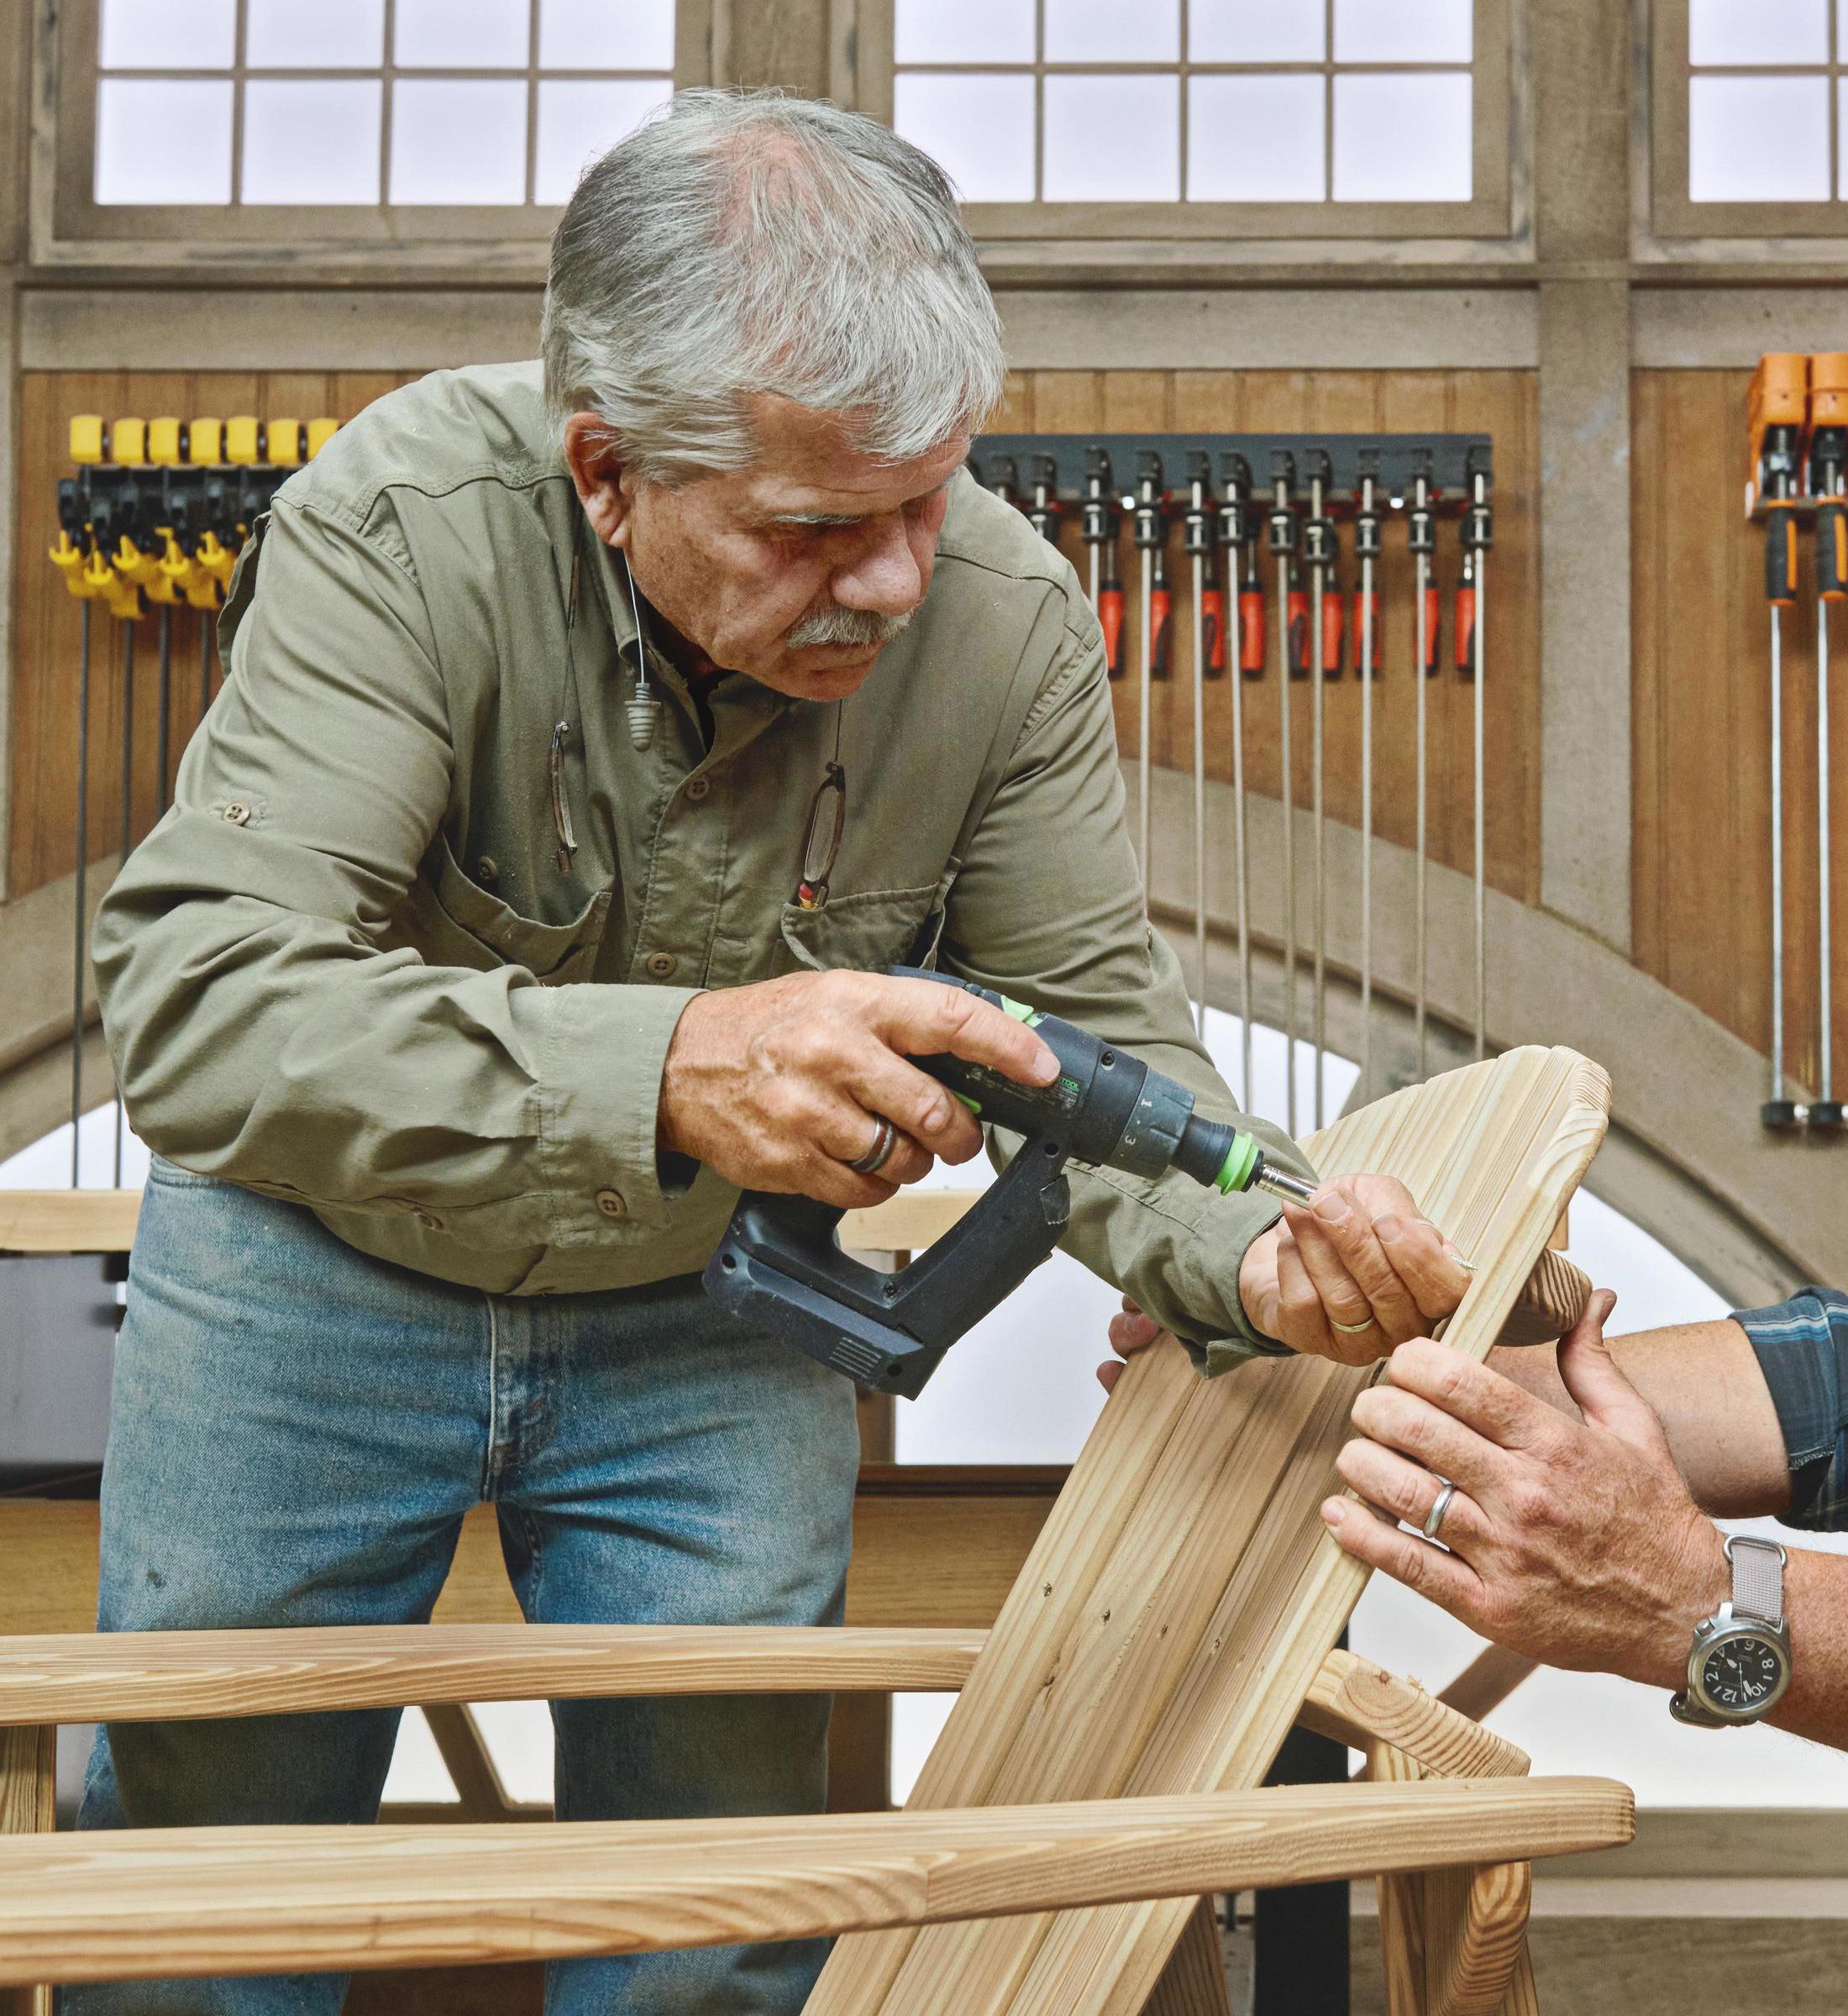
Step 6: Assemble the legs
- Attach a bracket perpendicular to and flush with the top of each front leg.
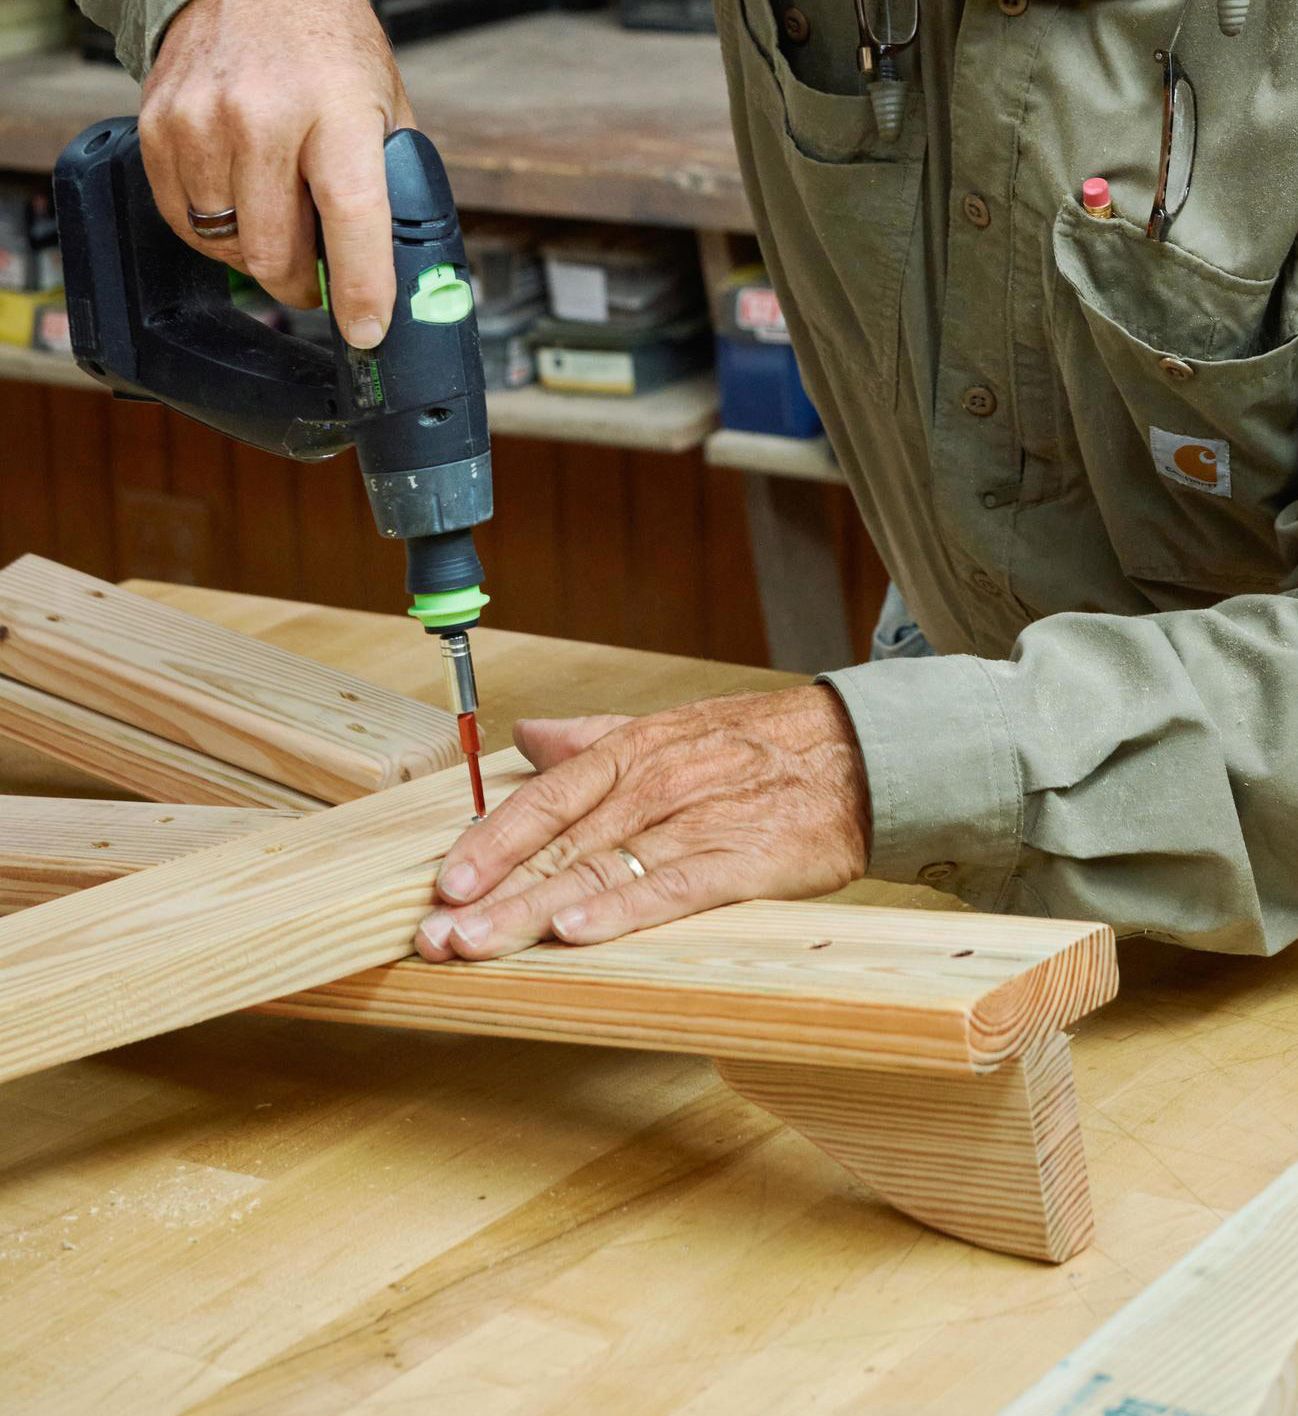
- Center the seat support on the inside face of a front leg, line up their square ends, then use four 1 5⁄8-inch screws to fasten them together.
- Do the same with the opposite leg. Rest a main support on the angled end of a seat support so its front edge projects 3½ inches past the front leg.
- Drive two 1 5⁄8-inch screws through the main support and into the front leg. Do the same with the main support on the other side.
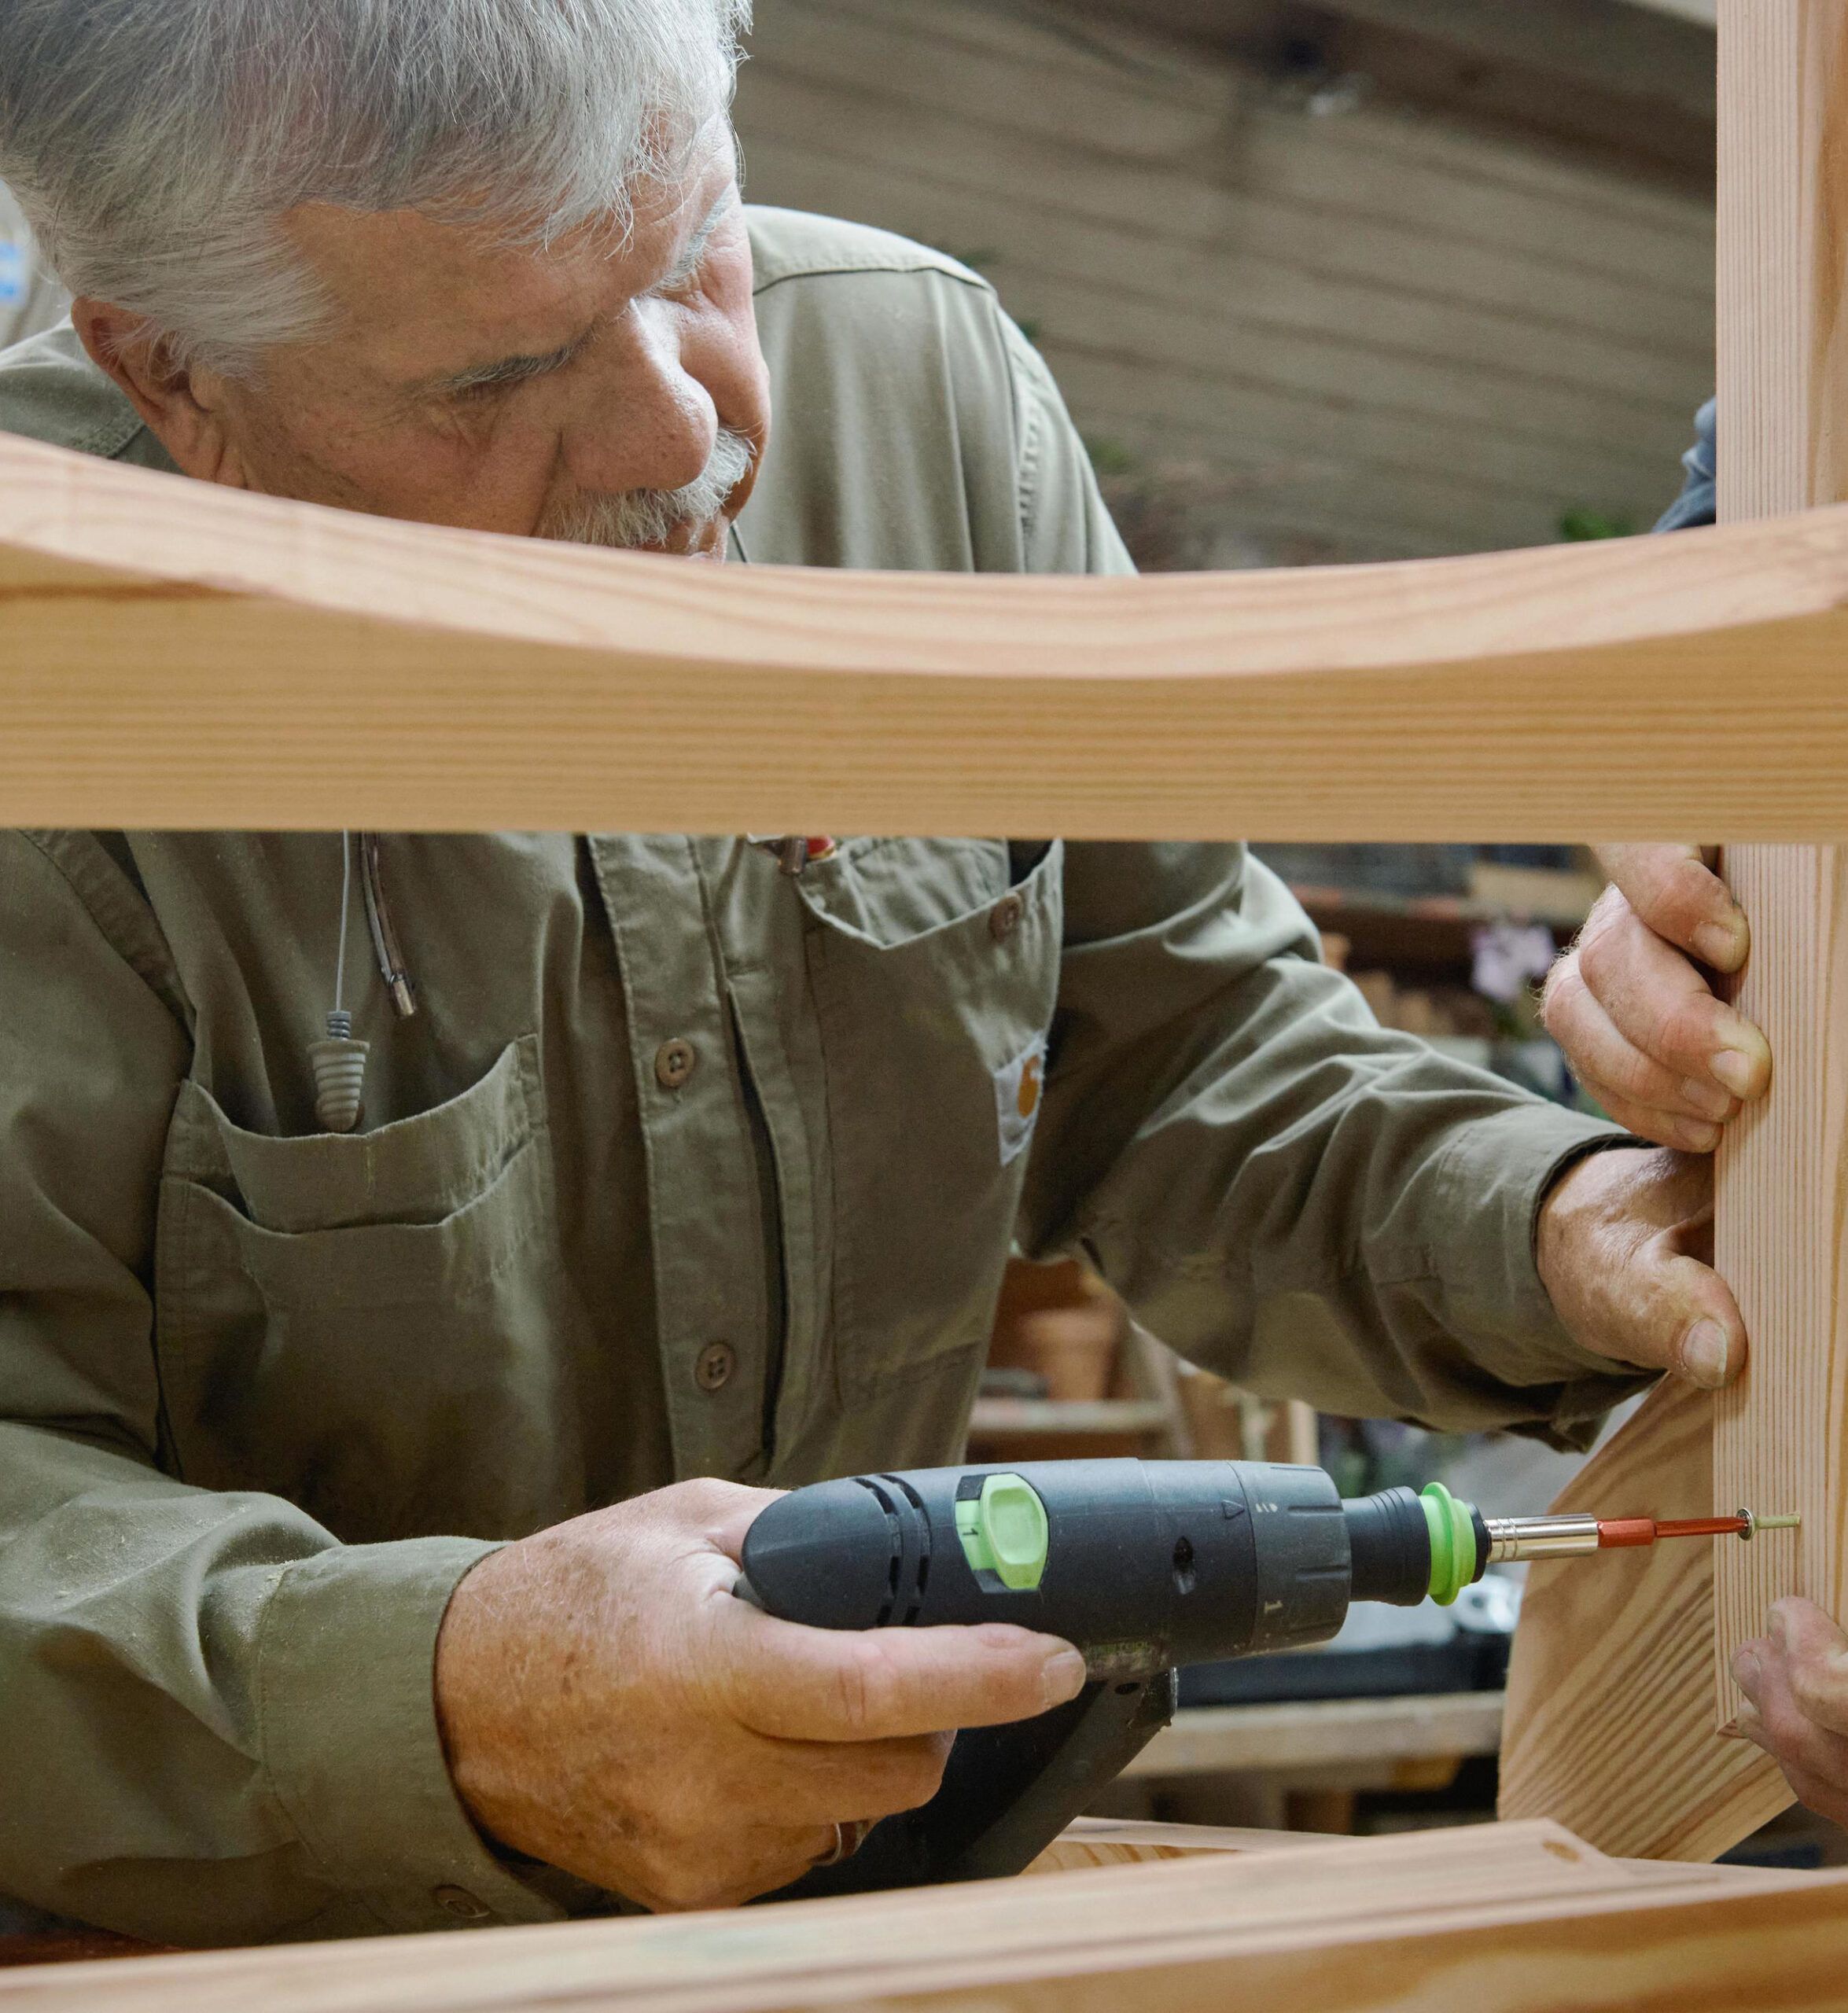
Step 7: Join the sides
- Stand the main supports upright and fasten four seat slats to the front edges of the main supports.
- Let each slat end extend ½ inch past the supports. Fasten the bottom stretcher to the notches in the main supports. Its ends also project ½ inch past those supports.
Step 8: Attach the back supports
- Line up the lower ends of each support with the bottom edges of the main supports and 8¼ inches in from the doglegs on the main supports.
- Fasten the main and back supports together with two 1 5⁄8-inch screws; fasten each rear armrest bracket to the back supports with two 1 5⁄8-inch screws.
Step 9: Attach the back slats
- Screw the center back slat to the middle back stretcher.
- Line up the remaining back slats on either side so their tops form a smooth arch from side to side; set them 3⁄8 inch apart, top to bottom, then fasten them to the middle back stretcher with 1 5⁄8-inch screws.
- When all the slats are attached, screw the middle back stretcher to the back supports with 2½-inch screws.
- Now fasten the back slats to the bottom stretcher with 1 5⁄8-inch screws.
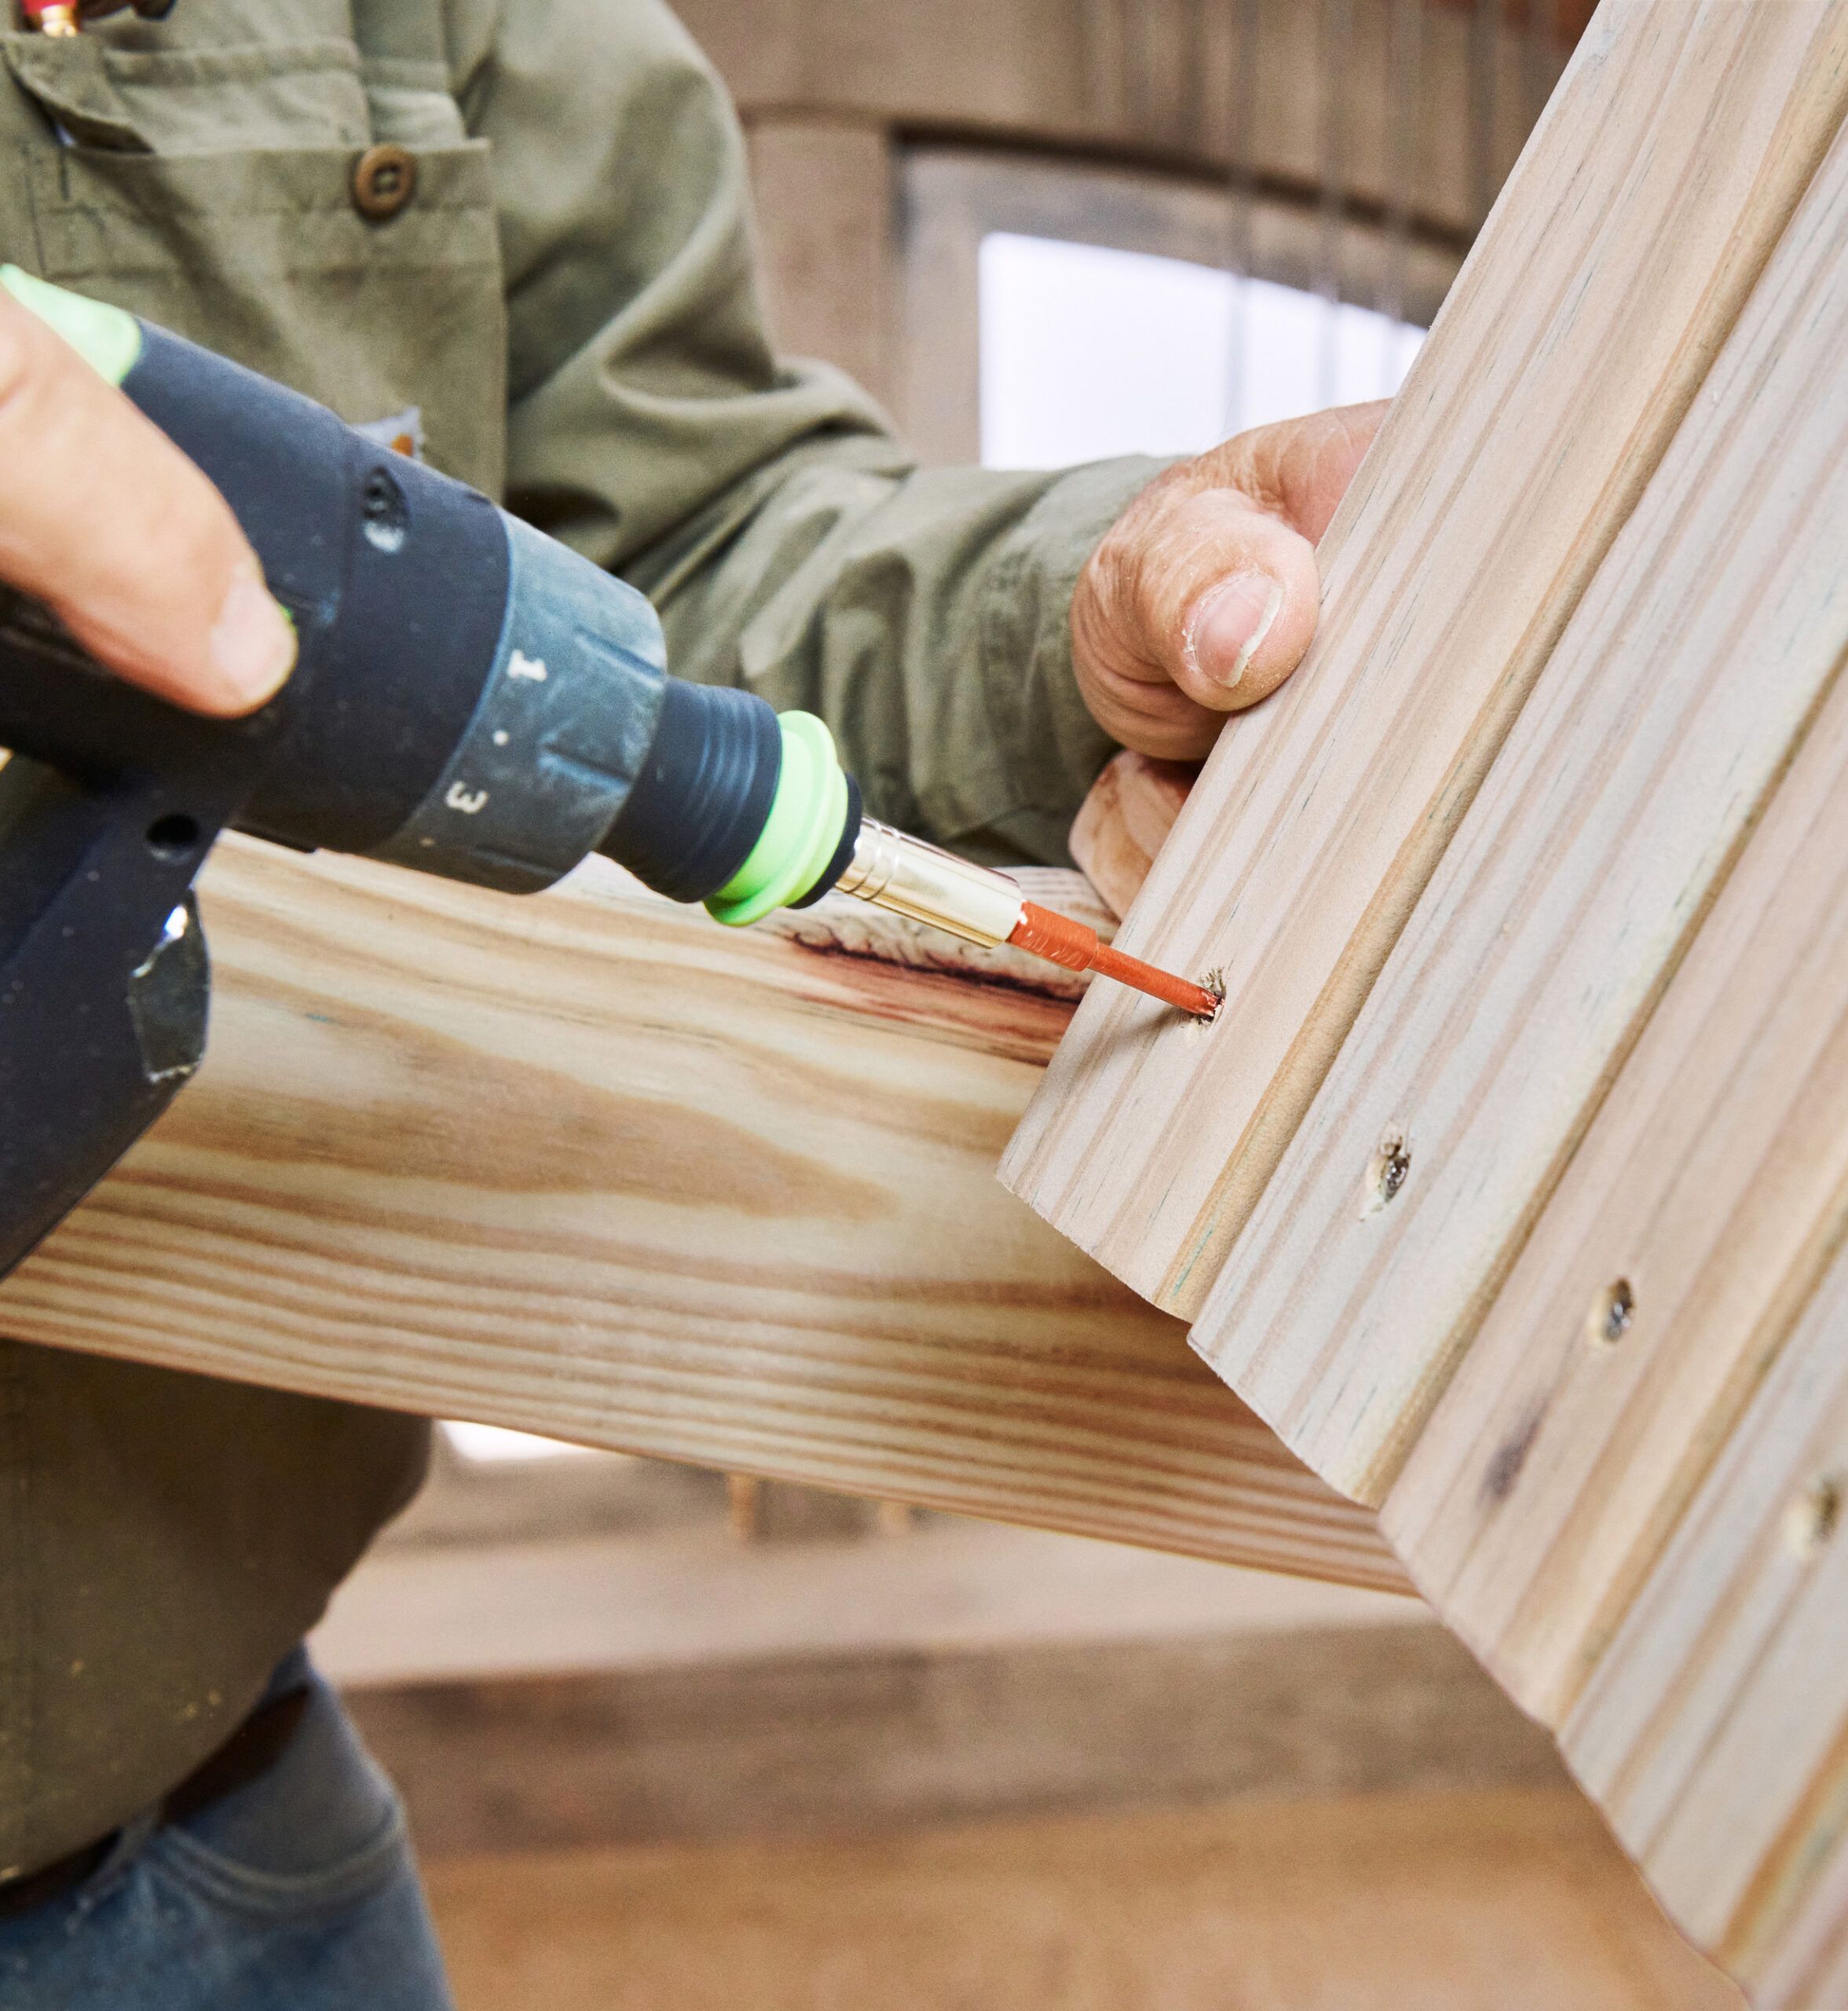
Step 10: Add the remaining seat slats
- Bevel the rear seat slat on the table saw so it tapers from ¾ inch thick in front to 1 inch thick in back.
- Set the thick edge against the back slats and fasten it to the main supports with 1 5⁄8-inch screws.
- Use the same screws to attach the remaining seat slats, leaving a ½-inch gap between each one.
- Leave a 1⁄16-inch gap between the arms and the short seat slats.
Step 11: Secure the armrests
- Place the left armrest flat against the top of the left front leg and the left-hand brackets, front and rear.
- Line up the armrest’s pilot holes with the top end of the front leg and the top edges of the brackets, then secure the armrest with four 2½-inch screws.
- Do the same with the opposite armrest.
Step 12: Attach the top back stretcher
- Center the stretcher from right to left; it stops the slats from twisting.
- Drive a 1 5⁄8-inch screw into it through each slat.
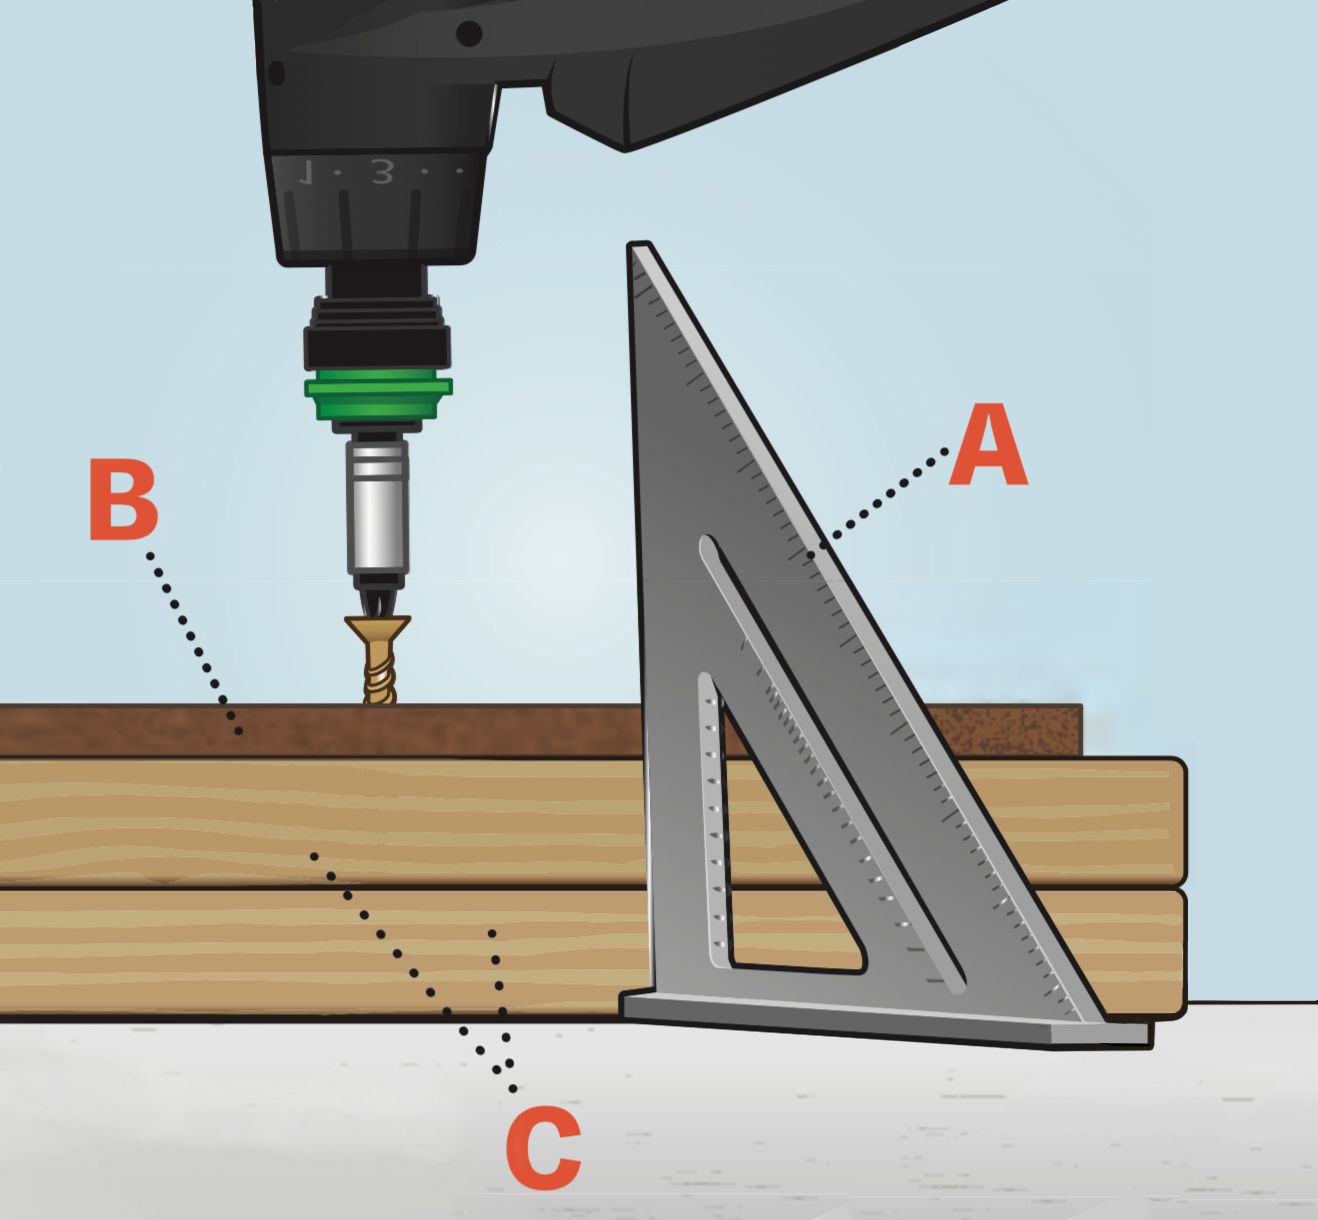
How to make identical pieces
To save time making pairs of curved armrests and support pieces, Tom used a rafter square (A) to align one edge of the MDF template (B) with the edges of the stock (C). Then he screwed all of them together so they wouldn’t slip as he cut the paired pieces on a band saw. Before unscrewing them, he did a final trim on all the edges with a flush-cutting bit, running its bearing along the template.
Tip: Coating pressure-treated wood
Treated woods often have such a high moisture content, it takes three to six months before they’ll accept a finish. For kiln-dried wood stamped KDAT or KD19, the wait is one or two months.
Whichever treated wood you use, protect it from the elements: Prep with a deck cleaner and wood brightener, then apply one coat of a tinted semitransparent stain (shown) or an opaque solid-color stain.
Resources:
Tom used the Classic Adirondack Chair Template and Project Plan from Rockler to figure out how to make all the different cuts. The plan comes with cardboard templates for the different pieces of the chair and some project plans to use as a guide.
Tom built the chair out of 5/4-inch x 6 foot pressure treated decking material, which can be found at any home center or lumber yard. Any rot-resistant lumber would also work well for an Adirondack chair.
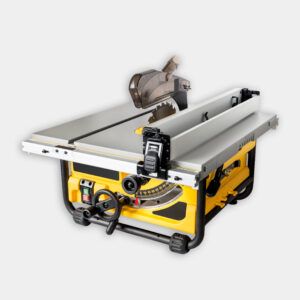
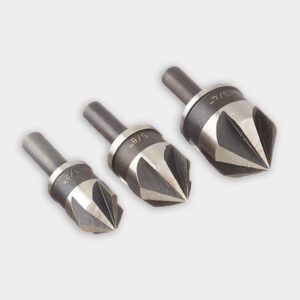
To cut and shape the boards, Tom used a combination of a 1-HP Steel Frame Bandsaw from Delta Machinery, a router table, and an Industrial Table Saw from SawStop.
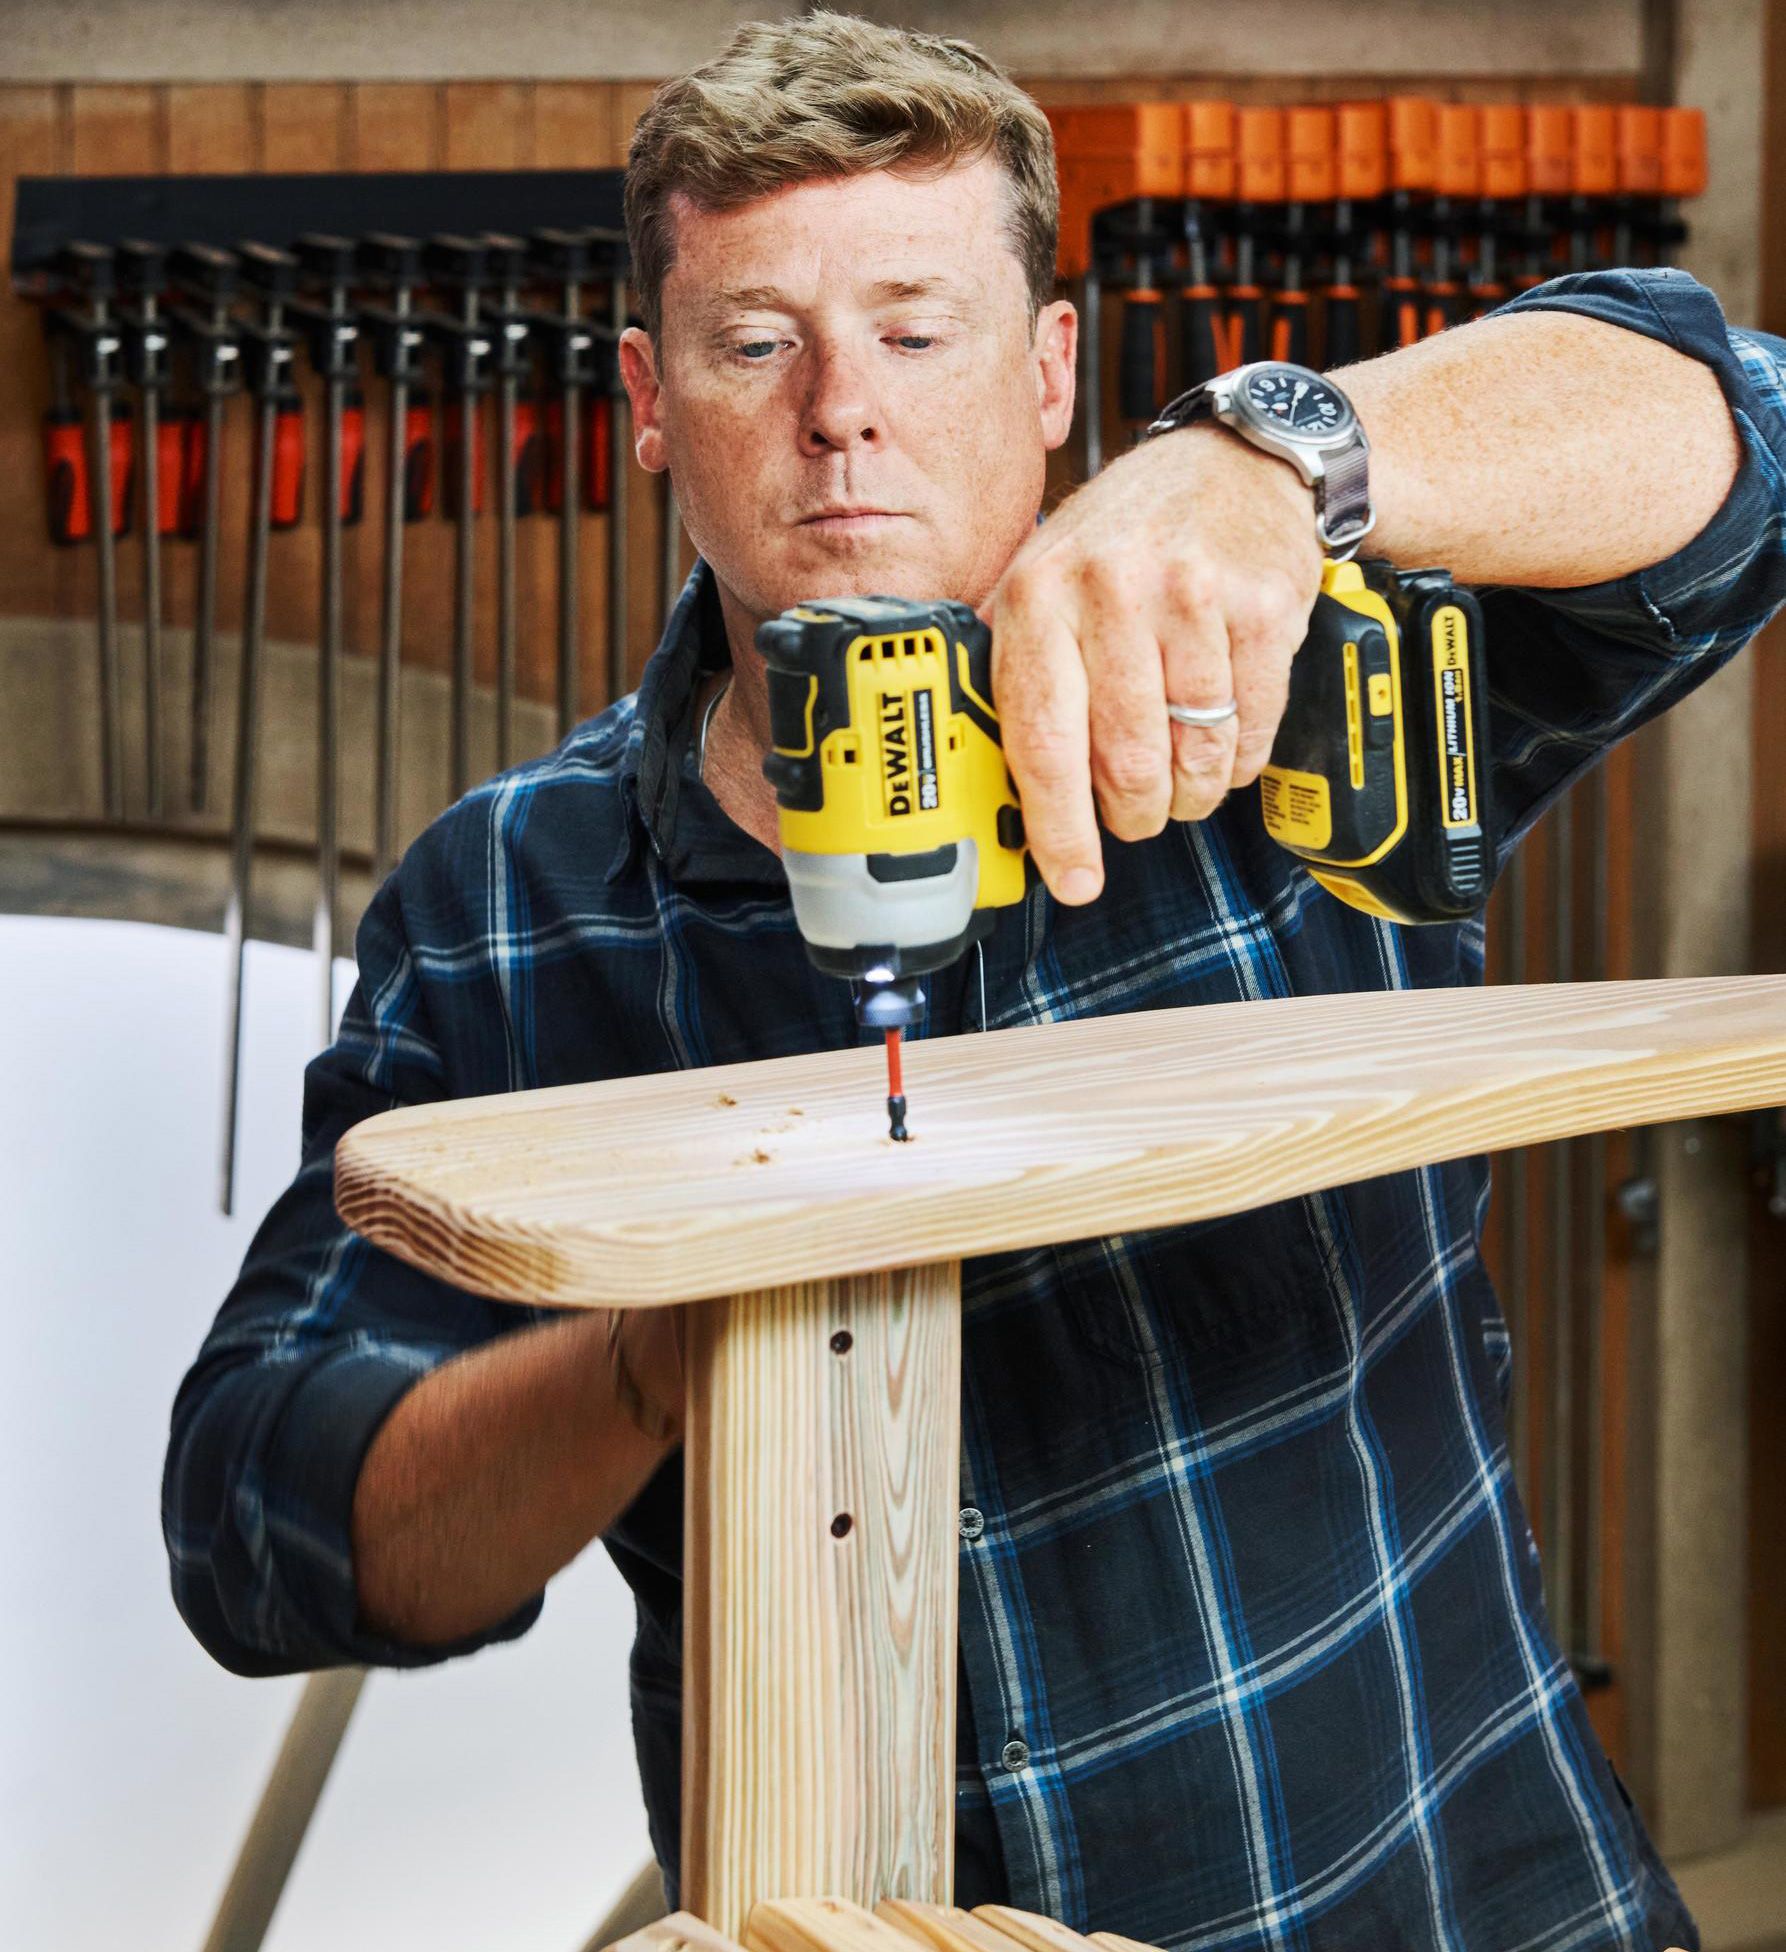
The other tools and materials Tom and Kevin used to build the chair, including exterior rated screws and drill drivers, can all be found at home centers.
Materials:
- Adirondack chair template
- 1 sheet ¾-inch MDF
- 5/4-inch x 6 foot PT lumber
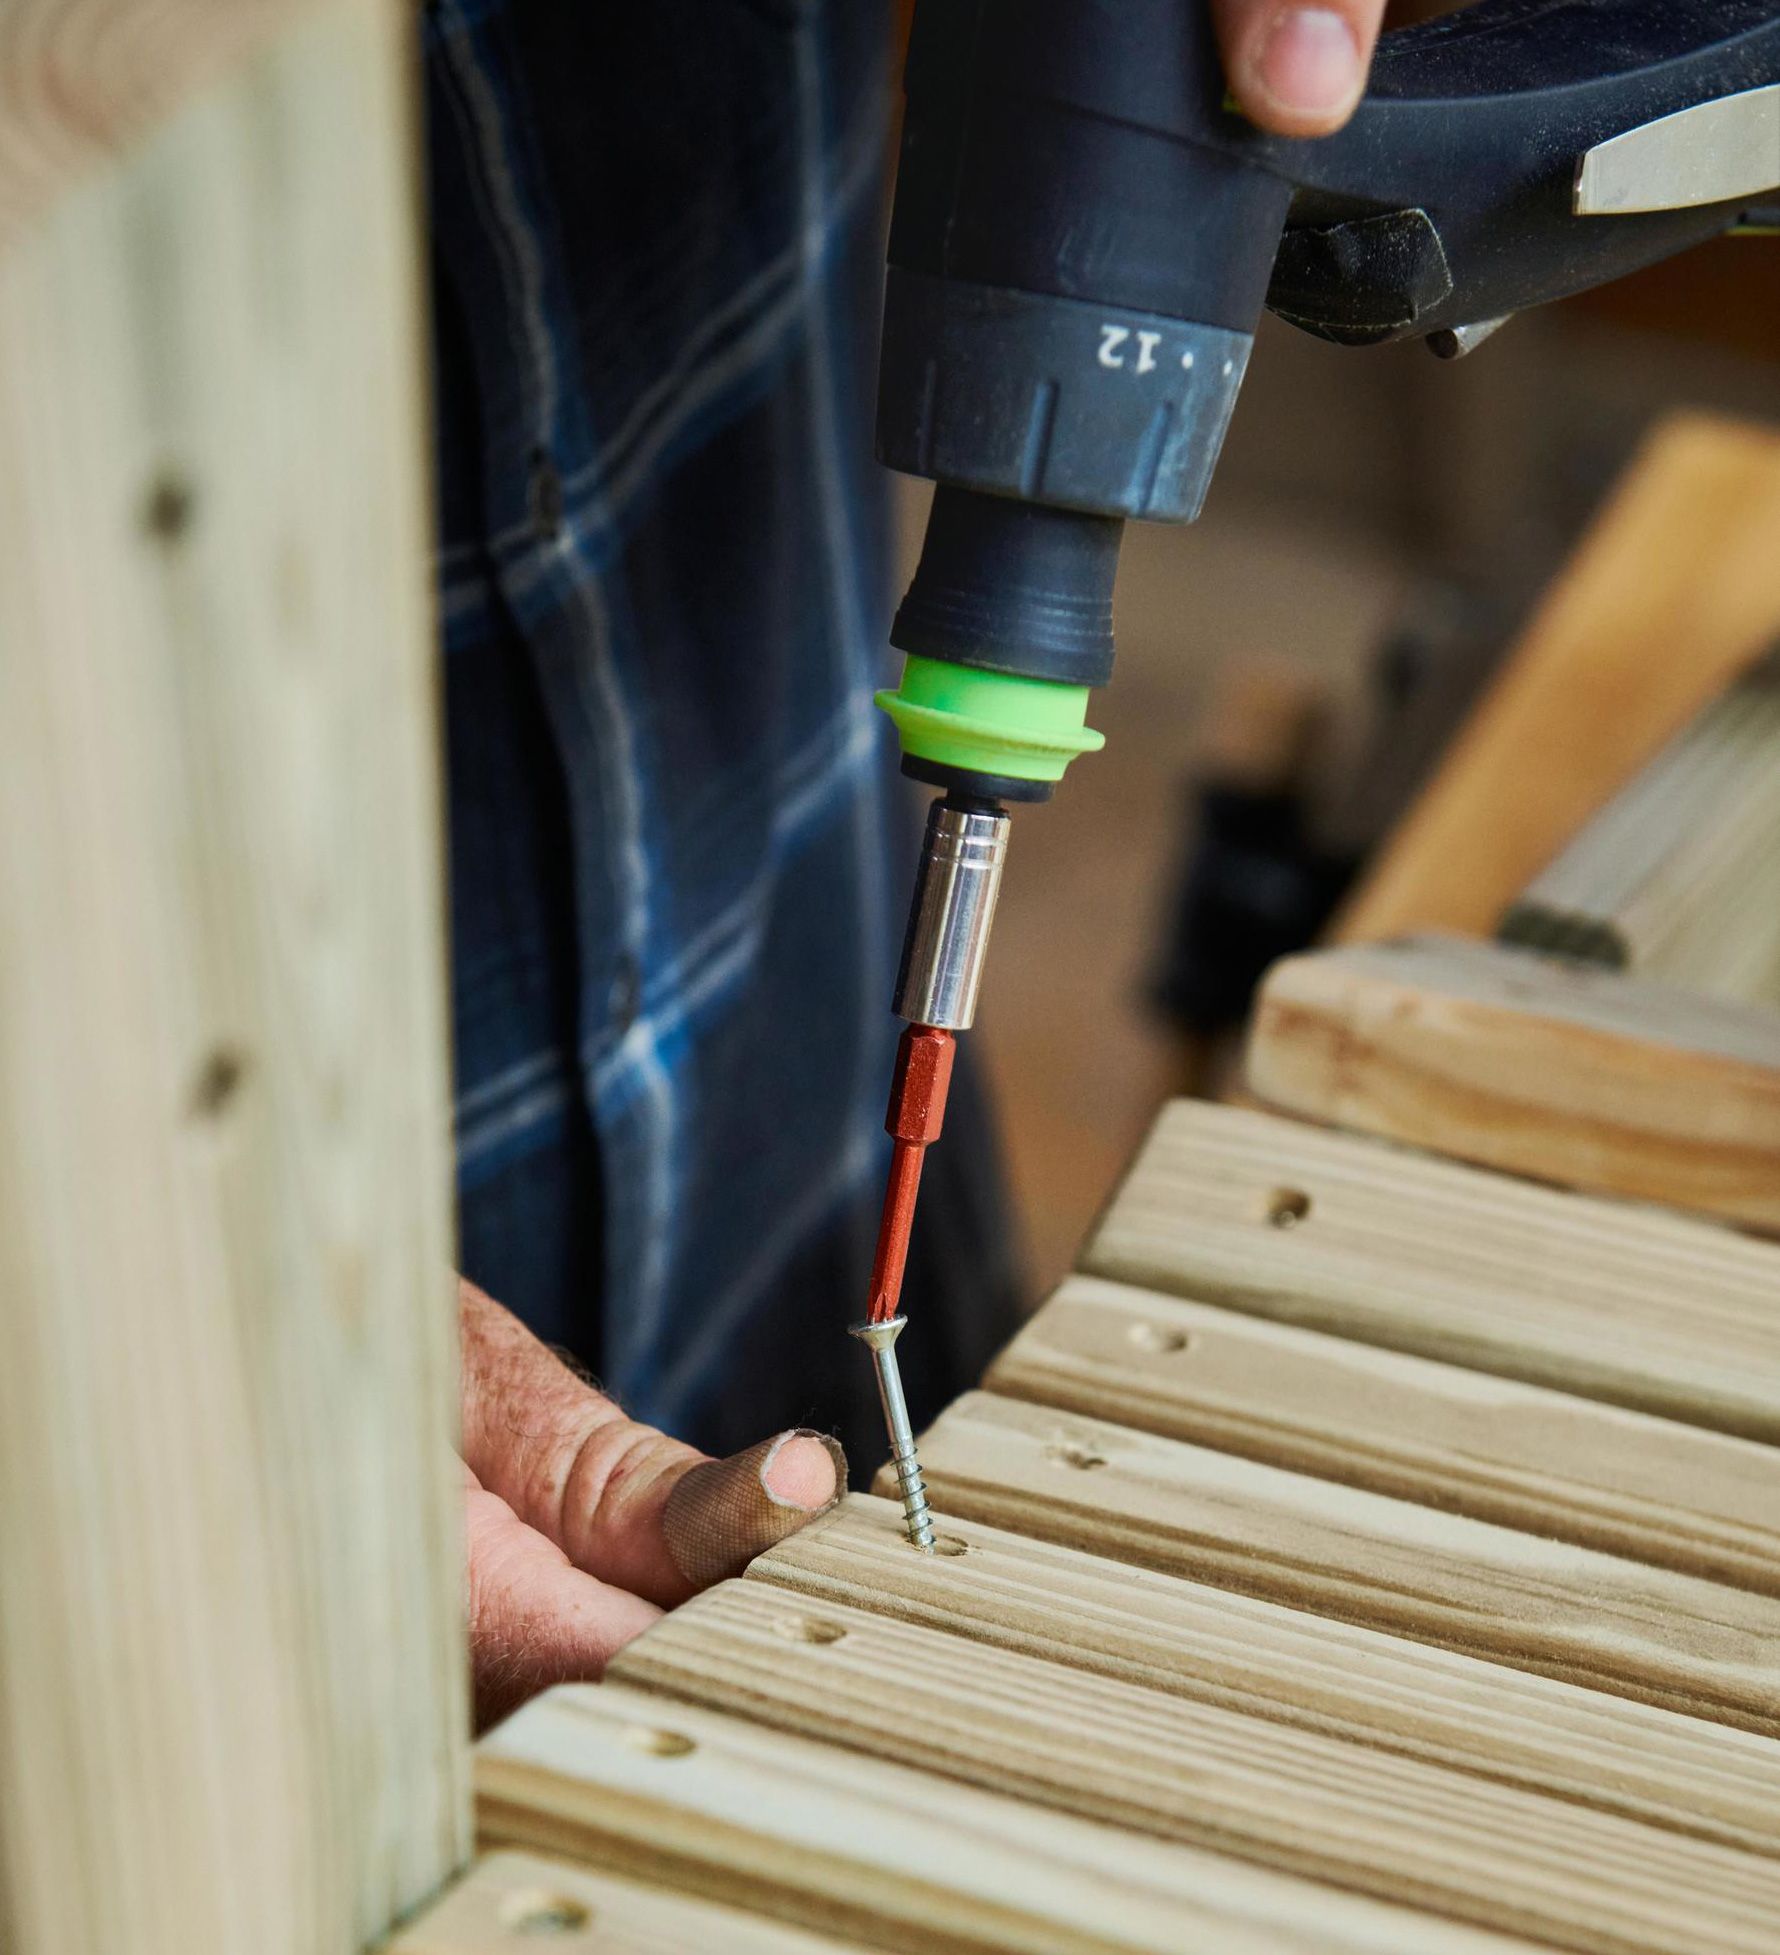
- 1 5⁄8-inch #8 stainless-steel deck screws
- 2½-inch #8 stainless-steel deck screws