We may be compensated if you purchase through links on our website. Our team is committed to delivering honest, objective, and independent reviews on home products and services.
Project details
Skill
Cost
Estimated Time
Cable railings are a sleek, modern alternative to traditional balusters that provide an unobstructed view while maintaining safety. Installing a cable railing system can transform an outdated staircase into a contemporary focal point.
In this guide, we’ll go through each step you need to take to complete this do-it-yourself project. You can also view our video above, in which This Old House general contractor, Tom Silva, guides a homeowner through the installation process from start to finish.
*Cost information in this article sourced from Angi.
Understanding Cable Railing Systems
Cable railing systems consist of horizontal or vertical stainless steel cables stretched between posts. These systems provide several advantages over traditional railings, including the following:
- Compliance with building codes (with proper installation, of course)
- Durability and low maintenance
- Improved visibility and a more open feel
- Modern, streamlined appearance
Before beginning the installation, check local building codes to ensure compliance with safety regulations.
Preparing for Cable Railing Installation
Proper preparation is key to a successful cable railing installation. Follow these steps before anything else:
- Remove the existing railing, keeping the newel post if it’s structurally sound.
- Measure and plan the new railing configuration.
- Gather all necessary tools and materials.
- Clean the area and remove any furniture or obstacles.
Materials and Tools
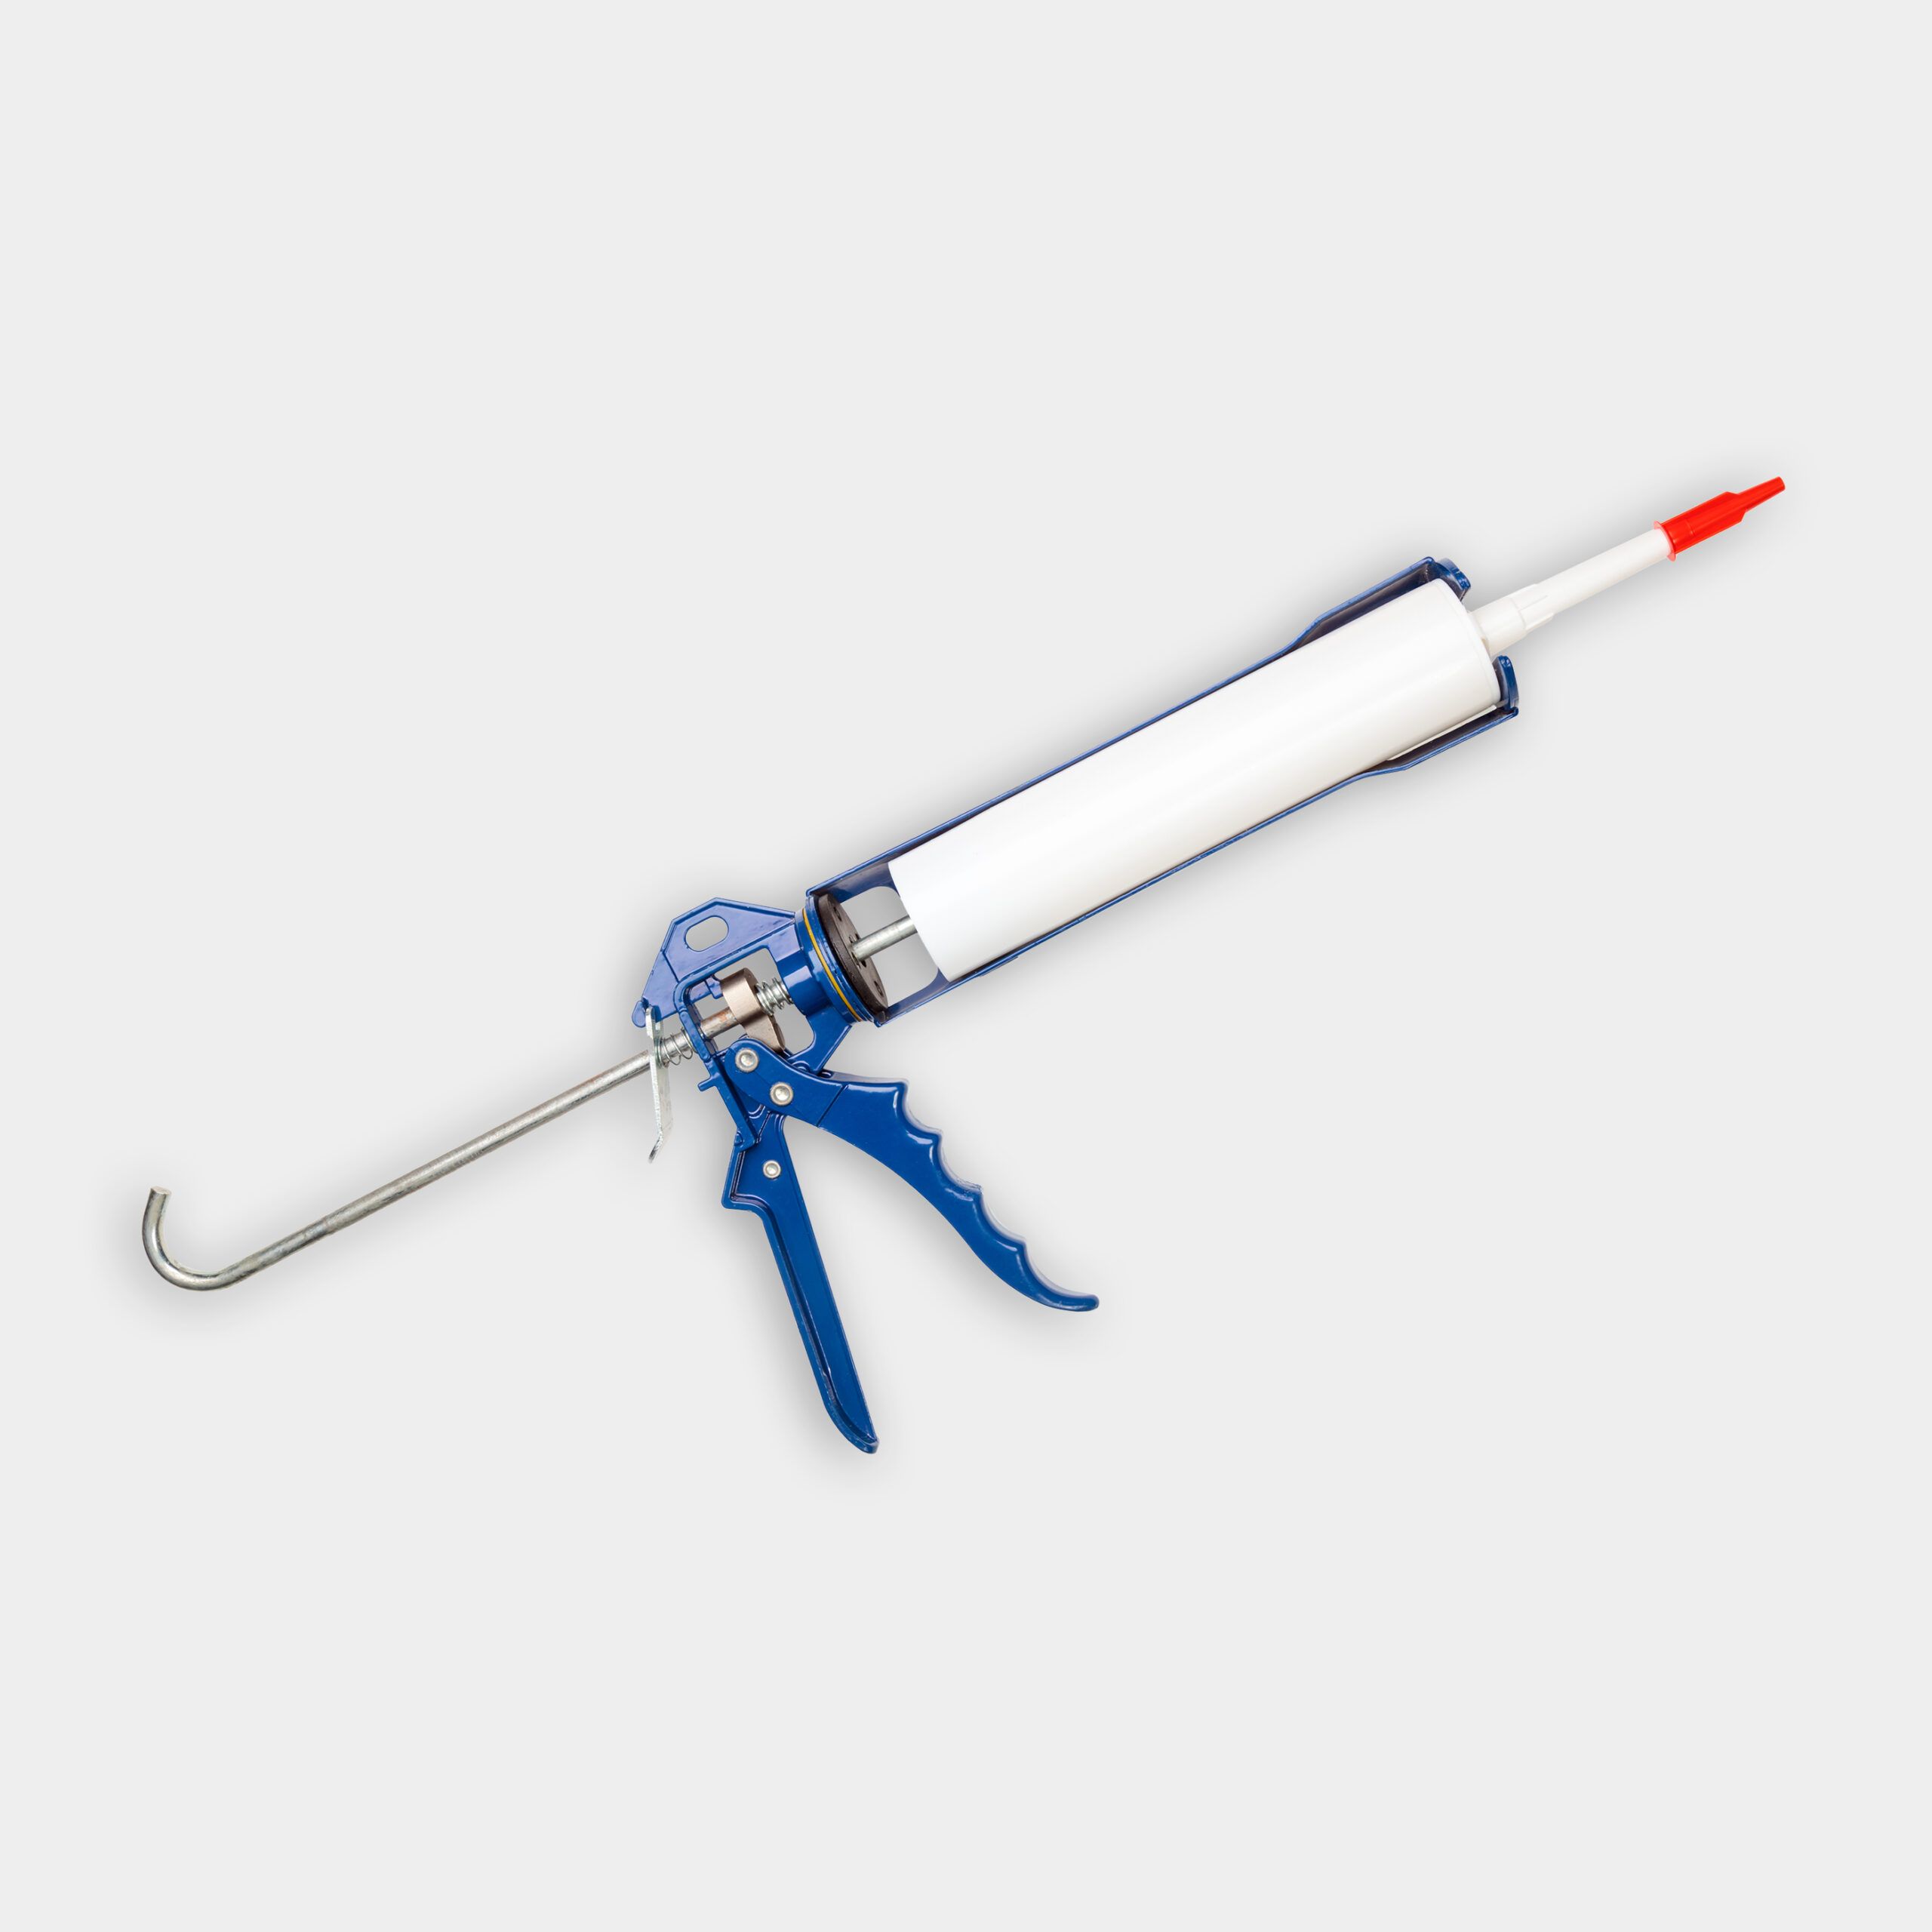
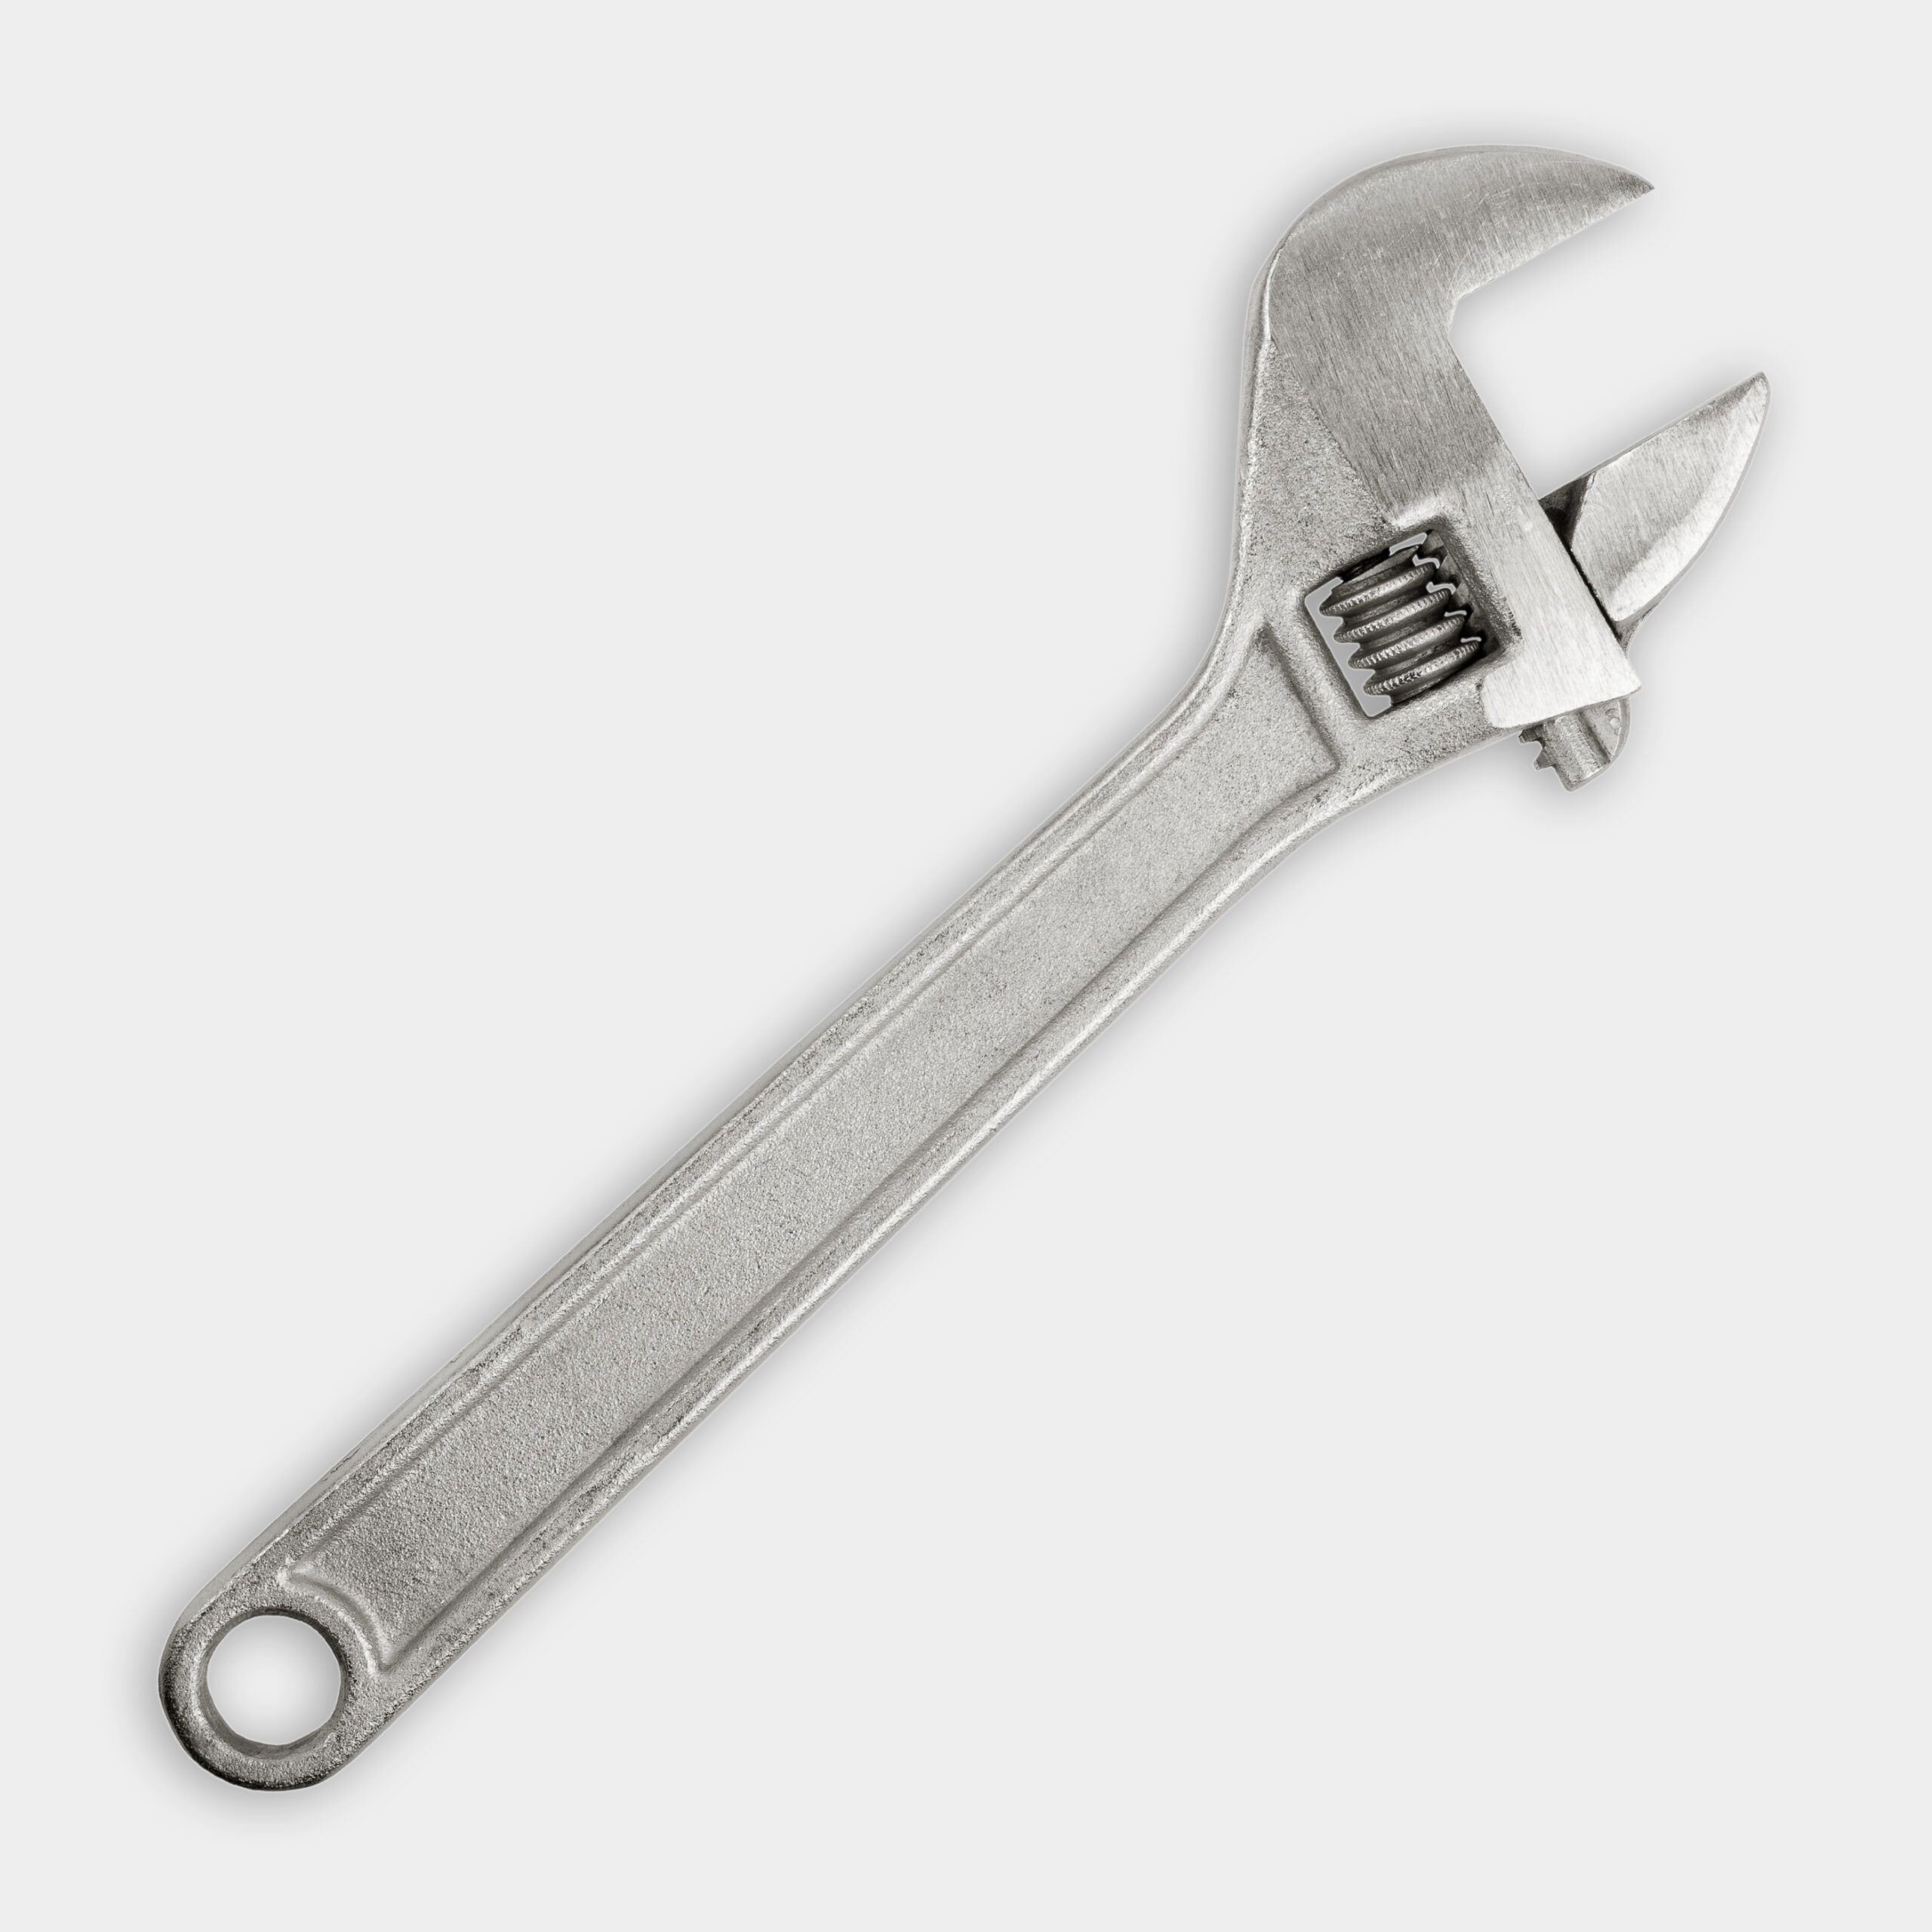
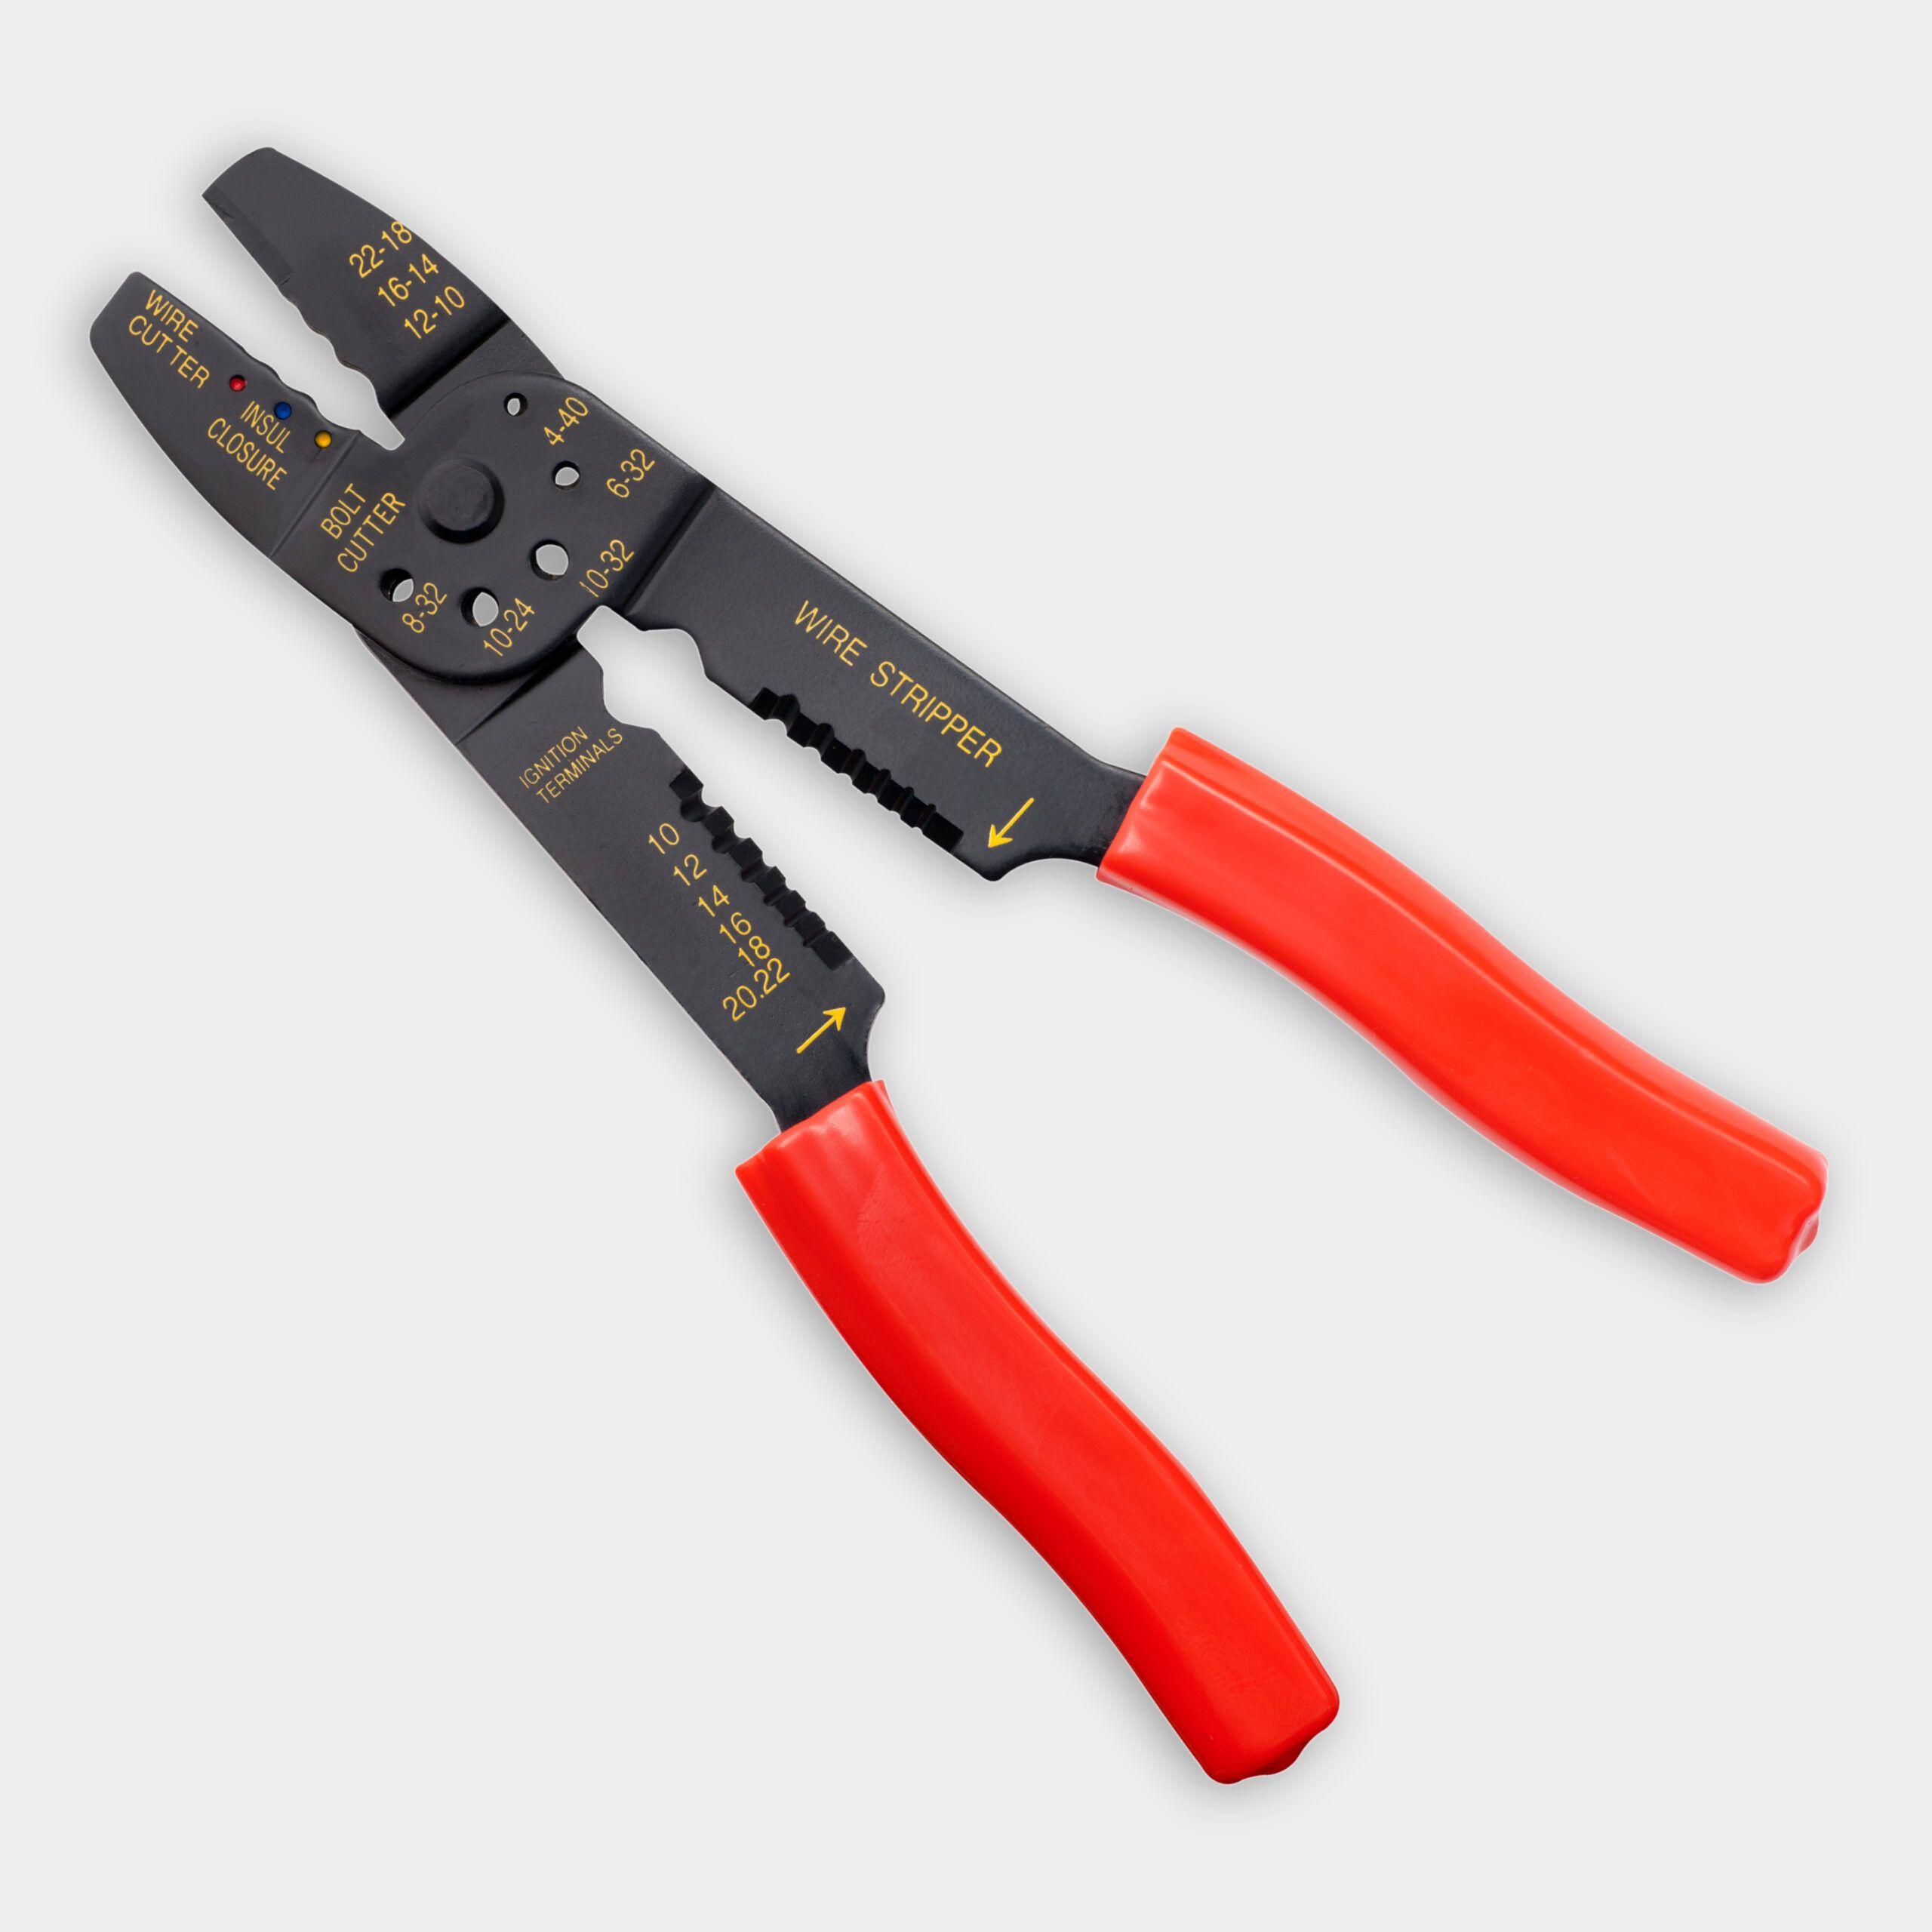
You’ll need the following tools and materials to install a cable railing system.
Materials
- Cable railing kit (including cables, fasteners, and tensioners)
- Construction adhesive
- Screws
- Wood glue
Tools
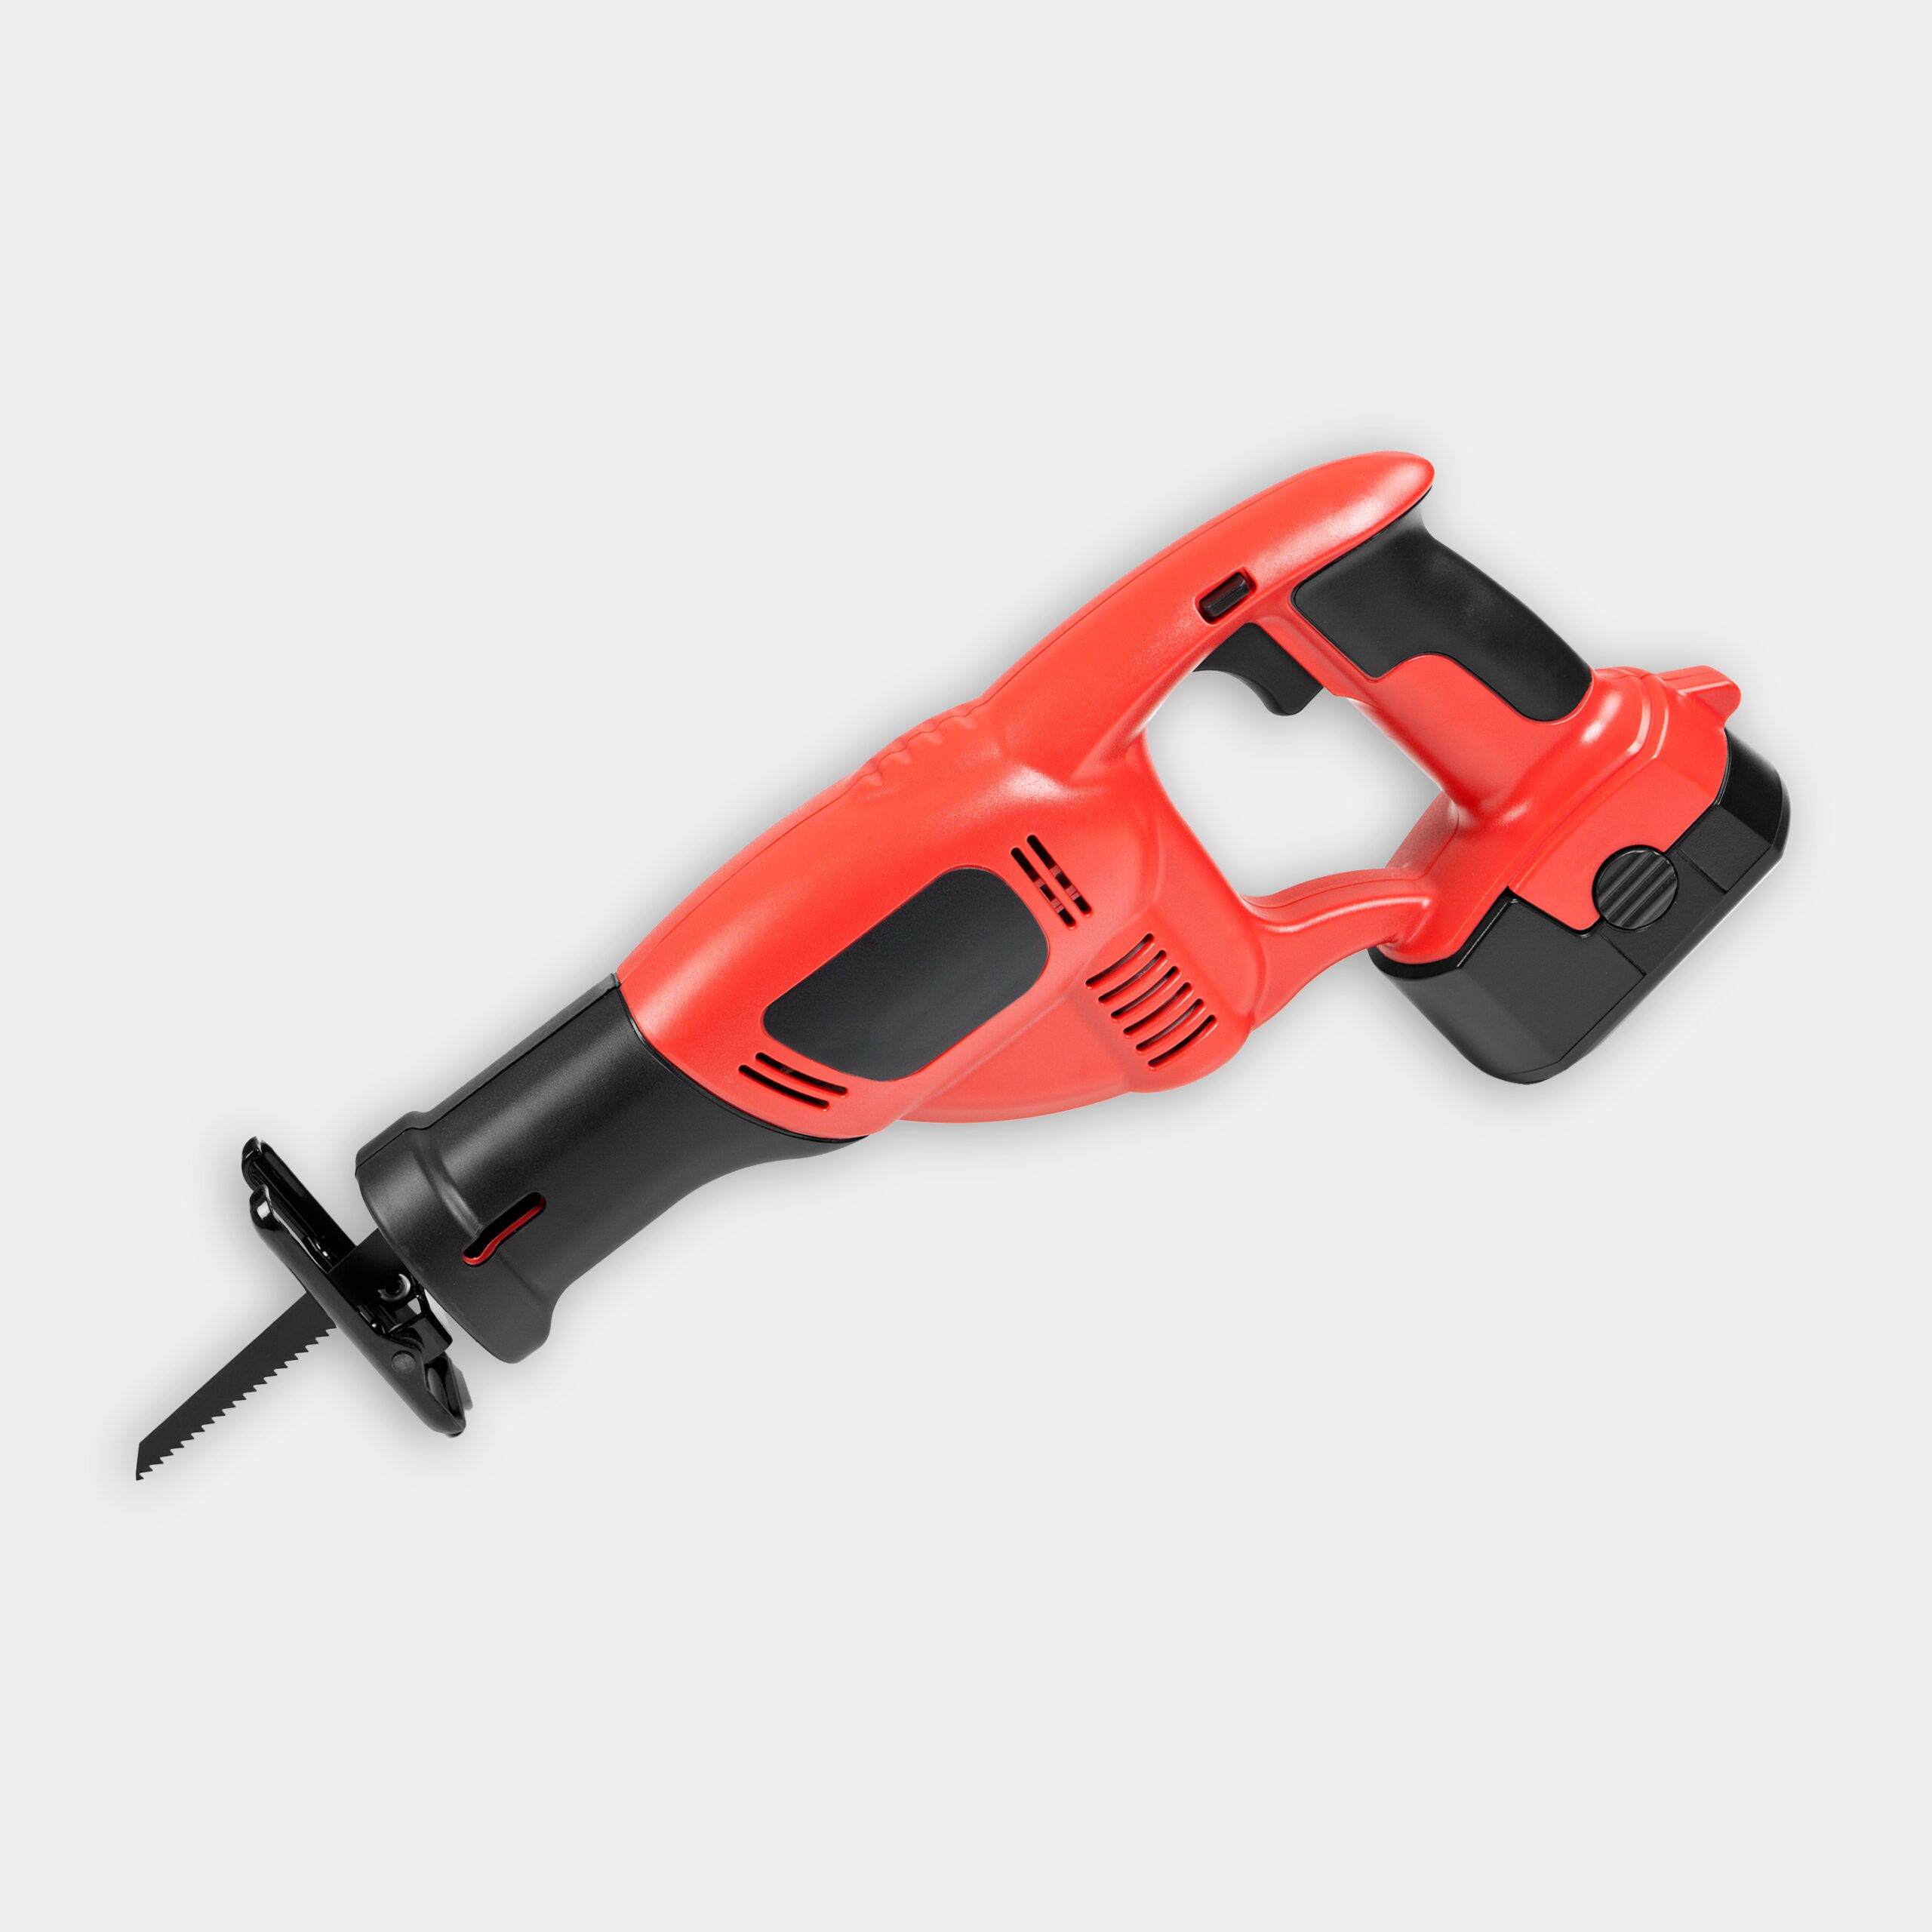
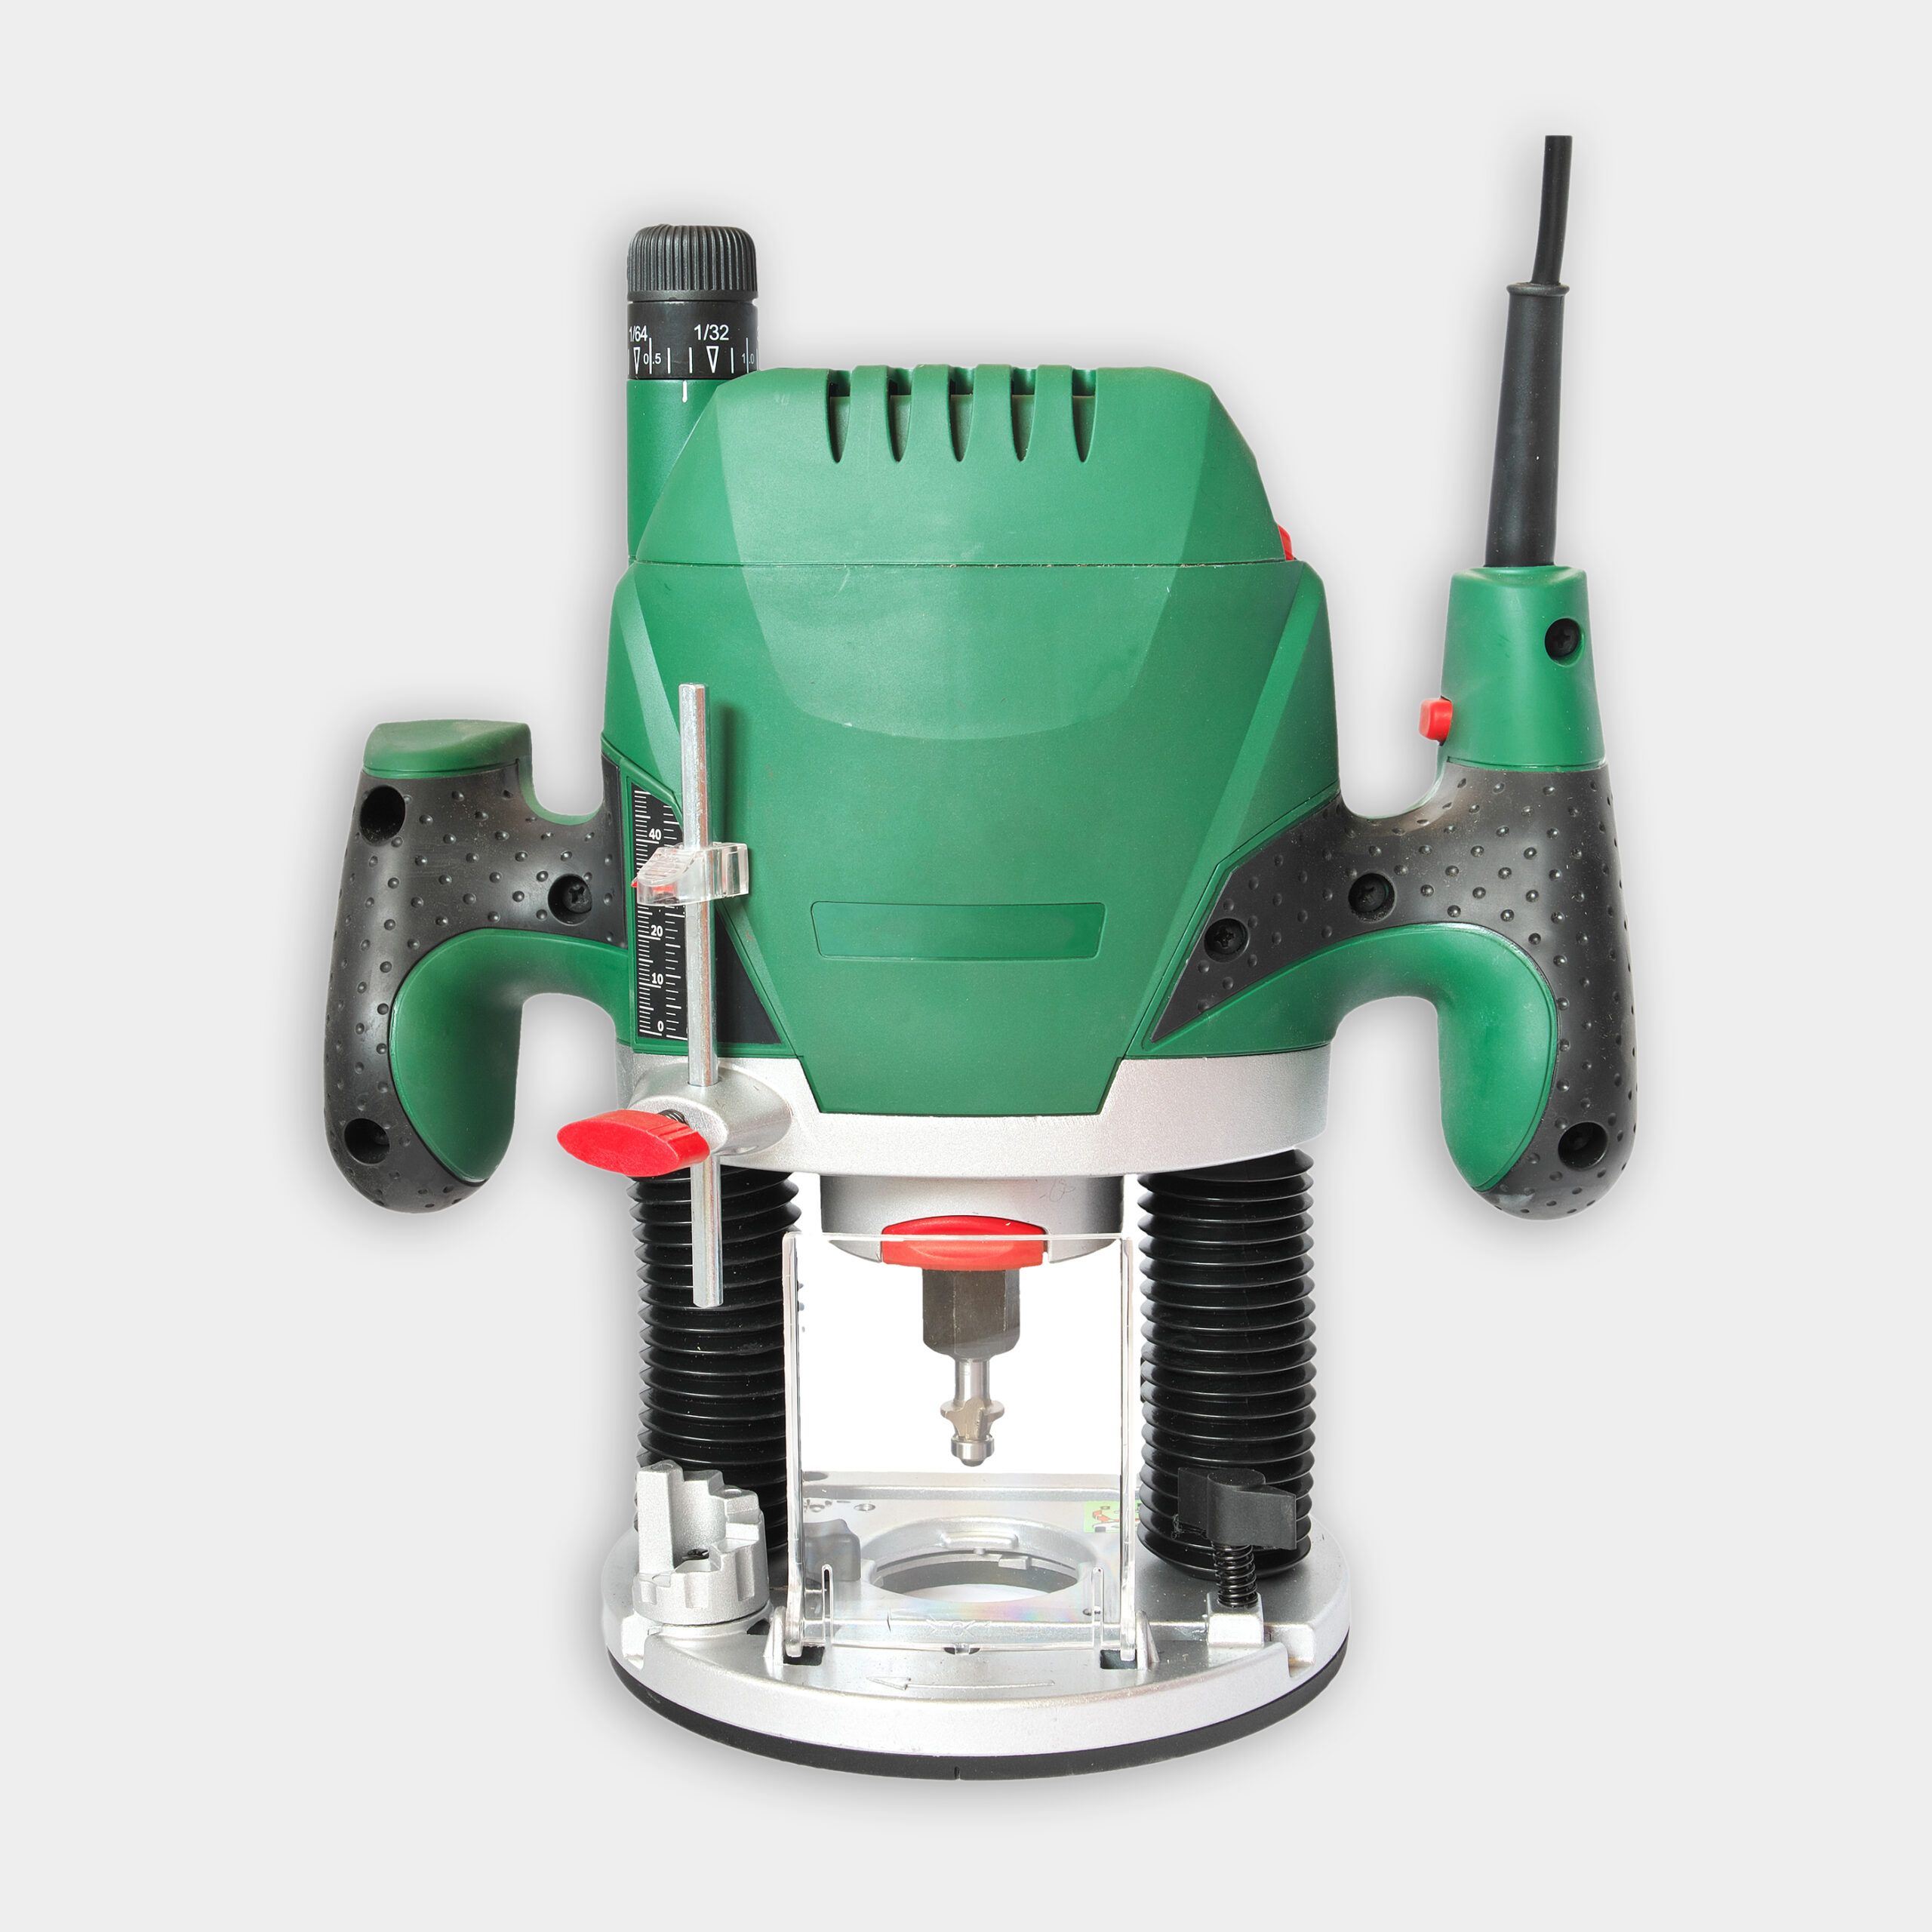
- Adjustable wrench
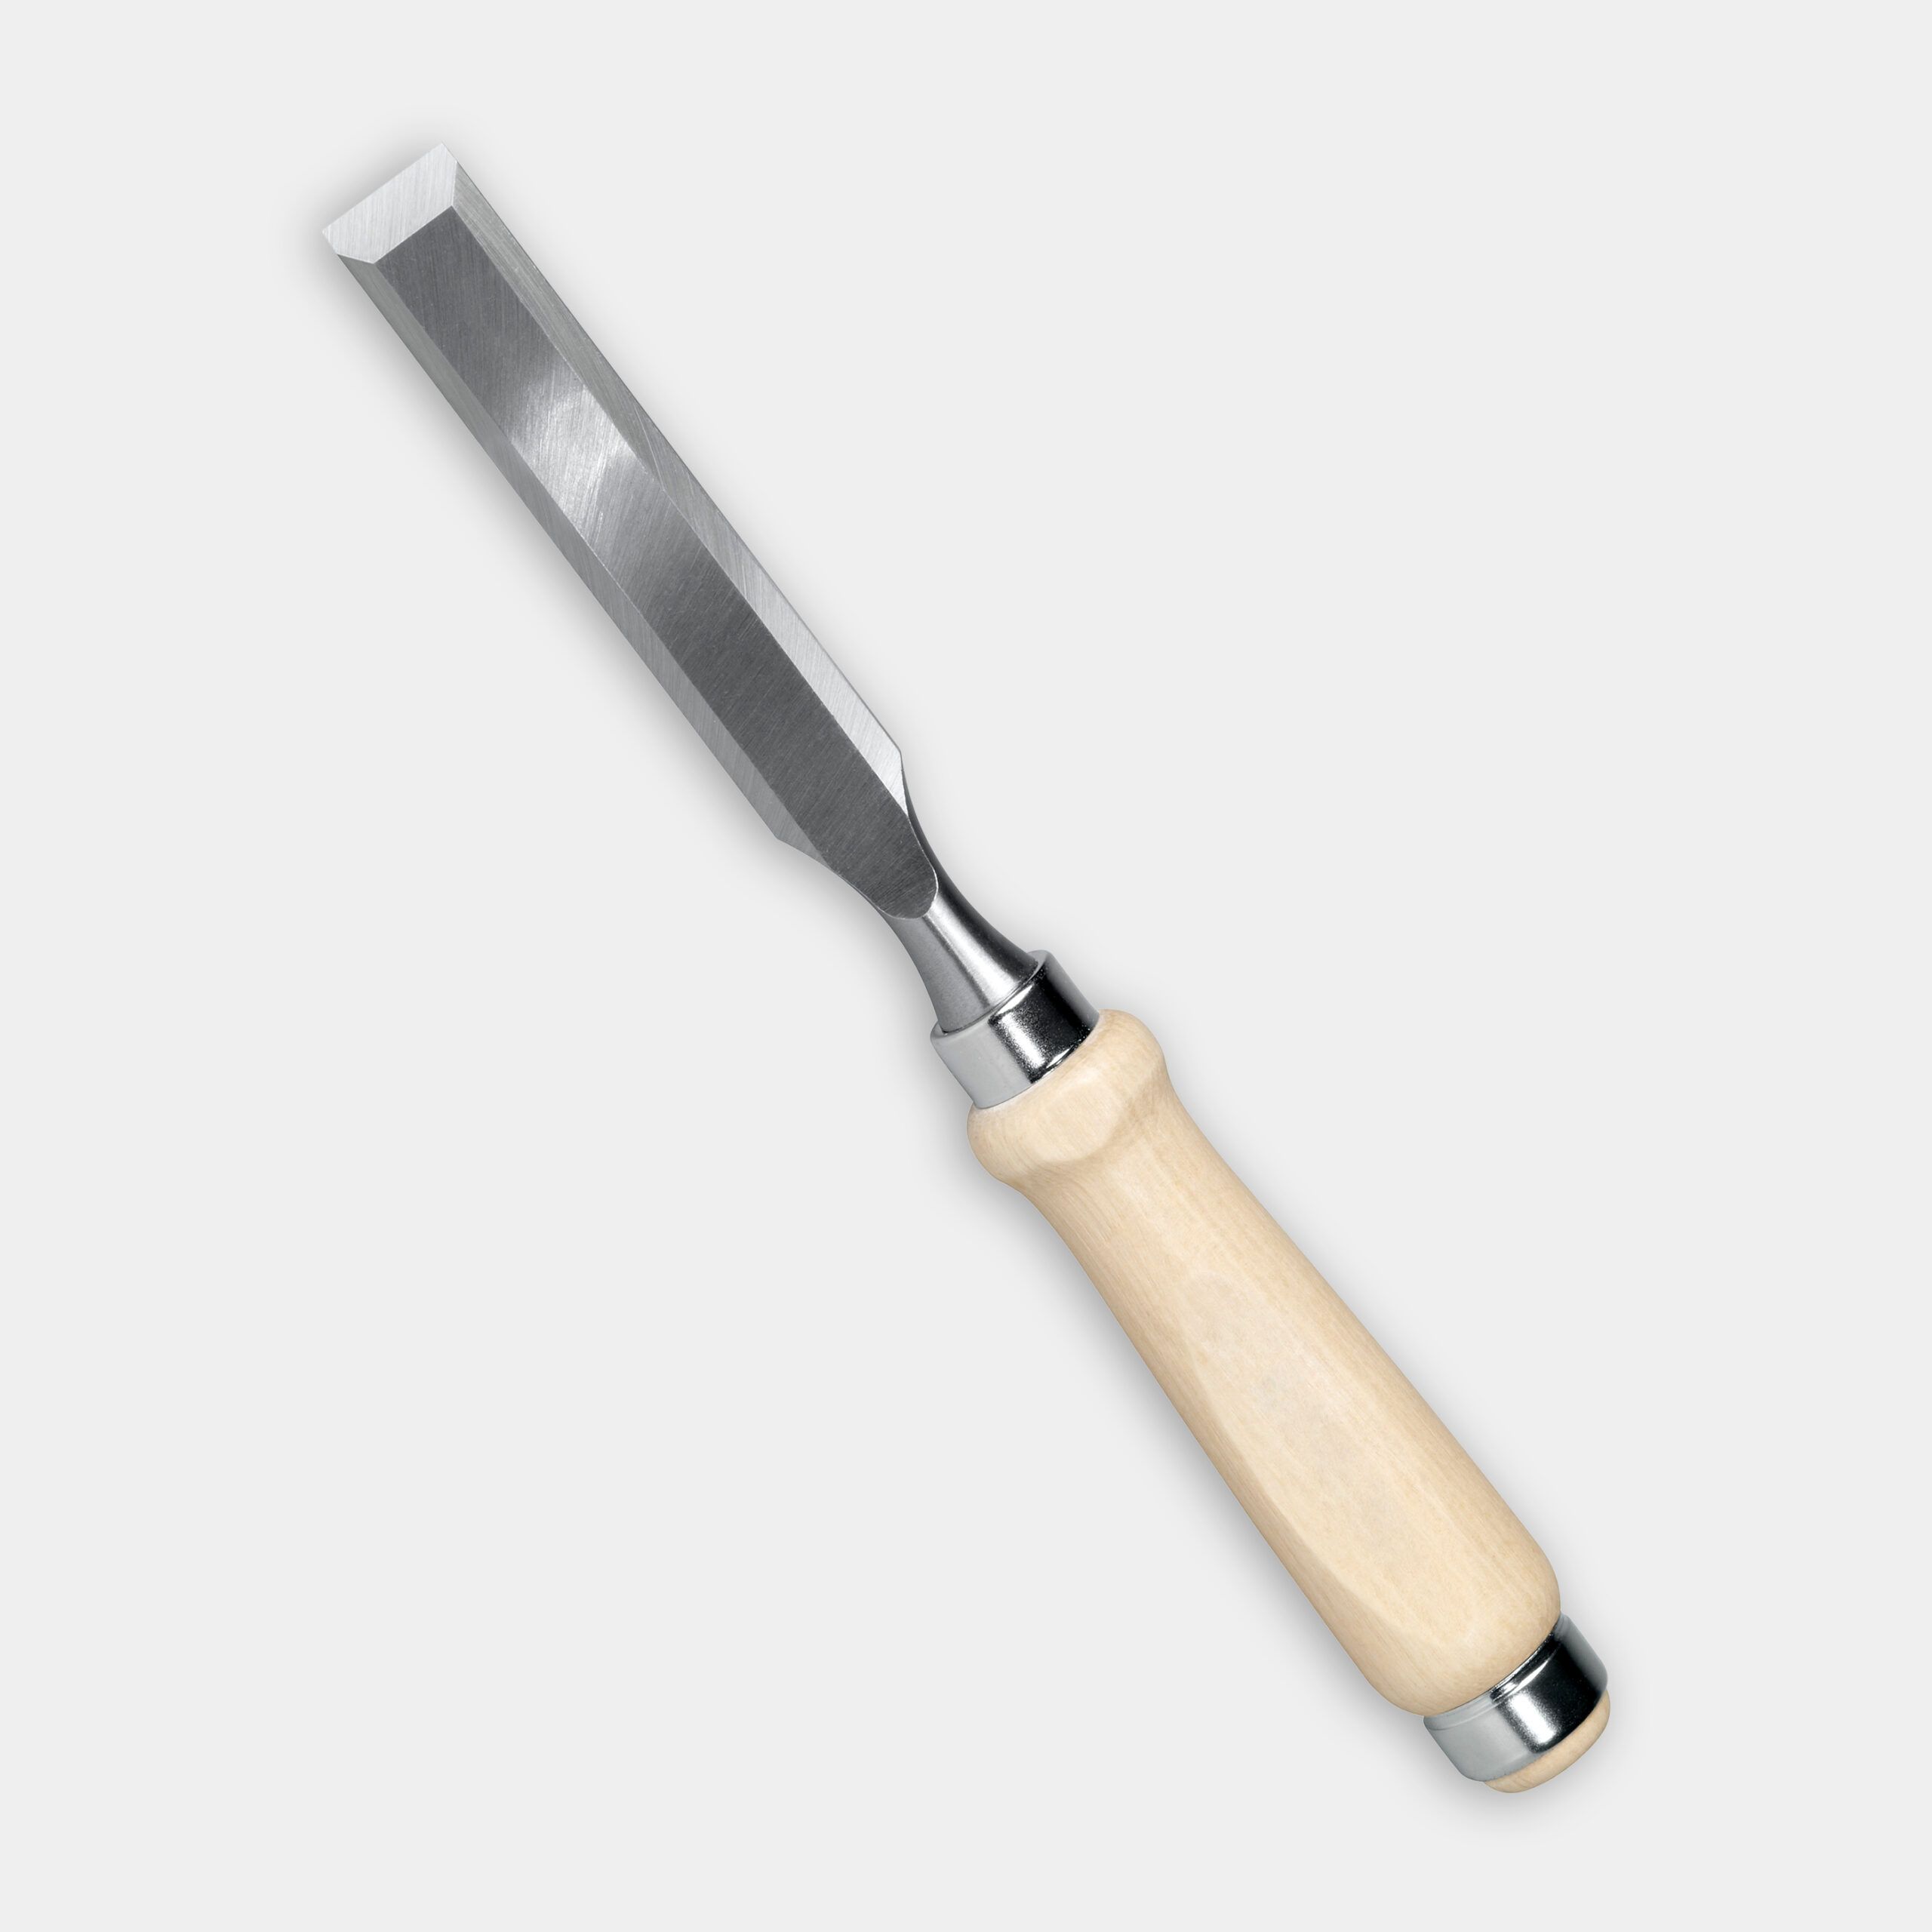
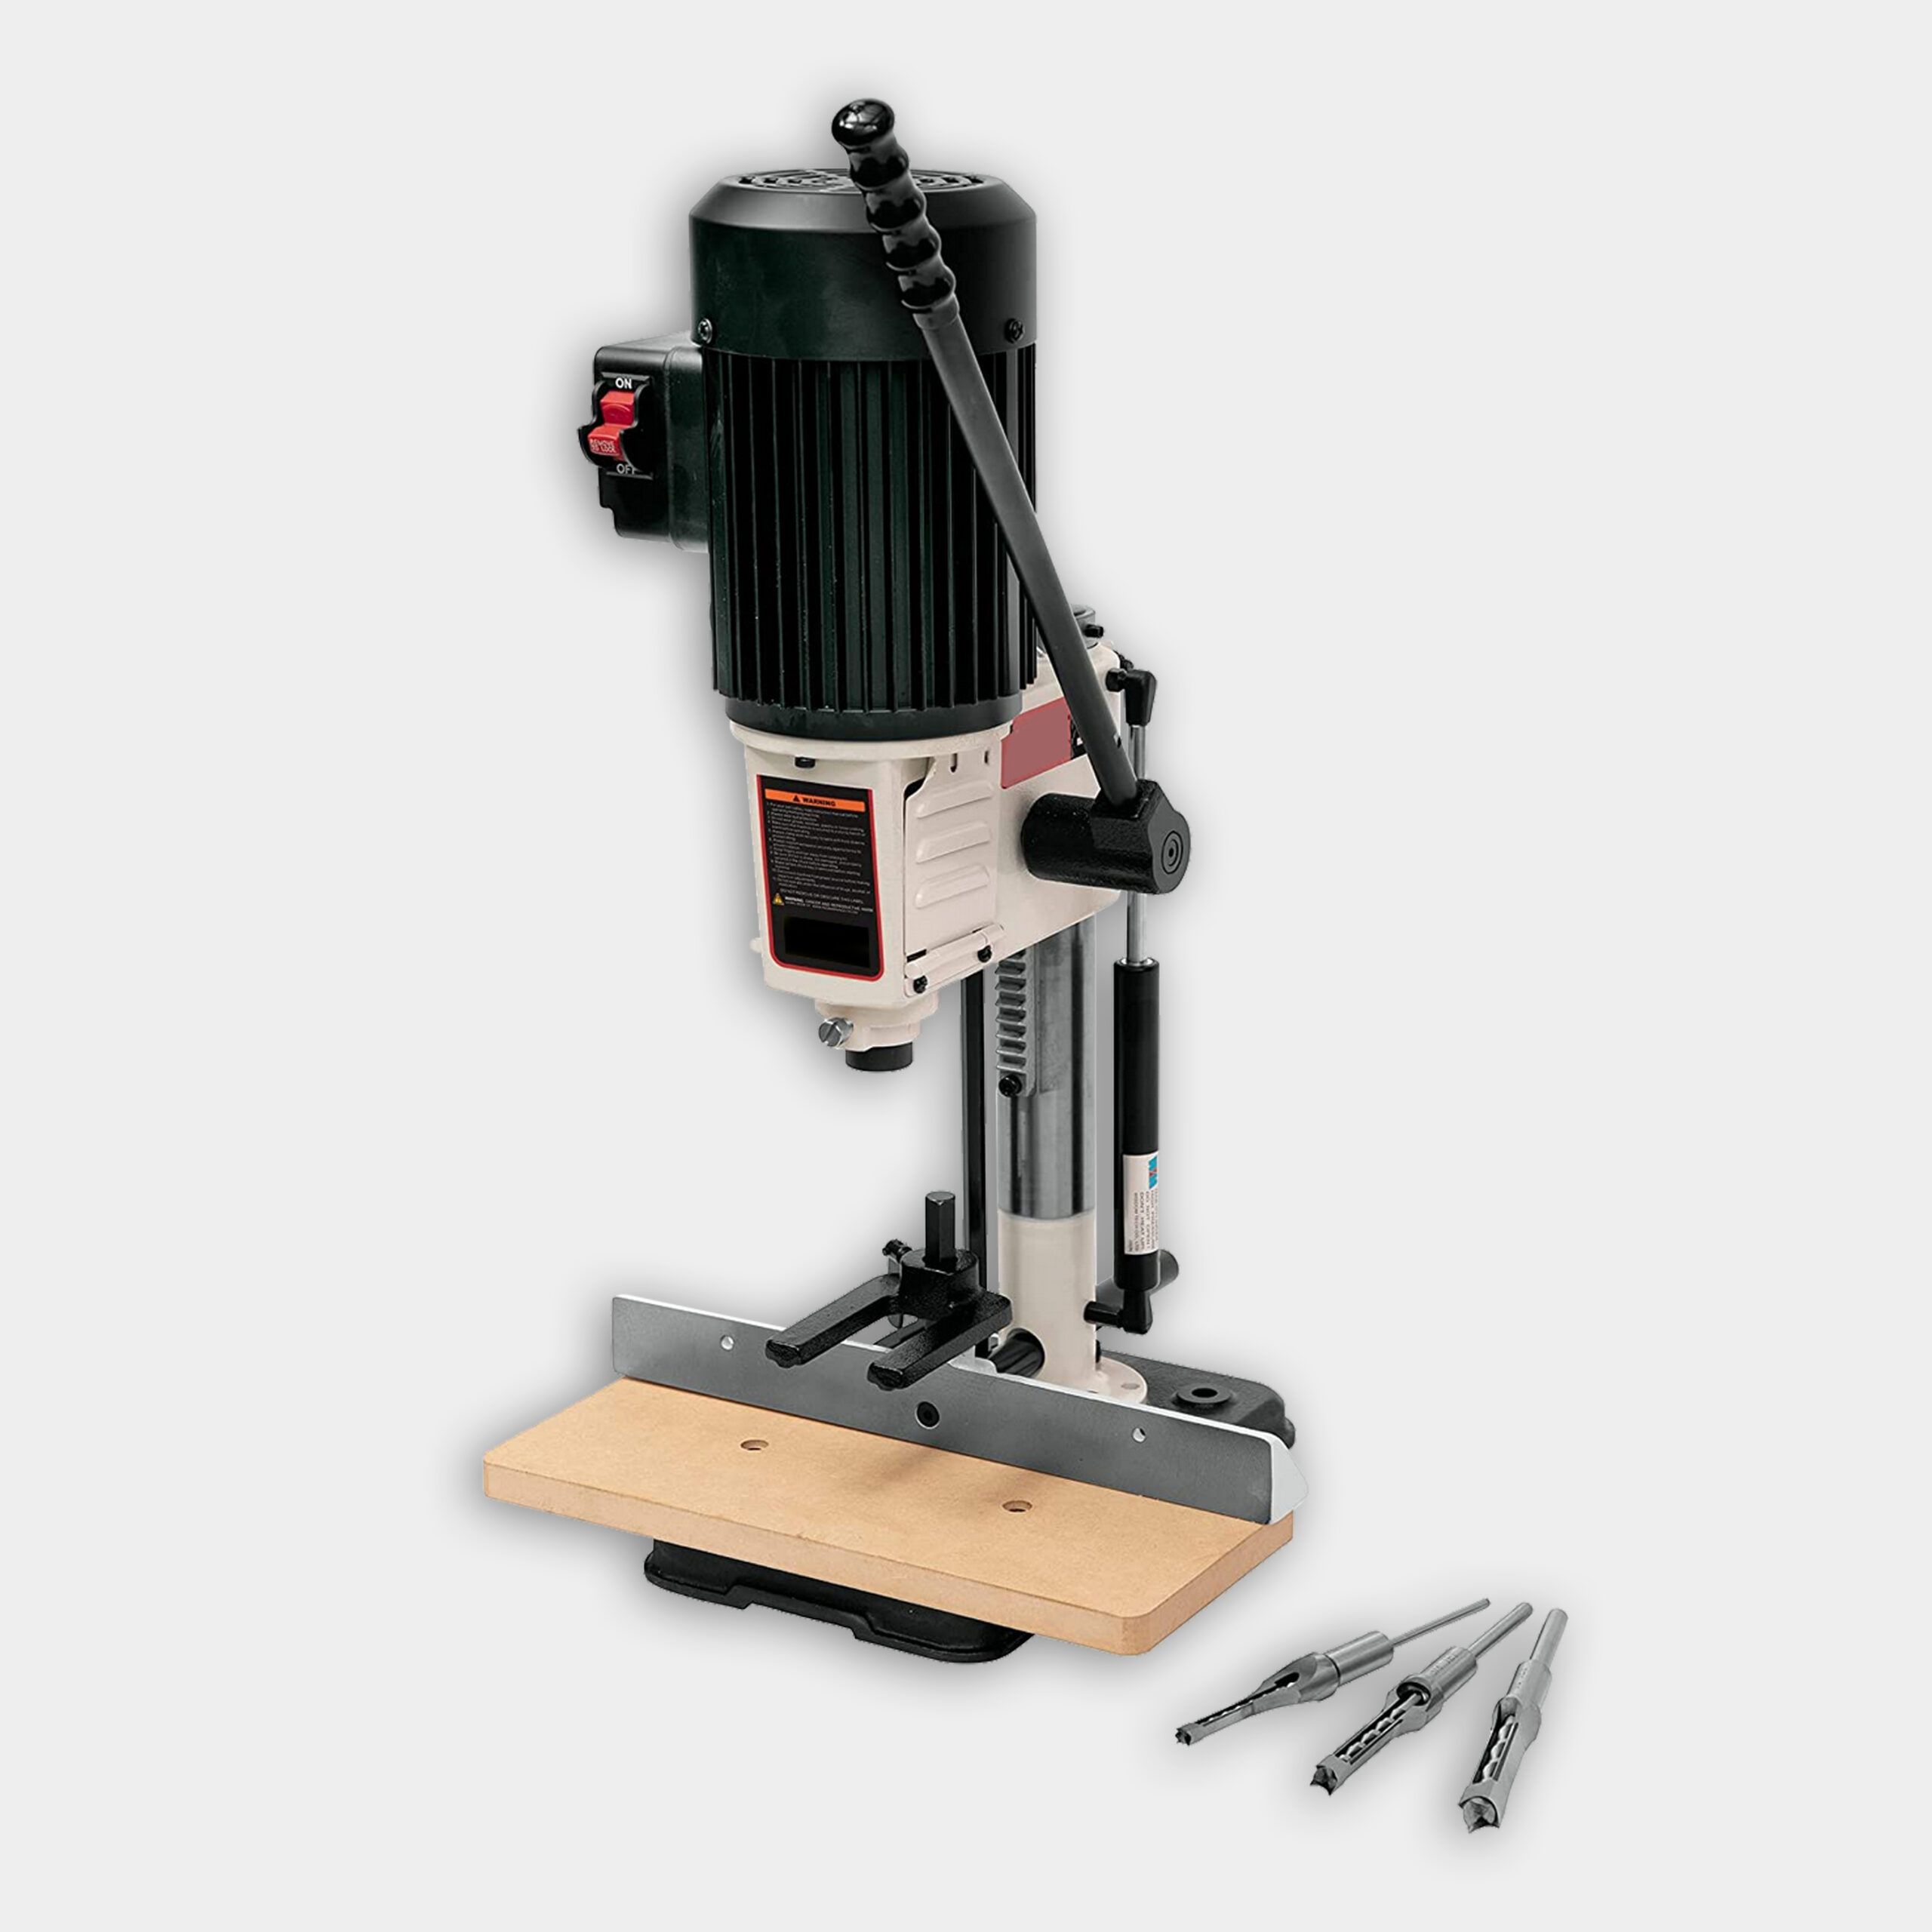
- Chisel
- Drill and drill bits
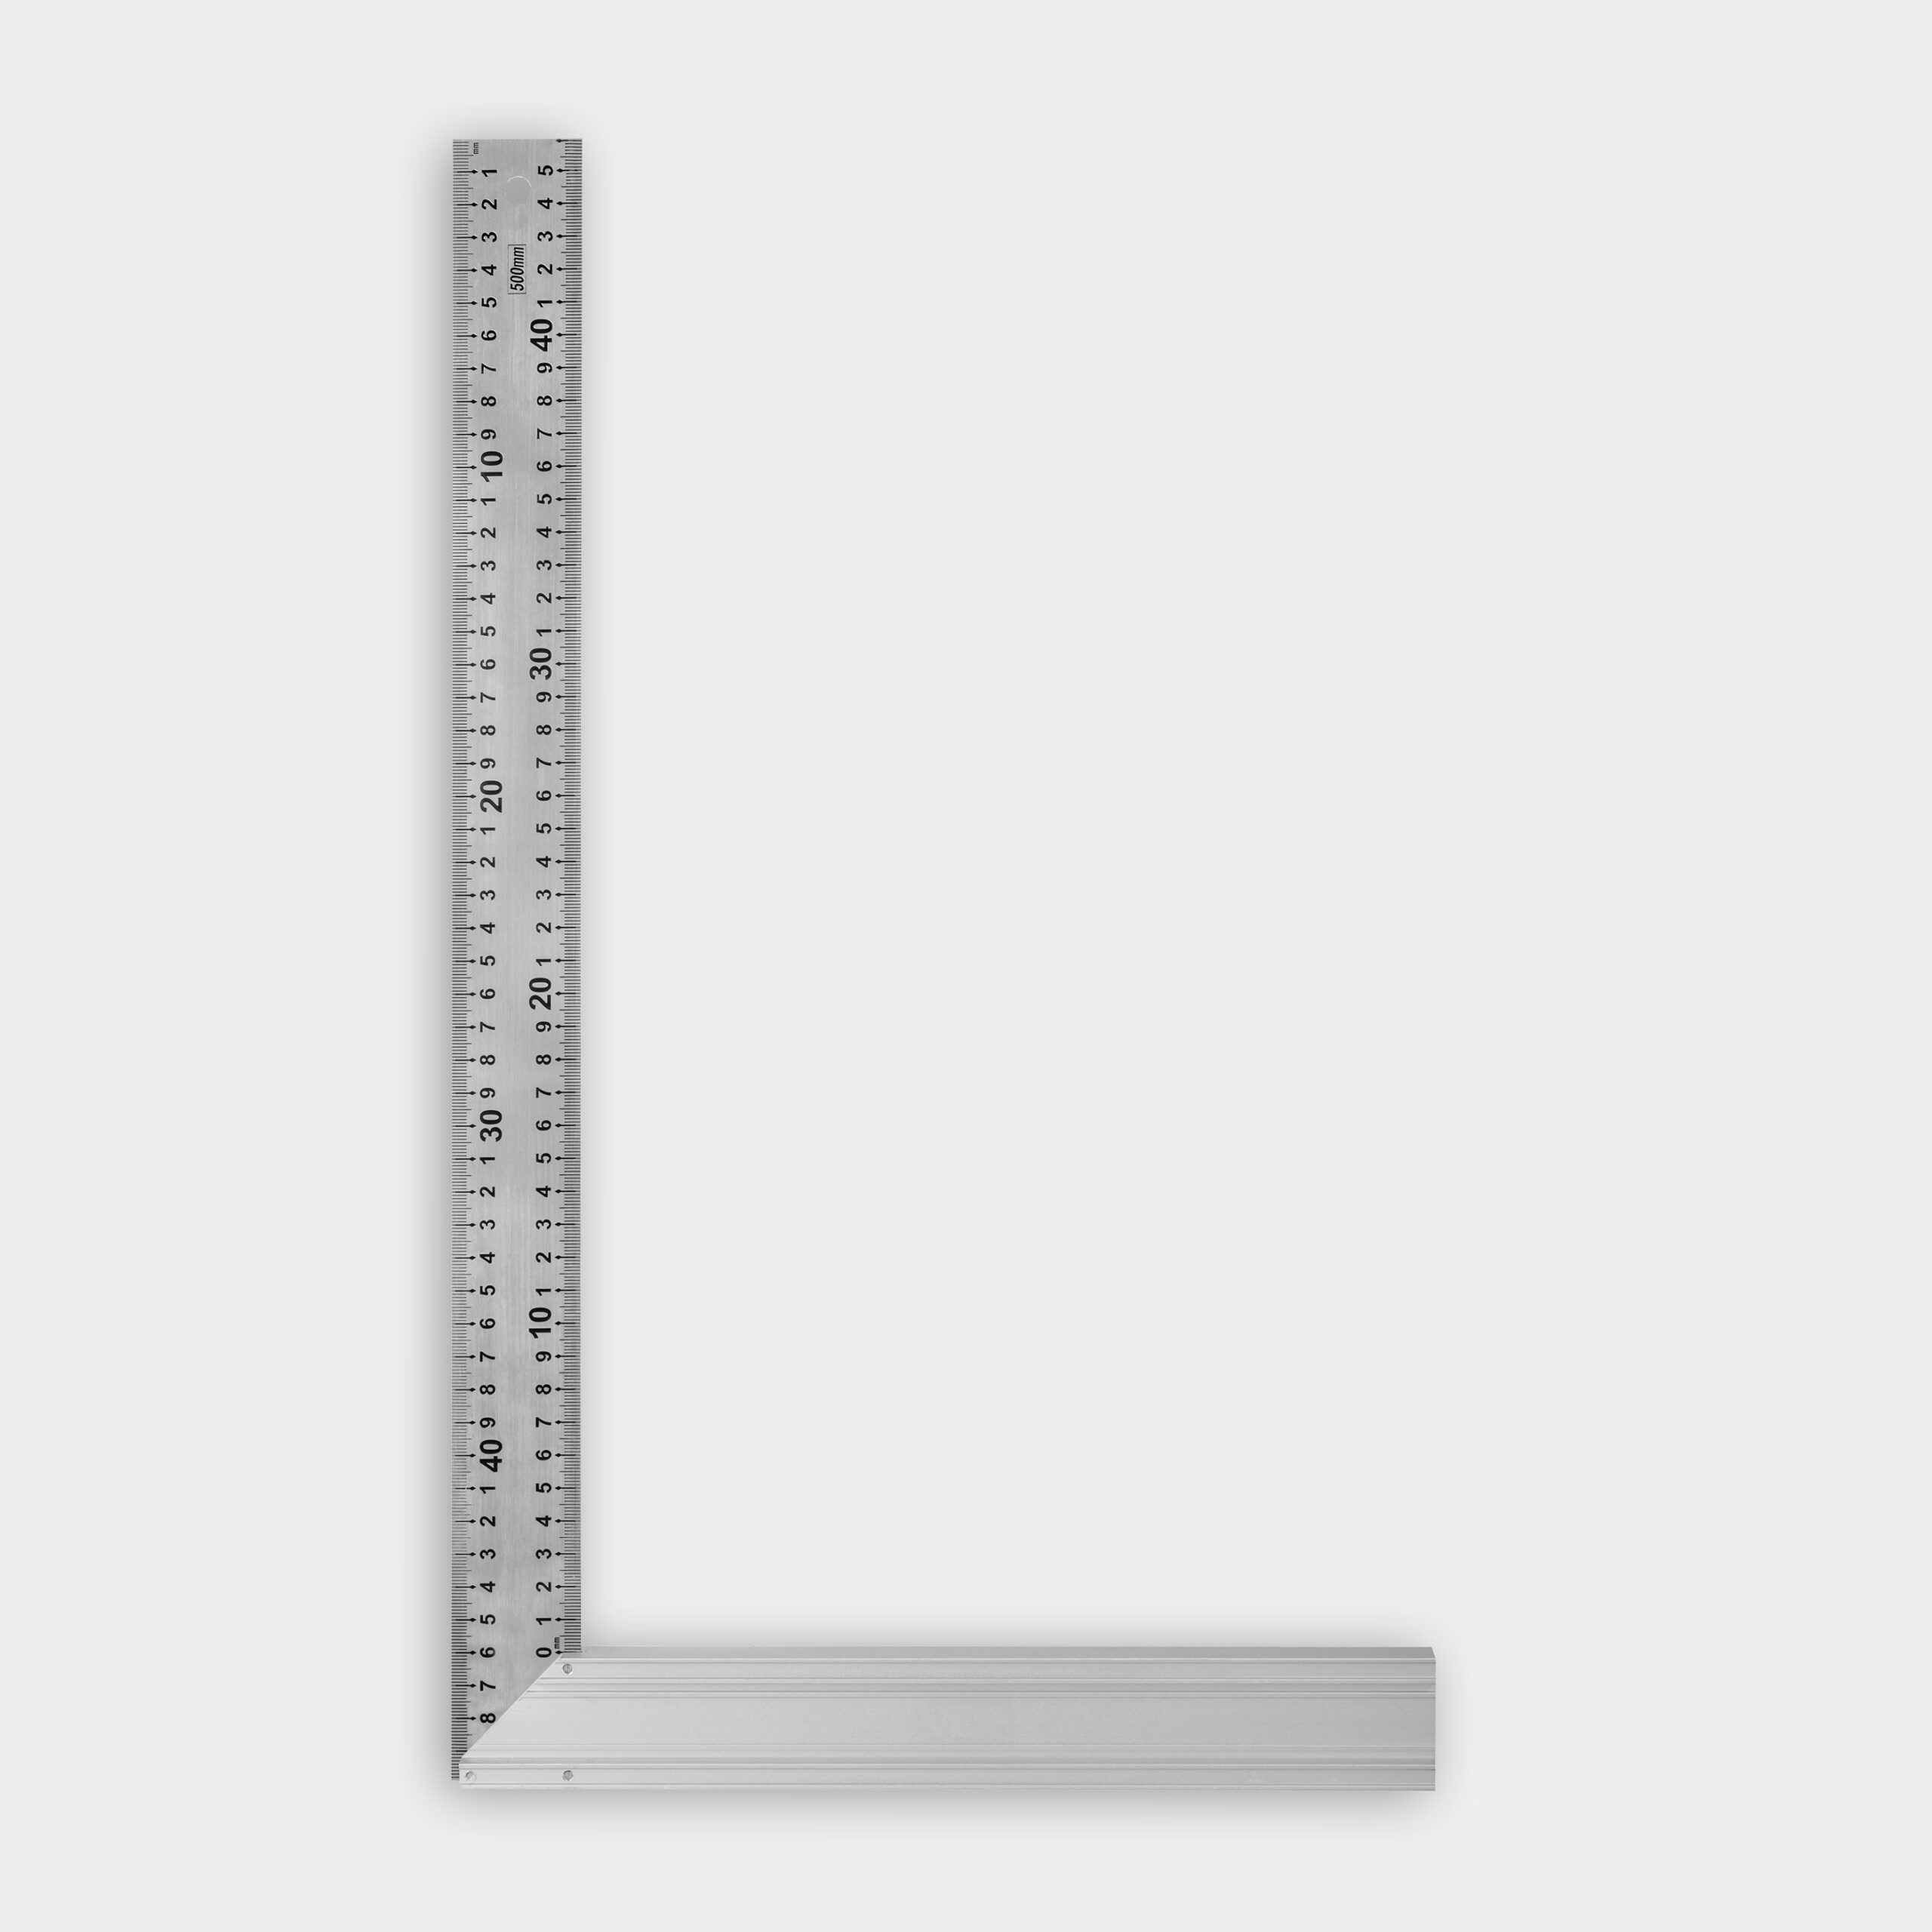
- Framing square
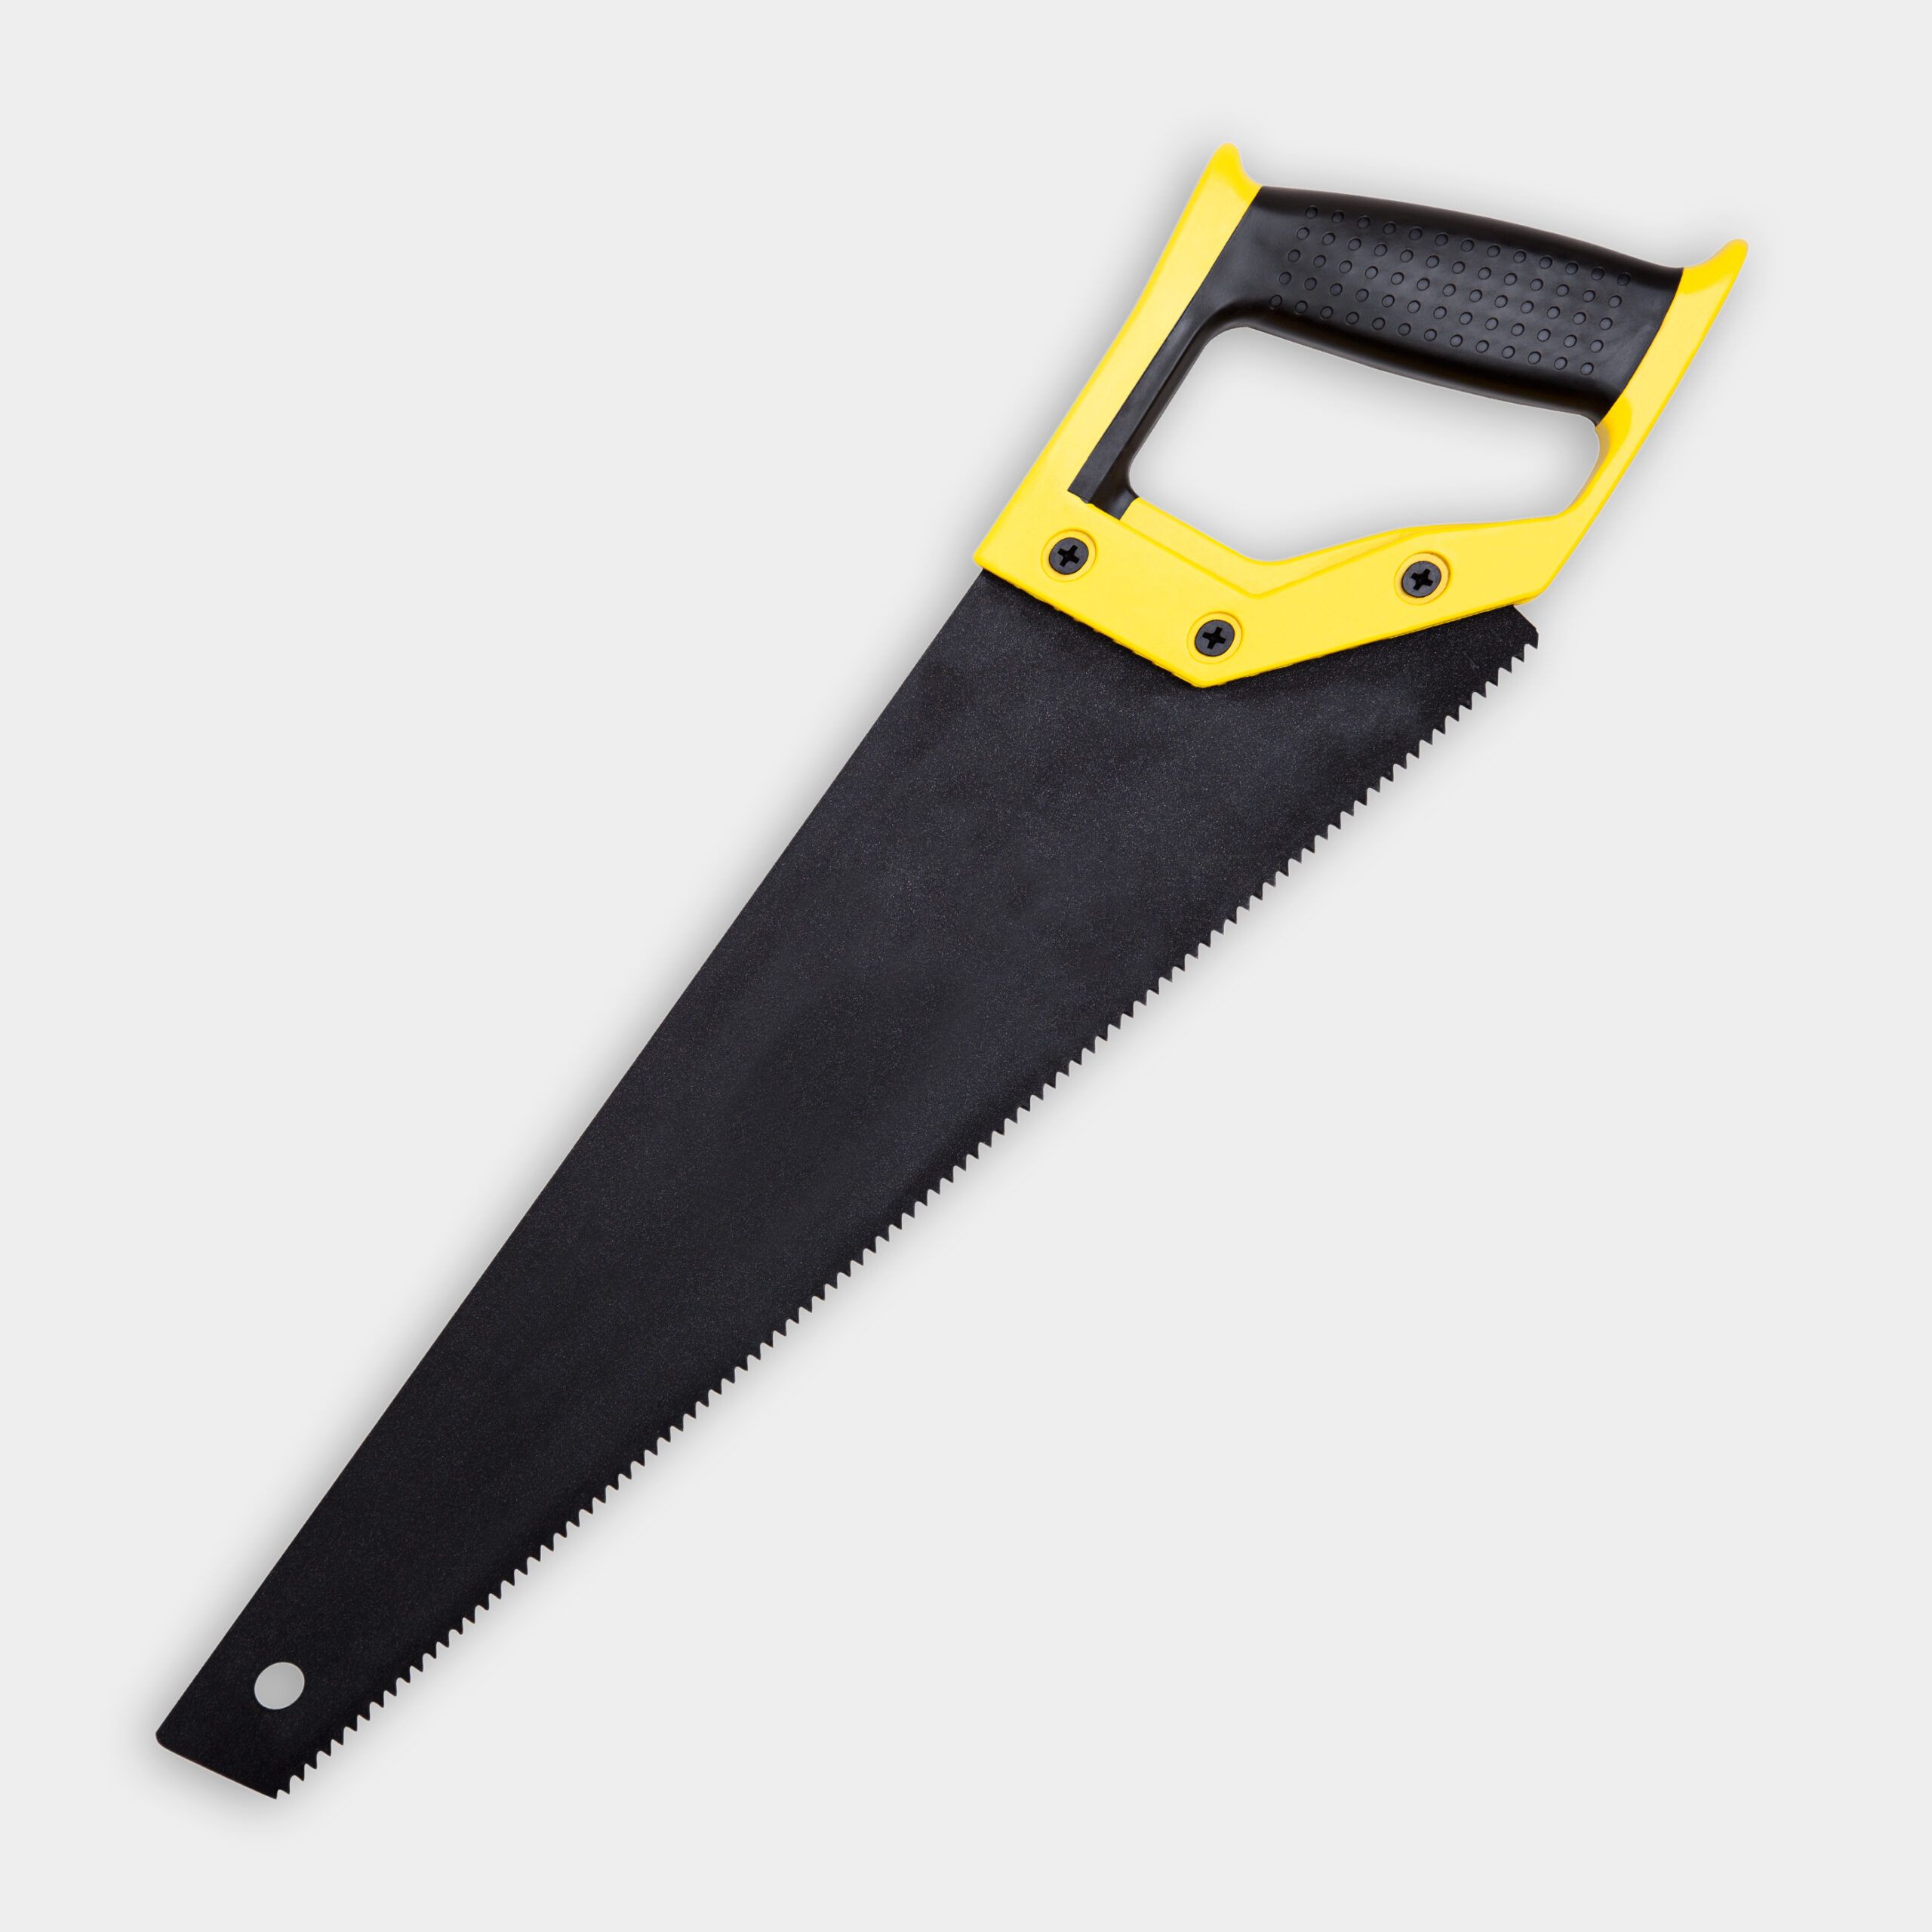
- Handsaw
- Level
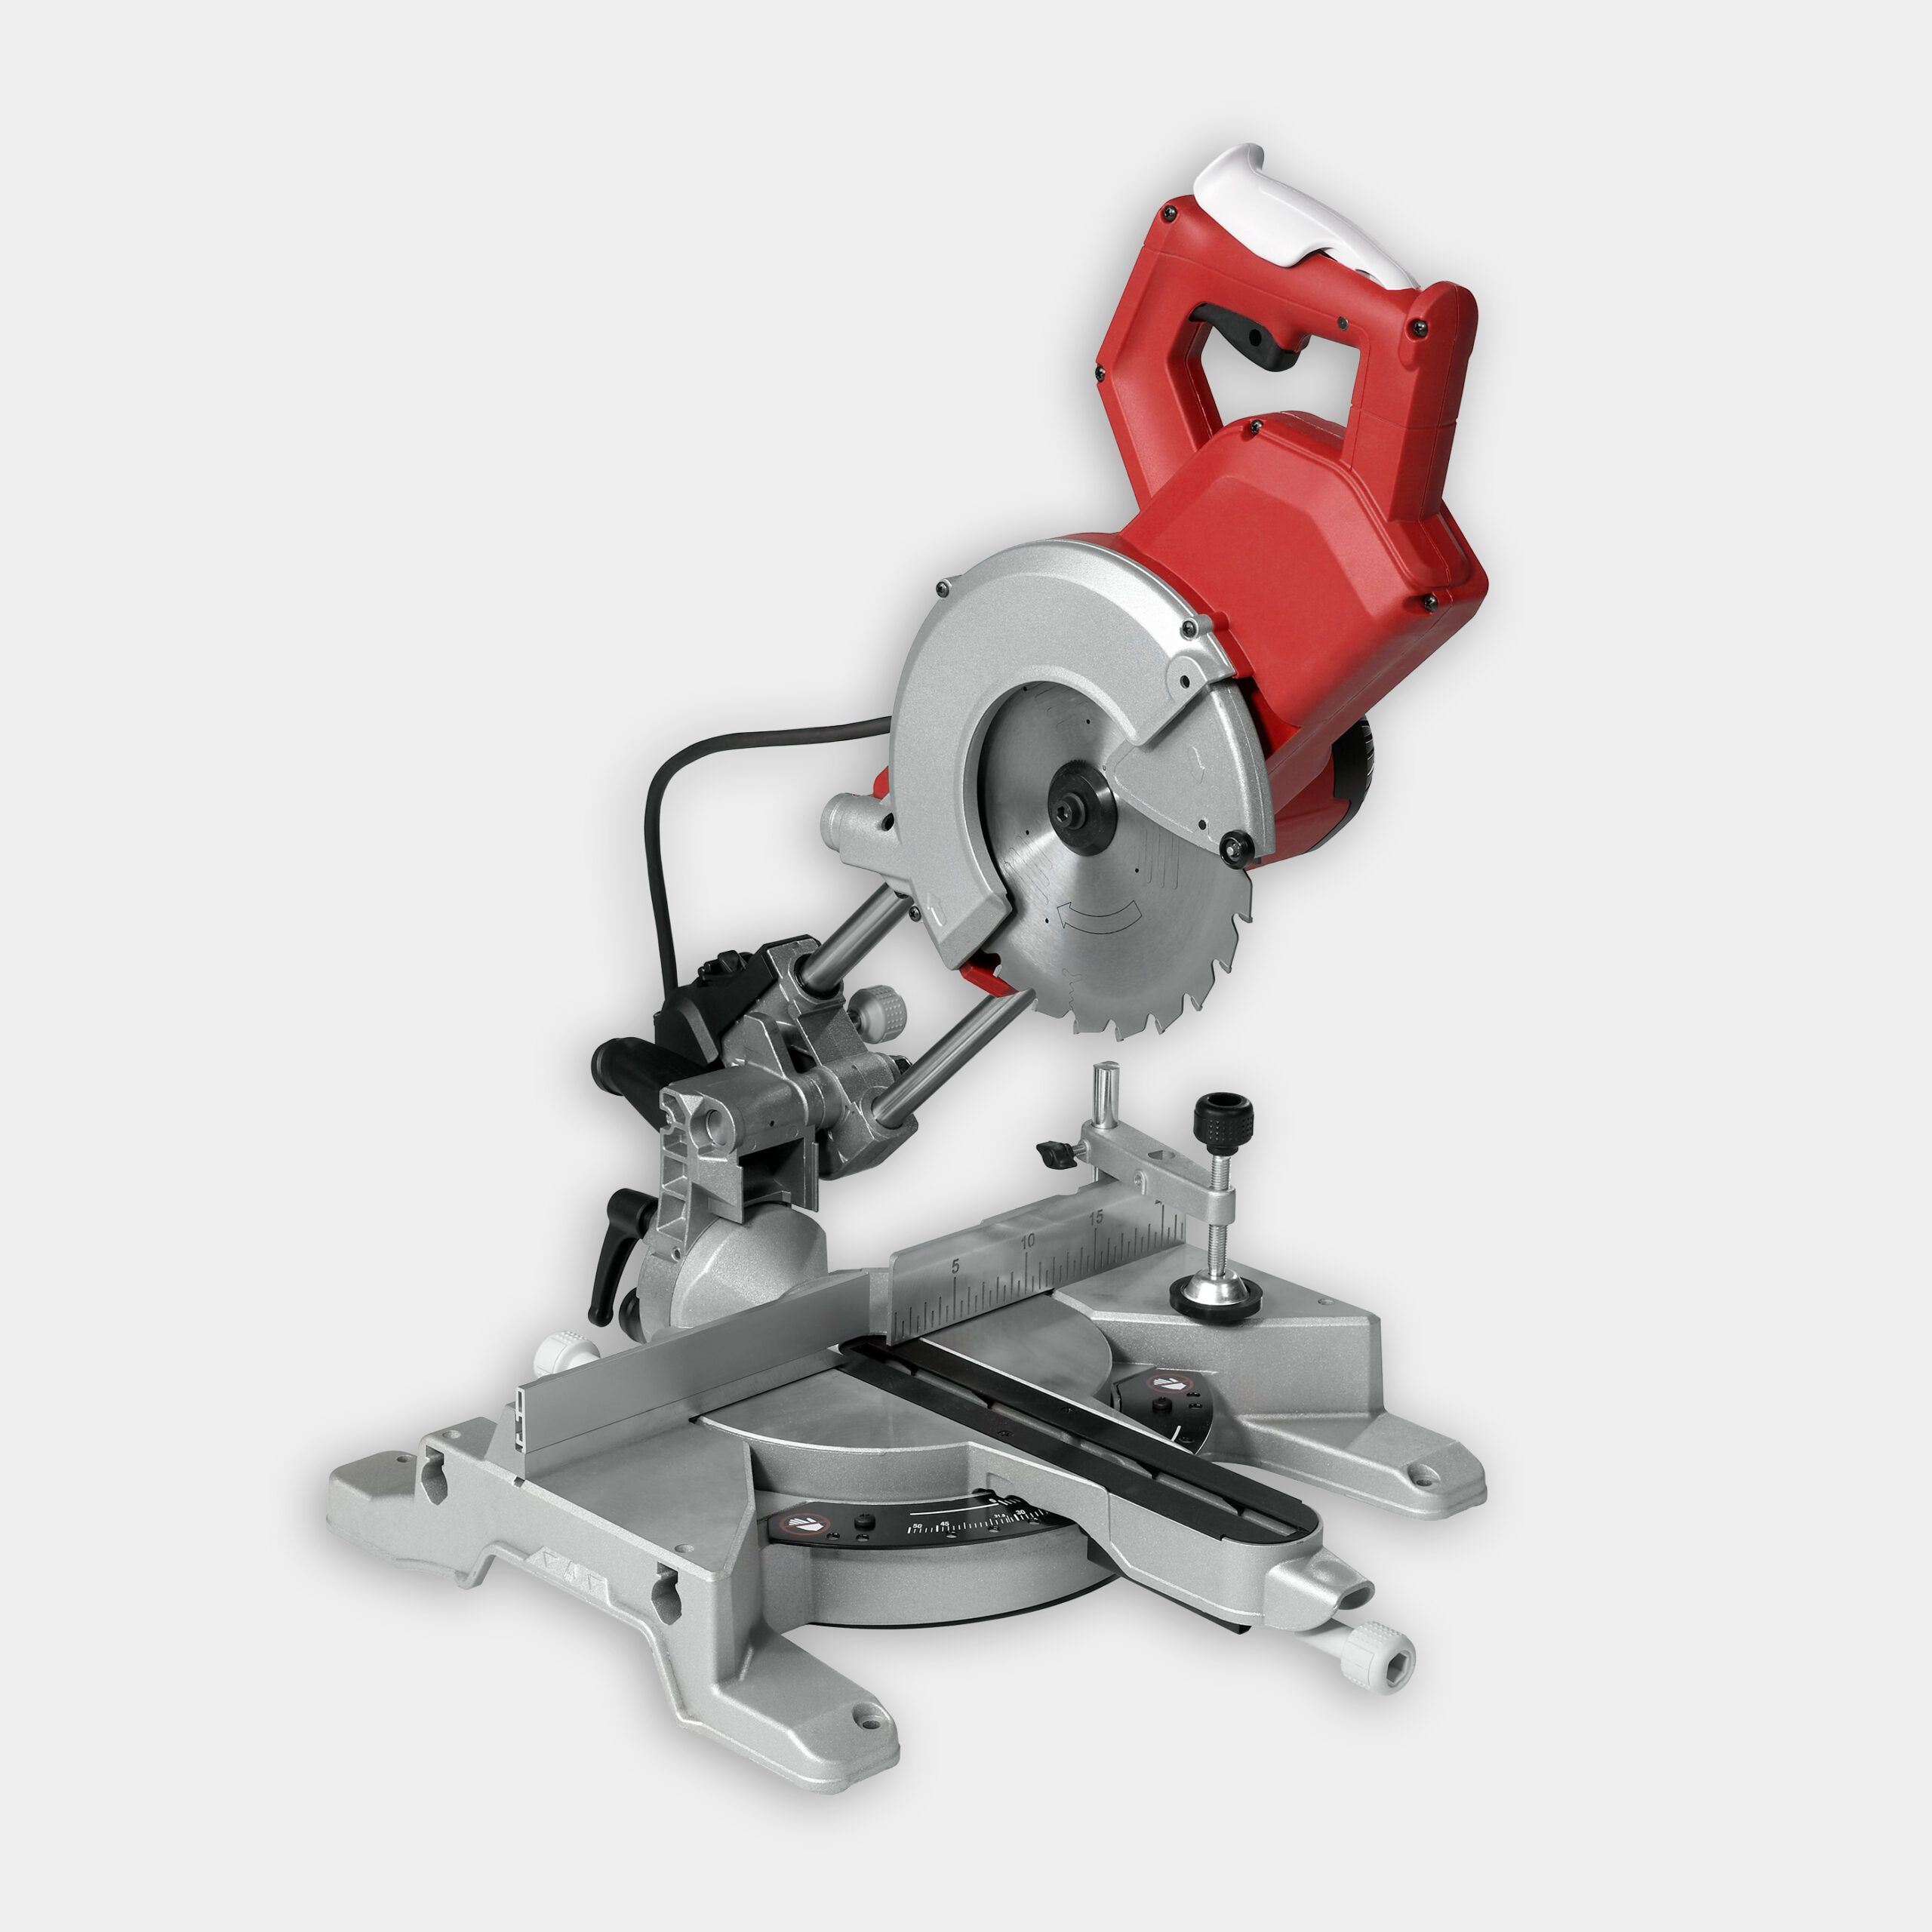
- Miter saw
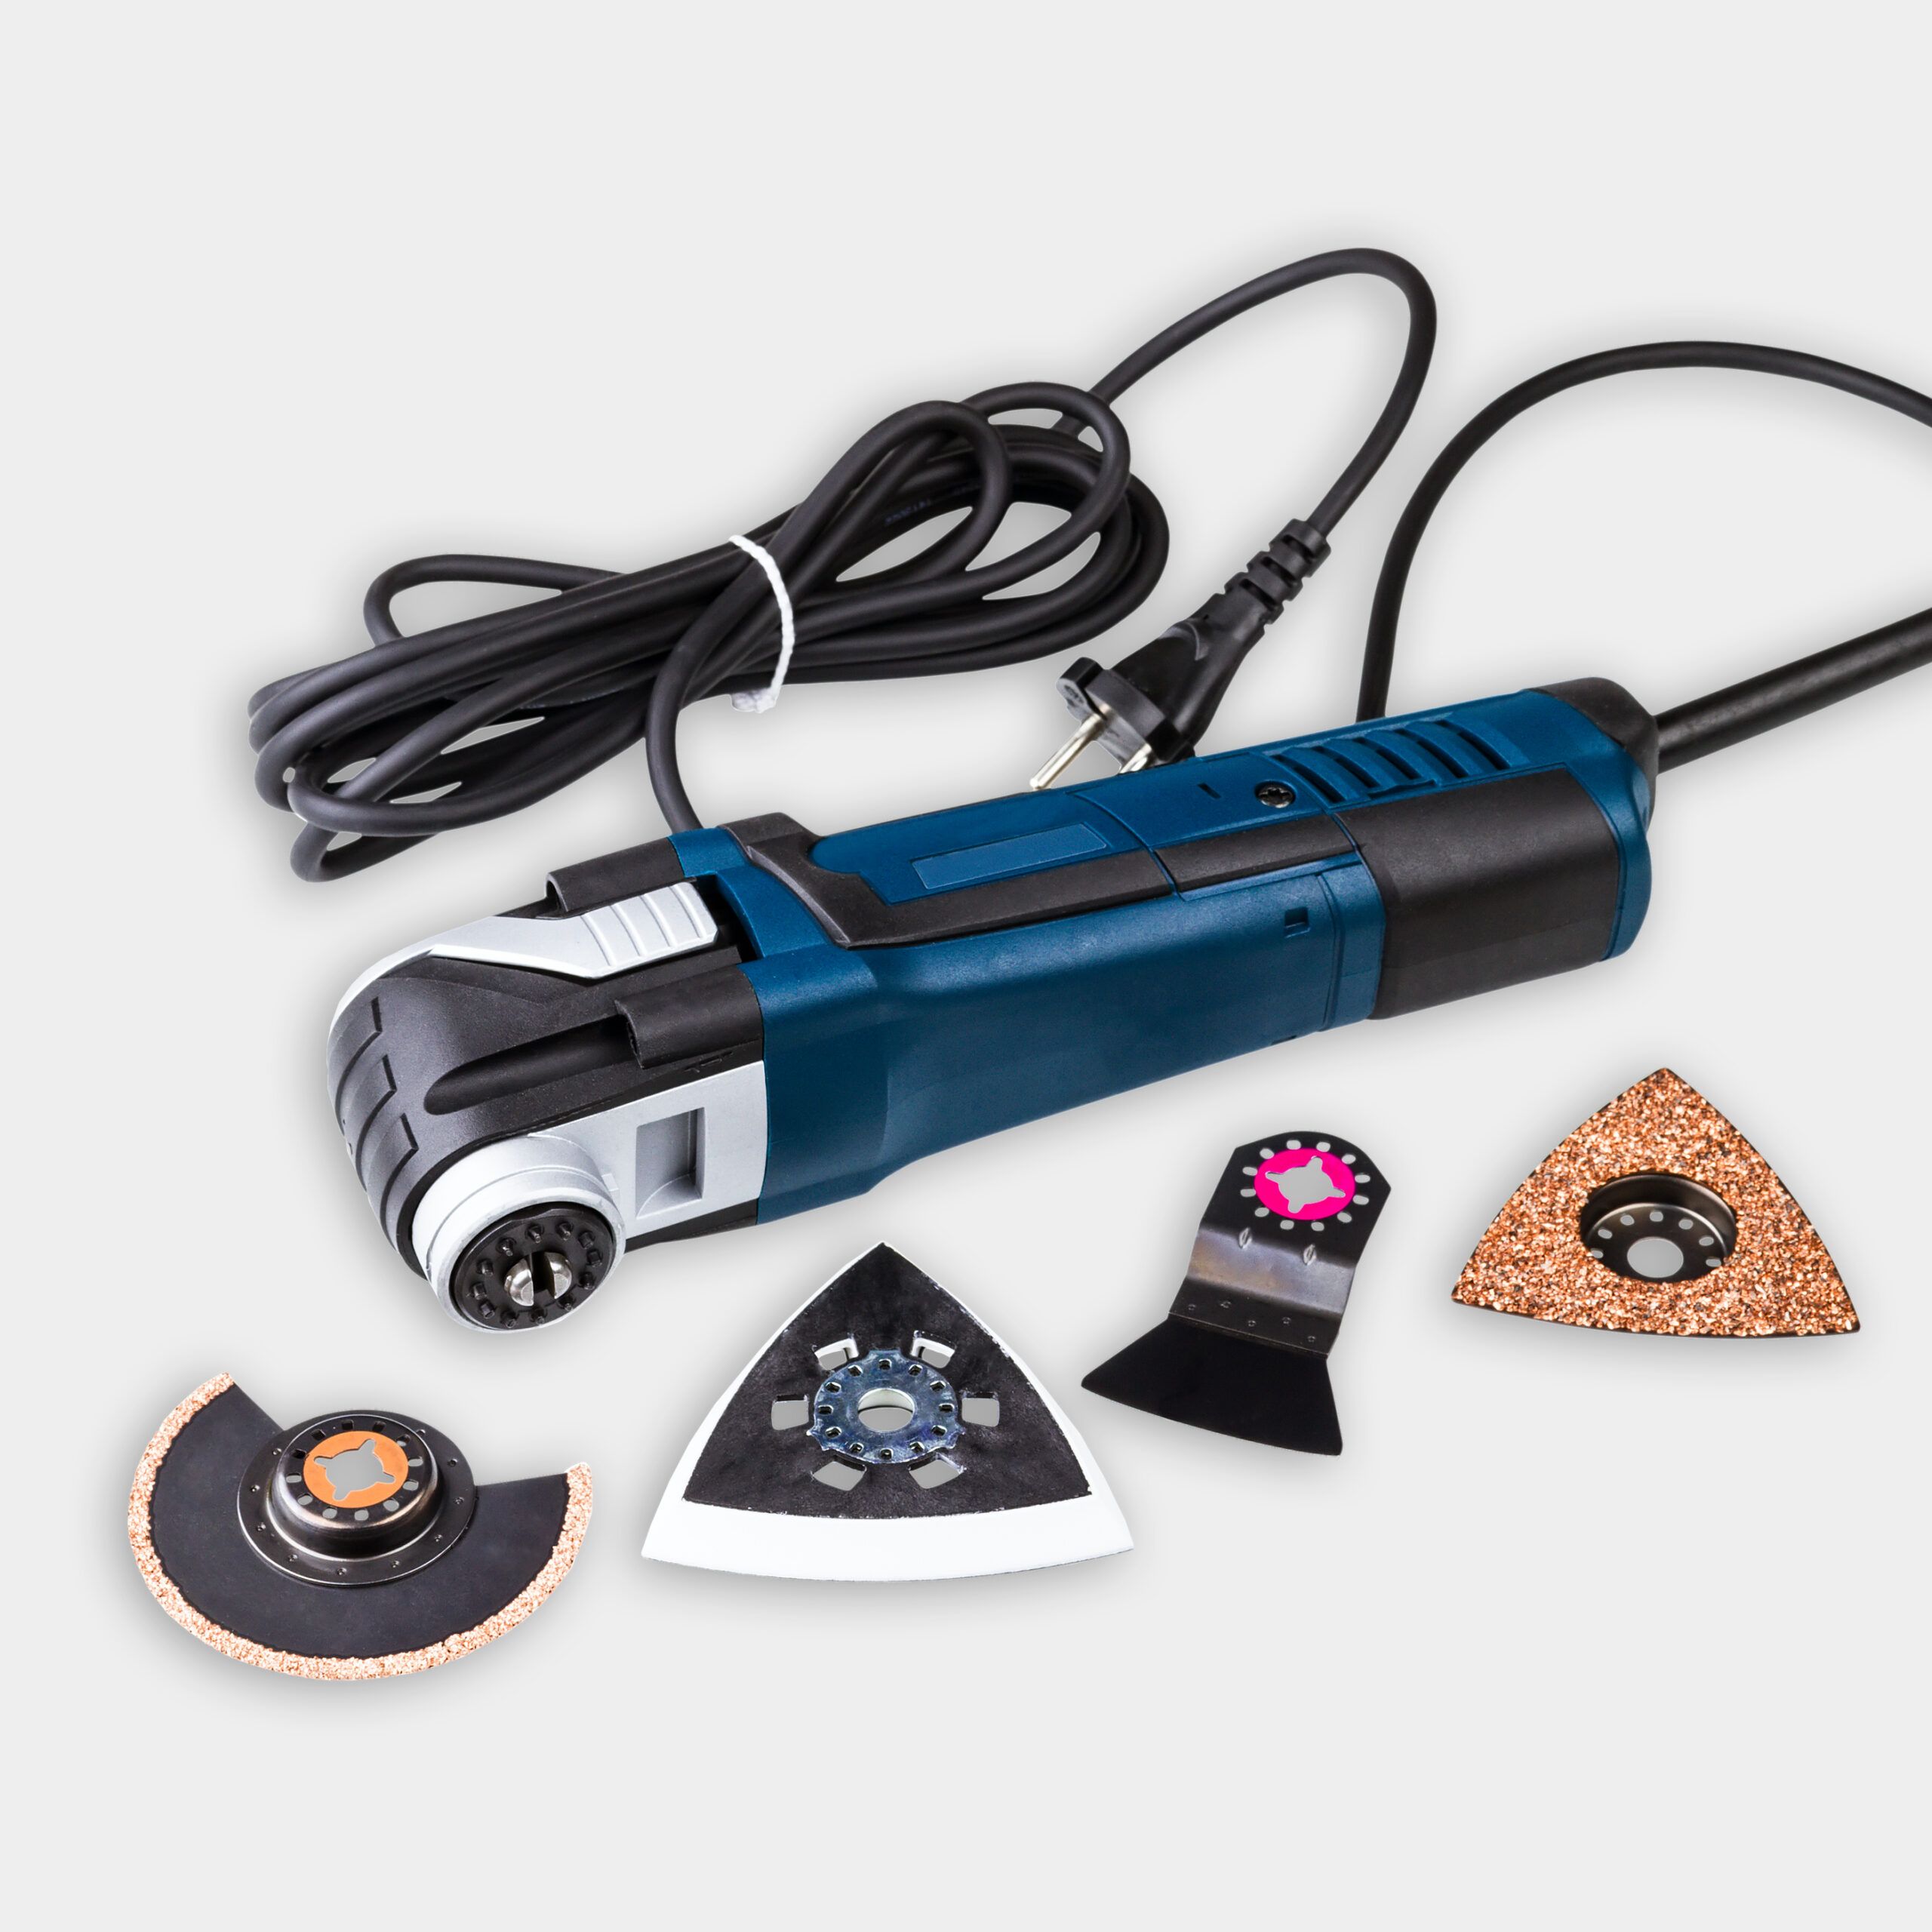
- Oscillating multi-tool
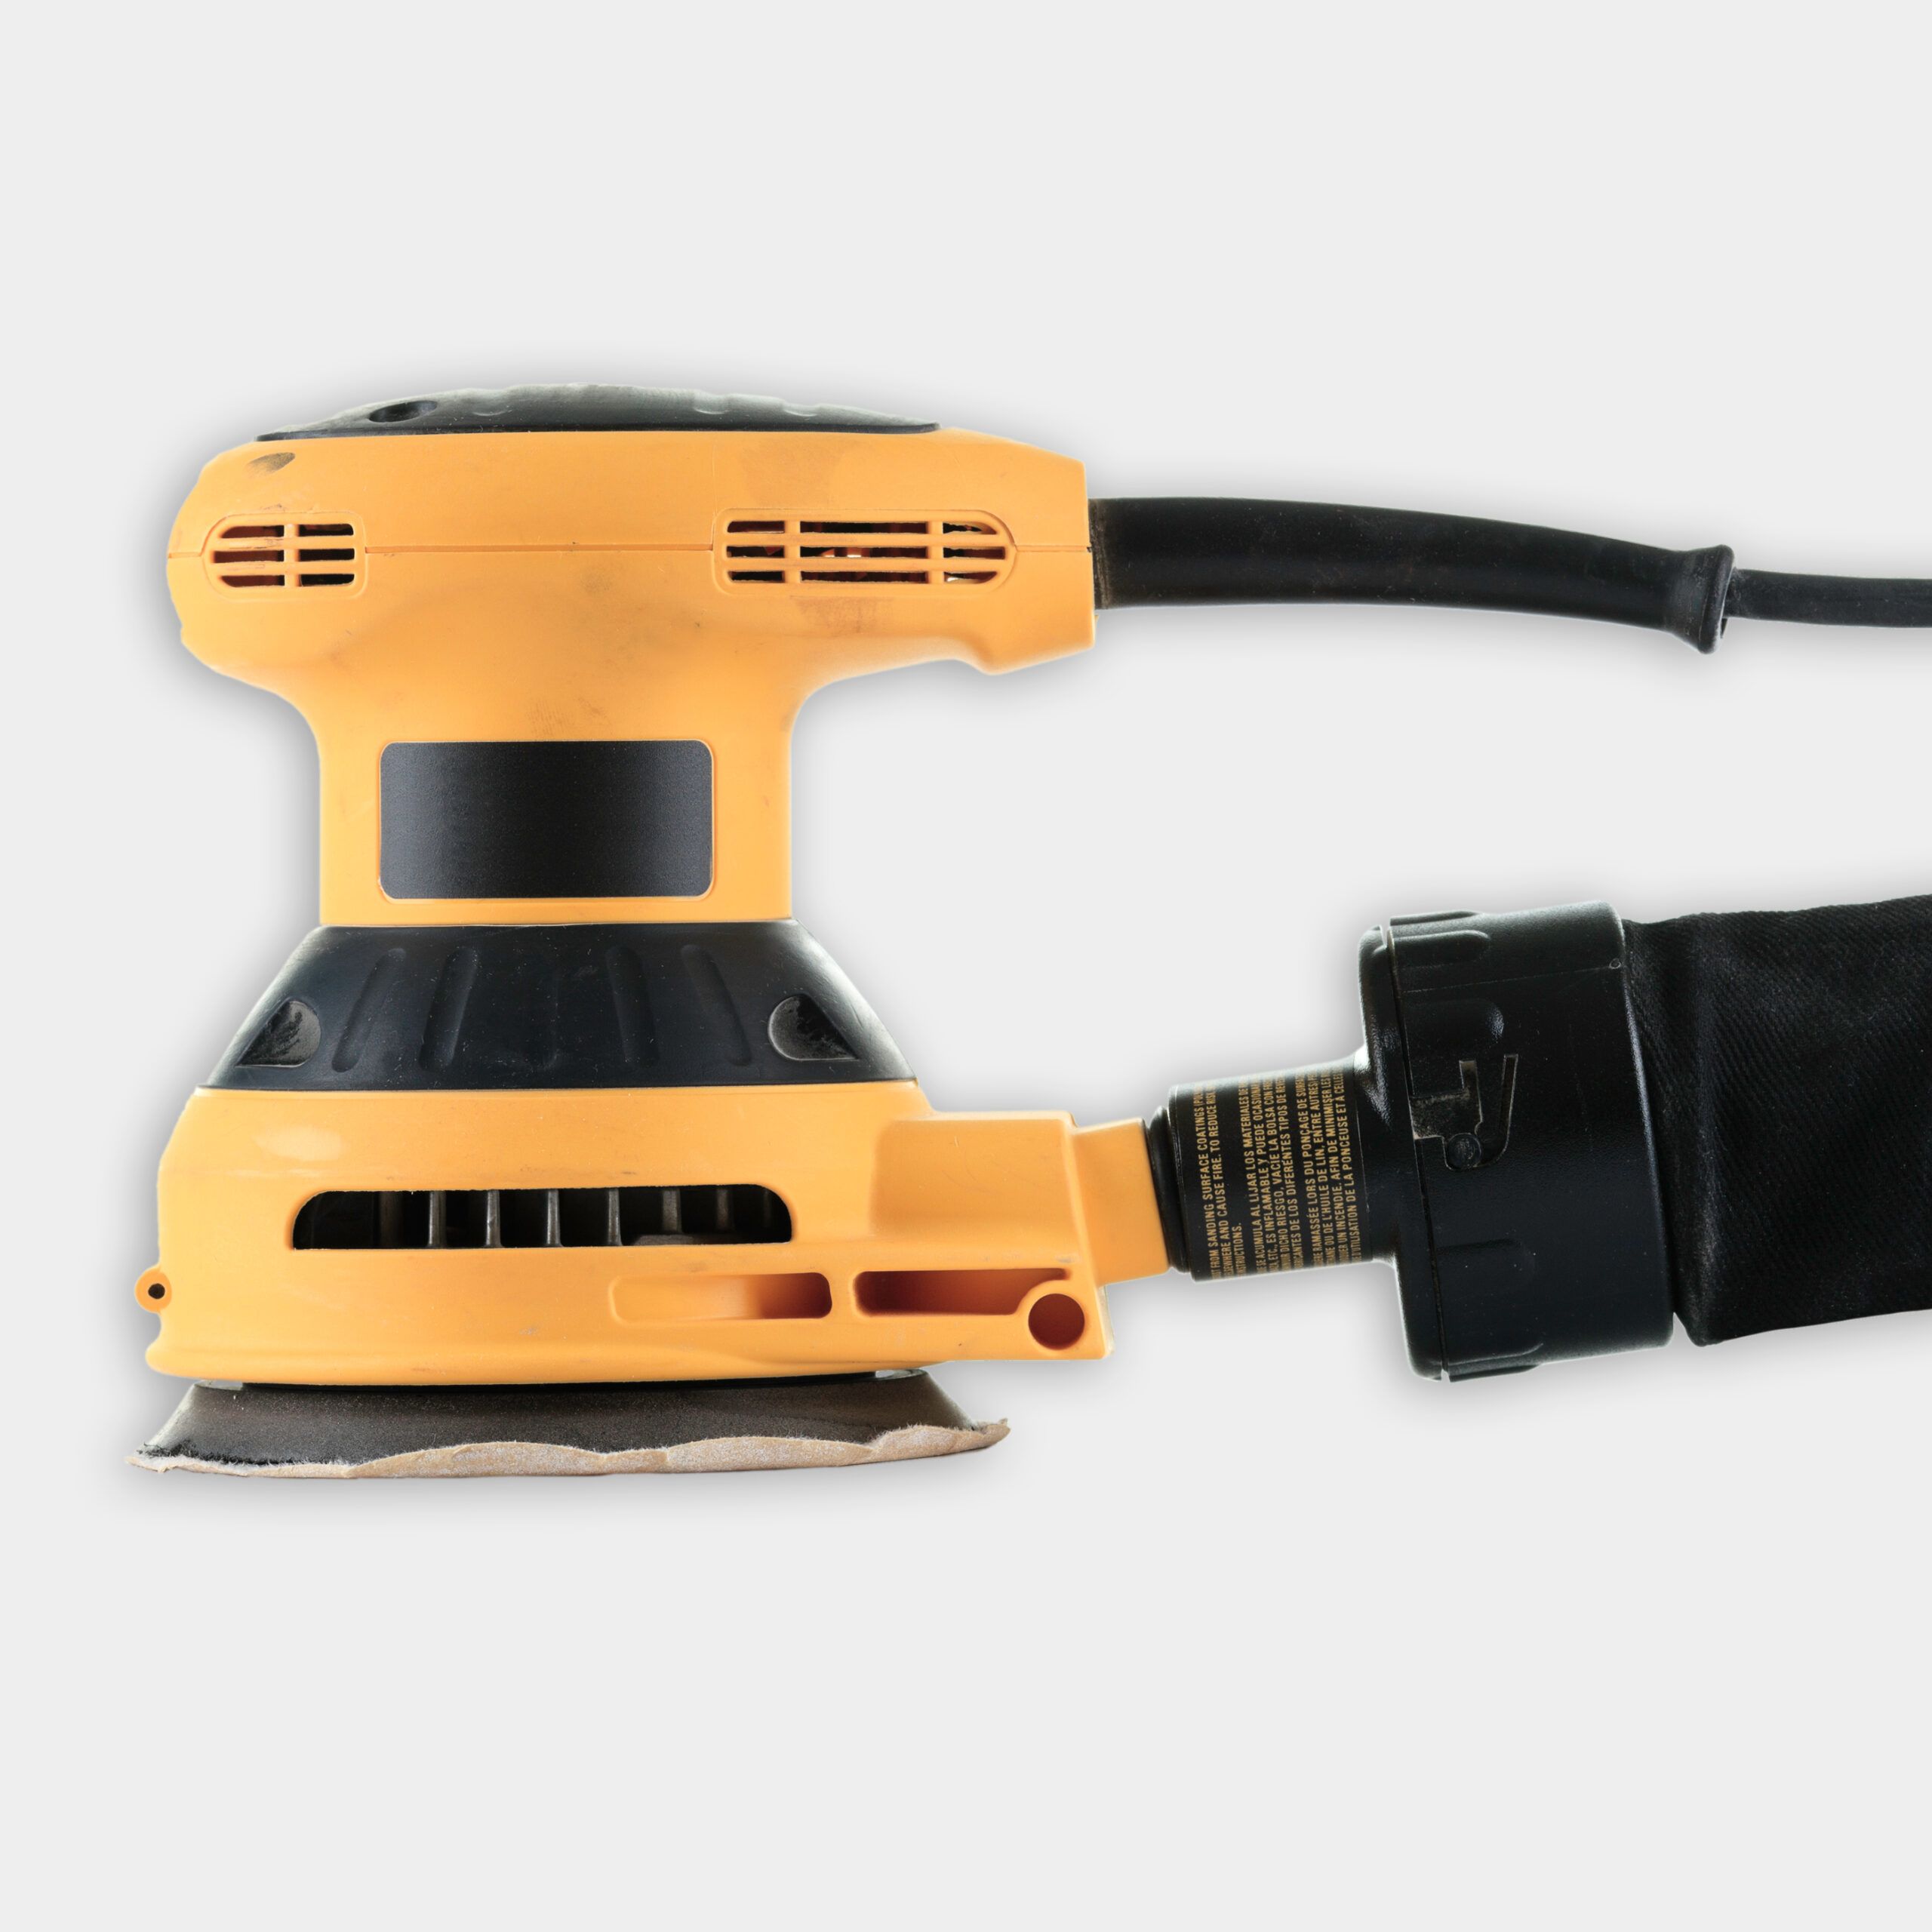
- Palm sander
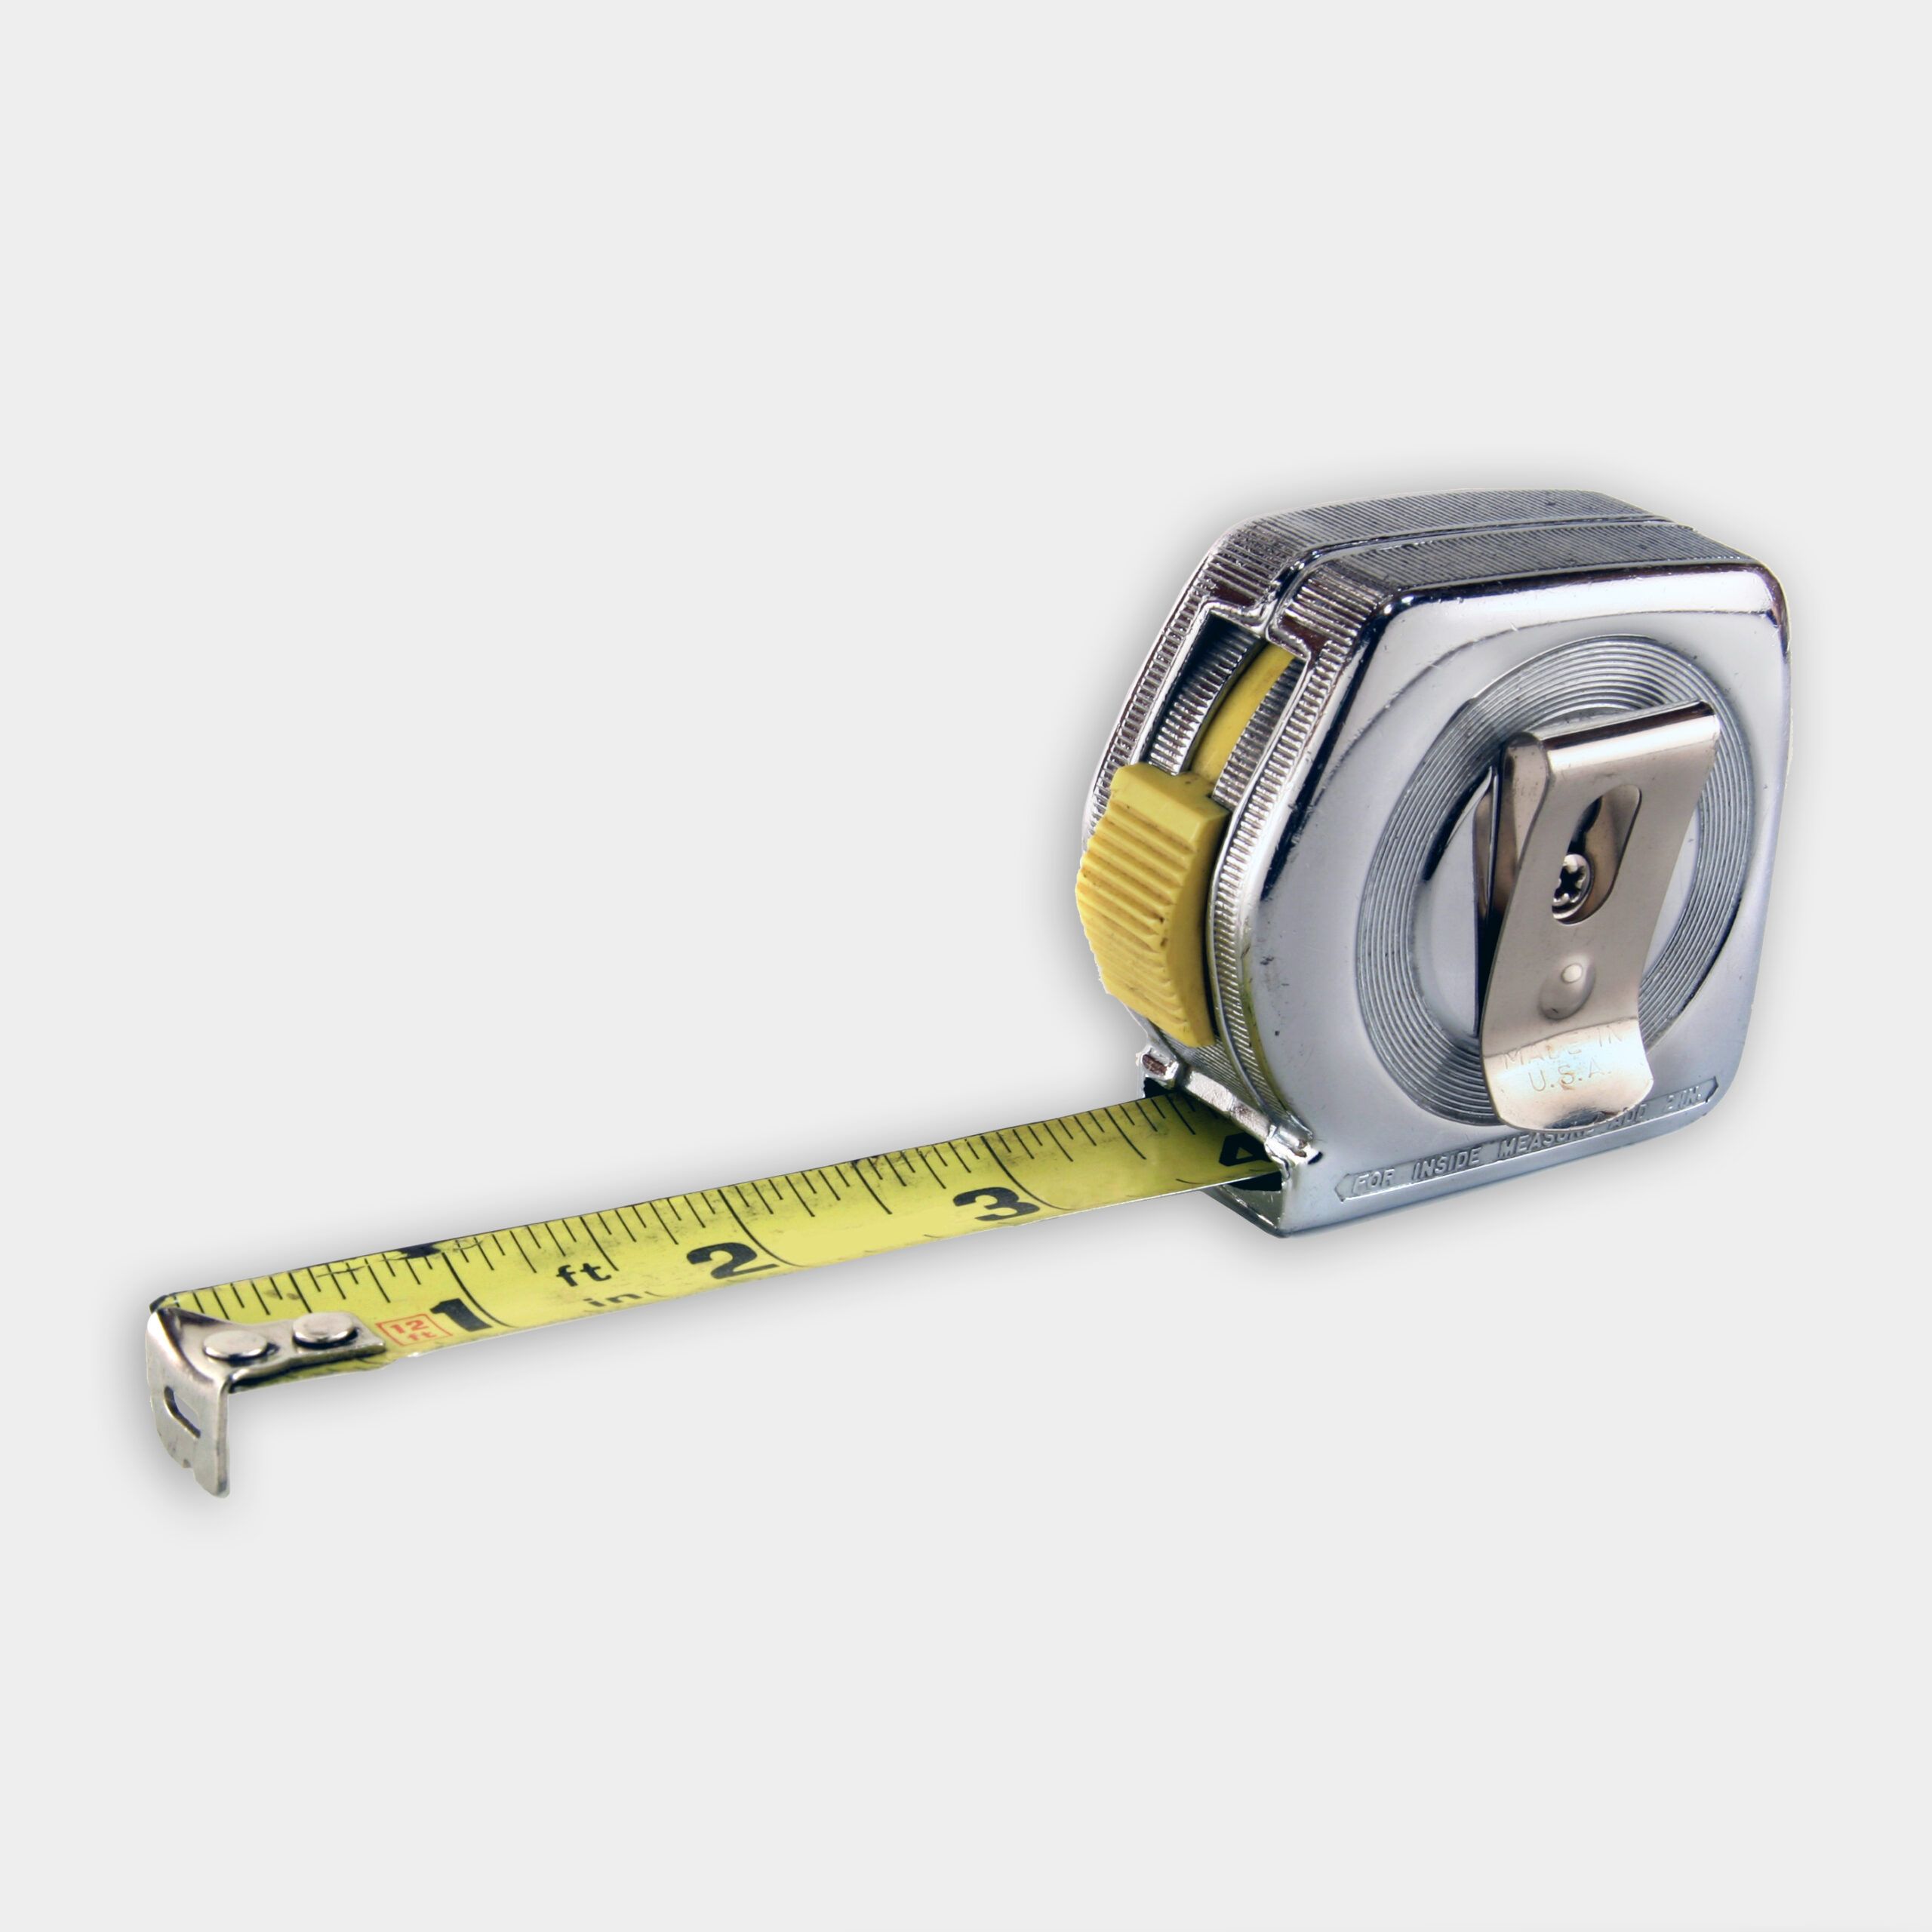
- Tape measure
- Wire cutters
Choosing the Right Cable Railing System
When selecting a cable railing system, consider factors such as budgetary constraints, cable compliance with local building codes, ease of installation, compatibility of the materials with the existing structure, and style preferences.
Installing the Newel Posts
The newel posts serve as the anchors for your cable railing system. In the video above, Silva kept the existing newel post and installed a cover over it. Here’s how he did it:
- Scribe the bottom of the newel post cover to fit the floor contours.
- Cut along the scribed line using an oscillating saw and hand saw.
- Sand the cut edges smooth.
- Check that the newel post fits snuggly over the existing post.
- Create additional newel posts at the opposite end and any intermediate points as needed.
Silva uses a mortising machine to create strong joints between the newel posts and the handrail for a sturdy structure.
Installing the Handrail
Silva suggests assembling the entire railing configuration separately and then moving it into position on the stairs rather than assembling it in place. A properly installed handrail is key to both safety and appearance. Follow these steps:
- Cut the handrail to the appropriate length.
- Create mortise and tenon joints for a secure connection to the newel posts.
- Assemble the entire railing configuration using wood glue and screws.
- Install the assembled unit as a whole, sliding it over the existing newel post.
- Secure the handrail to the wall and floor.
Installing the Cable Railing
With the newel posts and handrail in place, you’re ready to install the cable railing. Here’s how:
- Mark the locations for cable fasteners on the newel posts.
- Drill pilot holes for the fasteners.
- Install the cable fasteners on both newel posts.
- Cut the cables to length, leaving extra for tensioning.
- Thread the cables through the fasteners and any intermediate supports.
- Tension the cables using the adjustable fasteners.
Proper Cable Spacing and Tension
To ensure safety and code compliance, follow these guidelines:
- Install supports every 3 feet (if vertical) to prevent excessive cable deflection.
- Space cables no more than 3 inches apart to prevent children from slipping through.
- Start tensioning from the middle cable and work outwards, alternating sides.
- Use a tension gauge to ensure consistent tension across all cables
Finishing Touches
Complete your cable railing installation with these final steps:
- Sand any rough spots on the wood components.
- Fill screw holes with wood filler.
- Apply your chosen finish (stain, paint, or clear coat) to the wood elements.
- Clean the cables with a stainless steel cleaner.
- Perform a final inspection to confirm all components are secure.
Cable Railing Maintenance and Care
To keep your cable railing looking great and functioning properly, apply these maintenance tips:
- Clean cables with a mild soap solution and a soft cloth.
- Refinish wood components as needed to protect them from weathering.
- Regularly inspect cables for signs of wear or loosening.
- Tighten any loose fasteners promptly.
Enhancing Your Cable Railing Project
Installing a cable railing system not only upgrades the appearance of your staircase but also adds value to your home. Beyond the basics provided in this guide, the custom touches listed below can further personalize your project:
- Choosing finishes and colors: Select wood stains or paint colors that complement your home’s decor. Match the finish of your railing hardware to your interior fixtures for a cohesive look.
- Incorporating lighting elements: Integrate LED lighting into the railing posts or along the handrails to enhance visibility and add a sophisticated touch to your staircase.
- Adding decorative elements: Decorative post caps or ornate handrail designs can add flair to your cable railing.
Our Conclusion
Cable railing systems are great for homeowners who want untraditional yet effective staircase rails. As long as you plan carefully, use the right tools, and follow code, you can achieve a beautiful and long-lasting result. If you’re unsure about any part of the installation, it’s best to consult with or hire a professional.
Resources
The poplar newel post that slips over an existing newel post and the other wood handrail sections were fabricated by a local mill shop in Utah.
The cable railing system was manufactured by Feeney.
Expert assistance with this project was provided by Woodcraft.