We may be compensated if you purchase through links on our website. Our team is committed to delivering honest, objective, and independent reviews on home products and services.
Project details
Skill
Cost
Estimated Time


Hollow core doors, popular in homes built during the 1950s and 60s, are lightweight and inexpensive but not very attractive. Fortunately, upgrading these plain doors is simple and inexpensive. In this guide, we’ll walk you through the process of transforming a flat panel hollow core door into a stylish six-panel door. This Old House expert Nathan Gilbert demonstrates the step-by-step process in the video above.
Understanding Hollow Core Doors
Hollow core doors were widely used during the post-war housing boom due to their affordability and easy installation. These lightweight doors consist of a thin wood veneer exterior with a hollow interior, sometimes reinforced with cardboard or wooden ribs.
While it’s possible to sand and restain hollow core doors, it’s not always the best option since it’s easy to damage the thin veneer during sanding. Instead, consider adding decorative trim and painting the door for a more dramatic transformation.
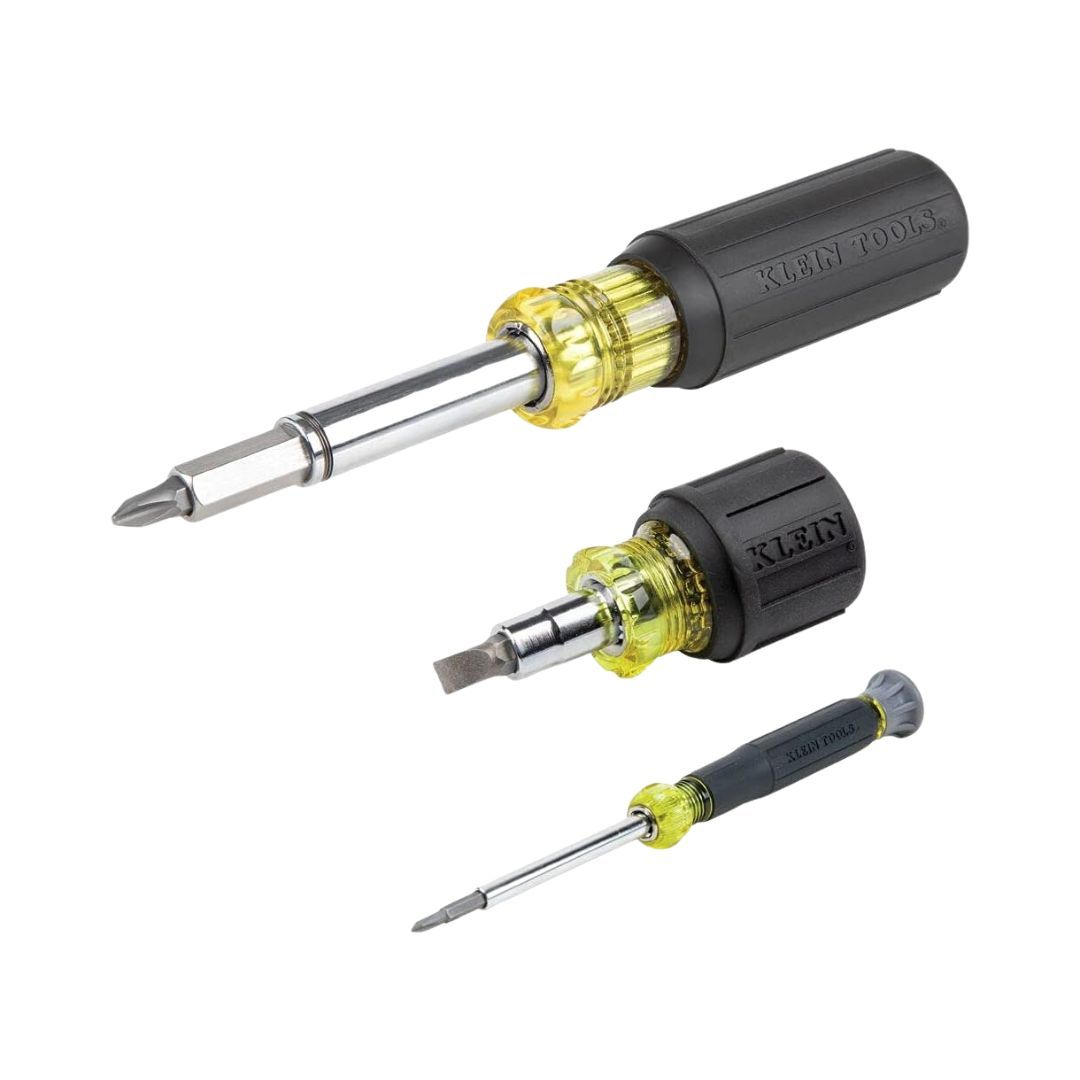
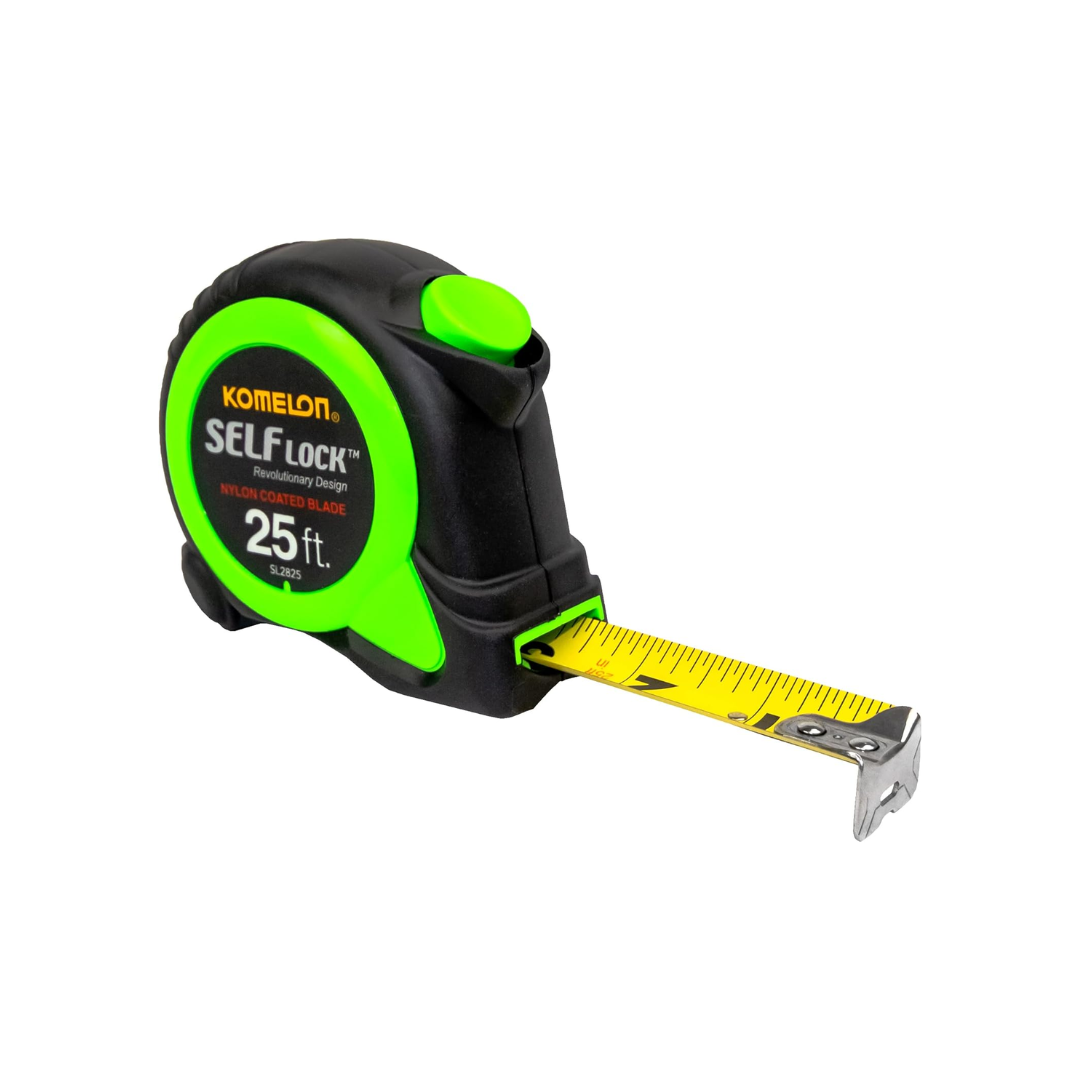
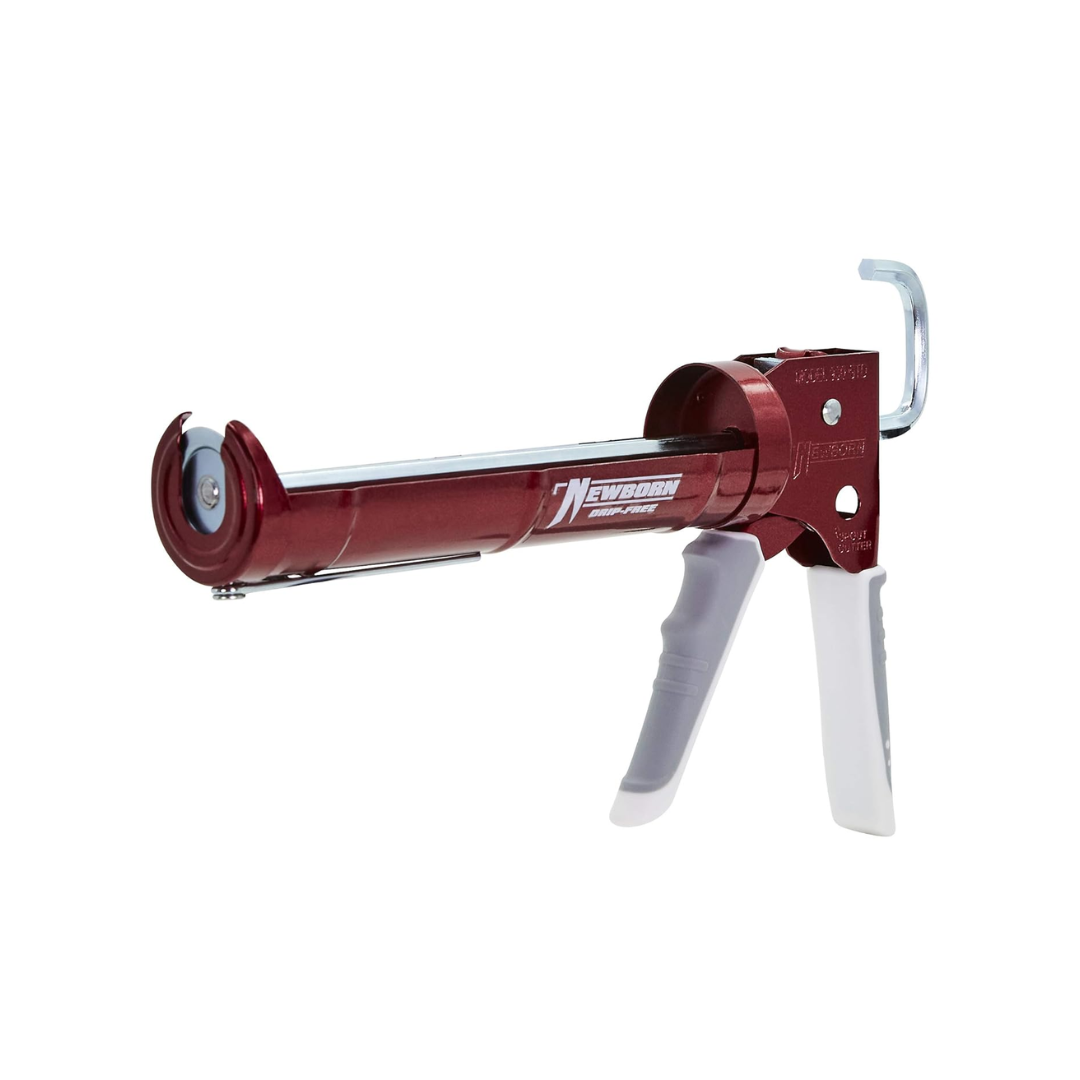
Tools and Materials Needed For the Door Update
Before updating your hollow core doors, gather the necessary tools and materials:
- Angled paintbrush
- Brad nailer
- Caulk
- Caulk gun
- Decorative trim molding
- Miter saw
- New door hardware (optional)
- Paint (satin finish recommended)
- Screwdriver or drill
- Straightedge
- Tape measure
- Wood glue
- Wood putty
Choosing the Right Decorative Door Trim
Before choosing a decorative trim, consider its material, style, and width:
- Material: Choose from wood, medium-density fiberboard (MDF), or PVC trim, depending on your budget and desired finish.
- Style: Match the trim style with your home’s existing decor, whether it’s modern, traditional, or a combination of both.
- Width: Wider trim tends to look more substantial, while narrower trim offers a more delicate finish.
How to Update Hollow Core Doors
After gathering your materials and choosing your trim, follow this step-by-step guide to updating your hollow core doors:
- Remove the door and hardware: Take the door off its hinges and remove all existing hardware. This makes the door easier to work with and gives you a clean surface for applying trim and paint.
- Mark the layout for your new panels: Gilbert recommends starting with a four-inch rail on the top, centering the middle rail around the doorknob, and leaving any excess on the bottom.
- Cut and miter the trim: Measure and cut your trim pieces to fit the marked layout. Cut all right-side pieces first, then flip the trim and set up a jig to cut all left-side pieces. Miter all trim edges for a professional look.
- Attach the trim: Apply wood glue along the back of the trim pieces and the corresponding areas on the door. Carefully place the trim on the door, aligning it with your layout marks, and use a brad nailer to secure the trim in place.
Hollow Door Finishing Touches
After attaching the trim, we recommend a few additional steps for a polished final product.
Filling and Caulking
Fill all nail holes with wood putty, apply caulk around the trim edges to eliminate any gaps, and allow the putty to caulk and dry completely before painting.
Painting the Door
Choose the right paint and application method for a professional finish. Gilbert recommends a satin finish paint for durability and easy cleaning. Use an angled paintbrush instead of a paint roller for a subtle grain texture and apply two coats of paint, allowing for proper drying time between coats.
Installing New Hardware
Choose hardware that complements your home’s style. Install the new doorknob and any other hardware after the paint has fully dried, and align all hardware before rehanging the door.
Tips for Professional-Looking Results for Your Hollow Core Door
For the best possible results when updating hollow core doors, keep these tips in mind:
- Apply even pressure when using the brad nailer to prevent wood splitting.
- Paint both sides of the door for a more polished look.
- Sand any rough spots before painting for a smooth finish.
- Take accurate measurements to make sure all trim pieces fit perfectly.
- Use sharp saw blades to make clean cuts on the trim.
How To Maintain Your Updated Hollow Core Door
Keeping your newly updated door looking fresh requires some ongoing maintenance:
- Avoid abrasive cleaners that may damage the paint or wood trim, and use a soft, damp cloth for wiping down the surface.
- Gently polish hardware to maintain its shine, and periodically tighten the hardware to keep it secure.
- Reapply caulk around trim edges if gaps appear.
- Regularly clean the door to prevent dirt buildup.
- Touch up paint as needed to cover scuffs or scratches.
External Resources
To add the fake panels, Nathan used some molding, which you can find at any home center. He secured those to the door using Gorilla wood glue and a 20V Max Cordless brad nailer manufactured by Dewalt. Nathan then painted the door using Behr Marquee in Ultra Pure White and replaced the old brass hardware with a bedroom/bathroom doorknob manufactured by Kwikset.