We may be compensated if you purchase through links on our website. Our team is committed to delivering honest, objective, and independent reviews on home products and services.
Building a custom record player stand is a great way to display your vinyl collection and add a personal touch to your home. This project combines woodworking skills with creativity and results in a functional and stylish piece tailored just for you.
In this article, we’ll walk you through constructing a sturdy and attractive DIY record player stand, drawing inspiration from This Old House general contractor Tom Silva’s and host Kevin O’Connor’s approach in the Build It segment above.
Preparing the Wood for the Record Player Stand
Preparing the wood components is the first step in building your record player stand. Here’s how to get started:
- Use a track saw to cut the oak plywood to the desired depth of your cabinet.
- Measure and mark the four sides of the box on the plywood, keeping them connected as one large piece for now.
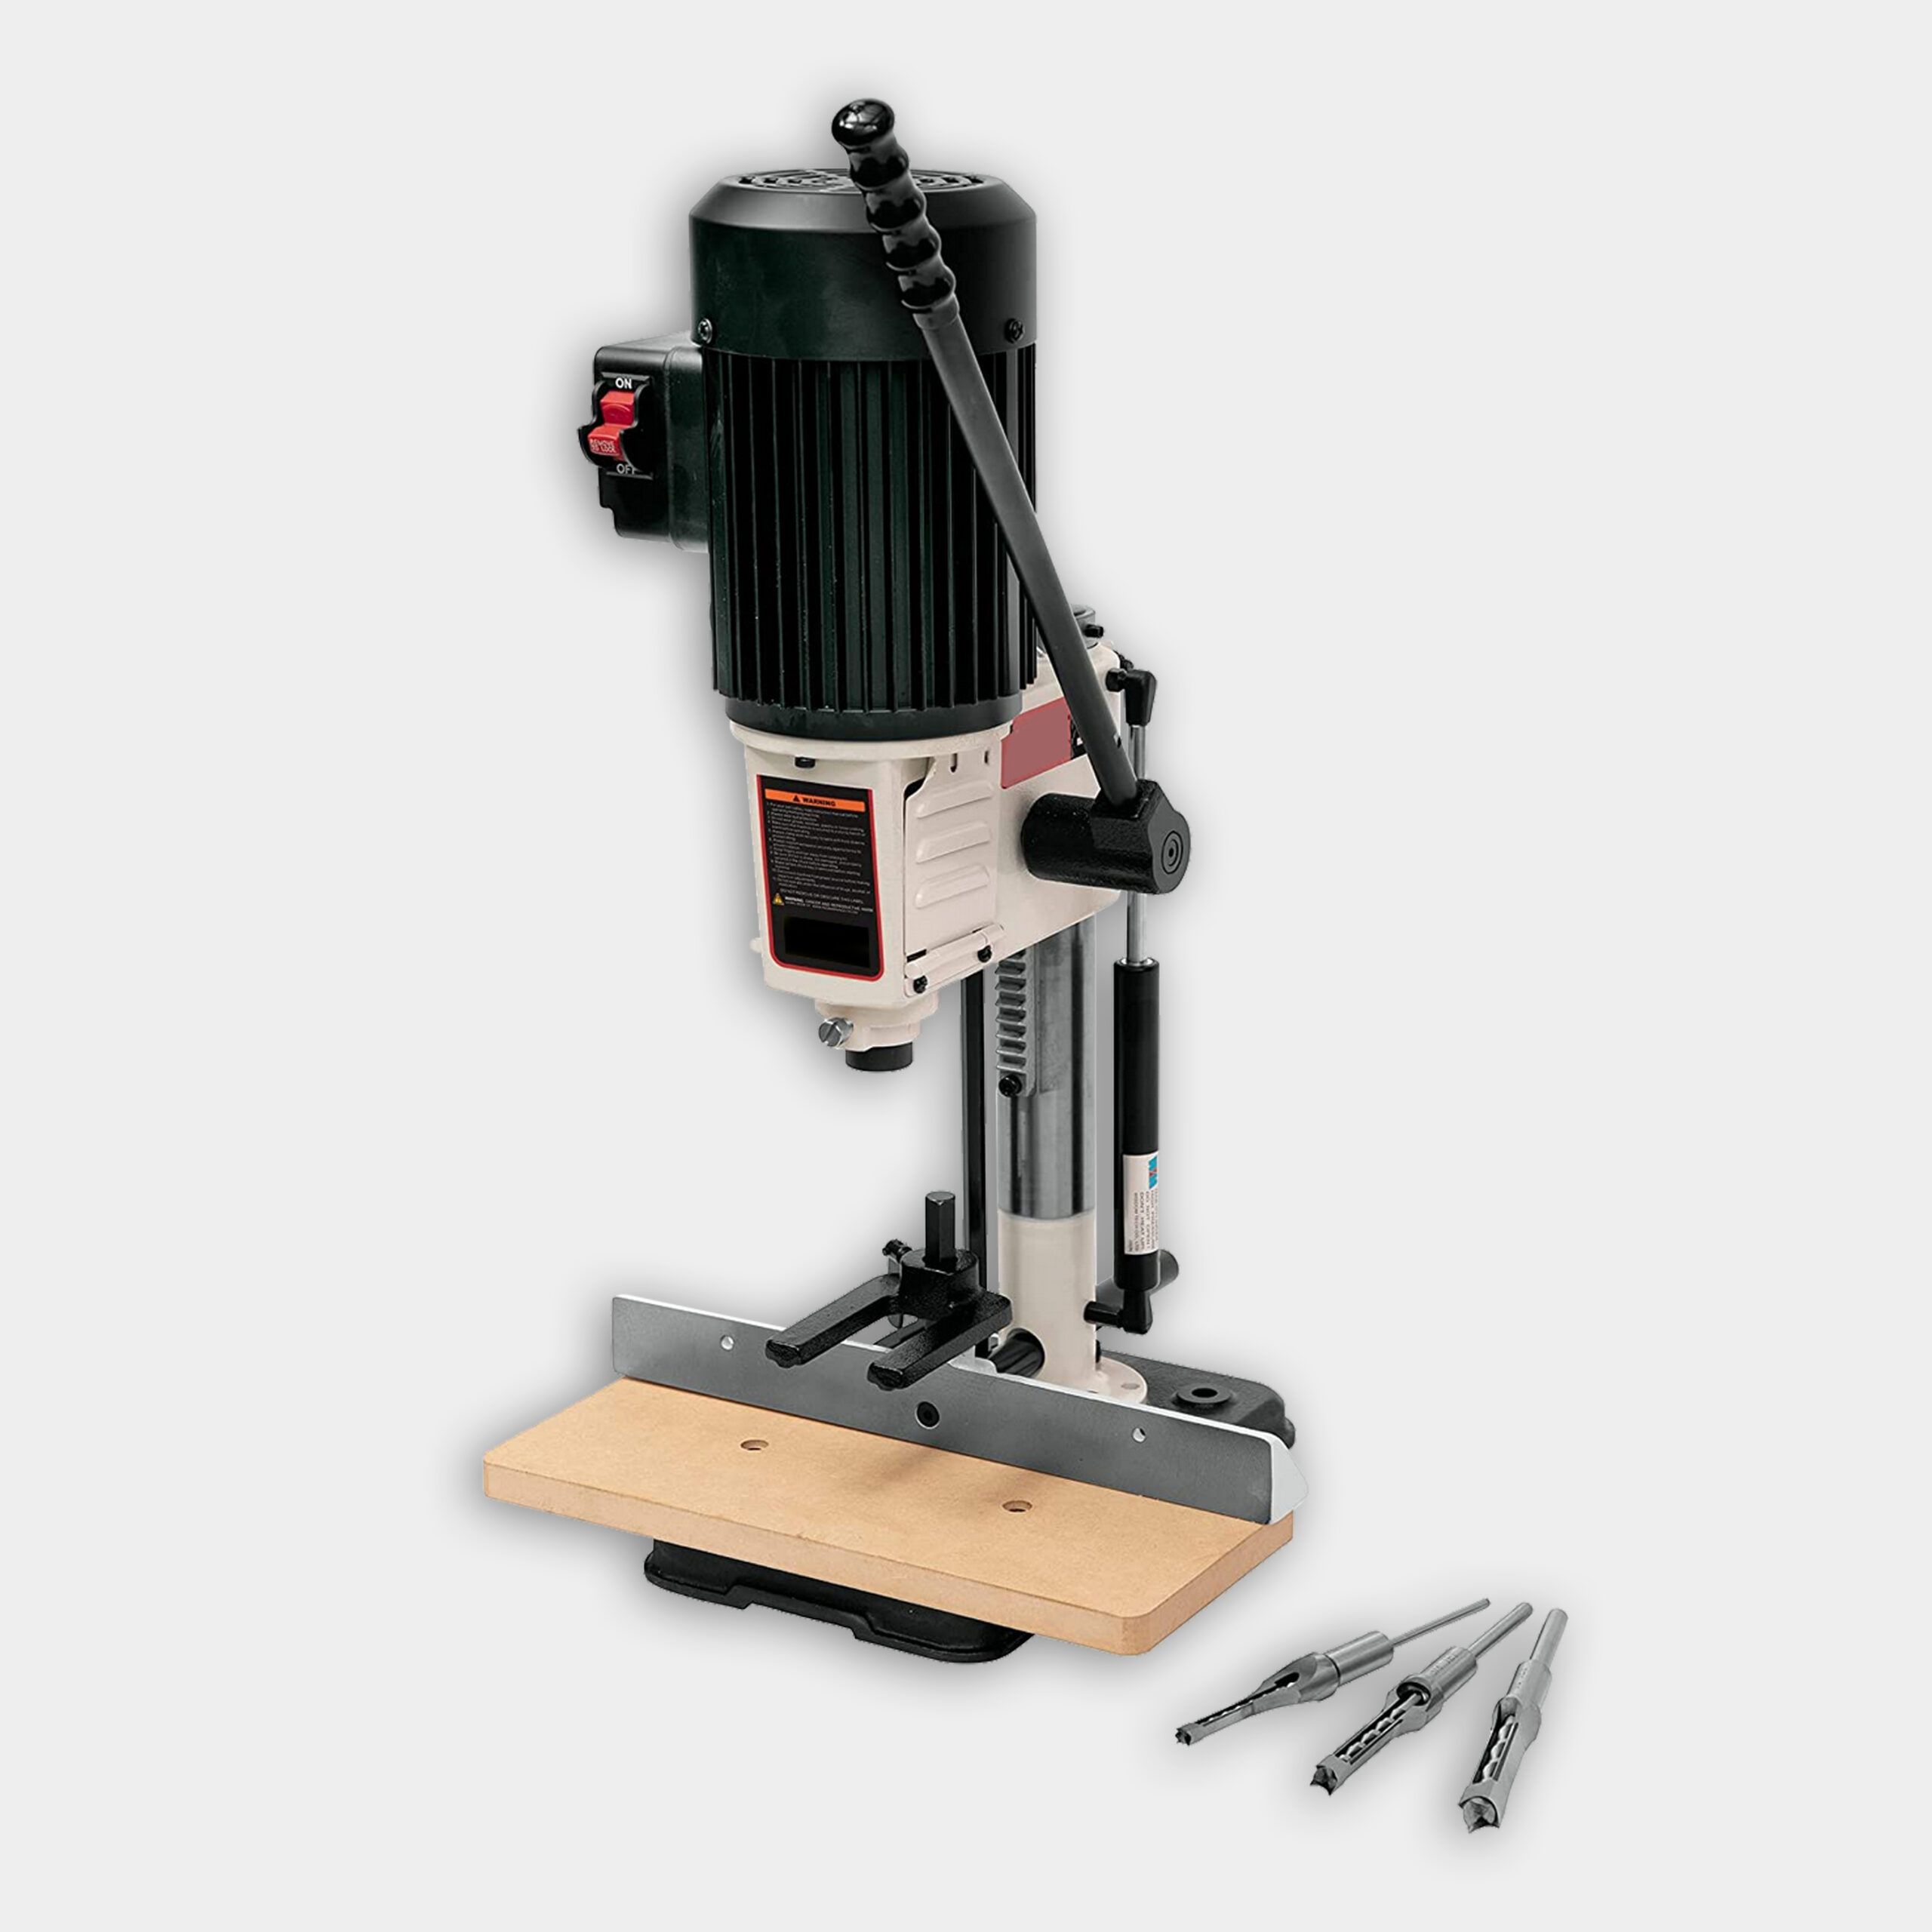
- Attach the 1-by-3-inch oak boards to the front of the plywood using a mortising drill, floating tenons, and wood glue.
- Run the assembled piece through a table saw to trim the oak facing to the correct dimensions.
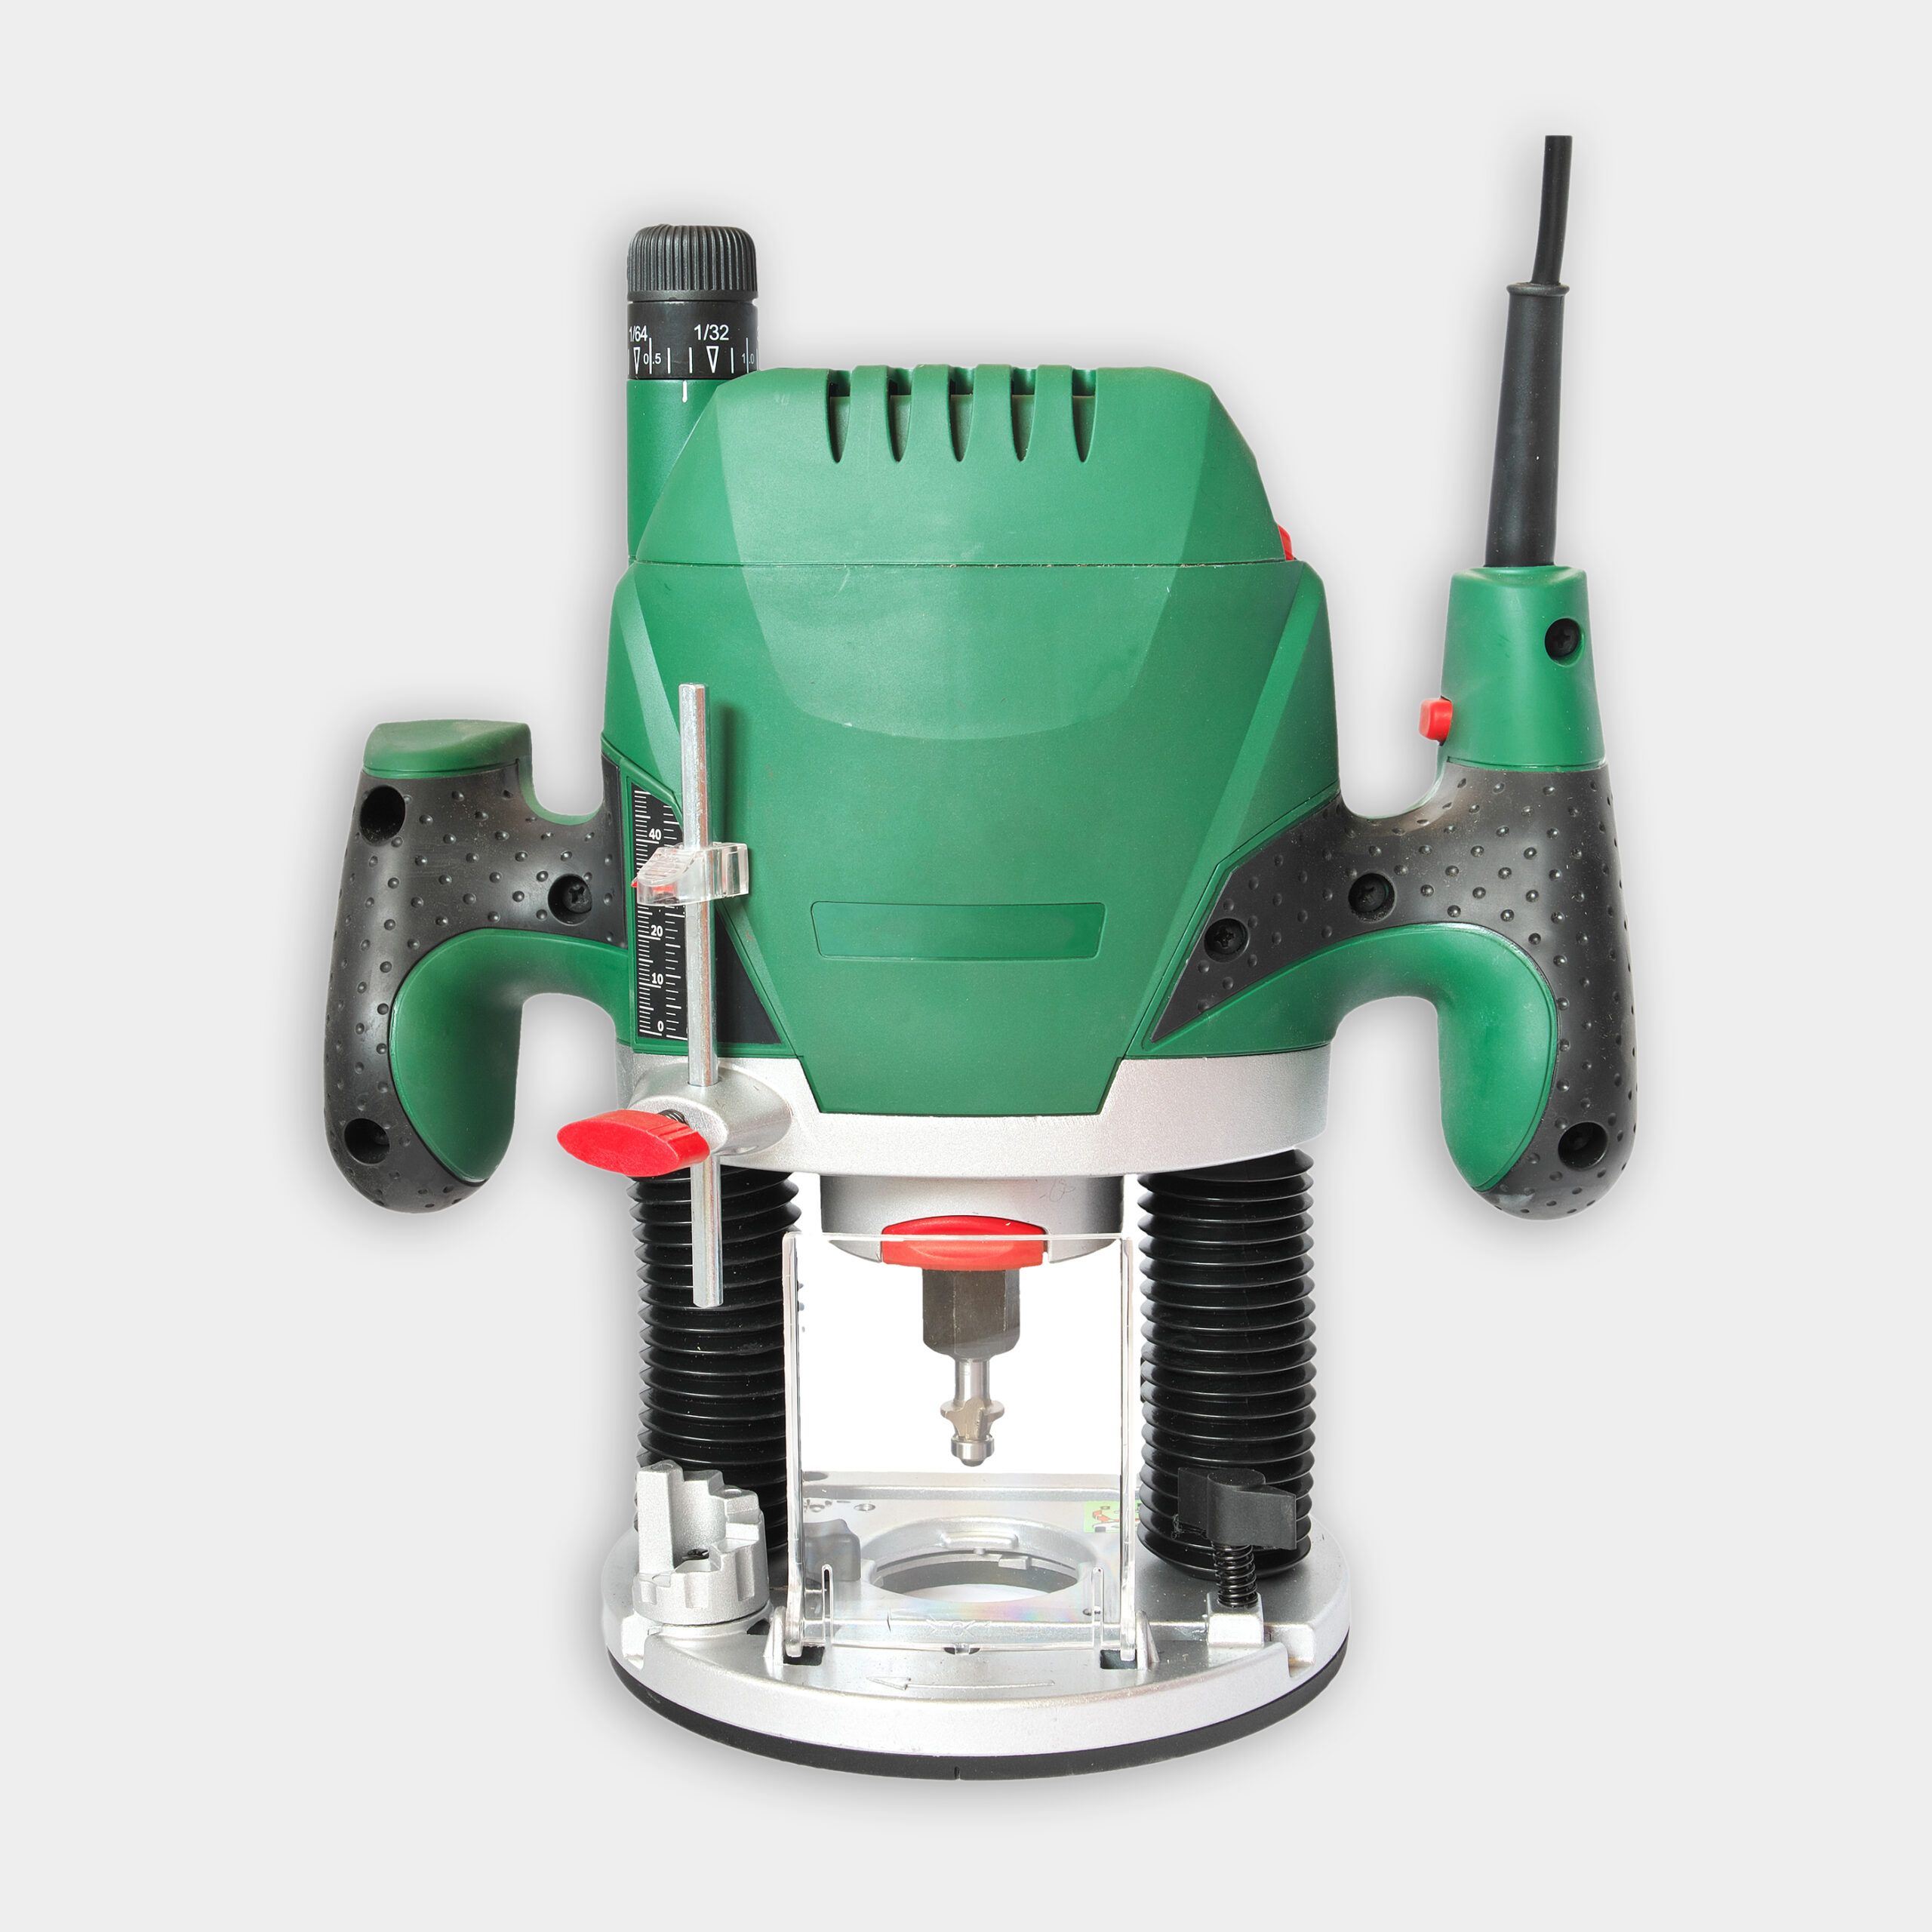
- Use a router to round off the front edge of the oak and create a rabbet cut on the back end of the panel.
Taking the time to prepare the wood carefully sets the foundation for a professional-looking stand. Precise cuts and smooth edges will make the assembly process smoother and the final product more polished.
Cutting and Assembling the Record Player Stand Box
With the wood prepared, it’s time to cut and assemble the main structure of your record player stand. Here’s how:
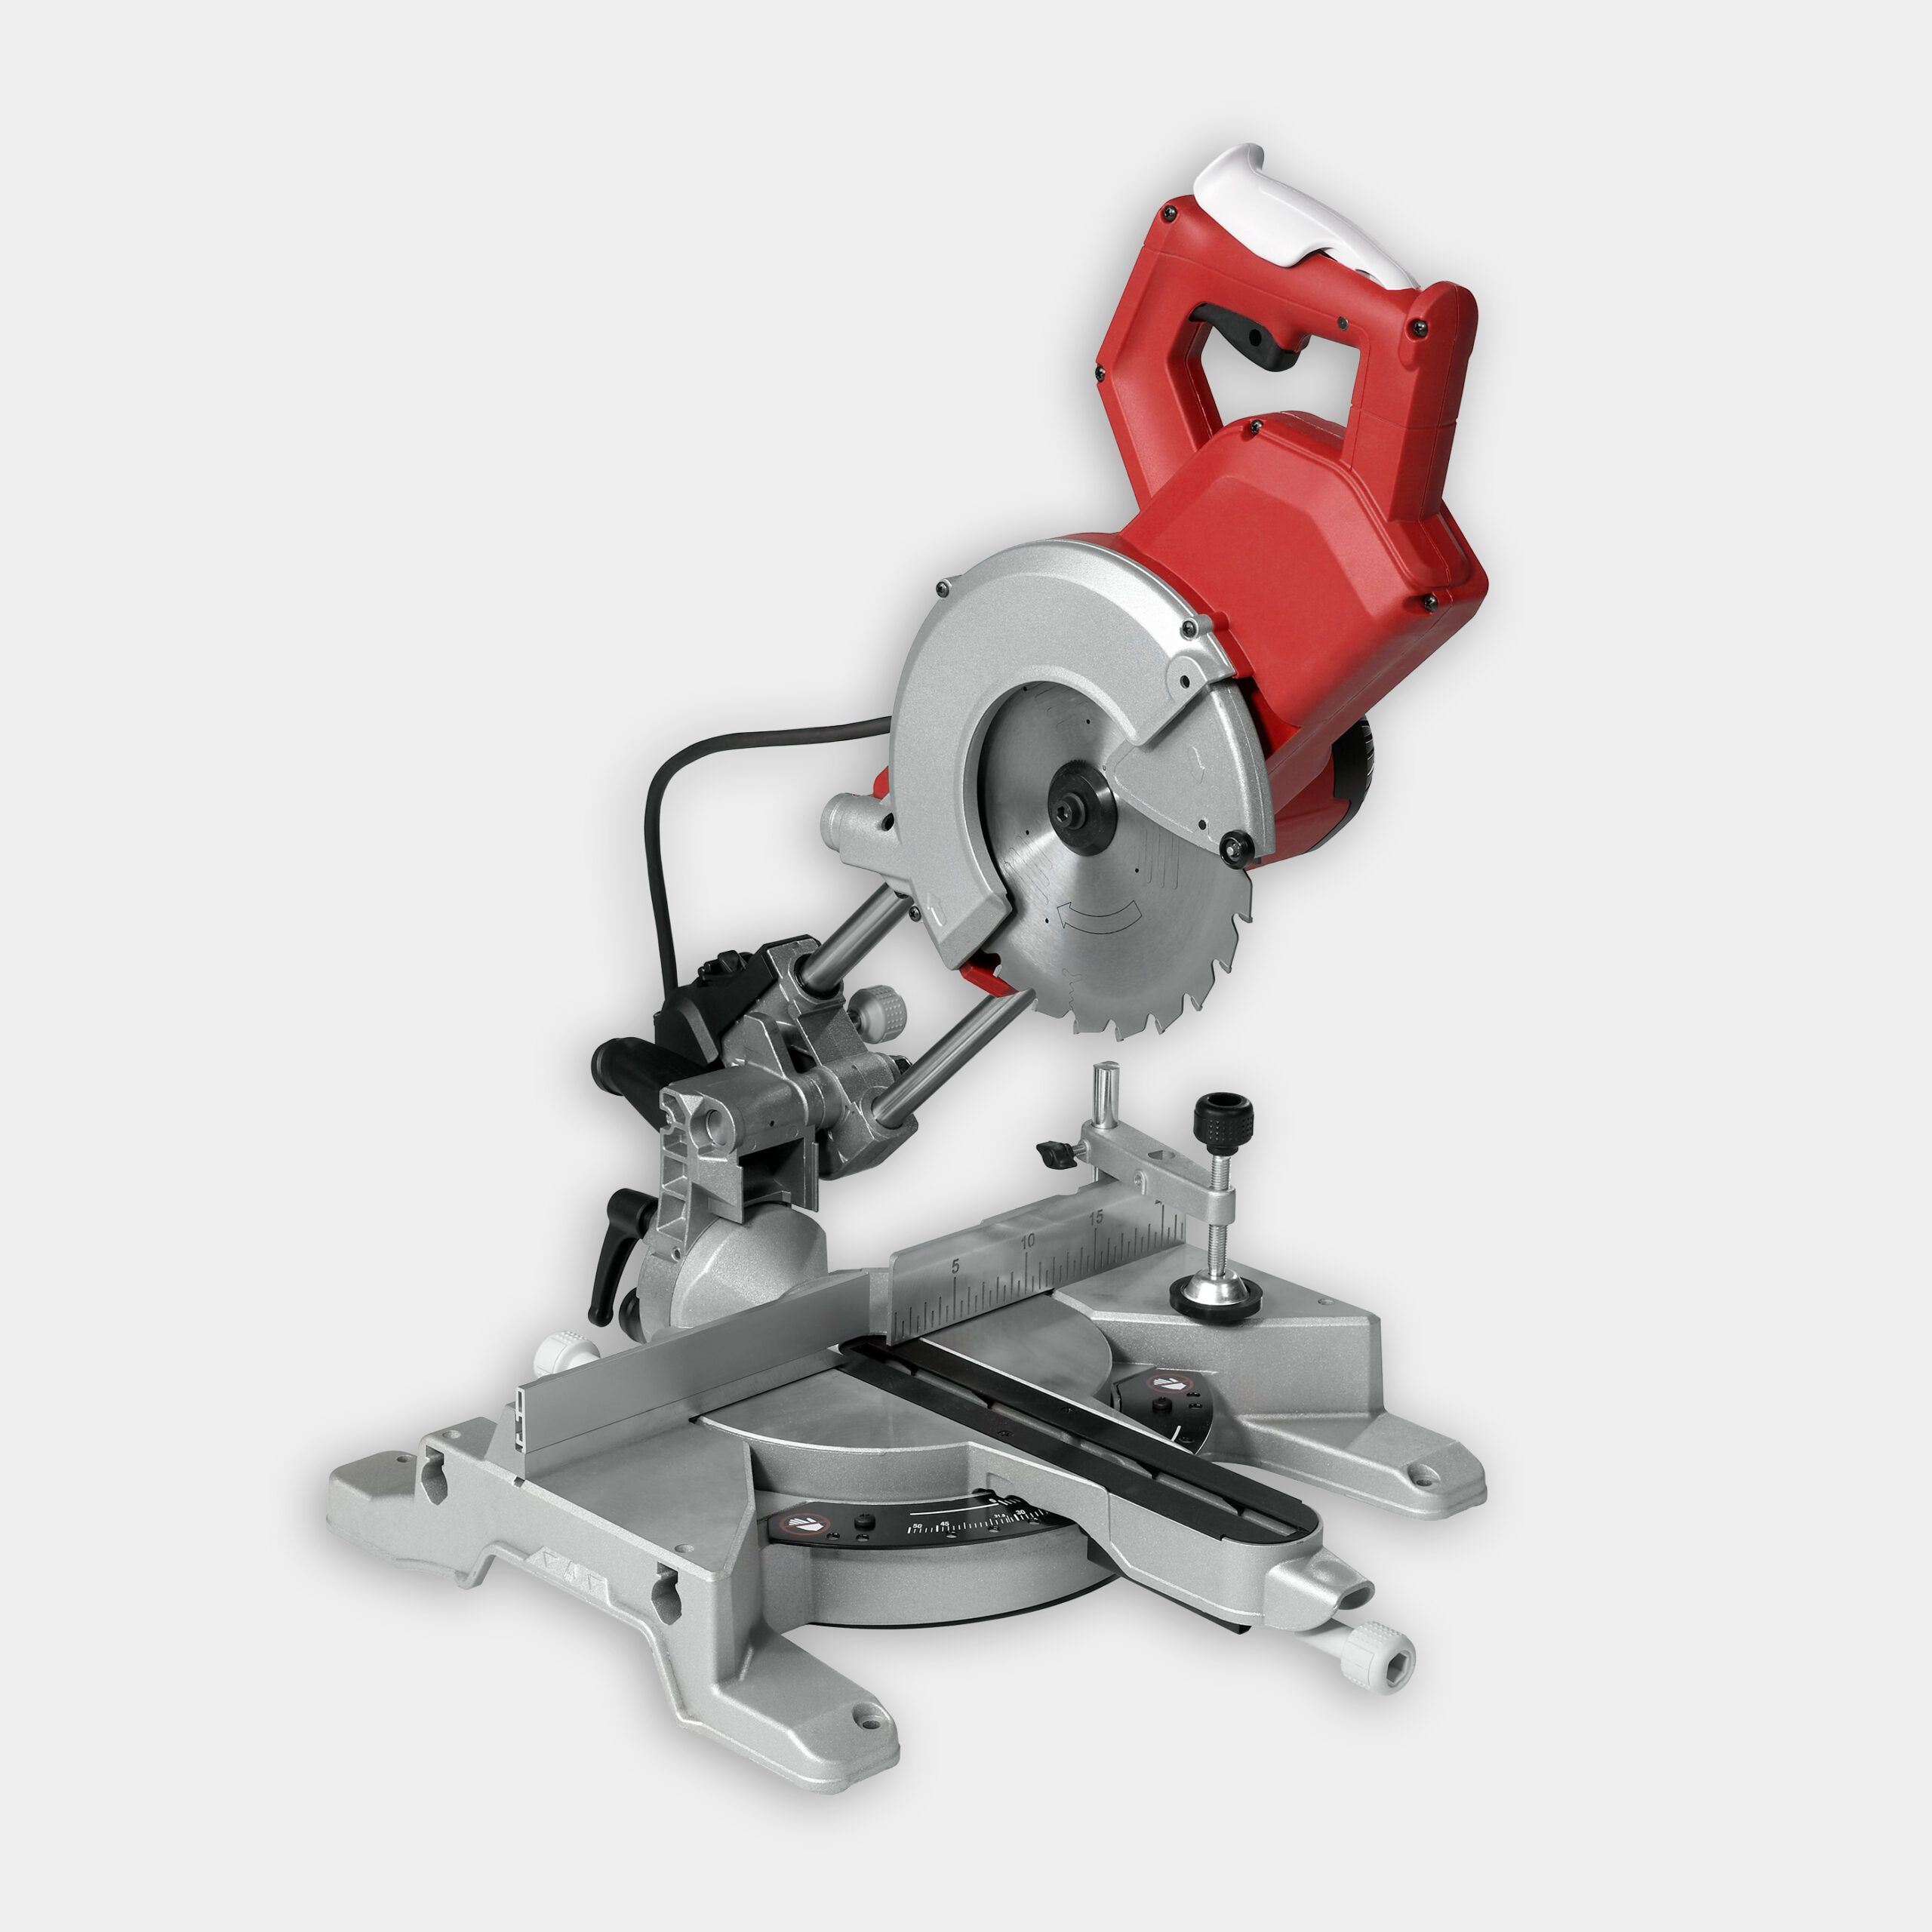
- Set your track saw to a 45-degree angle and cut one side of each panel where marked.
- Flip the board and make the opposing 45-degree cuts to create mitered edges.
- Hold the boards together where the miters come together. Mark both sides with a pencil for mortise locations.
- Angle the mortising drill to 45 degrees and drill mortises for the floating tenons at an angle.
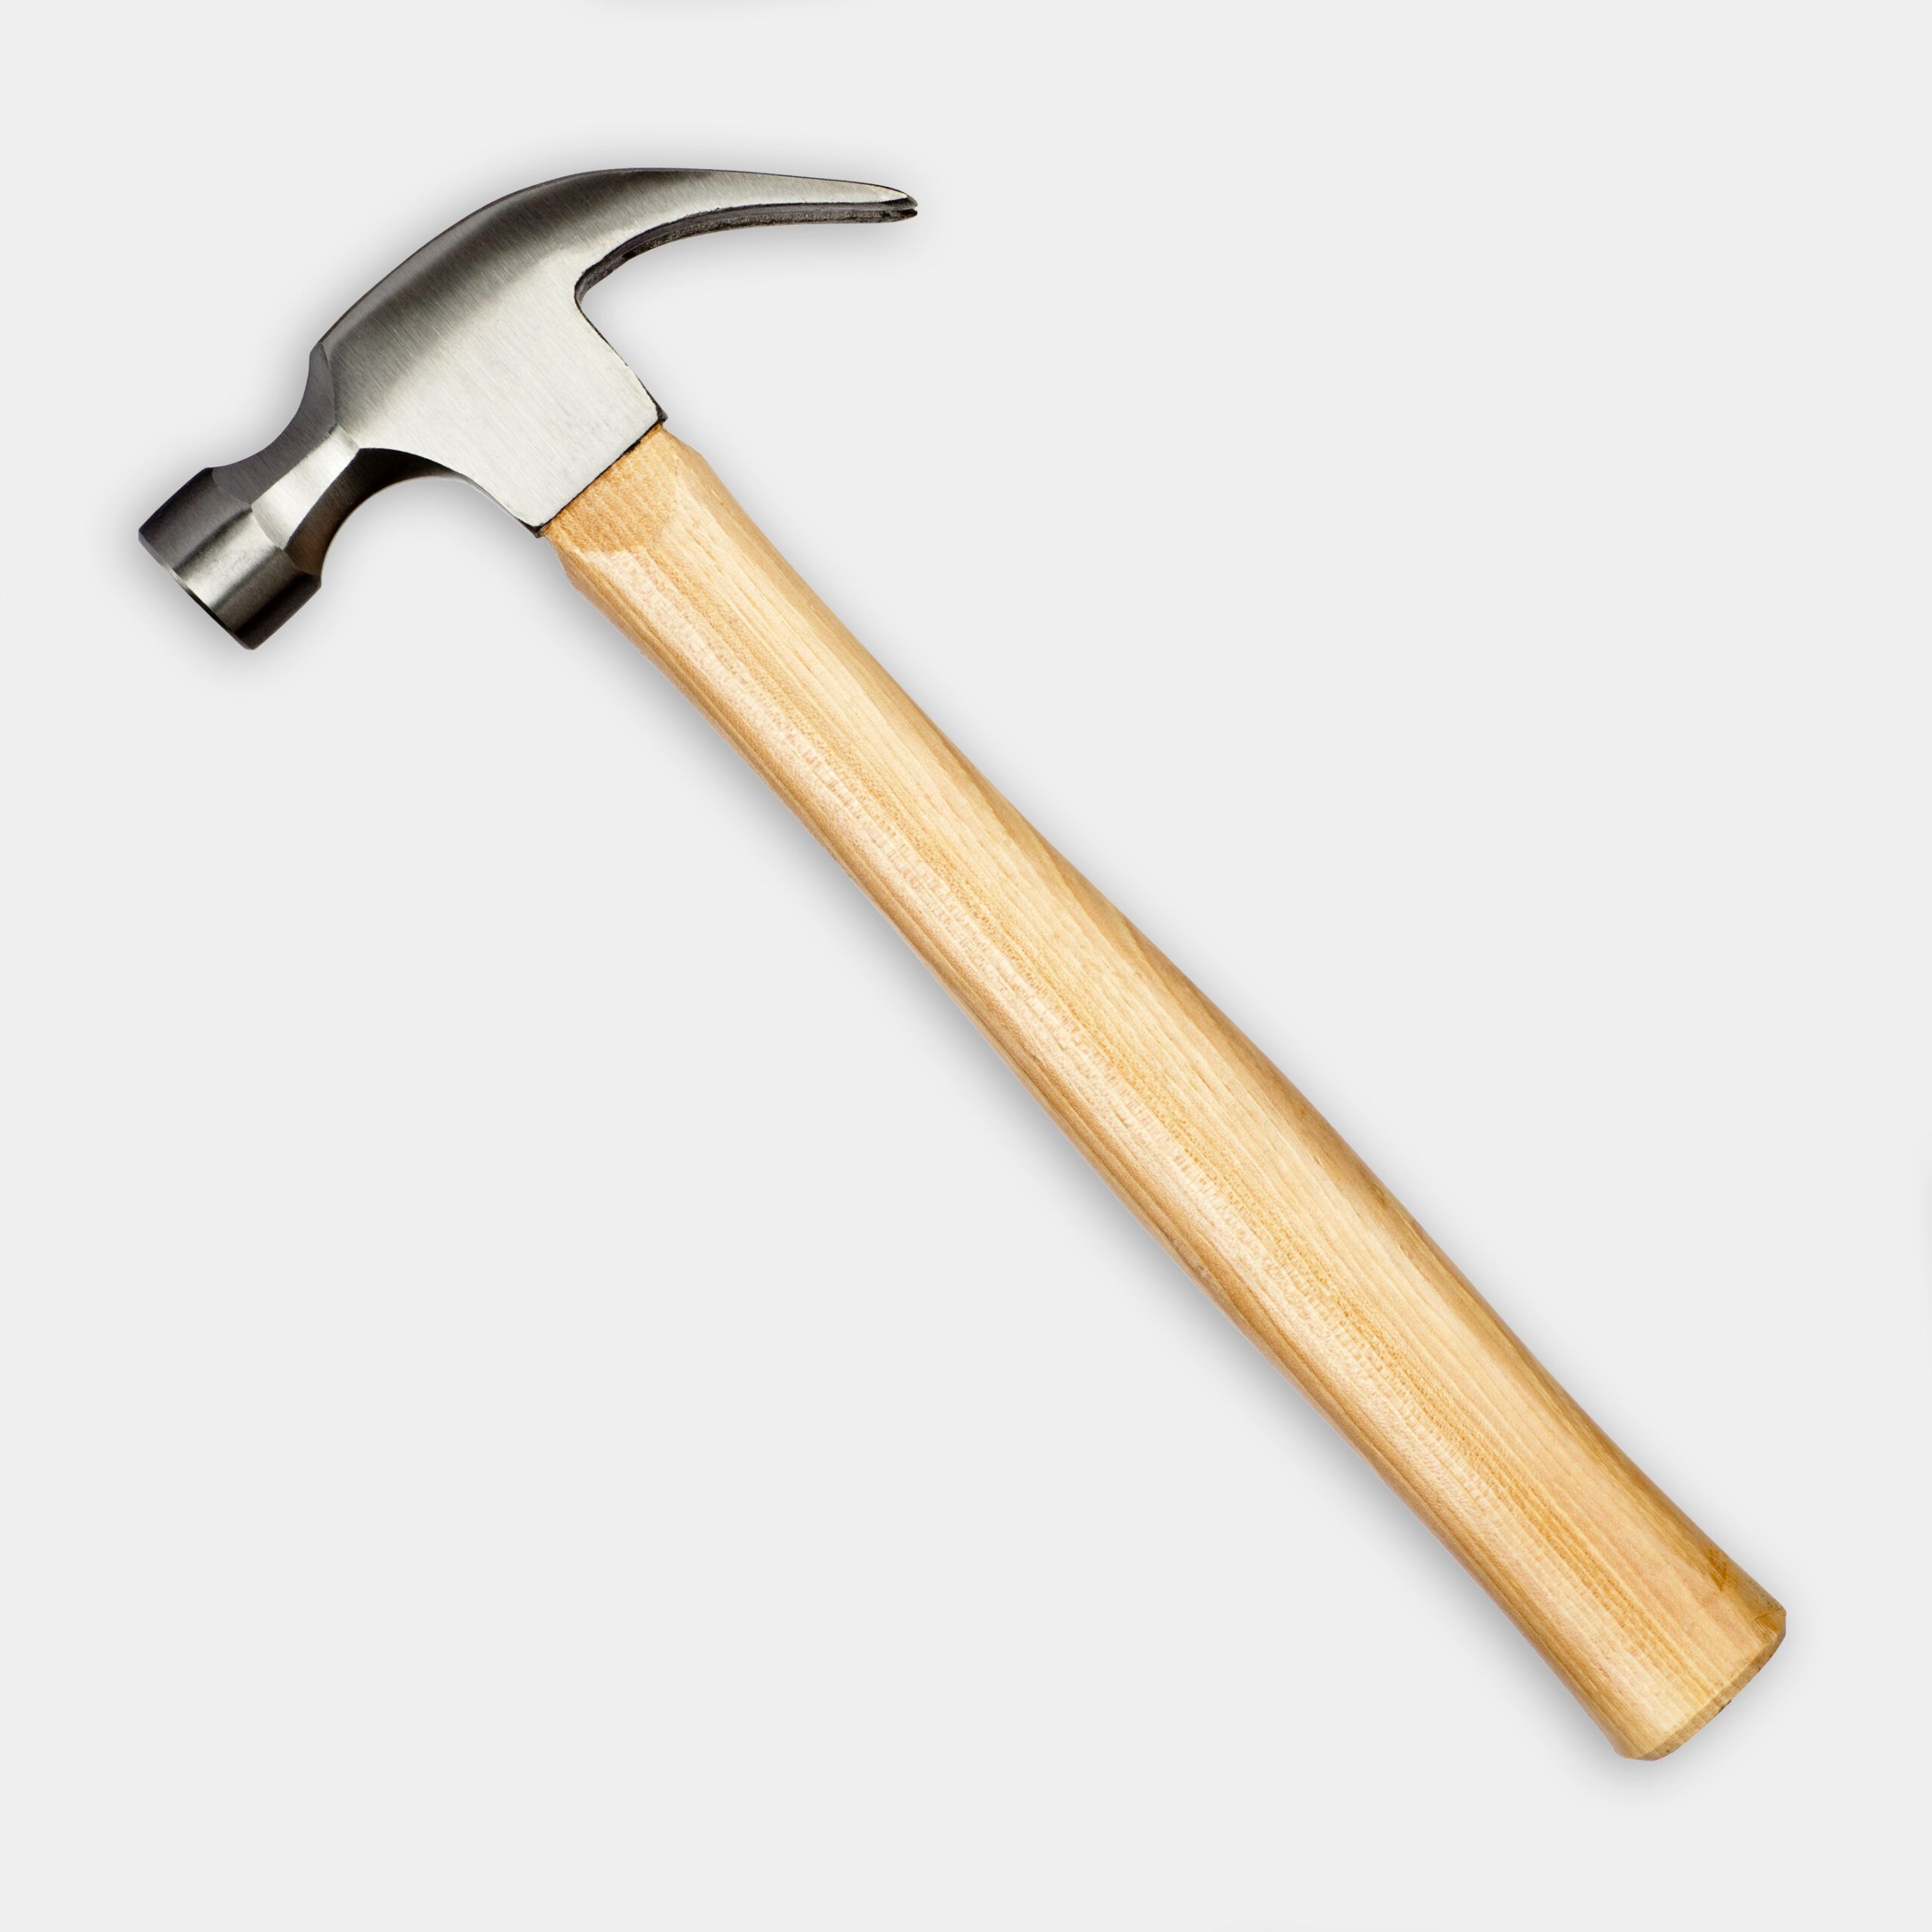
- Assemble the box using floating tenons, wood glue, and a hammer.
- Clamp the box together and allow it to set up for about 30 minutes.
Adding Internal Support and Trim to the Stand
To enhance stability and give your stand a refined appearance:
- Cut the 1-by-4-inch red oak to size so it will fit inside the box towards the top.
- Attach this support piece using the same floating tenon system as before.
- Cut molding to size on the miter saw to fit around the edges of the box, mitering the corners for a clean look.
The internal support adds sturdiness, while the trim provides an elegant touch.
Finishing Touches to Your Record Player Stand
Now it’s time to sand and finish your stand to highlight the natural beauty of the wood and help protect it:
- Sand everything, starting with 100-grit sandpaper and progressing to 220-grit for a smooth finish.
- Wipe away excess sanding dust with a tack cloth.
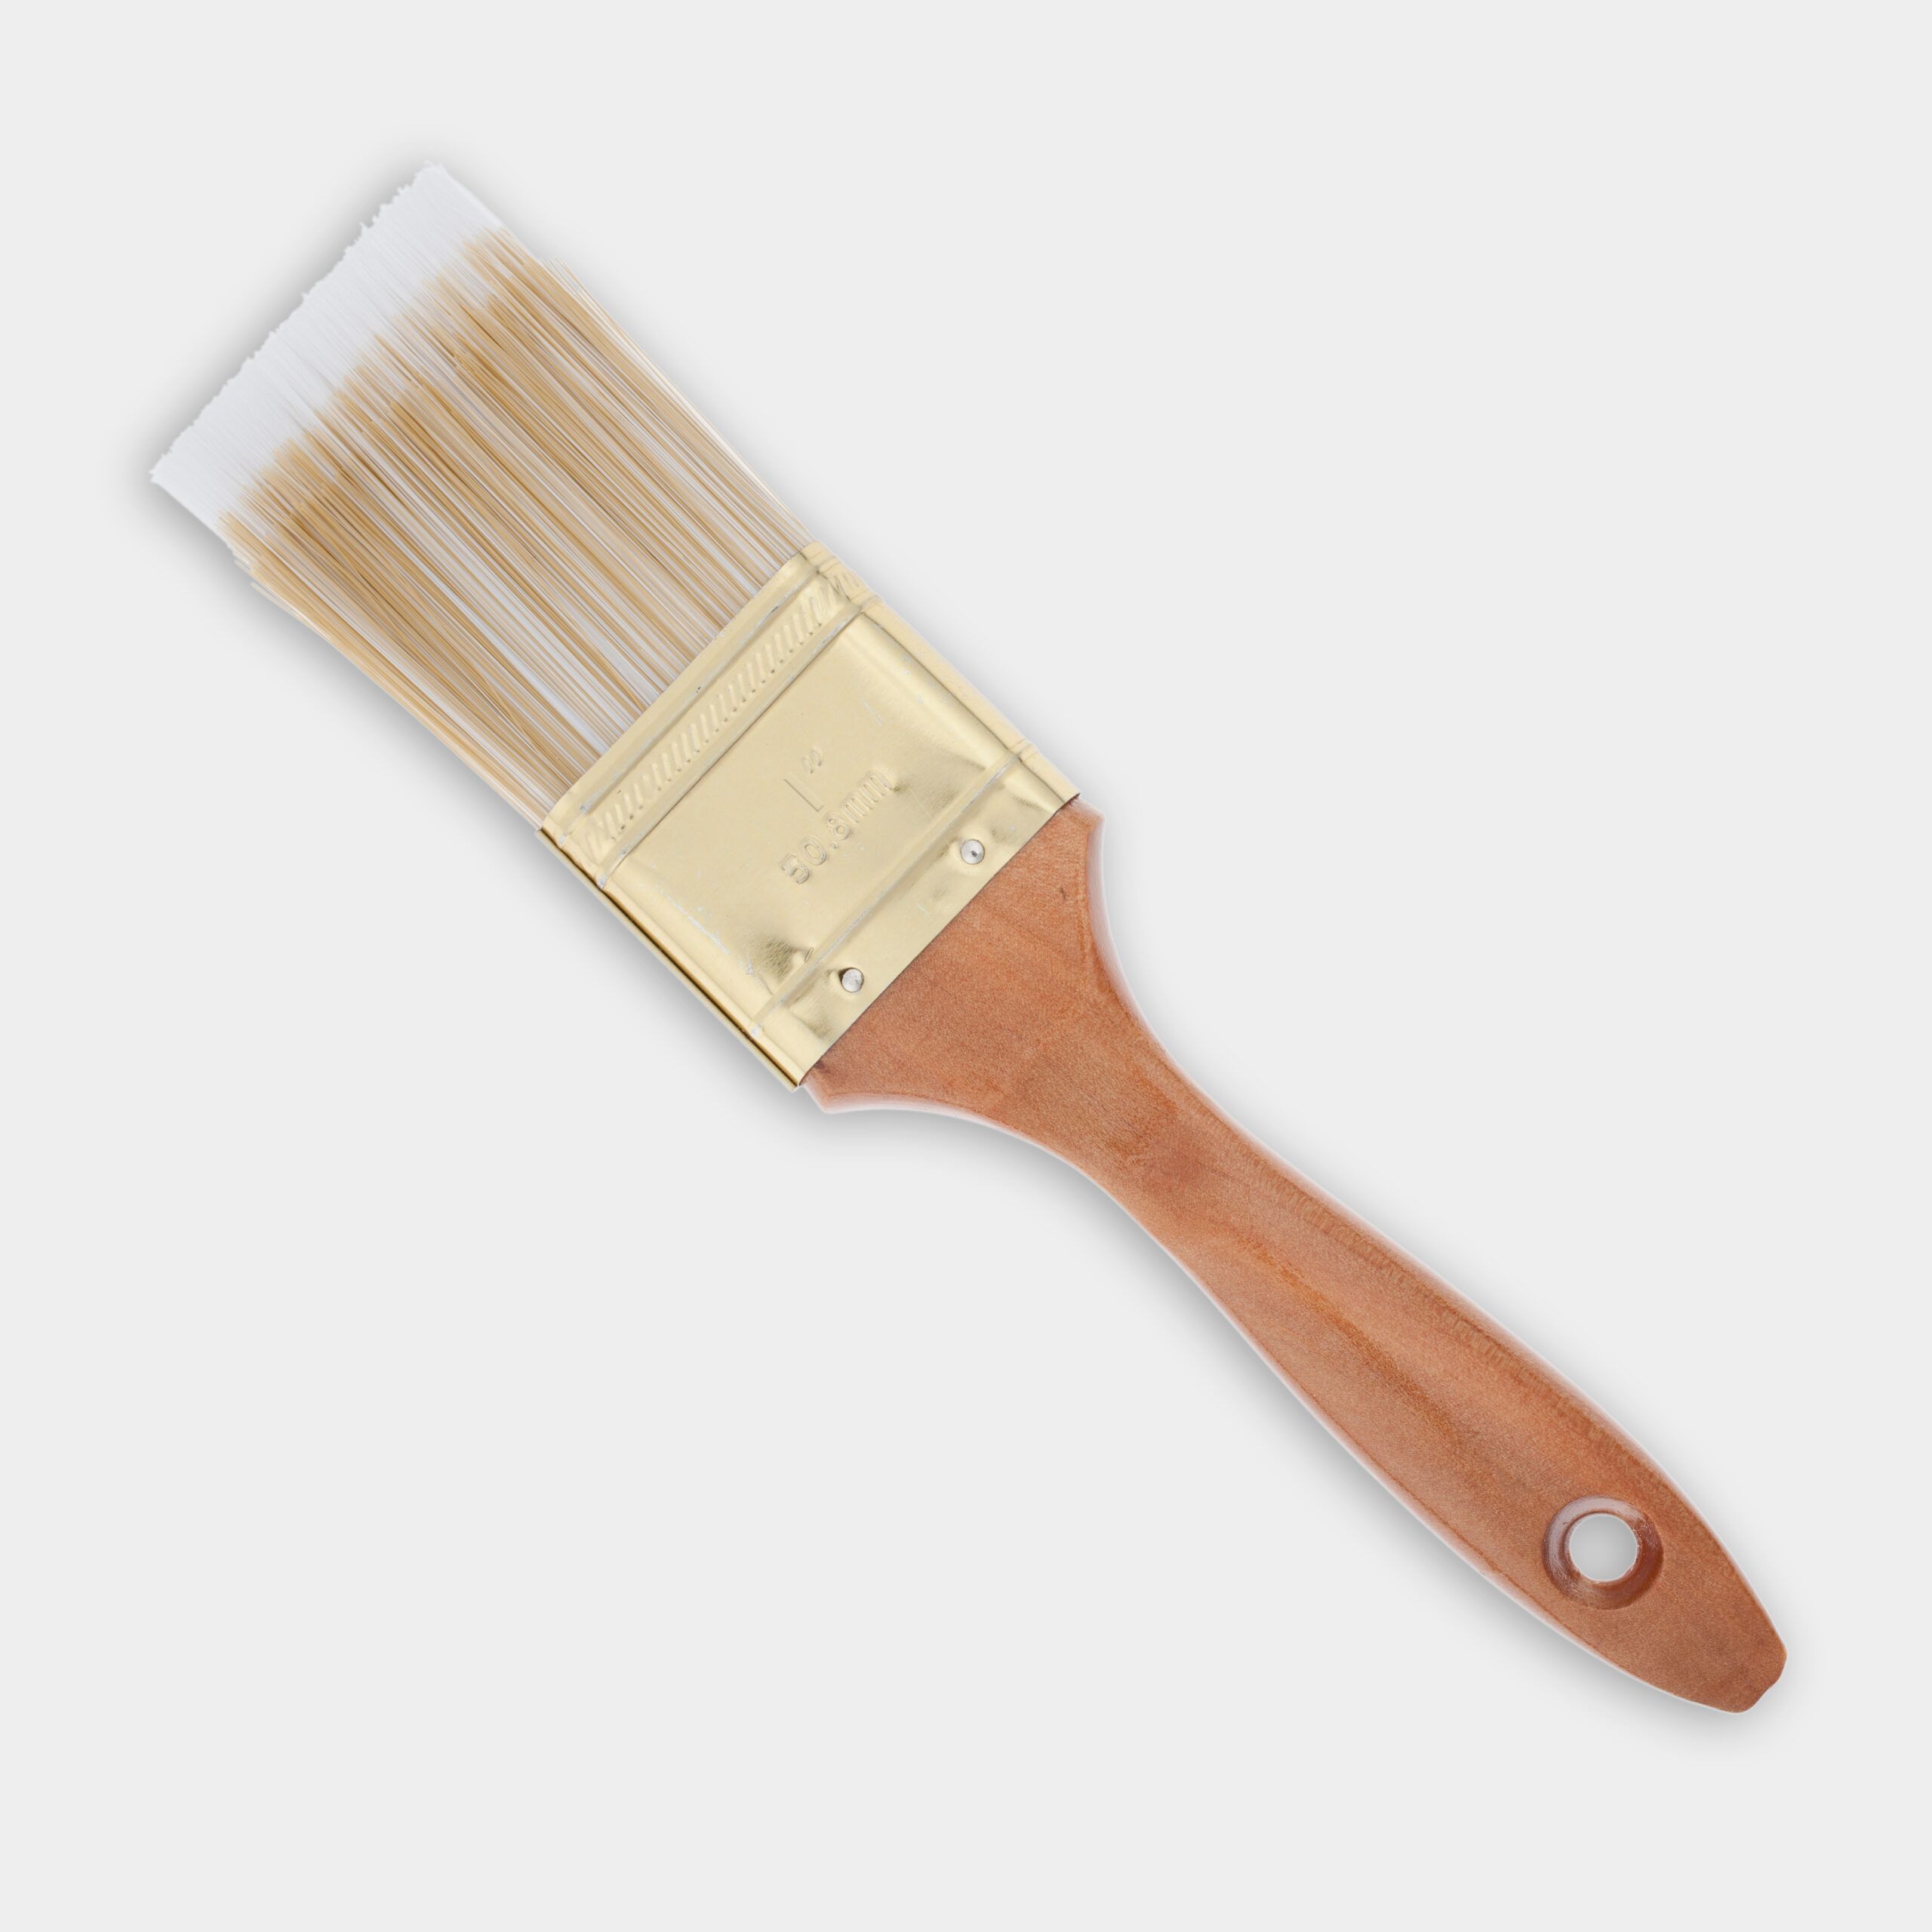
- Use a paintbrush to apply wood conditioner and let it dry.
- Choose your desired stain color, then apply multiple coats for an even finish.
- Once it’s dry, attach the legs to the base of the cabinet using the provided hardware.
Adding a finish enhances the look of your stand and protects it from wear and tear. Staining can bring out the wood grain and help your stand match your decor. In the video, Silva uses four coats of stain to get an even finish.
Resources
Silva and O’Connor built the record player to stand out from 3/4-inch oak plywood and 1-by-4- and 1-by-3-inch red oak, which you’ll find at home centers. To cut all the boards to the proper dimensions and assemble the cabinet, Silva used a variety of tools, including a Domino Joiner, a Kapex KS120 sliding compound miter saw, and a TS 55 circular saw, all manufactured by Festool.
To secure the face of the cabinet to the base, Silva and O’Connor used wood glue by Gorilla Glue.
For the finish, Silva first applied a pre-stain wood conditioner and then a gel stain in Walnut. Minwax manufactures both of these products.