Home maintenance doesn’t always require extensive renovations or professional help. Tasks such as silencing squeaky floors or masking bathroom mold require only a bit of do-it-yourself grit and the right materials. Read about 23 quick fixes you can handle around the house in our guide below, whether you’re preparing for guests or simply want to improve your home’s condition.
1: Silence Squeaky Floors (and Stairs)
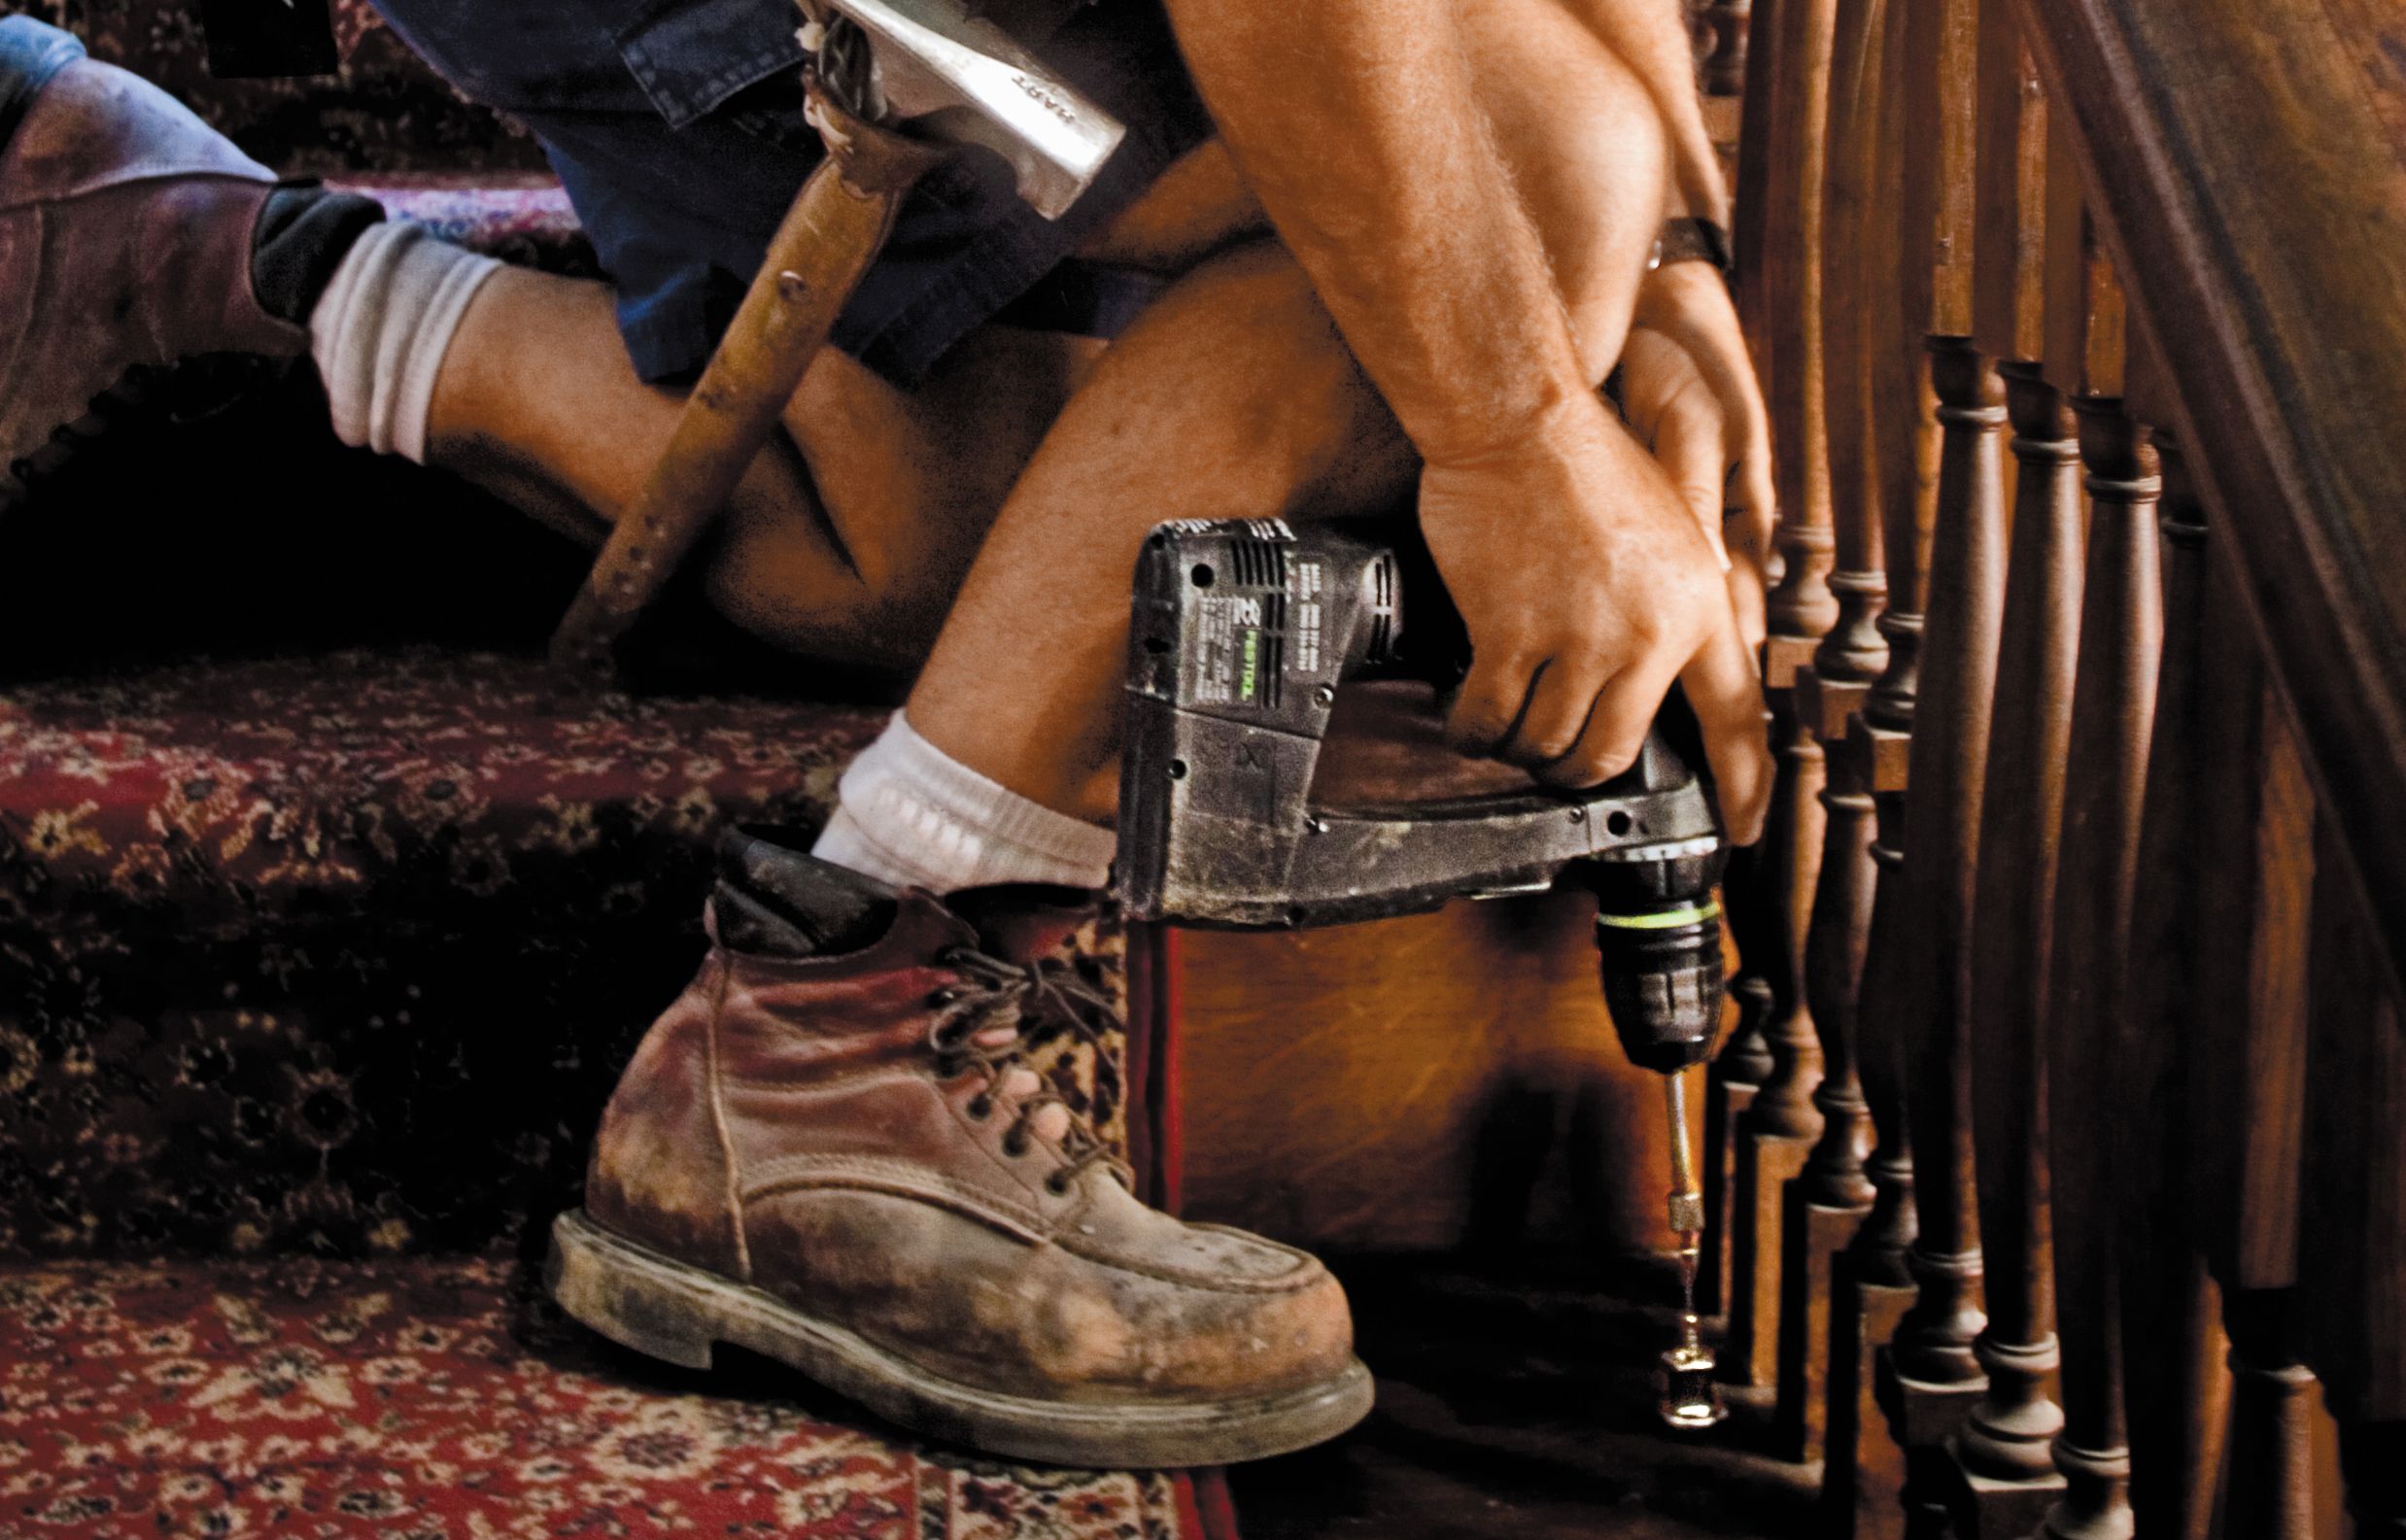
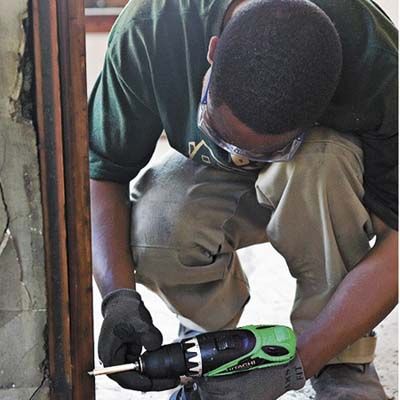
Squeaky floors can be a headache, and you can successfully silence them with Squeeeeek-No-More screws, which are available at most home improvement stores. These can effectively tighten loose boards to joists or stair treads to stringers.
To use these screws, simply drive them through the flooring and into the joist below. Once they’re tight, the screw heads will snap off and leave a 1/8 inch small hole that’s easy to conceal. This method eliminates squeaking and extends the life of your floors.
2: Unclog a Powder Room Sink
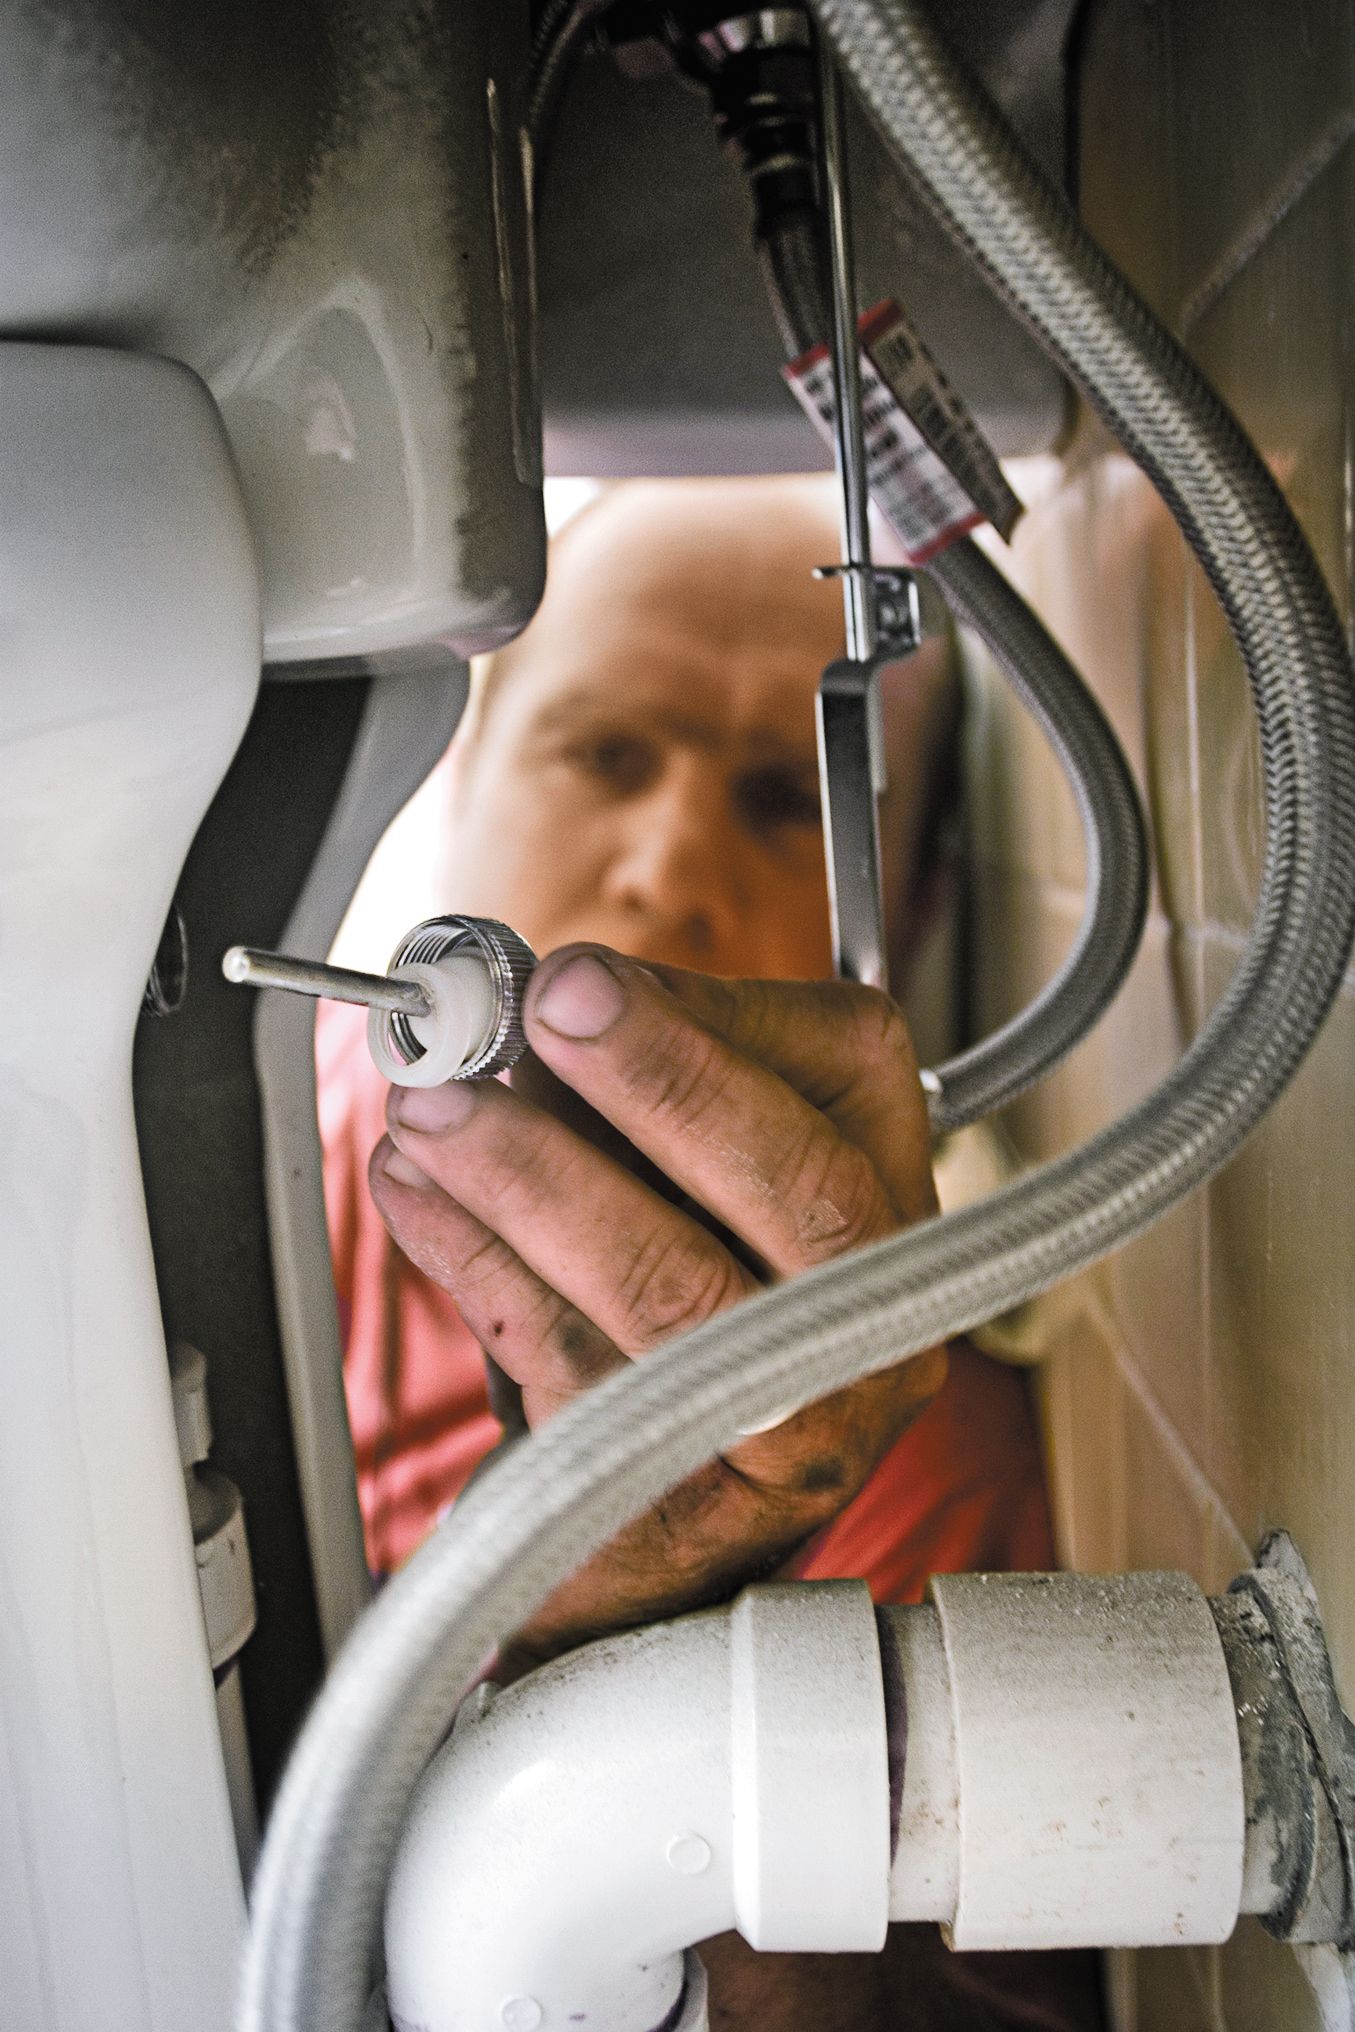
A clogged sink can be a major inconvenience, especially in a powder room that guests frequently use. You can usually clear minor clogs without any special tools.
Unscrew the ball-and-socket connection at the back of the sink, slide out the rod, and remove the pop-up stopper assembly. You’ll probably find the clog attached to the end of the stopper. Clean it off, reassemble the parts, and hand-tighten the nut. This simple fix can restore proper drainage without the help of harsh chemicals.
3: Keep the Stainless Spotless
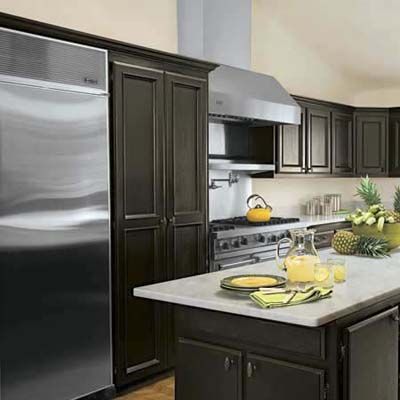
Stainless steel appliances can quickly accumulate fingerprints and smudges. The secret to preventing this is to never use stainless-steel cleaner. Naphtha, a common ingredient in this type of cleaner, frequently leaves an oily residue that attracts dust and smears.
Instead, choose an ammonia- and alcohol-free glass cleaners. These effectively remove fingerprints and smudges without leaving behind any residue. Wipe either in the direction of the steel’s grain using a microfiber cloth to avoid scratches and get a streak-free shine.
4: Camouflage Scratches in Woodwork
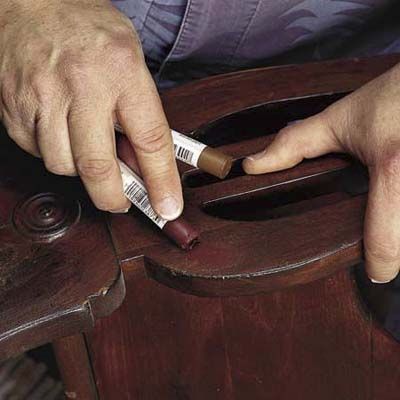
You can easily conceal minor scratches on wooden furniture or trim without extensive refinishing efforts. Pigmented wax, such as Briwax, or a pigmented polishing fluid, which is also known as scratch cover, can work wonders on fine scratches and scuffs.
Choose a wax or fluid that closely matches the wood’s color. Gently rub the product into the scratch using a soft cloth, and follow the wood grain. Buff the area with a clean cloth to blend the repair into the surrounding finish.
5: Tighten a Loose Set Screw
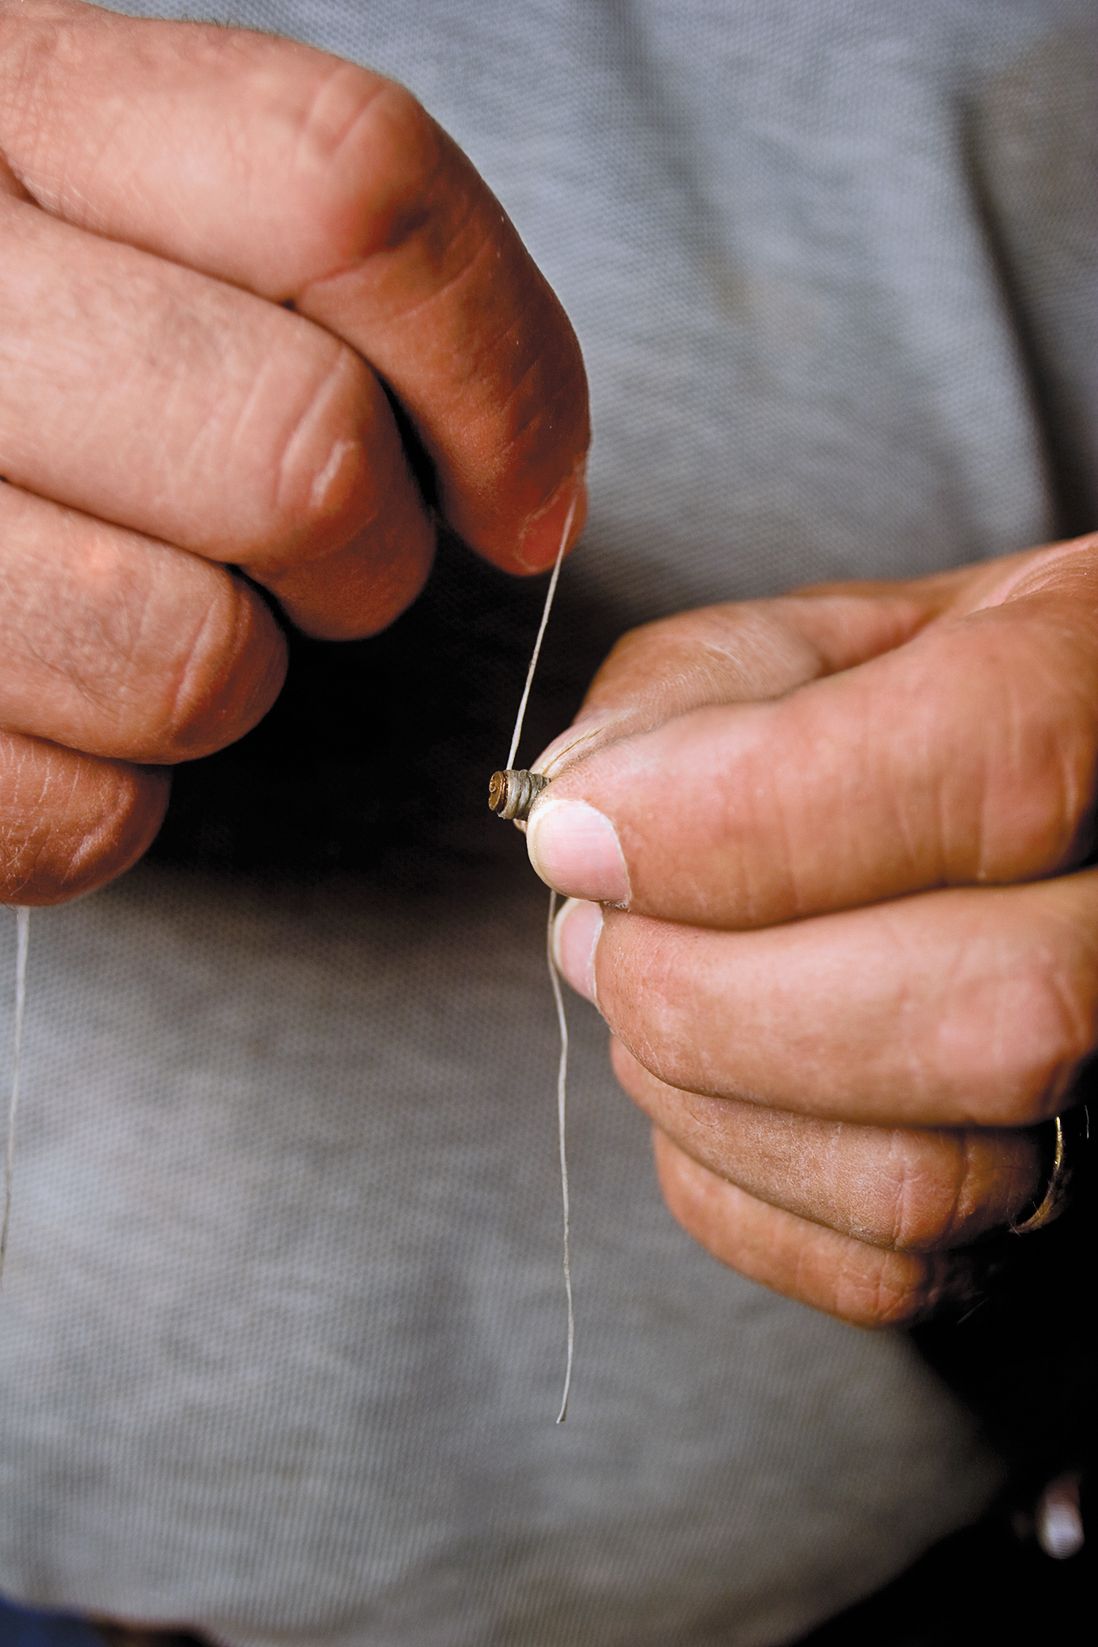
Set screws secure various household fixtures such as doorknobs and towel hooks. When these tiny fasteners loosen, fixtures can become wobbly or unstable. If this is the case, remove the screws in question, apply a drop of thread-locking adhesive such as Loctite Threadlocker Blue to the threads, and reinsert them.
This method won’t help if the screw is stripped. If this is the case, wrap some sewing thread clockwise around the screw’s shank before reinserting it. This provides additional grip, and helps secure the screw.
6: Mask a Musty Smell
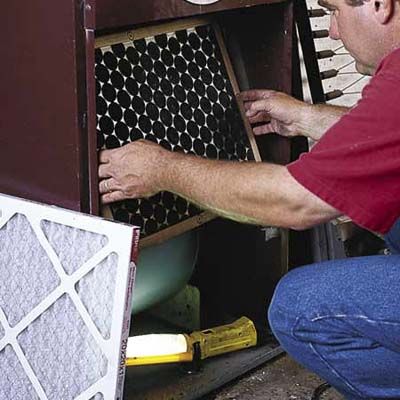
Unpleasant odors can make your home feel less welcoming. Scented candles and potpourri can help in small areas, but there’s a better solution for whole-house freshening. Place a few drops of vanilla extract on your furnace filter to distribute a pleasant scent throughout your home.
If your heating system isn’t running, you can still use this trick by setting the system to fan-only mode. Experiment with other essential oils such as lavender or citrus scents until you find your preferred aroma.
7: Tighten Loose Chair Legs

Wobbly chairs can be annoying and dangerous. To fix loose chair legs, remove any loose stretchers, which are the horizontal pieces between the legs, and scrape off old glue with a knife. Apply a slow-setting epoxy to the joints, which will give you time to align the chair before the strong bond sets.
Use a band clamp to hold everything in place while the epoxy cures. Wipe away any excess epoxy with vinegar before it sets. Allow the chair to dry for at least 24 hours before removing the clamps and taking a seat.
8: Tighten a Drafty Window
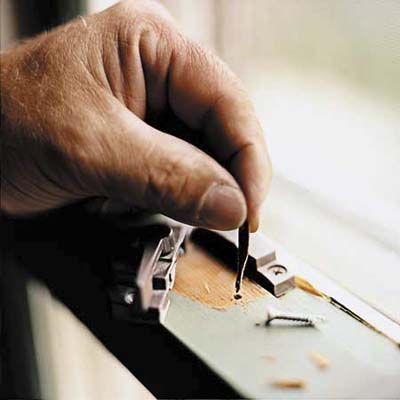
Drafty windows can increase your energy bills and make for an uncomfortable climate. Replacing weatherstripping is frequently the best long-term solution, but adding an extra sash lock can provide a quick fix, and won’t require you to remove the window first. This method works best on windows that you can wiggle when the existing lock is engaged.
Remove the old lock pieces and fill the screw holes with wood glue and a small wood sliver. Install new matching sash locks about one-third of the way in from each side of the window. Both locks should pull the sash tightly together once they’re closed.
9: Quiet a Bathroom Fan
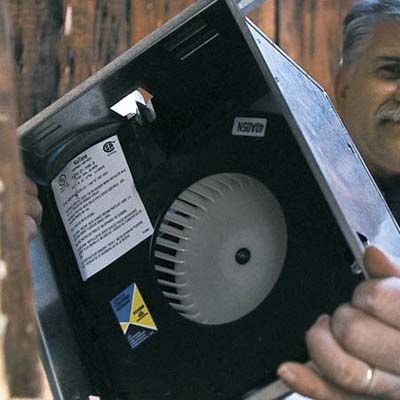
A noisy bathroom fan can be disruptive. The rattling noise is frequently caused by a loose cover, even though it may sound like a faulty motor. To fix this, remove the fan cover and bend the spring-loaded attachment brackets slightly to create a tighter fit against the ceiling.
Take the opportunity to clean the fan blades while the cover is off. Turn off the circuit breaker and use a vacuum to remove dust and debris. This reduces noise, improves the fan’s efficiency, and extends its lifespan.
10: Steady a Loose Toilet
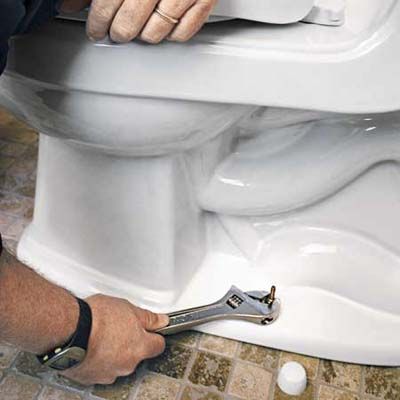
A rocking toilet can be uncomfortable, and it can also lead to leaks and water damage. To address this, examine the bolts that secure the toilet to the floor. If they’re loose, hand-tighten them and give them an additional quarter-turn with a wrench.
If the bolts are already tight, your floor may be the issue. Check for unevenness, then use plastic plumbers’ shims to level the toilet. Slide the shims under the toilet base where it meets the floor until the rocking stops. Trim any excess material with a utility knife to make it neat.
11: Pop a Wallpaper Bubble
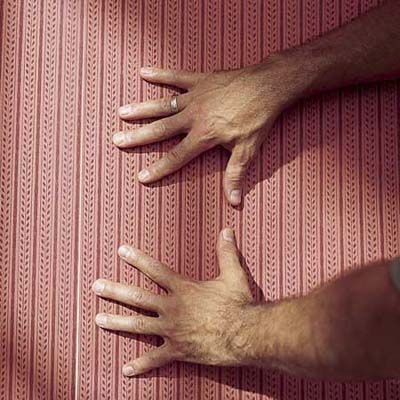
Wallpaper bubbles are an eyesore, but they’re easy to fix. Use a sharp razor knife to make a tiny slice through the center of each bubble. Then use a plastic syringe to inject a small amount of wallpaper adhesive or white PVA glue behind the paper.
Gently smooth the area with a wallpaper brush or a clean, dry paint roller. Use a damp sponge to wipe away any excess glue that squeezes out. Allow the area to dry completely before touching it. Remember that this is a quick fix, and if you must eventually correct the underlying issue to prevent bubbles from reappearing.
12: Reattach a Loose Laminate Countertop
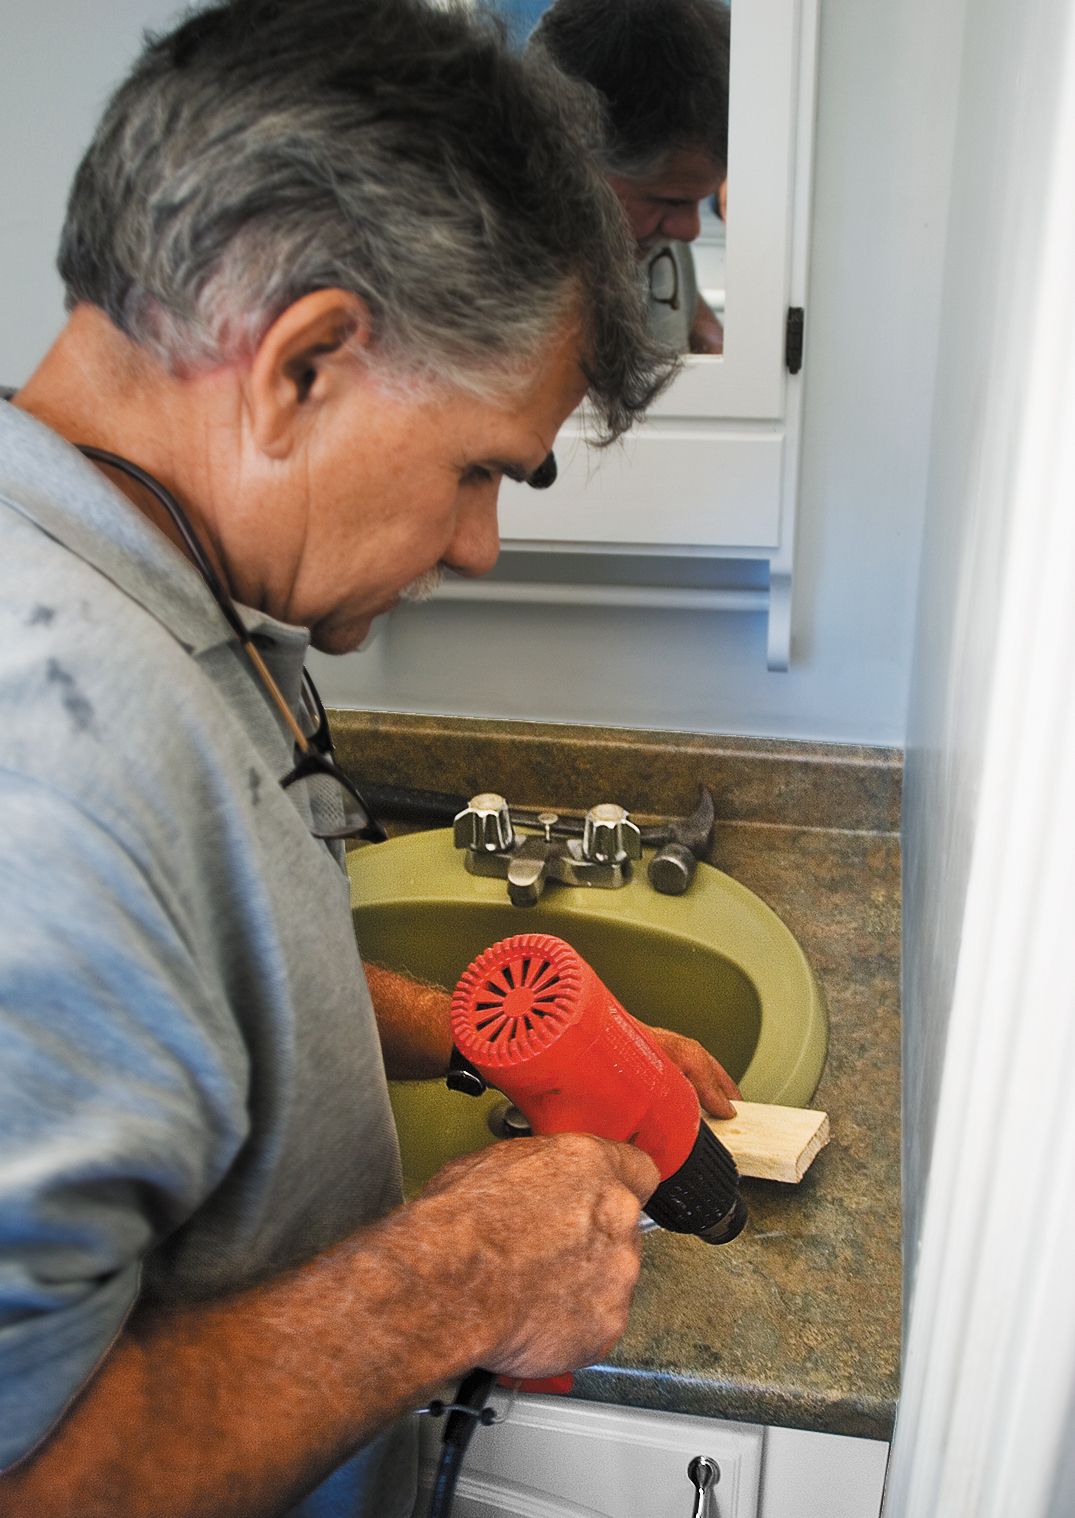
Laminate that peels off of countertops is unsightly and can lead to further damage. You can usually fix this issue with some basic tools and techniques.
Use a heat gun or hair dryer to gently warm the loose laminate and soften the old adhesive that’s underneath. Once it’s warm, tap the laminate back into place with a rubber mallet or a hammer that’s cushioned by a block of wood. Weigh down the repaired area with heavy objects for about an hour while it cools and re-adheres.
13. Revive a Dead Doorbell
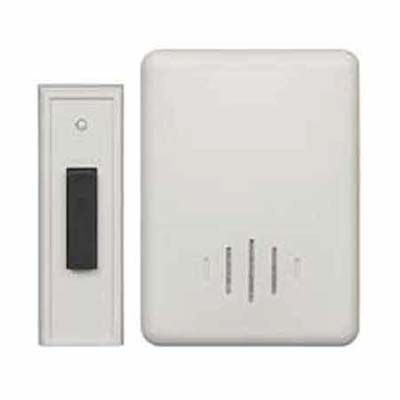
A button is usually to blame when a doorbell stops working. To verify this, remove the button and touch the two wires that are inside together. If the chime sounds, you simply need to replace the button.
If the chime doesn’t sound when you touch the wires together, consider installing a wireless doorbell system. These battery-operated units are easy to install and don’t require any wiring. They offer a range of chime options and are a convenient solution in homes that don’t already feature doorbell wiring.
14. Reinvigorate a Wimpy Shower
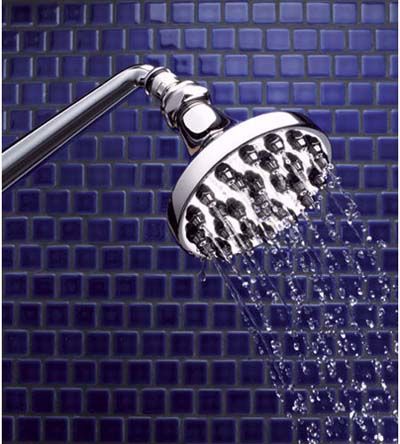
Mineral buildup in a showerhead is usually to blame for a weak shower stream. If your stream is weak, unscrew the showerhead from the pipe and soak it overnight in white vinegar. This natural solution dissolves mineral deposits without the need for harsh chemicals. For quicker results, you can use a 50-50 mixture of hot water and CLR (Calcium, Lime, and Rust Remover), which works in just a few minutes.
Once you’ve cleaned your showerhead, wrap new Teflon tape clockwise around the pipe threads and then reattach the showerhead. This can significantly improve performance and extend the life of your showerhead.
15. Ghostbust a Door
The best solution to fix a door that swings open on its own is to realign the hinges. For a quicker temporary fix, remove one of the hinge pins and place it on a hard surface. Use a hammer to gently strike the middle of the pin, which will create a slight bend. When you reinsert the bent pin, it’ll provide additional friction and resist the gravity that’s causing the door to swing open.
16. Add a Fireplace for Santa
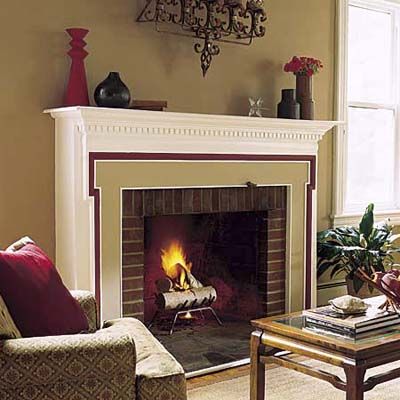
If your home doesn’t have a traditional fireplace, adding a direct-vent gas unit can provide both the ambiance of a fire and a symbolic entry point for Santa.
Your contractor will place the firebox on an exterior wall and vent it directly outside. The unit will connect to a natural gas or propane supply. Electric models offer a no-vent alternative for homes that don’t feature gas lines. Installation can be expensive, but these fireplaces add warmth, visual appeal, and a touch of holiday magic to your home.
17. Lawsuit-Proof the Walk

Icy walkways are a significant safety hazard, and many de-icing methods can damage concrete, plants, or shoes. For a quick and eco-friendly solution, use a long-handled ice chipper to carefully scrape away as much ice as possible. If ice patches remain, pour hot water over the ice to loosen it. Immediately dry the area with towels to prevent the water from refreezing. This method requires more effort than chemical de-icers, but it’s safer for your property and the environment.
18. Silence a Rattling Door
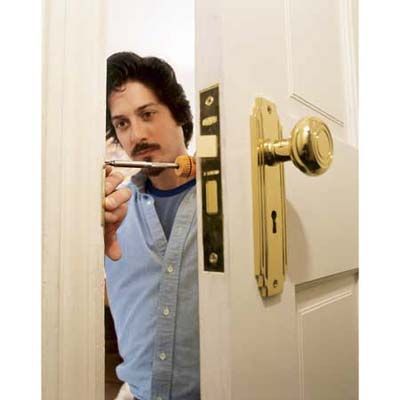
A door that rattles after it closes probably doesn’t rest firmly against its stop. You can solve this issue by adjusting the latch plate. Locate the small tab that extends into the latch plate’s hole, and use a screwdriver to bend it slightly toward the stop. Test the door by closing it and listening for rattling.
If your latch plate doesn’t have an adjustable tab, apply self-adhesive silicone bumpers to the side of the stop that faces the door.
19. Cover Up Bathroom Mold
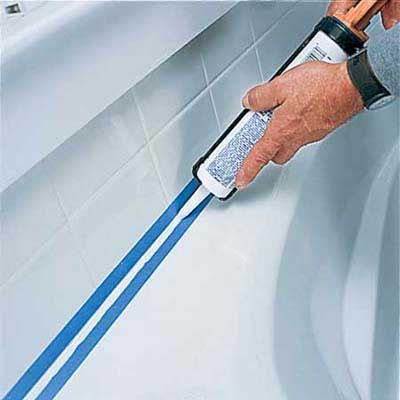
Bleach can sometimes remove surface mold on bathroom caulk, but deeply ingrained mold might resist this cleaning effort. For a quick cosmetic fix, you can cover the discolored caulk with a thin layer of fresh caulk.
Clean the area thoroughly and allow it to dry completely. Apply a thin bead of mold-resistant silicone caulk over the existing caulk, and smooth it with a caulk tool or a finger that you dip in soapy water. Allow the new caulk to cure overnight before using the shower or tub.
This only provides a temporary solution. You’ll need to eventually address the underlying moisture issues for a more permanent solution.
20. Brighten an Outdoor Walkway

Dark walkways can be hazardous, especially for guests who aren’t familiar with your property’s layout. Solar-powered path lights offer a quick, wire-free solution. These lights use photovoltaic cells to charge during the day, and automatically light up at night.
If you seek more consistent lighting, consider battery-operated landscape lights. These can last for weeks on a set of batteries, and they aren’t dependent on daily sunlight exposure. Invest in LED bulbs, which use minimal power and have long lifespans.
21. Add a Light Switch
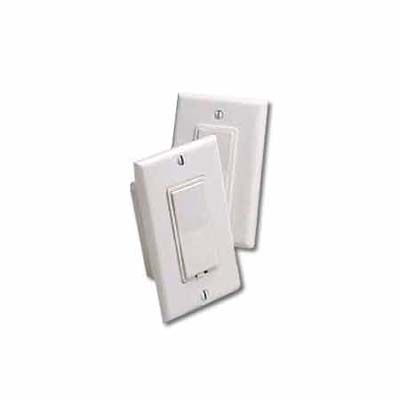
Rooms that don’t have overhead lighting or light switches can be inconvenient for guests. A wireless wall switch offers a simple solution that doesn’t require electrical work.
You can mount these battery-powered switches anywhere on the wall, but they’re most practical near the door at standard switch height (between 43 and 48 inches from the floor). The battery-powered switch communicates wirelessly with a plug-in controller on your lamp. This easy installation makes the room more functional and makes guests more comfortable.
22. Recalibrate the Oven
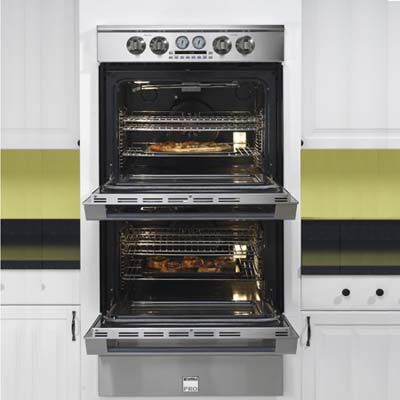
An oven that isn’t correctly calibrated can lead to inconsistent cooking. To fix this, place an oven-safe thermometer inside your oven and compare its reading to the temperature at which you’ve set the oven. Compare the figures.
If there’s a discrepancy, consult your oven’s manual for calibration instructions. Many modern ovens have a built-in calibration feature. If you have an older model, you may need to adjust the thermostat manually.
23. Sweeten a Stinky Disposer
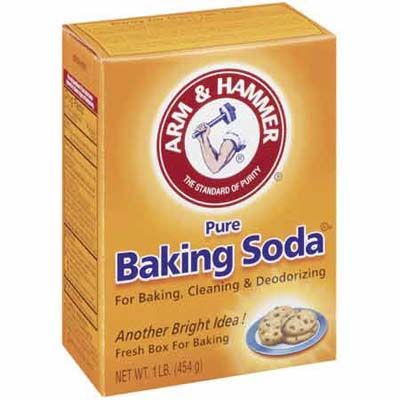
Garbage disposals can develop unpleasant odors over time, but you don’t need expensive cleaning products to freshen them up. A simple mixture of baking soda and citrus peels can effectively deodorize your disposal.
Start by running the disposal with cold water to clear any debris. Then, fill the sink halfway with warm water and add 1/4 cup of baking soda. Remove the sink stopper and run the disposal as the water drains. Add lemon or orange peels for a fresh scent. This natural cleaning method is gentle on your disposal and plumbing and effectively eliminates odors.