Even the most cramped house has untapped potential for space. Whether it’s behind or between the walls, in a corner, or under the stairs, there’s often room to build in cubbies, cupboards, and shelves where freestanding furniture won’t fit. These smart storage solutions will help you maximize every nook and cranny. We’ll explore innovative storage solutions that can transform your living spaces, from built-in cabinets to multi-functional furniture.
By thinking creatively and making use of overlooked spaces, you can increase your storage capacity without sacrificing style or functionality. Use these examples to inspire clever storage solutions that make the most of every inch of your home.
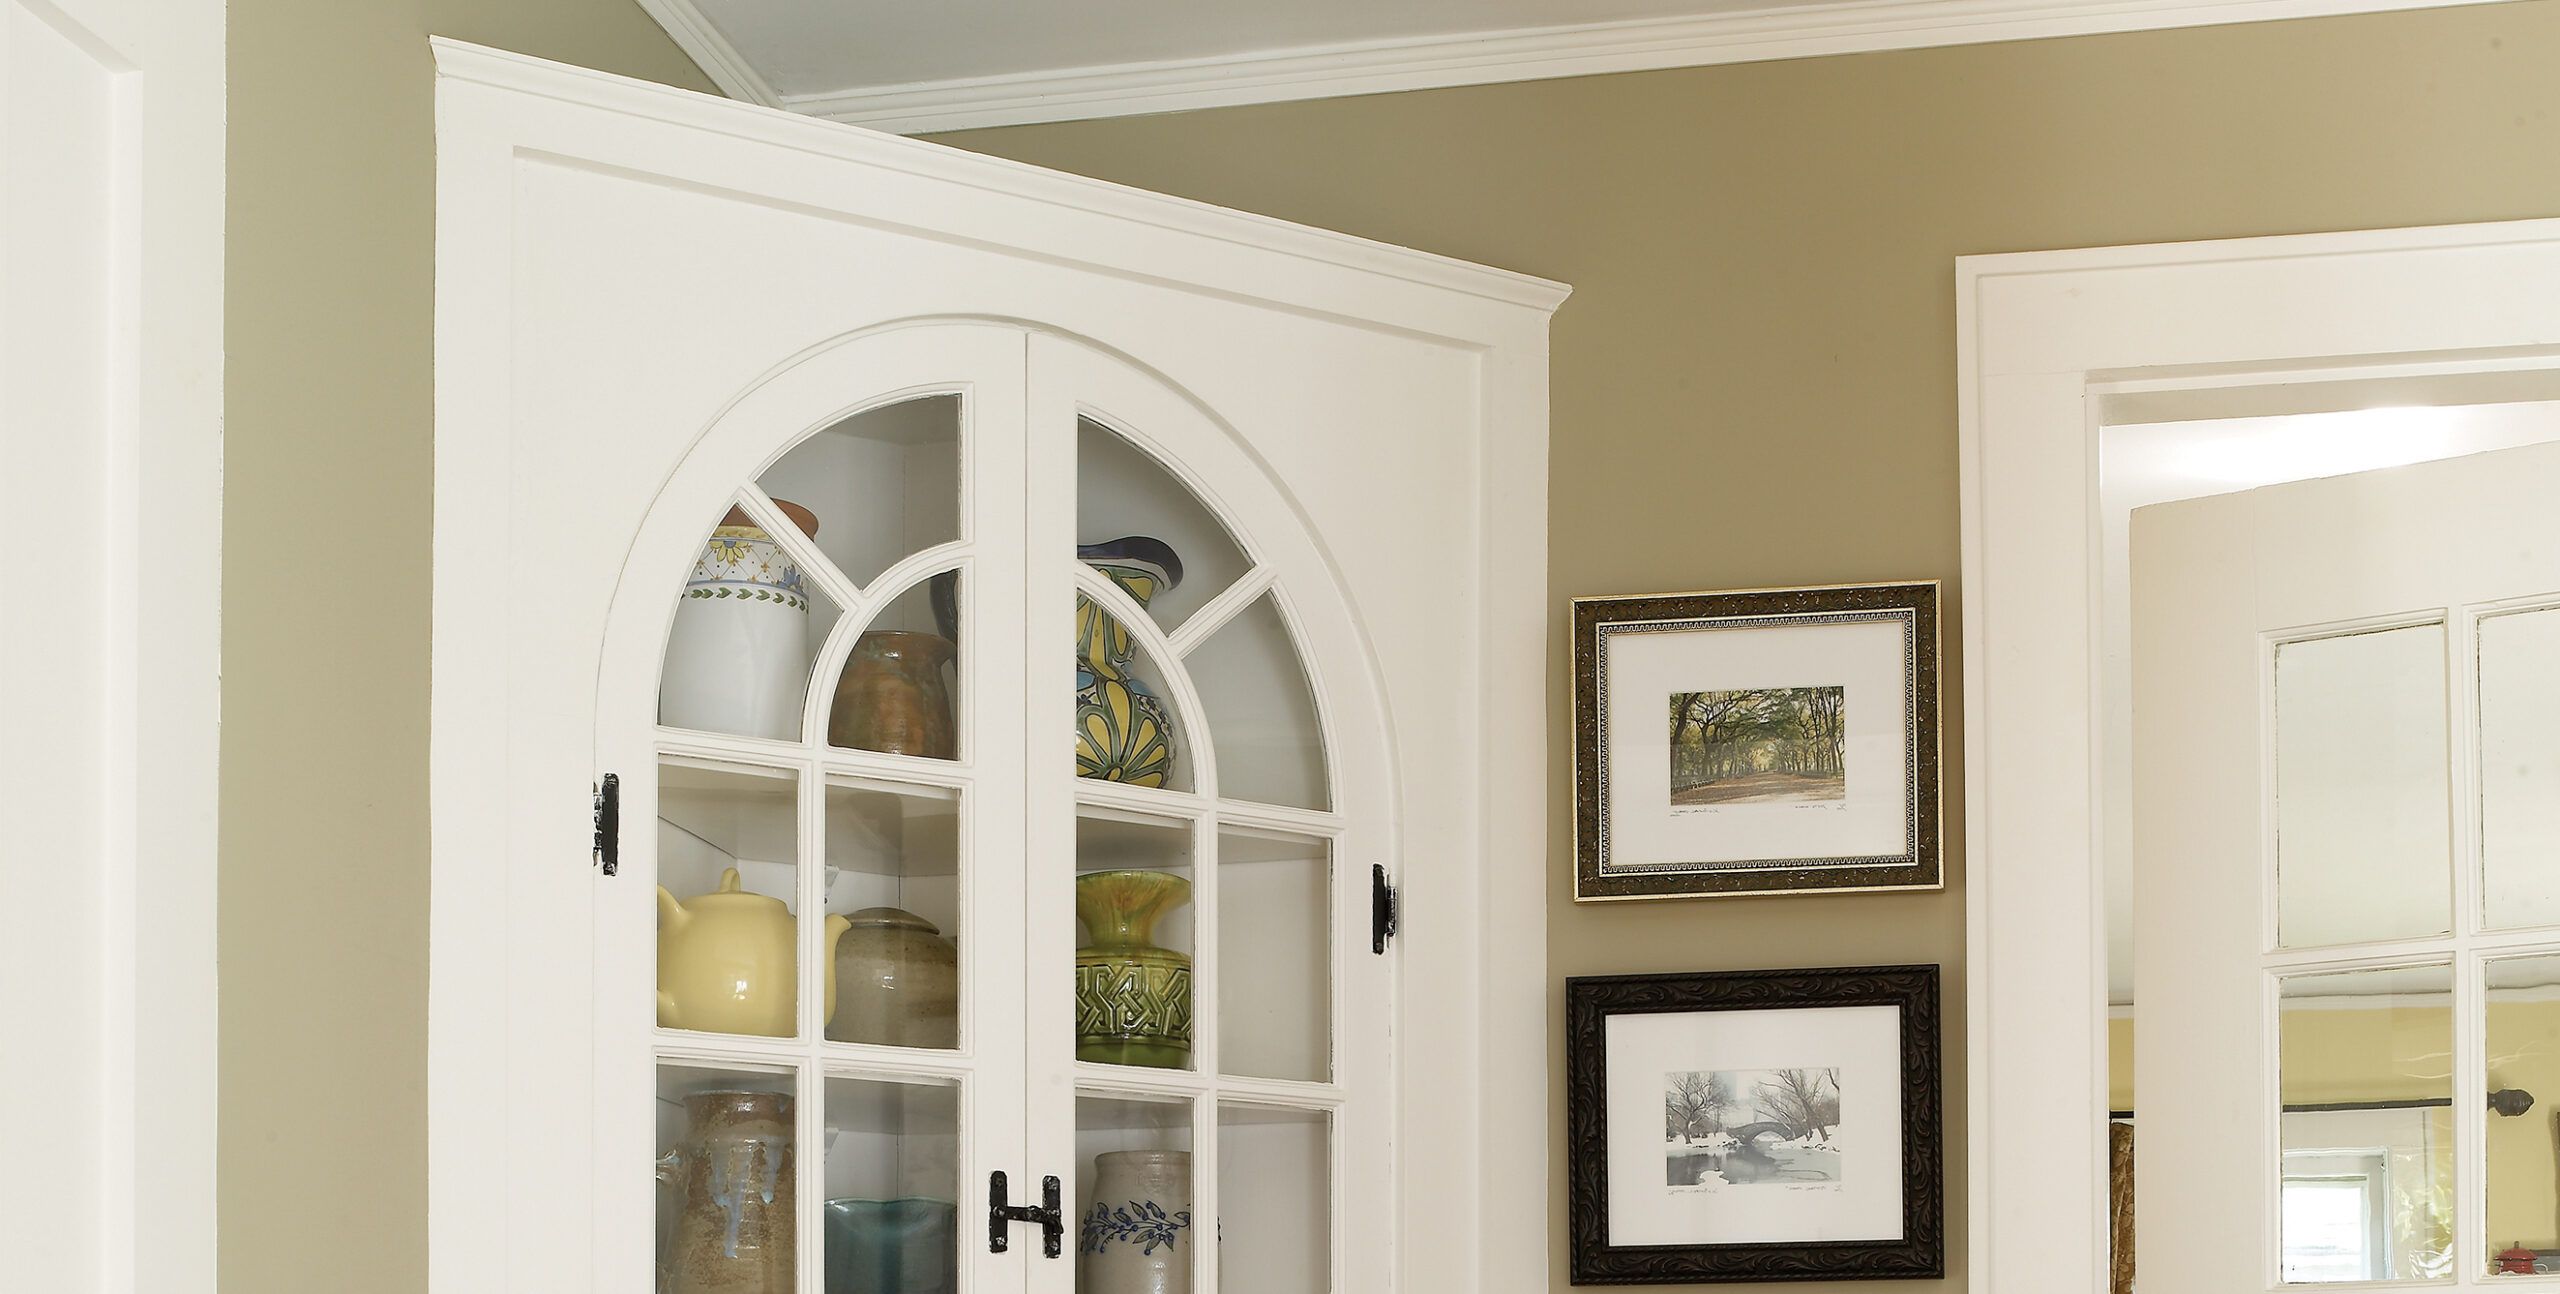
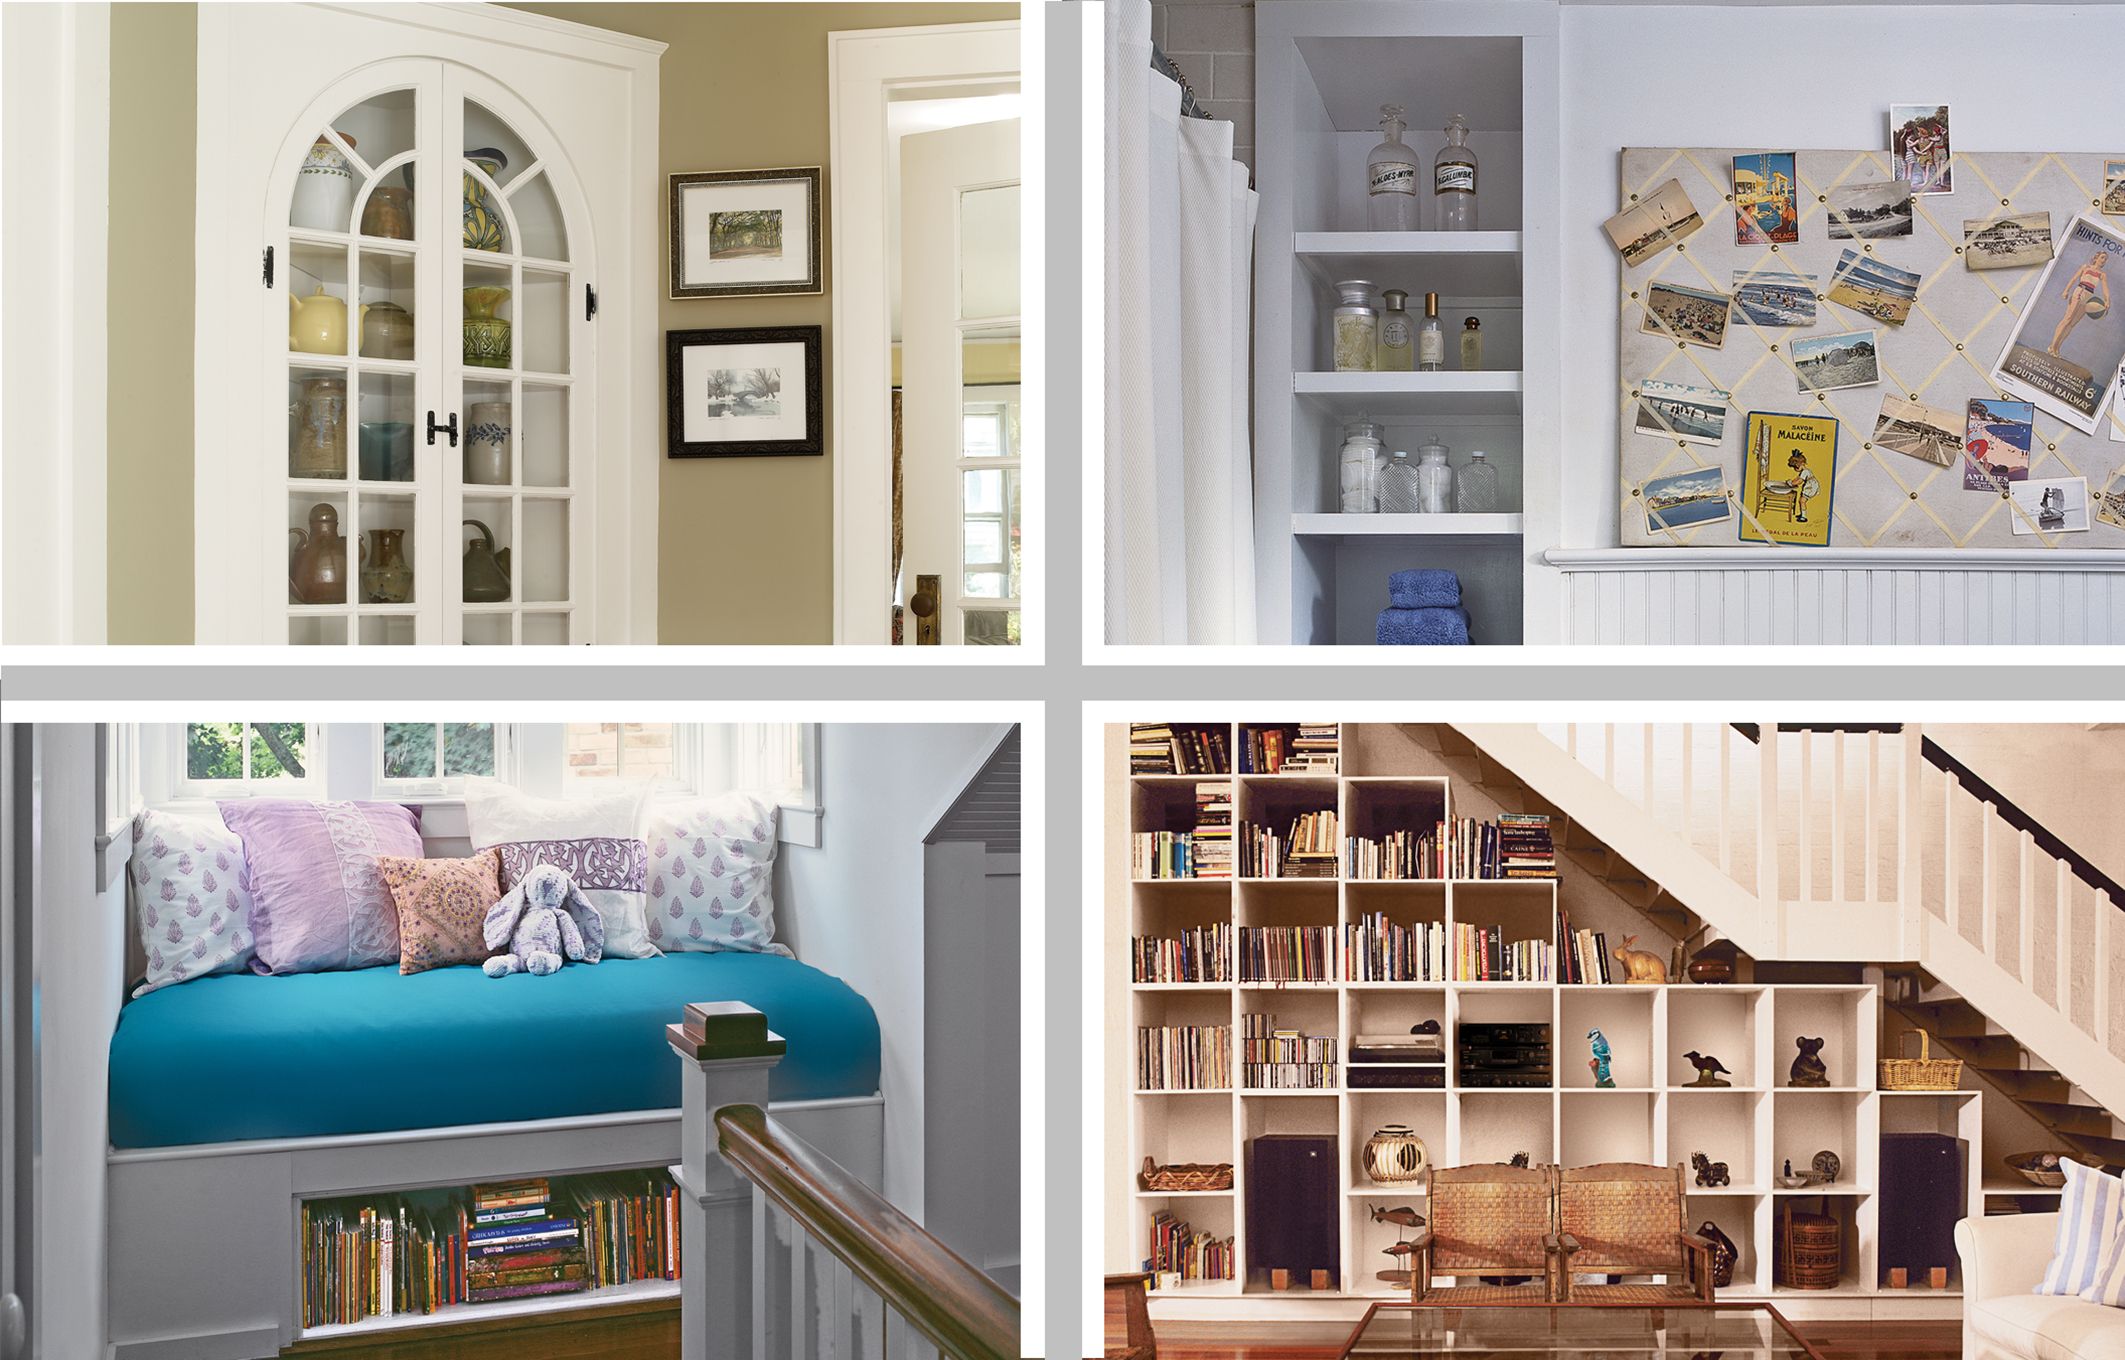
Add a Corner Hutch for Dishes
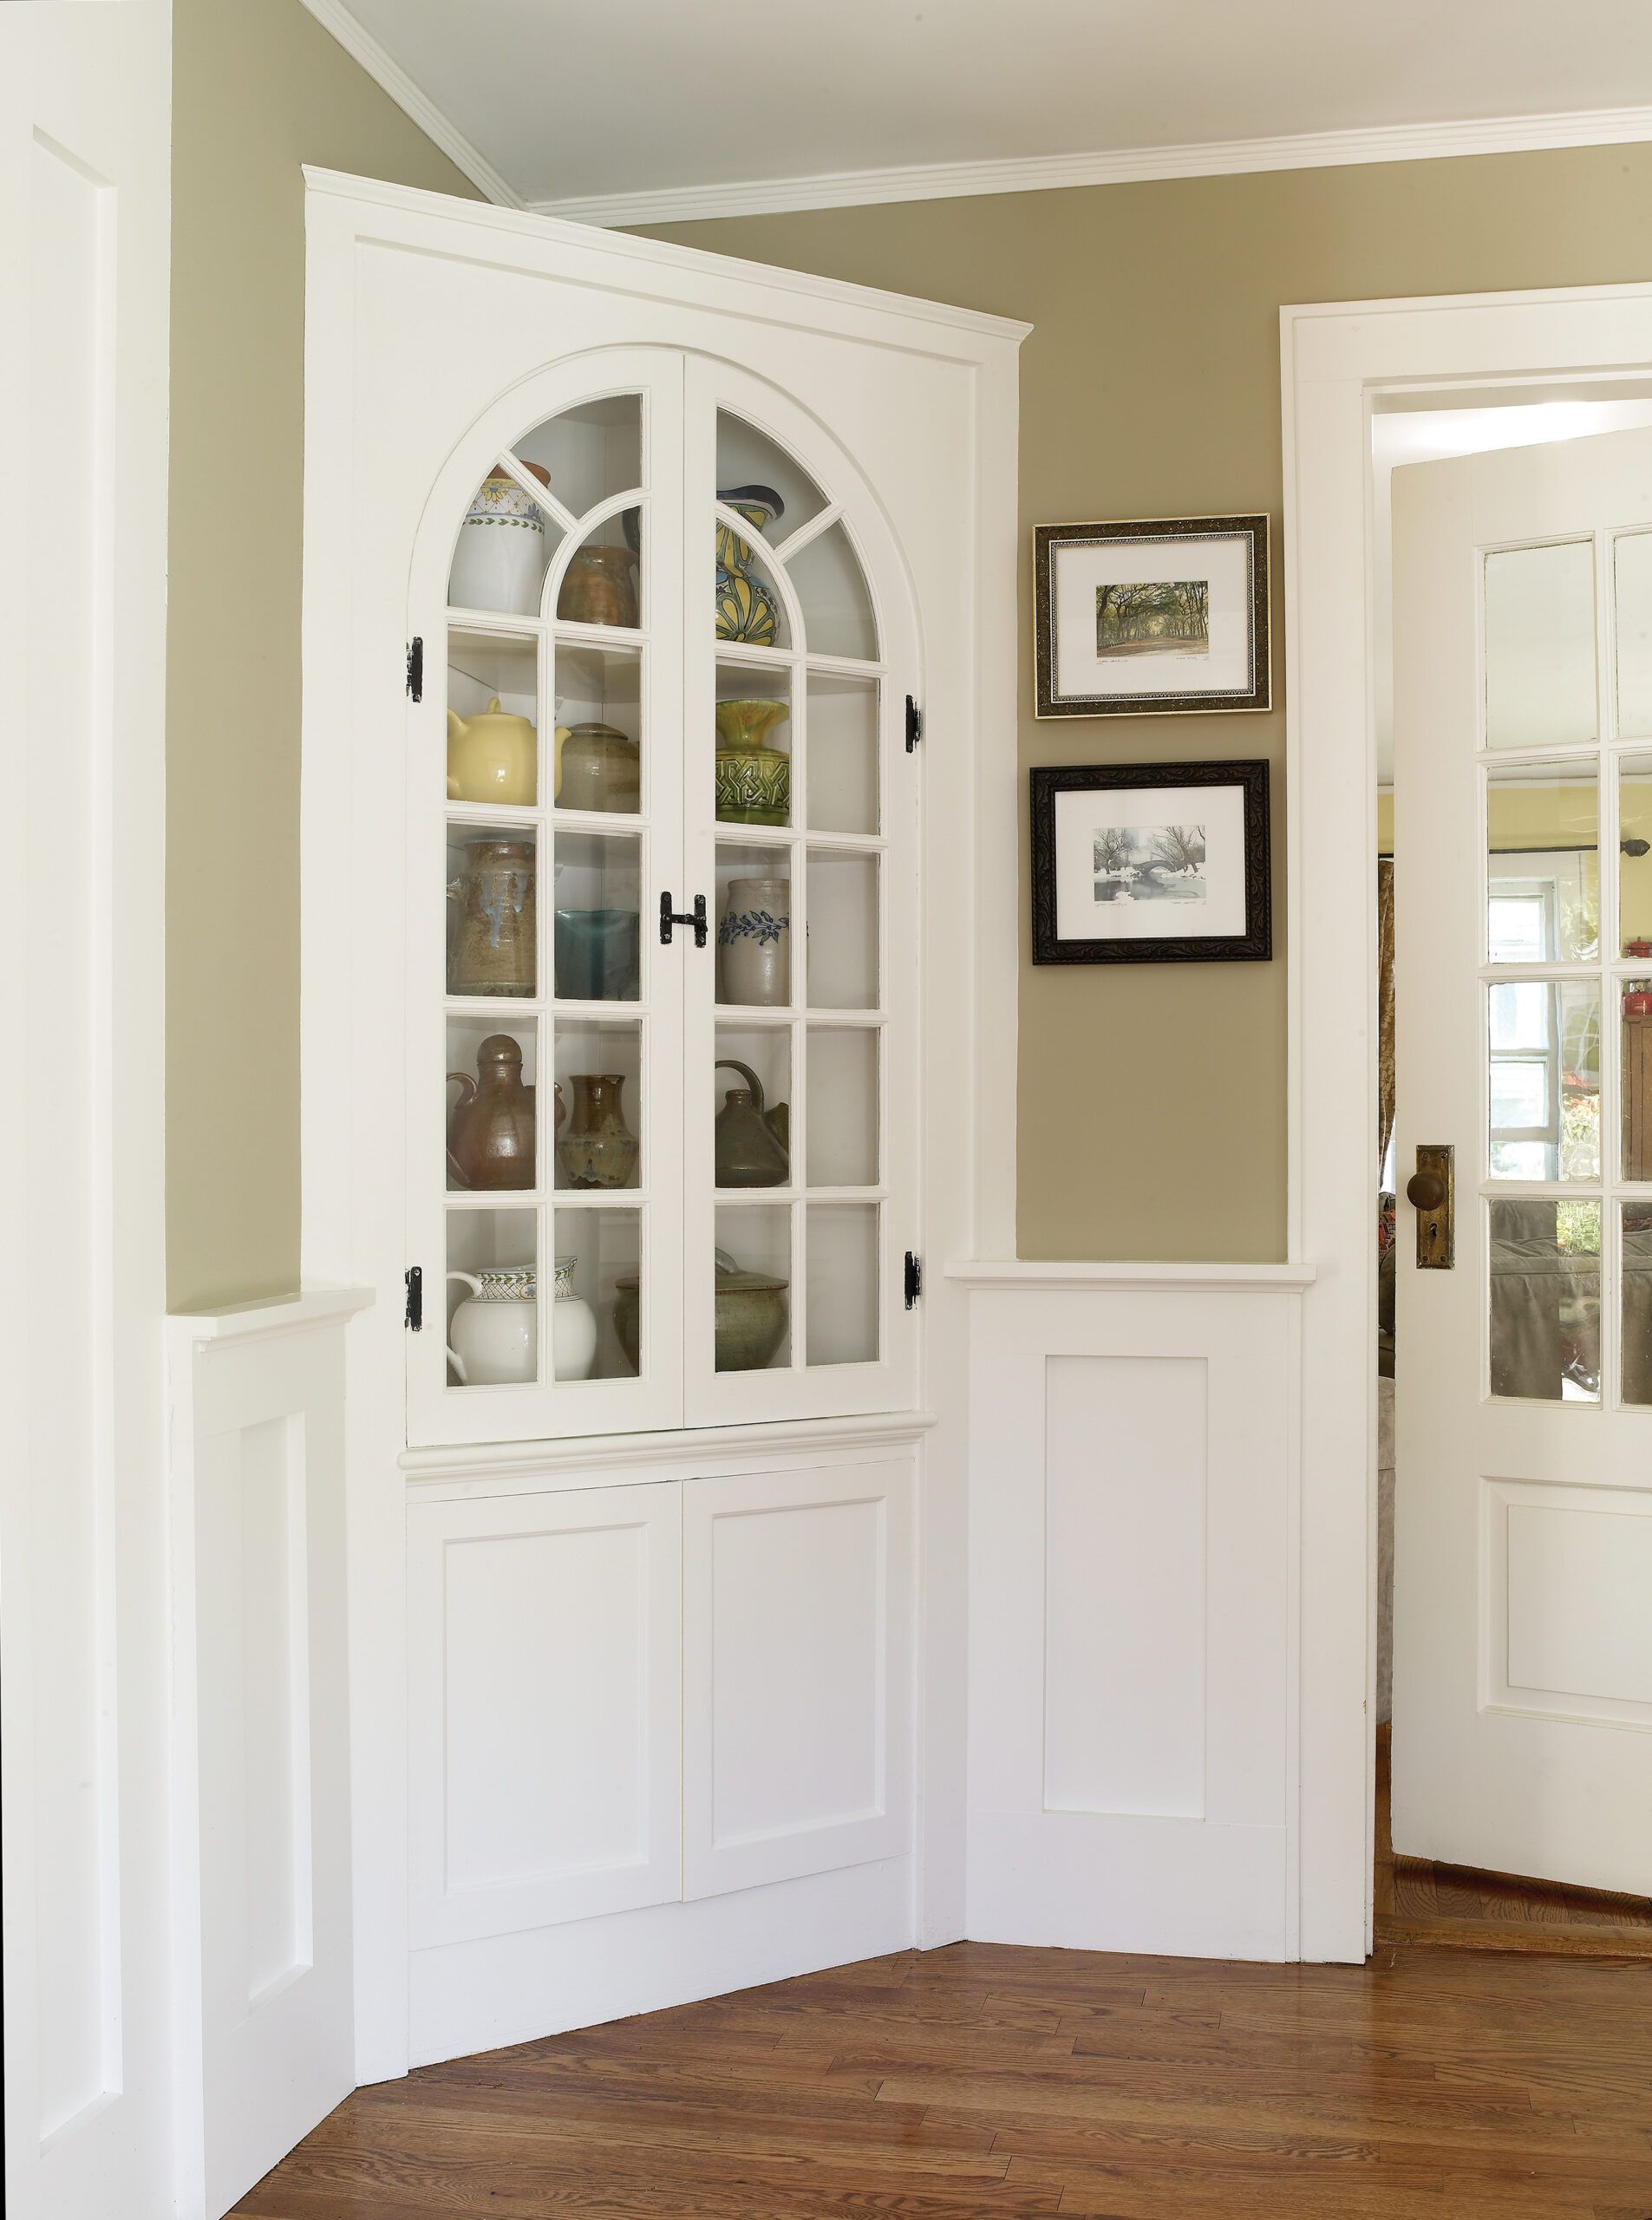
A glass-front corner cupboard, or hutch, is a classic space-saving solution for dining rooms. These elegant pieces provide ample storage for dishes and glassware while adding character to the room. Here are some tips for incorporating a corner hutch:
- Look for prefab corner units at unfinished furniture stores or salvage yards.
- Customize the hutch by trimming it to match your room’s moldings.
- Add cap molding that overlaps the sides of the hutch for a built-in look.
- Build up the crown, or top of the hutch, to match the height of nearby doors for visual symmetry.
- Choose a finish that complements your existing decor.
Build Wall-to-Wall Seating on a Stair Landing
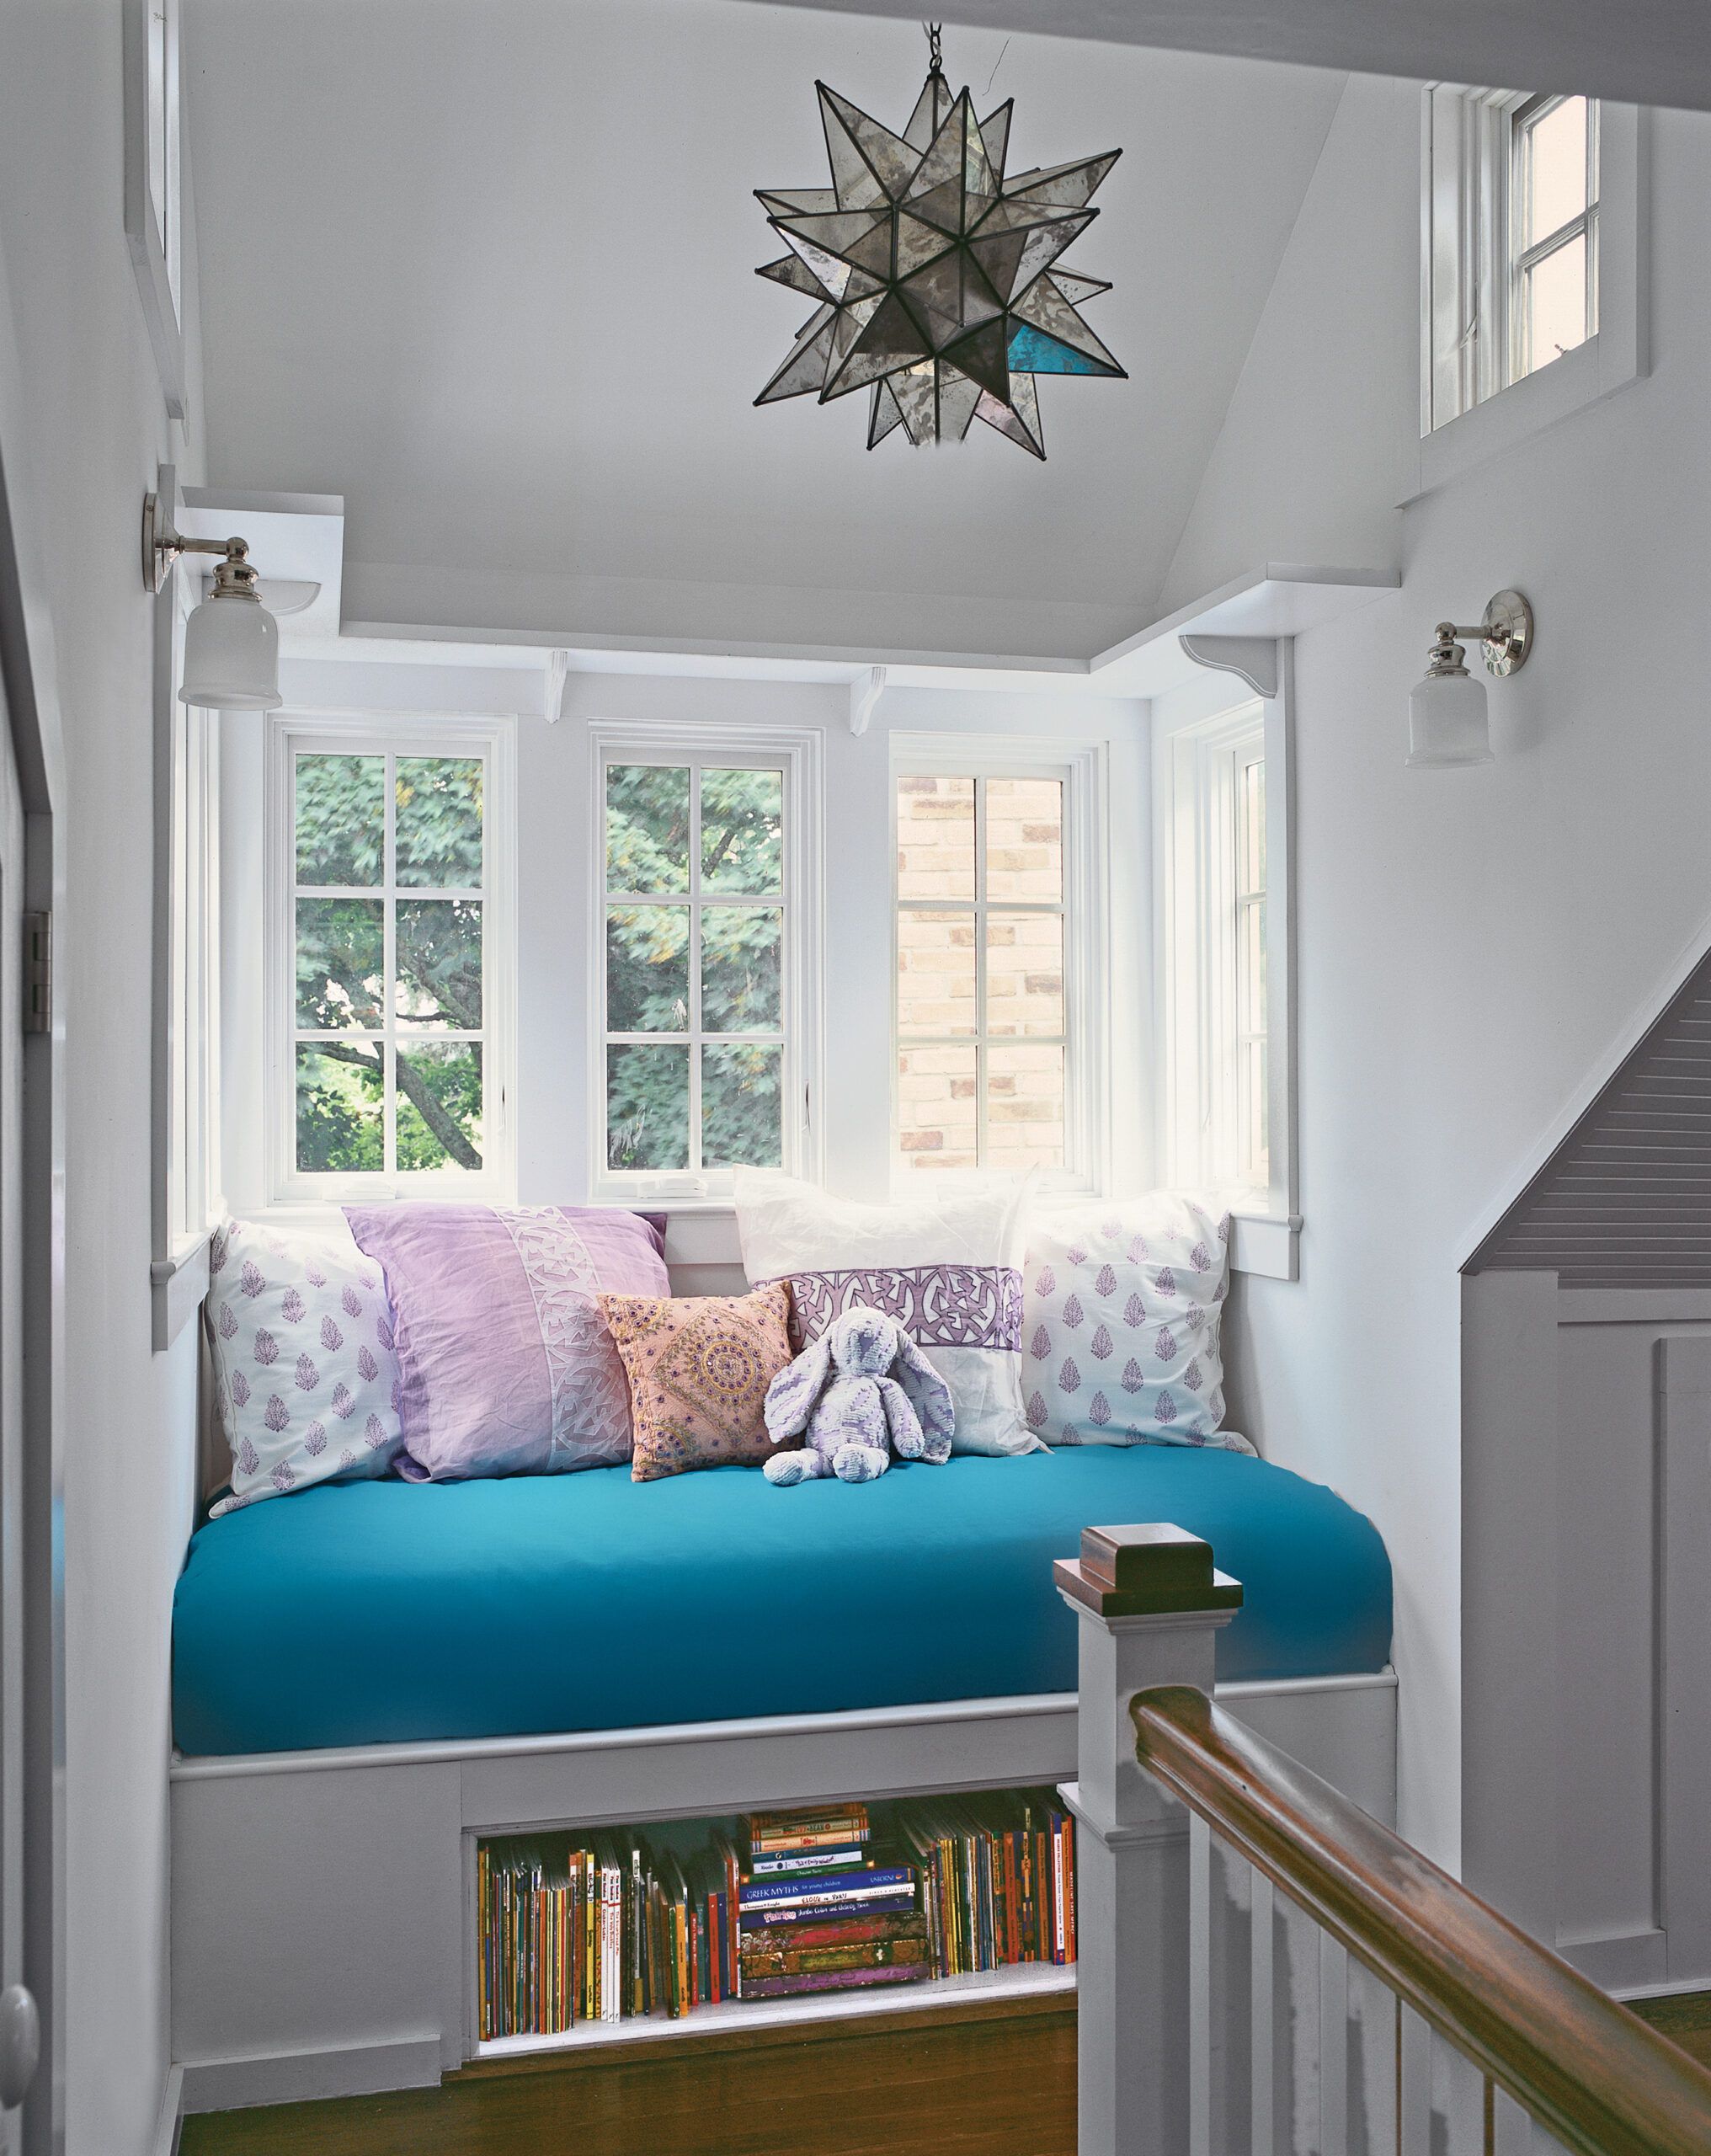
Stair landings often go unused, but they present a great opportunity for creating additional storage and seating. You can transform this space into a functional and cozy nook by constructing a built-in bench along the back wall. Here’s how to make the most of your stair landing:
- Add a twin mattress (39 x 75 inches) on top of the seat for larger landings to create a comfortable reading or napping spot.
- In smaller landings or alcoves, design a long and deep seat so adults can comfortably sit with their legs outstretched.
- Incorporate a storage cubby beneath the bench for books and other items.
- Add decorative pillows and cushions for comfort and style.
Use a Built-In as an Entry Partition
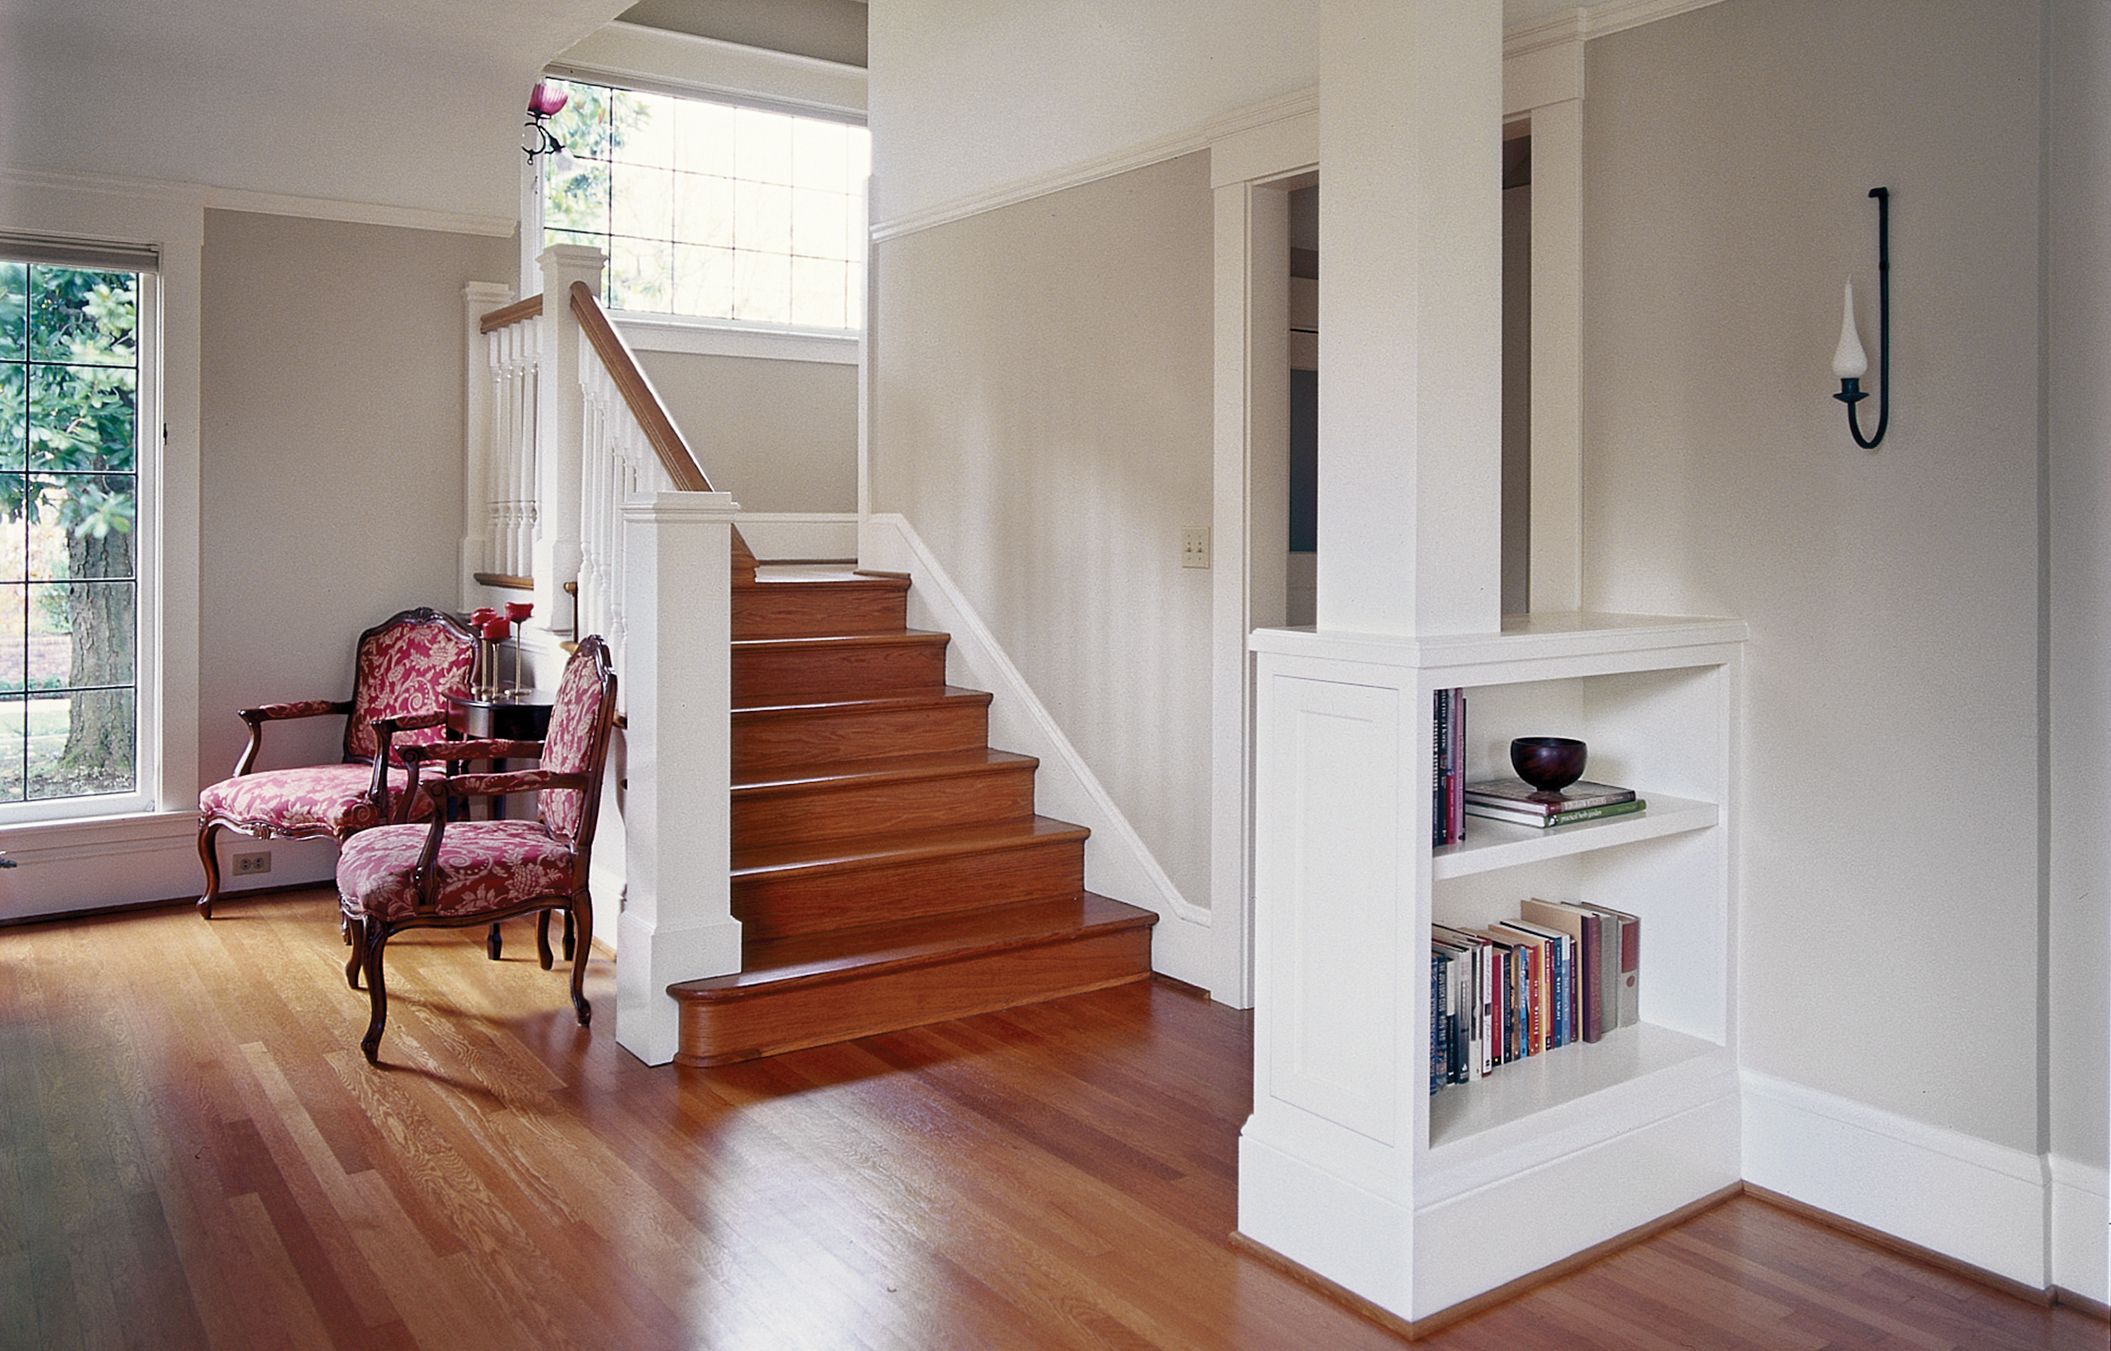
Built-ins are custom-designed furniture or fixtures that permanently integrate into a space. They can help create distinct areas within an open floor plan without compromising the sense of space. This example shows a bookcase with a column that subtly divides the living room from the entry hall. Consider these ideas for your built-in:
- Look for recycled colonnades at salvage yards or build one from scratch.
- Create a square column by securing four poplar planks together with finishing nails.
- For round columns, order inexpensive paint-grade pillars and decorative capitals from online suppliers.
- Mimic a paneled look by overlaying cabinet doors onto a ready-made bookcase unit.
- Use the same baseboard moldings as the rest of the room for a seamless integration.
- Paint the partition in a contrasting color, making it a focal point.
Tip: Consider hiding structural supports for a bearing wall inside hollow columns to open up your floor plan. However, unlike the decorative divider shown here, the column would have to continue down through the bookshelves and eliminate some interior storage space.
Install Bunk Beds in Children’s Rooms
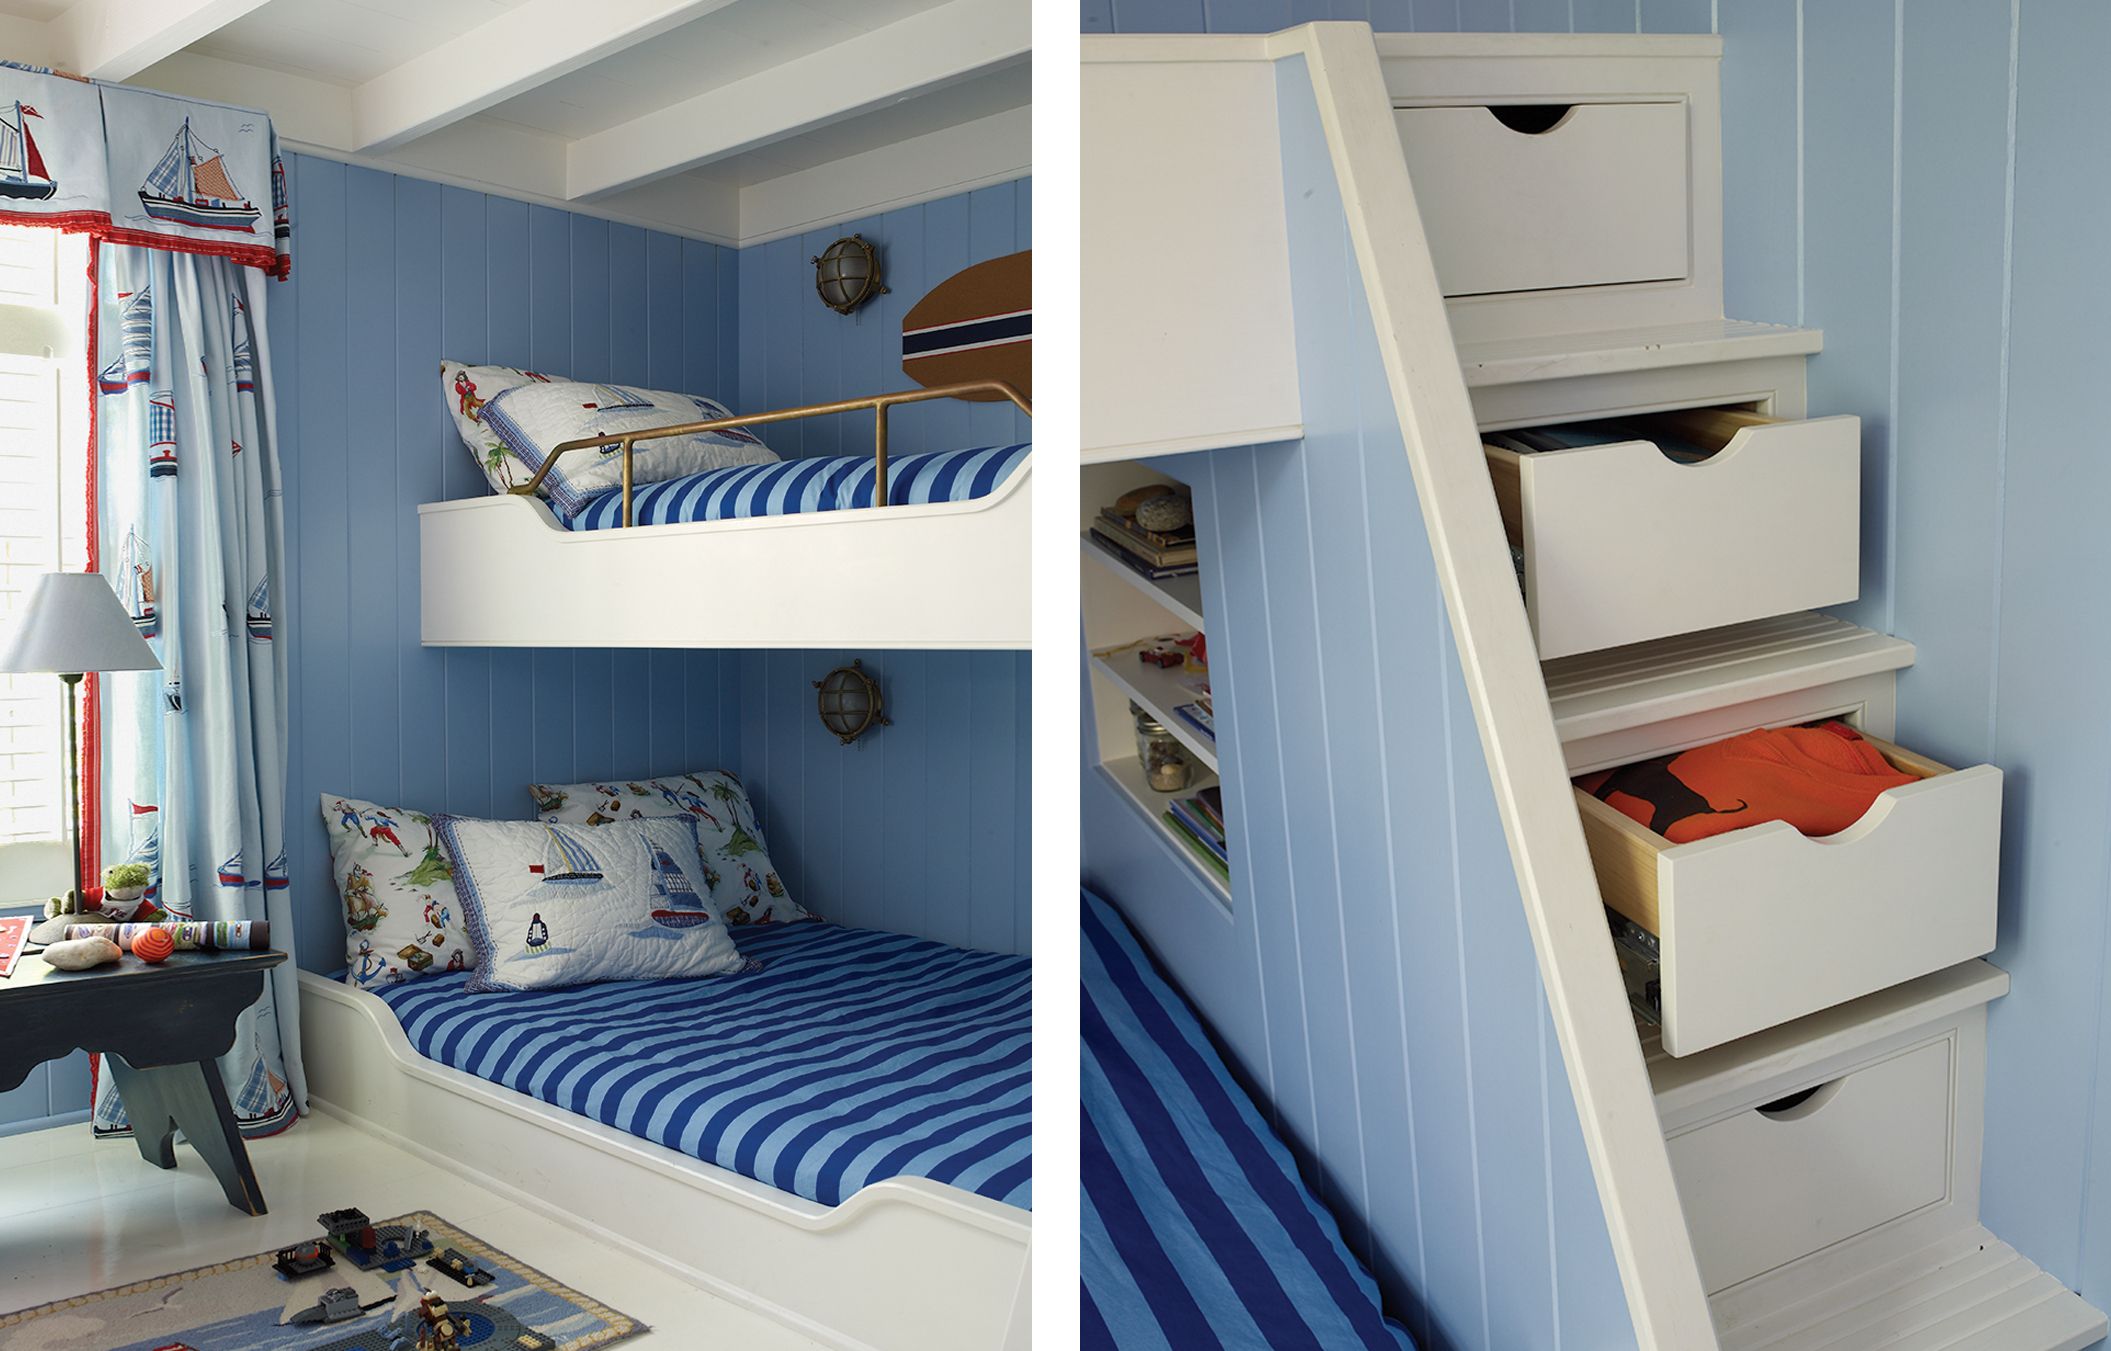
Built-in bunk beds offer a great space-saving solution for children’s rooms, providing sleeping space for two and extra storage features. Here’s how to make the most of this setup:
- Replace a standard ladder with a staircase for easier access to the top bunk.
- Incorporate storage drawers into the stair risers for hidden clothing storage.
- Add a book cubby in the corner beneath the stairs for additional storage space.
- Use a full-size mattress for the bottom bunk to create a comfortable seating area for parent-child bonding time.
- Include personal reading lights for each bunk to encourage bedtime reading.
Add Storage Beneath Living Room Stairs
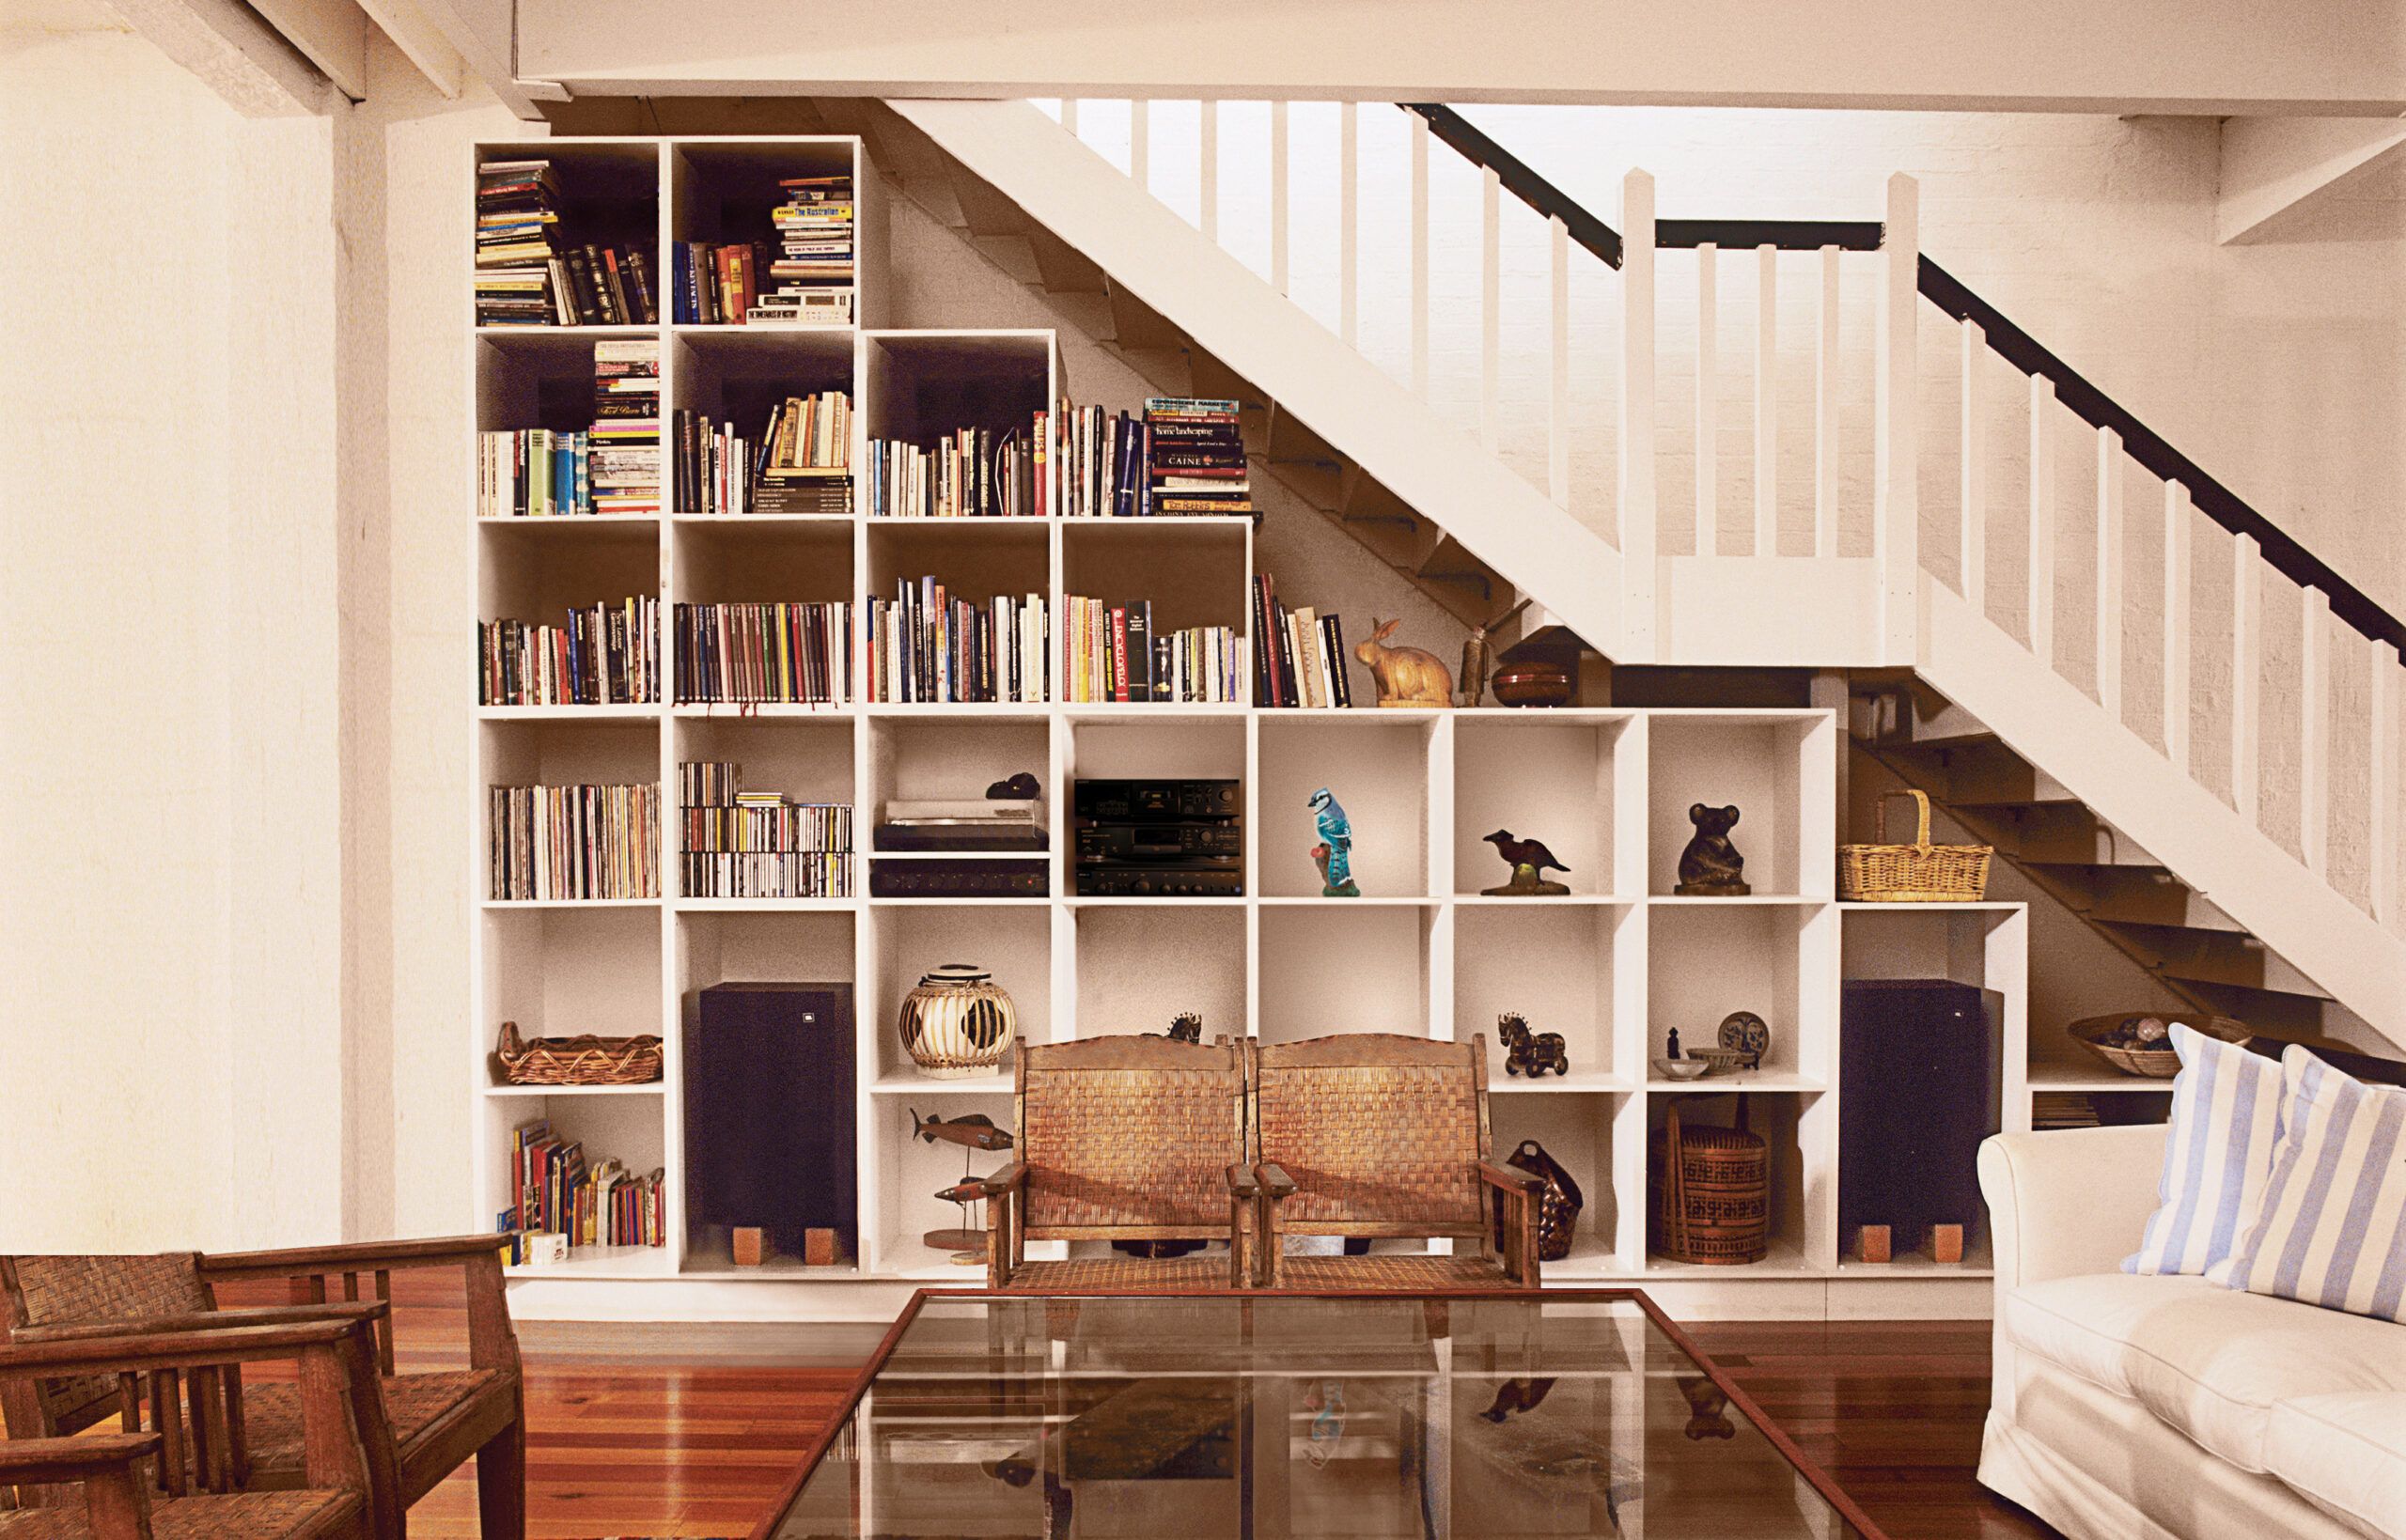
The area under the stairs is typically unused, presenting a perfect opportunity for additional storage space. Consider open storage units accessible from the room instead of a small, awkward closet. Here are some ideas for this space:
- Start with a tall pantry unit and angle down with smaller wall cabinets and base drawer units.
- Use a combination of stock kitchen cabinets to create a custom look.
- Build simple plywood cubbies in descending order for a more budget-friendly option.
- Secure the units together through their tops, bottoms, and sides for stability.
- Add adjustable shelves to accommodate different storage needs and item sizes.
Create a Home Office Niche

You can create a dedicated home office space within a larger room by wrapping deep bookshelves around a desk. Use these tips to create your new office space:
- Install adjustable shelves to accommodate items of various heights.
- Leave off the back panels of the bookcases to maximize depth.
- Secure the units to hanging strips just below their tops for a flush fit against the wall.
- Incorporate task lighting for optimal illumination when working.
Build Into a Bathroom Wall
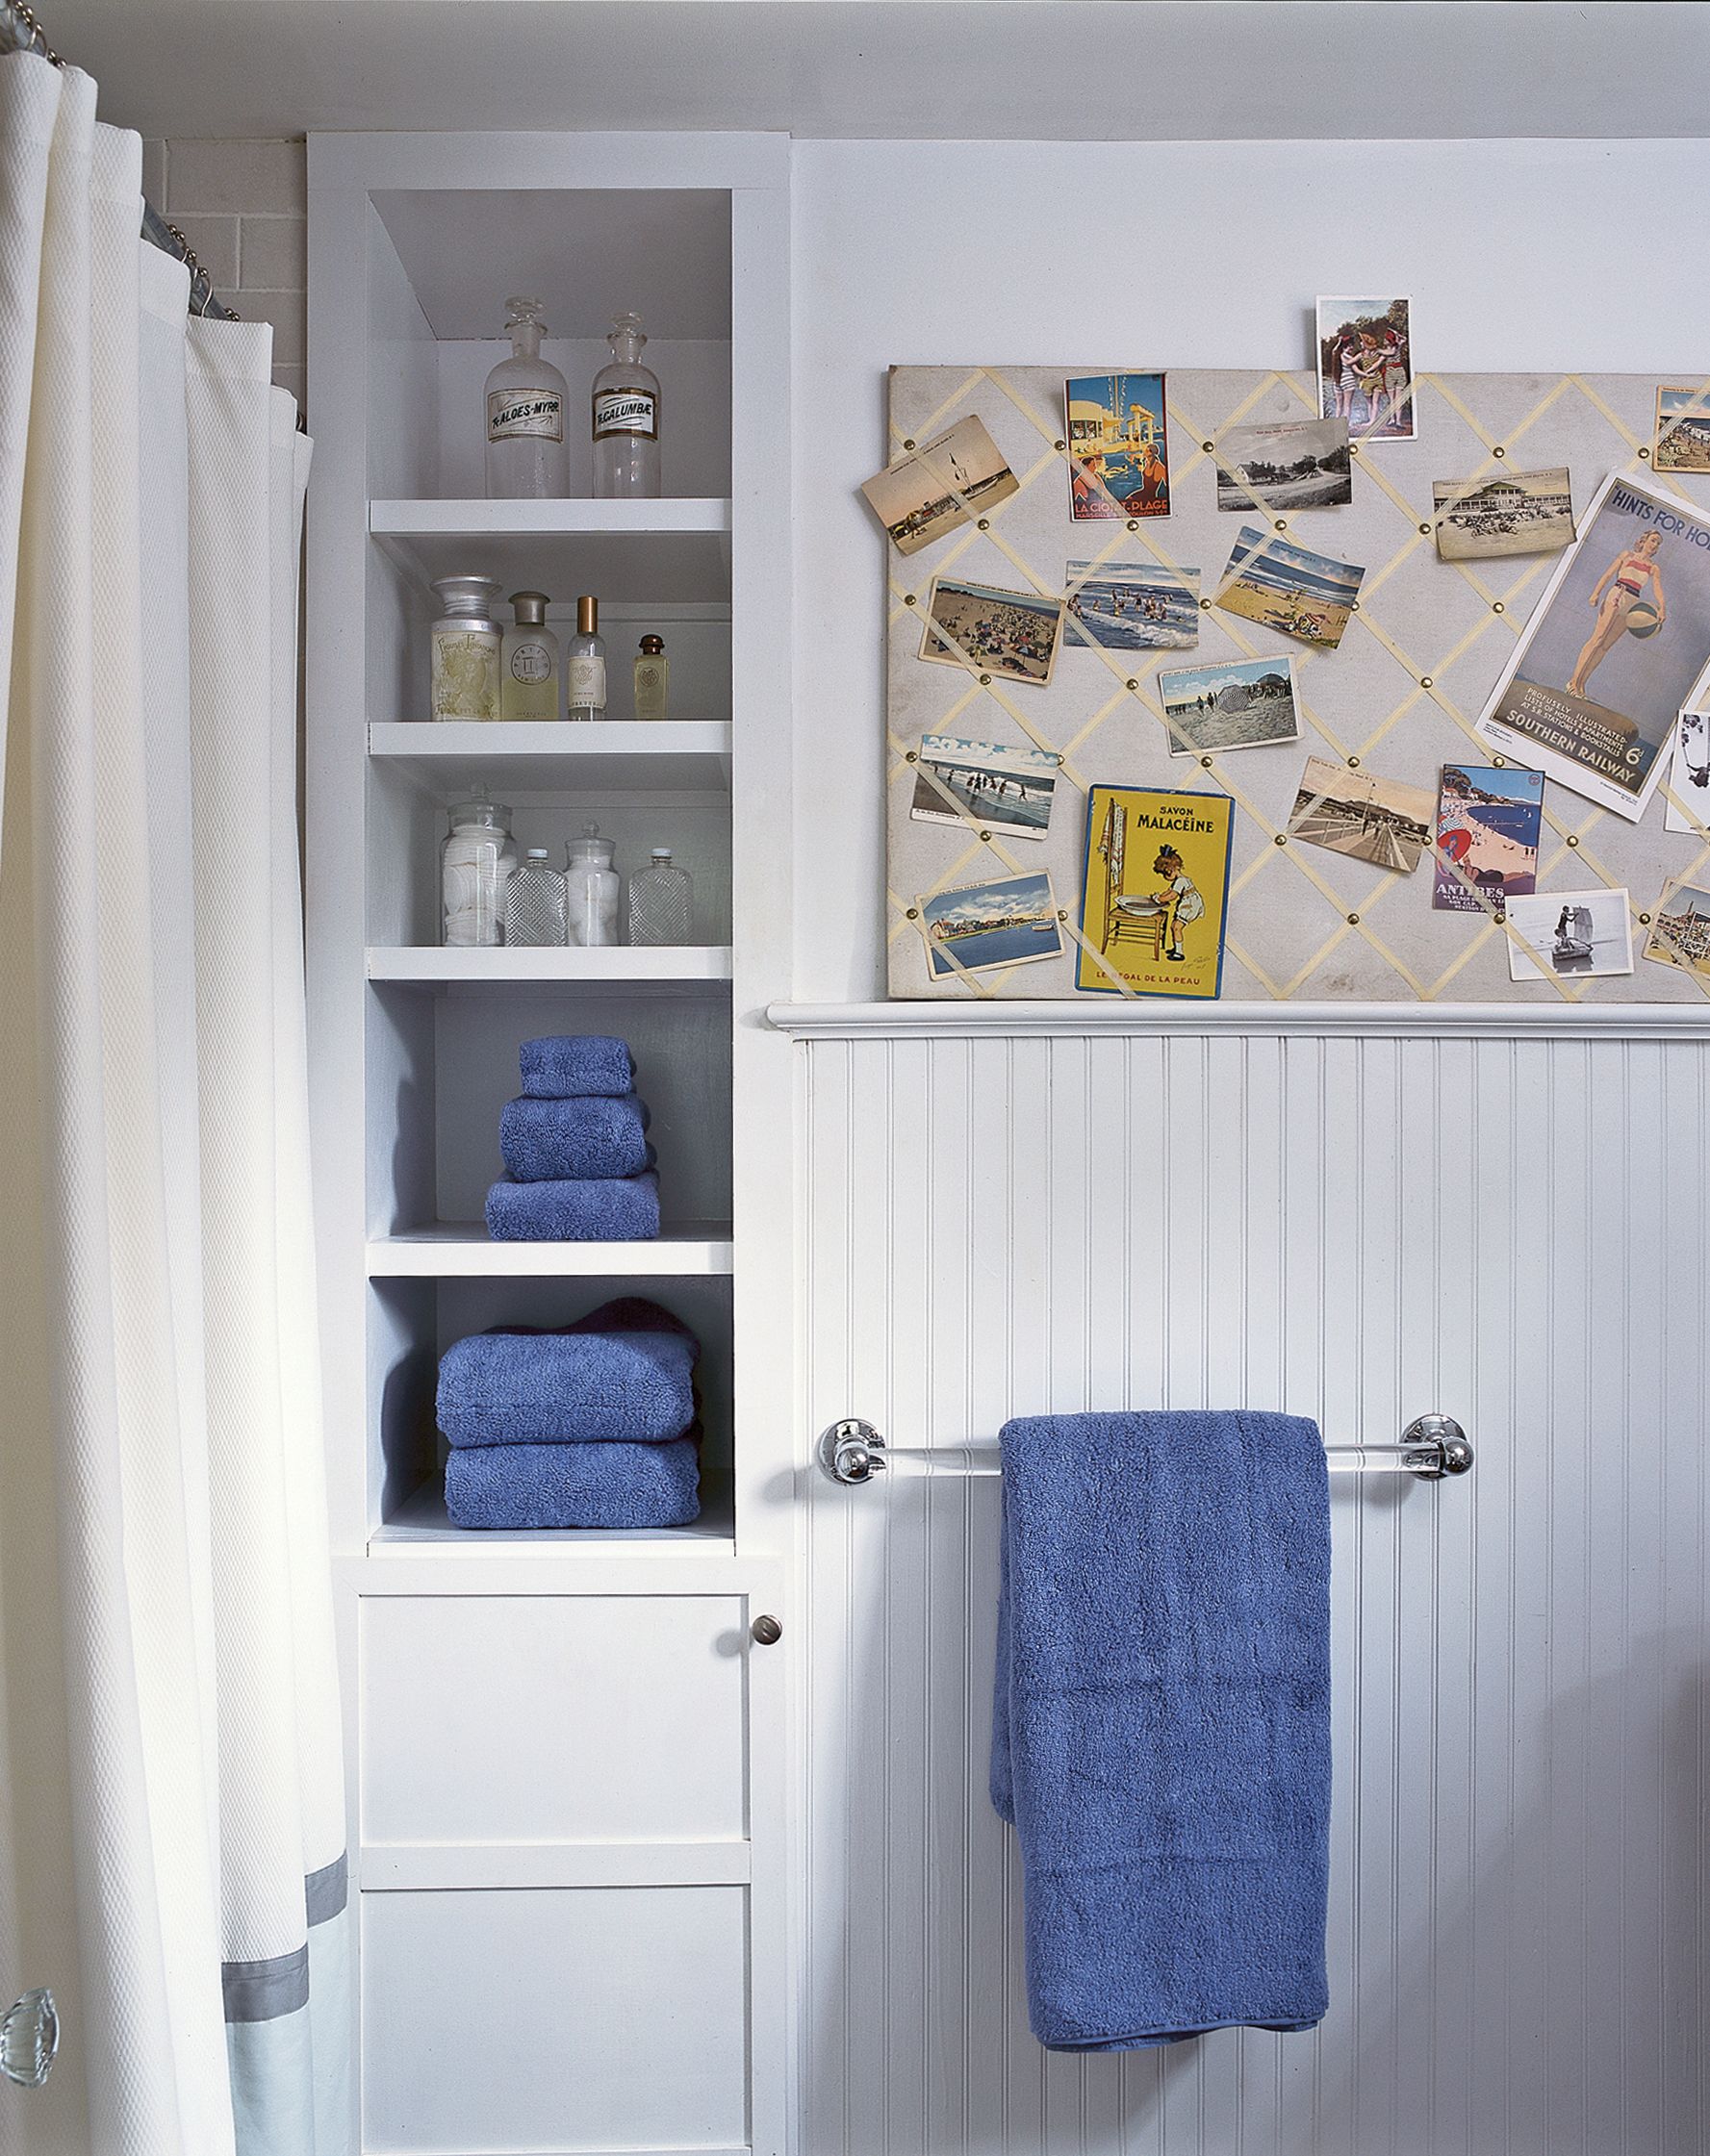
Utilizing the space between wall studs can provide excellent storage options, even in small bathrooms. Opening up the wall allows you to create a floor-to-ceiling built-in with both open and concealed storage. Keep these ideas in mind while planning your bathroom wall:
- The standard width between studs is 14-and-1/2 inches, with a depth of 4 inches.
- Walls containing plumbing use 2x6s, providing an extra 2 inches of shelf space.
- Consider stealing space from adjacent rooms for deeper storage.
- Limit shelf depth to 18 inches or less to prevent clutter in hard-to-reach areas.
- Install mirrored or frosted glass doors to conceal clutter while adding a stylish touch.
By opening up the wall in the diminutive bath shown here, Montauk, New York, architect Erica Broberg carved out a floor-to-ceiling built-in with a combination of open and concealed storage—shelves on top for easy access to everyday items like lotions and a cabinet below for unsightly items such as toilet paper—in a narrow sliver between the bathtub and the towel rack.
For anything deeper, you’ll have to steal space from whatever is on the other side of the wall—in this case, the chase around an HVAC duct. “Just don’t make the shelves more than 18 inches deep; these are about 12 inches,” says Broberg. “Otherwise, the recesses will become cluttered with stuff you don’t even know is back there.”