Project details
Skill
Cost
Estimated Time
If your little builders inherited the DIY gene, then they’re more or less programmed to dive into Mom and Dad’s tools. So maybe you should give the handy helpers their own set—the better to get them involved while keeping your precious collection from getting lost or damaged. For kids ages 7 and up, this simple toolbox fits the bill and constructing it is more fun than buying an off-the-shelf toolbox.
This toolbox is just the thing to hold smaller, basic items that fit a young DIYer’s hands, including a hammer, saws, pliers, and screwdrivers. In the video above, This Old House host Kevin O’Connor narrates how to construct a simple yet sturdy toolbox with the help of two young assistants. We’ll list the steps and provide some extra tips below.
Toolbox Materials and Tools Needed
Before starting your toolbox project, gather the following materials:
- One 2×4-foot sheet of birch veneer plywood
- Wood glue (stainable)
- 4d finish nails
- Hockey stick tape
- Stain or paint (optional)
- Wood putty (stainable)
- Furniture glides (optional)
For tools, you’ll need:
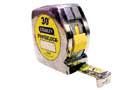
- Tape measure
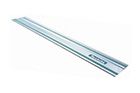
- Straight-edge saw guide (optional)
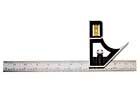
- Combination square
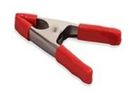
- Spring clamps
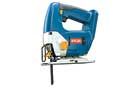
- Jigsaw or circular saw
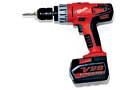
- Drill/driver
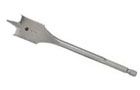
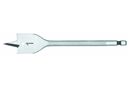
- Spade bits (3/8-inch and 1-inch)
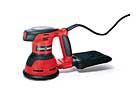
- Random orbit sander
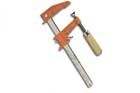
- Bar clamps
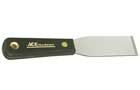
- Putty knife
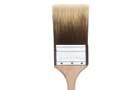
- Paintbrush
- Hammer
- Nailset
 Tape measure
- Straight edge saw guide
- Combination square
- Spring clamps
- Jigsaw
- Drill/driver
- Spade bit – 3/8-in.
- spade bit – 1-inch
- Safety glasses
- Random orbit sander
- Bar clamps
- Putty knife
- Paintbrush
- Hammer
- Nailset

Toolbox Planning and Preparation
Set yourself up on a sturdy worktable—in the workshop, the garage, or even the playroom. The fun is in having something for everyone to do and getting in good practice for future projects.
Designing Your Toolbox
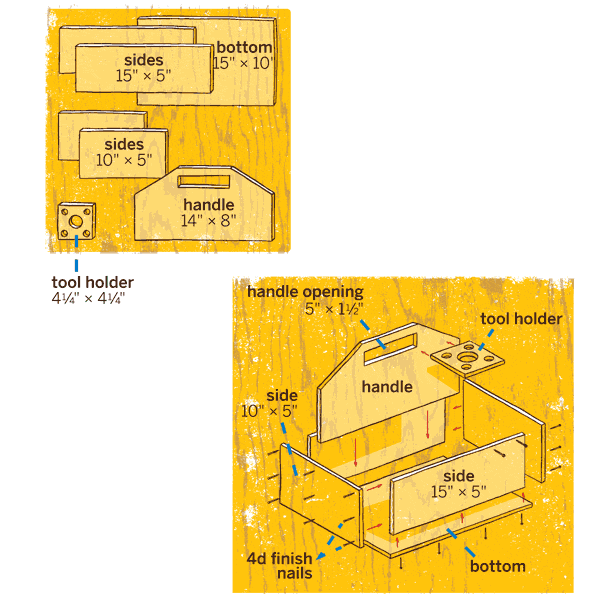
The toolbox consists of seven main parts: two long sides, two short sides, a bottom, a handle, and a tool holder insert. All these pieces can be cut from a single 2×4-foot sheet of plywood. Birch veneer plywood is an excellent choice for this project due to its strength, smooth face, and ability to take stains or paints well. Construction plywood will also work, but the face will not be as smooth.
Safety First
Before beginning, make sure everyone involved in the project wears safety glasses. This is especially important when using power tools like jigsaws or sanders. Adult supervision is a must throughout the project, particularly during the cutting and drilling stages.
Laying Out the Parts
Start by laying out all the parts on your plywood sheet. When laying out adjacent parts, remember to account for the 1/8-inch kerf (width of the saw cut) between pieces.
Step 1: Cutting the Main Toolbox Pieces
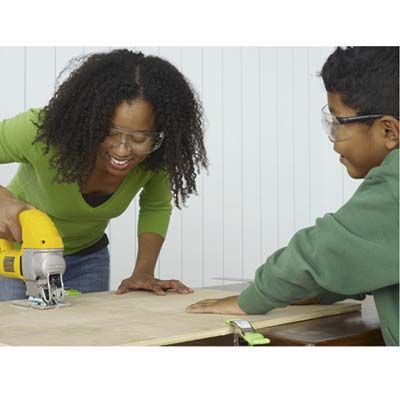
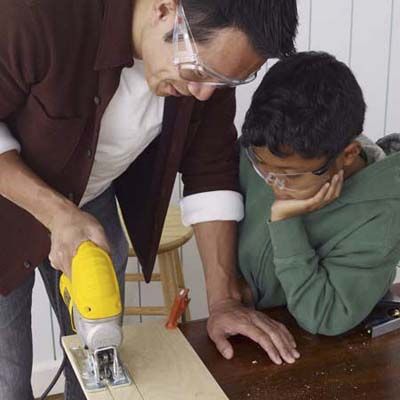
- Clamp the plywood to a sturdy worktable, ensuring the piece you’re cutting hangs free over the edge.
- Using a jigsaw, a circular saw, or a handsaw, cut the plywood into individual pieces.
- For added accuracy, clamp a straight-edge saw guide next to your saw.
Step 2: Creating the Toolbox Handle
- On the handle piece, use a combination square to lay out a 5×1½-inch rectangle near the top for the grip opening.
- Mark the angled sides of the handle: 1½ inches from either side of the grip at the top, and 5 inches from the bottom on each side.
- Draw diagonal lines between these marks to create the handle shape.
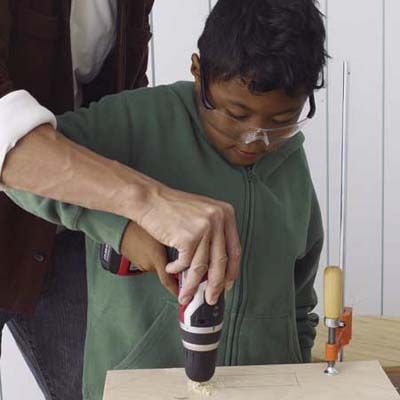
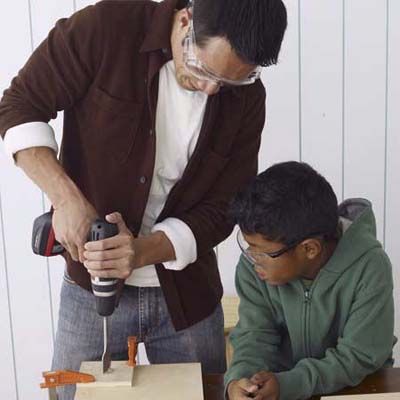
- Clamp the handle piece to the table and use a drill with a 3/8-inch bit to make holes in the four corners of the rectangle, staying inside the lines.
- Use a jigsaw to cut out the grip opening and the angled sides of the handle.
Step 3: Preparing the Tool Holder
Clamp the tool holder insert to some scrap wood. Using ½-inch and 1-inch spade bits, drill holes in an X formation on the square piece. This will create spaces to hold various tool handles.
Step 4: Sanding the Toolbox Parts
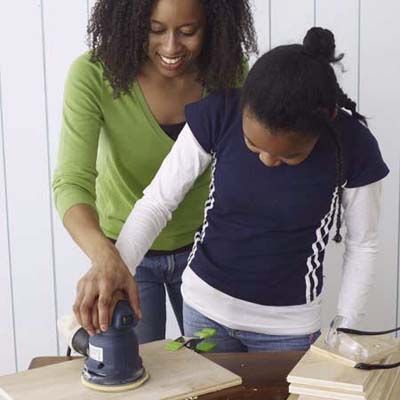
Use a random-orbit sander with 120-grit sandpaper to smooth all the toolbox parts, including the edges. Be careful not to round over the edges too much, but confirm the wood is free of splinters. This process can be a great step for kids to help with, as long as they’re under supervision, as demonstrated in the video. Make sure to help little hands hold on to the sander as it moves and vibrates.
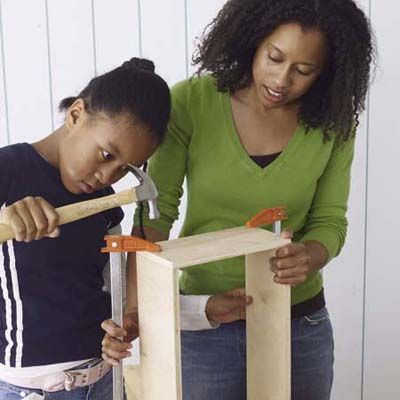
Step 5: Assembling the Box
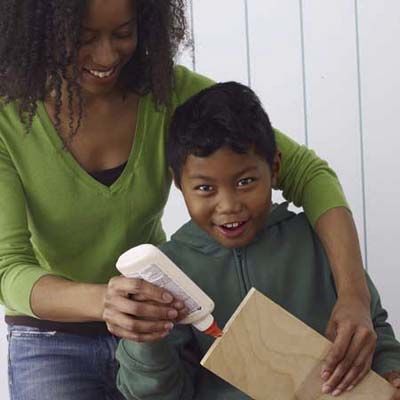
- Apply a thin bead of stainable wood glue to the short ends of the long side pieces.
- Place the small sides over these ends and use bar clamps to hold the box together.
- Wipe away any excess glue with a damp rag.
- Hammer 4d finish nails at the corners, through the ends of the small sides and into the long sides.
- Remove the clamps and glue the bottom piece to the sides, then nail it in place.
- Glue and nail the tool holder insert to the side of the handle before inserting the handle into the box.
- Place the handle assembly in the toolbox, then glue, clamp, and nail it in place.
Step 6: Finishing the Toolbox Construction
- Use a nailset to sink all nails below the surface.
- Fill the nail holes with stainable wood putty and let it dry.
- Sand the putty smooth once dry.
Staining and Finishing Your Toolbox
Now that you’ve made your toolbox, you and your little DIYer can decorate it however you want. Here are some suggestions.
Applying Stain or Paint
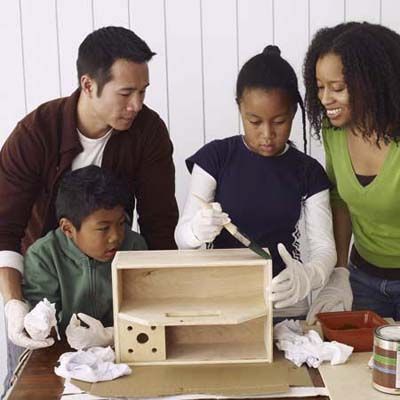
- Wearing latex gloves, use a 2-inch paintbrush to apply stain or paint to the wood.
- For stain, wipe off excess with a clean rag. The longer you leave it on, the darker the color will be.
- Allow the stain or paint to dry completely.
Adding the Handle Grip
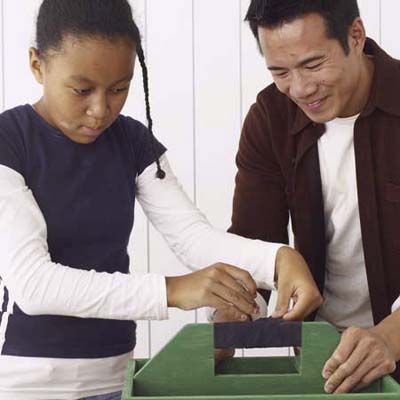
Cut a few lengths of hockey stick tape and wrap them around the handle to create a comfortable grip. This adds a professional touch and makes the toolbox easier to carry.
Optional Additions
If desired, nail furniture glides onto the box’s bottom to prevent scratching floors when moving the toolbox.
Building a Toolkit for Kids
Once your toolbox is dry and finished, it’s time to fill it with tools.
Choosing the Right Tools
Curating the right tools for a child’s first toolbox is essential. Opt for tools that are durable and appropriately sized for smaller hands. Include a small hammer, screwdrivers, a tape measure, and pliers.
Safety Equipment
Equipping kids with safety gear is a vital step. Safety glasses and work gloves should be a staple in their toolbox to instill the habit of safe work practices early on.
Maintaining Tools
Teach children the importance of maintaining their tools. This includes wiping tools clean after use, storing them in their toolbox, and occasionally checking for any damage or wear.
Tips for Toolbox Success
As you build, here are some tips so everyone gets the most out of the project.
Patience and Supervision
Patience and supervision are key to a successful project. Make sure children understand each step and handle tools safely. Parents should be ready to assist and guide, especially during complex stages like cutting and drilling.
Making it Fun
Keep the project light-hearted and fun. If the process proves more difficult than anticipated and someone gets frustrated, take a break and return to it later. Allow children to participate in choosing the colors for staining or painting and let them personalize their toolbox. This can turn the project into a memorable experience rather than just a task.
Encouragement and Praise
Encouragement and praise aren’t just recommended—they’re vital. Positive reinforcement helps build confidence in young builders, making them more enthusiastic about future DIY projects.
Benefits of Building Together
Why build a toolbox with your kids? Because it’s fun! If you need more reasons, here are some other benefits.
Family Bonding
Building a toolbox together fosters family bonding. It allows parents and children to spend quality time working on a hands-on project, sharing an activity that is both educational and enjoyable.
Learning Opportunities
This project provides numerous learning opportunities. Kids can learn about measurements, basic carpentry, and the importance of safety, all of which are skills they can use in future projects.
Fostering Independence
Creating their toolbox and owning their set of tools can foster a sense of independence and responsibility in children. It gives them ownership of a project and the tools they use, encouraging them to take care of their belongings and work on projects independently. Just make sure they know that an adult must be on hand any time power tools are in use.
Our Conclusion
Building a toolbox is an excellent introductory woodworking project for young DIY enthusiasts and provides a great place to store their tools. It teaches valuable skills, promotes tool safety, and results in a practical item for storing and organizing tools. With adult supervision and the right materials, this project can be completed in just a few hours, creating a lasting and useful addition to any budding builder’s toolkit.