Project details
Skill
Cost
Estimated Time
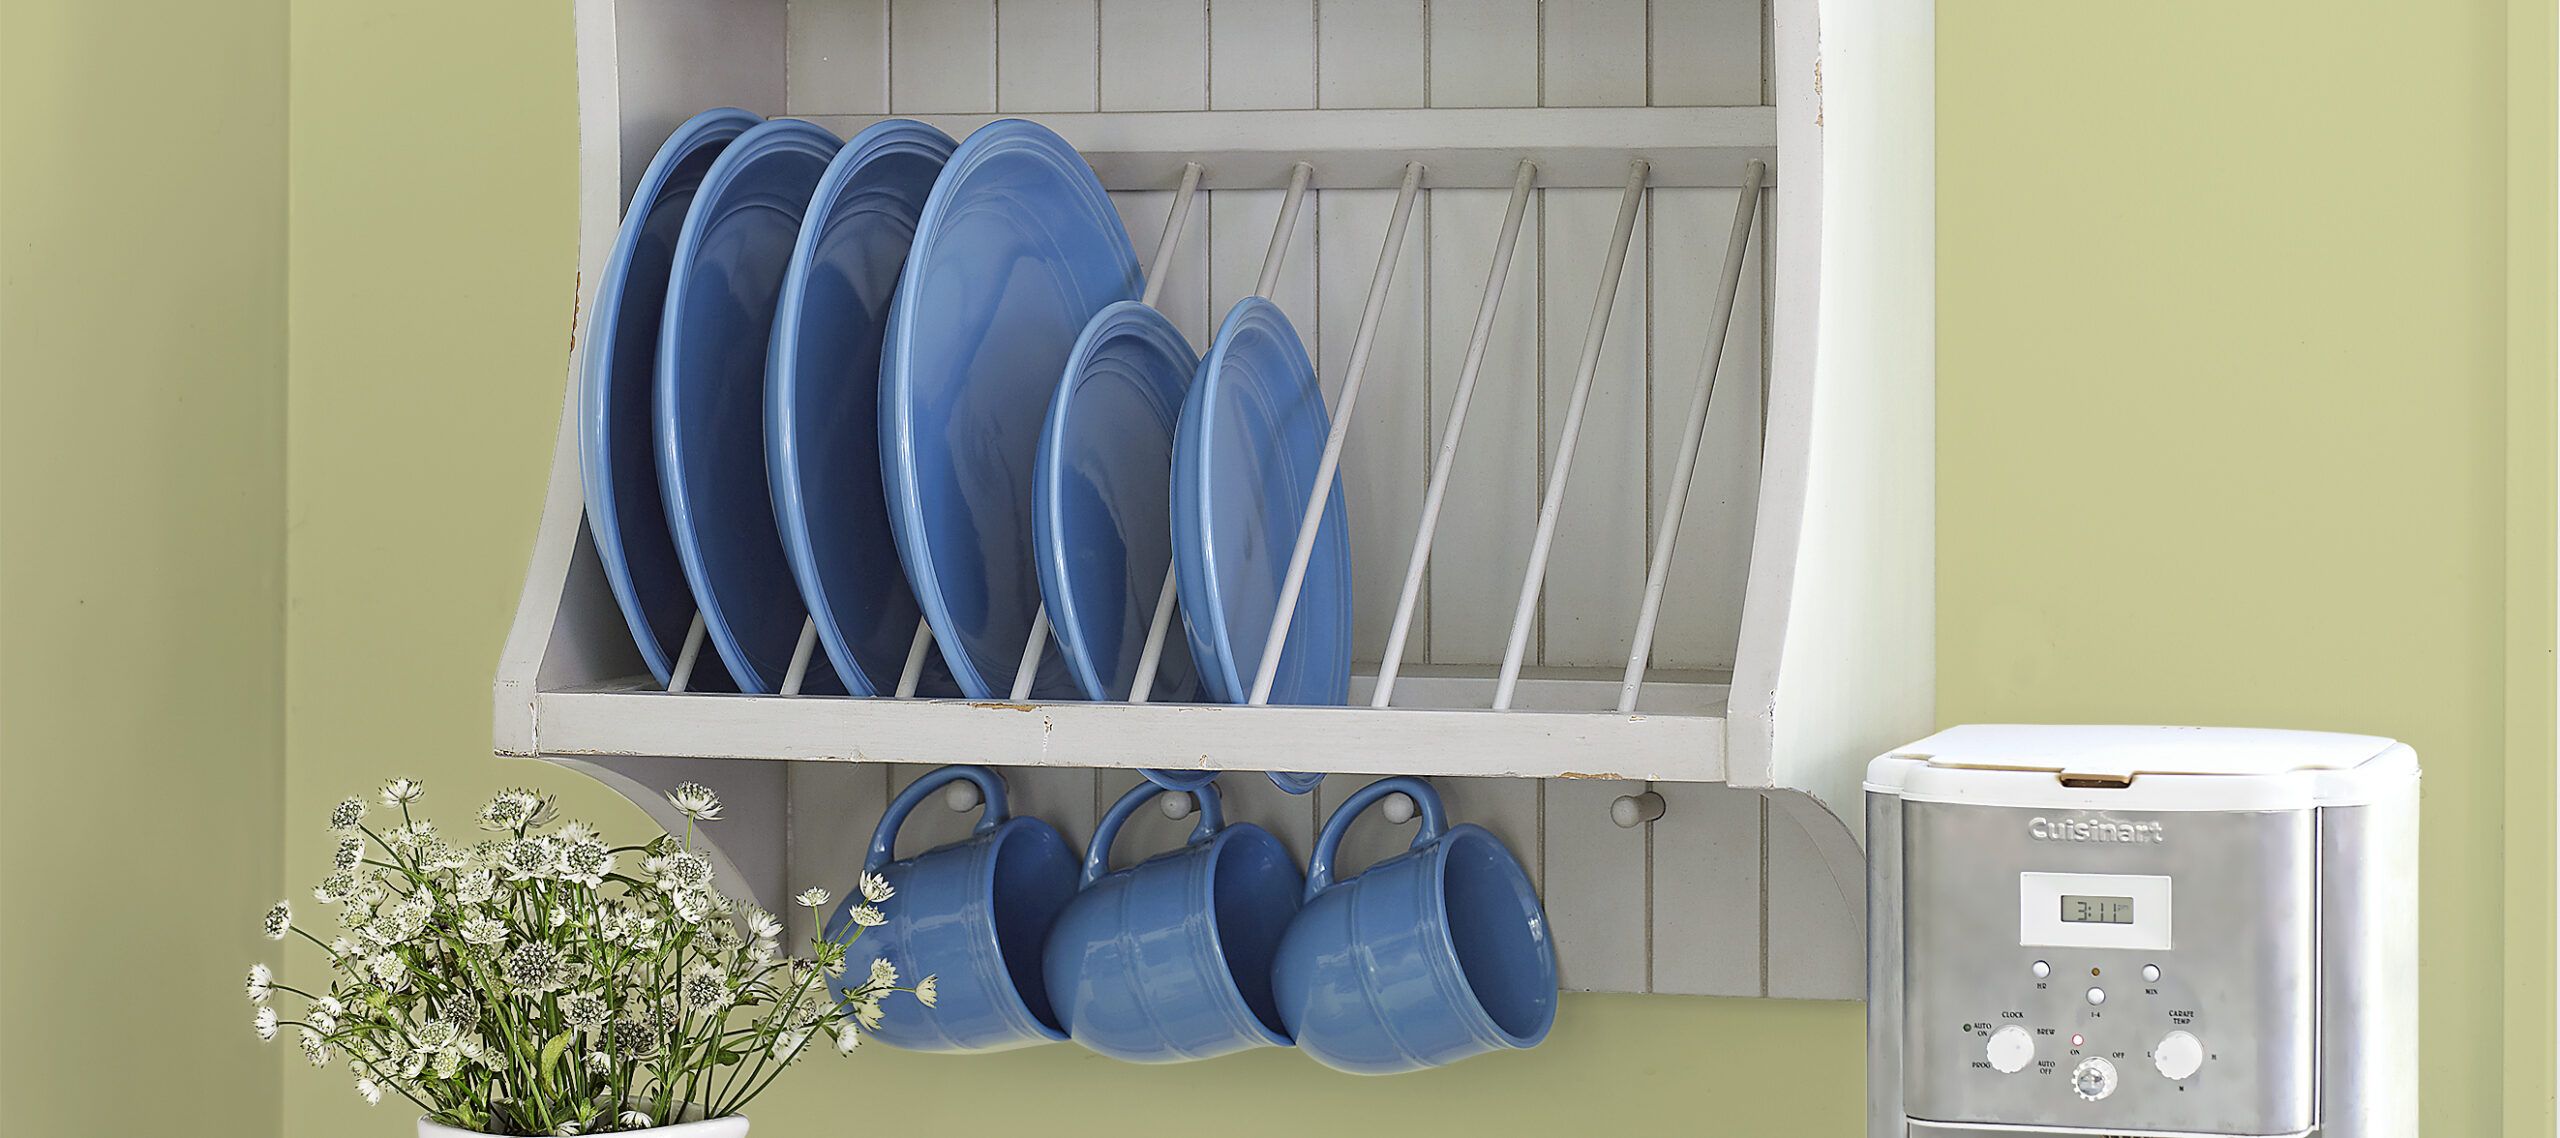
A custom plate rack is a fun addition to any kitchen. With some basic woodworking skills and tools, you can craft an plate rack that organizes your dishes while adding a touch of personality. In this article, we’ll walk you through the process of designing, building, and installing your own plate rack, from initial measurements to final mounting.
Tools and Materials for Building a Plate Rack
Make sure you have all the required tools and materials before starting your plate rack project.
Required Tools
- Circular saw or table saw
- Drill with various-sized bits
- Jigsaw
- Level
- Measuring tape
- Paintbrush or spray paint
- Sander
- Screwdriver
- Shims
Necessary Materials
- 1/2-inch beadboard for the back panel
- 1x poplar boards for shelves
- 1×12 poplar boards for side panels
- 5/4 poplar for rails
- French cleat for mounting
- Hardwood dowels
- Paint or finish of your choice
- Sandpaper
- Wood glue
- Wood screws
Designing Your Plate Rack
Start by measuring the wall area where you plan to install the plate rack. Consider the available height, width, and depth, and any obstacles like outlets or switches. These measurements will determine the overall plate rack dimensions.
Next, decide on a style that complements your kitchen decor. You might choose a simple, modern design with clean lines or a more traditional look with decorative elements like Shaker pegs. To hold your dishes, consider open shelving, dowel racks, or a combination of both.
Preparing the Components of a Plate Rack
With your design in mind, it’s time to start cutting and shaping the individual pieces of your plate rack.
Cutting the Side Panels
Using your 1×12 poplar boards, cut two side panels to your desired height (typically around 32 inches). Depending on your style, you might create curved edges on the front of these panels or keep them sleek and straight. Mark the shelf locations on the panels, then use a thin batten to trace shallow arcs between these points. Cut along these lines with a jigsaw for a graceful, curved profile.
Creating the Shelves
Cut your shelf pieces from 1x poplar boards. For a typical plate rack, you might use one 4-inch wide board and one 7-inch wide board, both cut to 20 inches lengthwise. These will serve as the bottom and middle shelves of your rack.
Crafting the Back Panel
Cut a piece of 1/2-inch beadboard to match the height and width of your side panels. This will serve as the back of your plate rack, adding stability and a decorative touch.
Assembling the Main Structure
With all your components prepared, you can begin assembling the main structure of your plate rack.
Attaching the Sides to the Back
Start by attaching the side panels to the back panel. Place the back panel on a flat surface, then position the side panels perpendicular to it. Use wood glue and screws to secure the sides to the back, ensuring everything is square and level.
Installing the Shelves
Mark the shelf locations on the inside of the side panels. Place the shelves at these marks and secure them with screws driven through the side panels. Make sure the shelves are level and firmly attached.
Adding the Dish Rack Feature
The dish rack component is what sets this project apart from a simple shelving unit.
Creating the Rails
Cut three pieces of 5/4 poplar for the rails: a top rail (1 1/2 inches wide), a front rail (1-inch wide), and a back rail (3 1/4 inches wide). Run a 45-degree beveled face along one edge of the top and front rails to create an angled surface for the diagonal dowels.
Drilling Dowel Holes
For the horizontal dowels, drill 1/2-inch deep holes every 2 inches in the front and back rails. For the diagonal dowels, offset holes in the beveled faces of the top and front rails 1/4 inch from the first set.
Installing the Dowels
Cut your dowels to length. Cut nine dowels at 13 inches for the diagonals and nine dowels at 7 inches for the horizontals. Glue the short dowels into the back rail, then attach the front rail to their free ends. Finally, glue the diagonal dowels into the beveled faces of the front and top rails.
Finishing Touches to a Plate Rack
With the base completed, you can now personalize your plate rack with final touches.
Sanding and Painting
Sand all surfaces of your plate rack to ensure a smooth finish. Pay special attention to any cut edges or joints. Once sanded, apply your chosen paint or finish according to the manufacturer’s instructions. Allow ample time for drying between coats.
Installing Cup Pegs
For added cup storage, you can install Shaker-style pegs along the bottom of your plate rack for hanging cups or kitchen towels.
Mounting the Plate Rack
To securely mount your plate rack, use a French cleat system. Attach one part of the cleat to the back of your rack and the other to the wall, ensuring it’s level and anchored into studs. Carefully hang your plate rack on the wall-mounted cleat.
Troubleshooting Common Plate Rack Issues
Even with careful planning, you might encounter some challenges during your build. Here’s how to address them.
- Uneven shelves: If your shelves aren’t perfectly level, double-check your measurements and use shims if necessary to adjust them. A level shelf is necessary for storing dishes safely.
- Loose dowels: If dowels become loose over time, remove them, clean out the holes, and reinsert them with fresh wood glue for a secure fit.
Alternative Plate Rack Designs
We’ve focused on a wall-mounted design, but there are other options you can consider.
- Wall-mounted vs. freestanding: Wall-mounted racks save floor space and create a built-in look, while freestanding racks offer flexibility in placement and can be moved as needed.
- Single-tier vs. multi-tier options: Single-tier racks are simpler to build and ideal for smaller spaces. Multi-tier designs offer more storage capacity but require more complex construction.