Originally designed to protect walls from splatters and spills, backsplashes have evolved into a design feature that can tie your entire kitchen together. Whether you’re looking for a sleek, modern look or something timeless and classic, the right backsplash can elevate your kitchen’s design while providing practical benefits. In this guide, we’ll explore various materials, designs, and installation techniques to help you create the perfect backsplash for your home.
Popular Backsplash Materials and Their Benefits
The right backsplash material for your kitchen depends on your budget and style preferences. Each material offers unique benefits and can transform your kitchen’s overall look.
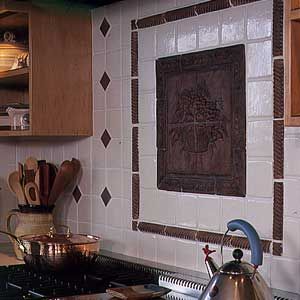
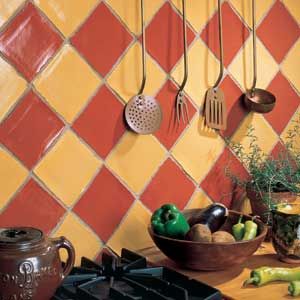
Ceramic and Porcelain Tile
Ceramic and porcelain tiles are among the most versatile and popular backsplash materials. They come in many colors, patterns, and sizes, making them suitable for various kitchen styles. These tiles are durable, easy to clean, and relatively affordable, with basic options starting at $3 per square foot.*
Installation techniques for ceramic tiles can vary by region. In the western United States, installers often set tile in thinset adhesive over a “floated” mortar bed, while in the east, cement backer board is a common substrate. Both methods are effective, but the mortar bed technique requires more skill and is best left to professionals.
*Cost data in this article was sourced from Angi.
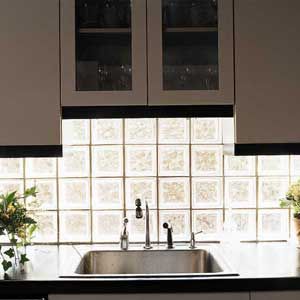
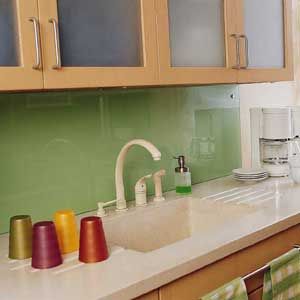
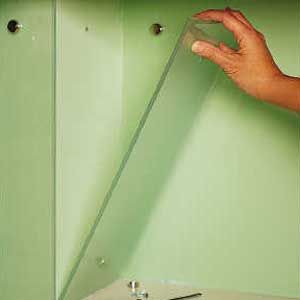
Glass Tile
Glass tiles add a modern, sleek look to kitchens. They reflect light, making the space appear brighter and larger. Glass tiles come in various colors and finishes, from transparent to opaque, and you can use them to create stunning mosaic patterns.
While glass tiles are easy to clean and maintain, they can be more expensive than ceramic tiles. Prices for mesh-backed mosaic sheets start at around $10 per square foot. Installation requires precision, as any unevenness in the surface will be highly visible.
Metal and Metal Laminates
Metal backsplashes, such as stainless steel, copper, or brass, offer a contemporary, industrial look. They’re extremely durable and easy to clean, making them ideal for busy kitchens. You can order custom metal backsplashes to fit your specifications—for example, you could request cutouts for outlets and fixtures.
Metal backsplashes can be one of the more expensive options, with prices varying widely based on material and installation complexity. Stainless steel backsplashes, for instance, cost an average of $20 per square foot. For a more budget-friendly alternative, consider metal laminates, which offer a similar look but start at $3 per square foot for materials.
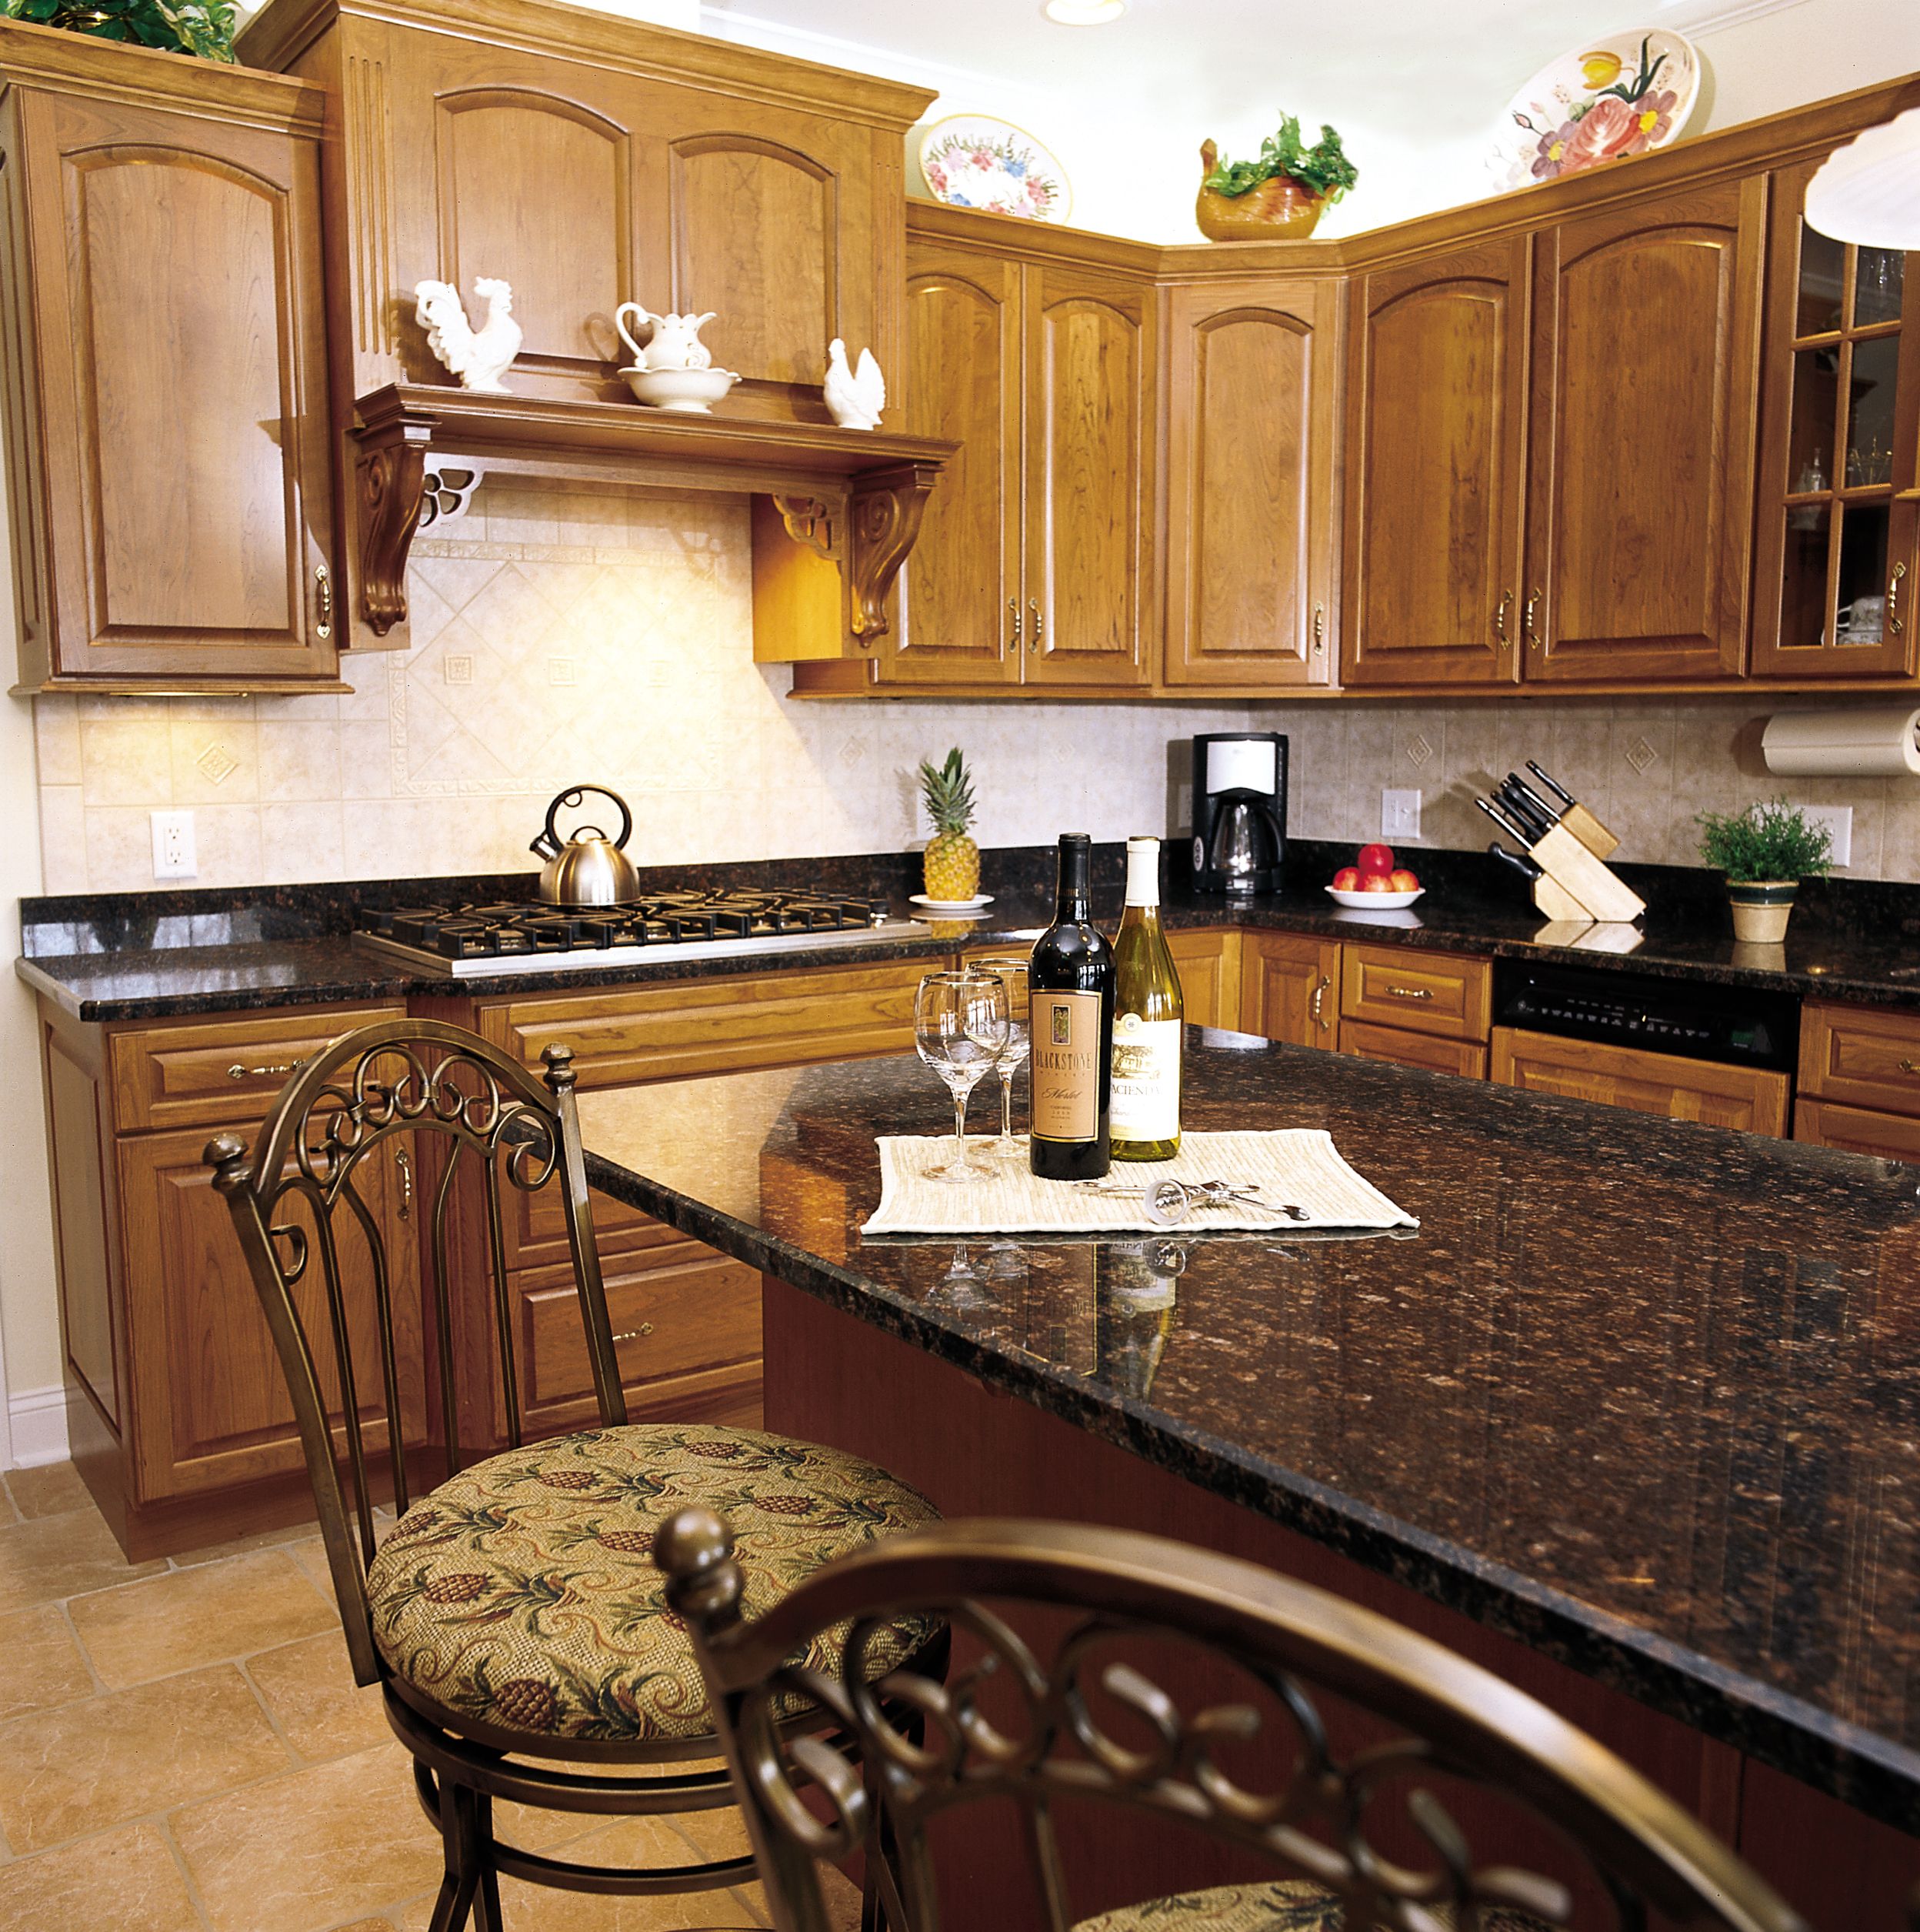
Natural Stone
Natural stone backsplashes like marble, granite, or slate can introduce unique elegance to any kitchen. Each piece of stone has its own pattern and color variations, creating a one-of-a-kind look. Tumbled marble in 4-inch squares has become particularly popular, offering a worn, pitted surface with muted colors.
Stone tiles require more maintenance than ceramic options. You’ll need to seal them periodically to prevent staining and water absorption. Prices for stone tiles start around $5 per square foot for basic options but can climb significantly for premium materials, with marble tile options starting at $12 per square foot.
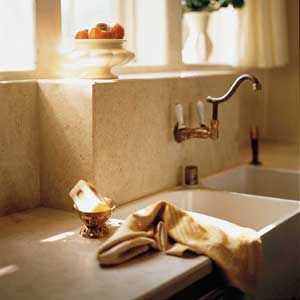
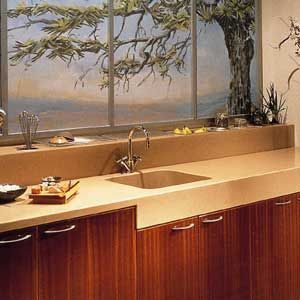
Solid Surface Materials
Solid surface backsplashes, made from materials like Corian or Wilsonart, offer a seamless look when paired with countertops of the same material. They’re nonporous, making them resistant to stains and bacteria growth. You can customize solid surface backsplashes with inlays or sandblasted designs to enhance visual appeal.
The cost of solid surface backsplashes can vary based on the material and installation complexity. A standard 4-inch backsplash might cost $15–$40 per linear foot, but Karen Thompson, a design consultant for a branch of The Home Depot in Atlanta, says she doesn’t recommend a low backsplash “because it adds another horizontal line to a room that’s full of them. Also, the wall has to be finished off with paint or wallpaper, which isn’t very durable.”
Meanwhile, an integral or full-height backsplash costs an average of $3-$5 per linear foot, though the cost could run higher depending on materials and waste.
Stainless Steel
Stainless steel backsplashes are particularly popular in modern and industrial-style kitchens. These backsplashes are easy to clean and are both heat- and stain-resistant. They offer a sleek, reflective surface that can help make a kitchen appear larger and more open. You can customize stainless steel backsplashes to fit specific areas by adding cutouts for sinks and stoves, making them a flexible design choice.
The downsides of stainless steel are its cost and potential for scratching. Average prices range from $15–$65 per square foot depending on the steel’s thickness and quality, and it can be even more expensive if you opt for professional installation. However, this investment often yields generous returns for homeowners looking to create a professional-grade kitchen.
Choosing the Right Backsplash for Your Kitchen
Before you select the perfect backsplash, consider the following factors to ensure it complements your kitchen’s overall design and meets your functional needs.
Balancing Function and Aesthetics
While appearance is important, don’t forget about practicality. Areas behind the stove or sink may require more durable and easy-to-clean materials. Consider how much maintenance you’re willing to perform and choose your materials accordingly.
Complementing Your Countertops and Cabinets
Your backsplash should harmonize with your countertops and cabinets, as these elements form the visual foundation of your kitchen. Consider colors and patterns that either contrast or blend with these surfaces. For a cohesive look, you might choose a backsplash material that picks up tones from your countertop or cabinet color.
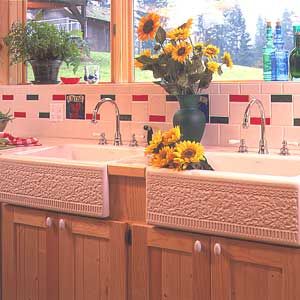
Considering Your Kitchen’s Style
Your kitchen style should guide your backsplash choice. A sleek, modern kitchen might benefit from a glass or metal backsplash, while a rustic or traditional kitchen might look better with natural stone or ceramic tiles in classic patterns.
Lighting and Space
Backsplashes can also interact with your kitchen lighting. Reflective materials like glass or metal can brighten up a space by reflecting natural or artificial light. Lighter-colored backsplashes can make a small kitchen feel larger, while darker tones can create a cozy ambiance.
You should also consider the coverage area of your backsplash. Covering a larger area can produce a more dramatic effect, while a smaller, more localized backsplash might highlight specific areas like the cooking zone or the sink.
Innovative Backsplash Design Ideas
Once you understand the basics of backsplash design, you can go one step further by mixing materials, using accents, and exploring unique patterns to create a bespoke kitchen. Here are some ideas for inspiration.
Creating Focal Points With Accent Tiles
Use decorative or accent tiles to create eye-catching focal points in your backsplash. This could be a mosaic design behind the stove or a pattern of colorful tiles interspersed with neutral ones.
Exploring Unique Patterns and Layouts
Experiment with different tile layouts to add visual interest. Instead of the traditional grid pattern, consider herringbone, chevron, or basketweave layouts. You can even transform simple square tiles by rotating them 45 degrees to create a diamond pattern.
Extend Beyond the Kitchen
Consider using leftover backsplash materials in other areas of your home, such as a wet bar, bathroom vanity, or even as a decorative element in your dining room or living area. This can create a cohesive design theme throughout your home.
Integrating Technology
For a futuristic touch, consider integrating technology into your backsplash. This could include LED lighting strips behind glass tiles or smart tiles that offer touchscreen controls. These features can provide added functionality and a modern aesthetic.
Mixing Materials and Textures
Combine different materials or textures to add depth and interest to your backsplash. For example, you could use a combination of glass and stone tiles or mix smooth and textured ceramic tiles for a dynamic look.
Backsplash Installation Techniques and Considerations
Proper installation will ensure a beautiful and long-lasting backsplash. Here’s what you need to know about the process.
DIY vs. Professional Installation
While installing a backsplash can be a DIY project for homeowners with some experience, complex designs or materials may require professional installation. Consider your skill level, the project’s complexity, and your available time when deciding whether to hire a pro.
Preparing the Surface
Before you can install your backsplash, you need to prepare the surface. The wall should be clean, dry, and free of any grease or debris. For most kitchen backsplashes, you can apply tile directly to drywall using a premixed adhesive called mastic.
Applying Adhesive and Setting Tiles
When applying adhesive, use a notched trowel to create even ridges. Press tiles firmly into the adhesive, using spacers to maintain consistent grout lines. For heavier tiles or those without a flat back, you may need to apply additional adhesive to ensure they stick properly.
Grouting and Sealing
After the tiles are set, the next step is grouting. Choose a grout color that complements your tiles and apply it using a rubber float. Once the grout has cured, applying a sealer can help protect both the grout and the tiles from stains and moisture.
To learn more about the installation process, check out our guide on how to install a simple tile backsplash.
Maintaining Your Backsplash
Proper maintenance will keep your backsplash looking great for years. These tips will help you do it right:
- Over time, grout lines may become dirty or damaged. Regularly inspect your backsplash and touch up grout as needed. Promptly address any cracks or chips in the tiles to prevent further damage.
- Some materials, like natural stone and grout, require periodic sealing to prevent staining and water absorption. Follow manufacturer recommendations for sealing frequency and products.
- You can clean most backsplash materials with a mild detergent and water. For tougher stains, use cleaners specifically designed for your backsplash material. Avoid abrasive cleaners that could scratch or damage the surface.
Cost Factors and Budgeting for Your Backsplash Project
The cost of a backsplash project can vary based on materials, size, and installation complexity. Basic ceramic tiles might cost as little as $3 per square foot, while high-end materials like custom metal or hand-painted tiles can exceed $100 per square foot. Factor in additional costs for adhesives, grout, and tools if you’re doing it yourself or labor costs if hiring a professional.
Budgeting Tips
To keep costs under control, consider the following budgeting tips:
- DIY: If you have the skills, consider tackling the installation yourself to save on labor costs.
- Mix and match: Use a combination of high-end tiles and more affordable options to create a custom look without breaking the bank.
- Plan ahead: Determine your budget before starting your project to avoid overspending.
Kitchen Backsplash: Our Conclusion
A well-chosen backsplash can transform your kitchen, adding both style and functionality. Whether you opt for classic ceramic tiles, sleek glass, or unique metal designs, your backsplash is an opportunity to express your style and enhance your kitchen’s overall aesthetic.
Consider your kitchen’s style, your budget, and your maintenance preferences when making your decision. Remember that while trends come and go, the best backsplash for your kitchen is one that you’ll love for years to come.