We may be compensated if you purchase through links on our website. Our team is committed to delivering honest, objective, and independent reviews on home products and services.
Caulking a bathtub helps protect it against water damage and mold growth. With the right tools and techniques, you can achieve a professional-looking finish that protects your bathroom for years to come.
In this guide, This Old House general contractor Tom Silva shares his expertise on proper caulking techniques. He’ll show you how to select the appropriate caulk type and use proper application methods to guarantee a watertight seal.
Tools and Materials
Caulking a bathtub is a relatively simple job, requiring only a few tools. Once you’ve chosen the caulk, gather the following:

Choosing The Right Caulk
The best caulks for tubs, sinks, or shower stalls come in tubes labeled “Tub and Tile” or “Kitchen and Bath.” These caulks are either acrylic latex or silicone compounds chemically formulated to resist mildew and adhere to smooth, nonporous surfaces. However, they have distinct benefits and disadvantages. We explain each option below.
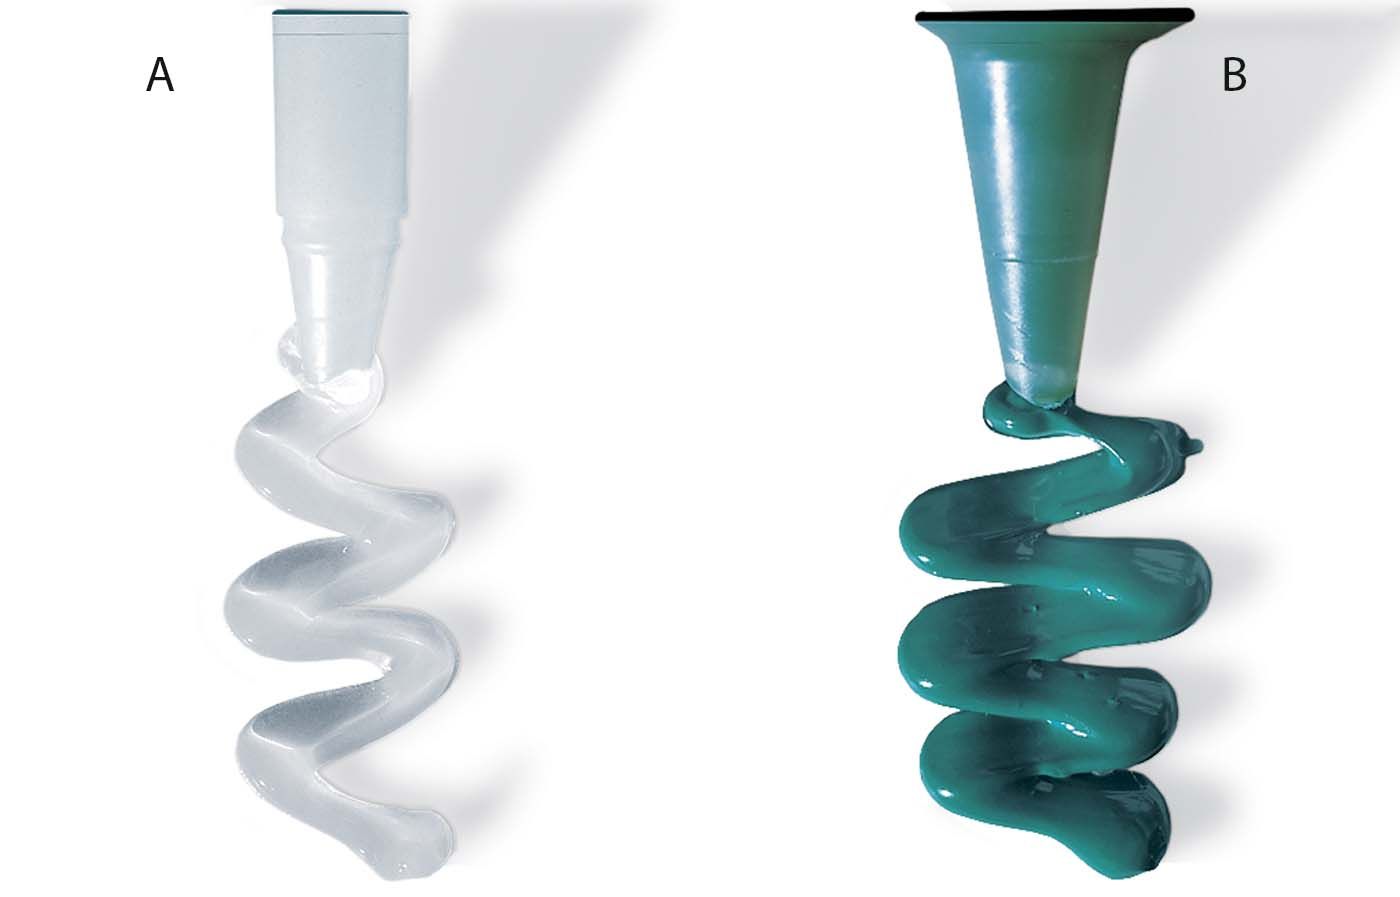
Silicone
This type of caulk is strong, waterproof, and flexible. However, it is difficult to smooth, requires mineral spirits for cleanup, and emits a strong odor until it’s fully dried. It also leaves a residue that is difficult for anything, including new silicone, to stick to.
As a result, surfaces that were previously sealed with silicone should be scrubbed with an abrasive pad soaked in mineral spirits. Silicone caulk is available in only a few colors, which include clear, white, and almond.
Acrylic Latex
Compared with silicone, this type of caulk is more forgiving. It is easy to smooth, can be cleaned up with water, and has little to no smell. Although it shrinks more and dries harder than silicone, meaning it may need to be replaced sooner, the replacement process should be quicker. Acrylic latex caulk is available in various colors to match sink and tub glazes.
How To Remove Old Caulk
Here’s how to remove the old caulk and prepare the bathtub for the new application.
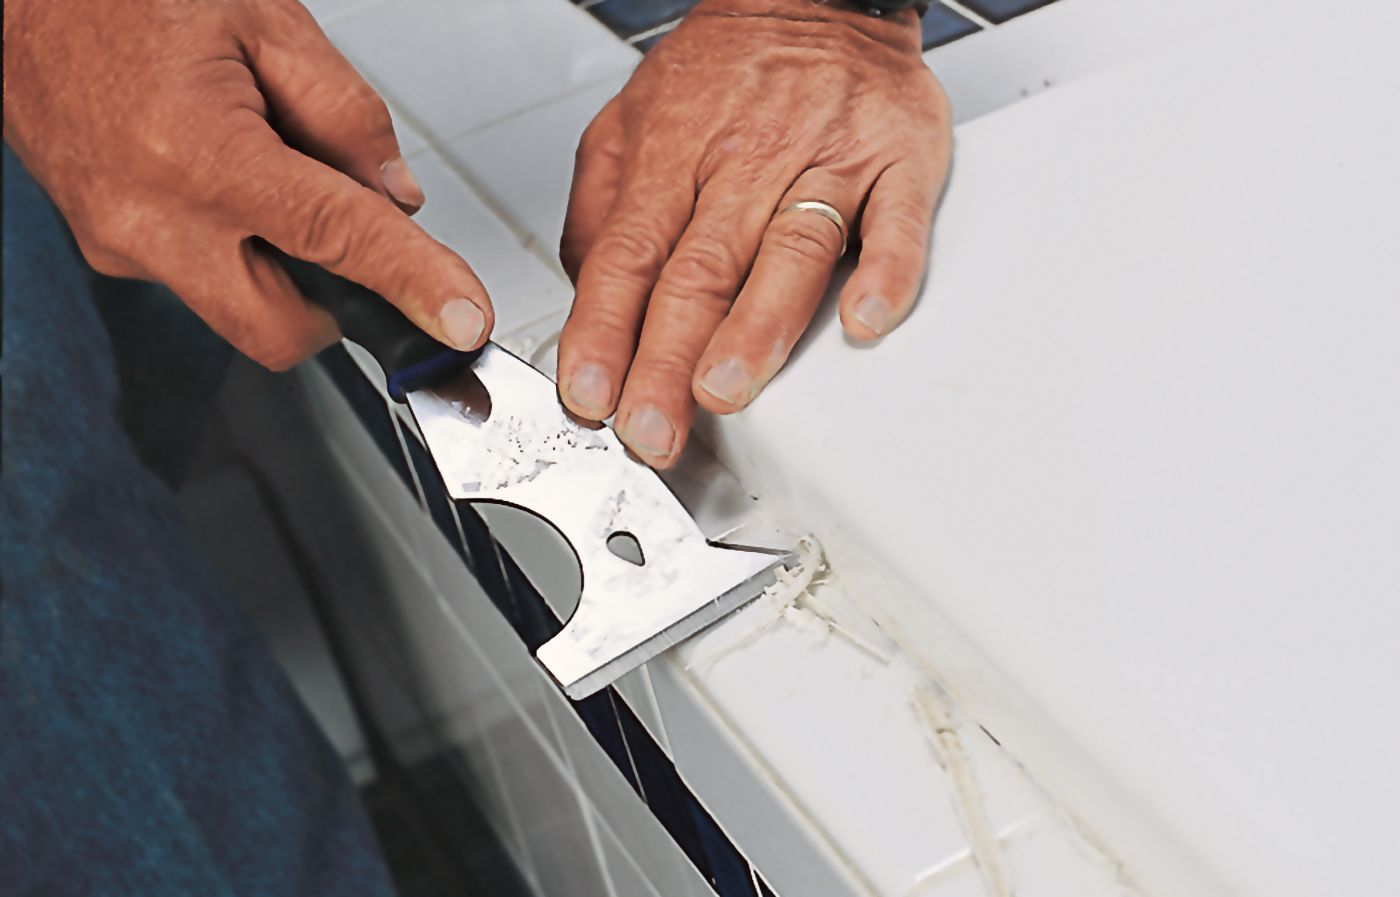
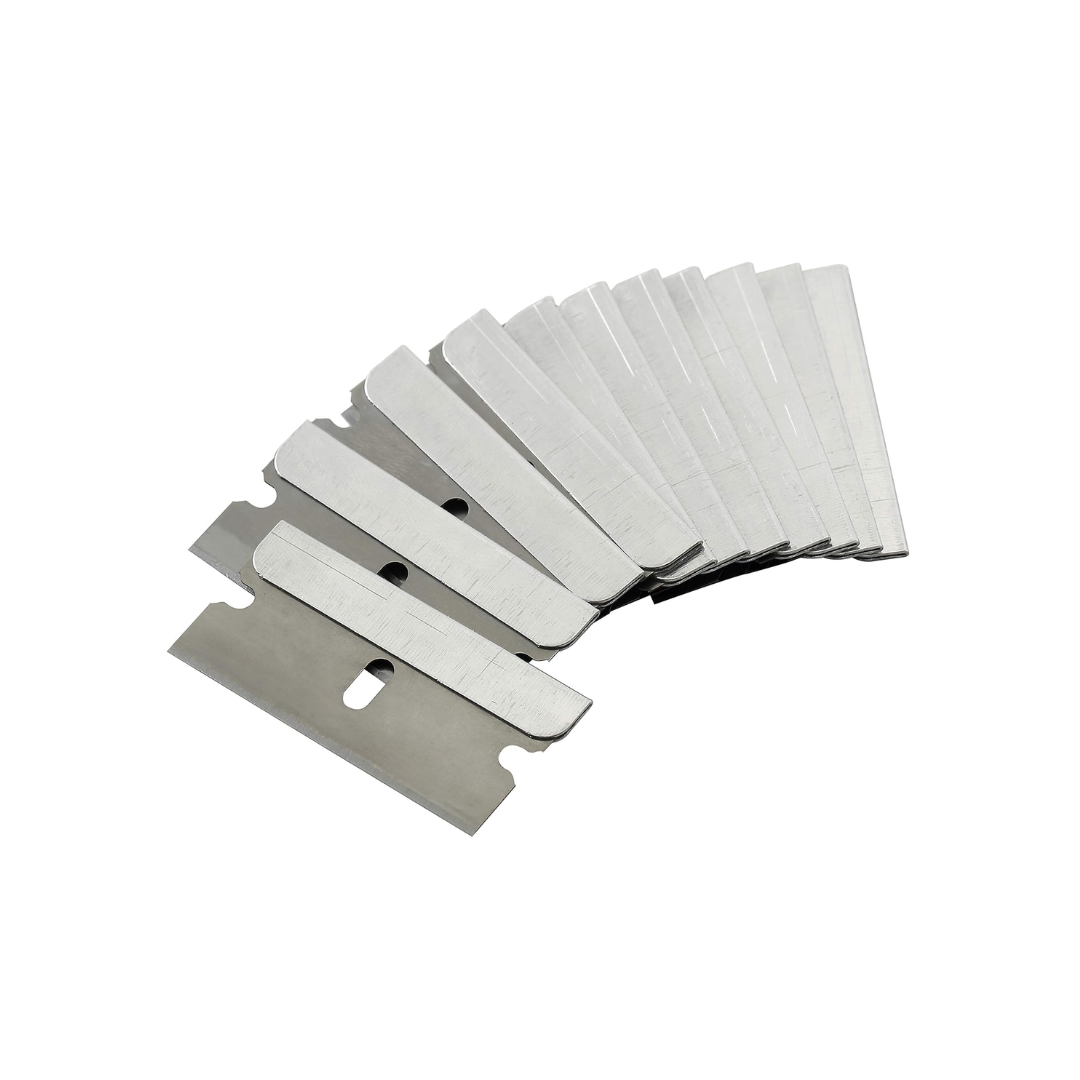
Cover the bathtub with a drop cloth to protect it from scratches and debris. Then, use a razor scraper or utility knife to carefully cut away the old caulk. Keep the blade at a low angle to avoid damaging the tub or tile surfaces.
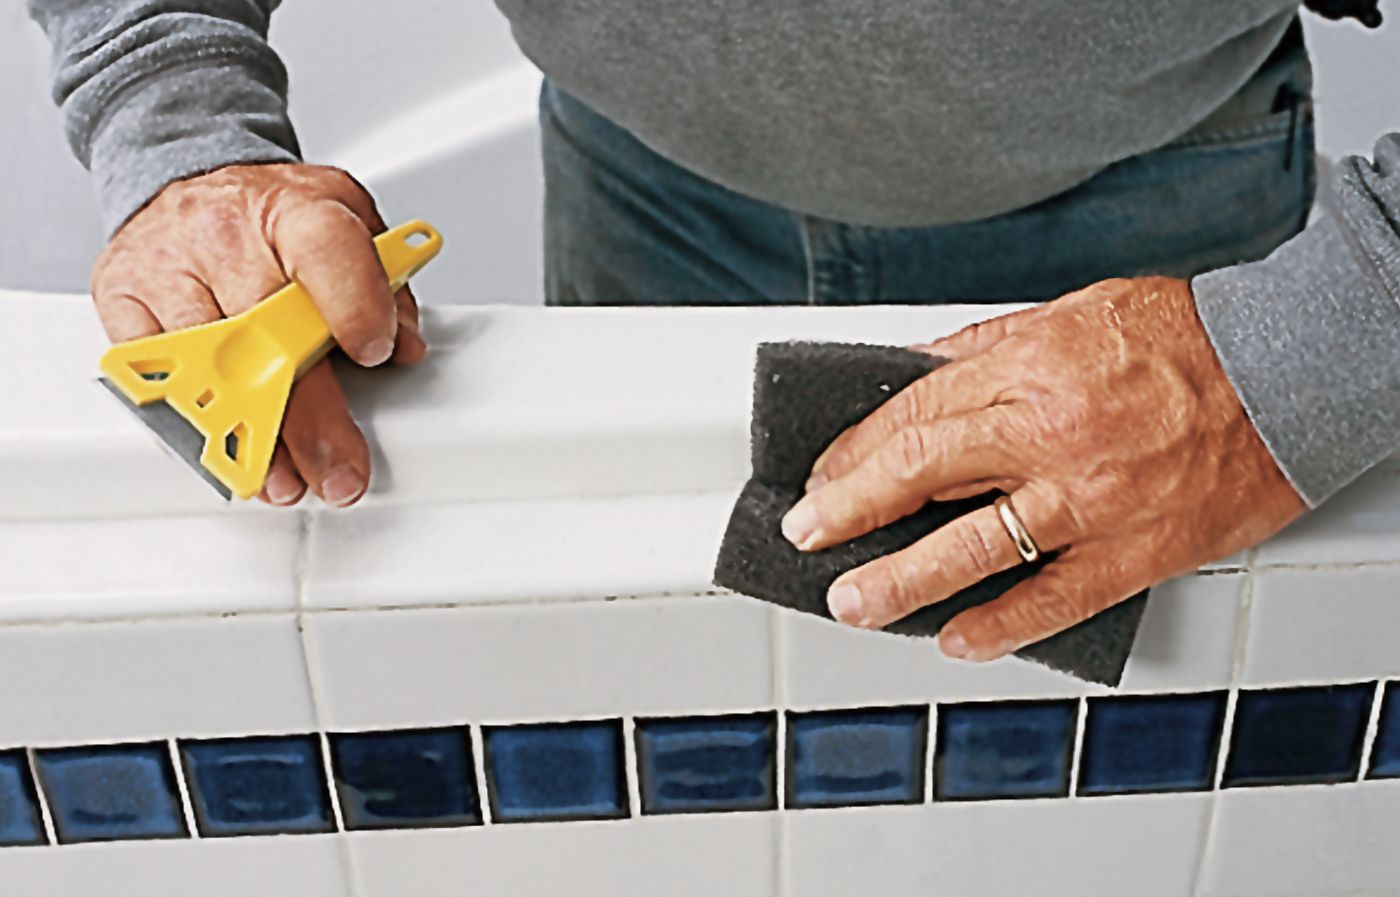
Remove all traces of old caulk, including any residue left behind. After removing the old caulk, clean the area thoroughly. Wipe down the joint with rubbing alcohol to remove any remaining residue, and then use a clean, dry rag or paper towel to dry the area. Allow the area to air dry for at least 30 minutes before applying the new caulk.
How To Apply New Caulk
Follow the steps below to apply your new caulk.
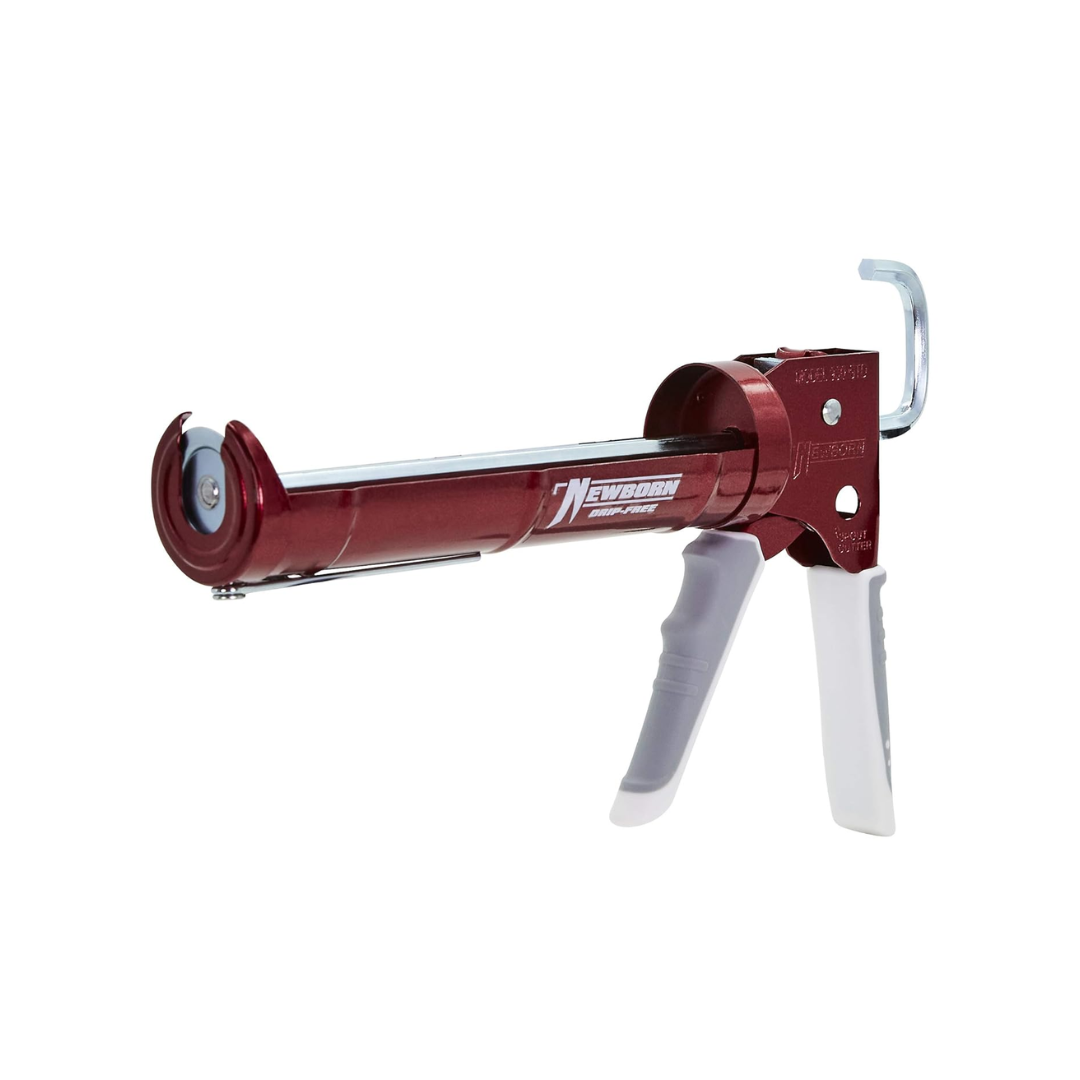
Step 1: Prepare the Caulk Gun
Cut the nozzle of the caulk tube at a 45-degree angle. Make sure the opening is small, about 3/16 inch in diameter. Pierce the inner seal of the tube using the wire tool on the caulk gun. Load the tube into the gun and apply slight pressure to the trigger to verify the caulk flows smoothly.
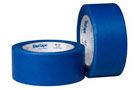
Step 2: Apply Painter’s Tape
Apply parallel strips of painter’s tape about 3/8 inch apart along the tub and wall. This creates a guide for your caulk bead and prevents excess caulk from spreading.
Step 3: Apply the Caulk
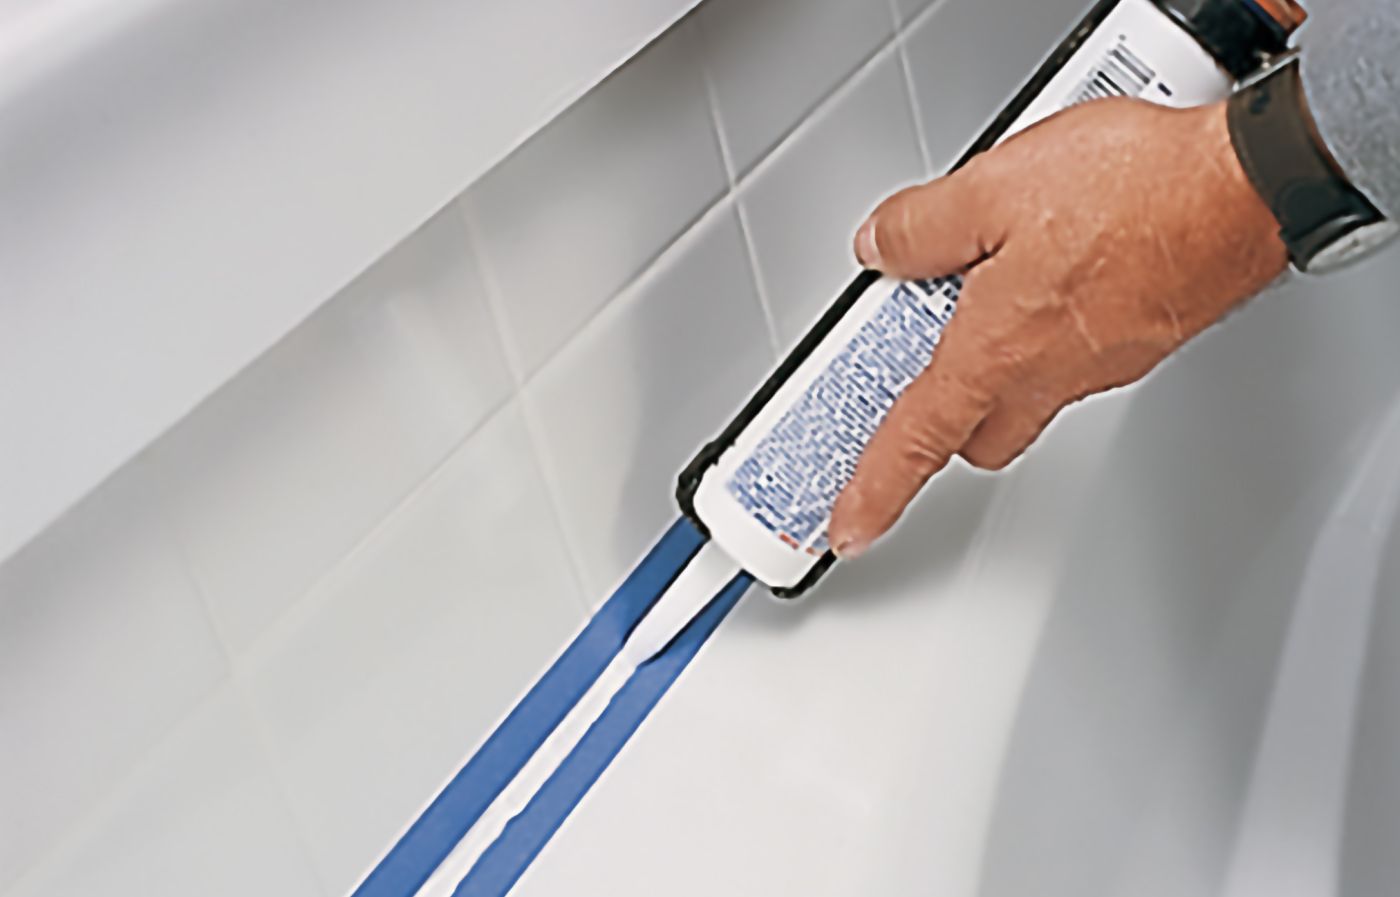
Hold the caulk gun at a 45-degree angle to the joint. Apply steady pressure to the trigger while moving the gun smoothly along the seam. Maintain a consistent speed to distribute an even bead of caulk, and fill the entire joint in one continuous motion if possible.
Step 4: Smooth the Caulk
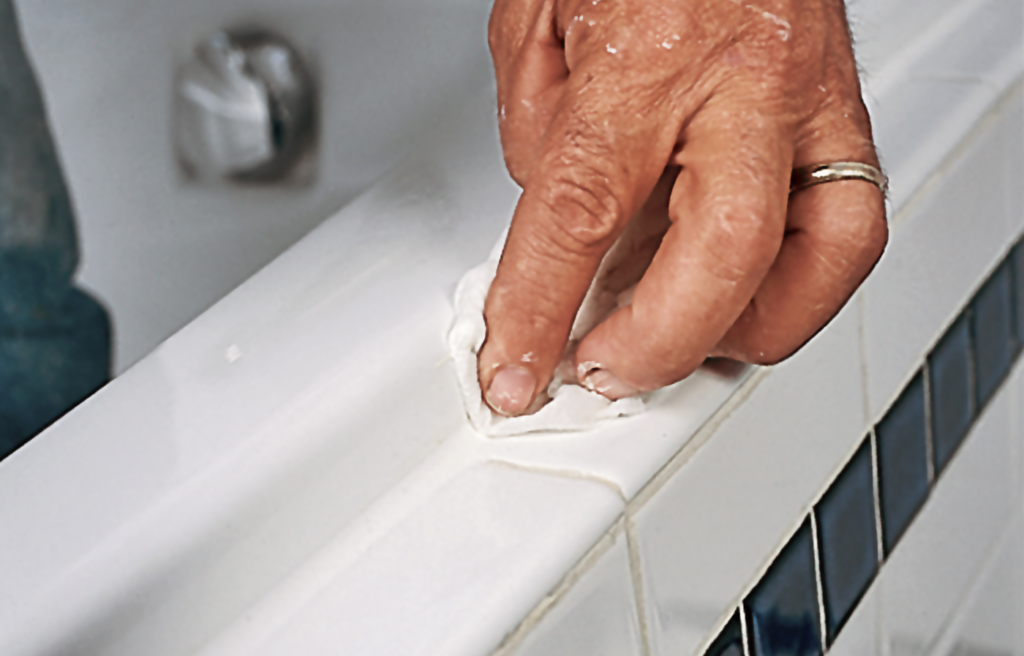
Using a damp lint-free rag or paper towel, run your finger along the caulk bead, applying gentle pressure. Move in one continuous motion to shape the caulk. Use the rag or paper towel to clean up any excess.
Step 5: Remove the Tape
Remove the painter’s tape immediately after smoothing the caulk, pulling it away at a 45-degree angle. Avoid touching the fresh caulk. If any caulk becomes misaligned, smooth the edges again with your finger.
Step 6: Allow the Caulk to Cure
Allow the caulk to dry for at least 30 minutes before exposing it to water, and avoid touching or using the bathtub for 24 hours to allow the caulk to cure.
Troubleshooting Common Caulking Issues
After completing your caulking project, you may encounter common issues such as gaps in the caulking lines and mold problems. Follow the recommendations below to address these issues.
Gaps and Voids
If you notice gaps or voids in your caulk line, you’ll need to repair them with new caulk. Cut away the affected section with a utility knife and clean the area thoroughly. Then reapply caulk, making sure to cover the joint completely.
Mold and Mildew
To prevent mold and mildew growth, make sure to use a mold-resistant silicone caulk. Keep the bathroom well-ventilated, and clean the caulk regularly with a mildew-resistant cleaner.
Maintain Your Caulked Bathtub
Below are maintenance tips to help you preserve the quality of your caulk application and safeguard against water damage.
Regular Cleaning
Clean your bathtub and caulk lines regularly:
- Use a non-abrasive bathroom cleaner.
- Avoid harsh chemicals that can degrade the caulk.
- Dry the area thoroughly after cleaning to prevent moisture buildup.
- Keep the bathroom well-ventilated.
Inspect for Damage
Periodically inspect your caulk lines for signs of cracking, peeling, or discoloration, as well as any gaps or separations between the caulk and surfaces. Addressing these issues promptly helps prevent water damage and maintains the effectiveness of your caulking.
Re-Caulk When Necessary
Over time, even the best caulking job may need touching up. If you notice any deterioration, be prepared to re-caulk the bathtub to maintain its protective seal. Follow the same steps outlined above to guarantee a neat and effective application.