Project details
Skill
Cost
Estimated Label
Kevin O’Connor heads to the shop where general contractor Tom Silva shows him how to build regulation cornhole boards. Starting with a few pieces of kiln-dried lumber and some interior plywood, Tom shows Kevin how to cut the front, back, and sides to regulate width and length. They then attach the plywood to the base, add legs, and cover the entire project with a finish and a pretty neat decal!
Cut List:
- (4) 48-inch 2x4s
- (4) 21-inch 2x4s
- (2) 24×48-inch sheets of ½-inch plywood
- (4) 11 ½-inch 2x4s
How To Build a Cornhole Board
Note: These steps are designed to create a set of two cornhole boards.
- Choose straight, kiln-dried 2x4s for the frame. This will prevent warping, uneven spots, or dead spots on the cornhole board. Also, choose interior-grade plywood as it is often the smoothest and flattest option available.
- Cut two 2x4x8’s in half. Measure 48 inches from one end and then 48 inches from the other end. Stack the boards perfectly evenly and then cut them on the miter saw, with the blade aligned between the marks.
- Cut four 21-inch pieces from a 2x4x8 on the miter saw. These pieces will serve as the fronts and backs of each board.
- Predrill the ends of each of the 48-inch long pieces. Measure in ¾-inch from the end of the board and ¾-inch in from each side of the board to find the ideal locations for screws in 2×4 lumber.
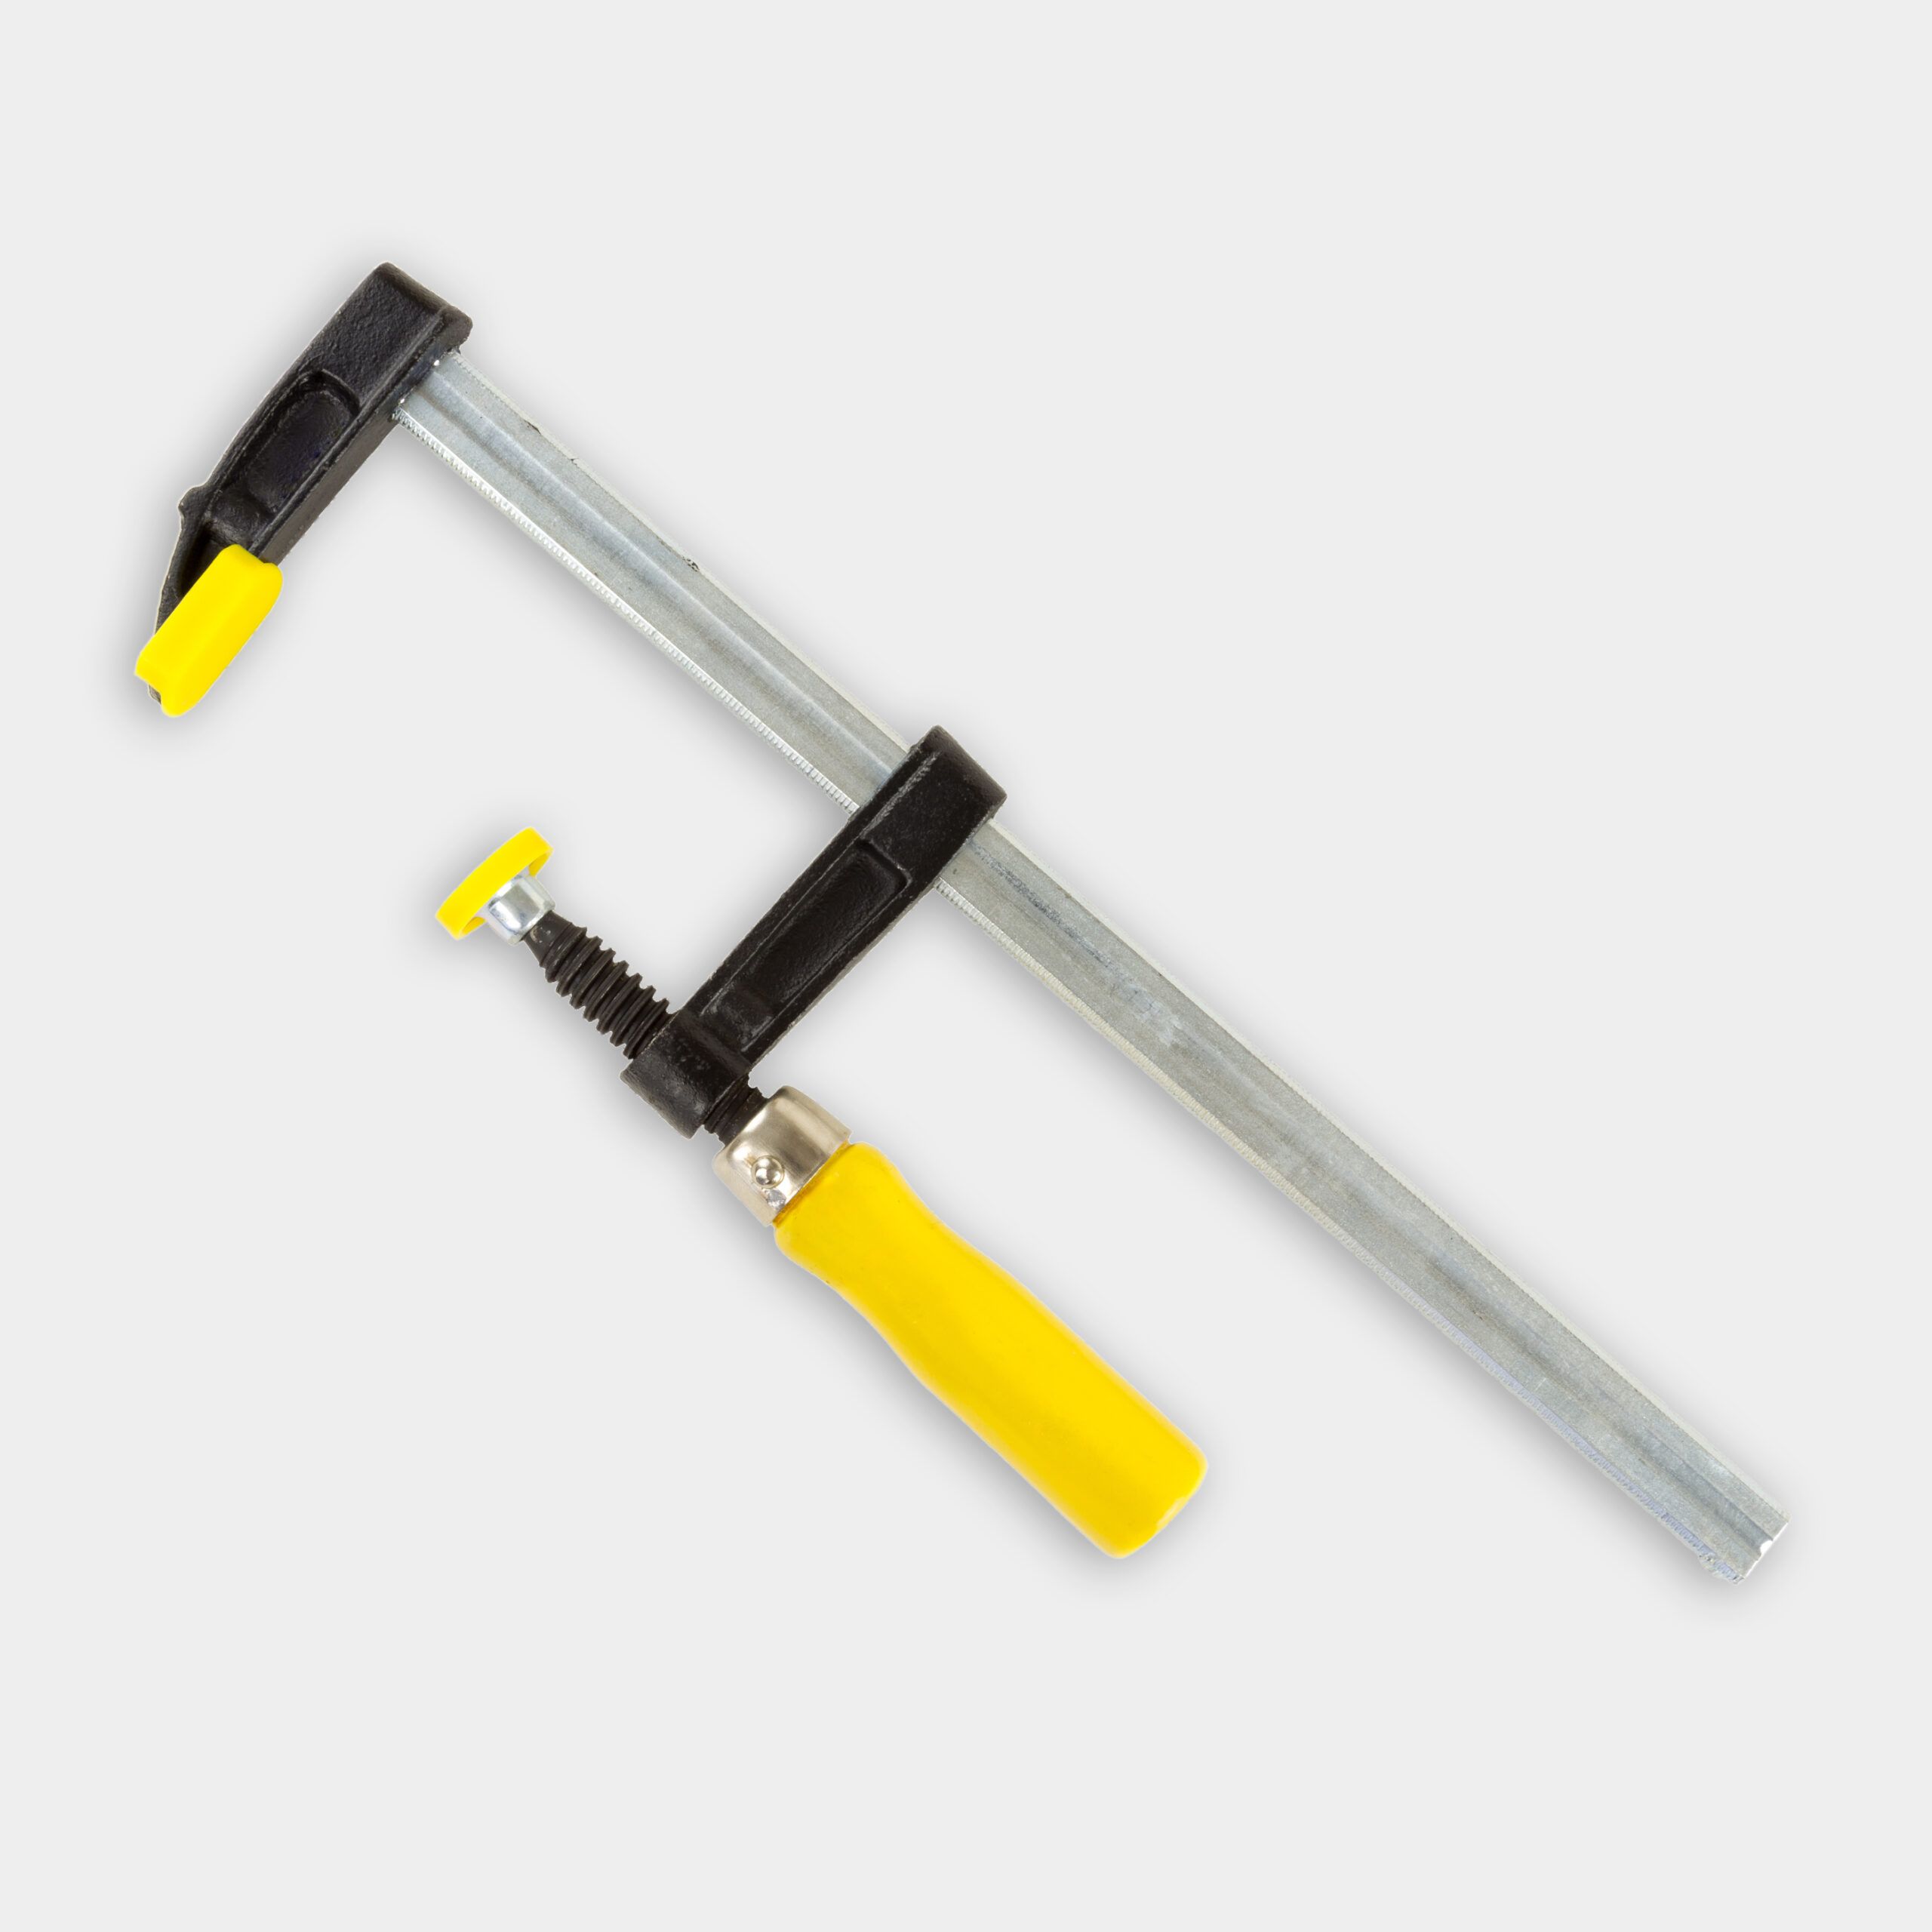
- Place the fronts and backs between the side pieces. Use 3-inch deck screws to attach all four pieces per frame. The result should be two rectangular frames.
- Place the plywood on top of the frames. Predrill and screw the plywood into the frame at each corner. Drill and screw three additional holes up each side and one in the middle of each end.
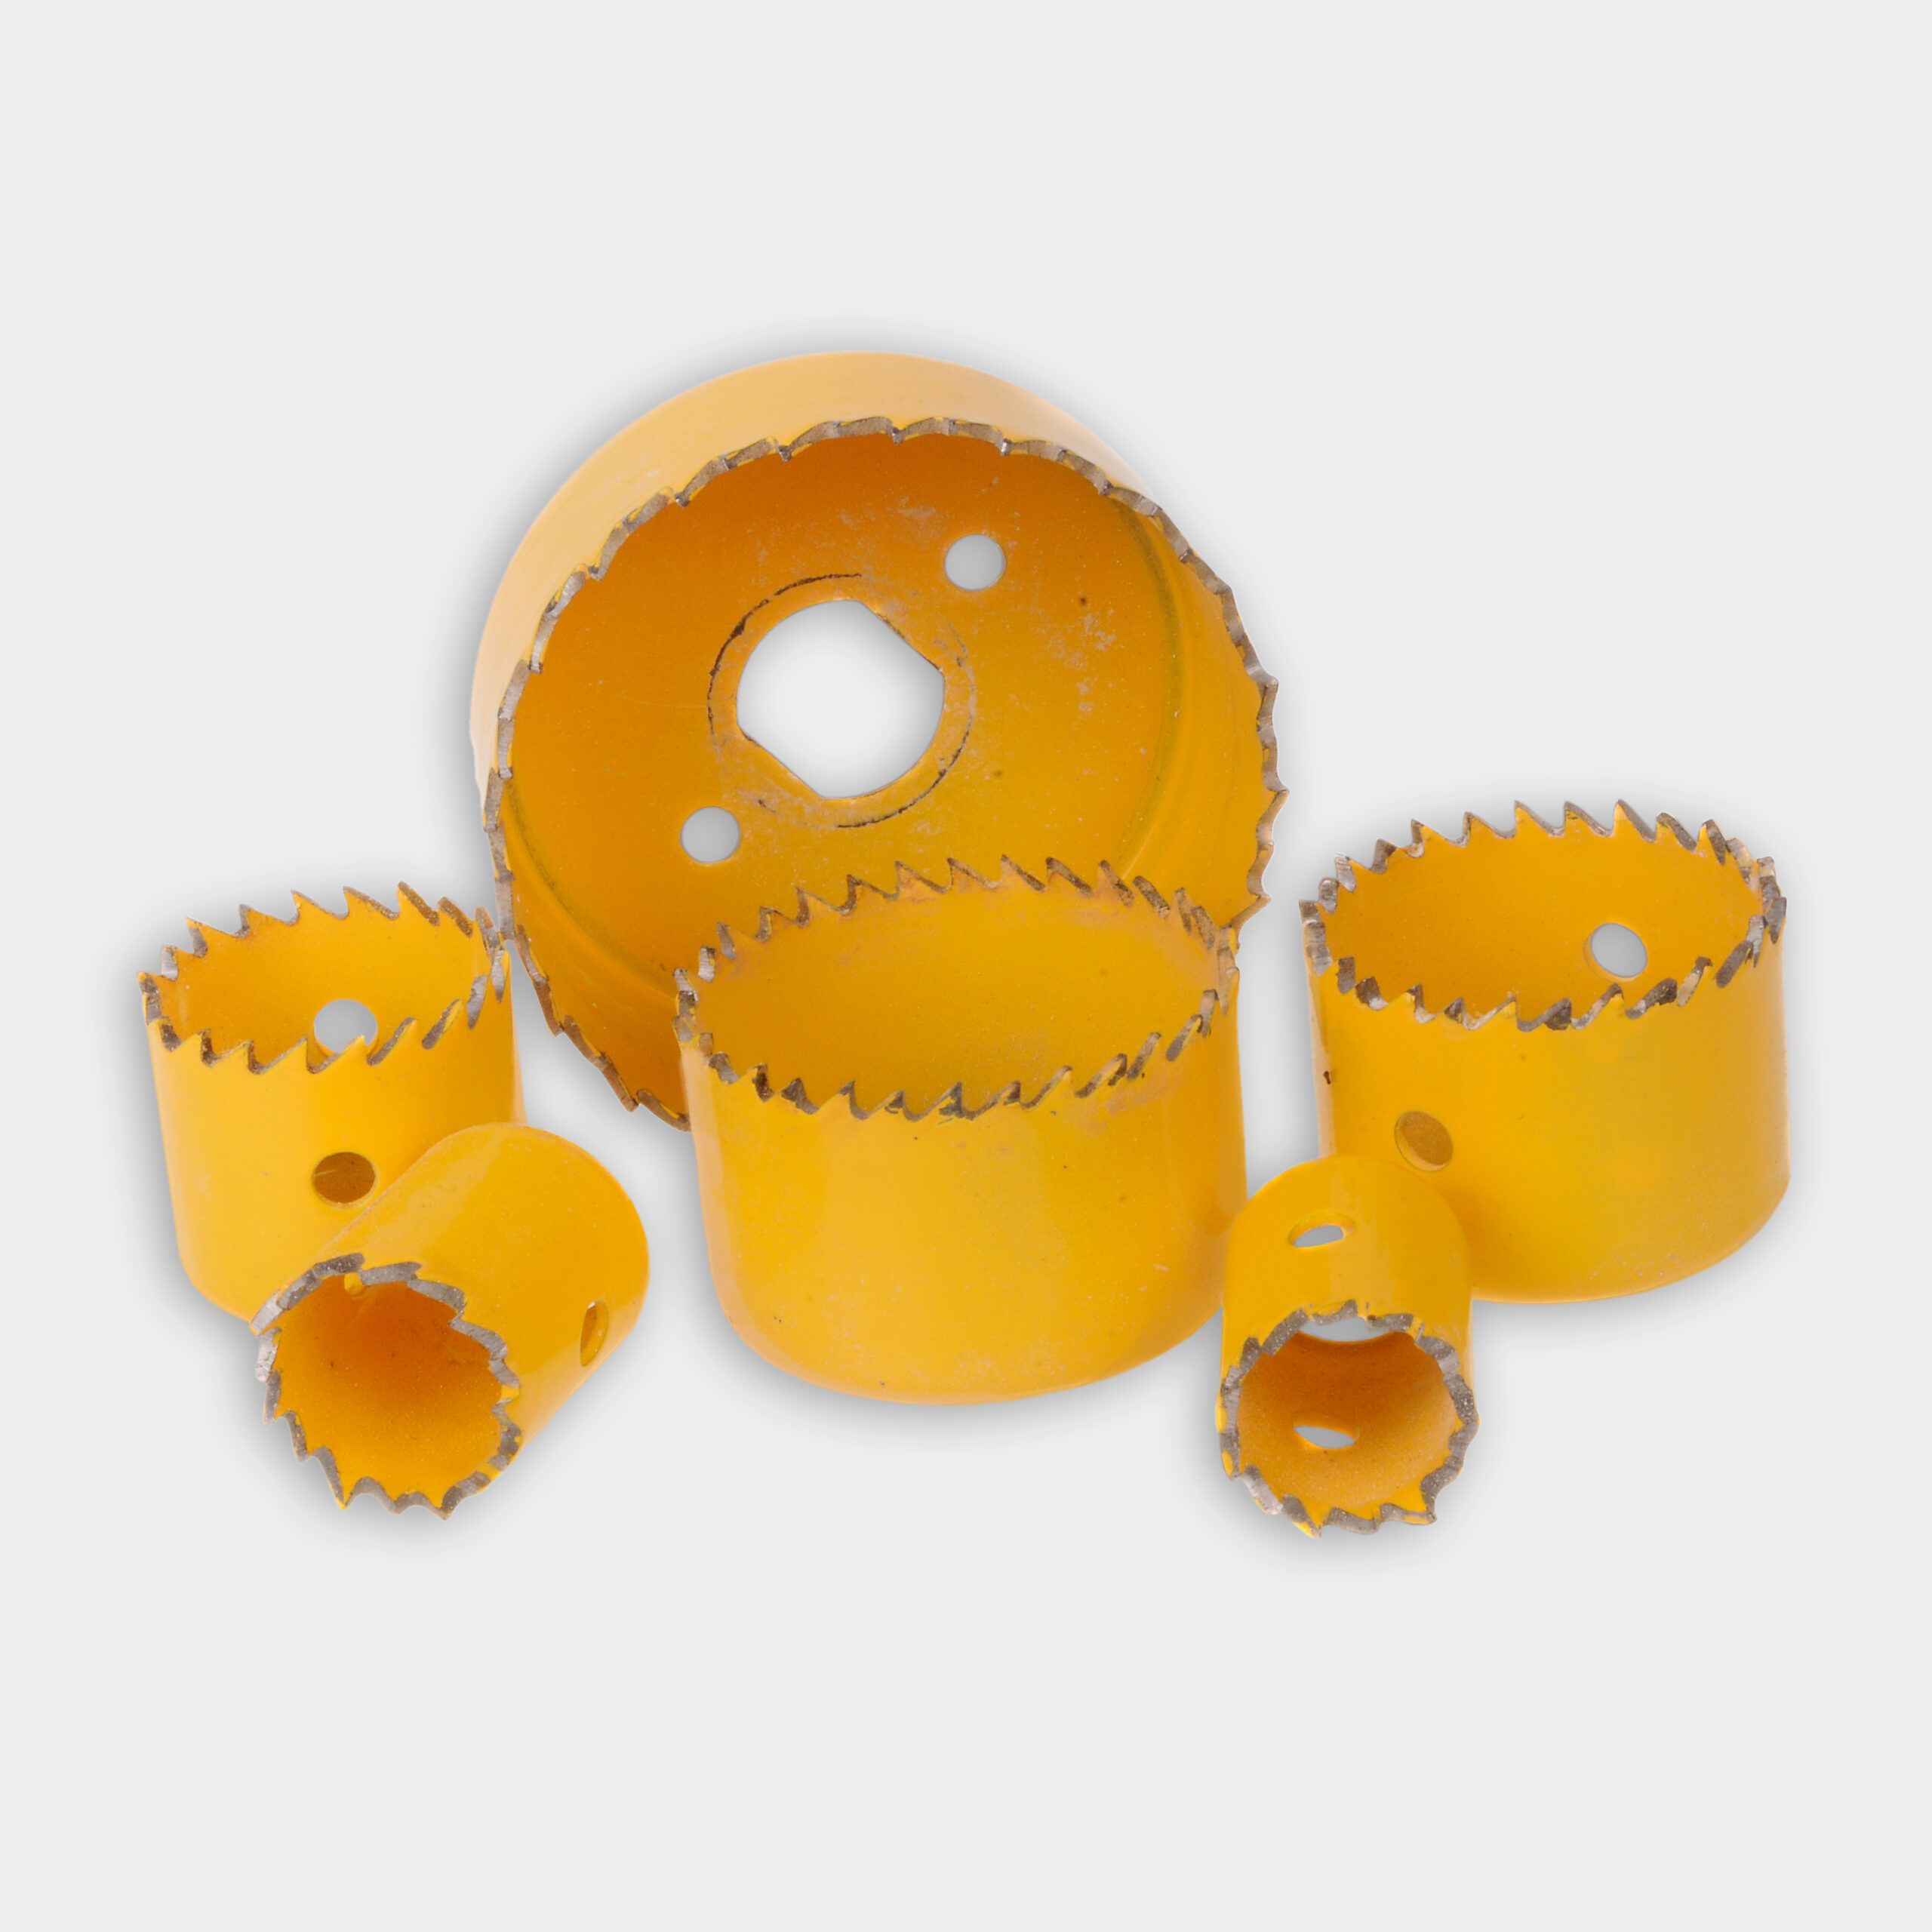
- Measure 9 inches from the end of one of the boards and make a mark. Then, measure 24 inches in from the side of the board and make a mark. Drill a pilot hole where these two marks intersect. Use the 6-inch hole saw to cut a 6-inch hole around this mark. Repeat on the other board.
- Cut 4 pieces of 2×4 to 11 ½ inches. Round one end of each board over with the jig saw and drill a hole in the middle.
- Place a leg in each corner and drill a corresponding hole for the carriage bolt. Cleat out the hole, install the carriage bolt, then the washer, then the board, then another washer, and finally the wingnut. The leg should move freely.
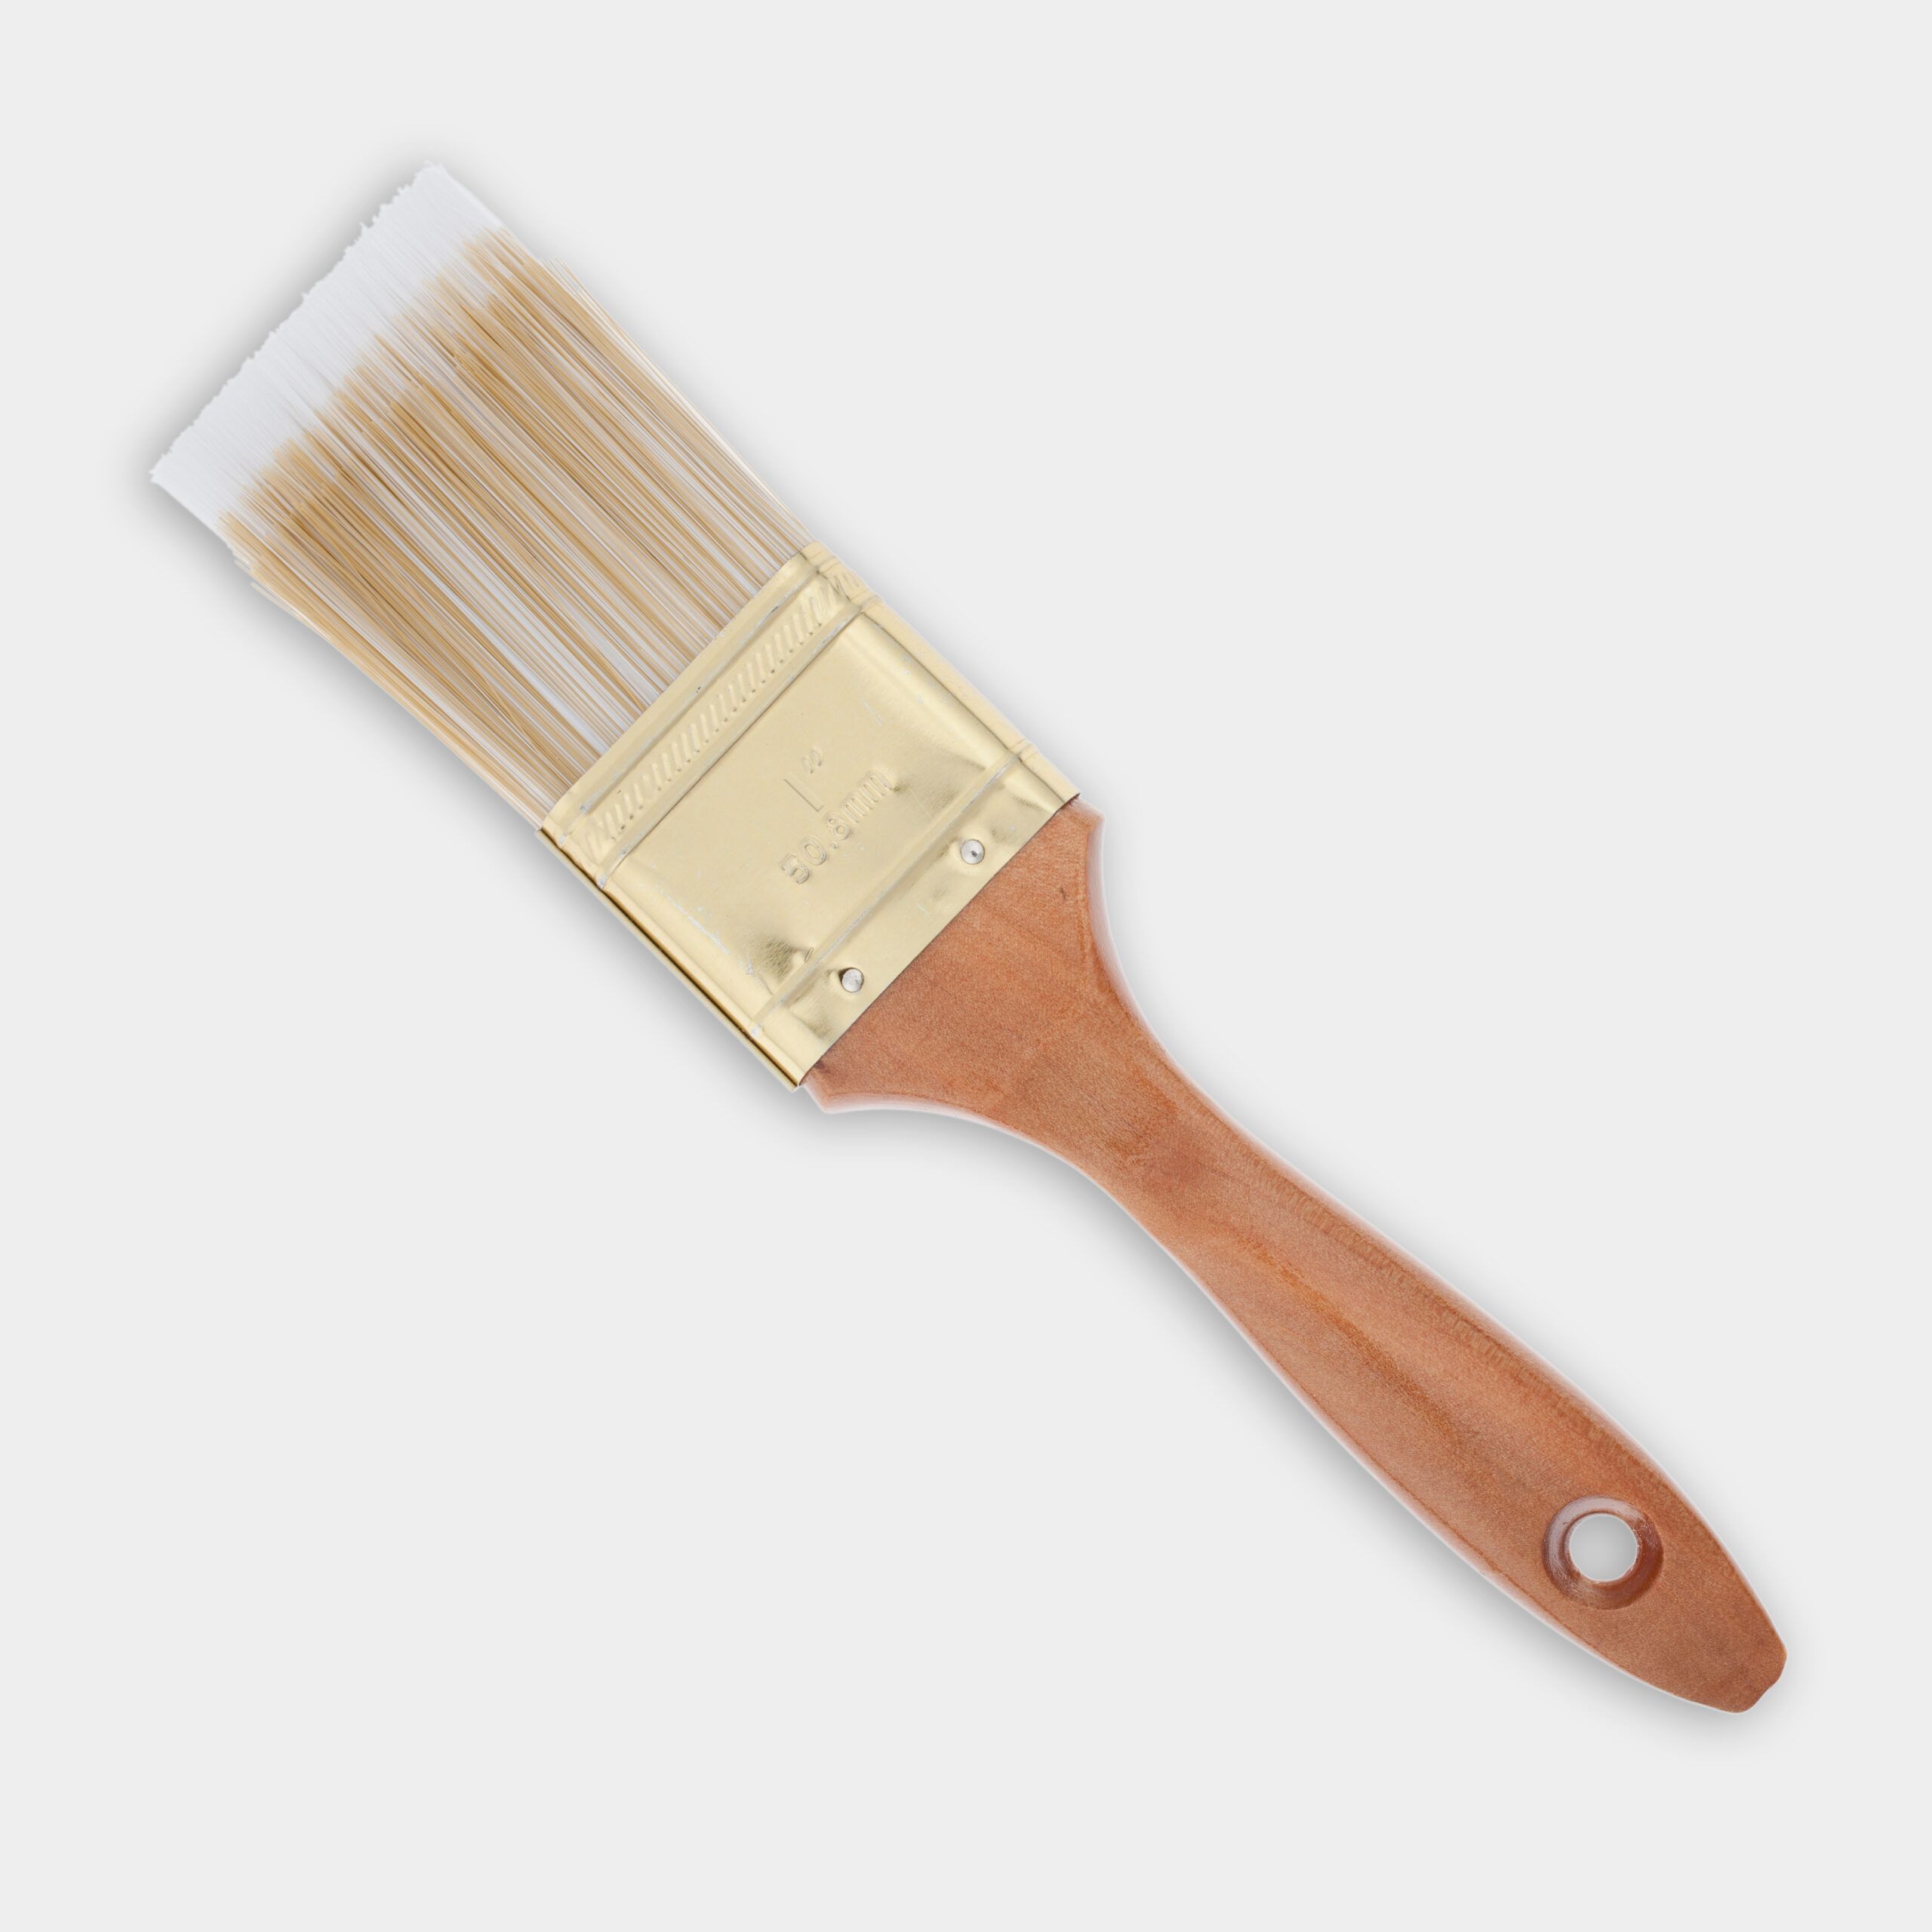
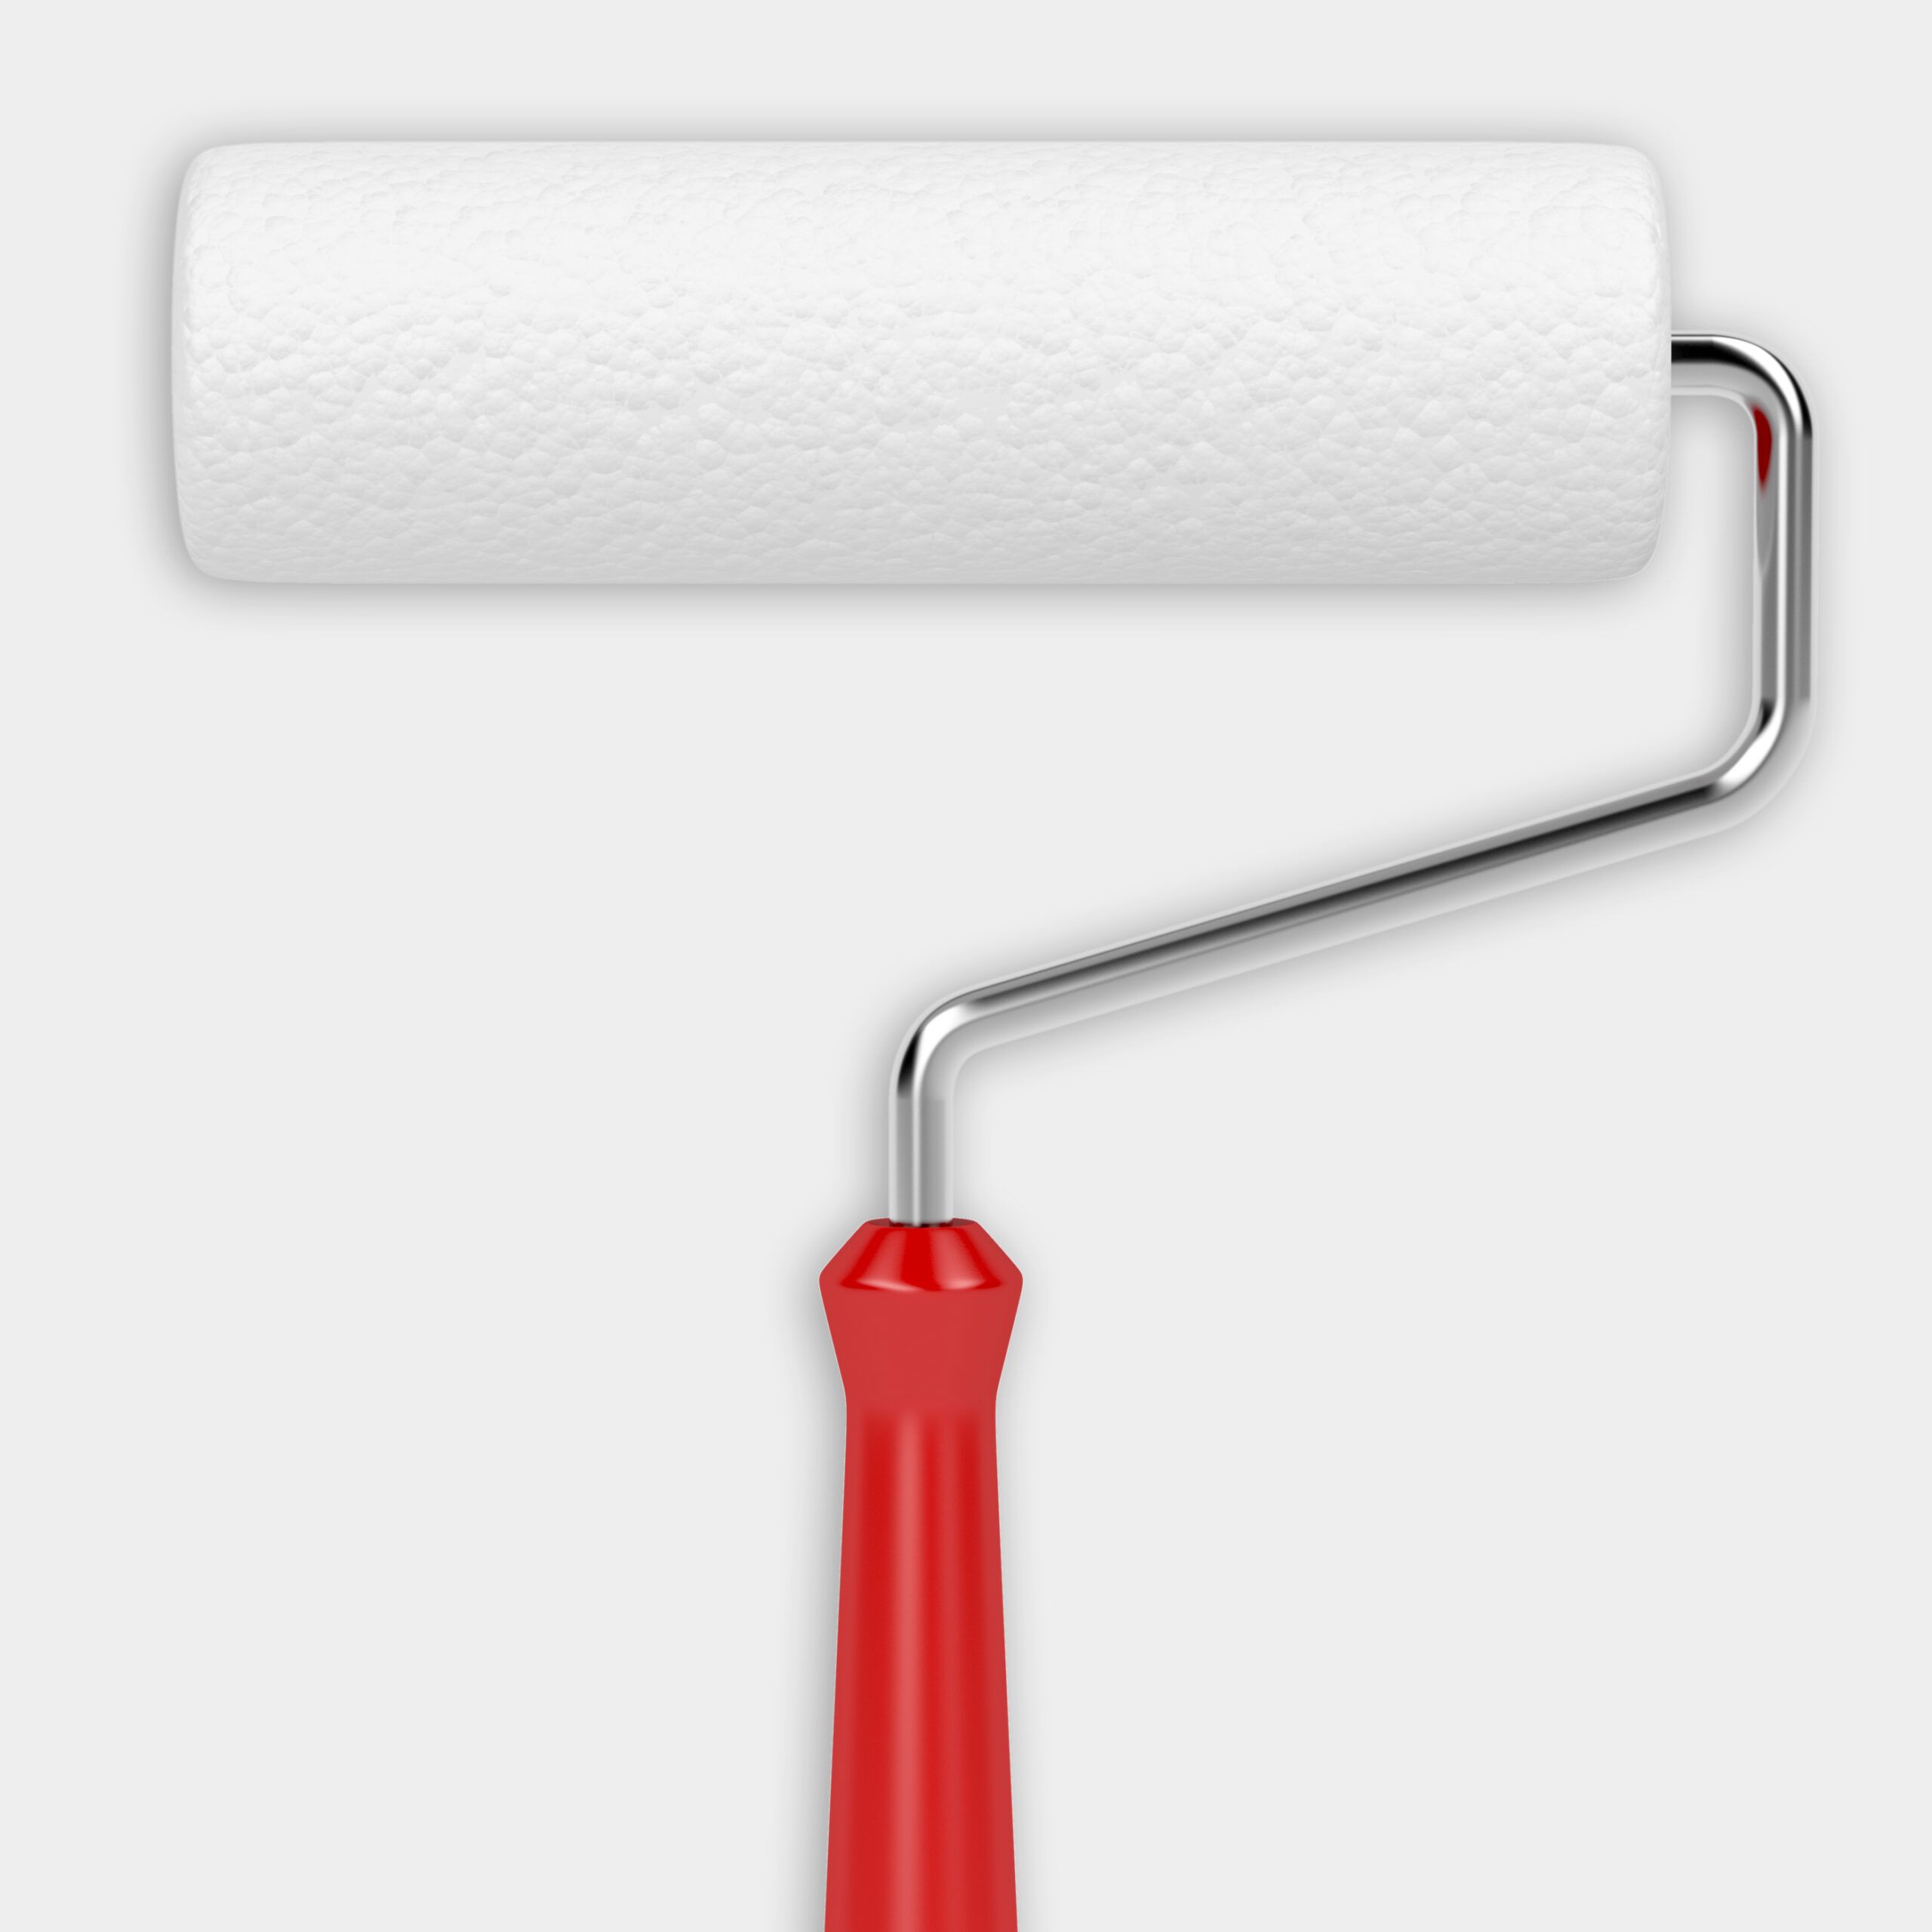
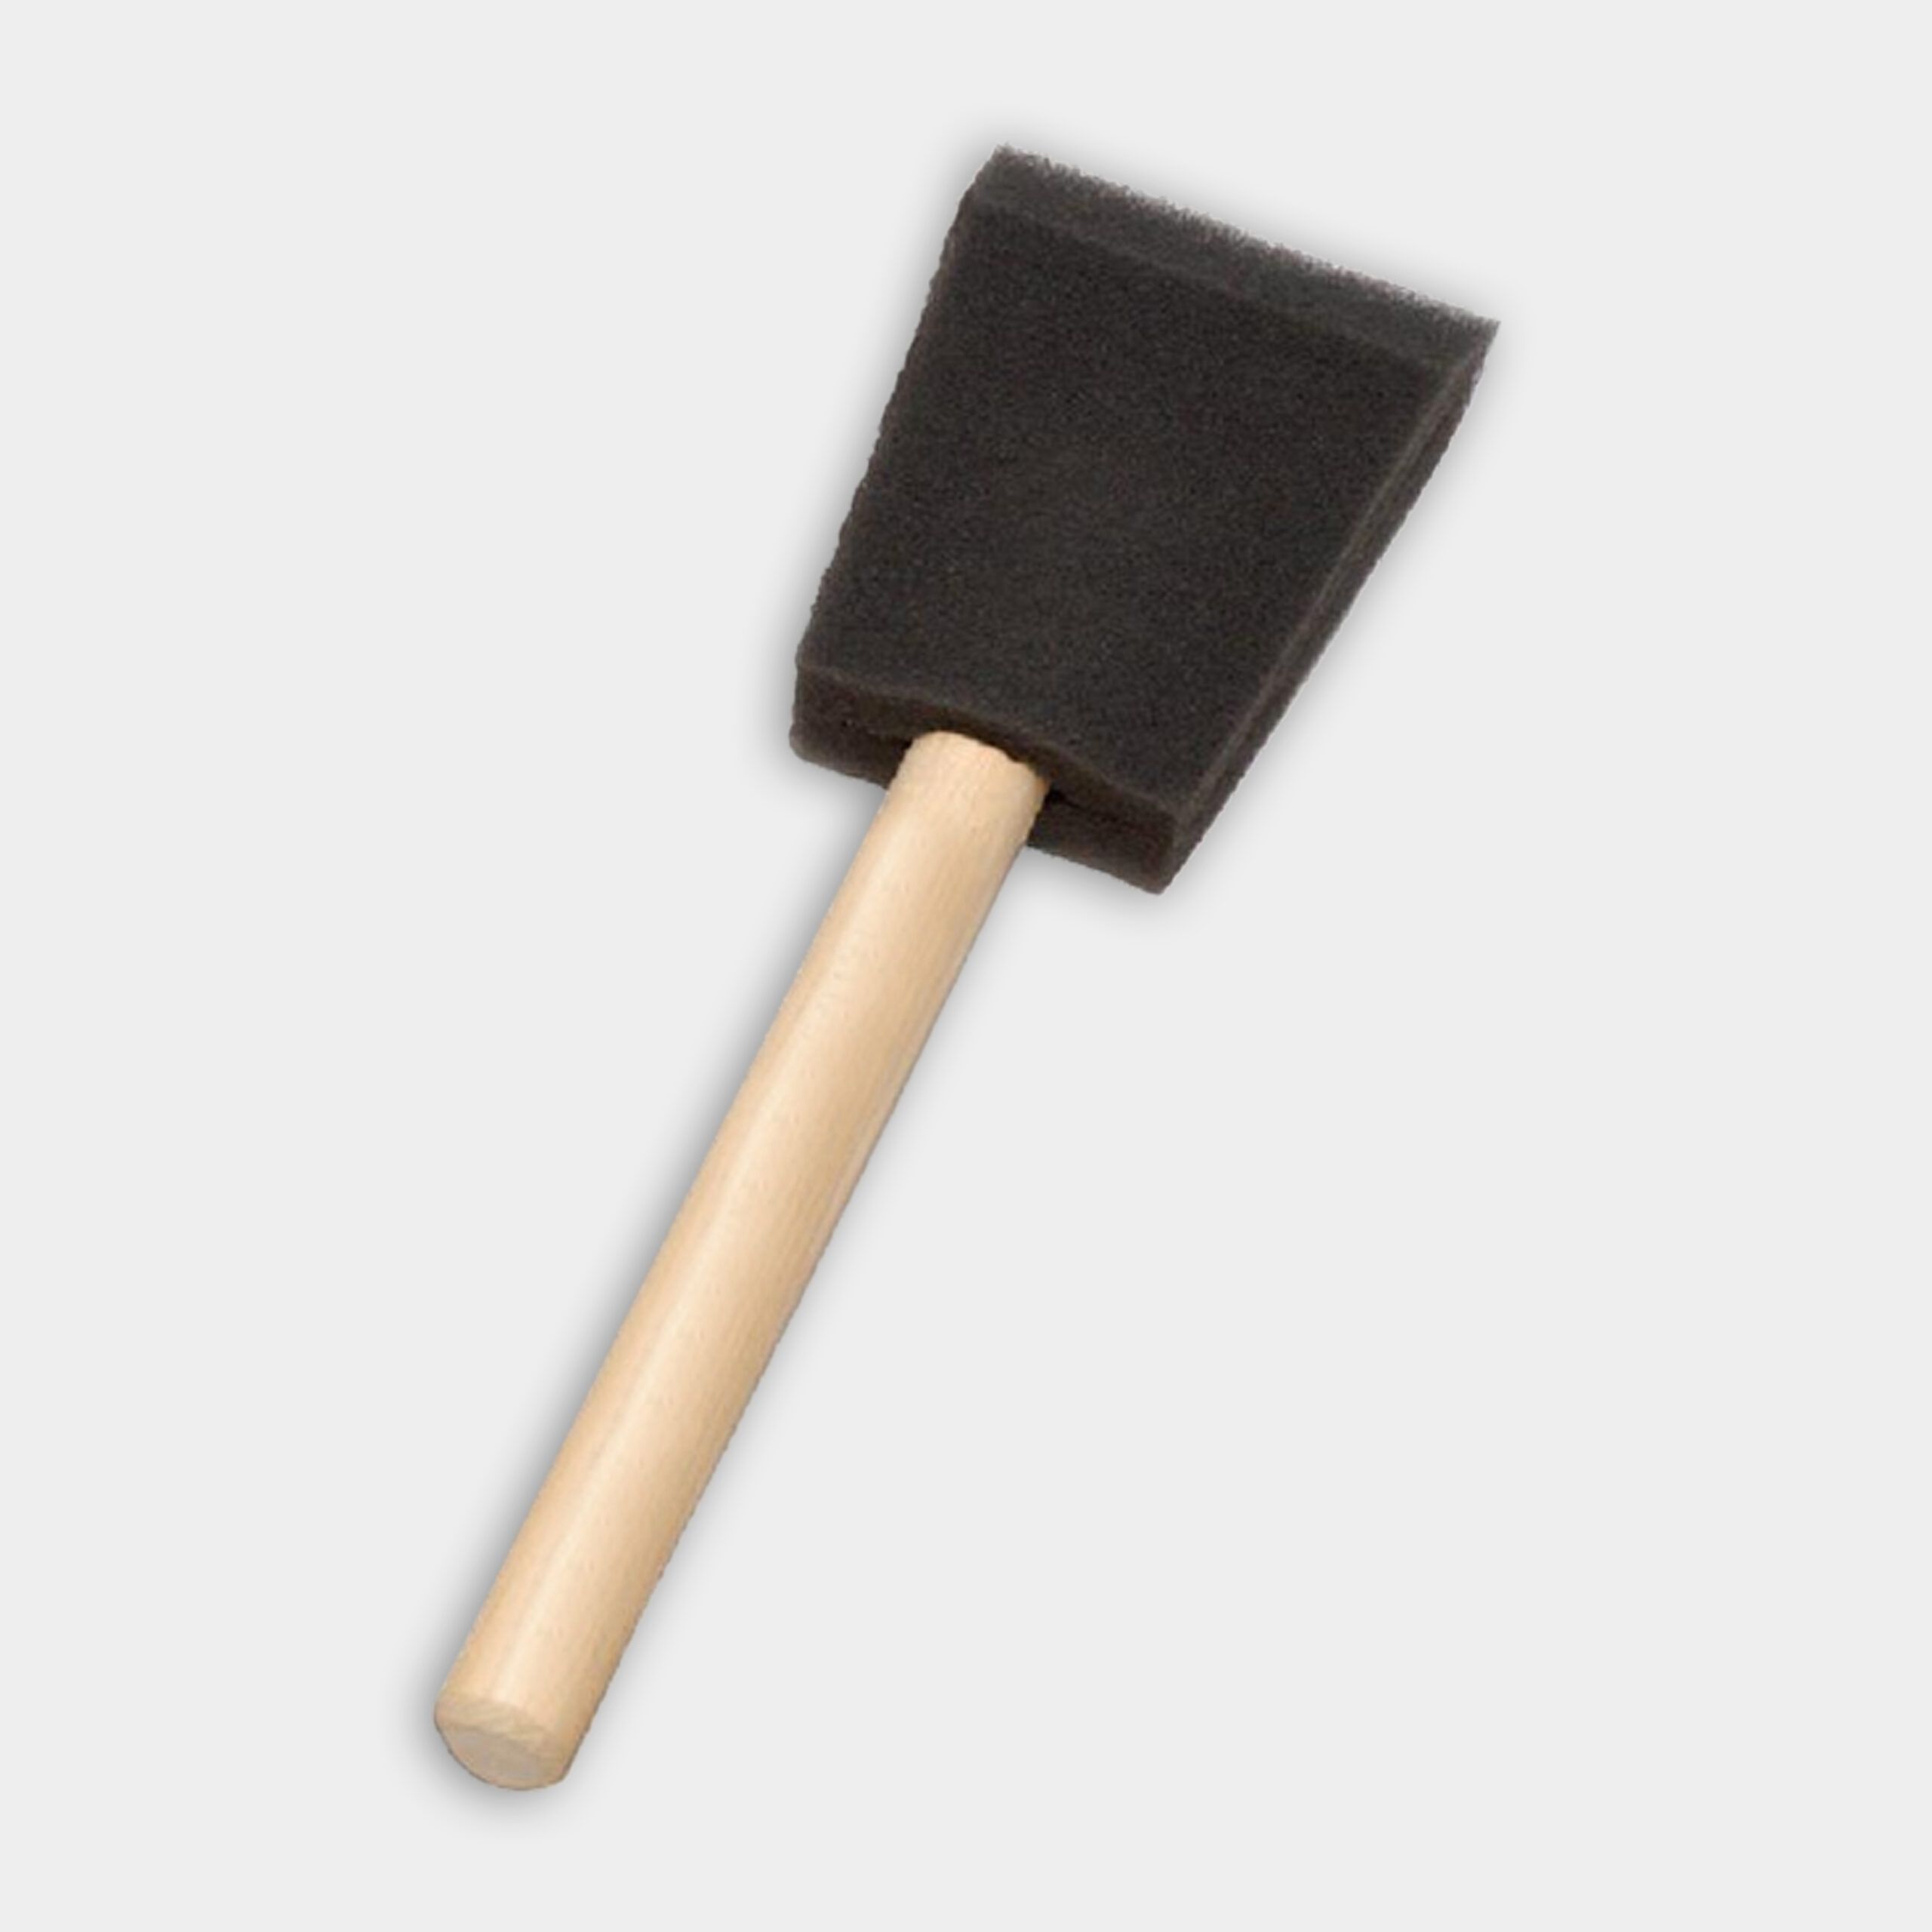
- Use a roller to apply a water-based urethane finish over the entire board, including the legs and frame. Allow it to dry before giving it a light sanding. If you have a decal, apply it now before applying another coat of urethane to finish it up.
Resources
Tom Silva and Kevin O’Connor build a simple corn hole game set using birch plywood and 2x4s, following the American Cornhole Association regulations.
Use 3-inch deck screws to fasten the 2x4s into a frame with the 21-inch pieces inside the 48-inch pieces to form a 2×4 foot box.
Fasten the plywood sheets onto the frame with 1-5/8 inch deck screws. To find the center point for the hole, measure 9 inches down from the top and 12 inches in from each side of the board. Using a 6-inch hole dozer bi-metal hole saw, cut out the center hole in the board. Use a jigsaw to make a full 3-1/2 inch radius cut on one end of each leg.
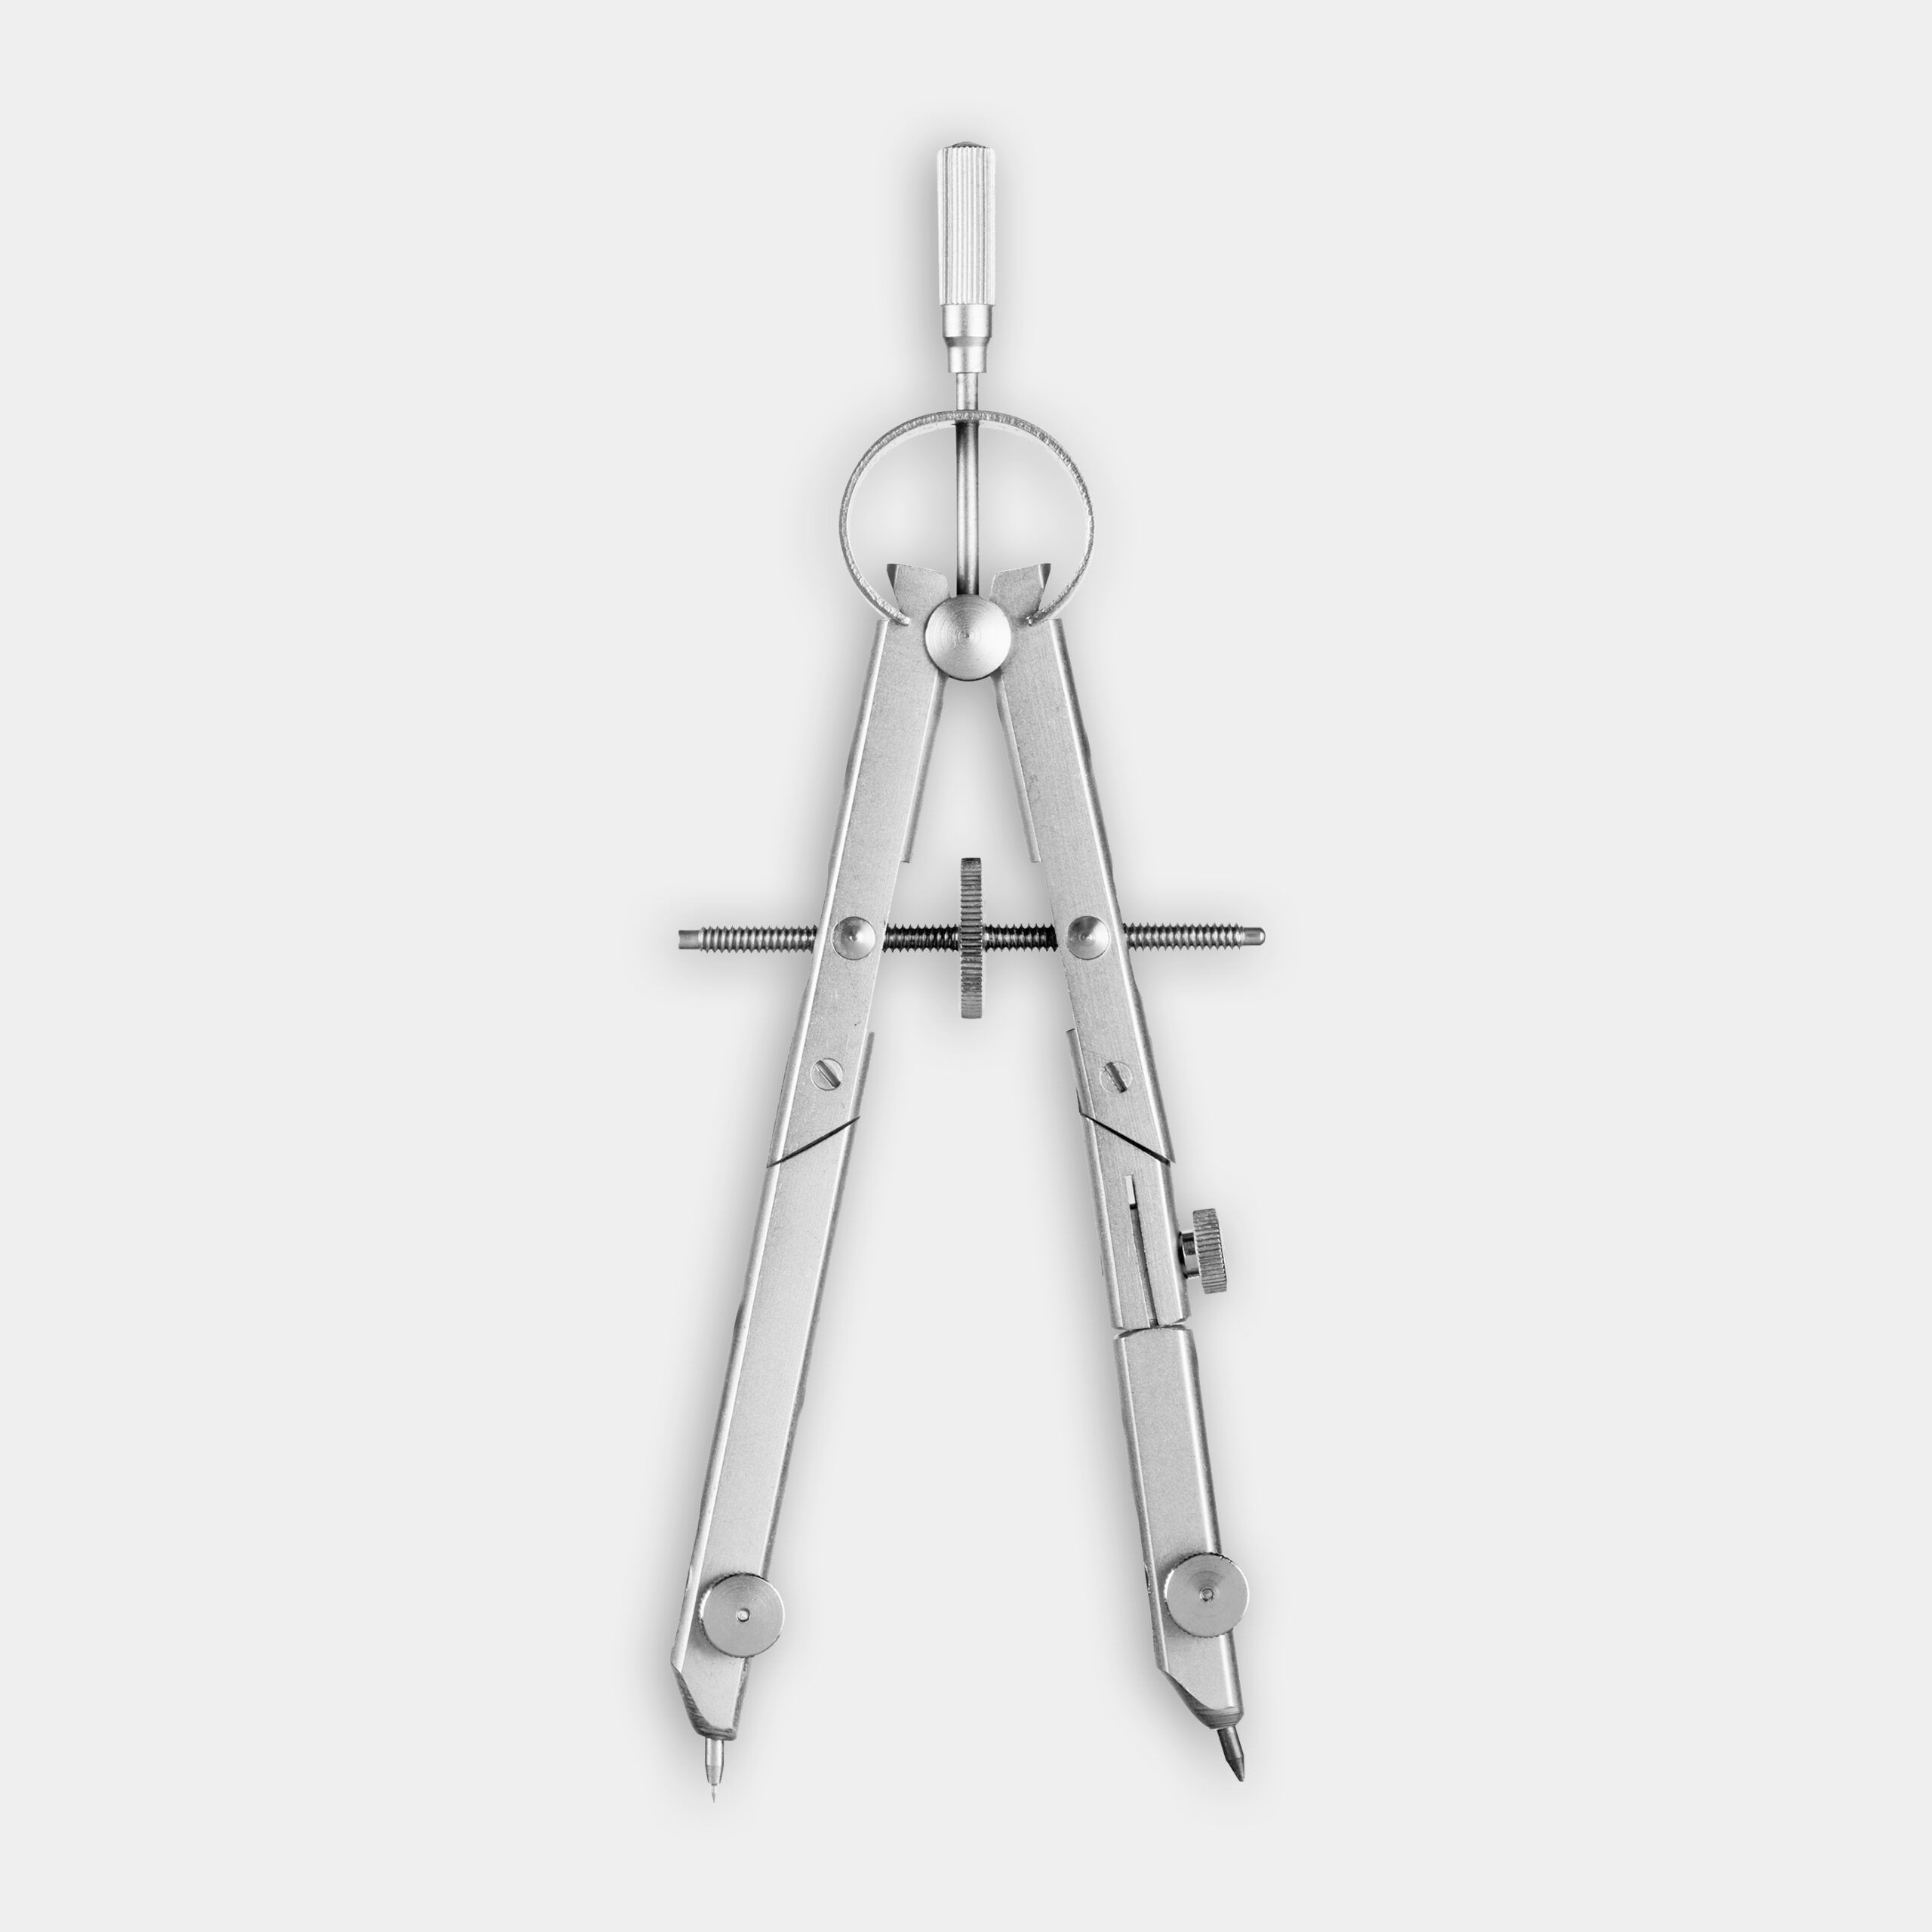
To make this cut, measure 1-3/4 inch down the length of the 2×4 and draw a line across it. Place a compass point centered on that line, then draw an arc. Turn the box upside down and lay a leg parallel, up against one of the top corners with the radius side in the corner and use a clamp to hold the leg in place. Mark the center of the 2×4 vertically inside the radius.
Then drill a 1/2 inch hole through the side of the box and through the support leg. Attach the legs by installing 1/2 inch diameter 13×4 inch stainless steel carriage bolts through both holes with 1/2 inch flat washers and 1/2 inch wing nuts. To protect the boards, apply a few coats of water-based polyurethane with a roller or sponge brush.
Materials
- ½-inch interior plywood
- Kiln-dried 2x4x8s
- Deck screws
- Carriage bolts, washers, and wing nuts
- 120-grit sandpaper
- Water-based polyurethane
- A custom decal (optional)